
A summer hailstorm can strip granules off a roof, dent a vent stack, and leave a homeowner staring up at the ceiling wondering if a drip is coming. Before a full inspection or a permanent repair can happen, most GTA homeowners need to know one thing first: what can be done right now to stop water from getting in. These quick fixes for hail damaged roofs are the temporary, safe, do-it-now measures that protect your home in the hours and days after a storm, while a permanent repair is scheduled.
It is worth being clear about what these fixes are and are not. A tarp, a bead of sealant, or a bucket in the attic is a stopgap, not a solution. Hail bruises the mat underneath asphalt shingles, dents metal panels, and can crack skylight domes in ways that are not always visible from the ground. Quick fixes buy time and prevent secondary damage — water infiltration, mould, ruined drywall — but they do not restore the roof’s long-term performance. Universal Roofs has been responding to storm damage calls across the GTA since 2005, and the guidance below reflects what actually works in the first 24 to 72 hours after hail, based on real calls we get every storm season.
This guide walks through immediate safety steps, the specific temporary repair techniques for each roofing material, what tools and materials to keep on hand, when a quick fix is genuinely enough versus when it is dangerous to attempt yourself, and how to transition from a temporary patch to a permanent repair without losing an insurance claim in the process.

First Things First: Safety Before Any Quick Fix
The single most important quick fix for a hail damaged roof is the one that costs nothing: staying off the roof until you know it is safe. After a hailstorm, shingles and metal panels can be loosened, wet, or structurally weakened in ways that are not obvious from a ladder. Adding your body weight on top of hail-bruised asphalt or a dented metal panel can turn a repairable problem into a much larger one.
Before doing anything else, check for downed power lines, damaged tree limbs overhanging the roof, and standing water pooling near the foundation. If there is any lightning risk remaining or the roof is still wet and slick, wait. Most quick fixes described in this guide are either done from the ground, from a securely footed ladder at the eavestrough line, or from inside the attic — not by walking across a storm-damaged roof deck.
If you do need to get closer to the roofline, use a stable extension ladder on level ground, have a second person holding or spotting it, and never lean out past the ladder’s rails to reach a spot. For anything beyond eavestrough-level inspection, this is exactly the kind of job where calling in a professional roof repair crew is the safer and faster option — our technicians work at height every day with harnesses, safety ropes, and the right footwear for wet or damaged decking.
Interior Quick Fixes: Stopping Water From Spreading Indoors
If hail has already compromised the roof enough to let water through, your first job is protecting the inside of the house, not the roof itself. This is the fastest and lowest-risk category of quick fix, and every homeowner can do it without a ladder.
Start in the attic if it is accessible. Look for wet insulation, water beading on the underside of the deck, or daylight coming through in places it should not. If you find an active drip, place a bucket or a plastic tote directly beneath it, and if the ceiling below is beginning to bulge or sag with trapped water, puncture a small controlled hole in the centre of the bulge with a screwdriver over a bucket — this releases the water in a controlled way rather than letting the ceiling collapse unpredictably later.
Move furniture, electronics, and anything valuable away from the drip zone, and lay down towels or a tarp on the floor to protect flooring while the situation is being assessed. If water is coming in near a light fixture or electrical outlet, shut off power to that circuit at the breaker panel before doing anything else — water and live electrical components are a serious hazard that takes priority over any roof concern.
| Interior Sign | Likely Cause | Immediate Action | Priority Level |
|---|---|---|---|
| Ceiling water stain, dry to touch | Past or slow leak through hail-bruised shingles | Photograph, monitor, schedule inspection | Moderate |
| Active drip or steady water | Active penetration through deck or flashing | Bucket, controlled ceiling puncture if bulging | Urgent |
| Wet attic insulation | Hail-cracked vent boot, flashing, or skylight seal | Remove wet insulation, ventilate attic, call for inspection | Urgent |
| Water near outlet or fixture | Leak tracking along framing to electrical point | Shut off breaker, avoid area, call an electrician if needed | Critical |
| Musty smell, no visible water | Hidden leak behind drywall or in insulation | Check attic and exterior walls, schedule moisture inspection | Moderate |
Exterior Quick Fixes for Asphalt Shingle Roofs
Asphalt shingles are the most common roofing material across the GTA, and hail damage on them is often invisible until granules are missing and the black asphalt mat is exposed. If you can see torn, curled, or missing shingles from the ground or with binoculars, there are a few temporary measures worth knowing, even if you plan to call a professional for the permanent repair.
For a single lifted or torn shingle that is still mostly attached, a bead of roofing sealant or asphalt roof cement applied underneath the tab and pressed down can hold it in place until a proper repair. This should only be attempted if the shingle is dry and the roof pitch is walkable, and it is meant to last days, not months — UV exposure and Toronto’s freeze-thaw cycles will break down an improvised sealant bond quickly.
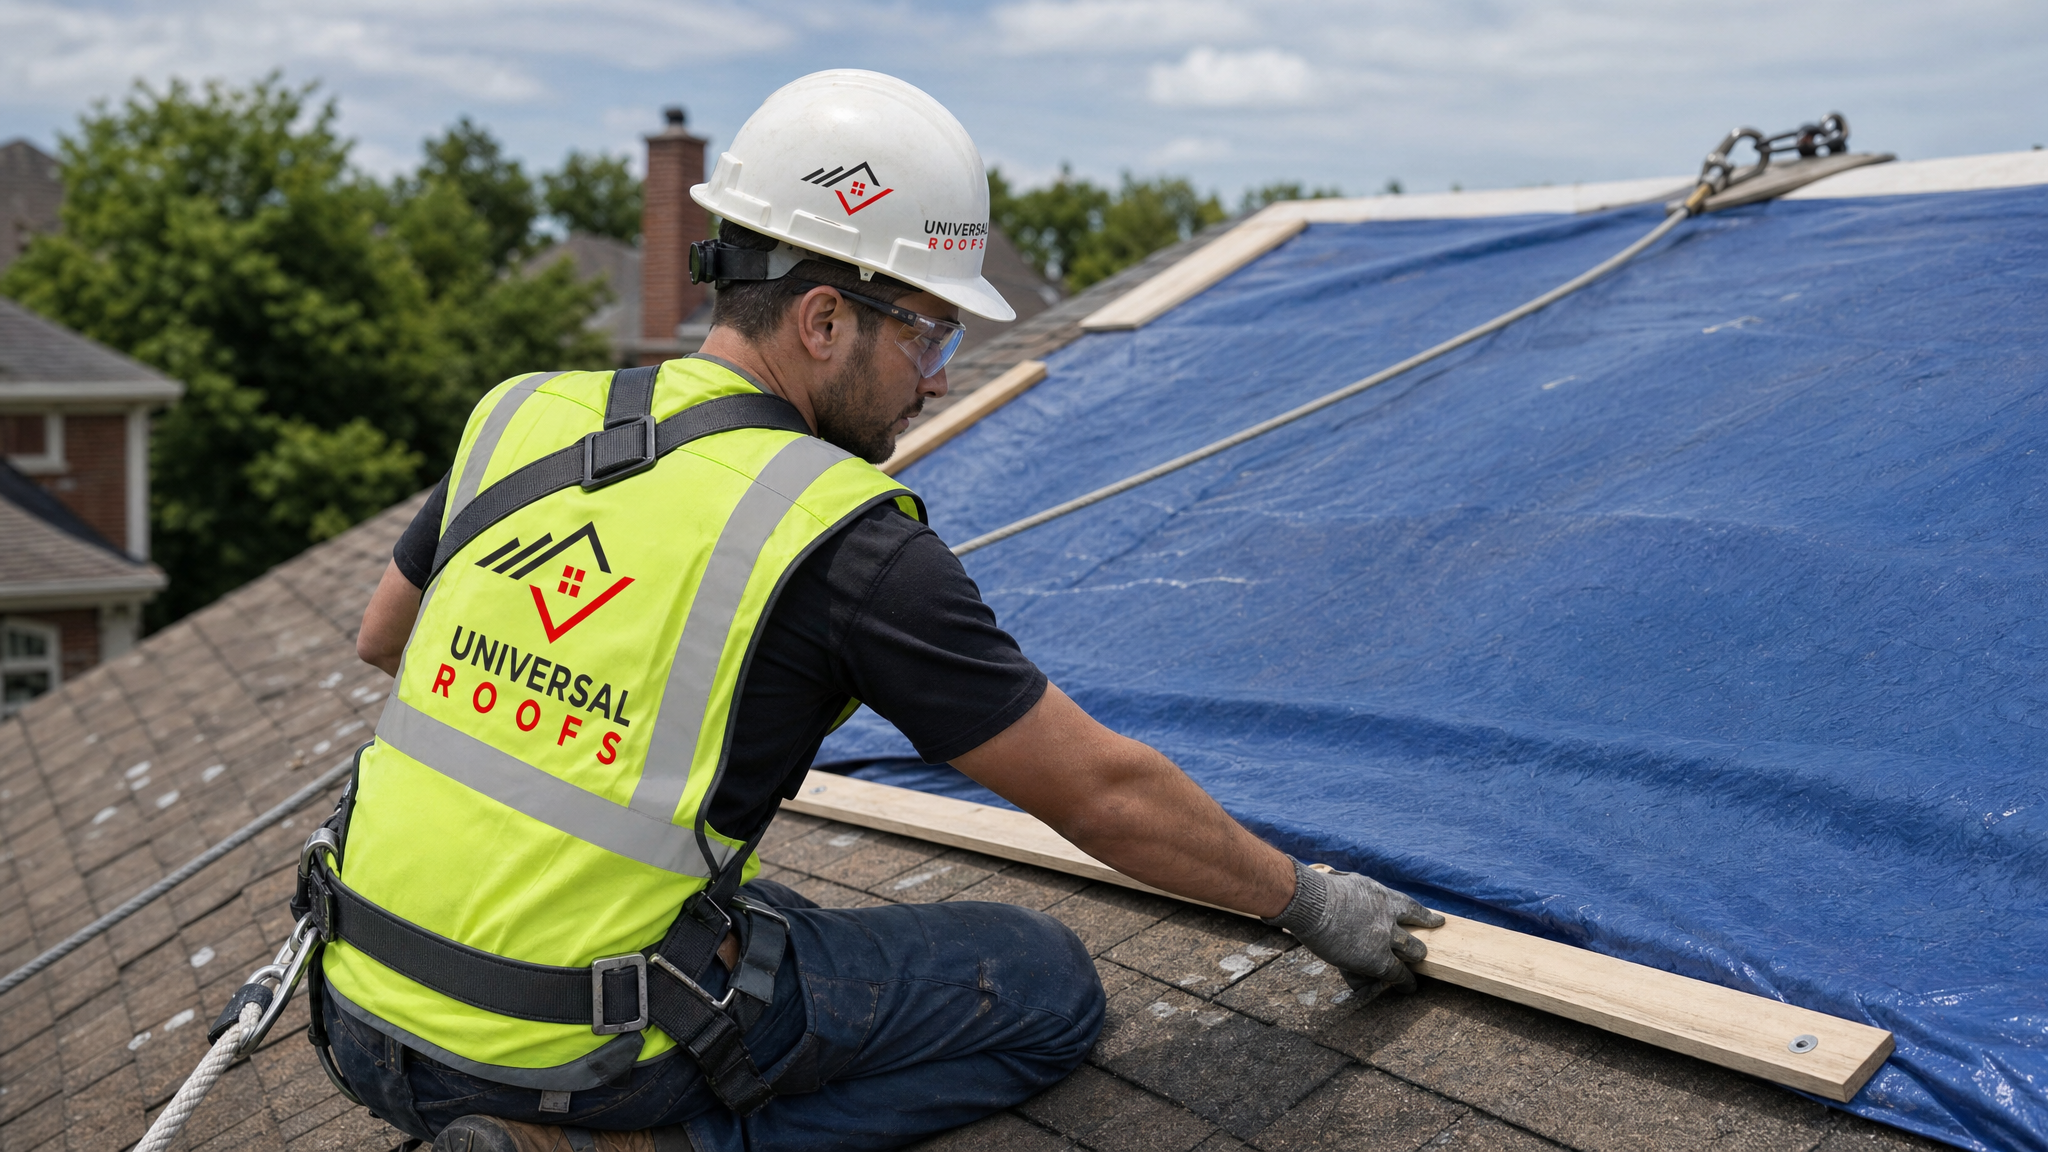
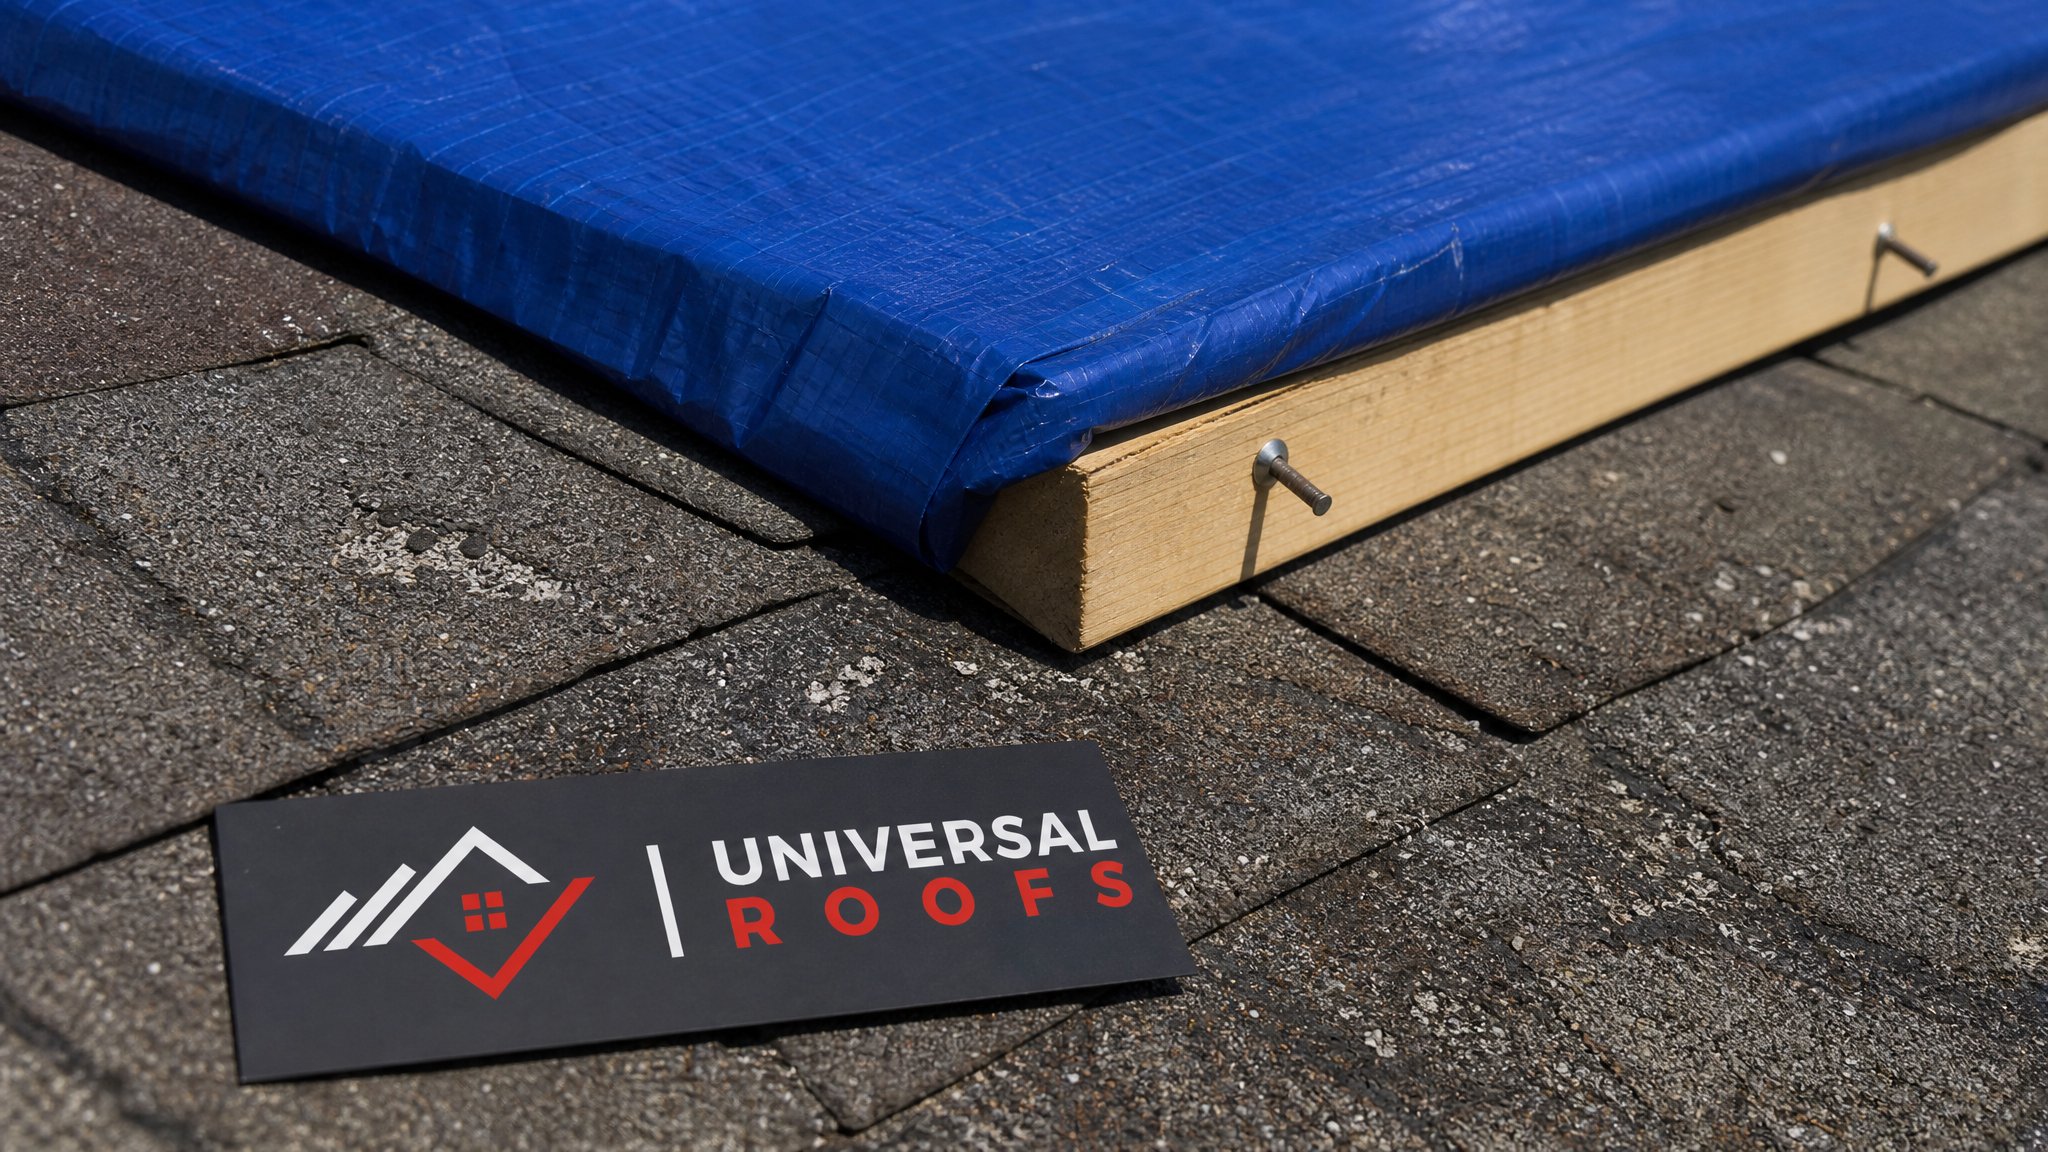
For an area where shingles are completely gone or torn away, exposing the underlayment or deck, a tarp is the correct quick fix. Lay the tarp so it extends well past the damaged area in every direction — at least 1.2 metres of overlap onto undamaged roofing on the high side — and secure it by wrapping the edges around 2×4 boards (“tarp sandwiches”) laid along the tarp’s perimeter rather than nailing directly through the tarp material, which tears under wind load. Never nail a tarp directly into shingles you intend to keep; anchor it to the wood boards instead, and only fasten into the roof deck at the ridge line where it will later be covered by permanent repair work.
If hail has knocked granules loose but shingles are otherwise intact, resist the urge to apply sealant everywhere as a blanket fix. Over-application of roofing cement traps moisture, voids some manufacturer warranties, and makes it harder for a professional to properly assess the extent of hail bruising later. A targeted, temporary patch on visibly torn or lifted shingles is appropriate; coating the whole roof is not a quick fix, it is a mistake that complicates the real repair.
Quick Fixes for Metal Roofing and Flashing
Metal roofs handle hail differently than shingles. Denting is common, but dents are almost always cosmetic rather than a source of leaks, since the panel’s protective coating typically stays intact even when the metal underneath deforms. The real concern after hail on a metal roof is fastener damage and flashing separation, not the dents themselves.
Walk the eavestrough line and any accessible panel edges and check exposed fasteners for backing out — hail impact and the accompanying wind can loosen screws at panel seams. If you find a fastener that has backed out but the surrounding metal is not torn, snugging it back down with a screwdriver or drill (being careful not to overtighten and strip the hole) is a legitimate quick fix that takes seconds and prevents water from working its way under the panel.
Flashing around chimneys, vent stacks, and roof-to-wall transitions is the more common failure point after hail. If flashing has visibly lifted or separated, a temporary bead of high-quality butyl or polyurethane sealant along the seam can hold until permanent flashing repair is done. This is not a substitute for re-securing or replacing bent flashing, but it does stop active water intrusion in the short term. Any dents that are purely cosmetic, with no torn metal or exposed fasteners, generally do not need an emergency quick fix at all — they can wait for a scheduled repair visit without any risk of leaking.
Quick Fixes for Flat and Low-Slope Roofs
Flat and low-slope membrane roofing responds to hail differently again. Because water does not run off quickly, any puncture or seam separation on a flat roof becomes a pooling hazard almost immediately, which makes quick action more urgent here than on a pitched shingle roof.
If you can identify a specific puncture or tear in the membrane, clean and dry the area as best as possible, then apply a self-adhering membrane patch or a compatible liquid flash sealant cut generously larger than the damage itself — at least 10 centimetres of overlap in every direction. This is a genuine short-term fix that can hold through several rain events if applied correctly, but membrane compatibility matters: EPDM, TPO, and modified bitumen each need a matching patch material, and using the wrong type of patch can actually accelerate failure at the repair site.
Seam separation, rather than a clean puncture, is trickier to fix as a homeowner and is one of the situations where we recommend calling our flat roofing team rather than improvising, since a poorly resealed seam can trap water underneath the membrane where it causes far more damage than it prevents. If standing water has already accumulated near a suspected damage point, a wet/dry shop vacuum to remove the pooled water before patching will help any adhesive-based repair actually bond.
| Quick Fix | Best Suited For | Typical Hold Time | DIY Difficulty |
|---|---|---|---|
| Tarp with board-anchored edges | Missing/torn shingles, exposed deck | 1-3 weeks in good weather | Moderate — ladder work required |
| Sealant on lifted shingle tab | Single loose shingle, minor tear | Days to 1-2 weeks | Easy, if roof is dry and walkable |
| Re-snugged metal fastener | Backed-out screws on metal panels | Permanent if not overtightened | Easy |
| Butyl sealant on flashing seam | Lifted chimney/vent flashing | Days to weeks | Moderate |
| Membrane patch (matched material) | Punctures on flat/low-slope roofs | Weeks to months if bonded well | Moderate to difficult |
| Interior bucket/controlled ceiling release | Active indoor leaks | Immediate, hours only | Easy |
Skylights: A Special Case After Hail
Skylights are among the most vulnerable points on any GTA roof during a hailstorm, and they are also one of the easiest places to apply the wrong quick fix. Acrylic dome skylights can craze — develop a network of fine surface cracks — under hail impact, while tempered glass units can suffer stress fractures at the frame edge that are not always visible without close inspection.
If a skylight dome is visibly cracked or has a hole punched through it, do not attempt to seal it with tape or caulking from inside; this rarely holds and can make a proper repair more difficult by leaving adhesive residue on the frame. Instead, the safest quick fix is covering the exterior of the skylight with a secured tarp, following the same board-anchored method described for shingle repairs, until a professional can assess whether the unit needs a full skylight replacement or a targeted seal repair.
If the skylight glazing looks intact but you notice condensation or fogging between panes that was not there before the storm, this usually indicates a seal failure rather than a cracked pane, and it is not an emergency in the same way an active leak is — it can wait for a scheduled visit from our skylights team. The one situation that does need immediate attention is any skylight with visible cracking directly above a living space, since falling glazing fragments are a real safety hazard, not just a water concern.
Assembling a Storm Emergency Kit Before You Need It
The best time to prepare for hail damage quick fixes is before a storm happens, not during one. Keeping a small kit of materials on hand means you are not driving to a hardware store in the middle of a storm aftermath while water is actively entering your home.
- A heavy-duty poly tarp, at least 6×8 metres, rated for outdoor UV exposure
- A staple gun or roofing nails plus several 2×4 offcuts for board-anchoring a tarp
- A tube of roofing sealant or asphalt cement and a caulking gun
- Butyl-based flashing sealant, which bonds better than silicone in wet conditions
- A self-adhering membrane patch kit compatible with EPDM or TPO roofing
- A few large plastic totes or buckets for interior water collection
- A basic screwdriver set for re-securing loose metal fasteners
- A phone with a fully charged battery, kept ready for storm-damage photos
Having these items ready does not replace the judgment call of when a repair is beyond a homeowner’s scope. It simply means that when hail does hit, the first hour after the storm can be spent stabilizing the situation rather than scrambling for supplies.
When a Quick Fix Is Not Enough: Calling in a Professional
Quick fixes exist to buy time, and knowing when that time is up matters as much as knowing how to apply the fix in the first place. A few situations should move a homeowner straight past DIY measures and into a same-day call for professional help.
Any roof with more than a handful of missing or torn shingles, any flat roof with an unclear source of a leak, any structural sag in the roof deck, or any situation involving electrical risk from water intrusion should be handled by a licensed crew, not a homeowner on a ladder. Likewise, if a storm has caused widespread damage across the neighbourhood, contractor availability tightens quickly, and getting on a schedule sooner rather than later — even just for an inspection — tends to produce a faster full repair timeline.
Our crews across Toronto, the Peel Region, York Region, Halton Region, and Durham Region respond to storm damage calls throughout hail season, and we would always rather see a homeowner apply a safe, temporary tarp than attempt a repair beyond their skill level. If you are unsure whether your situation calls for a quick fix or a professional response, our FAQ page covers many of the most common post-storm questions, and reading a few recent reviews from homeowners we have helped through storm damage can give a sense of what to expect from a same-day inspection call.
| Situation | DIY Quick Fix Appropriate? | Recommended Response Time |
|---|---|---|
| Single lifted shingle, roof dry and walkable | Yes | Same day, low urgency |
| Large exposed deck area after missing shingles | Yes, tarp only — not a full repair | Immediate, before next rain |
| Active ceiling leak indoors | Yes, interior containment only | Immediate |
| Cracked skylight dome above living space | Cover only, no interior sealing | Immediate, safety priority |
| Widespread shingle loss across multiple slopes | No — professional assessment needed | Same day to 24 hours |
| Flat roof seam separation with pooling water | No — professional assessment recommended | 24 to 48 hours |
| Any structural sag or deck movement | No — do not access roof | Immediate, call professional |
Turning a Temporary Fix Into a Permanent Repair Without Losing Your Claim
One mistake homeowners make after applying a good quick fix is forgetting that insurers need documentation of the damage as it existed before repairs began. Before tarping, sealing, or patching anything, take clear, timestamped photos of every damaged area from multiple angles, including wide shots that show the location on the roof and close-ups of the specific damage.
Keep receipts for any materials purchased for the temporary fix — tarps, sealant, patch kits — since most home insurance policies reimburse reasonable costs incurred to prevent further damage after a covered event, even before a formal claim is approved. When a professional crew comes out for the permanent repair, mention what temporary measures were already applied so they can assess whether the quick fix itself needs to be removed carefully, or whether it can be worked around.
Most importantly, do not delay scheduling the permanent repair once a quick fix is in place. Tarps degrade in wind and UV exposure within a few weeks, sealant bonds weaken with Toronto’s freeze-thaw cycles once the season turns, and a temporary patch that was adequate in July can fail entirely by the first frost. A quick fix is the first step in a two-step process, not a replacement for the second step.
What are the fastest quick fixes for hail damaged roofs?
Can I use roofing sealant as a quick fix for every type of hail damage?
Is it safe to walk on my roof to apply a quick fix after a hailstorm?
How long will a temporary tarp or sealant hold after hail damage?
Will a quick fix affect my home insurance claim for hail damage?
When should I stop trying quick fixes and call a professional roofer?
Need Help With Quick Fixes for Hail?
Hail damage rarely announces itself clearly, and the difference between a five-minute tarp job and a ceiling replacement often comes down to how quickly the first steps are taken. Universal Roofs has been helping homeowners across the GTA navigate exactly this moment for two decades, from the first phone call after a storm through to the permanent repair.
Call us today at (416) 732-2421 or request a free inspection to get started.
Universal Roofs proudly serves Toronto, Mississauga, Brampton, Vaughan, Markham, Oakville and the GTA since 2005.