
A roof that keeps water out is doing its most basic job, yet roof sealing is one of the most overlooked parts of home maintenance in the Greater Toronto Area. Between spring downpours, summer thunderstorms, and the freeze-thaw cycles that define a Toronto winter, your roofing system takes a beating every single year. Small gaps around flashing, aging shingle edges, and worn membrane seams give water a way in long before you notice a stain on your ceiling.
The good news is that most leaks are preventable. A handful of proactive sealing tasks, done at the right time of year and with the right materials, can add years to a roof’s service life and save homeowners thousands of dollars in interior repairs. At Universal Roofs, we have been sealing, patching, and waterproofing roofs across the GTA since 2005, and the six tips below reflect what we see work — and fail — on real Toronto homes.
This guide walks through the highest-impact roof sealing tips for waterproofing a residential roof, explains which materials perform best in our climate, and tells you honestly when a DIY tube of sealant is enough and when it is time to call in a professional for a proper roof repair assessment.
Why Roof Sealing Matters More in the GTA Climate
Toronto and the surrounding region put roofing materials through a demanding annual cycle. Winter brings repeated freeze-thaw swings that expand tiny cracks in sealant and flashing every time meltwater refreezes. Spring delivers heavy, sustained rain that finds every weak point. Summer heat bakes asphalt shingles and rubber membranes, drying out oils and accelerating UV breakdown. By the time autumn arrives, a roof that was watertight in May can have a dozen small vulnerabilities that only show themselves during the next big storm.
Roof sealing is the maintenance layer that closes those vulnerabilities before they become active leaks. It is not a substitute for a sound roofing system underneath — flashing, underlayment, and shingles still have to be installed correctly — but sealant and waterproofing coatings are the first line of defence at every joint, penetration, and transition point on the roof. Homeowners who budget a few hours each summer for inspection and touch-up sealing consistently avoid the expensive emergency calls that come after a spring storm.
This is also why July is a smart month to tackle roof sealing tips for waterproofing. Summer daylight, dry conditions, and warm enough temperatures for sealant to cure properly make it the easiest season to work safely on a roof, well before autumn rain and winter ice arrive.
Tip 1: Start With a Thorough Roof and Flashing Inspection
Every effective waterproofing project begins with a proper inspection, not a tube of caulking. Walk the perimeter of your home with binoculars, or better yet, get on a ladder to look closely at valleys, ridges, and any place where the roof meets a vertical surface. You are looking for cracked or curling shingle edges, rusted or lifted flashing, gaps around vent pipes, and any sealant that has turned brittle, chalky, or has visibly pulled away from the surface it was applied to.
Pay particular attention to these high-risk zones, since they account for the vast majority of residential roof leaks:
- Roof valleys where two slopes meet and water volume concentrates
- Flashing around chimneys, skylights, and roof-to-wall transitions
- Plumbing vent boots and their rubber collars
- Eaves and gutter lines where ice damming occurs in winter
- Any penetration for a satellite dish, solar mount, or exhaust vent
If your roof includes a skylight, inspect the perimeter flashing especially closely, since skylight seals are a common source of slow, hard-to-diagnose leaks. A homeowner who cannot safely access a steep roof should not attempt this step alone; a quick call for a professional inspection is far cheaper than a fall.
| Roof Area | Common Sealing Problem | Inspection Frequency | Risk Level |
|---|---|---|---|
| Chimney flashing | Rust, lifted counter-flashing, cracked caulk | Twice yearly | High |
| Vent pipe boots | Cracked rubber collar from UV exposure | Annually | High |
| Roof valleys | Worn granules, exposed underlayment | Annually | High |
| Skylight perimeter | Failed sealant bead, gapped flashing | Twice yearly | Medium-High |
| Ridge cap | Nail pops, cracked sealant strips | Annually | Medium |
| Gutter-to-fascia joint | Separated caulk, ice damage | Annually | Medium |
Tip 2: Choose the Right Sealant for Each Application
One of the most common DIY mistakes we see is using a single all-purpose caulk for every job on the roof. Different materials, temperatures, and movement conditions call for different sealant chemistries, and using the wrong one is a leading cause of premature sealant failure. A butyl-based sealant, for example, stays flexible and bonds well to metal flashing, but it is not designed for constant UV exposure on an open shingle surface. Silicone sealants resist UV degradation extremely well but do not accept paint and can be difficult to tool cleanly.
For most Toronto homes, a combination approach works best: polyurethane or modified-bitumen sealant for shingle and membrane seams, high-grade silicone for flashing joints exposed to direct sun, and butyl tape or sealant for concealed metal-to-metal flashing laps. Roofing-grade products rated for the temperature swings of an Ontario climate (typically rated from roughly -40°C to +80°C) will outlast generic hardware-store caulk by several years.
| Sealant Type | Best Use | UV Resistance | Typical Lifespan |
|---|---|---|---|
| Polyurethane roofing sealant | Shingle edges, seams, general patching | Good | 8-10 years |
| Silicone sealant | Flashing joints, metal-to-metal seams | Excellent | 10-15 years |
| Butyl rubber sealant/tape | Concealed flashing laps, vent boots | Fair (needs cover) | 10-20 years (protected) |
| Modified-bitumen mastic | Flat roof seams, membrane patching | Fair | 5-8 years |
| Acrylic elastomeric coating | Full-surface waterproofing on flat/low-slope roofs | Very good | 10-15 years |
If you are unsure which product a specific area needs, it is worth having a professional walk the roof with you once. Getting the material choice right the first time avoids repeat callbacks and premature sealant cracking.
Tip 3: Reseal and Reinforce Flashing Before It Fails Completely
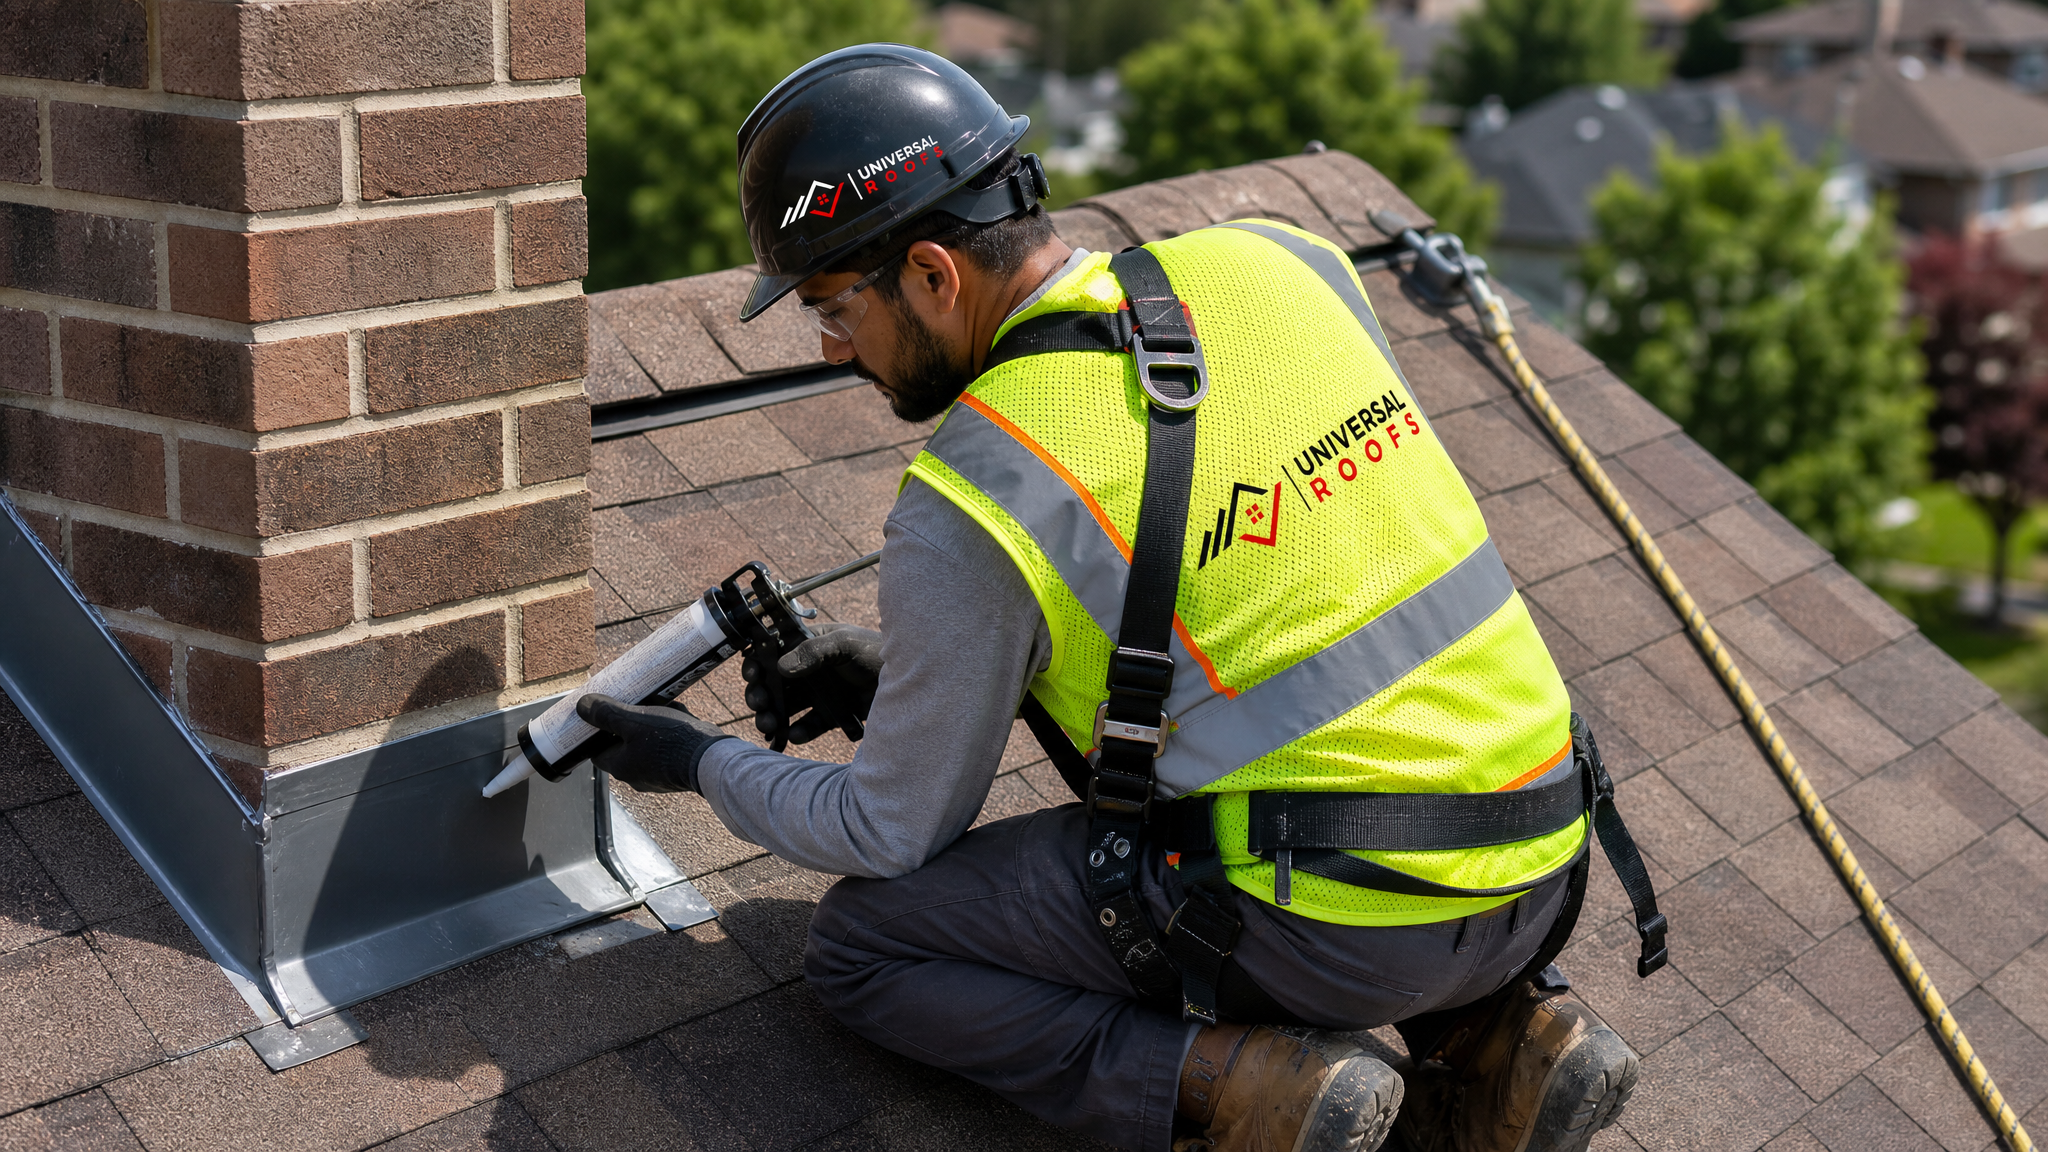
Flashing is the thin strip of metal — usually aluminum, galvanized steel, or copper — installed at every roof transition to direct water away from a joint. Sealant supports flashing, but it should never be asked to do a flashing’s job on its own. When flashing lifts, rusts through, or was installed with too few fasteners, no amount of caulk on top will keep water out for long.
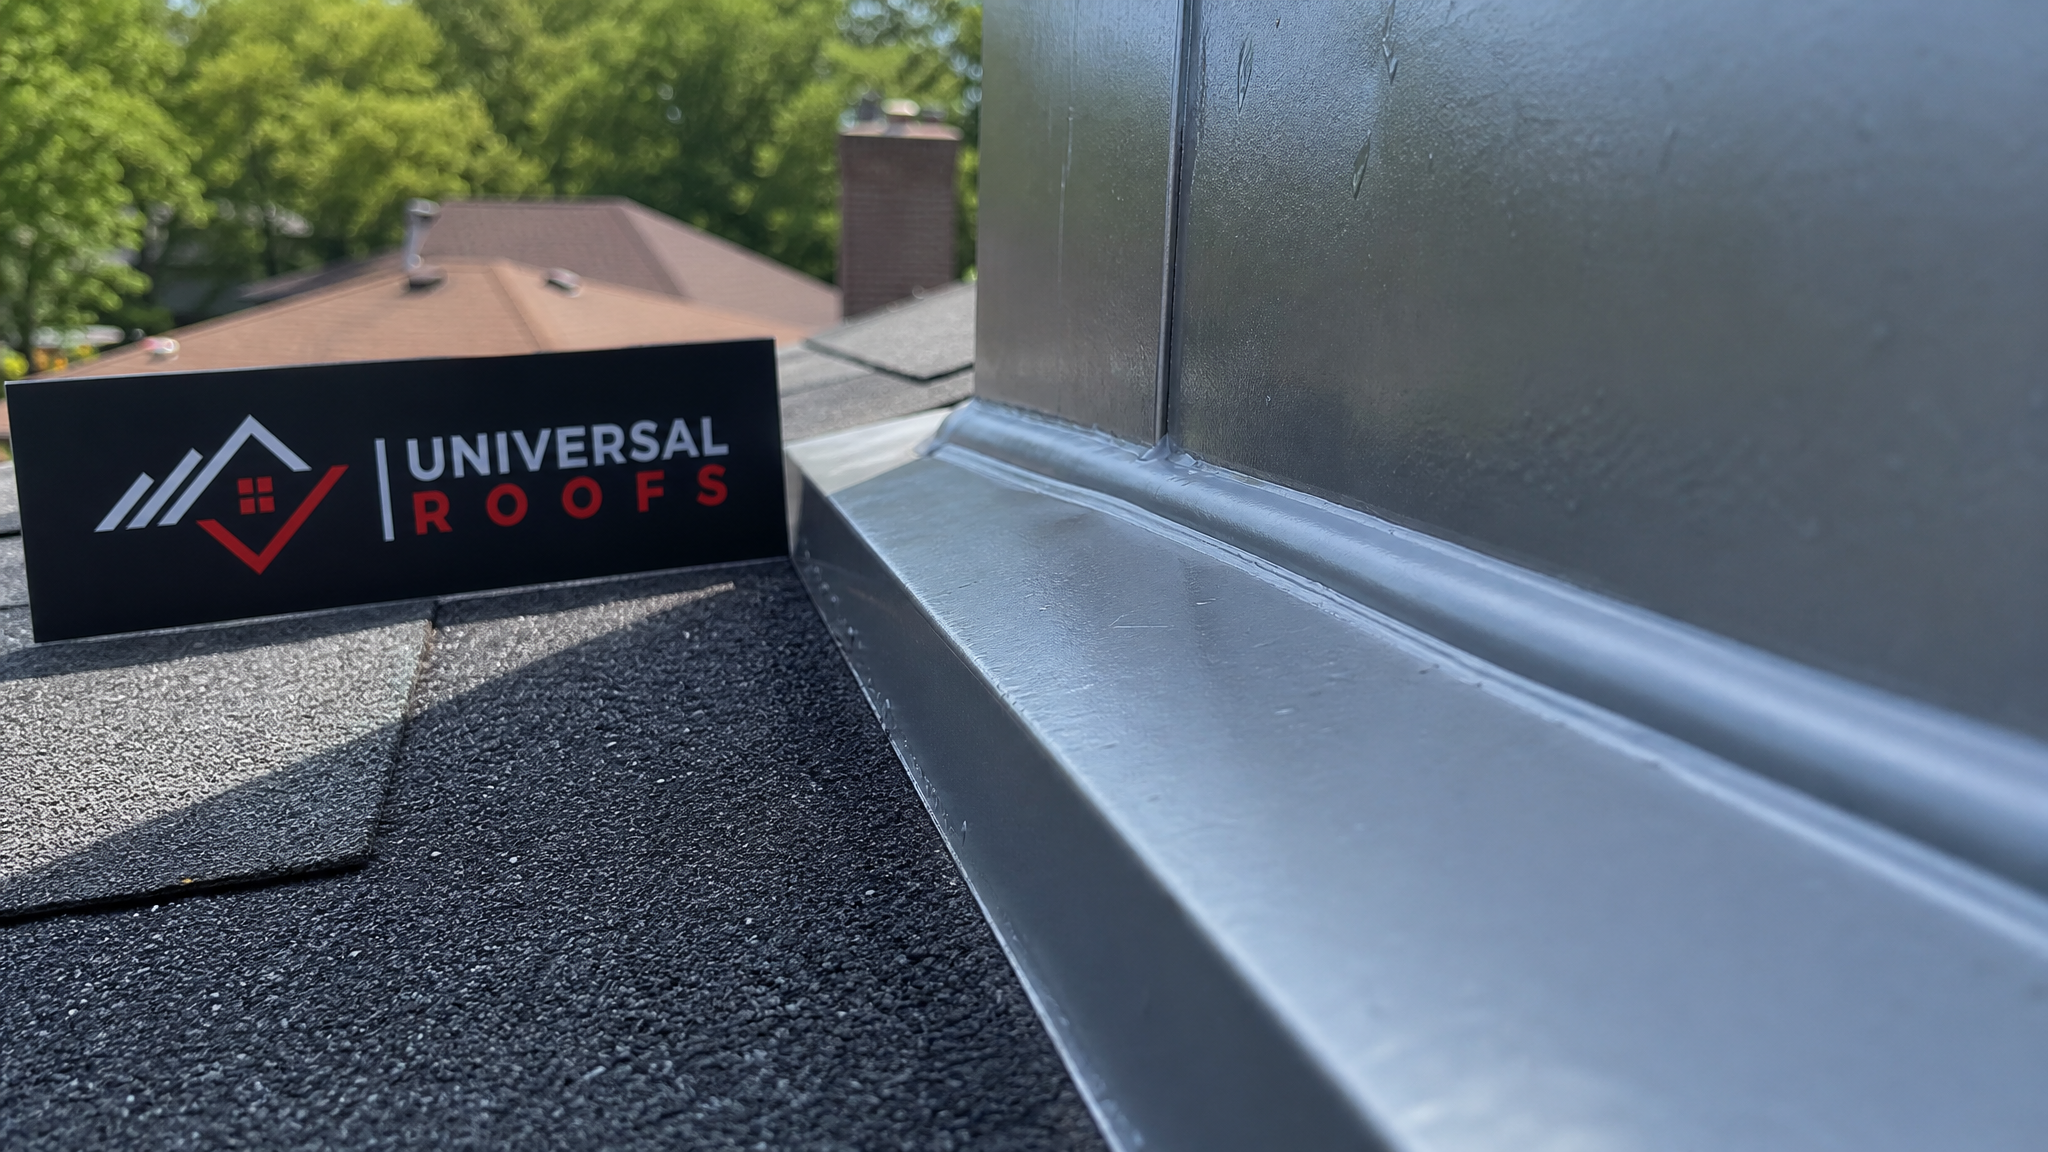
Reseal flashing joints annually, cleaning the old bead completely before applying a fresh one — sealant applied over old, cracked sealant almost always fails within a season. If flashing itself shows rust-through, separation from the roof deck, or missing fasteners, that is a repair job, not a sealing job, and it is time to bring in a roofing contractor rather than layering more caulk on a failing metal component. Our roof repair team regularly finds that what a homeowner thought was a sealant problem was actually flashing that had corroded through and needed replacement.
Chimneys deserve special mention here. Chimney flashing has two layers — step flashing against the roof and counter-flashing embedded in the mortar joints — and both need to be intact and properly sealed for the assembly to work. A cracked mortar joint above the counter-flashing is a very common, very avoidable source of chimney leaks.
Tip 4: Waterproof Vent Boots, Pipe Penetrations, and Skylight Seals
Rubber vent boots are one of the shortest-lived components on any roof. The rubber collar around a plumbing stack or exhaust vent typically degrades from UV exposure within 8 to 12 years, well before the shingles around it wear out, and a cracked boot is one of the single most common causes of ceiling leaks in Toronto homes. Inspect every boot for cracking, and replace or reseal with a purpose-made rubber or silicone boot sealant as soon as you see checking in the material.
Skylights deserve the same scrutiny. A properly installed skylight has step flashing integrated with the surrounding shingles and a sealed perimeter, but the sealant bead around the frame still needs periodic renewal. If you are noticing condensation, staining around the skylight opening, or a sealant bead that has visibly shrunk away from the frame, it is worth having it assessed before a heavy rain finds the gap. Homeowners considering an upgrade at the same time often ask about skylight replacement rather than repeated resealing, especially on units older than 15 to 20 years where the glazing seal itself may also be failing.
Other penetrations worth checking include satellite dish mounts, solar panel brackets, and any HVAC curb on a flat or low-slope section. Every hole drilled through a roofing membrane is a potential leak point, and every one should be sealed with a material rated for the membrane it penetrates.
Tip 5: Apply a Waterproof Coating on Flat and Low-Slope Sections
Many GTA homes have at least one flat or low-slope section — over a garage, a rear addition, or a porch roof — and these areas rely on membrane waterproofing rather than shingle overlap to shed water. A full-surface acrylic or silicone elastomeric coating, applied over a clean, dry membrane, adds a seamless waterproof layer that bridges small cracks and reflects UV to slow membrane aging.
Before coating any flat roofing section, the surface has to be pressure-washed and fully dry, seams need to be reinforced with fabric tape or mastic, and any standing water issues (usually caused by poor drainage slope) need to be addressed first — a coating cannot fix a roof that holds water. Done correctly, a quality elastomeric coating can extend the useful life of a flat roof membrane by 8 to 10 years at a fraction of the cost of a full tear-off and replacement.
| Waterproofing Method | Typical Cost (CAD) | Time to Complete | Best For |
|---|---|---|---|
| Spot sealant repair | $150 – $450 | 1 day | Isolated leaks, single flashing joints |
| Full flashing resealing | $400 – $900 | 1 day | Chimneys, skylights, roof-to-wall joints |
| Vent boot replacement | $150 – $350 per boot | Half day | Cracked or aged rubber collars |
| Elastomeric roof coating | $3 – $6 per sq. ft. | 2 – 3 days | Flat/low-slope membrane roofs |
| Full membrane replacement | $8 – $14 per sq. ft. | 3 – 5 days | Membranes past their service life |
Tip 6: Protect the Attic and Address Drainage, Not Just the Surface
Roof sealing does not end at the shingles. Poor attic ventilation and insulation are two of the leading indirect causes of roof leaks in the GTA, because inadequate airflow allows warm indoor air to melt roof snow unevenly, creating ice dams that force meltwater back under shingles and past flashing that would otherwise hold. A well-sealed roof paired with a poorly ventilated attic will still leak every winter, no matter how much sealant is applied on top.
Confirm that soffit vents are not blocked by insulation, that the ridge vent (if present) is clear, and that attic insulation meets current levels for our climate zone. On the exterior, make sure gutters are clear and properly pitched, since standing water backed up against roof edges is one of the most common causes of edge and fascia sealant failure. Downspouts should direct water at least 1.8 metres away from the foundation to avoid compounding drainage problems at ground level as well.
Finally, keep a simple maintenance log. Note the date of each inspection, what you resealed, and what materials you used. This habit alone helps homeowners catch small issues while they are still a $200 fix rather than a $2,000 one, and it gives any contractor you eventually call in a clear history to work from.
| Warning Sign | Likely Cause | Recommended Action | Urgency |
|---|---|---|---|
| Ceiling stain after rain | Flashing or vent boot failure | Book a leak inspection | High |
| Granules in gutters | Shingle wear, aging surface | Assess remaining shingle life | Medium |
| Ice damming at eaves | Poor attic ventilation/insulation | Attic assessment and venting fix | High |
| Ponding water on flat roof | Poor slope or clogged drain | Drainage correction, re-coating | Medium-High |
| Cracked sealant bead | UV aging, wrong sealant type | Clean and reseal with correct product | Low-Medium |
| Musty attic smell | Chronic slow leak or condensation | Full roof and ventilation inspection | High |
DIY Sealing vs. Calling a Professional
Plenty of small sealing jobs are within reach for a comfortable, careful homeowner: touching up a cracked bead of caulk around a vent pipe on a single-storey garage, or resealing an easily accessible section of eavestrough. But roof work carries real fall risk, and several situations call for a trained roofer rather than a DIY attempt.
Call a professional if the leak is active and its source is not obvious, if the work requires accessing a steep or multi-storey roof, if flashing shows rust-through or structural movement, or if a flat roof membrane has widespread cracking rather than an isolated seam issue. It is also worth having a professional assess your roof if you are planning a roof replacement in the next few years — sometimes an aging roof is better served by a full replacement than by another round of patchwork sealing.
Homeowners across Toronto, Peel Region, York Region, Halton Region, and Durham Region can request a free roof assessment before committing to either path, so the decision is based on an actual inspection rather than guesswork.
How Often Should You Reseal Your Roof?
There is no single answer that fits every roof, since sealing frequency depends on material age, sun exposure, and the number of penetrations on the roof. As a general rule for GTA homes, plan on a full inspection and touch-up sealing pass once a year, ideally in late spring or summer, with a second quick check in early autumn before winter sets in. High-exposure components like vent boots and skylight perimeters may need attention every year, while well-installed metal flashing on a shaded slope might go three to five years between resealing.
Homeowners who read reviews from other GTA clients often notice the same pattern in feedback about Universal Roofs‘ service: catching small sealing issues early consistently prevents the larger, more expensive repairs that come from years of deferred maintenance. If you are unsure where your own roof stands, our FAQ page covers many of the maintenance questions we hear most often, and our team, in business since 2005, is happy to answer the rest directly.
What are the best roof sealing tips for waterproofing an older roof?
How long does roof sealant typically last in the Toronto climate?
Can I apply roof sealant myself, or do I need a professional?
What is the best time of year to reseal a roof for waterproofing?
Do flat roofs need different waterproofing than sloped roofs?
What are signs that my roof sealing has failed and a leak is starting?
Need Help With Top 6 Roof Sealing?
Keeping a roof properly sealed is one of the most cost-effective things a homeowner can do, but it does take the right materials, the right technique, and, for many areas of the roof, a head for heights. Universal Roofs has been helping GTA homeowners waterproof, patch, and maintain their roofs since 2005, and our team can identify exactly which of these six sealing priorities your roof needs right now.
Call us today at (416) 732-2421 or request a free inspection to get started.
Universal Roofs proudly serves Toronto, Mississauga, Brampton, Vaughan, Markham, Oakville and the GTA since 2005.