
If you have a low-slope or flat roof on your Toronto home or commercial building, chances are it is covered in either asphalt built-up roofing (BUR) or a modified bitumen membrane. Both systems are durable and cost-effective, but they are not invincible. Ponding water, UV exposure, and our brutal freeze-thaw winters all take a toll over time, and small problems left unattended turn into expensive leaks fast.
The good news is that most asphalt and bitumen flat roof damage is repairable if you catch it early and repair it correctly. In this guide, we break down the three expert tips for repairing asphalt and bitumen flat roofs that separate a lasting fix from a temporary patch that fails within a season. We will also cover the tools, materials, timelines, and warning signs every GTA property owner should know before climbing a ladder or calling in a professional.
Whether you manage a commercial plaza in Mississauga or own a bungalow in Scarborough with a flat-roofed addition, the fundamentals of a proper repair are the same. Let’s get into it.
Understanding Asphalt and Bitumen Flat Roof Systems
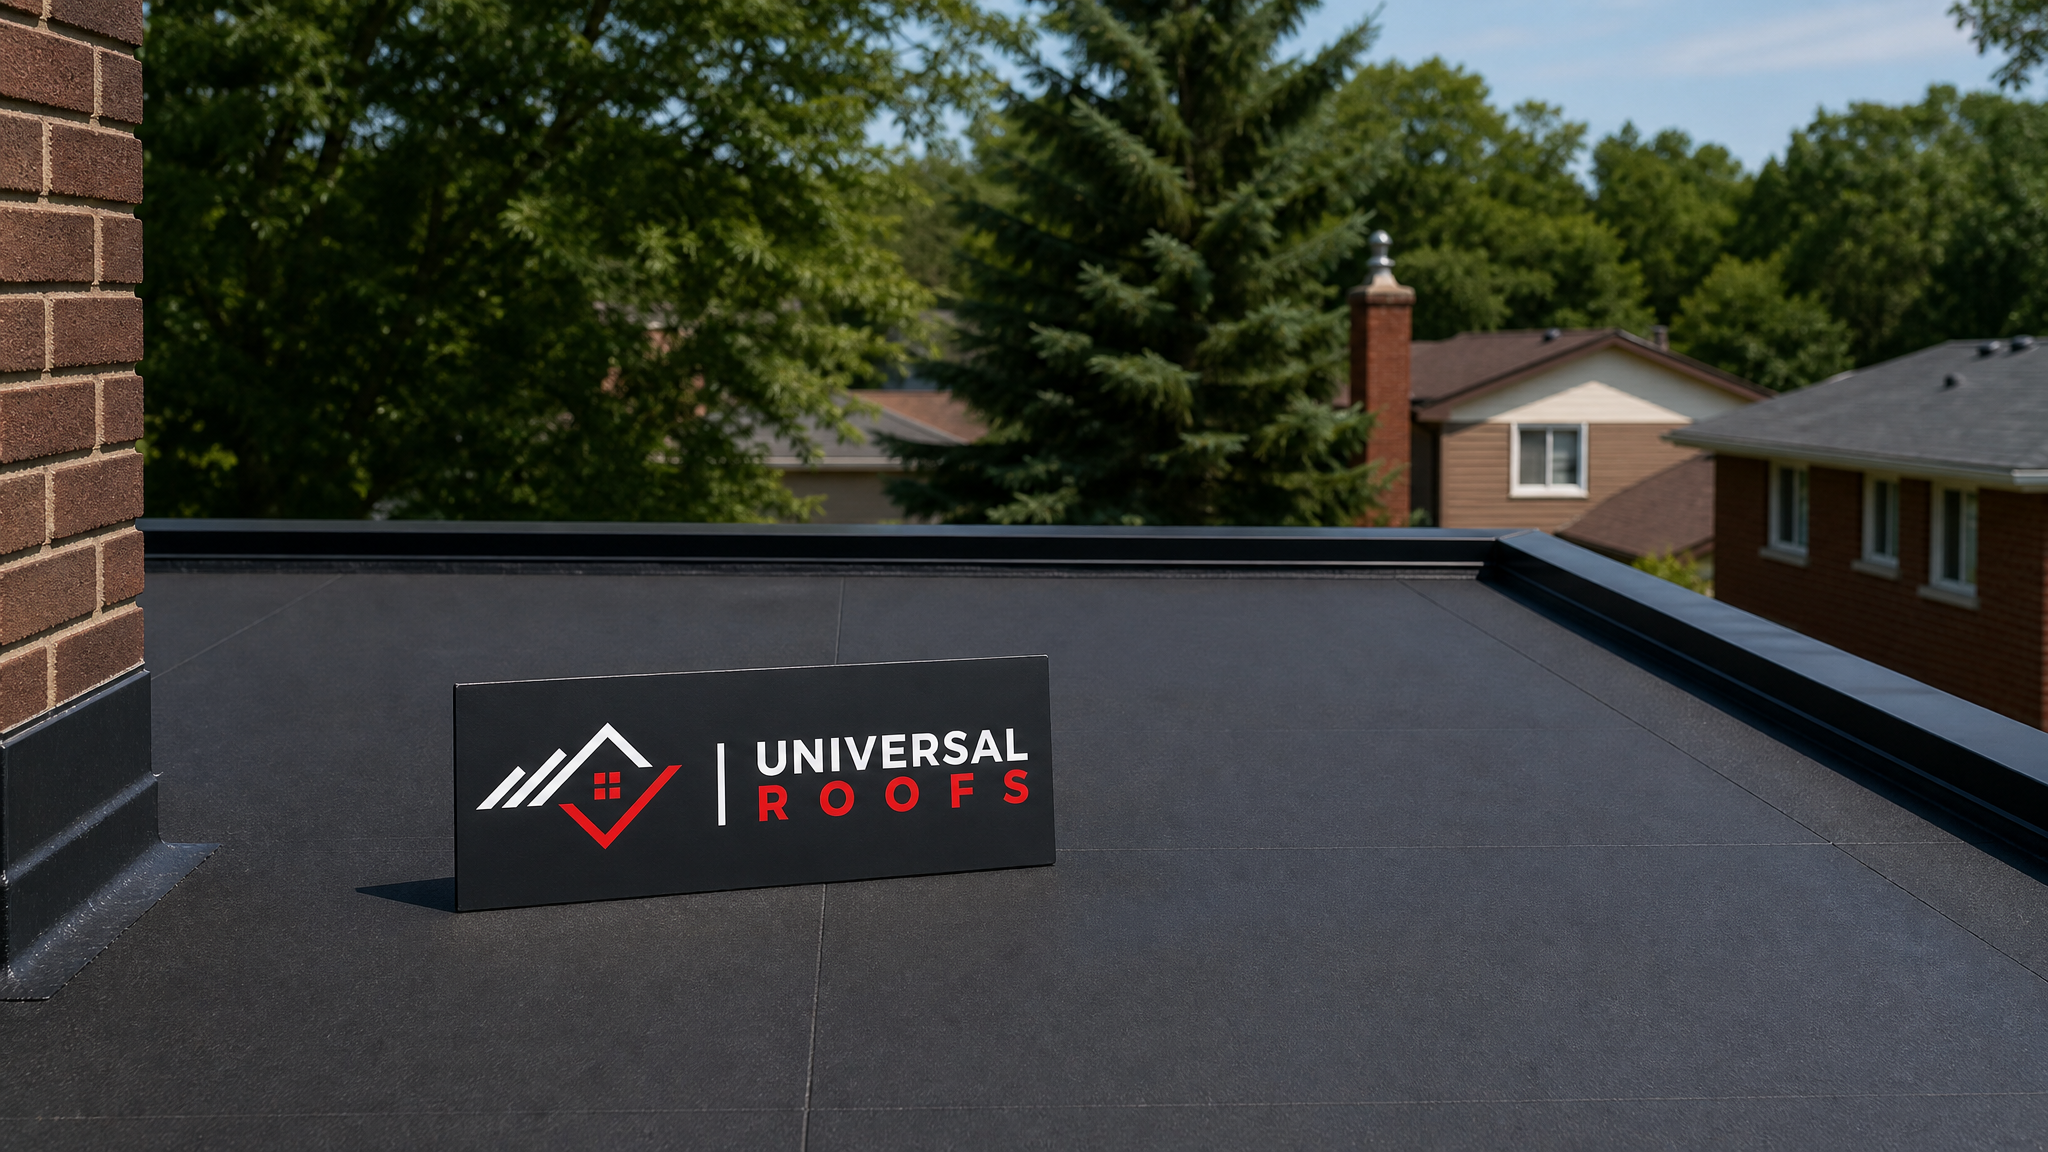
Before discussing repair technique, it helps to understand what you are actually repairing. “Asphalt and bitumen flat roofs” is an umbrella term that typically covers three related systems commonly found across the GTA:
- Built-up roofing (BUR): alternating layers of asphalt-saturated felt and hot or cold asphalt, finished with a gravel or mineral cap sheet.
- Modified bitumen (mod-bit): asphalt modified with rubber or plastic polymers (SBS or APP), applied in rolled sheets that are torch-welded, hot-mopped, or self-adhered.
- Cold-applied systems: bitumen-based membranes installed with adhesive rather than heat, popular for retrofits over occupied buildings.
Each of these systems ages differently, and the repair method changes depending on which one you have. A torch-down mod-bit membrane, for example, needs heat-welded patches, while an older BUR system with a gravel cap needs the aggregate cleared away before any patch will bond. Homeowners who are unsure which system they have should have it assessed as part of any roof repair visit, since misidentifying the membrane is one of the most common reasons DIY patches fail.
Toronto’s climate is particularly hard on these systems. We see roughly 40 to 60 freeze-thaw cycles per winter, and each cycle expands trapped moisture inside a membrane, widening cracks and lifting seams a little more every time. Combine that with intense summer UV exposure that dries out asphalt oils, and you get a roof that ages faster here than in more temperate regions.
Tip 1: Diagnose the Real Problem Before You Patch Anything
The single biggest mistake property owners make is patching the spot where water is dripping inside the building rather than the actual point of entry on the roof. On a flat roof, water can travel metres horizontally along the underside of the membrane or through the insulation before finding a gap in the ceiling below. Patching the interior leak spot on the roof surface often misses the real defect entirely, and the leak returns with the next rainfall.
A proper diagnosis involves:
- Tracing the water path from the interior stain back toward the roof’s high points, since water always travels downhill along the deck.
- Inspecting all seams, laps, and terminations first, since roughly 85% of flat roof leaks originate at a seam, flashing detail, penetration, or drain rather than in the open field of the membrane.
- Checking penetrations around plumbing stacks, HVAC curbs, and skylights, where flashing failure is extremely common.
- Looking for ponding water, which signals a structural slope problem rather than a simple membrane defect.
- Checking for blistering, which indicates trapped moisture or air beneath the membrane that will eventually rupture.
If you have a skylight on your flat roof and notice staining nearby, don’t assume the skylight itself is the culprit. The curb flashing where the skylight meets the roofing membrane is far more often the true source, and a full skylight replacement or reflash may be needed alongside the membrane repair.
| Symptom | Likely Cause | Typical Repair | Urgency |
|---|---|---|---|
| Interior ceiling stain, no visible roof damage | Seam separation or flashing failure upslope | Trace and reseal seam/flashing | High |
| Bubbling or blistering membrane | Trapped moisture or air pocket | Cut, dry, and patch blister | Medium |
| Standing water 48+ hours after rain | Insufficient slope or clogged drain | Tapered insulation or drain repair | Medium-High |
| Cracked or “alligatored” surface | UV degradation of asphalt | Recoat or membrane overlay | Low-Medium |
| Torn membrane at penetration | Physical damage or poor original flashing | Remove, reflash, and patch | High |
Skipping this diagnostic step is why so many “quick fixes” fail within a single Toronto winter. Take the time to find the real source before you touch a repair kit.
Tip 2: Prepare the Surface Properly, Every Time
Even the best patching material will not bond to a dirty, wet, or oxidized surface. Surface preparation is where most amateur repairs go wrong, and it is arguably more important than the patch material itself. A correctly prepared repair area should be:
- Completely dry. Moisture trapped under a patch will cause it to blister and fail, often within weeks. Wait at least 24-48 hours of dry weather before patching, longer after heavy rain.
- Free of gravel, dust, and debris. On BUR systems with a gravel cap, the aggregate must be swept and scraped away in a wide radius around the damage.
- Free of loose or delaminated material. Cut back any membrane that is bubbled, cracked, or no longer adhered until you reach solid, sound substrate.
- Clean of oils, oxidized asphalt dust, and old sealant. A wire brush or stiff broom followed by a solvent wipe (where appropriate for the membrane type) improves adhesion dramatically.
- Primed where required. Most cold-applied patch systems and self-adhered membranes need an asphalt-based primer to achieve a proper bond, especially on older, oxidized surfaces.
Once the surface is prepared, the actual patch is applied using one of a few standard methods depending on the membrane type and the size of the defect.
| Repair Method | Best For | Tools Needed | Approx. Cure Time |
|---|---|---|---|
| Torch-applied mod-bit patch | Torch-down granulated membranes | Propane torch, roller, utility knife | Immediate bond, full cure 24-48 hrs |
| Cold-process adhesive patch | Small splits, blisters, minor tears | Trowel, primer, fibreglass mesh | 24-72 hrs depending on temperature |
| Liquid-applied membrane overlay | Widespread cracking, alligatoring | Roller, brush, reinforcing fabric | 48-72 hrs, longer in humidity |
| Hot-mopped asphalt patch (BUR) | Built-up roofing with gravel cap | Kettle, mop, felt, gravel | Immediate, gravel embedding after cooling |
| Self-adhered membrane patch | Small to medium tears, seams | Primer, roller, seam tape | Full bond within 24 hrs |
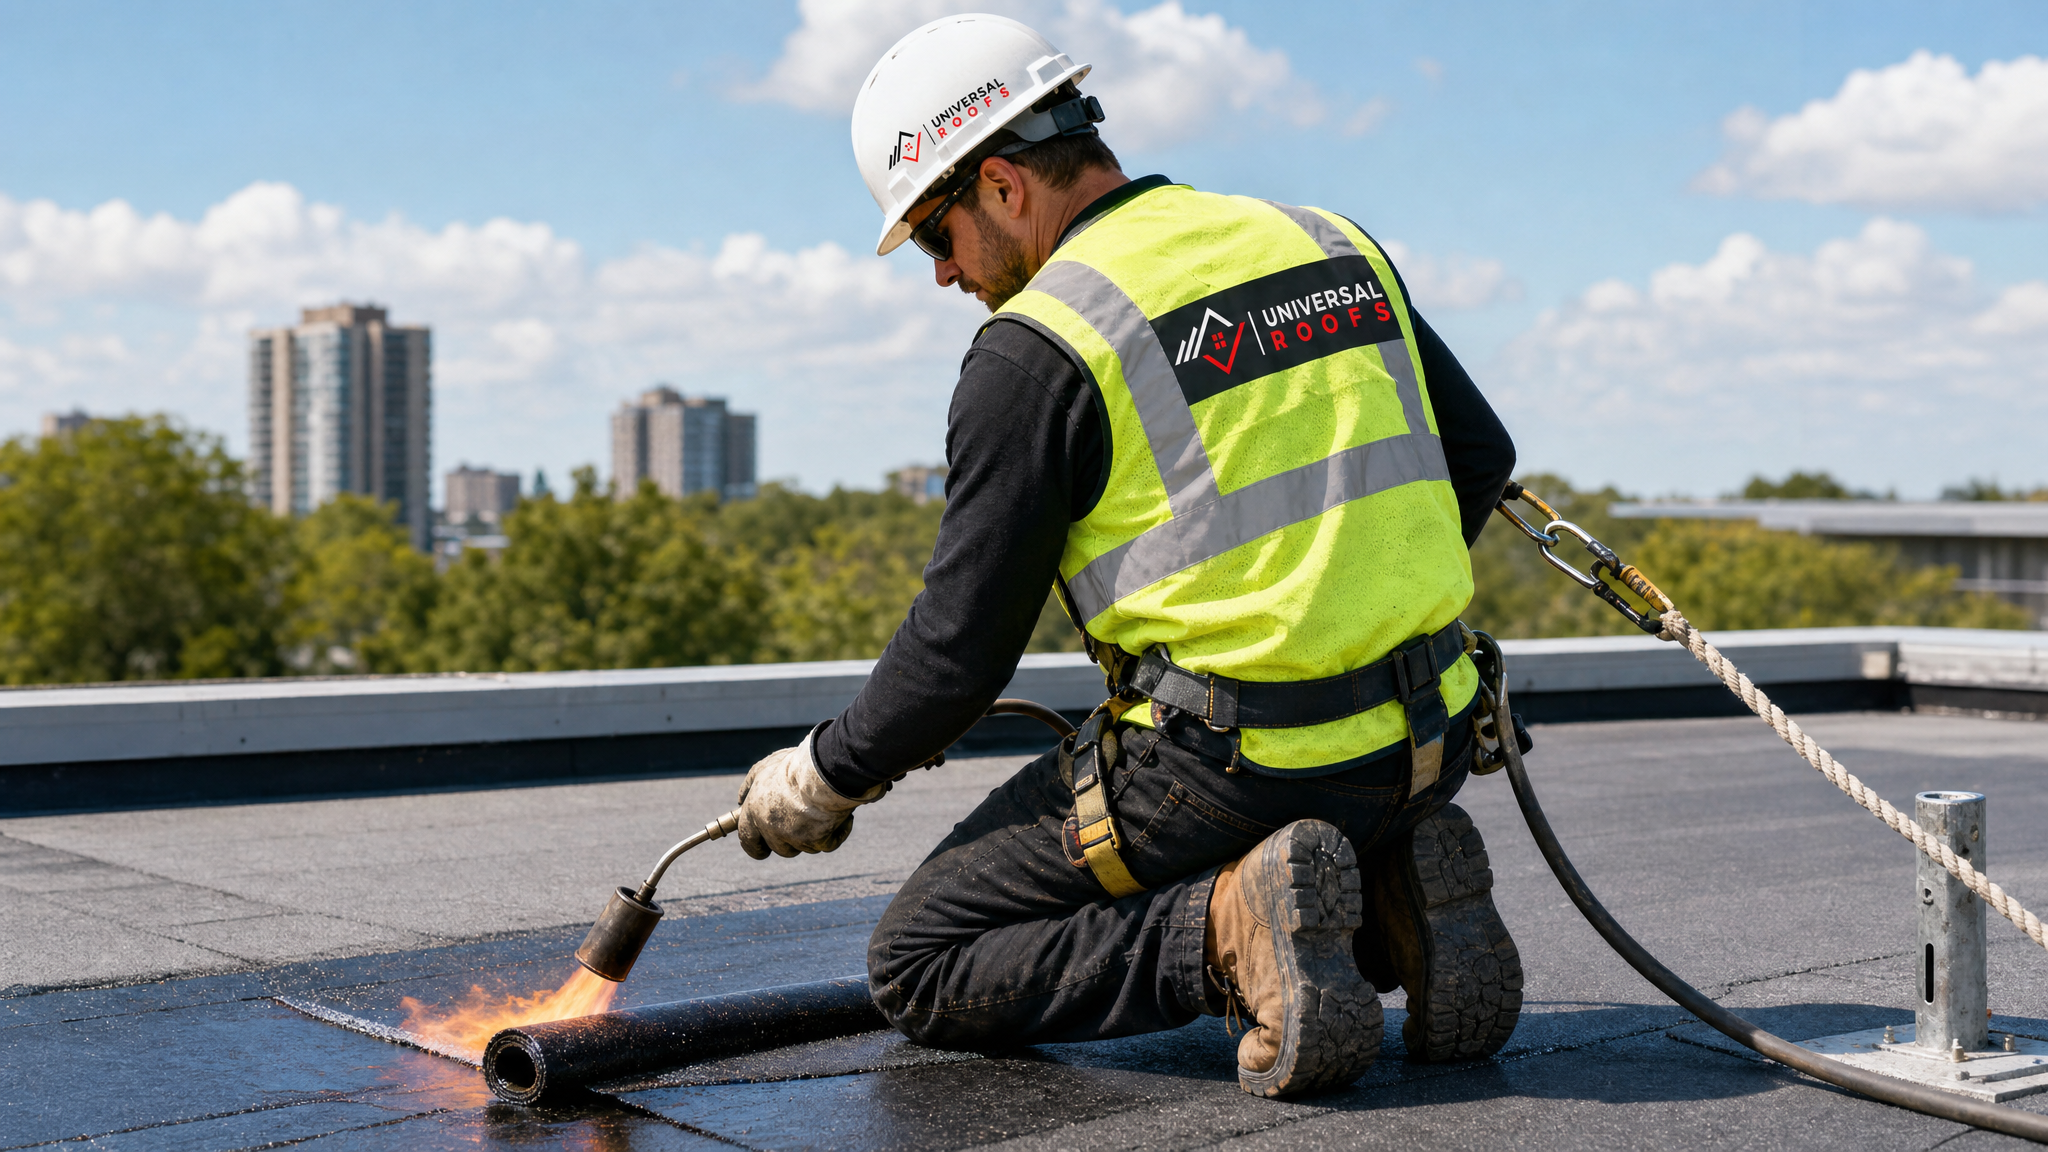
Note that torch-applied repairs carry real fire risk on an occupied building, especially near wood decking, insulation, or vents. This is one of the main reasons we recommend homeowners have this type of repair performed by a licensed professional rather than attempting it themselves. It is also worth checking your local fire code requirements, since some municipalities in the GTA restrict open-flame roofing work without a hot works permit.
Tip 3: Match the Patch Material to the Existing Membrane
Not all bitumen products are compatible with each other. Using the wrong patch material is a leading cause of repeat failures, because incompatible materials either fail to bond chemically or expand and contract at different rates, tearing the bond apart during Toronto’s seasonal temperature swings.
General compatibility rules to follow:
- SBS-modified bitumen patches best with other SBS products, and generally accepts asphalt-based mastics and coatings well.
- APP-modified bitumen requires heat-welding compatible APP patch material; SBS patches on APP membranes often fail to bond correctly.
- Built-up asphalt roofing is generally compatible with hot or cold asphalt-based products, but not with rubber (EPDM) patch tape, which requires a different adhesive chemistry entirely.
- Coal-tar based BUR (found on some older commercial roofs) requires specialized coal-tar-compatible repair products; standard asphalt patches will not adhere properly long-term.
If you are not certain what your existing membrane is made from, it is safer to have it identified before purchasing repair materials. A small test patch in an inconspicuous area, or professional identification during a roof repair assessment, prevents a costly mismatch.
Common Repair Mistakes That Shorten a Flat Roof’s Life
Beyond the three core tips above, a number of smaller mistakes routinely undermine otherwise solid repair work. Watch out for these:
- Undersized patches. A patch should extend at least 150mm (6 inches) beyond the visible damage in every direction to ensure a full bond onto sound material.
- Skipping fabric reinforcement. Liquid coatings and mastics are far more durable when paired with polyester or fibreglass reinforcing fabric embedded into the wet material.
- Ignoring drains and scuppers. A patch near a clogged drain will simply relocate the ponding problem, not solve it.
- Repairing in poor weather. Applying cold-process products below 5°C, or torch-welding in high wind, both compromise the bond significantly.
- Walking on repaired areas too soon. Foot traffic before full cure can crease or puncture a patch that has not yet set.
- Neglecting the attic below. Persistent flat roof leaks often lead to hidden moisture damage in the attic space, including insulation loss and mould growth, long before it is visible from inside the living space.
A repair that looks fine on day one but ignores these details often fails within a single season, which ends up costing more in the long run than doing the job right the first time.
DIY Repair vs. Professional Repair: When to Call In Help
Small, isolated repairs on a low, easily accessible flat roof can be reasonable for a handy homeowner to attempt, provided the roof is walkable and the damage is minor. However, several situations call for a licensed roofing professional rather than a DIY approach.
| Factor | DIY-Appropriate | Call a Professional |
|---|---|---|
| Damage size | Small blister or pinhole leak under 30cm | Large tears, widespread alligatoring, multiple leak points |
| Roof height/access | Single-storey, easy ladder access | Multi-storey, steep access, or commercial scale |
| Repair method required | Cold-process patch or liquid coating | Torch-welding, hot asphalt kettle work |
| Membrane condition | Isolated defect on otherwise sound roof | Roof nearing end of service life, widespread failure |
| Warranty status | No active manufacturer warranty | Roof under warranty (DIY repairs can void coverage) |
If your flat roof is showing signs of failure across multiple areas rather than one isolated spot, it is often more cost-effective to plan for a roof replacement than to keep chasing patches. A qualified inspector can tell you honestly which category your roof falls into rather than selling you repairs on a system that is already past its practical service life.
Seasonal Timing for Flat Roof Repairs in the GTA
Summer, right now included, is genuinely the best window for asphalt and bitumen flat roof repair in the Toronto area. Warm, dry conditions allow adhesives and coatings to cure properly, torch-applied membranes weld more reliably, and crews are not fighting frost or rain delays. If you have noticed a small leak or blister this season, addressing it now, before autumn rains and winter freeze-thaw cycles arrive, will meaningfully extend the life of the repair.
That said, emergency repairs cannot always wait for ideal weather. Temporary measures like tarping or emergency mastic application can stop active leaking in poor conditions, with a proper permanent repair scheduled as soon as weather allows.
| Season | Repair Conditions | Recommendation |
|---|---|---|
| Spring | Variable temperatures, frequent rain | Good for inspection; repairs may face delays |
| Summer | Warm, dry, ideal cure conditions | Best window for permanent repairs |
| Fall | Cooling temperatures, increasing rain | Acceptable, but schedule early in the season |
| Winter | Below-freezing, snow load, poor adhesion | Emergency repairs only; plan permanent fix for spring/summer |
Extending the Life of Your Repair With Ongoing Maintenance
A well-executed repair is only half the equation. Ongoing maintenance protects that repair and the surrounding membrane from premature failure. We recommend the following routine for any asphalt or bitumen flat roof in the GTA:
- Inspect the roof each spring and fall, paying close attention to drains, seams, and flashing.
- Clear leaves, branches, and debris from drains and scuppers after storms and in the fall.
- Remove standing water within 48 hours where possible, or investigate persistent ponding as a slope issue.
- Recoat aging asphalt surfaces with a protective UV coating every 5-7 years to slow oxidation.
- Keep a record of every repair, including date, location, and material used, to help identify recurring problem areas.
- Schedule a professional inspection immediately after any major hailstorm or windstorm, even if no interior leak is visible yet.
Property owners across our service areas in Toronto, Peel Region, York Region, Halton Region, and Durham Region all deal with the same freeze-thaw stresses, so this maintenance routine applies regardless of which part of the GTA you call home.
What a Professional Flat Roof Repair Assessment Includes
When you bring in a professional for an asphalt or bitumen flat roof repair, a thorough assessment should go well beyond a quick visual scan. Here is what a proper evaluation typically covers:
- Full membrane walk and moisture scan, checking for soft spots that indicate saturated insulation beneath the surface.
- Drain and scupper flow test, confirming water actually clears the roof rather than pooling.
- Flashing inspection at every wall termination, curb, and penetration, including any skylights or HVAC units.
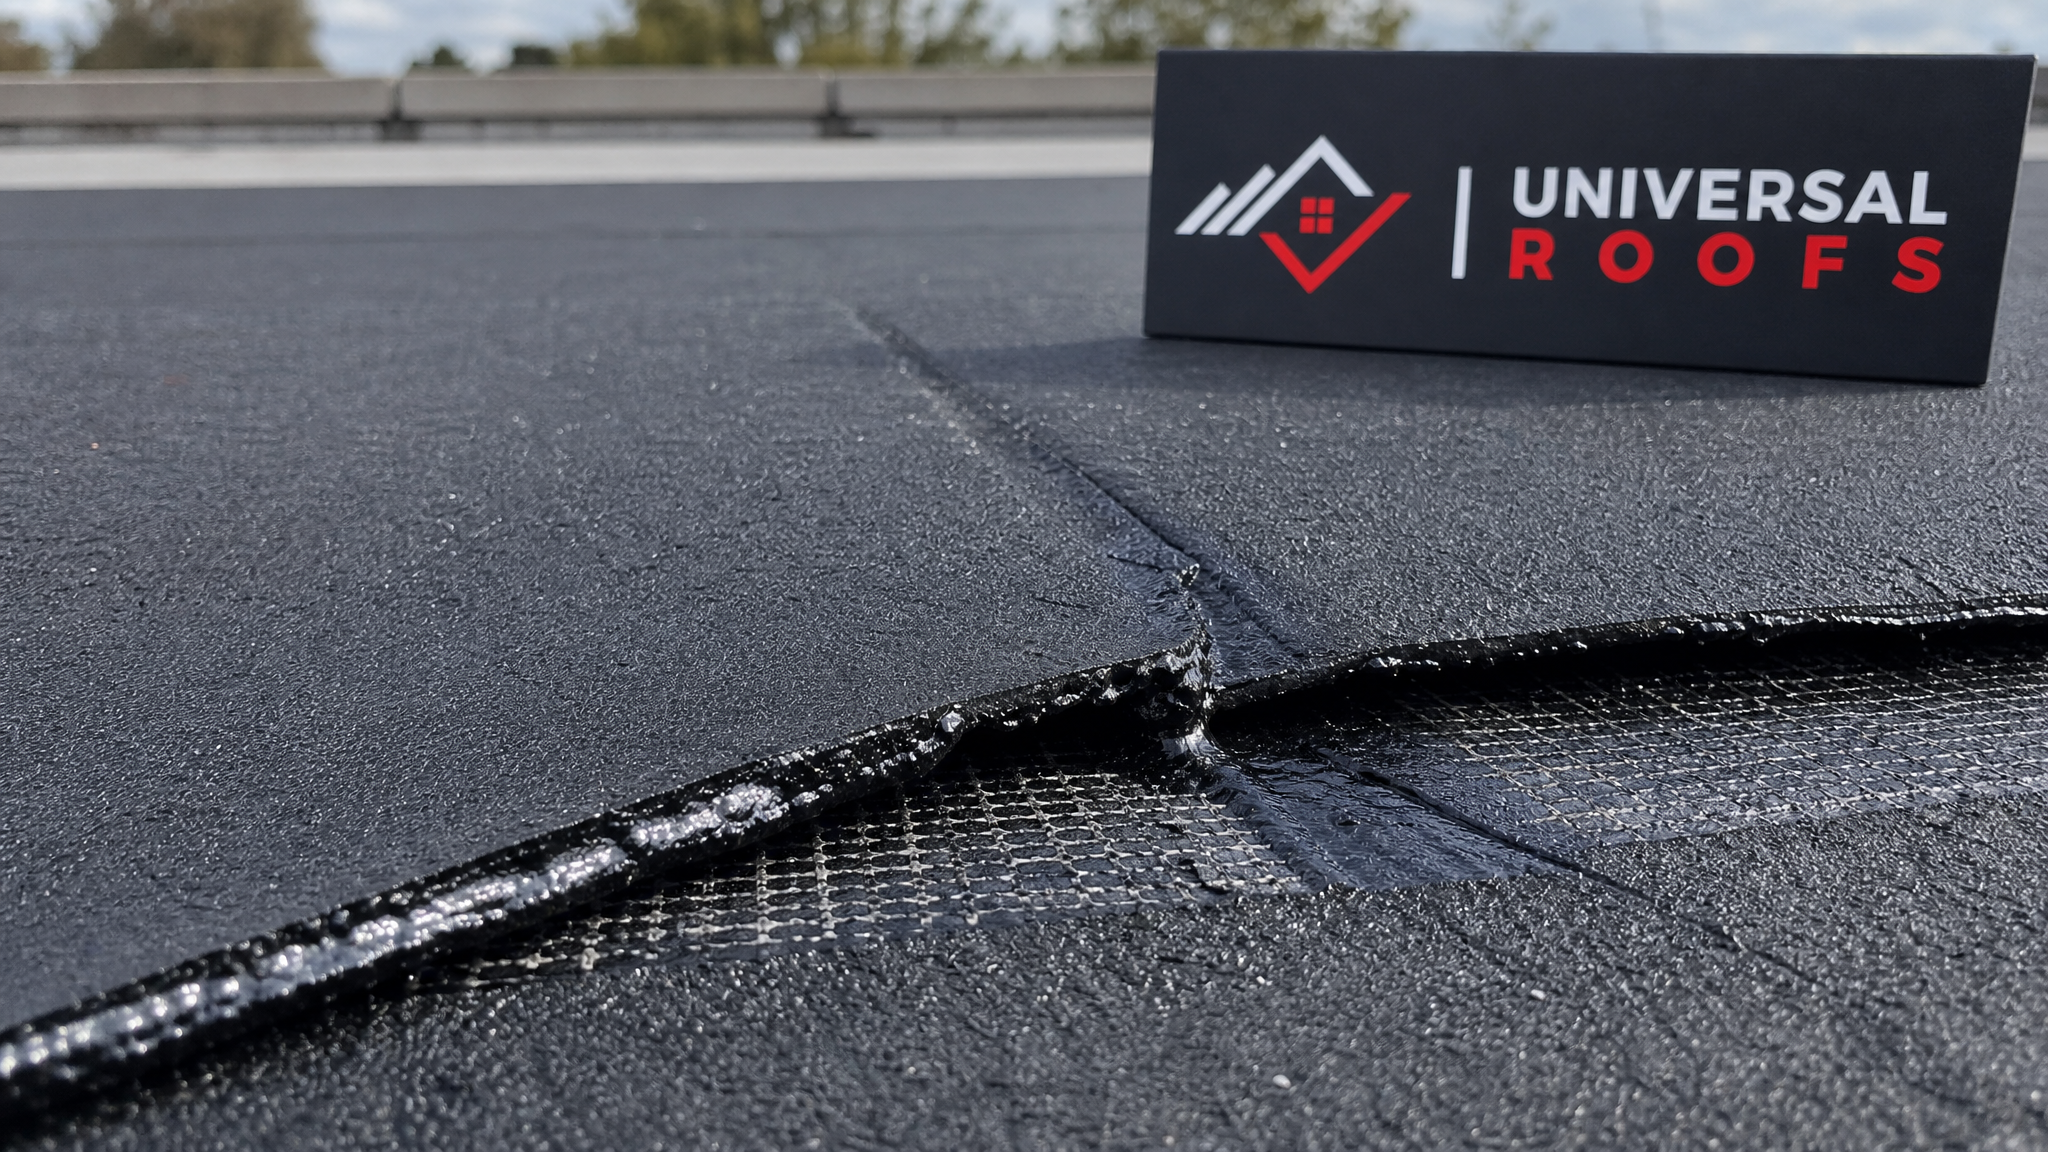
- Seam integrity check, looking for lifted edges, alligatoring, or granule loss along laps.
- Photo documentation of every defect found, which is useful both for insurance purposes and for tracking the roof’s condition over time.
- A written recommendation distinguishing between spot repairs, a partial overlay, and a full replacement, with realistic cost and timeline estimates for each.
This kind of detailed assessment is what separates a lasting repair strategy from a series of reactive patches. Read what other GTA property owners have experienced with our team on our reviews page, or browse our FAQ page for answers to more general flat roofing questions.
Why Experience Matters on Asphalt and Bitumen Repairs
Flat roof repair looks straightforward from the ground, but the margin for error is small. A patch installed a few degrees too cold, a seam that was not cleaned thoroughly enough, or a mismatch between an old coal-tar BUR and a new asphalt-based patch material can all mean the difference between a repair that lasts a decade and one that fails before winter.
Universal Roofs has been repairing and replacing asphalt, modified bitumen, and built-up roofing systems across the Greater Toronto Area since 2005. Our crews are trained on every major repair method covered in this guide, from torch-applied mod-bit welding to liquid-applied overlay systems, and we carry the compatible materials needed to match almost any existing membrane on site. You can learn more about our history and approach on our about page.
What are the most important expert tips for repairing asphalt and bitumen flat roofs?
How long does a patch on an asphalt or bitumen flat roof last?
Can I repair a small flat roof leak myself?
Why does standing water keep coming back after I patch my flat roof?
What is the best time of year for asphalt and bitumen flat roof repairs in Toronto?
How do I know if I need a repair or a full roof replacement?
Need Help With 3 Expert Tips for?
Getting an asphalt or bitumen flat roof repair right the first time takes proper diagnosis, careful preparation, and the right materials for your specific membrane. Universal Roofs has handled these repairs across the GTA for nearly two decades, and we are ready to help you stop a leak for good rather than just for a season.
Call us today at (416) 732-2421 or request a free inspection to get started.
Universal Roofs proudly serves Toronto, Mississauga, Brampton, Vaughan, Markham, Oakville and the GTA since 2005.