
A leaking roof valley is one of the most common — and most misdiagnosed — sources of water damage on Toronto-area homes. Because a valley is where two roof slopes meet and funnel enormous volumes of rainwater into a single narrow channel, even a small flaw in the flashing or shingle work can let gallons of water find their way into your attic, walls, or ceiling during a single summer downpour. If you have noticed a stain spreading across a bedroom ceiling after a storm, or you spotted curling shingles along a diagonal seam on your roof, there is a good chance the valley is the culprit.
This guide covers everything homeowners need to know about fixing roof valley problems the right way: why valleys fail, how professionals diagnose the source of a leak, the materials and methods that actually hold up in our climate, realistic repair costs, and the warning signs that mean you should call in help rather than attempt a patch yourself. Whether you are dealing with a fresh leak after a summer thunderstorm or a slow-building problem that has been getting worse for a couple of seasons, the expert tips below will help you understand what is happening on your roof and what a proper repair looks like.
At Universal Roofs, we have been repairing and replacing valleys on homes across the Greater Toronto Area since 2005, and valley failures remain one of the top reasons homeowners call us for emergency roof repair. The patterns are consistent enough that we can walk you through almost every scenario you are likely to encounter.
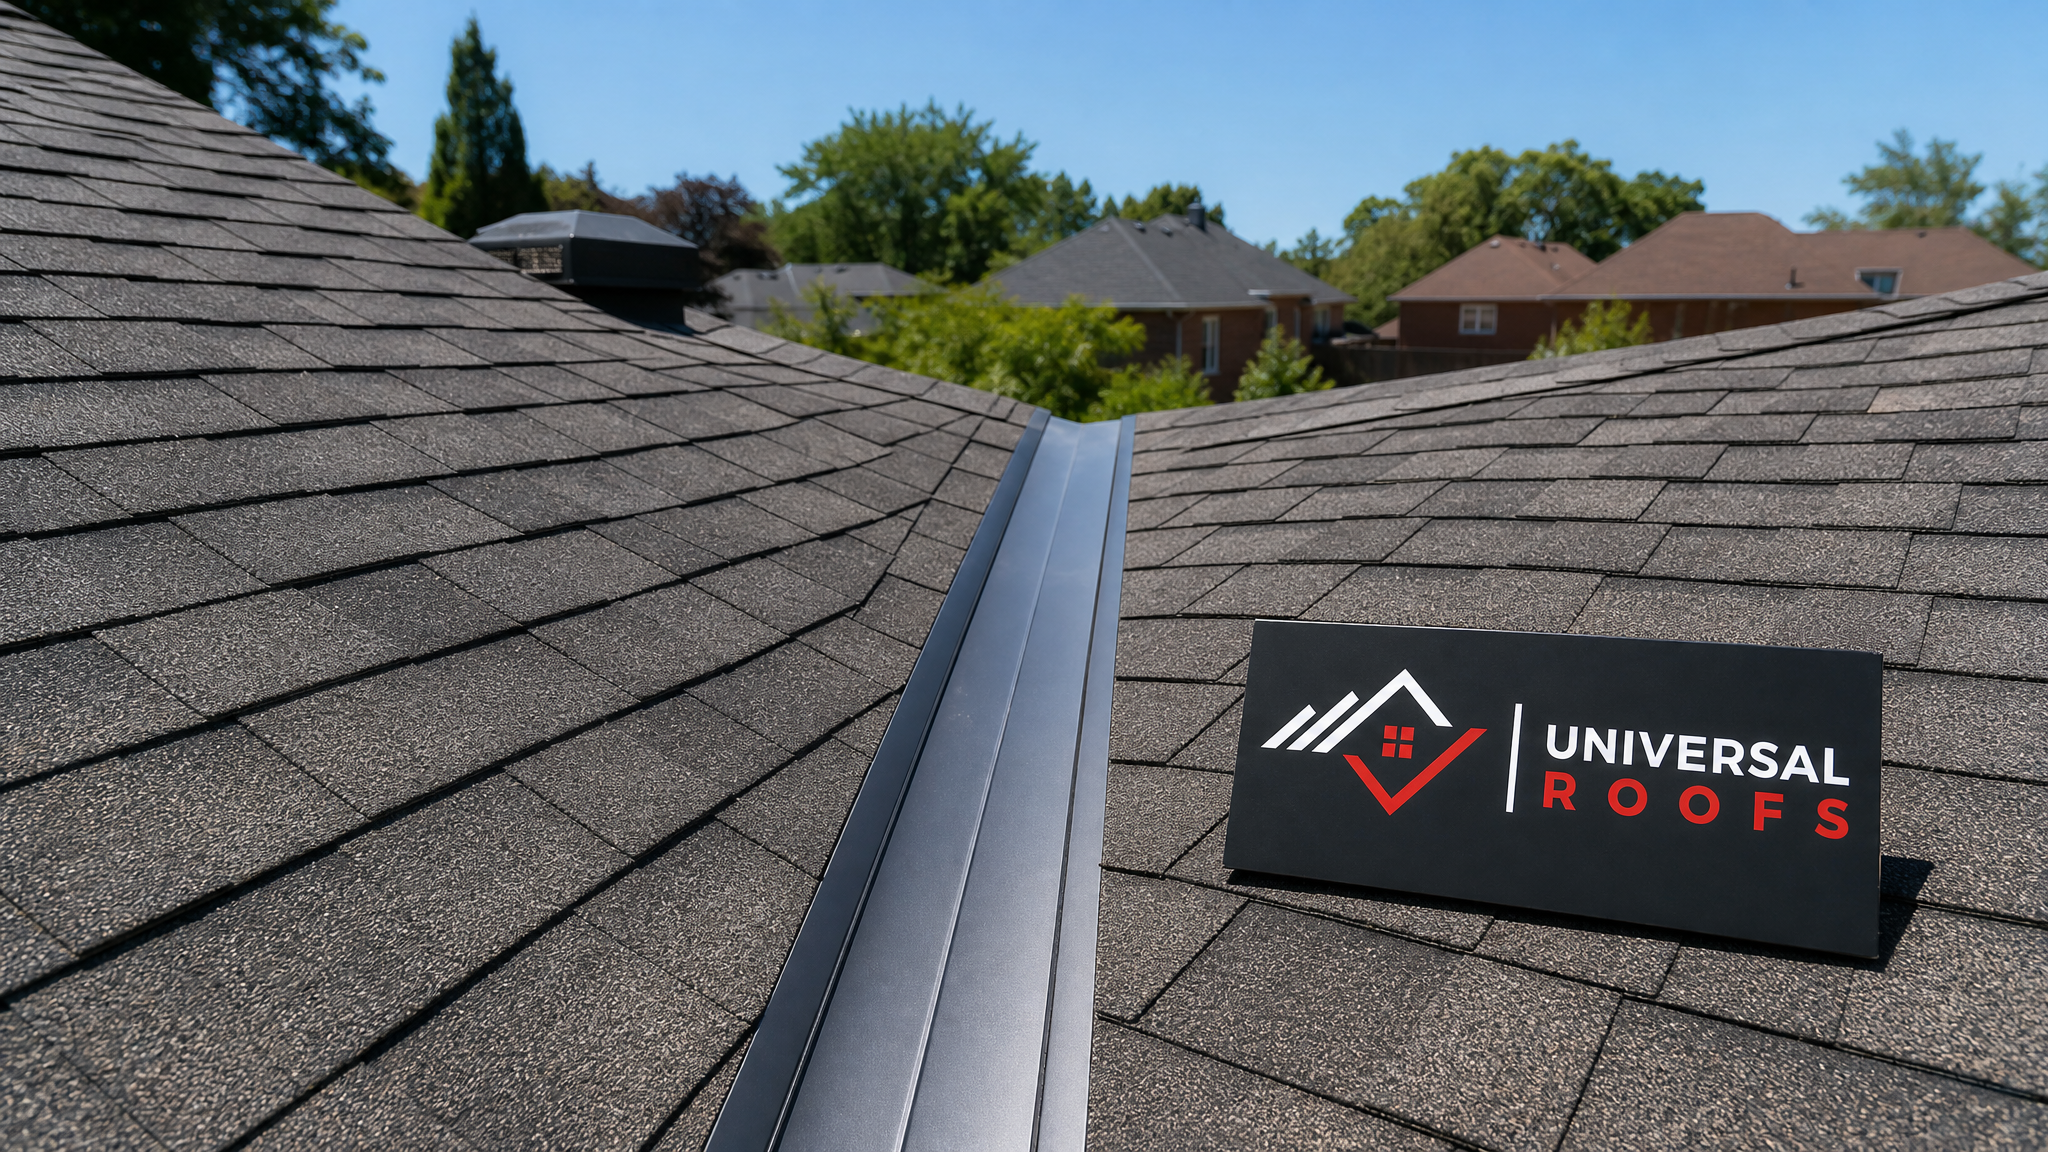
Why Roof Valleys Fail More Often Than the Rest of the Roof
A roof valley is not just another section of shingles — it is a drainage channel. Every drop of rain that falls on two intersecting roof planes eventually funnels through the valley on its way to the eavestrough. During a heavy summer storm, that concentration of water can be ten times greater than what flows over a flat section of roof. This puts enormous stress on the seams, fasteners, and flashing in that one narrow strip.
Several factors combine to make valleys the weak point on most roofs:
- Debris accumulation. Leaves, pine needles, and windblown grit collect in the valley channel because water slows down slightly as it funnels through. Over time this debris holds moisture against the flashing and shingles, accelerating corrosion and granule loss.
- Nail placement errors. Roofers who rush the job, or who were never trained on proper valley technique, often drive nails too close to the centre of the valley. Every one of those fasteners becomes a potential leak point the moment the sealant around it ages and cracks.
- Freeze-thaw cycling. Toronto’s climate swings through repeated freeze-thaw cycles in the shoulder seasons. Water that pools in a valley can freeze, expand, and force open small gaps in flashing laps or shingle overlaps that were marginal to begin with.
- Age and material fatigue. Asphalt shingles lose flexibility and granule coverage over 15 to 20 years. In a valley, where shingles are cut and exposed to concentrated water flow, this aging happens faster than anywhere else on the roof.
- Original installation shortcuts. Closed-cut valleys done without an underlying metal liner, or valleys where the roofer skipped self-adhering ice-and-water membrane, are far more prone to early failure.
Understanding which of these factors is driving your specific problem is the first step toward a lasting fix rather than a temporary patch.
Recognizing the Warning Signs of a Failing Valley
Most valley problems give some warning before they turn into an active leak. Catching these signs early can be the difference between a routine repair and a costly interior restoration.
Look for these indicators the next time you inspect your roof from the ground with binoculars, or after a heavy rain:
- Dark streaking or algae growth concentrated along the valley line, suggesting water is sitting rather than draining cleanly
- Shingle tabs lifting or curling right at the edge where they meet the valley centre
- Visible metal flashing that has rusted, has pinholes, or shows a chalky white corrosion residue
- Granules collecting in the eavestrough below the valley outlet — a sign the shingle surface is wearing away faster than normal
- A ceiling stain that appears or worsens specifically after wind-driven rain, rather than every time it rains
- Sagging or a slight dip visible along the valley when viewed from an angle, which can indicate rotting sheathing underneath
If you notice any of these signs, it’s worth scheduling an inspection before the next major storm rather than waiting for a visible leak indoors.
Diagnosing the Actual Source of a Valley Leak
One of the most common mistakes homeowners and even some contractors make is assuming water entering near a valley is actually coming from the valley itself. Water can travel several metres along the underside of roof sheathing before it drips through drywall, so an interior stain that appears to be “under the valley” might actually originate from a step-flashing failure at a nearby chimney, a cracked vent boot, or wind-driven rain finding its way under a shingle tab higher up the slope.
A proper diagnosis involves:
- Interior inspection first. Check the attic during or immediately after rainfall if it is safe to do so, tracing the wet path back along the rafters and sheathing to its highest point.
- Exterior visual inspection. Examine the valley flashing for gaps, rust-through, or shingles that have been cut too far back, exposing the underlayment.
- Water testing. Controlled water testing with a garden hose, starting low on the valley and working upward, can isolate the exact entry point without waiting for the next storm.
- Checking fastener placement. Nails or staples driven within roughly 150mm (6 inches) of the valley centreline are a common defect and should be flagged even if they are not currently leaking.
Skipping this diagnostic step is how homeowners end up paying to reshingle an entire valley when the actual problem was a $40 vent boot two metres up the roof. A thorough roof repair assessment always starts with confirming the true source before any material is replaced.
Valley Construction Methods Compared
There are three commonly used valley construction methods, and the choice matters enormously for long-term performance. If your roof currently has a woven or closed-cut valley, understanding the tradeoffs helps you decide whether to repair in kind or upgrade to a more durable method during the fix.
| Valley Type | How It’s Built | Typical Lifespan | Water-Shedding Performance |
|---|---|---|---|
| Open metal valley | Exposed metal channel (usually W-profile) with shingles cut back on each side and sealed to the metal | 25-40 years (metal dependent) | Excellent — handles heavy flow with minimal debris retention |
| Closed-cut valley | Shingles from one slope run continuously through the valley; shingles from the other slope are cut back and sealed on top | 15-20 years | Good, but nail placement errors are common and hard to inspect |
| Woven valley | Shingles from both slopes are interlaced across the valley with no metal liner | 12-18 years | Fair — bulky appearance and higher risk of water intrusion at the weave points |
| California/hybrid valley | Similar to closed-cut but with a full-width ice-and-water membrane and stricter fastener setback | 20-25 years | Very good when installed correctly |
For most GTA homes, an open metal valley with a self-adhering ice-and-water membrane underneath offers the best long-term value. It is easier to inspect, sheds the heavy water volumes typical of our spring and summer storms, and does not rely on shingle-to-shingle sealant bonds that degrade with UV exposure over time.
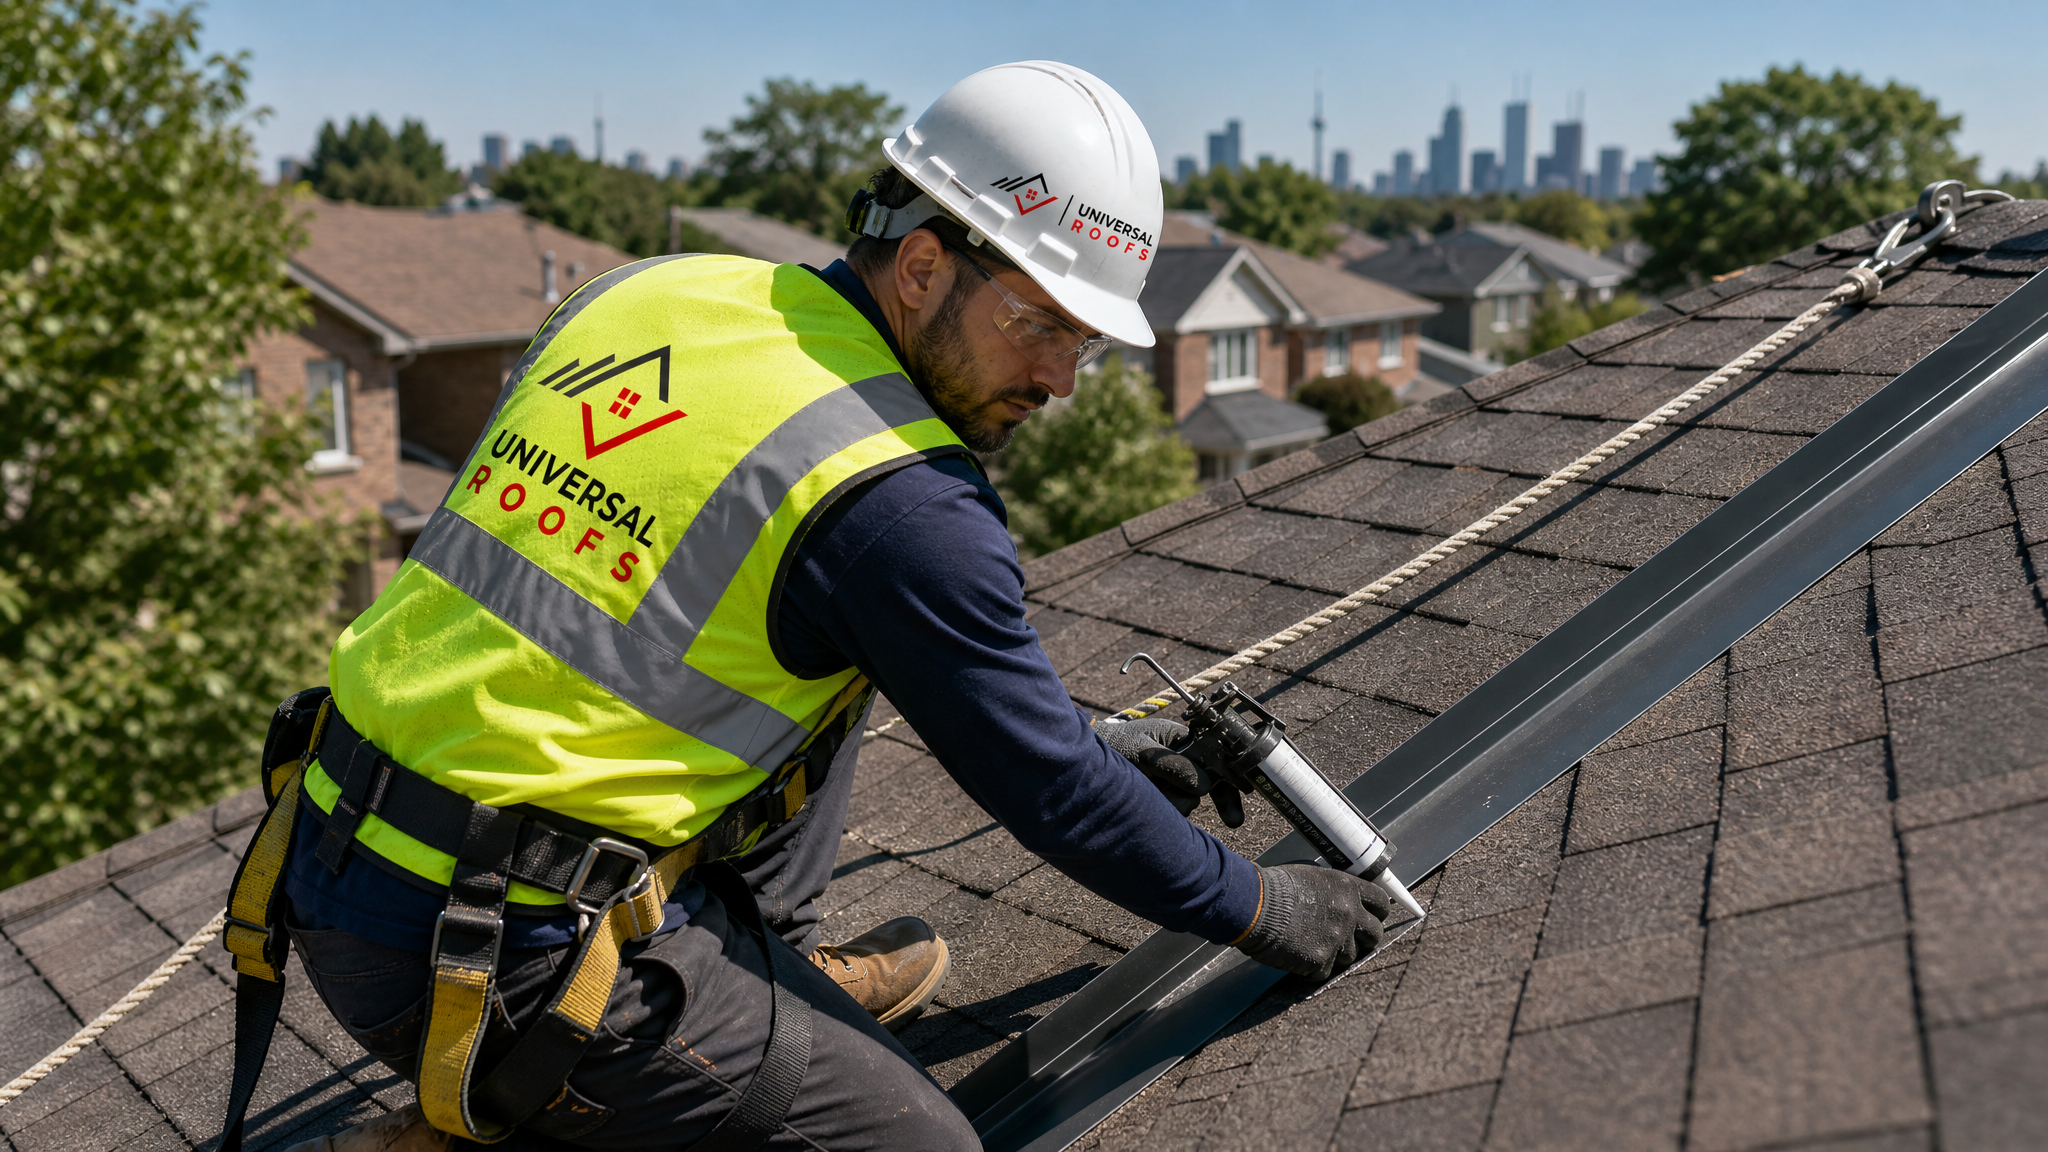
Materials Used in Professional Valley Repairs
The materials chosen for a valley repair have a direct impact on how long the fix lasts. Not all “valley flashing” is created equal, and cutting corners on material grade is one of the most common reasons a repair fails again within a few years.
| Material | Common Gauge/Weight | Corrosion Resistance | Best Use Case |
|---|---|---|---|
| Galvanized steel | 26-28 gauge | Moderate — coating can wear thin over decades | Budget-conscious repairs on shorter-term ownership horizons |
| Aluminum | 0.032″-0.040″ | Good, but can corrode near masonry or in coastal-adjacent moisture | Lightweight repairs where corrosion from mortar contact isn’t a concern |
| Copper | 16-20 oz | Excellent — develops a protective patina, often outlasts the shingles | Premium, long-term installations and heritage homes |
| Painted steel | 26 gauge, factory finish | Very good with an intact factory coating | Colour-matching to existing eavestrough and trim |
| Ice-and-water membrane (underlayment) | Self-adhering, 90mil typical | N/A (waterproofing layer, not exposed metal) | Installed under all valley types as a secondary water barrier |
We generally recommend at minimum 26-gauge painted steel or aluminum flashing paired with a full self-adhering membrane underlayment for GTA homes. Copper is an excellent upgrade for homeowners planning to stay long-term, since it essentially never needs replacing and pairs well with a broader roof replacement if the rest of the shingle field is also reaching the end of its service life.
Step-by-Step: How a Professional Valley Repair Is Performed
While every roof is slightly different, a professional valley repair generally follows this sequence:
- Remove damaged shingles. Shingles on both sides of the valley are carefully lifted and removed for a distance well beyond the visibly damaged area, typically 300-600mm past any sign of wear.
- Inspect and repair sheathing. The exposed roof deck is checked for soft spots, rot, or delamination. Any compromised plywood or OSB is cut out and replaced before proceeding — installing new flashing over rotten sheathing only masks the underlying problem.
- Install ice-and-water membrane. A self-adhering waterproof membrane is centred over the valley, extending at least 450mm up each slope from the centreline.
- Install new metal valley flashing. A W-profile or open valley metal is set into the membrane, with the centre rib helping direct water down each side of the channel and reducing cross-flow that can push water under shingles on the opposite slope.
- Re-shingle with correct setback and fastener placement. New shingles are cut on a clean diagonal line, kept back from the valley centreline per manufacturer specifications (generally 75-150mm depending on roof pitch and expected water volume), and fastened well clear of the exposed metal.
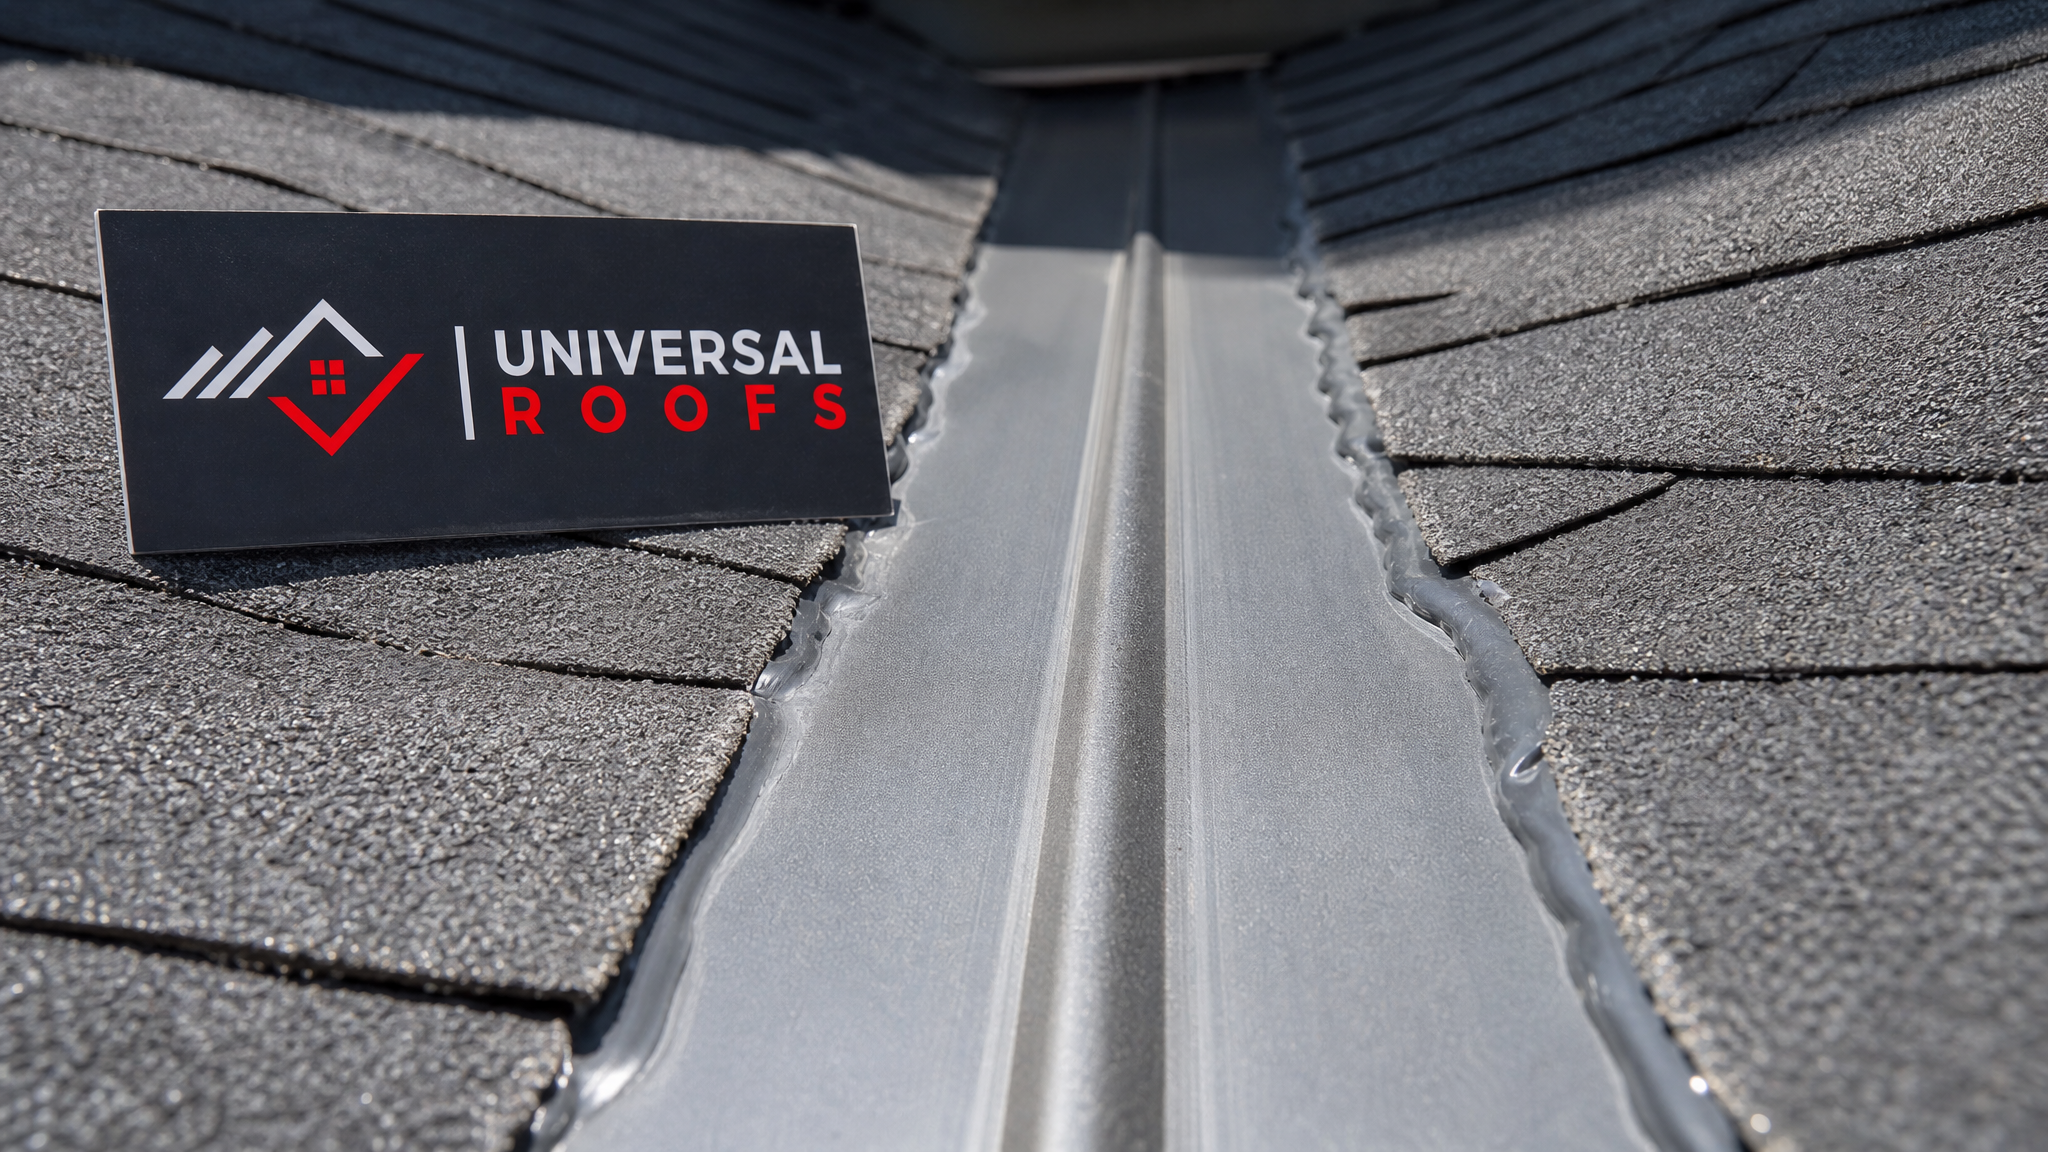
- Seal and inspect. Compatible roofing sealant is applied at shingle edges where required, and the full repair is water-tested before the crew leaves site.
This sequence matters because skipping any single step — especially sheathing inspection or proper membrane coverage — tends to produce a repair that looks fine for a season or two before the underlying issue resurfaces.
What Valley Repairs Typically Cost in the GTA
Costs vary based on valley length, roof pitch, accessibility, and whether sheathing replacement is needed. The table below reflects typical ranges we see across Toronto, Mississauga, Brampton, Vaughan, and surrounding areas.
| Repair Scope | Typical Cost Range (CAD) | Typical Timeline | Notes |
|---|---|---|---|
| Minor sealant/spot repair | $250 – $500 | Same day | Only appropriate for very localized, recently-developed issues |
| Single valley flashing replacement (no sheathing damage) | $600 – $1,400 | 1 day | Most common scope for an isolated valley leak |
| Valley replacement with sheathing repair | $1,200 – $2,800 | 1-2 days | Required when rot is found during tear-off |
| Multiple valleys on a complex roofline | $2,000 – $5,000+ | 2-3 days | Common on homes with multiple dormers or roof intersections |
| Full re-roof including all valleys | Varies by roof size | 3-5 days | Most cost-effective if the shingle field is also near end of life |
If your roof is more than 15 years old and already needs valley work, it is often worth getting a broader assessment. Sometimes a full roof replacement makes more financial sense than repeatedly patching an aging shingle field one valley at a time.
Flat Roof Sections and Valley Transitions
Many GTA homes, especially those with additions or rear extensions, have a flat or low-slope roof section that ties into a sloped roof valley. These transition points require special attention because they combine two very different roofing systems at a single joint. A valley that empties directly onto a flat roof membrane needs a properly lapped, sealed transition detail — otherwise water backs up at the junction during heavy rain rather than draining cleanly. If your home has this kind of hybrid roofline, it’s worth having both the valley and the adjoining flat roofing section inspected together, since a leak at this junction is often misattributed to just one side.
Skylights Near Valleys: An Added Complication
Skylights positioned near or below a roof valley add another layer of complexity. The concentrated water flow from a valley can overwhelm skylight flashing that would otherwise perform fine in a lower-volume location on the roof. If you notice a leak near a skylight that only happens during heavy rain rather than every time it rains, the valley uphill from the skylight is worth inspecting closely. In some cases, correcting the valley resolves what looked like a skylight problem entirely; in others, both the valley and the skylight flashing need attention, or a skylight replacement is the more permanent solution if the unit’s flashing kit has failed.
Attic Impact: What Happens When a Valley Leak Goes Unaddressed
Water entering through a failing valley does not stay contained to the roof deck. It travels along rafters, insulation, and ceiling drywall, and over time it can compromise attic ventilation baffles, promote mould growth, and reduce the effectiveness of insulation that has become damp. If you have had a valley leak for more than one season, it is worth having your attic checked at the same time as the roof repair, since insulation replacement or additional ventilation work is sometimes needed to fully resolve the damage a valley leak leaves behind.
Preventive Maintenance to Keep Valleys Performing
Once a valley has been properly repaired or replaced, a few simple maintenance habits go a long way toward extending its life:
- Clear debris from valleys and eavestroughs at least twice a year, ideally in late spring and early fall
- Trim back overhanging branches that drop leaves and needles directly into valley channels
- Schedule a visual roof inspection after any major wind or hailstorm
- Avoid pressure washing shingles directly, which can strip granules and weaken the seal along valley edges
- Keep an eye on nearby chimney, vent, and skylight flashing, since failures in these areas are often mistaken for valley problems
A well-maintained open metal valley, properly installed, can realistically outlast two or more generations of asphalt shingles on the rest of the roof.
Troubleshooting Common Valley Symptoms
The table below summarizes how to interpret the most frequent symptoms homeowners report, to help you gauge urgency before a professional inspection.
| Symptom | Likely Cause | Urgency | Recommended Action |
|---|---|---|---|
| Ceiling stain appearing only during heavy/wind-driven rain | Undersized valley setback or minor flashing gap | Moderate | Schedule inspection within 1-2 weeks |
| Constant dripping regardless of rain intensity | Significant flashing failure or rotted sheathing | High | Emergency repair recommended |
| Visible rust streaks on valley metal | Aging galvanized flashing nearing end of service life | Low-Moderate | Plan replacement within the season |
| Granule buildup at eavestrough outlet below valley | Shingle wear accelerated by valley water volume | Moderate | Inspect shingle condition, consider partial re-roof |
| Standing water or slow drainage in the valley itself | Debris blockage or incorrect valley slope/construction | Moderate-High | Clear debris, inspect for underlying construction defect |
When to Call a Professional vs. DIY
Clearing debris from a valley you can safely and stably reach from a ladder is a reasonable DIY task. Beyond that, valley repair is not a good candidate for do-it-yourself work for several reasons: it requires safe access to a roof pitch and location that is inherently one of the more hazardous parts of any roof to work on, correct fastener placement is easy to get wrong without experience, and improperly lapped flashing can trap water rather than shed it — sometimes making a leak worse than before the “repair.” If you are seeing any of the moderate-to-high urgency symptoms in the table above, it is worth having a professional take a look rather than attempting a patch that may only mask the problem temporarily.
What is the fastest way to start fixing roof valley problems before a professional arrives?
How much does fixing roof valley problems typically cost in the Toronto area?
Can a roof valley be repaired without replacing the whole roof?
Why do roof valleys leak more than other parts of the roof?
What is the best valley flashing material for fixing roof valley problems long-term?
How do I know if my valley leak is actually coming from somewhere else on the roof?
Need Help With Fixing Roof Valley Problems?
Whether you have noticed a fresh stain after last week’s storm or you are dealing with a valley that has been a slow, ongoing headache, Universal Roofs has the diagnostic experience and materials expertise to fix it properly the first time, rather than leaving you with another temporary patch.
Call us today at (416) 732-2421 or request a free inspection to get started.
Universal Roofs proudly serves Toronto, Mississauga, Brampton, Vaughan, Markham, Oakville and the GTA since 2005.