
If you live anywhere near Lake Ontario or along one of Toronto’s major arterial roads, your roof is fighting a battle most homeowners never think about: a constant, low-grade assault of moisture and airborne salt. Between winter road salt spray carried on the wind, lake-effect humidity, and the freeze-thaw cycles that define a GTA winter, ordinary roof insulation can degrade far faster than the manufacturer’s spec sheet promises. The result is a soggy attic, rusted fasteners, sagging insulation boards, and — eventually — a roof replacement that could have been avoided.
This guide walks through exactly what moisture and salt resistant roof insulation is, why it matters so much in the Greater Toronto Area specifically, and how to choose, install, and maintain it correctly. Whether you are insulating a new build, retrofitting an older home, or troubleshooting a chronically damp attic, the tips below are drawn from what actually holds up on GTA roofs — not generic advice written for a drier, saltier-free climate.
We will cover material choices, vapour barrier strategy, ventilation, common failure points, and a realistic cost-and-timeline breakdown so you can plan the project properly. If you would rather have a professional assess your specific roof, our attic insulation team can inspect the deck, insulation, and ventilation together, since these three systems only work when they are designed as one unit.
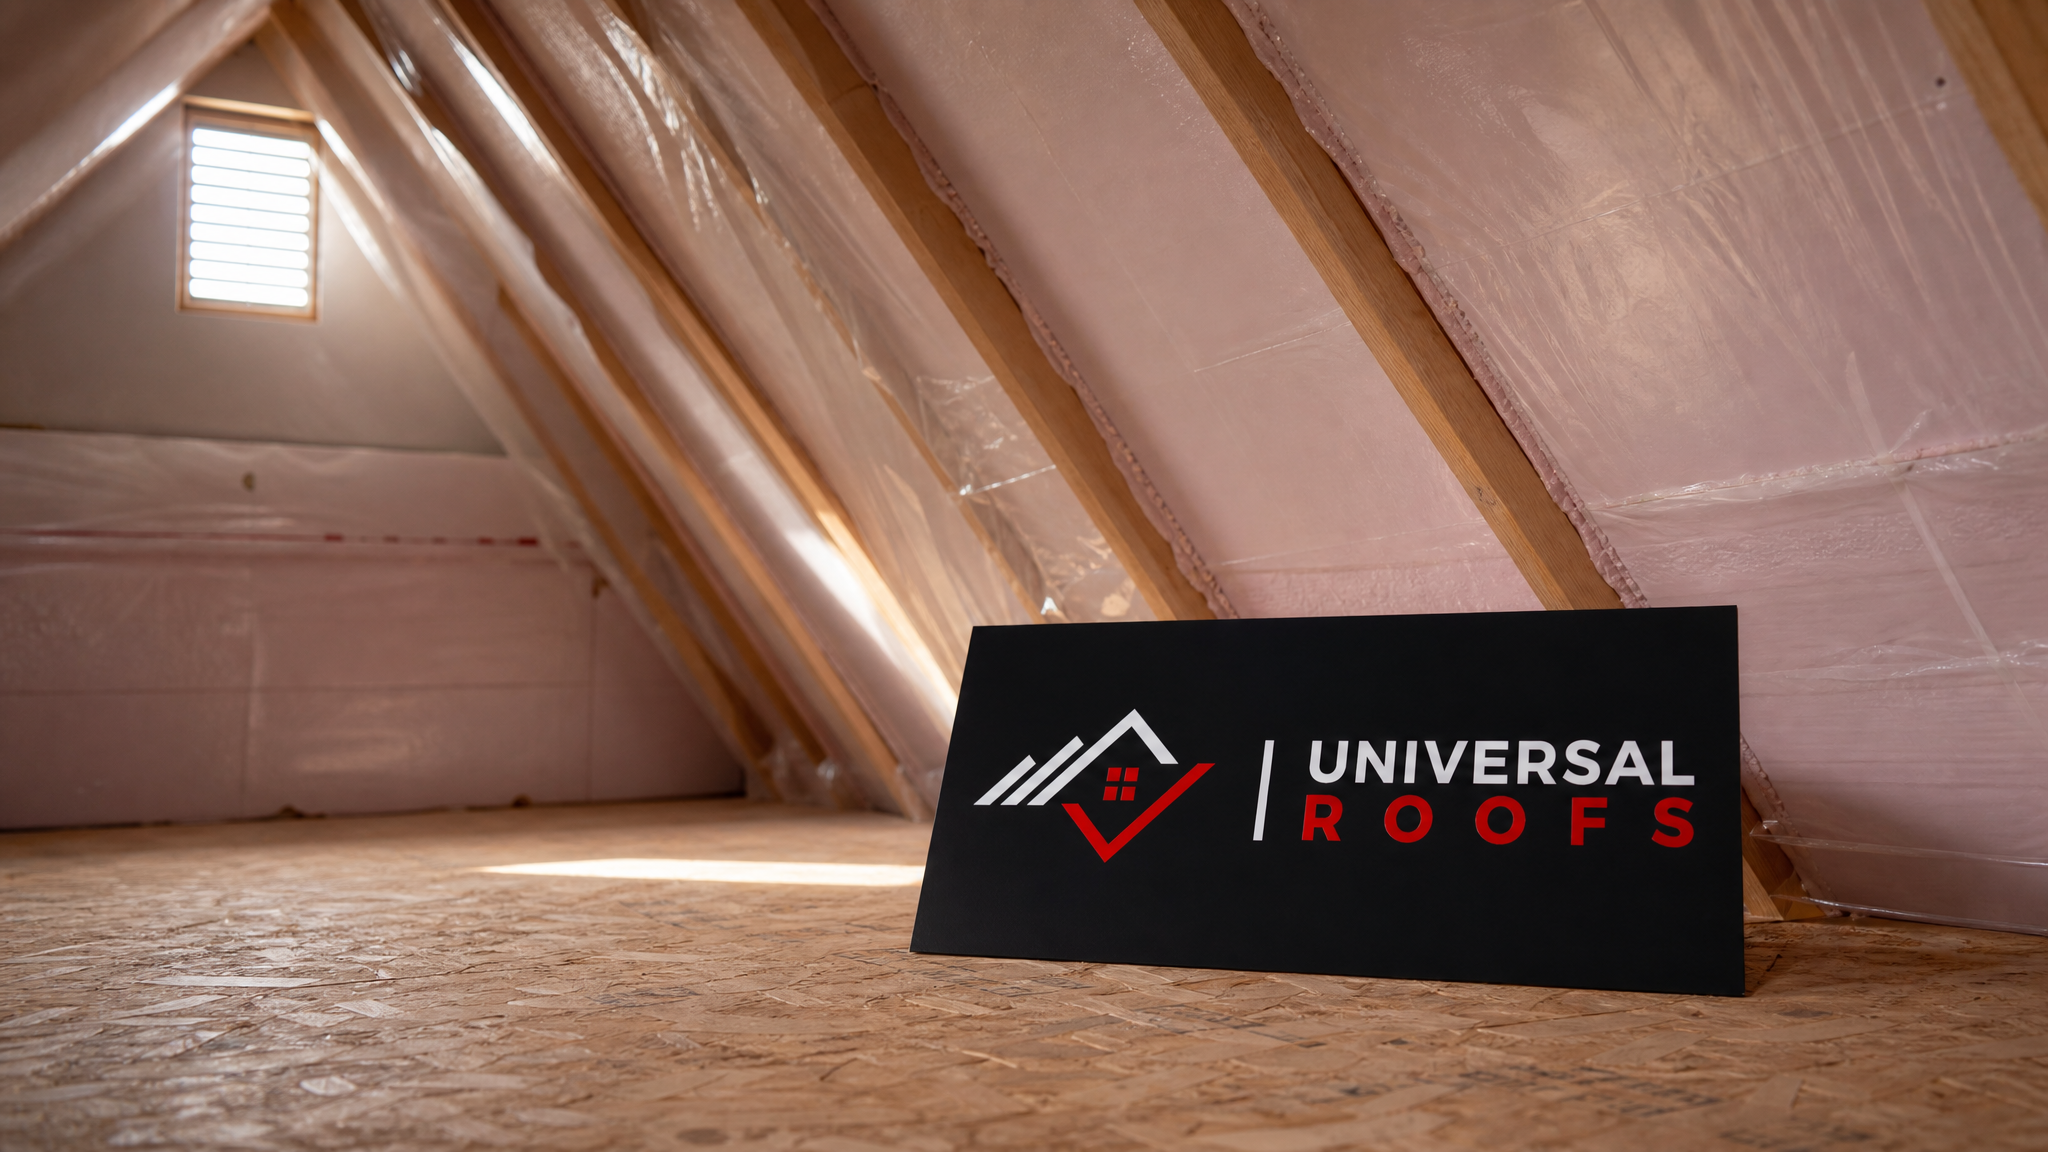
Why Moisture and Salt Resistant Roof Insulation Matters in the GTA
Most insulation guides written for the general North American market assume a fairly neutral climate: some humidity, some cold, nothing especially corrosive. Toronto and the surrounding regions are not that climate. Three factors combine here to make moisture and salt resistant roof insulation a genuine necessity rather than an upsell:
First, winter road salt. The GTA’s road network uses enormous volumes of sodium chloride and calcium chloride each winter, and homes near major roads, highway corridors, or salted parking areas absorb airborne salt spray that settles on roofing materials and works its way into attic spaces through vents and minor gaps. Second, lake-effect humidity from Lake Ontario keeps ambient moisture levels higher than inland climates of similar latitude, which means any insulation that is even slightly hygroscopic (moisture-absorbing) will take on water vapour faster here than elsewhere. Third, the freeze-thaw cycle — Toronto can swing above and below freezing dozens of times each winter — repeatedly expands and contracts any trapped moisture inside insulation, which physically breaks down fibreglass batts and degrades adhesives over a handful of seasons.
Salt is corrosive to metal fasteners, flashing, and ductwork, and it also changes how moisture behaves inside insulation. Saltwater has a lower freezing point than fresh water, so salt-contaminated moisture in your attic can remain liquid at temperatures where it would otherwise freeze, keeping insulation wet for longer stretches and accelerating mould growth and material breakdown. This is why insulation rated simply as “moisture resistant” is not automatically adequate for a GTA roof — you need materials and installation details that specifically address both moisture and salt exposure together.
Choosing the Right Insulation Material
Not all insulation performs the same way once it gets damp or salt-exposed. Below is a comparison of the materials most commonly specified for moisture and salt resistant roof insulation in the GTA, based on how each one actually behaves under sustained exposure rather than its dry-lab R-value alone.
| Material | Moisture Resistance | Salt/Corrosion Resistance | Typical R-Value per Inch | Best Use Case |
|---|---|---|---|---|
| Closed-cell spray polyurethane foam | Excellent — non-hygroscopic, acts as its own vapour barrier | Very good — seals fasteners and seams, minimal salt intrusion path | R-6.0 to R-6.5 | Roof decks near lakeshore or arterial roads |
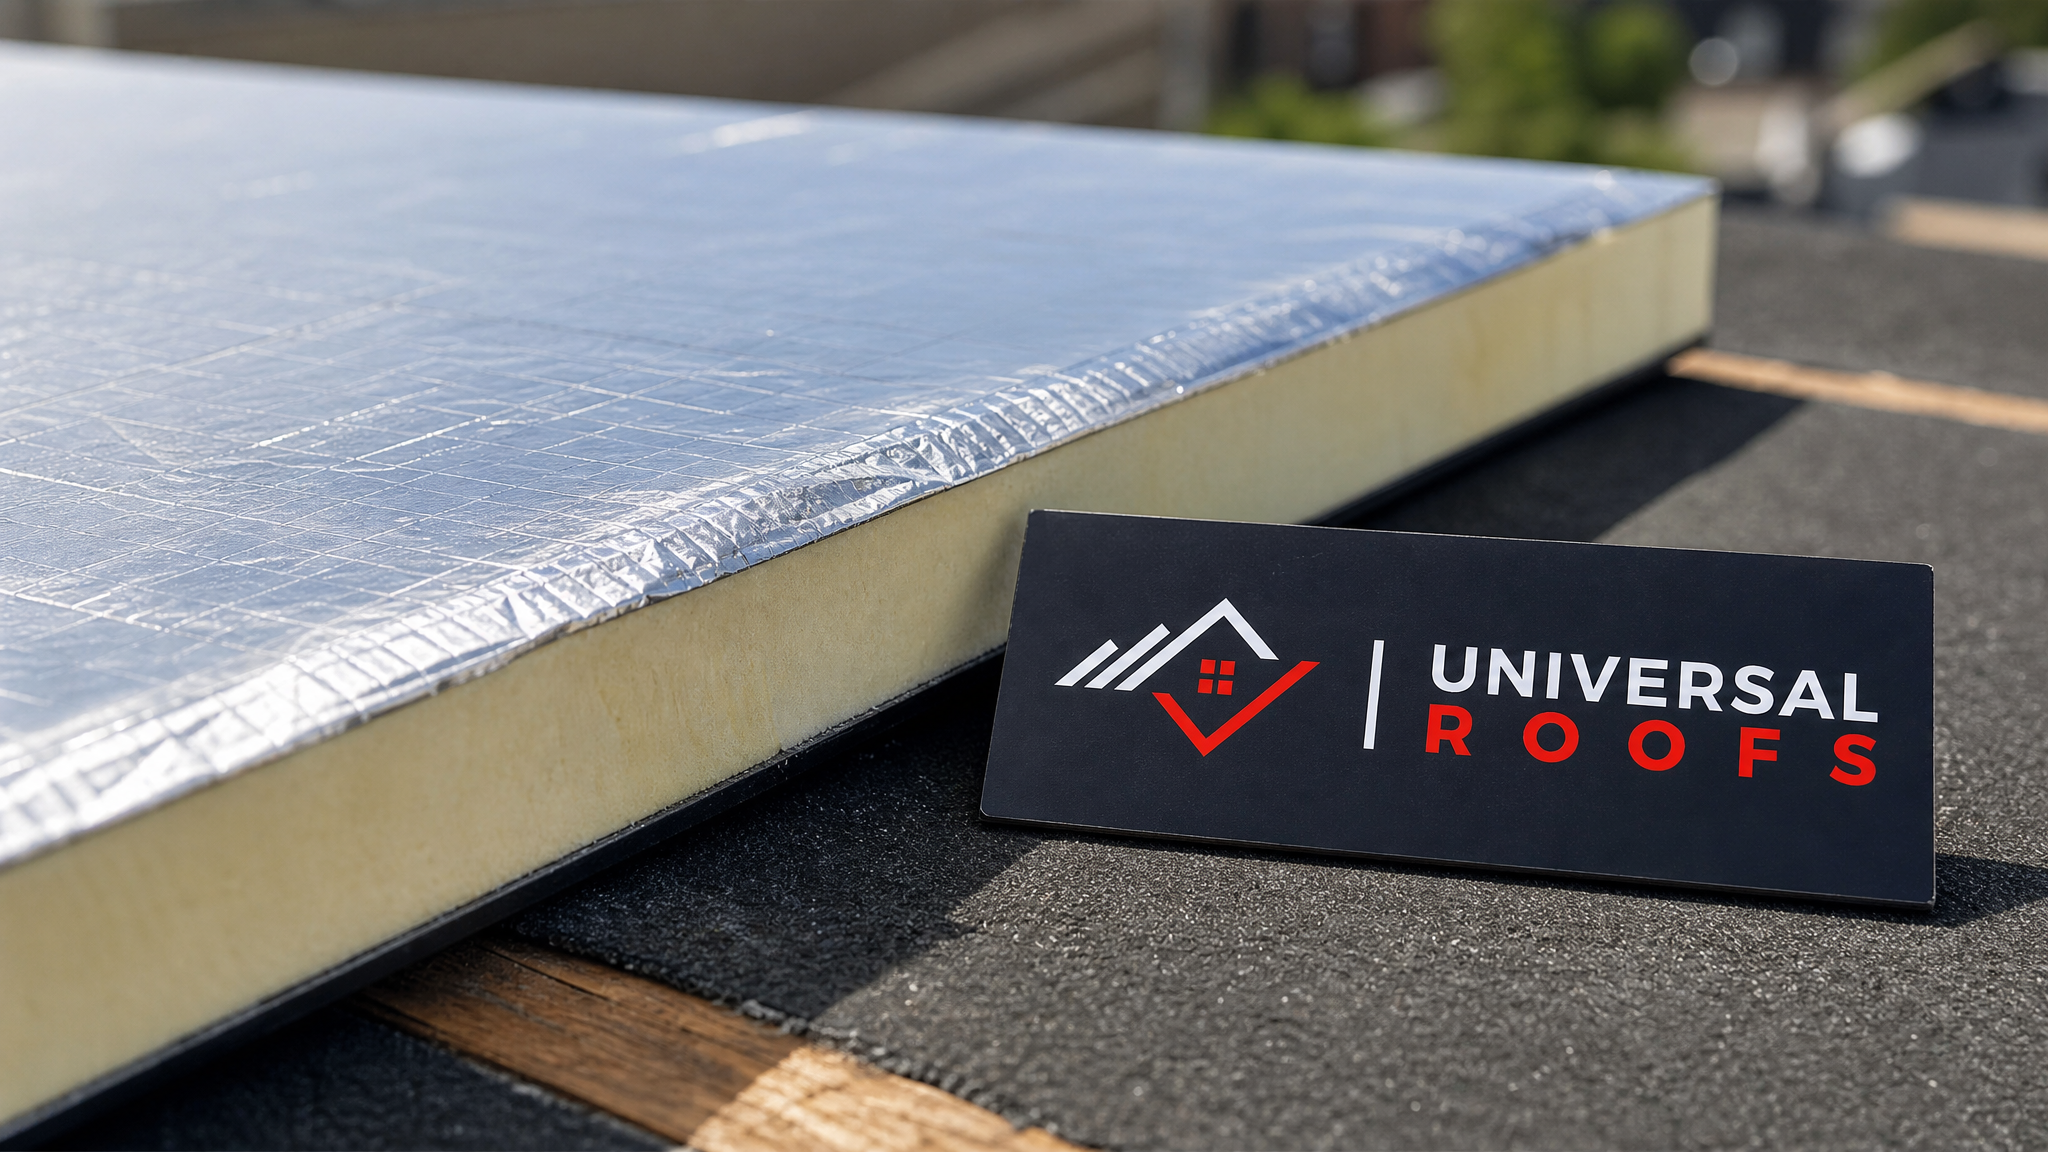
| Foil-faced polyisocyanurate (polyiso) board | Very good — foil facer blocks vapour transmission | Good — facer resists surface salt migration if seams are taped | R-5.6 to R-6.5 | New builds and full roof replacements |
| Extruded polystyrene (XPS) board | Good — closed-cell structure, low water absorption | Good — stable under repeated freeze-thaw | R-5.0 | Below-deck or exterior insulation retrofits |
| Mineral wool (rock wool) batts | Fair — resists mould but can hold surface moisture | Fair — needs a separate vapour barrier and salt-resistant fasteners | R-3.0 to R-4.3 | Attic floor insulation with good ventilation |
| Standard fibreglass batts | Poor — highly absorbent once vapour barrier fails | Poor — no inherent resistance, degrades quickly if salt-laden moisture intrudes | R-3.1 to R-3.4 | Interior partition walls only, not recommended alone for roof assemblies in this climate |
For most GTA homes, a combination approach works best: closed-cell spray foam or foil-faced polyiso directly against the roof deck to create the primary moisture and vapour barrier, paired with mineral wool or additional rigid board above it to reach your target R-value. Standard fibreglass batts alone are generally a poor choice for roof assemblies in this region unless they are fully isolated from moisture sources by a continuous, properly sealed vapour barrier — something that is difficult to guarantee in an older attic with multiple penetrations.
If your existing roof already shows signs of insulation failure, it is worth having it assessed alongside your roof repair needs, since damaged insulation is frequently a symptom of an underlying deck or flashing leak rather than an insulation problem on its own.
Vapour Barriers and Air Sealing Fundamentals
Insulation material choice matters, but it is only half the equation. Without a correctly installed vapour barrier and thorough air sealing, even the best moisture and salt resistant roof insulation will eventually take on water vapour from warm, humid interior air migrating upward and condensing against the cold underside of the roof deck in winter.
The vapour barrier should be installed on the warm-in-winter side of the insulation — typically the attic floor or the interior face of the roof deck insulation, depending on whether you are insulating at the ceiling line or the roofline. In the GTA’s mixed humid-continental climate, a vapour barrier with a permeance rating of 1 perm or less is generally recommended for the ceiling plane. All seams should be taped with a vapour-rated tape, not standard duct tape, which degrades within a season or two.
Air sealing deserves equal attention. Every penetration — pot lights, bathroom fan housings, plumbing stacks, electrical wiring, the attic hatch itself — is a potential pathway for warm, moist household air to bypass your vapour barrier entirely and condense directly inside the insulation cavity. Sealing these penetrations with fire-rated caulking or spray foam before insulation goes in is one of the single highest-value steps in the entire project, and it is also one of the steps most often skipped by less thorough installers.
| Air Sealing Point | Common Problem | Recommended Fix | Priority Level |
|---|---|---|---|
| Attic hatch or scuttle | No weatherstripping, warped wood | Add compression weatherstripping and rigid foam cap | High |
| Pot light housings | Direct air leakage into attic | Install airtight IC-rated covers before insulating over | High |
| Bathroom/kitchen exhaust ducts | Disconnected or vented into attic instead of outside | Reconnect and vent fully to exterior with a sealed cap | Critical |
| Plumbing and wiring penetrations | Gaps around pipes and cables | Seal with fire-rated caulk or low-expansion foam | Medium |
| Chimney chase | Large gap for fire clearance, rarely sealed | Use code-compliant fire-rated sealing collar | Medium |
A bathroom exhaust duct that vents into the attic rather than outside is, in our experience, the single most common cause of chronic attic moisture we find on inspection — and it will defeat even the best salt and moisture resistant insulation almost immediately, since it dumps warm, humid air directly into the cavity every time the fan runs.
Ventilation: The Partner System Insulation Can’t Work Without
Insulation and ventilation have to be designed together, not separately. Adding more insulation without matching intake and exhaust ventilation can actually make moisture problems worse by trapping humid air against the underside of the deck with nowhere to escape.
The standard target for most GTA attics is a balanced ratio of intake ventilation (typically soffit vents) to exhaust ventilation (ridge vents, roof vents, or gable vents), generally following the 1:150 or 1:300 rule depending on whether a vapour barrier is present — meaning 1 square foot of net free ventilation area for every 150 or 300 square feet of attic floor space, split roughly evenly between intake and exhaust. Blocked soffit vents are extremely common in older homes where insulation has been pushed against the eaves over the years, cutting off intake airflow entirely even though the ridge vents look fine from outside.
Baffles (also called rafter vents) installed at the eaves before insulation goes in maintain a clear air channel from the soffit to the attic space above the insulation, preventing exactly this blockage. This is a small, inexpensive step that is frequently skipped during DIY insulation top-ups, and it is one of the first things we check when a homeowner calls about a persistently damp or icy attic.
Special Considerations for Flat Roofs and Skylights
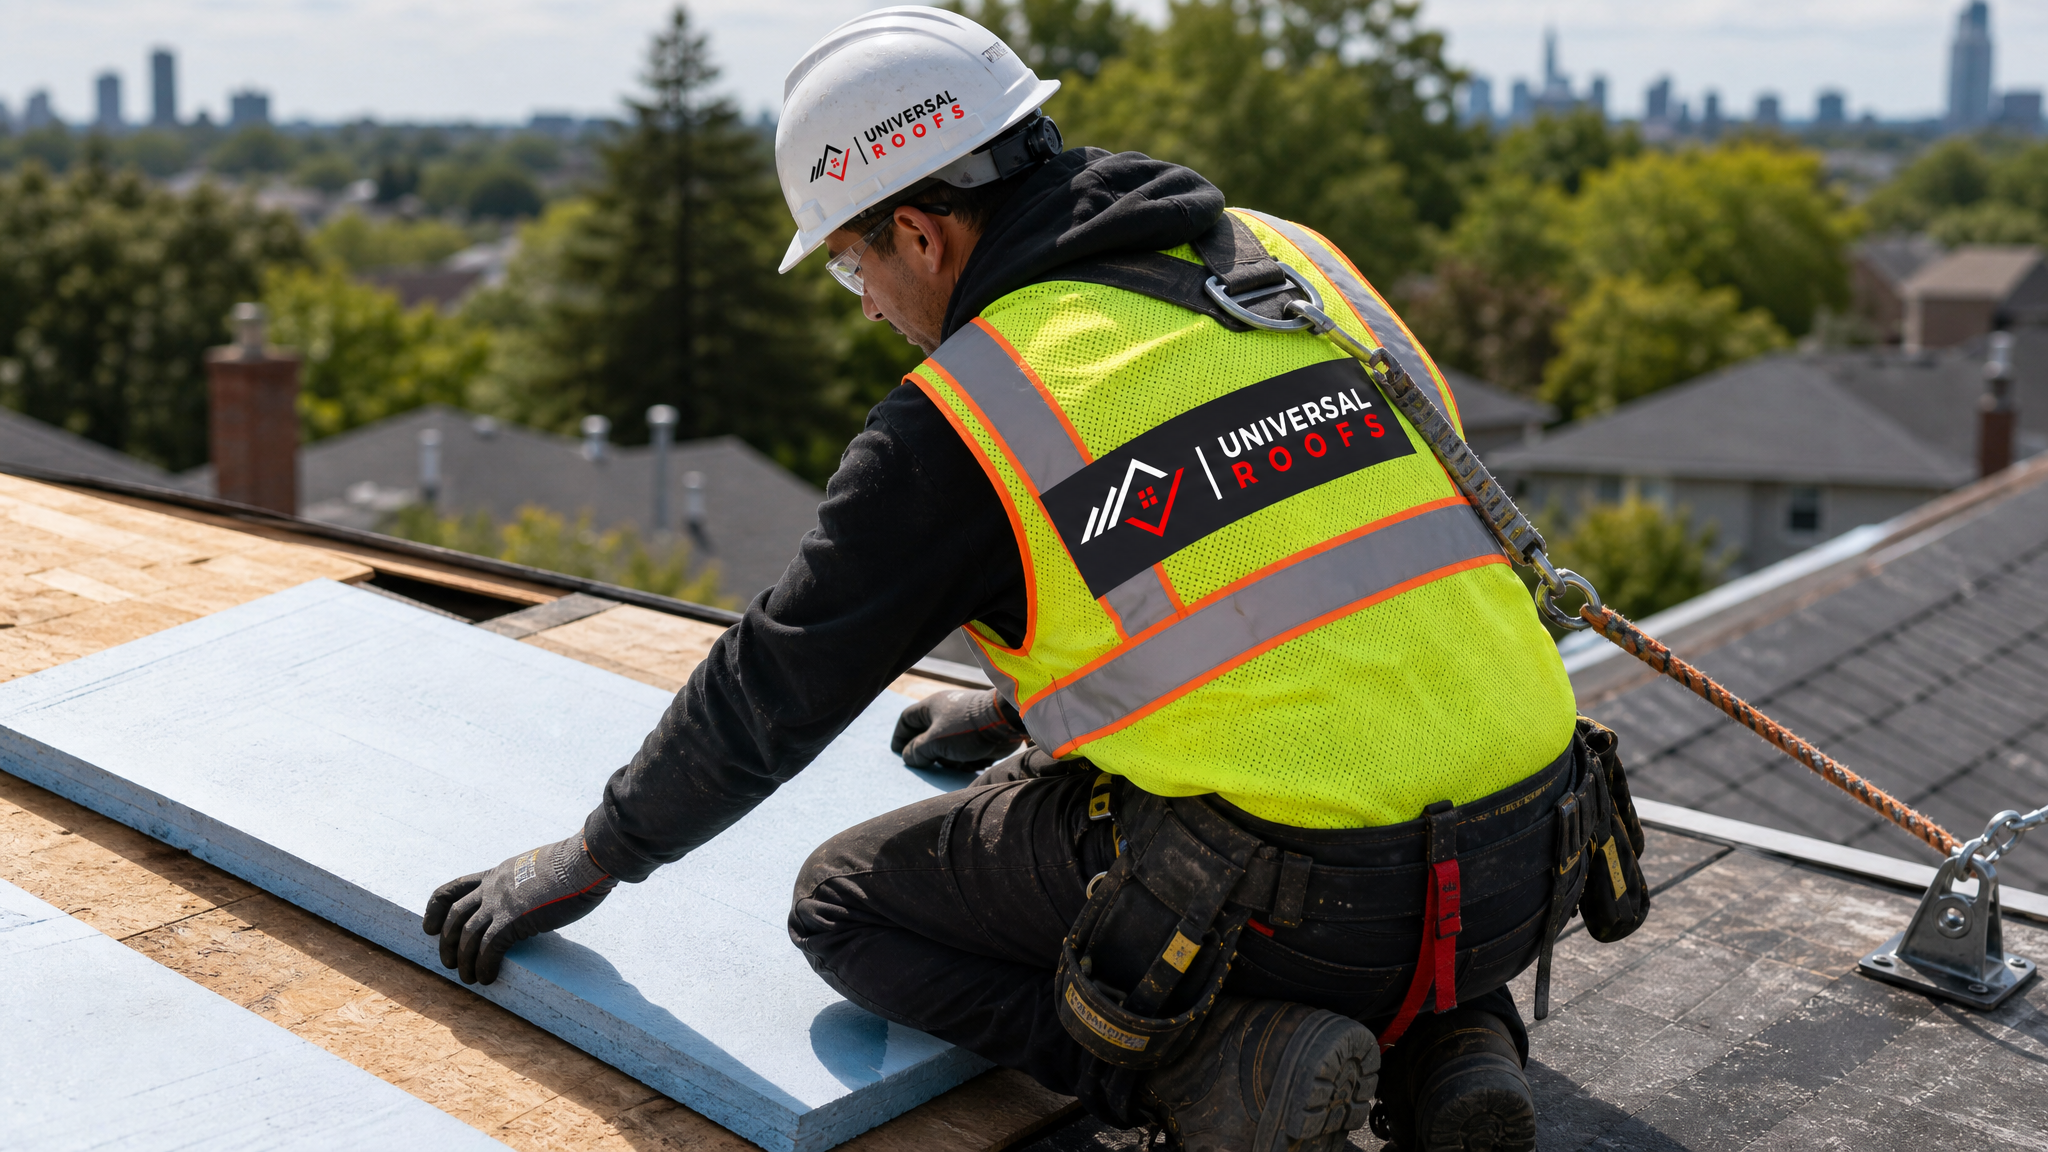
Flat and low-slope roofs, common on additions, garages, and some GTA homes, present a different moisture challenge than sloped roofs because there is no attic cavity for warm air to rise into and no natural ventilation path. Insulation on a flat roof assembly is typically installed directly above or below the deck as part of a continuous membrane system, which means moisture and salt resistance has to be built into the insulation board itself rather than relying on a ventilated air gap.
Closed-cell spray foam and foil-faced polyiso are the standard choices for flat roofing assemblies for exactly this reason — they do not depend on airflow to stay dry, and they resist the ponding-water exposure that flat roofs are prone to after heavy rain or spring melt.
Skylights add another wrinkle. The insulation around a skylight shaft is one of the most common places we find condensation damage, because the shaft walls are often thinner than the surrounding roof assembly and act as a thermal bridge. If you are installing new insulation around an existing skylight, it is worth having the unit itself inspected at the same time — sometimes what looks like an insulation failure is actually a failing skylight seal. Our skylights and skylight replacement teams routinely coordinate with insulation work for exactly this reason, since fixing one without the other rarely solves the problem.
Installation Costs and Realistic Timelines
Costs vary significantly depending on material, roof size, accessibility, and whether you are doing a full replacement or a targeted retrofit. The table below reflects typical GTA pricing ranges for the 2026 season, based on a mid-size detached home with roughly 1,500 to 2,000 square feet of attic or roof deck area.
| Project Type | Typical Cost Range (CAD) | Timeline | Best Season to Schedule |
|---|---|---|---|
| Attic floor top-up (mineral wool or blown-in) | $1,800 – $3,500 | 1 day | Spring, summer, or fall |
| Closed-cell spray foam roof deck retrofit | $4,500 – $9,000 | 1 – 2 days | Late spring through early fall |
| Full rigid board insulation with roof replacement | $9,000 – $18,000+ | 2 – 4 days | Coordinated with a full roof replacement project |
| Flat roof insulation and membrane package | $7,000 – $15,000 | 2 – 3 days | Warm, dry weather windows preferred |
| Air sealing and baffle installation only | $800 – $1,800 | Half day to 1 day | Any season, ideally before insulation top-up |
Summer is actually one of the better windows for attic insulation work in the GTA. Attics can get extremely hot in July and August, but that also means any existing moisture damage, mould, or condensation staining is fully dried out and easy to spot during inspection — problems that are far harder to diagnose accurately in the middle of a damp February. Scheduling insulation upgrades now, ahead of the fall rains and the first freeze-thaw cycles, gives materials time to settle and seams time to cure before they face their first real stress test.
Signs Your Current Insulation Has Moisture or Salt Damage
Homeowners often do not realize their insulation has failed until it shows up as a comfort or energy bill problem, by which point the damage is usually well advanced. Watch for these warning signs:
A musty smell in upstairs rooms, especially noticeable after the furnace or air conditioner has been running, often indicates trapped moisture and early mould growth in the insulation layer. Visible sagging or compression in fibreglass batts is a reliable sign that the material has absorbed water at some point, since wet fibreglass loses its loft permanently even after it dries out. Rust streaks on nail heads or metal fasteners visible from inside the attic point to salt-laden moisture exposure, since ordinary condensation rarely causes rust this quickly. Ice damming along the eaves each winter, even when the rest of the roof is clear, usually indicates a combination of poor insulation and inadequate ventilation working together rather than either problem alone. Finally, noticeably higher heating or cooling bills compared to similar homes nearby, with no other explanation, often traces back to compressed or moisture-degraded insulation that has lost much of its rated R-value.
If any of these sound familiar, a proper inspection is worth the modest cost before committing to a full re-insulation project, since the fix sometimes turns out to be a ventilation or sealing issue rather than a material replacement.
DIY Top-Ups vs. Professional Installation
Homeowners can reasonably tackle some parts of this project — adding blown-in cellulose or mineral wool on top of an existing attic floor insulation layer is a manageable weekend project with rented equipment. However, several parts of a proper moisture and salt resistant insulation upgrade are genuinely better left to a licensed contractor, particularly anything involving roof deck access, spray foam application, or coordinated ventilation changes.
| Task | DIY-Suitable? | Key Risk if Done Incorrectly |
|---|---|---|
| Blown-in insulation top-up on attic floor | Yes, with rented blower | Uneven coverage, blocked soffit vents if baffles aren’t installed first |
| Sealing minor air leaks (outlets, small gaps) | Yes | Missed larger leaks like disconnected bath fan ducts |
| Closed-cell spray foam application | No — requires licensed applicator | Off-ratio mixing causes shrinkage, off-gassing, and voided warranties |
| Roof deck rigid board installation | Not recommended | Improper fastening compromises wind uplift rating and warranty |
| Ventilation balancing (soffit/ridge ratio) | Not recommended | Miscalculated ratios can worsen ice damming and condensation |
For anything involving the roof deck itself, working at height, or spray foam equipment, professional installation is not just a convenience — it is what keeps your material and workmanship warranties valid, and it ensures the insulation, vapour barrier, and ventilation are actually working together as one system rather than three separate afterthoughts.
Maintaining Salt and Moisture Resistant Insulation Long-Term
Even the best-installed insulation benefits from periodic attention. Plan on a visual attic inspection at least once a year, ideally in late summer when moisture damage is easiest to spot and before the fall rains arrive. Check that soffit vents remain clear of insulation, leaves, or pest nesting material, confirm that bathroom and kitchen exhaust ducts are still properly connected and venting to the exterior, and look for any new water staining, rust, or compressed insulation since the last check.
If your home is near a major arterial road, highway, or the lakeshore, consider having your roof and attic system inspected slightly more often than the typical five-year interval recommended for interior homes, since salt exposure accelerates wear on fasteners and flashing in ways that are not always visible from the ground. Homeowners across our Toronto, Peel Region, York Region, Halton Region, and Durham Region service areas each face slightly different exposure levels depending on proximity to the lake and major roads, which is part of why a generic insulation guide from outside the GTA often misses the mark.
You can read about how other GTA homeowners have approached similar attic and roofing projects on our reviews page, and if you have specific questions about your situation, our FAQ page covers many of the most common ones we hear.
What makes insulation “moisture and salt resistant” specifically?
Is closed-cell spray foam always the best choice for moisture and salt resistant roof insulation?
How do I know if road salt is actually affecting my attic insulation?
Do I need a vapour barrier if I install moisture and salt resistant roof insulation?
How much does moisture and salt resistant roof insulation cost in the GTA?
Can I install moisture and salt resistant roof insulation myself?
Need Help With Moisture and Salt Resistant?
A properly designed insulation, vapour barrier, and ventilation system protects your home for decades, and getting it right the first time is far more cost-effective than repeated repairs. Universal Roofs has been assessing and upgrading attic and roof deck insulation across the GTA since 2005, with a clear understanding of how local salt exposure and freeze-thaw cycles affect long-term performance.
Call us today at (416) 732-2421 or request a free inspection to get started.
Universal Roofs proudly serves Toronto, Mississauga, Brampton, Vaughan, Markham, Oakville and the GTA since 2005.