
A windstorm rolling off Lake Ontario can strip shingles, lift flashing, and crack ridge caps in minutes, leaving homeowners across the Greater Toronto Area scrambling to find help before the next rain arrives. The problem is that wind damage often looks minor from the ground, which makes it tempting to hire whoever answers the phone first. That approach backfires more often than not, because wind damage repair work needs to satisfy both your insurance adjuster’s documentation standards and the physical realities of how wind actually lifts and separates roofing materials.
Finding reliable roof wind damage repair contractors means knowing what separates a properly licenced, insured professional from a storm-chasing crew that disappears after the deposit clears. This guide walks through exactly how to vet contractors, what a legitimate wind damage assessment looks like, how pricing and timelines typically break down in the GTA, and the red flags that should send you looking elsewhere. Toronto’s climate brings frequent freeze-thaw cycles, spring and autumn wind events that regularly exceed 70 km/h, and lake-effect gusts that put extra stress on roof edges and flashing details you won’t see on homes further inland.
Whether your roof took a direct hit from a recent storm or you are noticing subtle signs of wind stress after a windy summer week, the process for finding a trustworthy contractor is the same. Get the diagnosis right, verify the credentials, understand the scope of repair, and only then sign a contract.
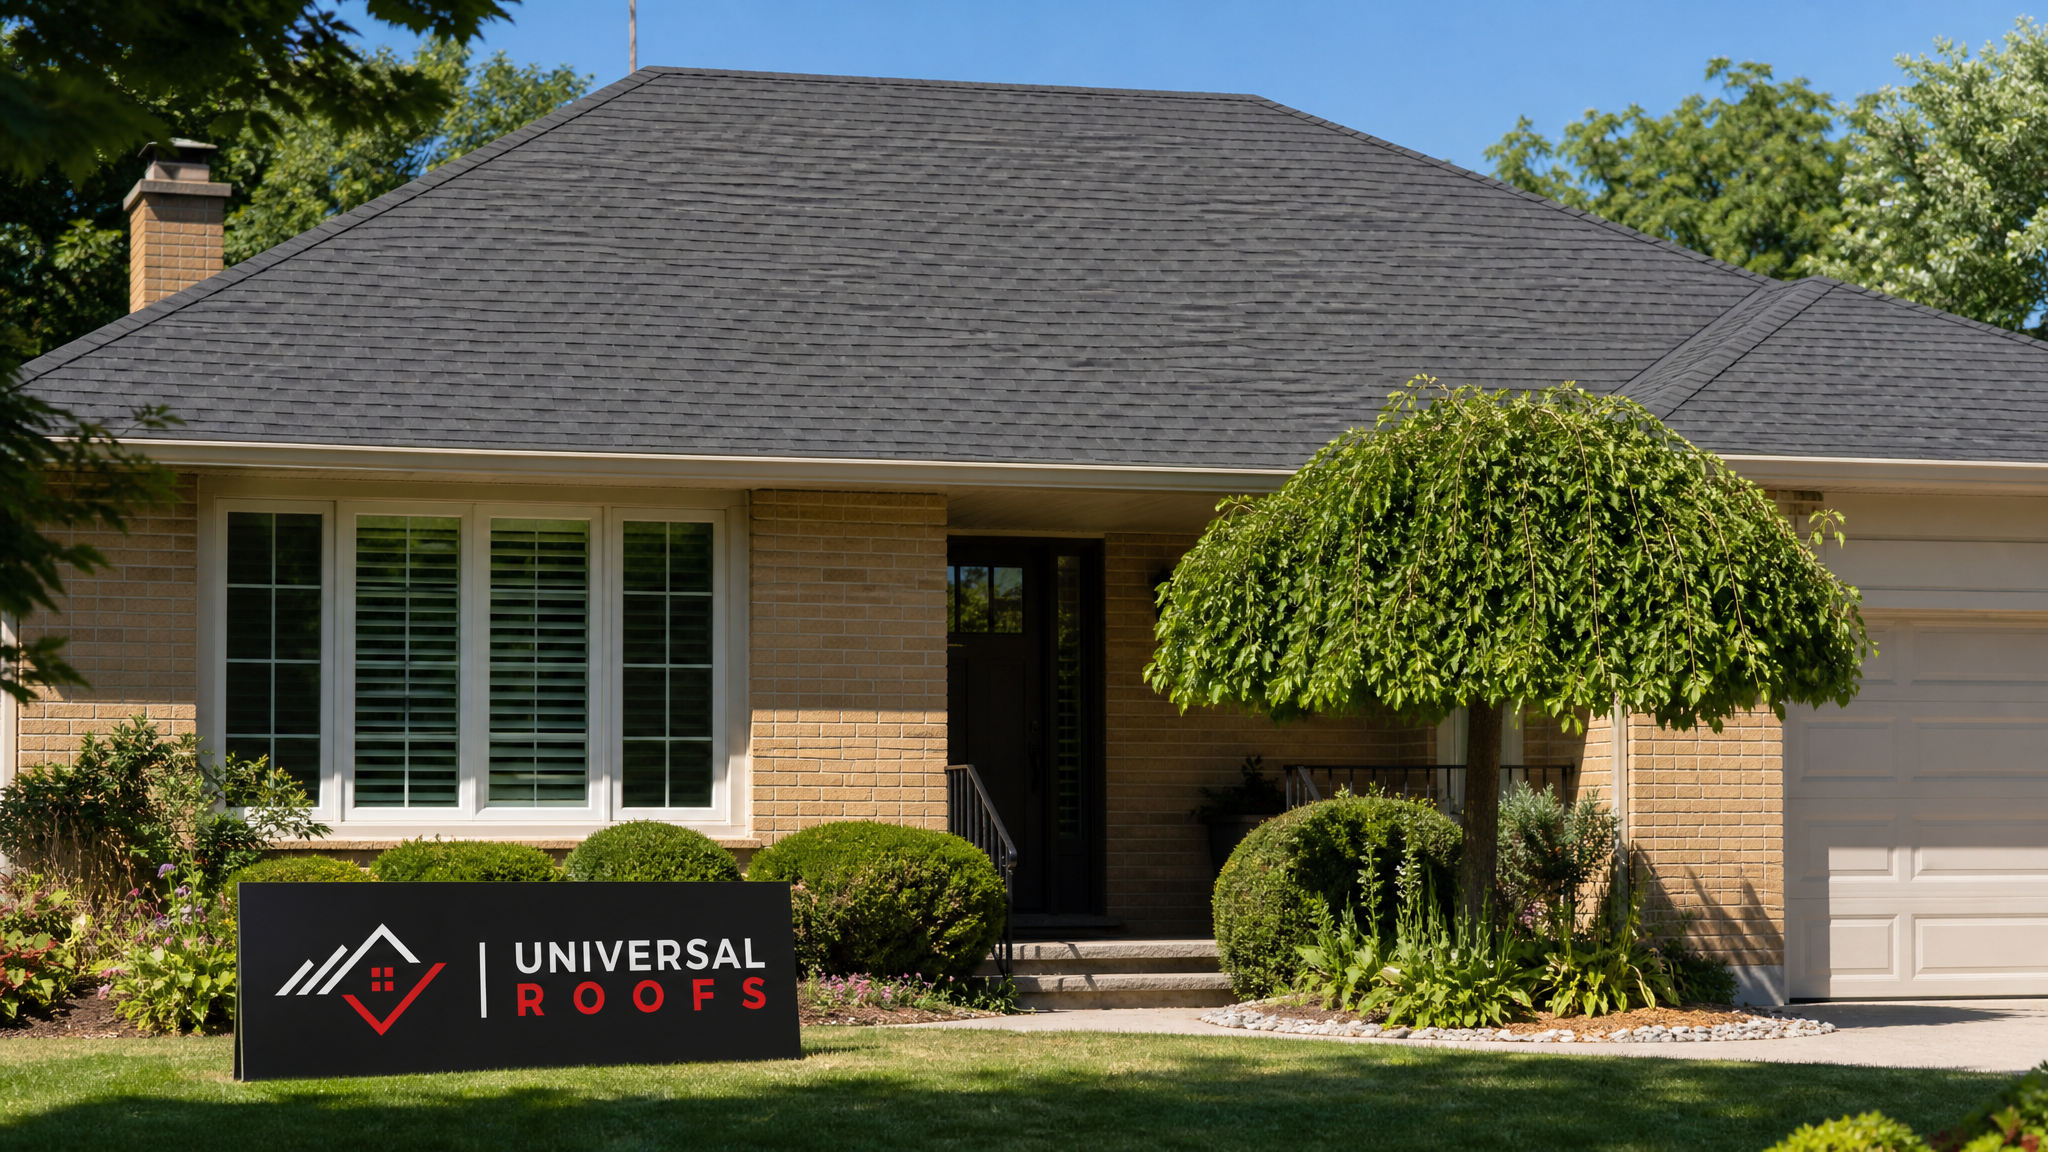
How to Recognize Genuine Wind Damage on Your Roof
Before you can find reliable roof wind damage repair contractors, you need a basic understanding of what wind damage actually looks like, so you can describe it accurately on the phone and recognize whether an inspector’s findings make sense. Wind does not damage a roof uniformly. It attacks specific zones based on aerodynamic pressure, which is why the same storm can strip shingles from one corner of a roof while leaving the rest untouched.
The most common signs include shingles that are creased, curled upward at the edges, or missing entirely, usually concentrated along rakes, eaves, and ridge lines where uplift pressure is highest. You may also notice granules collecting in gutters and downspouts, which indicates the asphalt mat underneath the shingle surface has been stressed even if the shingle itself is still nailed down. Lifted or bent flashing around chimneys, skylights, and vents is another classic sign, since flashing edges catch wind the same way a loose shingle tab does.
Less obvious indicators include soft spots in the decking felt underneath damaged shingles, nail pops where fasteners have backed out under repeated flexing, and water stains on interior ceilings that appear days or weeks after a storm because the initial damage created a slow entry point rather than an obvious hole. If you have a skylight or recently completed skylight replacement, check the surrounding flashing closely, since skylight curbs are a common failure point during high wind events.
A reliable contractor will walk you through each of these categories during an inspection rather than simply saying “you have wind damage” and pointing at a ladder. If a company cannot explain which specific zones failed and why, that is often an early sign they are more interested in closing a sale than diagnosing your roof.
What a Trustworthy Wind Damage Inspection Actually Involves
A proper inspection for wind damage repair takes 30 to 60 minutes for an average GTA detached home and should include both a ground-level walkaround and a roof-level inspection with photos. The contractor should document the compass direction of the damage relative to the direction the storm winds were blowing, since this detail matters for insurance claims and also confirms the damage pattern is consistent with wind rather than age-related wear that a homeowner is trying to claim as storm-related.
Ask whether the inspector uses a moisture meter on the decking near any damaged area, since surface-level shingle damage often hides moisture intrusion that has already started to affect the plywood or oriented strand board underneath. A contractor who skips this step may under-scope the repair, leaving you with a fix that addresses the visible shingles but not the wet decking that will eventually rot and sag.
You should also expect a written inspection report, not just a verbal summary. The report should include photos of each damaged area, a description of the repair scope, and a materials list. This documentation becomes essential if you decide to file an insurance claim, because adjusters respond far better to a report from a licenced roofing contractor than to your own photos and description.
| Inspection Element | Why It Matters | Red Flag If Missing | Typical Duration |
|---|---|---|---|
| Ground-level walkaround | Confirms visible damage and gutter granule loss | Contractor never leaves the driveway | 10-15 minutes |
| Roof-surface inspection | Confirms shingle lift, creasing, and flashing separation | No photos taken on the roof itself | 15-25 minutes |
| Moisture meter reading on decking | Detects hidden water intrusion beneath shingles | Skips decking entirely, quotes shingles only | 5-10 minutes |
| Written report with photos | Supports insurance claim and confirms scope | Only a verbal quote is given | Delivered within 24-48 hours |
| Attic check for daylight or staining | Confirms whether water has already reached the interior | Never asks to see the attic | 10-15 minutes |
Credentials and Licencing to Verify Before You Hire
Ontario does not require a province-wide licence for general roofing contractors, which is precisely why storm-chasing crews can operate here with little oversight. This makes it your responsibility to verify credentials directly rather than trusting a business card or a truck wrap. Start by confirming the company carries valid WSIB coverage, since this protects you from liability if a worker is injured on your property during the repair. You can verify WSIB clearance certificates directly through the WSIB website using the company’s account number.
Next, confirm general liability insurance, ideally two million dollars or more in coverage, and ask the contractor to provide a certificate naming your address as the job site. A company that hesitates to produce this document, or provides an insurance certificate that has already expired, should be crossed off your list immediately.
Manufacturer certifications matter too, particularly for wind damage repairs where the fix often involves upgrading fastening patterns to a higher wind-rating standard rather than simply replacing like-for-like shingles. Contractors certified by major shingle manufacturers have typically completed training on proper nailing patterns, starter strip installation, and sealant application that directly affects how well the repaired section resists the next windstorm. You can review a company’s history of completed work and client feedback on their reviews page before booking an inspection, and check a company’s about page for how long they have operated locally, since longevity in the GTA market is a reasonable proxy for reliability.
Comparing Repair Methods for Different Types of Wind Damage
Not every wind-damaged roof needs the same fix. The right repair method depends on how widespread the damage is, whether the underlying decking was compromised, and how old the existing roofing system already was before the storm. A reliable contractor should present options rather than defaulting straight to full replacement, since a full roof replacement is not always necessary or cost-effective for isolated wind damage.
| Repair Method | Best For | Typical Timeline | Approximate Cost Range (CAD) |
|---|---|---|---|
| Spot shingle replacement | Isolated missing or torn shingles, decking intact | Half day to 1 day | $350 – $900 |
| Flashing resealing and refastening | Lifted flashing around chimneys, vents, skylights | Half day | $300 – $800 |
| Ridge cap replacement | Ridge shingles peeled back or missing along the peak | 1 day | $500 – $1,400 |
| Section re-decking and reshingling | Wind damage combined with rotted or wet decking | 2-4 days | $2,500 – $7,000 |
| Full roof replacement | Widespread damage on an already-aged roof system | 1-3 days | $8,000 – $18,000+ |
For homes with an existing flat roofing system, wind damage tends to present differently, often as membrane lifting at seams or edge metal that has pulled away from the parapet, rather than the shingle displacement seen on sloped roofs. A contractor experienced in both sloped and flat systems should be able to explain which repair category your roof falls into before quoting a number.
Understanding Insurance Claims for Wind Damage
Most home insurance policies in Ontario cover sudden wind damage, but the claims process rewards homeowners who move quickly and document thoroughly. The moment you notice damage, take dated photos from the ground, note the date of the storm event, and contact your insurer to open a claim file. Insurance companies typically send an independent adjuster to assess the damage, and this is where a detailed contractor report becomes valuable, since it gives the adjuster a professional baseline to compare against their own findings.
Be cautious of any contractor who asks you to sign an “assignment of benefits” or a contract before an adjuster has even visited, since this practice can strip you of control over your own claim and has caused problems for homeowners across Ontario in recent years. A reliable contractor is comfortable working alongside your insurer’s timeline and providing documentation on request, rather than pressuring you to sign paperwork that hands over decision-making authority.
Keep in mind that most policies include a deductible, commonly between $500 and $2,500 depending on your policy, and that repeatedly claiming for minor wind damage can affect future premiums. For smaller repairs under a few hundred dollars, it is often more economical to pay out of pocket than to file a claim, and a transparent contractor should tell you this honestly rather than encouraging you to inflate a claim.
Red Flags That Signal an Unreliable Contractor
Storm damage creates a predictable pattern every roofing market experiences: within days of a significant wind event, out-of-town crews arrive offering “free inspections” and pressuring homeowners into same-day contracts. These operators are sometimes referred to as storm chasers, and while not every out-of-area contractor is dishonest, the pattern of behaviour is worth recognizing.
Common red flags include a demand for full payment upfront before any work begins, a business address that traces back to a residential property or an out-of-province numbered company, and a refusal to provide references from recent local jobs. Be equally cautious of contractors who show up uninvited after knocking on your door claiming they “noticed damage while working on your neighbour’s roof,” since this is one of the oldest tactics in storm-damage sales.
| Warning Sign | What It Usually Means | Recommended Response |
|---|---|---|
| Door-to-door solicitation after a storm | Likely a transient storm-chasing crew | Ask for a local address and WSIB number before engaging |
| Requests full payment before work starts | Reduces your leverage if work is incomplete or poor quality | Insist on a deposit structure tied to milestones |
| Pressure to sign same-day contract | Designed to prevent comparison shopping | Request 24-48 hours to review the contract |
| No physical local address or showroom | Difficult to pursue warranty claims later | Verify address independently before signing |
| Vague or verbal-only quotes | No accountability for scope creep or add-on charges | Require an itemized written estimate |
Questions to Ask Before Signing a Contract
A short phone screening before you book an in-person inspection can eliminate most unreliable contractors without wasting an afternoon. Ask how long the company has operated in the GTA specifically, since a contractor’s FAQ page or about page often answers this directly, and cross-reference it against their online reviews to confirm consistency.
Ask whether the warranty covers both materials and labour, and get the exact term in writing, since a verbal “lifetime warranty” claim is meaningless without a document specifying what is actually covered. Ask what happens if hidden decking damage is discovered once the shingles are removed, and confirm whether that triggers a change order process with your written approval required before additional work proceeds.
It is also worth asking whether the crew doing the physical work are direct employees or subcontracted labour, since accountability and quality control tend to be more consistent with in-house crews. Finally, ask which specific service areas the company regularly works in. A contractor active across Toronto, the Peel Region, York Region, Halton Region, and Durham Region will typically have a better sense of how local municipal permitting and inspection requirements apply to your specific repair.
What Happens During the Repair Process
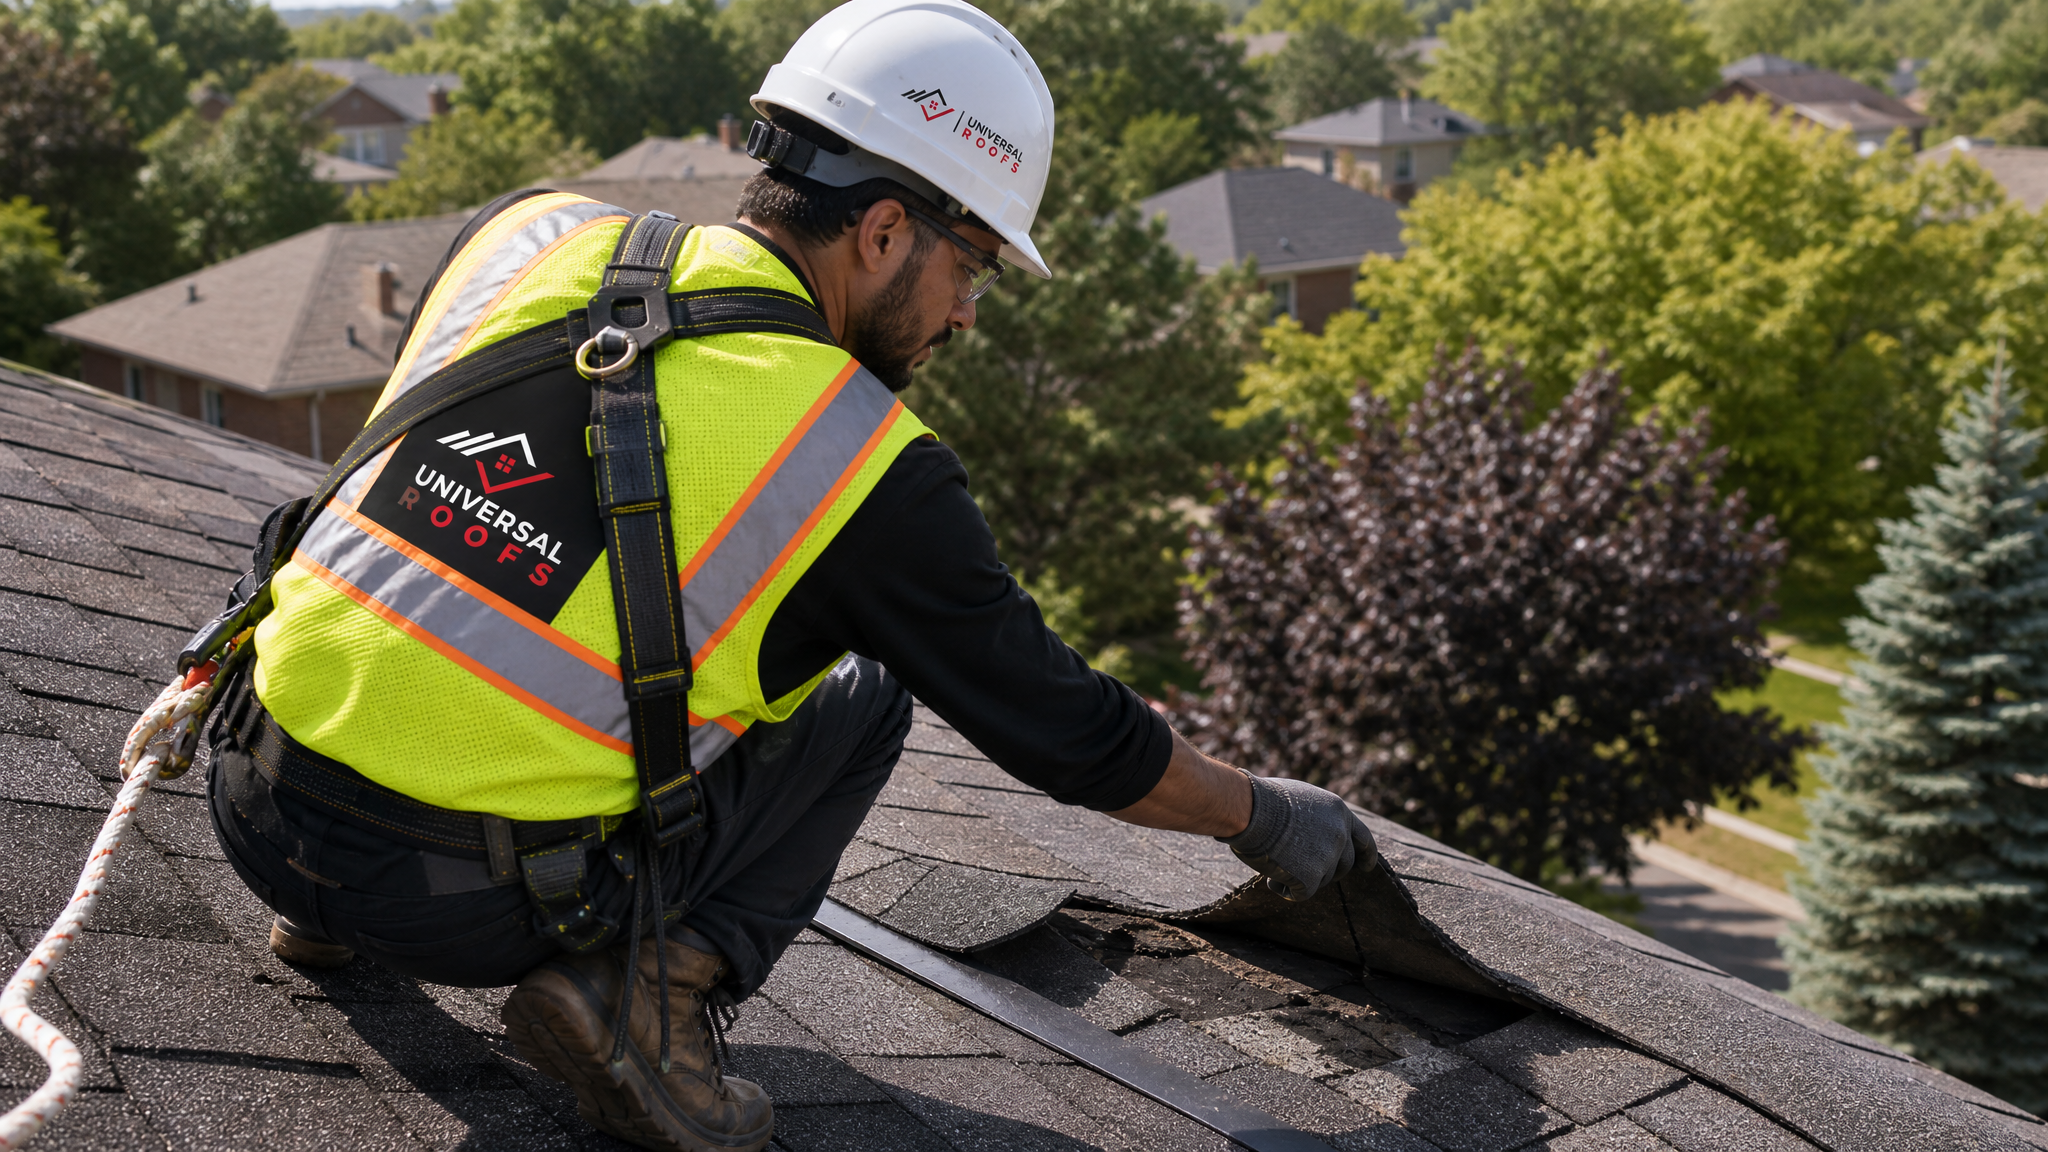
Once you have selected a contractor and agreed on scope, the repair itself typically follows a consistent sequence regardless of company size. The crew arrives with materials matched to your existing shingle colour and profile where possible, sets up fall protection anchors, and removes the damaged section down to sound decking. Any decking found to be soft, delaminated, or water-stained gets replaced before new underlayment and shingles go down, since re-covering compromised decking is one of the most common shortcuts unreliable contractors take to save time.
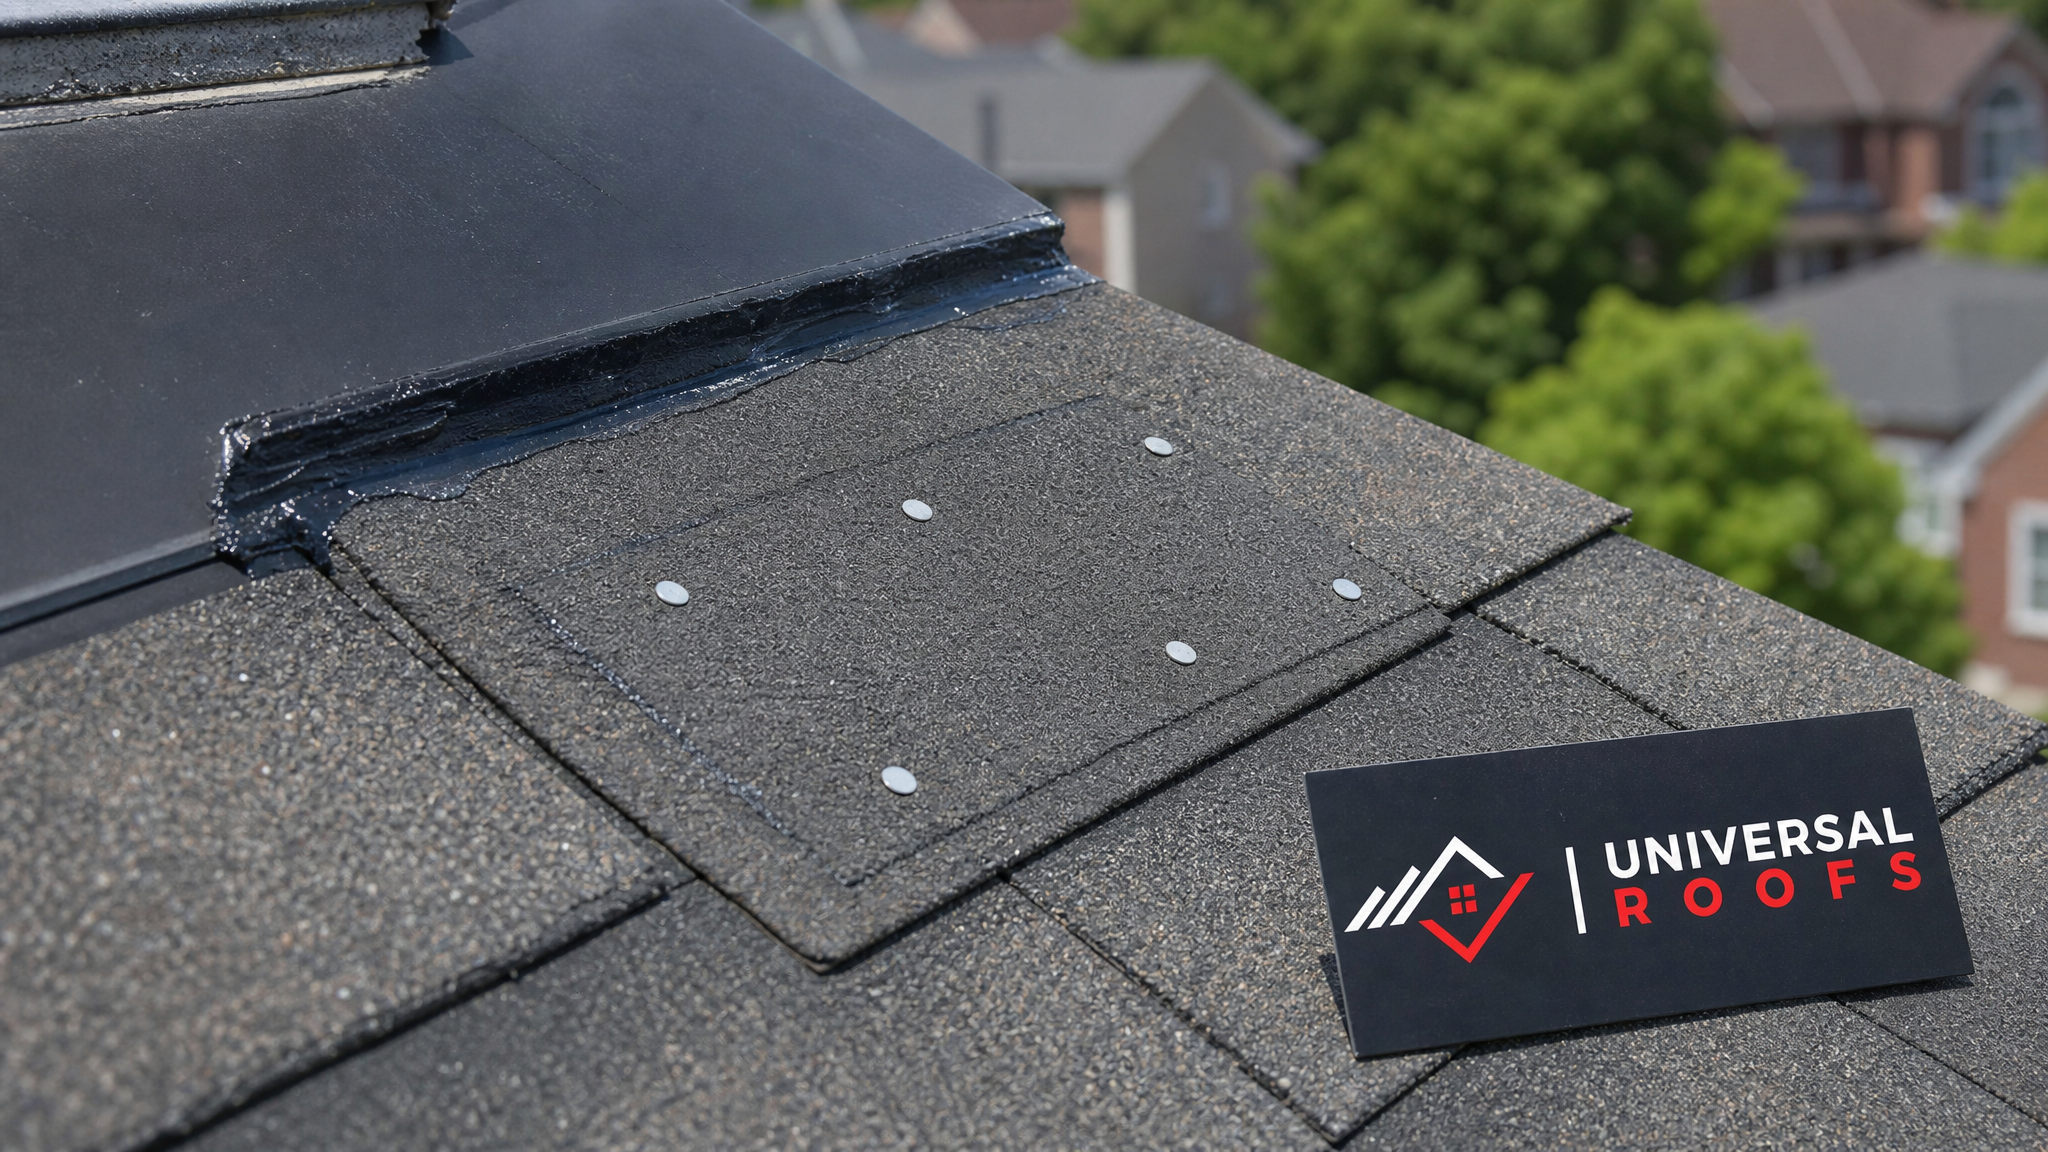
New shingles are fastened using a nailing pattern appropriate for the wind exposure rating required by the current Ontario Building Code, which in many cases calls for six nails per shingle rather than the older four-nail standard, particularly on homes exposed to open wind corridors near the lakeshore or on elevated properties. Flashing is resealed with appropriate sealant rather than caulking alone, and ridge caps are refastened with matching cap shingles rather than generic replacements that may not seal properly against the existing ridge vent.
A thorough crew finishes by clearing the site of nails and debris using a magnetic sweeper, inspecting gutters for displaced granules or debris that fell during the repair, and walking the homeowner through the completed work with photos of the before and after condition. If your home also has an attic ventilation system, this is a good time to confirm the intake and exhaust vents were not disturbed during the repair, since blocked ventilation can accelerate shingle aging from the underside.
Seasonal Timing and Preventing Future Wind Damage
Summer is one of the more practical times to schedule wind damage repairs in the GTA, since shingles seal properly in warm weather and contractor scheduling is generally more flexible than during the spring storm season rush. If your roof sustained damage from a spring windstorm and you have been putting off repairs, addressing it now, before autumn’s return of high-wind weather systems, reduces the risk of a minor repair becoming a much larger one.
Preventing future wind damage largely comes down to routine maintenance rather than one-time fixes. Have your roof inspected at least once a year, ideally in spring and again in autumn, so that loose shingles, deteriorating sealant, or aging flashing get caught before a storm turns a minor issue into a major repair. Trim overhanging branches that can whip against the roof surface during high winds, and confirm that your gutters and downspouts are clear so that wind-driven rain does not back up under roof edges during a storm.
Homeowners who invest in higher wind-rated shingles or an upgraded fastening pattern during their next full roof replacement often see meaningfully fewer wind-related callbacks over the following decade, particularly on homes in more exposed locations across the GTA’s outer suburbs.
How do I find reliable roof wind damage repair contractors after a storm?
What does a proper wind damage inspection include?
How much does wind damage roof repair typically cost in the GTA?
Will home insurance cover wind damage roof repair?
What are the warning signs of an unreliable wind damage repair contractor?
Can wind damage be repaired without replacing the whole roof?
Need Help With Find Reliable Roof Wind?
Choosing the right contractor after a windstorm protects both your home and your insurance claim, and Universal Roofs has spent close to two decades earning that trust across the GTA with transparent inspections, documented reporting, and repairs built to the current wind-exposure standards for our region.
Call us today at (416) 732-2421 or request a free inspection to get started.
Universal Roofs proudly serves Toronto, Mississauga, Brampton, Vaughan, Markham, Oakville and the GTA since 2005.