
Tile roofing is prized across the Greater Toronto Area for its durability, its classic curb appeal, and its ability to shrug off decades of harsh Canadian weather. But the tiles themselves are only half the story. Underneath every tile roof sits a waterproofing layer called underlayment, and when that layer goes missing or breaks down, the tiles above it stop being a real barrier against water. Homeowners often assume that because the tiles look fine from the driveway, the roof is fine. In reality, tile roof underlayment failure is one of the most common causes of hidden leaks we diagnose on service calls throughout Toronto, Mississauga, Brampton, and the surrounding region.
This guide walks through exactly how to identify, access, and replace missing or broken tile roof underlayment, what materials perform best in our freeze-thaw climate, how much homeowners typically pay, and when a small underlayment repair signals a bigger problem waiting underneath. Whether you are planning a do-it-yourself inspection or preparing to have a professional handle the repair, understanding the process will help you make better decisions and avoid costly surprises.
If you are dealing with active leaks or storm damage right now, do not wait — get in touch with our roof repair team for a prompt assessment before water damage spreads into your attic and interior finishes.
What Tile Roof Underlayment Actually Does
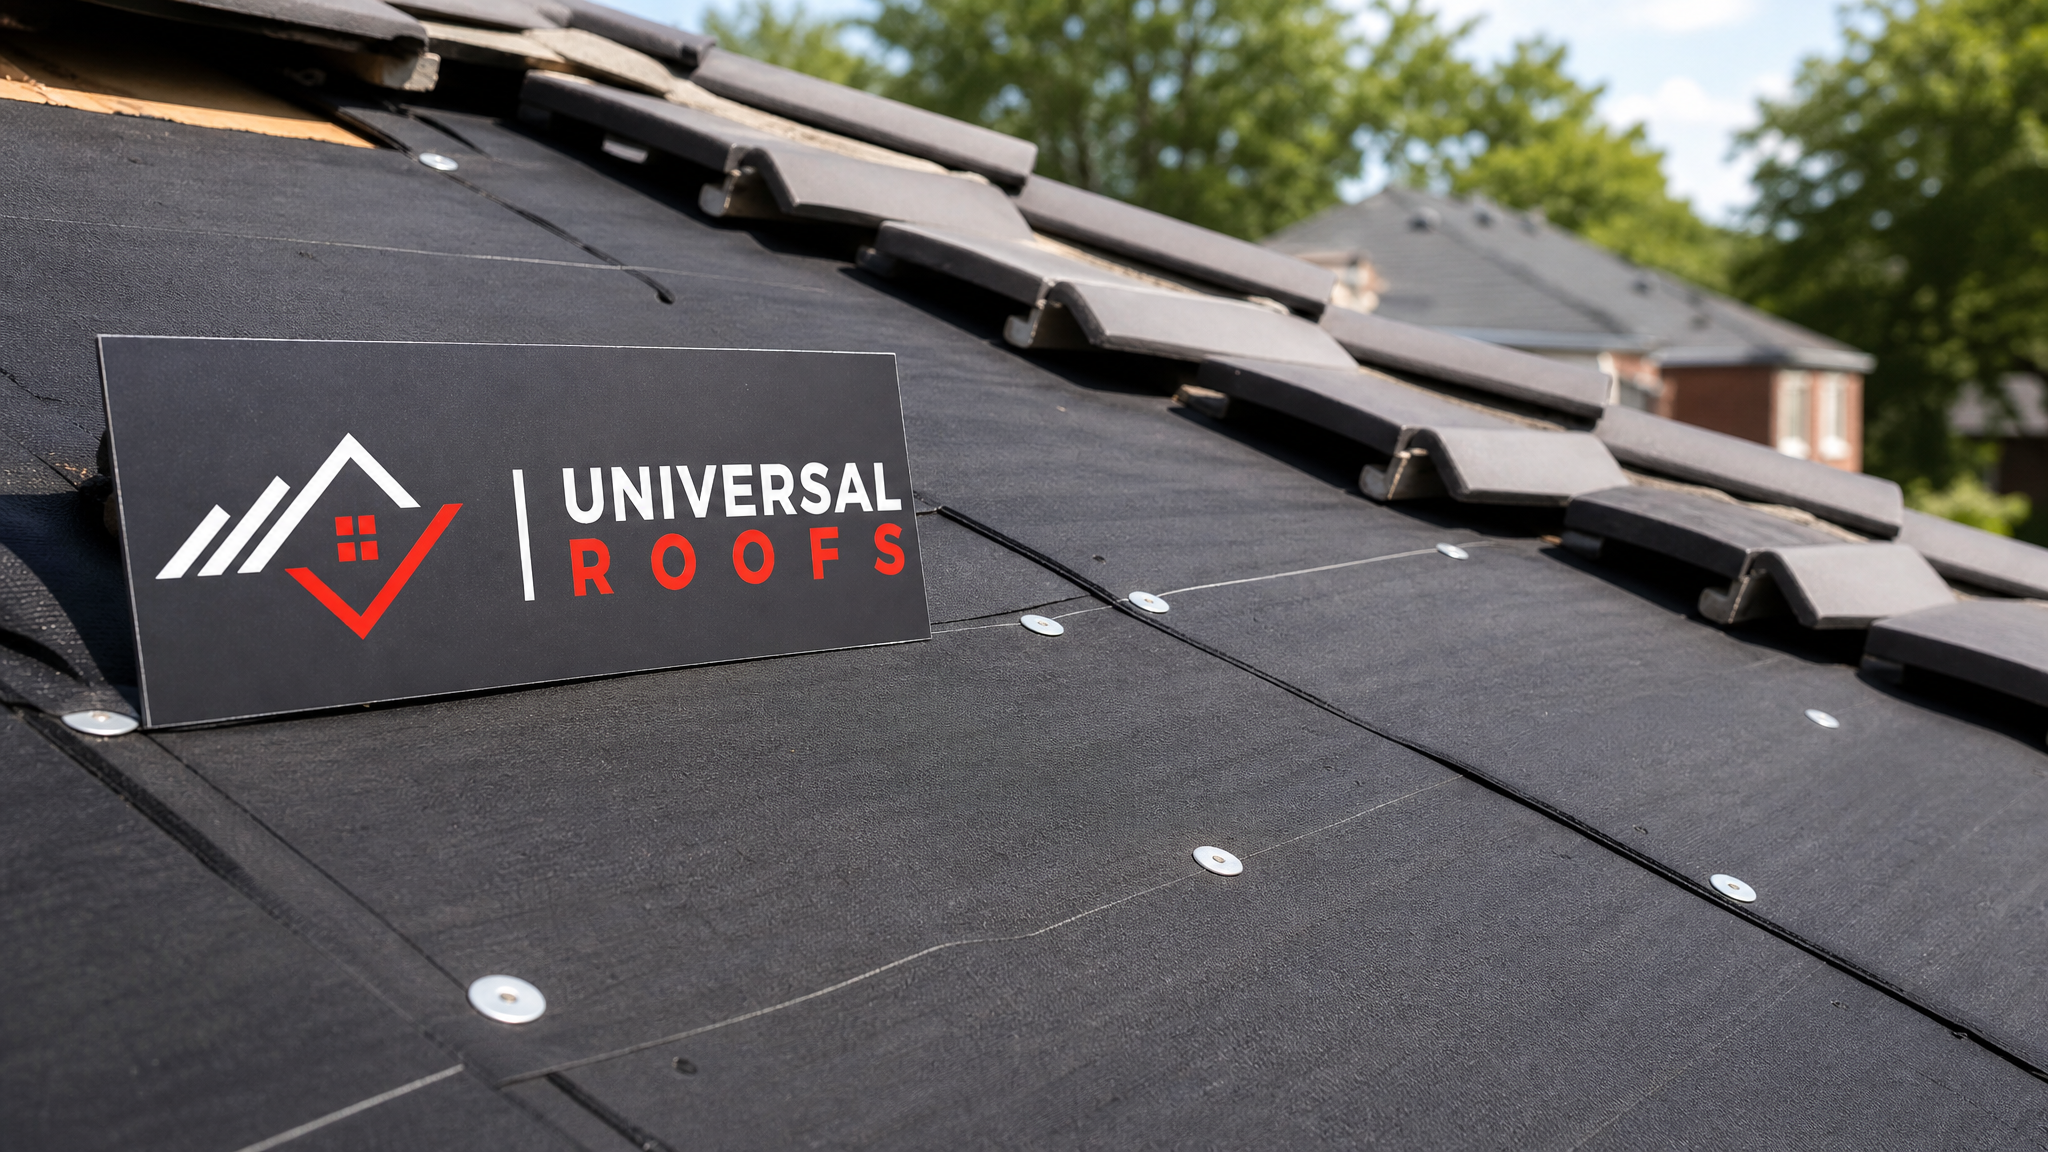
Roof tiles, whether clay, concrete, or composite, are designed to shed the bulk of rainfall and snowmelt. They are not, however, a fully sealed waterproof system on their own. Wind-driven rain, ice damming, and capillary action can all push moisture underneath tiles, especially at overlaps, valleys, and penetrations like chimneys and vents. The underlayment — a waterproof or water-resistant membrane installed directly on the roof deck before the tiles go down — is the actual last line of defence against water intrusion.
Think of the tile layer as the roof’s armour and the underlayment as the skin underneath it. When the underlayment is intact, minor amounts of moisture that slip past tiles are safely channelled down and off the roof. When the underlayment is missing, torn, or brittle, that same moisture goes straight to the wood decking, insulation, and eventually the ceiling drywall below. In a region like the GTA, where we see repeated freeze-thaw cycles, heavy spring rain, and summer thunderstorms, a compromised underlayment rarely stays a small problem for long.
It is also worth understanding that a tile roof’s lifespan is often quoted in the 50-plus year range, but that figure almost always assumes the tiles are being replaced or reinforced on a properly maintained underlayment. Underlayment materials, particularly older asphalt-saturated felt products, typically wear out well before the tiles themselves do. This mismatch is exactly why so many tile roofs in our service area need underlayment work long before anyone considers replacing the tiles.
Signs Your Tile Roof Underlayment Is Missing or Broken
Because tiles sit on top of the underlayment, you cannot usually see underlayment damage just by looking at your roof from the ground or even from a ladder. Instead, homeowners typically notice secondary symptoms first. Here are the most common warning signs we see on inspections across Toronto and the surrounding region.
- Water stains or discoloured patches on ceiling drywall, especially after a heavy rain or rapid snowmelt
- A musty odour in the attic or top-floor closets that intensifies during humid summer weather
- Visible daylight through the roof deck when viewed from inside the attic
- Sagging, soft, or spongy sections of roof deck felt underfoot during an inspection
- Mould or mildew growth on attic framing, insulation, or the underside of the roof deck
- Cracked, slipped, or missing tiles that have exposed bare deck or felt for an extended period
- Granule loss or brittle, curling fragments of felt visible around ridge or valley areas
If any of these symptoms sound familiar, it is worth scheduling a proper roof inspection rather than guessing. A trained technician can lift a sample of tiles in a few strategic spots to check the underlayment’s actual condition without disturbing the whole roof. Our FAQ page covers more of the questions homeowners commonly ask before booking an inspection.
Diagnosing the Extent of Underlayment Damage
Not every instance of underlayment wear requires a full tear-off. The right approach depends heavily on how localized the problem is and what caused it in the first place. During a diagnostic visit, a roofer will typically check the following:
Age and material of the existing underlayment. Original 15-pound or 30-pound asphalt felt from a roof installed 20 to 30 years ago is likely brittle throughout, even if only one section is actively leaking. In that case, patching a single spot often just delays a larger repair. Newer synthetic underlayments generally last longer and can sometimes be patched locally with good results.
Cause of the failure. Wind uplift that cracked a run of tiles is a very different problem than long-term UV degradation or an ice dam that tore felt along an eave. Understanding the cause tells the technician whether the fix needs to address flashing details, ventilation, or ice-and-water shield placement, not just the felt itself.
Deck condition underneath. If water has been getting through for a while, the plywood or board decking beneath the underlayment may be soft, delaminated, or rotted. Replacing underlayment over compromised decking is a temporary fix at best — the deck needs to be sistered, patched, or replaced first.
Scope of tile disturbance. Because tile is more fragile and labour-intensive to remove and reset than asphalt shingles, a contractor will map out exactly how many tiles need to be lifted, in what pattern, to access the affected underlayment without unnecessary breakage.
Step-by-Step: How Underlayment Replacement Is Done
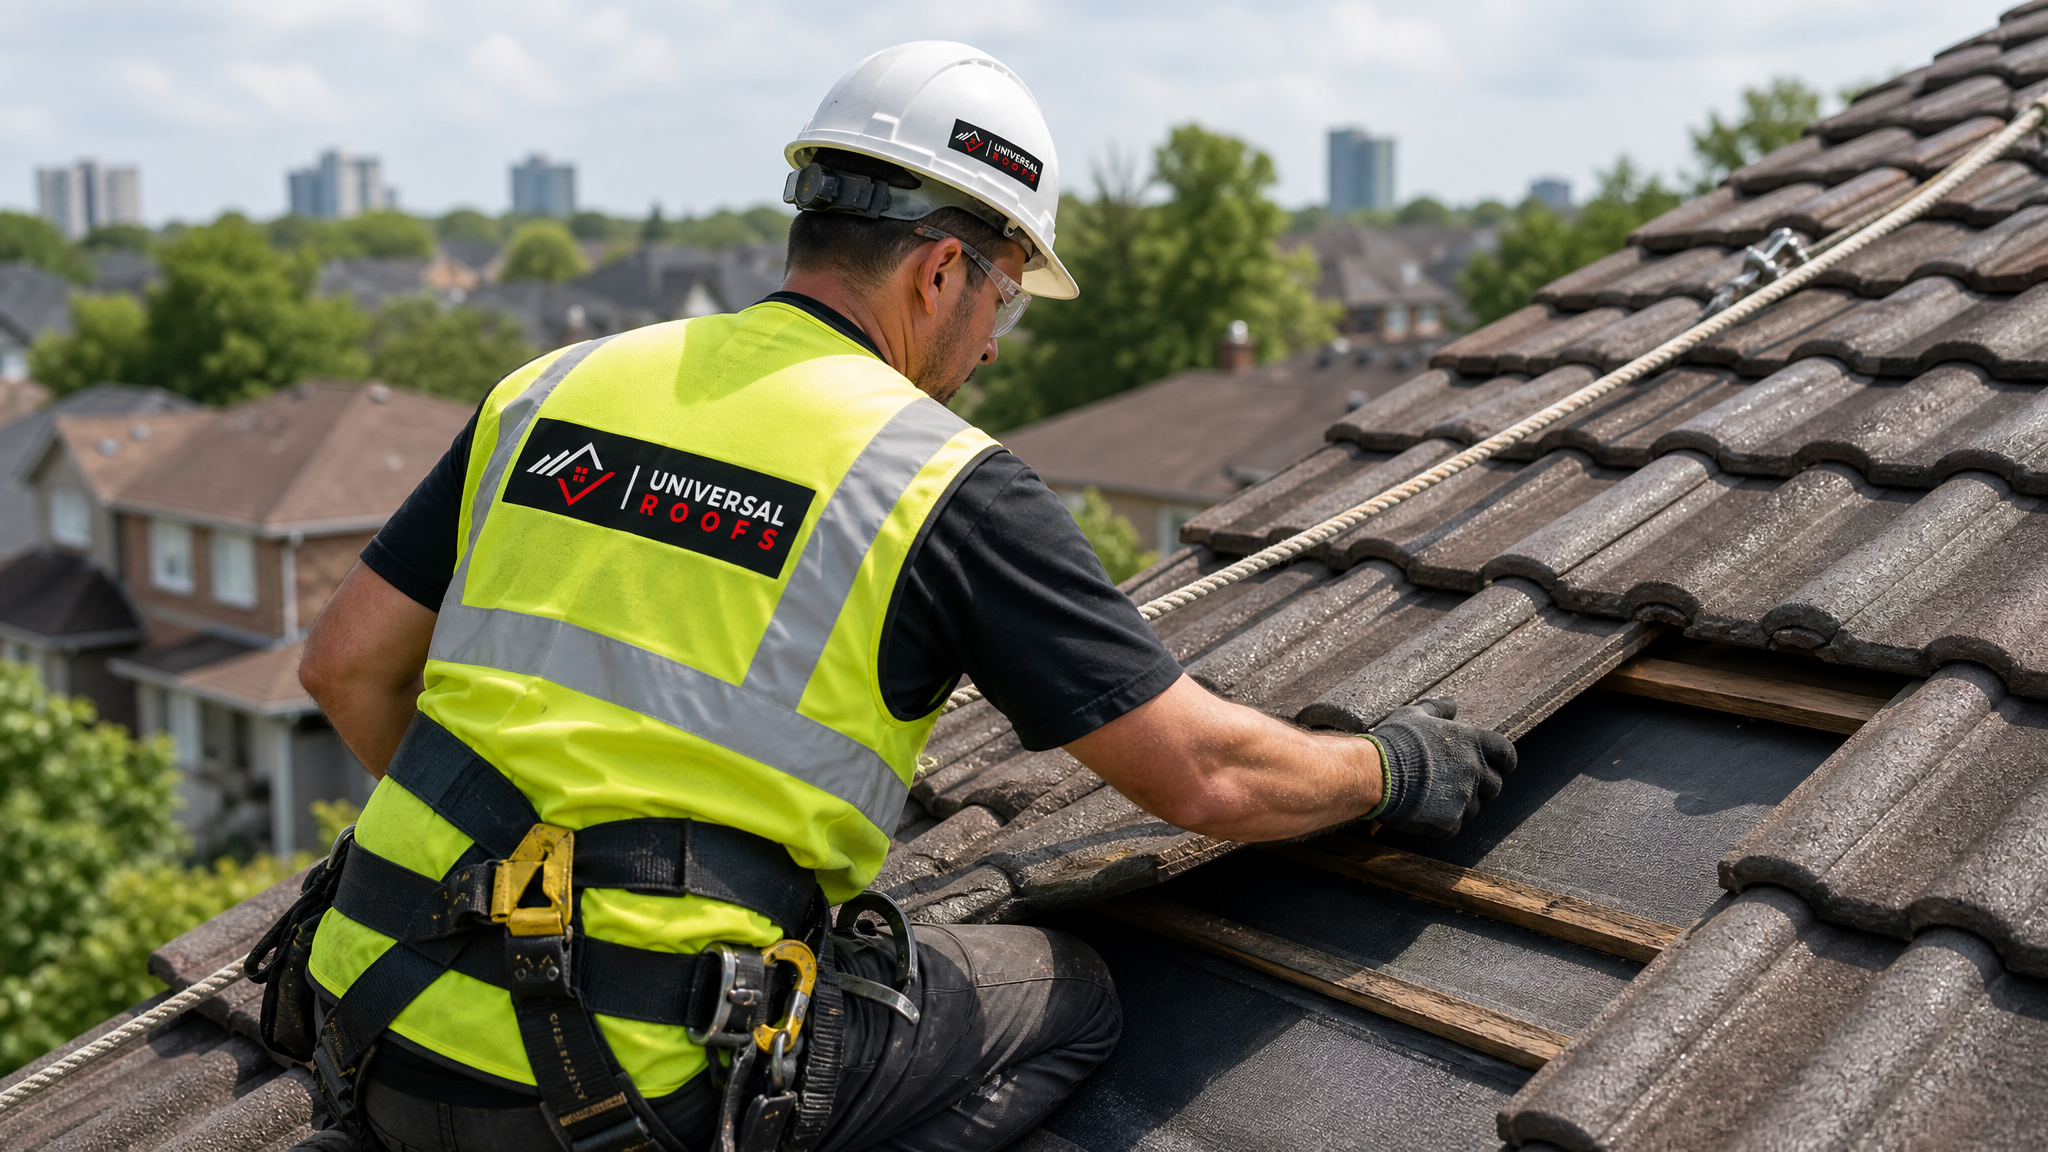
Replacing tile roof underlayment is a methodical process. Rushing any step — especially tile removal and resetting — is how homeowners end up with cracked tiles, mismatched colours, or new leaks in places that were previously fine. Here is the general sequence a professional crew follows.
- Mark and photograph the tile layout. Before anything is touched, the crew documents the existing pattern, overlap, and orientation so tiles go back exactly where they came from.
- Carefully remove the affected tiles. Tiles are lifted from the top row down, working in the reverse order of how they were installed, to avoid putting pressure on tiles that are still interlocked below.
- Strip out the damaged underlayment. Old felt or membrane is cut back to sound material, typically extending at least one full course beyond the visibly damaged area to ensure a clean tie-in.
- Inspect and repair the deck. Any soft, rotted, or delaminated sections of decking are cut out and replaced with matching thickness plywood before new underlayment goes down.
- Install new underlayment in proper overlapping courses. Starting from the eave and working up, each course overlaps the one below by the manufacturer’s specified amount, with extra layers or ice-and-water shield at valleys, eaves, and penetrations.
- Reinstall flashing where applicable. Step flashing, valley metal, and pipe boots are checked and replaced if corroded or bent during the original failure.
- Reset the tiles in original order. Using the documented layout, tiles are reinstalled with proper fasteners or clips, matched for colour and profile so the repair is not visually obvious from the ground.
- Final inspection and cleanup. The crew checks for proper tile seating, clears debris, and confirms there are no loose or cracked tiles left behind.
Underlayment Material Options Compared
Not all underlayment products perform the same way under a tile roof, and the right choice depends on your roof’s slope, local climate exposure, and budget. The table below compares the most common options homeowners in our service area choose between.
| Underlayment Type | Typical Lifespan | Best Suited For | Relative Cost |
|---|---|---|---|
| Asphalt-saturated felt (15 lb / 30 lb) | 10-15 years | Budget repairs, lower-slope sections | Low |
| Synthetic polymer underlayment | 25-30+ years | Full replacements, high-exposure roofs | Moderate |
| Self-adhered rubberized (ice-and-water shield) | 30+ years | Eaves, valleys, chimneys, skylight edges | Higher |
| High-temperature synthetic underlayment | 25-30 years | Metal-clad or dark tile roofs with high heat buildup | Moderate to higher |
In our climate, we generally recommend a synthetic underlayment as the base layer across the field of the roof, with self-adhered rubberized membrane reinforcing eaves, valleys, and any penetration points where ice damming and pooling water are most likely. This layered approach costs more upfront than a single-material felt roof but pays for itself many times over by extending the interval before the next full replacement is needed.
Cost Factors for Tile Roof Underlayment Replacement
Because tile removal and resetting is labour-intensive, underlayment repairs on a tile roof typically cost more per square than the equivalent repair on an asphalt shingle roof. Several factors influence the final price homeowners see on a quote.
| Cost Factor | Impact on Price | Notes |
|---|---|---|
| Size of affected area | Direct, scales with square footage | Spot repairs cost far less than full tear-offs |
| Tile type and fragility | Moderate to high | Older clay tiles crack more easily than concrete, raising breakage allowance |
| Roof pitch and access | Moderate | Steep or high roofs require more safety equipment and time |
| Deck repair needed | High if present | Rotted decking adds material and labour beyond underlayment alone |
| Underlayment material chosen | Low to moderate | Premium self-adhered membranes cost more per square than basic felt |
| Matching tile availability | Variable | Discontinued tile profiles may require sourcing reclaimed or custom-matched tiles |
Because so many variables affect the final number, we strongly recommend an in-person assessment rather than relying on a phone estimate. A crew that has actually walked your roof and lifted a few tiles will give you a far more accurate picture than any generic online calculator.
Common Mistakes Homeowners and Contractors Make
We inspect a fair number of roofs where a previous repair actually made things worse rather than better. Avoiding these mistakes will save both money and future headaches.
| Mistake | Why It Causes Problems | Better Approach |
|---|---|---|
| Patching over brittle felt instead of replacing it | Old felt continues to crack and fail around the patch | Replace the full course, not just the visible tear |
| Skipping ice-and-water shield at eaves | Ice damming pushes meltwater back under tiles each winter | Always reinforce eaves and valleys with self-adhered membrane |
| Reusing cracked or chipped tiles | Compromised tiles fail again quickly and can crack further in freeze-thaw cycles | Replace any tile with visible cracks, chips, or spalling |
| Walking on tiles without proper technique | Improper foot placement cracks tiles that were otherwise sound | Use trained crews who know how to distribute weight on tile roofs |
| Ignoring deck condition beneath the underlayment | New underlayment over rotten decking fails again within a year or two | Inspect and repair decking before installing new underlayment |
Underlayment Failure vs. Full Tile Roof Replacement
One of the most common questions we get on service calls is whether a localized underlayment repair makes sense, or whether the homeowner should be planning for a full roof replacement instead. The honest answer depends on the age of the roof and how widespread the underlayment failure actually is.
If your tile roof is under 20 years old and the underlayment problem is isolated to a specific area — say, around one chimney flashing or a single valley — a targeted repair is usually the right call. The tiles themselves likely still have decades of useful life left, and there is no reason to disturb sound sections of roof.
If your roof is approaching or past 30 years old, and you are finding brittle, cracking underlayment in multiple areas during inspection, that is a strong signal the entire underlayment layer is reaching end of life, even if the tiles look presentable. In that scenario, a full roof replacement that reinstalls the existing tiles over entirely new underlayment is often more cost-effective long-term than repeatedly patching different sections every year or two.
It is also worth checking your attic ventilation and insulation at the same time. Poor ventilation accelerates underlayment breakdown from the underside through trapped heat and moisture, so addressing attic airflow issues alongside underlayment work helps the new materials last as long as they are designed to.
Preventing Future Underlayment Damage
Once new underlayment is in place, a bit of ongoing maintenance goes a long way toward protecting that investment. We recommend the following routine for tile roofs across Toronto, Mississauga, Brampton, Vaughan, Markham, and Oakville.
- Schedule a professional roof inspection at least once a year, ideally in late spring after winter freeze-thaw cycles have finished
- Clear debris, leaves, and moss buildup from valleys and around penetrations, where moisture tends to pool
- Address any cracked or slipped tiles promptly rather than waiting, since exposed felt degrades quickly under direct UV and moisture
- Check attic ventilation periodically to ensure heat and humidity are not accelerating underlayment breakdown from below
- Keep gutters and downspouts clear so water drains properly instead of backing up under eave-level tiles
- Trim overhanging branches that can drop debris or scrape tiles loose during wind events
These are simple habits, but they consistently separate tile roofs that reach their full 50-plus year potential from those that need premature underlayment work every few years.
When to Call a Professional
Tile roofs are not a great candidate for ambitious do-it-yourself repair work. The tiles are heavy, brittle underfoot in the wrong conditions, and expensive to replace if cracked unnecessarily. Add in the fact that most of the actual damage — the underlayment — is invisible until tiles are already lifted, and it becomes clear why professional assessment matters so much here.
A qualified roofer brings the right ladders, harnesses, and walking technique to move across tile without causing new damage, along with the experience to correctly diagnose whether a leak is coming from the underlayment itself, a flashing detail, a skylight seal, or a completely different source such as ice damming at the eave. If your home also has a skylight integrated into the tile roof, leaks near that area often trace back to failed flashing rather than the underlayment itself, which is worth ruling out with a proper skylight replacement assessment if the unit itself is aging.
You can also review real feedback from homeowners we have helped with similar tile roof issues on our reviews page, and learn more about our background and approach on the about page.
Underlayment Repair Timelines
Homeowners often want a sense of how long this kind of repair takes so they can plan around it. The table below outlines typical timeframes based on project scope.
| Project Scope | Typical Duration | What’s Included |
|---|---|---|
| Spot repair (single valley or flashing area) | Half day to 1 day | Tile removal, underlayment patch, tile reset in affected zone |
| Section repair (multiple courses or one roof face) | 1-2 days | Broader tile removal, deck check, full underlayment replacement in section |
| Full underlayment replacement, tiles reused | 3-7 days | Entire roof tile removal, deck inspection/repair, new underlayment, tile reinstallation |
| Full replacement with new tiles | 5-10 days | Tear-off, deck repair, new underlayment, new tile installation |
Weather is the biggest variable affecting these timelines. Because underlayment work exposes the deck to the elements while tiles are lifted, crews plan around forecasted dry windows, which can shift scheduling during unsettled spring or fall weather.
Service Areas We Cover
Universal Roofs has been repairing and replacing tile roof underlayment across the Greater Toronto Area since 2005. We regularly serve homeowners throughout Toronto, the Peel Region, York Region, Halton Region, and Durham Region, so wherever you are in the GTA, our crews are familiar with the specific tile profiles, local code requirements, and weather exposure common to your neighbourhood.
If your home also has flat roof sections alongside the tile roof — common on additions, garages, or porch roofs — our flat roofing team can assess those areas at the same time to make sure the whole roof system is watertight, not just the tile portion.
How do I know if I need to replace missing or broken tile roof underlayment?
Can I replace tile roof underlayment myself?
How long does new tile roof underlayment last?
Does replacing underlayment mean I need a whole new tile roof?
What causes tile roof underlayment to fail in the first place?
How much does it cost to replace missing or broken tile roof underlayment?
Need Help With How to Replace Missing?
Missing or broken tile roof underlayment is not something to leave until the next leak shows up on your ceiling. Our team at Universal Roofs has spent years diagnosing exactly this kind of hidden damage on tile roofs across the GTA, and we know how to fix it properly the first time, without unnecessary tile breakage or repeat visits.
Call us today at (416) 732-2421 or request a free inspection to get started.
Universal Roofs proudly serves Toronto, Mississauga, Brampton, Vaughan, Markham, Oakville and the GTA since 2005.