
A wind storm rolling off Lake Ontario can strip shingles, lift flashing, and crack vents in minutes — and in the Toronto area, where summer squalls and fall gusts regularly top 70 to 90 km/h, roof wind damage is one of the most common reasons homeowners call a roofing contractor. Knowing exactly what to do for roof wind damage repair in the hours and days after a storm can mean the difference between a straightforward shingle replacement and a much larger interior repair bill.
This guide walks through the full process: how to spot wind damage safely from the ground, what to document for your insurance claim, which repairs are true emergencies versus which can wait for a scheduled inspection, and how professional roof wind damage repair actually happens once a contractor is on site. We will also cover cost ranges, typical timelines, and the mistakes that turn a $600 repair into a $6,000 one.
Whether you noticed a few shingles in the yard after last night’s gusts or you are still assessing damage from a storm weeks ago, the steps below apply across the GTA — from older Etobicoke bungalows to newer Vaughan builds — because the underlying wind mechanics and Ontario building materials are largely the same.
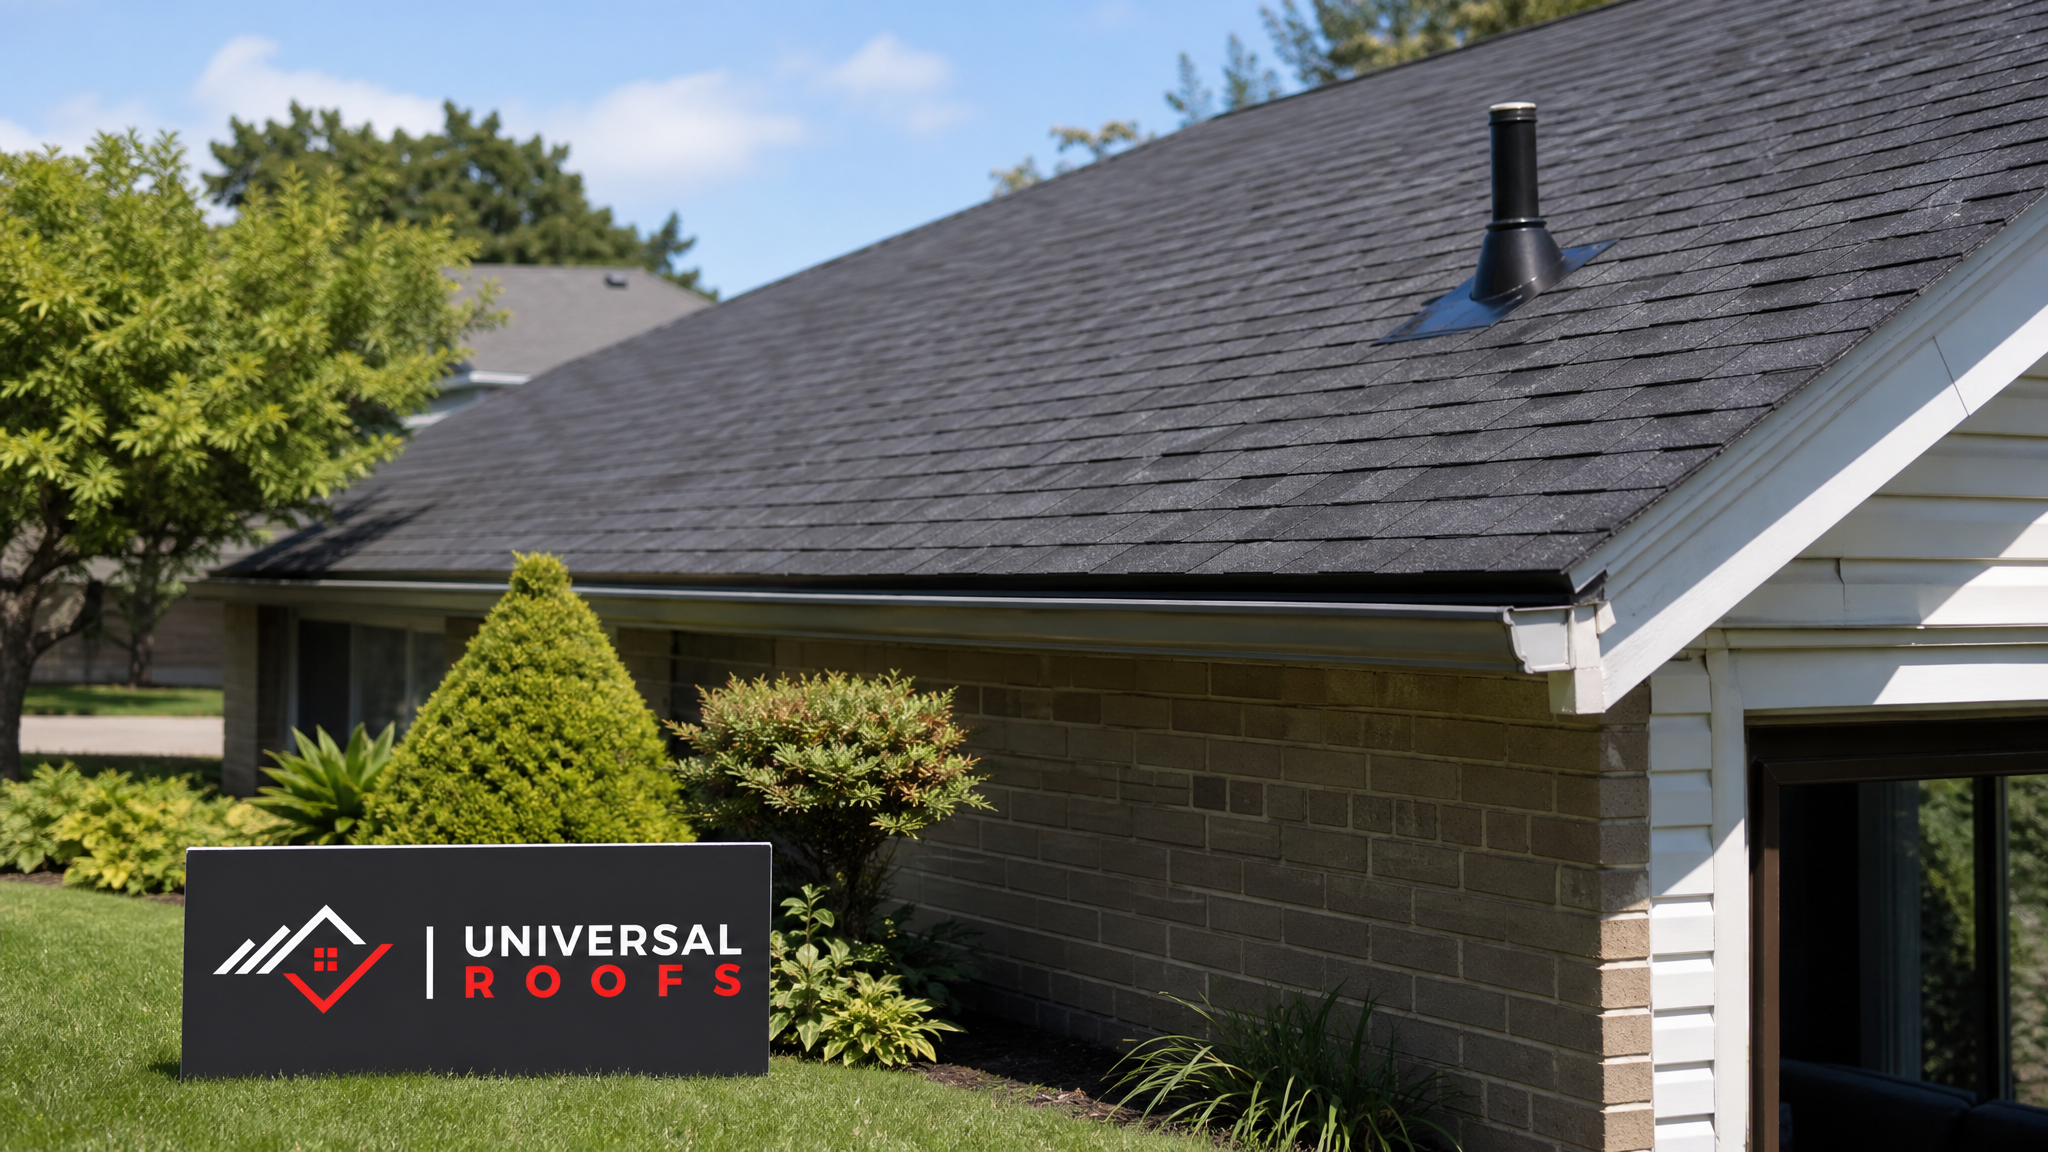
How to Recognize Roof Wind Damage After a Storm
Most wind damage is visible without ever climbing a ladder, which is exactly how we recommend homeowners do their first pass. Wind rarely damages a roof by tearing it apart in one dramatic motion — it works by lifting the edges of shingles, flexing them past their sealant strip’s breaking point, and repeating that flex-and-release cycle until the shingle cracks, curls, or detaches entirely.
From the ground, walk the full perimeter of your house and look for these signs:
- Shingles in the yard, gutters, or driveway — even one or two is a signal to inspect further, since wind rarely lifts only a single shingle.
- Bald or discoloured patches on the roof plane where the granulated surface is missing or shingles are creased.
- Lifted shingle edges or “fish-mouthing” — shingles that no longer lie flat and show daylight underneath at the tab.
- Bent, dented, or missing metal flashing around chimneys, vent pipes, and skylights.
- Sagging or torn ridge cap shingles along the peak of the roof, which take the brunt of uplift force.
- Debris damage — branch strikes or impact marks from wind-blown objects, which can puncture the underlayment even if shingles look intact.
Inside the house, check ceilings and the attic (if accessible) for fresh water stains, a musty smell, or visible daylight through the roof deck. Wind damage that breaches the underlayment does not always cause an immediate leak — the first rain after the storm is often when the problem becomes obvious, so a same-week attic check is worthwhile even if you see no exterior red flags.
Immediate Steps to Take Right After the Storm
The actions you take in the first 24 to 48 hours affect both the extent of secondary damage and how smoothly an insurance claim proceeds. Here is the order we recommend:
- Do not get on the roof yourself. Wet or wind-loosened shingles, unstable flashing, and debris make DIY roof inspections one of the most common causes of fall injuries reported to Ontario emergency rooms after storms.
- Photograph everything from the ground — wide shots of each roof plane, close-ups (zoomed, not climbed) of any visible damage, and any debris in the yard, still in its landing position if possible.
- Check the attic for active leaks and place a bucket or tarp-lined container under any drip point to limit interior damage.
- Cover exposed areas temporarily only if it is safe to do so from a stable ladder position at eave height — never walk the roof deck. A weighted tarp over an exposed section can prevent rain intrusion until a professional arrives.
- Call your insurance provider to open a claim file and get a claim number, even before a contractor visits — most GTA insurers give homeowners a reasonable window to report storm damage, but earlier is always better for a wind event that affected the whole neighbourhood.
- Book a professional inspection through our roof repair team, ideally within a few days, so the assessment and your insurance claim are working from the same documentation.
Do not authorize permanent repairs before your insurance adjuster has seen the damage or received your contractor’s report, unless the situation is a genuine emergency (active leak into living space, structural sag, or exposed decking before a forecasted rain event). Emergency mitigation work — tarping, temporary patching — is normally reimbursable even ahead of adjuster sign-off, but full shingle replacement typically should wait for claim approval.
Emergency vs. Non-Emergency Wind Damage: How to Tell the Difference
Not every instance of wind damage needs a same-day contractor visit. Distinguishing genuine emergencies from cosmetic or minor damage helps you prioritize correctly and avoid unnecessary after-hours service fees.
| Situation | Urgency Level | Recommended Action | Typical Response Window |
|---|---|---|---|
| Active water dripping into living space | Emergency | Call immediately, place containment below leak, request emergency tarp | Same day |
| Visible daylight through roof deck or attic | Emergency | Tarp exposed section, schedule urgent inspection | Same day to next morning |
| Multiple missing shingles, no current leak | Urgent, not emergency | Schedule inspection within 2-3 days, monitor attic | 2-3 days |
| Lifted but intact shingle edges | Moderate | Book a standard inspection appointment | Within a week |
| Bent flashing, no leak signs | Moderate | Include in next scheduled inspection | Within 1-2 weeks |
| Granule loss in gutters only | Low | Note for annual maintenance check | Next seasonal inspection |
A useful rule of thumb: if water is actively entering the building envelope, treat it as an emergency regardless of how minor the exterior damage looks. If the damage is purely exterior and dry, you generally have several days to a couple of weeks to schedule a proper assessment without risking further loss.
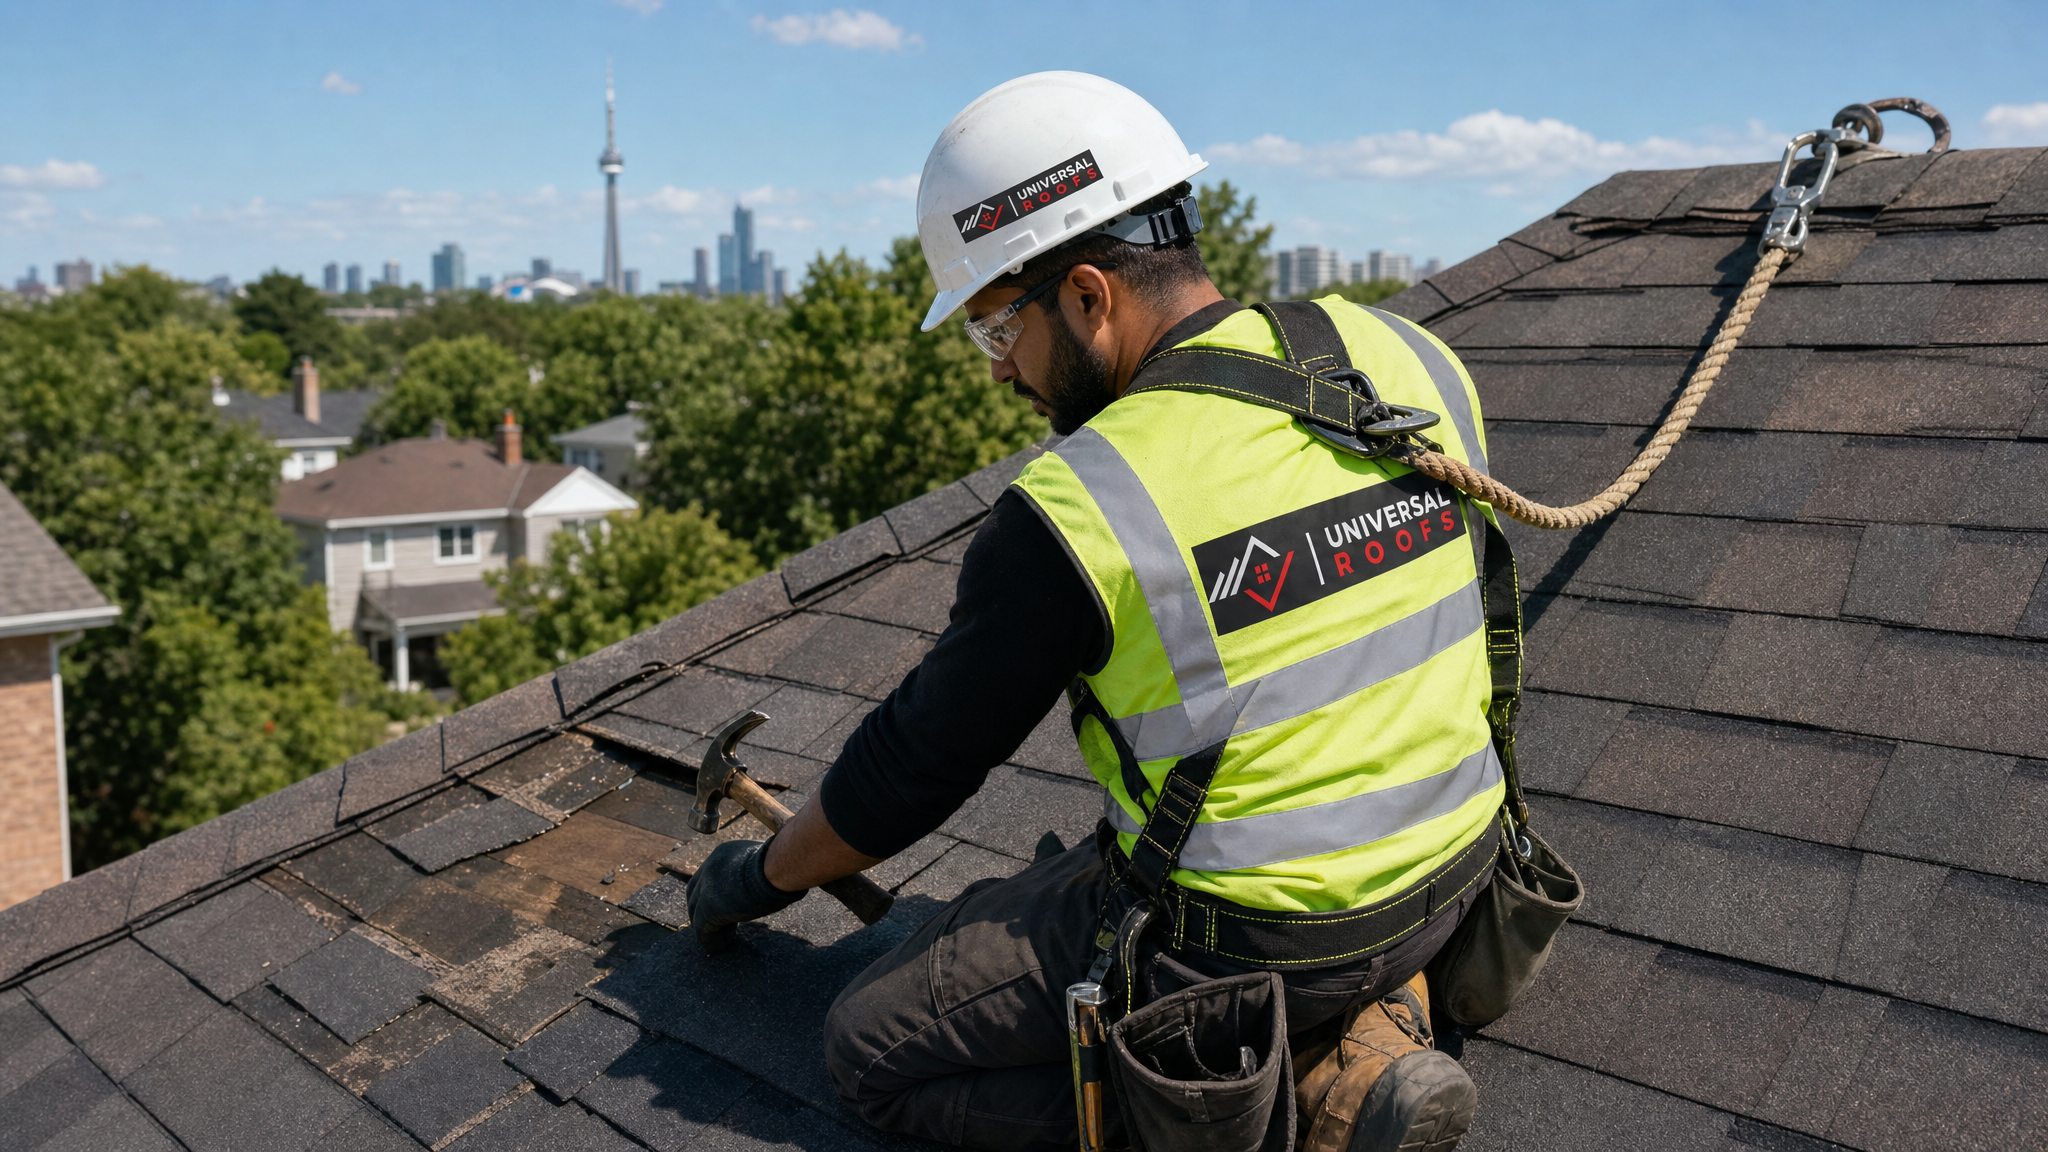
What a Professional Roof Wind Damage Repair Actually Involves
When our crews arrive for a wind damage call, the repair follows a consistent sequence regardless of how minor or extensive the damage appears from the ground. Skipping steps in this sequence is exactly how small wind damage turns into a recurring leak.
1. Full Roof Assessment, Not Just the Visible Damage
Wind rarely damages only the spot a homeowner can see from the yard. A technician walks the entire roof plane, checking every shingle course, all flashing points, ridge caps, and vent boots — because a gust strong enough to lift one section has usually stressed the sealant bond on adjacent shingles too, even if they have not visibly failed yet.
2. Underlayment and Decking Check
Anywhere shingles are missing or torn, the technician checks the underlayment (the water-resistant barrier beneath the shingles) and the wood decking underneath for moisture, soft spots, or rot. This step is what separates a proper repair from a cosmetic patch — replacing shingles over compromised decking just delays the same leak.
3. Matching and Replacing Damaged Shingles
Loose, torn, or missing shingles are removed and replaced with matching material. Colour and profile matching matters more than homeowners often expect — on a roof installed more than a few years ago, exact shingle matches can be difficult to source, and we will discuss the best available match with you before installing anything visibly mismatched.
4. Resealing and Re-Nailing Adjacent Shingles
Shingles bordering the damaged area are re-nailed to code (typically four to six nails per shingle depending on wind exposure) and hand-sealed with roofing cement if the factory sealant strip has been compromised by the storm’s flexing action.
5. Flashing and Vent Boot Repair
Bent or lifted flashing around chimneys, skylights, and vent pipes is resecured or replaced. Flashing failures are one of the most common sources of post-storm leaks precisely because they are easy to overlook from the ground.
6. Final Inspection and Documentation
The completed repair is photographed for your records and for your insurance file, and the technician walks you through what was done, what (if anything) should be monitored, and whether a broader roof replacement conversation makes sense given the roof’s age and overall condition.
Repair Methods, Materials, and Typical Timelines
The right repair approach depends heavily on the roofing material and the extent of the damage. The table below summarizes what we see most often across GTA homes.
| Roof Type / Damage | Common Repair Method | Typical Timeline | Notes |
|---|---|---|---|
| Asphalt shingles — isolated missing tabs | Spot shingle replacement, re-seal adjacent courses | Half day to 1 day | Most common repair type after GTA wind events |
| Asphalt shingles — widespread lifting | Section re-shingle or full replacement if age warrants it | 1-3 days | Often the trigger for an insurance-funded replacement |
| Ridge cap damage | Ridge cap removal and reinstallation with high-wind nailing pattern | Half day | Ridge caps take the highest uplift load on a roof |
| Flashing displacement (chimney, skylight, vent) | Re-secure or replace flashing, renew sealant | Half day | Frequently paired with skylight or vent inspection |
| Flat/low-slope membrane lifting | Membrane re-adhesion or patch, seam resealing | 1 day | See our dedicated flat roofing guidance for membrane-specific detail |
| Decking damage from prolonged exposure | Deck board replacement before re-shingling | 1-2 additional days | Only needed when water has reached the wood substrate |
Weather is the biggest variable in scheduling. Dry, mild days — common through a Toronto summer like this one — allow same-week repairs in most cases. Repairs scheduled during unsettled weather may be split into an emergency tarp visit followed by the permanent repair once conditions clear, which is standard practice and does not indicate anything is wrong with the job.
Working With Your Insurance Company on a Wind Damage Claim
Wind damage is one of the more straightforward categories of roof insurance claims, provided you document the sequence correctly. Ontario home insurance policies typically cover sudden, storm-related wind damage as a named peril, distinct from gradual wear, which insurers exclude.
Steps that make claims go smoothly:
- Report promptly. Most insurers expect notice within a reasonable window after the storm; delays can raise questions about whether damage was storm-related or pre-existing.
- Keep dated photos. Timestamped photos from immediately after the storm, before any repair work, are the strongest evidence in a claim.
- Get a written contractor assessment. A detailed inspection report describing cause (wind), extent, and recommended scope carries significant weight with adjusters.
- Do not discard removed materials until the adjuster visits or confirms it is not needed, particularly for larger claims.
- Track all mitigation costs — tarping, temporary containment, and emergency callout fees are typically reimbursable as part of the claim.
Many homeowners are surprised that a wind claim can also be the right moment to address unrelated, pre-existing wear — an adjuster may approve a broader scope if the storm exposed underlying issues that a smaller patch would not resolve. This is worth discussing directly with your contractor and adjuster rather than assuming either way.
Cost Ranges for Roof Wind Damage Repair in the GTA
Costs vary with the extent of damage, roof pitch, material, and accessibility, but the ranges below reflect typical GTA pricing before any insurance reimbursement.
| Repair Scope | Typical Cost Range (CAD) | What Affects Price | Insurance Coverage Likelihood |
|---|---|---|---|
| Emergency tarp / temporary containment | $300 – $800 | Roof size, pitch, urgency (after-hours) | Usually covered as mitigation cost |
| Spot shingle replacement (under 10 shingles) | $400 – $900 | Shingle matching, roof height/pitch | Often covered if storm-linked |
| Section re-shingle (one roof plane) | $1,200 – $3,500 | Square footage, material grade | Commonly covered for confirmed wind events |
| Flashing repair/replacement | $350 – $900 per point | Number of penetrations, metal type | Usually covered alongside shingle claim |
| Full roof replacement (storm-triggered) | $8,000 – $18,000+ | Roof size, material, decking condition | Depends on age, policy terms, and adjuster assessment |
If your roof is already near the end of its expected service life (most asphalt shingle roofs in the GTA last 18 to 25 years depending on installation quality and attic ventilation), a wind event is often the practical trigger for a full roof replacement conversation rather than a repeated cycle of individual repairs. We can walk you through that comparison honestly during an inspection rather than defaulting to the larger job.
Preventing Future Wind Damage
While no roof is entirely wind-proof, several factors significantly reduce vulnerability to the next storm:
- Proper nailing pattern. Shingles installed with the manufacturer’s high-wind nailing pattern (typically six nails in exposed areas) resist uplift far better than the standard four-nail pattern.
- Sealant strip activation. New shingles need sun exposure and warmth to fully bond; a roof installed late in the fall may be more vulnerable to a wind event before the following summer fully seals it. This is one reason spring and summer inspections after a fall install are worthwhile.
- Edge and ridge detailing. Proper starter strips at the eaves and rakes, plus correctly fastened ridge caps, address the two zones that take the highest wind load.
- Attic ventilation. A well-ventilated attic reduces shingle stress from underside heat buildup, which can make shingles more brittle and prone to wind-driven cracking over time.
- Routine inspections. An annual check catches loosening shingles, aging sealant, and minor flashing issues before a storm turns them into a full repair.
If your roof has come through repeated wind events with recurring minor damage in the same areas, that pattern itself is diagnostic — it usually points to an installation or ventilation issue rather than bad luck, and it is worth a dedicated assessment rather than another one-off patch.
Wind Damage Across the GTA: Regional Considerations
Wind exposure varies meaningfully across the Greater Toronto Area based on elevation, tree cover, and proximity to open water, and our crews adjust their inspection approach accordingly.
Homes in Toronto‘s lakefront neighbourhoods and higher-elevation pockets of Scarborough and Etobicoke often see stronger sustained gusts off Lake Ontario, which can accelerate wear on ridge caps and southwest-facing roof planes. In Peel Region, newer subdivisions in Brampton and Mississauga generally have more consistent modern nailing patterns, but open, less-treed streetscapes can mean less windbreak protection than older, mature neighbourhoods. York Region communities like Vaughan, Markham, and Richmond Hill see a mix of older rural-adjacent properties and newer builds, so damage patterns vary block by block. Across Halton Region — Oakville, Burlington, and Milton — proximity to the escarpment can create localized wind funnelling effects during storms. And in Durham Region, waterfront communities like Ajax and Whitby see similar lake-effect wind exposure to Toronto’s eastern beaches.
None of this changes the fundamentals of how wind damage should be assessed and repaired, but it does mean a contractor familiar with your specific micro-climate can often anticipate problem areas — like a chronically under-sealed ridge cap on a lakefront-facing slope — before they become a repeat callback.
When to Choose Repair vs. Full Roof Replacement
This is the question we get asked most often on wind damage calls, and the honest answer depends on three factors working together rather than any single one.
| Factor | Favours Repair | Favours Replacement |
|---|---|---|
| Roof age | Under 12-15 years | 15+ years, especially with prior repairs |
| Extent of wind damage | Isolated, one or two roof planes | Widespread across multiple planes |
| Decking condition | Dry, sound wood found during inspection | Soft spots or rot discovered |
| Shingle match availability | Matching shingles readily available | Discontinued product, visible patchwork inevitable |
| Insurance settlement | Adjuster approves scoped repair | Adjuster approves full-slope or full-roof replacement |
We will always give you a straight recommendation based on what the inspection actually shows, not a default push toward the larger job. Many wind damage calls end in a same-day repair; some genuinely warrant a broader conversation about replacement, particularly on roofs already past the 15-year mark.
What should I do first for roof wind damage repair after a storm?
Is roof wind damage repair covered by home insurance in Ontario?
How much does roof wind damage repair typically cost?
How can I tell if my roof has wind damage if I can’t see missing shingles?
How quickly does roof wind damage repair need to happen?
Should I repair or replace my roof after wind damage?
Need Help With What to Do for?
Whatever stage you are at — assessing damage from last night’s storm or dealing with a claim that has dragged on for weeks — Universal Roofs has handled roof wind damage repair across the GTA since 2005, and we can walk you through the right next step for your specific roof.
Call us today at (416) 732-2421 or request a free inspection to get started.
Universal Roofs proudly serves Toronto, Mississauga, Brampton, Vaughan, Markham, Oakville and the GTA since 2005.