
A slow drip in the ceiling rarely starts where it shows up. Water can travel along rafters, insulation, and drywall for metres before it finally stains a ceiling tile or drips onto a countertop, which is exactly why homeowners across the GTA get frustrated chasing a leak that seems to “move” every time they think they’ve found it. The best roof leak detection services combine visual roof inspection, attic-side investigation, moisture metering, and sometimes thermal imaging or controlled water testing to pinpoint the actual entry point rather than just patching the spot where water appears indoors.
At Universal Roofs, we’ve been tracing leaks on Toronto-area homes since 2005, and the single biggest lesson from two decades of service calls is that guessing costs homeowners more than diagnosing does. A leak “fixed” at the wrong spot will keep coming back, and each cycle of undetected moisture rots more decking, soaks more insulation, and invites more mould. This guide walks through how professional leak detection actually works, what separates a thorough inspection from a quick look-and-caulk job, and how to choose a contractor who will find the real problem the first time.
Summer is actually one of the better times to deal with a leak investigation. The roof surface is dry, attic temperatures make it easier to spot moisture staining against dry insulation, and there’s no snow load or ice to complicate access. If you noticed a stain during spring melt or a heavy summer thunderstorm, now is the ideal window to get it diagnosed and repaired before autumn rains and the next freeze-thaw cycle make things worse.
Why Roof Leak Detection Is Harder Than It Looks
Water follows the path of least resistance, not the shortest path. A leak that enters through a cracked pipe boot near the ridge can travel down a rafter, cross a truss, and drip out three or four metres away from where it actually entered the roof assembly. This is the core challenge of any roof leak detection service: the stain you see on your ceiling is a symptom, not a diagnosis.
Several factors make GTA roofs particularly tricky to diagnose:
- Freeze-thaw cycling opens and closes small cracks in flashing and shingles repeatedly through the winter, creating intermittent leaks that only appear under specific conditions.
- Ice damming forces water backward, uphill, under shingles — often 60 to 90 centimetres above the eave — so the leak point has nothing to do with where icicles were hanging.
- Multiple roof penetrations (plumbing vents, exhaust fans, skylights, chimneys) each represent a separate potential failure point, and older homes often have five or more.
- Attic insulation depth can hide moisture trails entirely from a casual glance, especially with blown-in cellulose or fibreglass batts stacked deep.
- Wind-driven rain during summer storms can push water sideways under siding-to-roof transitions that never leak in calm rain.
Because of this complexity, the best roof repair outcomes always start with proper detection, not assumption. A contractor who shows up, glances at the shingles from a ladder, and applies a bead of sealant is treating a symptom. A contractor who traces the water’s actual path is solving the problem.
The Core Methods Professional Leak Detection Services Use
Reputable roofing companies typically layer several detection techniques rather than relying on just one. Each method reveals different information, and combining them dramatically increases diagnostic accuracy.
Visual Roof Surface Inspection
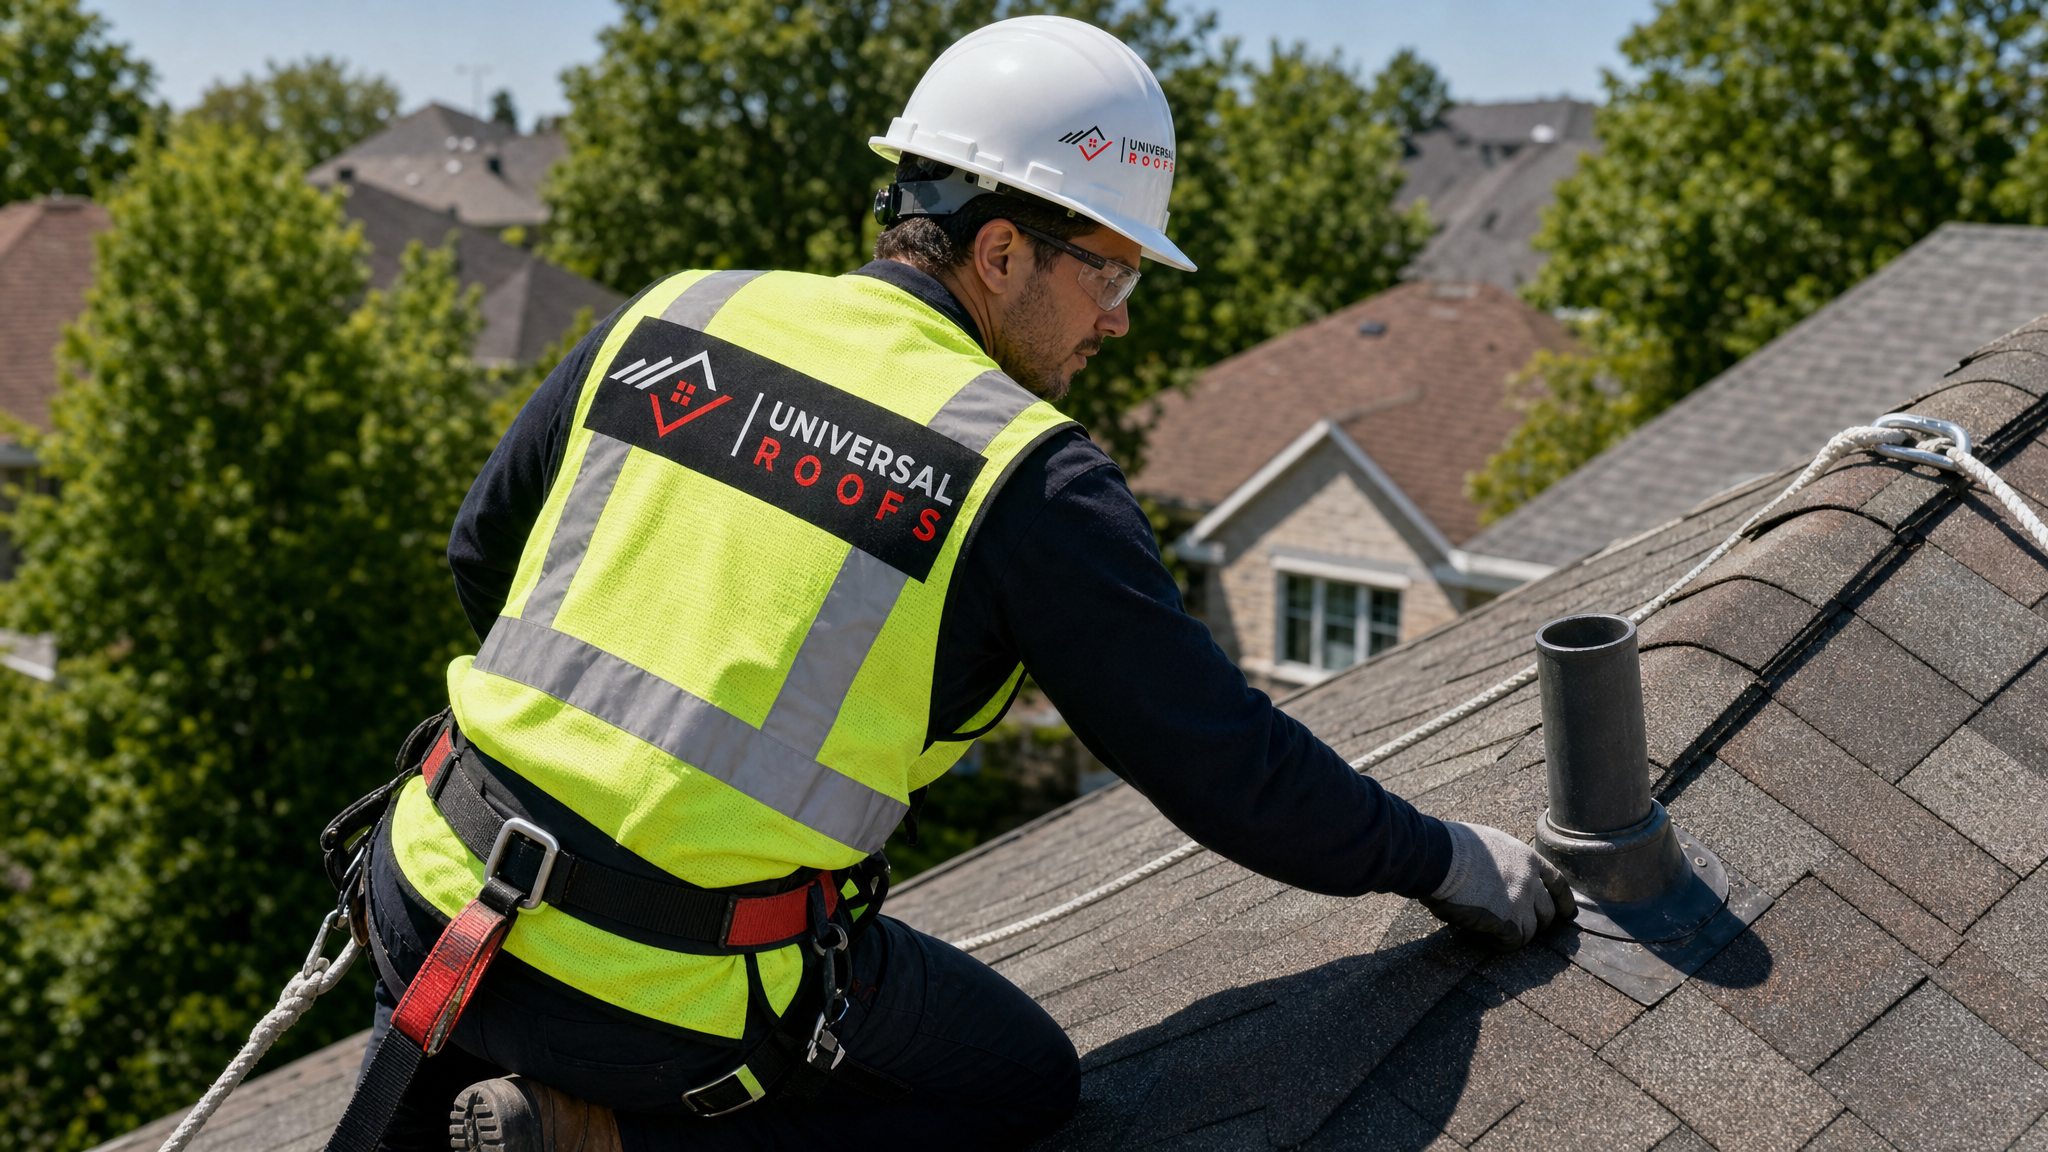
This is the starting point: a technician walks the roof (weather and pitch permitting) checking for cracked, curled, or missing shingles, deteriorated flashing around chimneys and vents, damaged pipe boots, granule loss, and any visible gaps at valleys or roof-to-wall transitions. On steep or fragile roofs, this is done from a ladder and binoculars, or with a drone, rather than walking the surface.
Attic and Underside Inspection
Often the most revealing step. A technician enters the attic with a flashlight and moisture meter, looking for staining on the underside of the decking, wet or compressed insulation, rusted nail tips (a sign of condensation, not necessarily a roof leak), and daylight visible through the decking at penetration points. Tracing a stain’s shape and following it uphill toward its source is a skill that separates experienced roofers from general handymen.
Moisture Meters
Pin-type and pinless moisture meters measure the actual moisture content of decking, drywall, and framing, giving objective, repeatable readings instead of guesswork. This is particularly useful for confirming whether a stain is active (ongoing moisture) or a dried, historical mark from a leak that has already been repaired.
Infrared Thermal Imaging
Thermal cameras detect temperature differences that correspond to wet insulation or trapped moisture behind surfaces, since wet materials hold and release heat differently than dry ones. This non-invasive method is especially valuable on flat and low-slope roofs, or for large commercial buildings where physically opening up sections isn’t practical.
Controlled Water Testing
For intermittent leaks that only appear under specific wind or rain direction, technicians can simulate conditions with a garden hose, working section by section (starting low and working up) while a second person watches from inside. This systematic method isolates the exact failure point when visual inspection alone can’t reproduce the leak.
Smoke Testing and Dye Testing
Less common for residential sloped roofs but valuable on flat roofing and complex commercial systems, these methods introduce a visible tracer (smoke or coloured dye) into suspect areas to reveal exactly where air or water is passing through a membrane or seam.
| Detection Method | Best For | Typical Cost Range (CAD) | Turnaround Time |
|---|---|---|---|
| Visual roof surface inspection | Obvious shingle, flashing, or vent damage | $150 – $300 | Same day |
| Attic and underside inspection | Tracing stains to their true source | $150 – $350 | Same day |
| Moisture meter testing | Confirming active vs. historical leaks | Included with inspection, or $75 – $150 standalone | Same day |
| Infrared thermal imaging | Flat roofs, large or commercial areas | $300 – $600 | 1 – 2 days for report |
| Controlled water testing | Intermittent or wind-driven leaks | $250 – $500 | Half day to full day |
| Smoke or dye testing | Flat roof membranes and seams | $400 – $800 | 1 – 2 days |
Signs You Need Professional Leak Detection Now
Not every roof problem announces itself with an obvious drip. Many of the most damaging leaks are slow, quiet, and easy to ignore until the repair bill grows. Watch for these warning signs:
- Brown, yellow, or grey staining on ceilings or upper walls, even if it isn’t currently wet to the touch.
- A musty smell in an upstairs bedroom, hallway, or closet that wasn’t there before.
- Peeling paint or bubbling drywall near the ceiling line.
- Visible mould or mildew spots, particularly in corners or along the ceiling-wall junction.
- Missing, curled, or granule-bare shingles visible from the ground or a neighbouring property.
- Ice damming along the eaves during winter, which often indicates attic ventilation or insulation issues that lead to leaks.
- A spike in attic humidity or condensation on the underside of the roof deck.
- Sagging areas on the ceiling or roofline, which can indicate saturated insulation or damaged decking.
If you notice any combination of these signs, it’s worth scheduling a proper inspection rather than waiting to see if it “dries out.” Water damage compounds quickly, and what starts as a $300 diagnostic visit can prevent a $15,000 structural repair down the road.
What a Thorough Roof Leak Inspection Actually Includes
When you hire a professional for roof leak detection services, the visit should follow a logical, documented sequence rather than a quick five-minute look. Here’s what a comprehensive inspection typically covers, step by step:
| Step | What Happens | Why It Matters | Approximate Time |
|---|---|---|---|
| 1. Homeowner interview | Technician asks when the stain appeared, during what weather, and whether it has changed size | Narrows down likely causes before ever touching a ladder | 10 – 15 minutes |
| 2. Exterior roof walk or ladder survey | Full check of shingles, flashing, vents, valleys, and chimney | Identifies visible damage and weak points | 30 – 45 minutes |
| 3. Attic inspection | Moisture meter readings, visual stain tracing, insulation check | Finds the true entry point, not just the visible symptom | 30 – 60 minutes |
| 4. Supplementary testing | Thermal imaging or water testing if the source isn’t confirmed | Resolves intermittent or hidden leaks | 1 – 3 hours |
| 5. Written report with photos | Documented findings, cause, and recommended repair scope | Gives homeowners a clear, evidence-based plan and record for insurance | Delivered within 24 – 48 hours |
A written report with photographs matters more than most homeowners realize. It gives you a paper trail if you ever need to make an insurance claim, and it protects you from vague verbal explanations that don’t hold up if the same leak returns. Ask any contractor upfront whether photo documentation is included, and be cautious of anyone who can’t clearly explain what they found and why.
Common Leak Sources We Find Across the GTA
After thousands of service calls across Toronto, Peel Region, York Region, Halton Region, and Durham Region, a handful of leak sources come up again and again. Knowing the usual suspects helps homeowners understand what a technician is actually checking for.
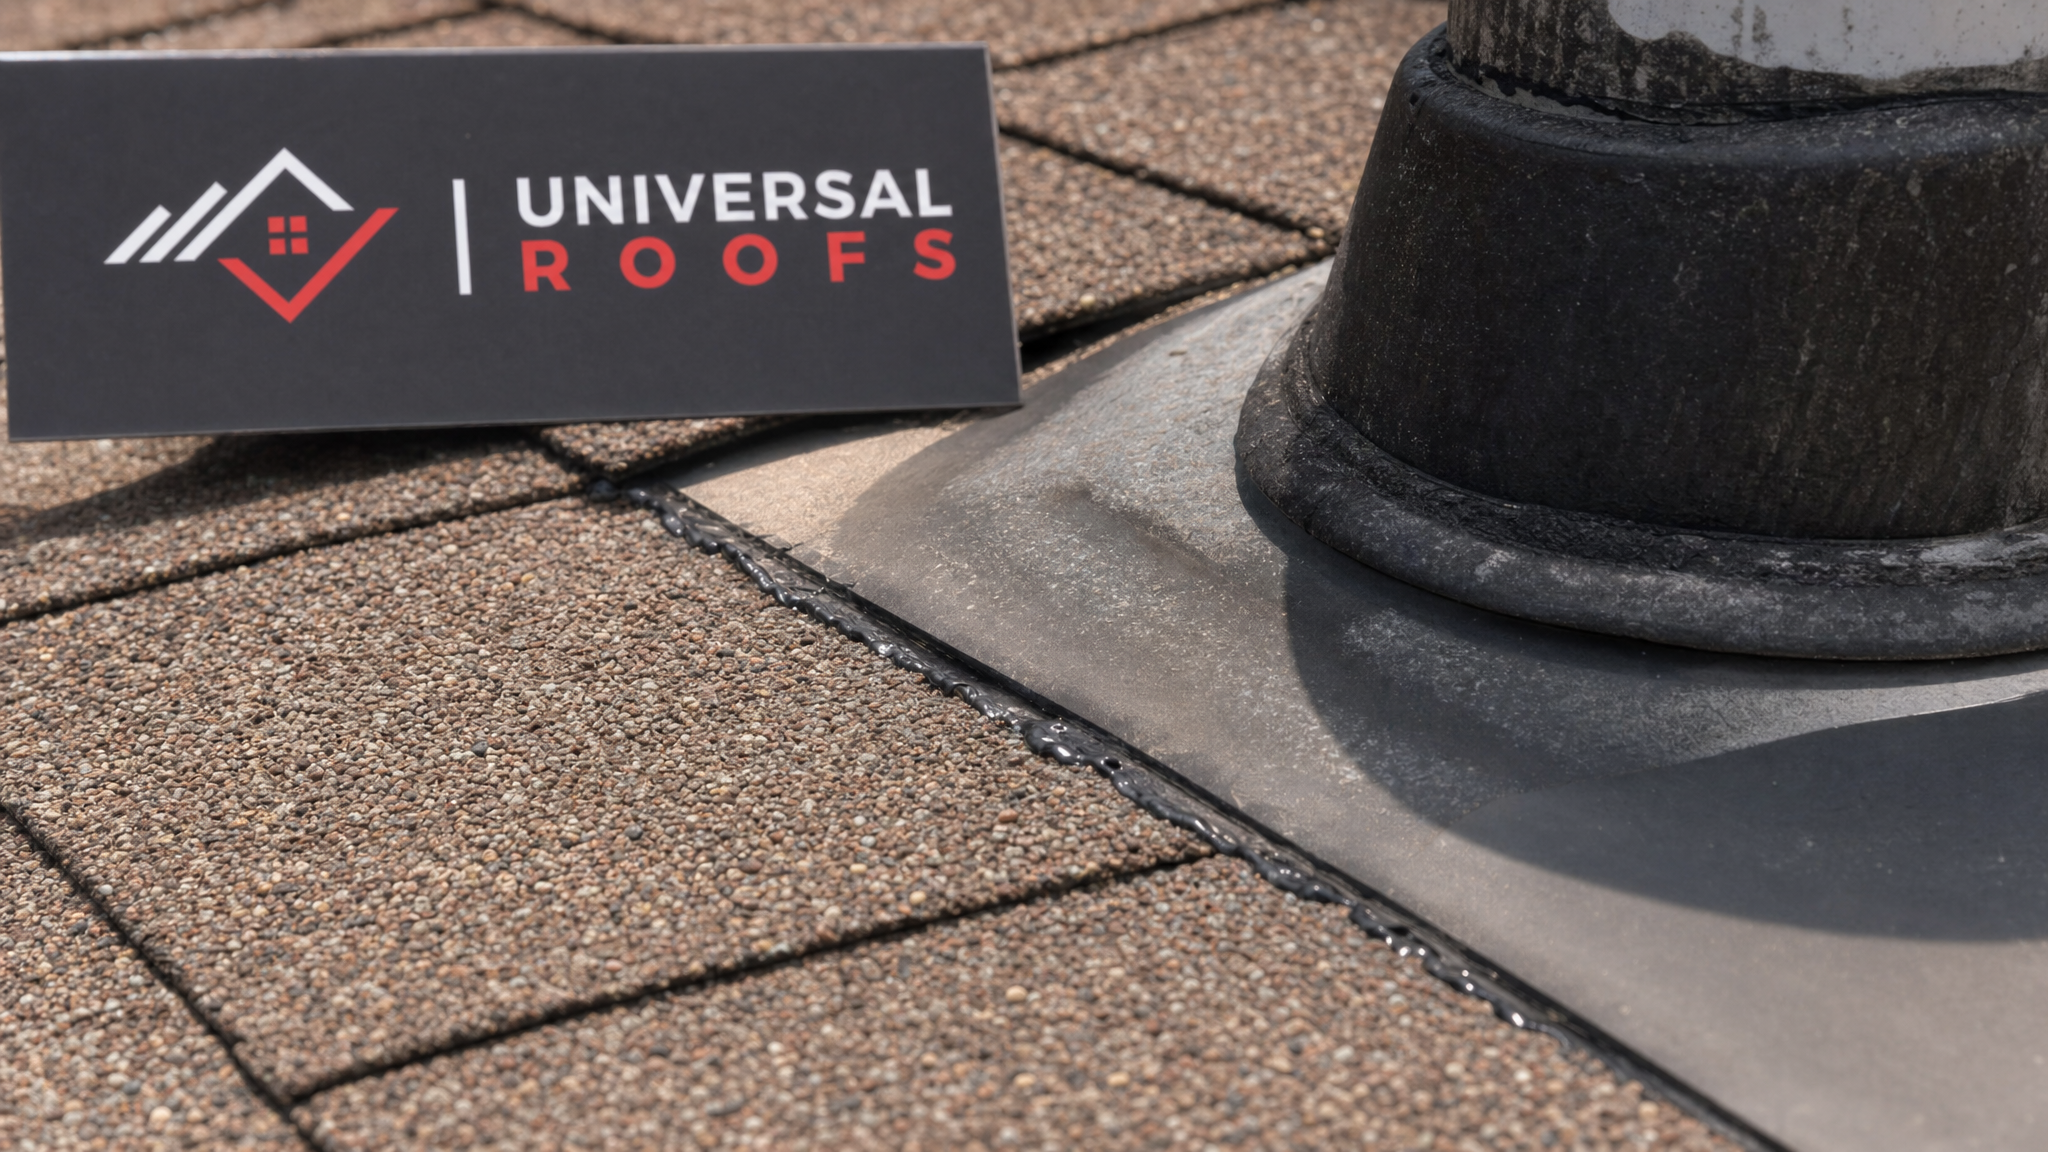
- Pipe boot failures — the rubber collar around plumbing vent stacks cracks and dries out with UV exposure, usually within 10 to 15 years, and is one of the single most common leak points on any roof.
- Step flashing at wall intersections — where a roof meets a vertical wall, dormer, or chimney, flashing can corrode, lift, or be improperly overlapped during a previous repair.
- Valley deterioration — the V-shaped channel where two roof slopes meet handles enormous water volume during storms, and worn or improperly installed valley material is a frequent failure point.
- Skylight seals — older skylight flashing kits or degraded gaskets are a very common source of leaks, especially on units installed more than 15 years ago. If your home has an ageing unit, it’s worth reviewing our skylights and skylight replacement pages to understand when replacement is more cost-effective than repeated resealing.
- Ice dam back-up — as discussed above, ice forces meltwater uphill under shingles, often well above the eave protection membrane.
- Chimney flashing and crown cracks — masonry chimneys shift slightly over decades, cracking the flashing seal and the mortar crown that sheds water off the top of the chimney.
- Flat and low-slope membrane seams — on additions, garages, and porch roofs, membrane seams and drains are frequent points of failure; see our flat roofing page for more on how these systems are inspected and maintained.
- Attic condensation misdiagnosed as a roof leak — poor ventilation or bathroom exhaust fans venting directly into the attic can create moisture that looks exactly like a roof leak but has nothing to do with the shingles.
| Leak Source | Typical Age When It Fails | Detection Clue | Common Fix |
|---|---|---|---|
| Pipe boot / vent collar | 10 – 15 years | Circular stain near a straight run from the vent stack | Boot replacement |
| Step flashing at walls | 15 – 25 years, or after prior repairs | Stain along a straight wall-to-roof line | Re-flash and reseal |
| Valley material | 15 – 20 years | Stain centred under a roof valley | Valley replacement |
| Skylight seals | 15+ years | Staining around the skylight frame edges | Reseal or full replacement |
| Ice dam back-up | Any age, worse with poor ventilation | Stains near the eave, worse after winter | Ice-and-water membrane, ventilation fix |
| Chimney flashing/crown | 20+ years | Stain adjacent to the chimney base | Re-flash, crown repair |
DIY Checks vs. Calling a Professional
Homeowners can safely do a few preliminary checks before calling in a professional, but there’s a clear line where DIY investigation should stop.
Safe for homeowners to check:
- Looking at the attic (if safely accessible) with a flashlight during or right after rain, noting any visible wet spots, drips, or staining.
- Checking bathroom and kitchen exhaust fans to confirm they vent outside the attic, not into it.
- Clearing debris from gutters and downspouts from ground level, since clogged gutters are a common contributor to water backing up under shingles.
- Photographing ceiling stains over time to track whether they’re growing.
Best left to a professional:
- Getting on the roof itself — steep or wet surfaces are genuinely dangerous without fall protection and training.
- Cutting into drywall or insulation to trace a stain further, which can turn a contained problem into a bigger repair if done incorrectly.
- Interpreting moisture meter readings or thermal imaging, which require calibration knowledge and experience to avoid false positives.
- Any repair involving flashing, valleys, or penetrations, since an improperly resealed leak often reappears within one season.
If your search for leak detection turned up mostly handyman services rather than licensed roofing contractors, it’s worth pausing. A proper roof replacement or repair company carries the right insurance and licencing to work safely at height and stands behind their diagnosis with a warranty, which most general handyman services simply don’t offer.
How to Choose the Right Leak Detection Service
Not all “leak detection” offers are equal. Some companies use the phrase to describe a five-minute visual check before quoting a full roof replacement, whether or not that’s actually needed. Here’s what to look for when comparing options:
| What to Ask | Why It Matters | Red Flag Answer | Good Answer |
|---|---|---|---|
| Do you inspect the attic, not just the roof surface? | Most leak sources are only confirmed from inside the attic | “We only look from the ground/ladder” | “Yes, we always check attic-side staining and moisture readings” |
| Will I get a written report with photos? | Documentation protects you and supports insurance claims | “We’ll just tell you what we find” | “You’ll receive a full report within a day or two” |
| Are you licensed and insured for roof work? | Protects you from liability if someone is injured on your property | Hesitation or no proof offered | Provides licence and insurance details readily |
| Do you offer a warranty on the diagnosis and repair? | A confident contractor stands behind their work | “No warranty, but we’re pretty sure” | Clear written warranty terms |
| Can you show me references or recent local reviews? | Verifies real experience in your specific climate and housing stock | Unable to provide any | Points you to a reviews page or local references |
It’s also worth reading through a contractor’s FAQ page and about page before booking, since these usually reveal how transparent a company is about their process, experience, and service area. A company that’s been diagnosing GTA roofs for two decades will have seen the same failure patterns repeat across thousands of homes, and that experience is exactly what makes the difference between a guess and a diagnosis.
What Happens After the Leak Is Found
Once the entry point is confirmed, the report should outline a clear repair plan, including whether the fix is a targeted flashing or boot replacement, a larger section of decking replacement due to rot, or in some cases a recommendation to consider a full roof replacement if the roof is near the end of its lifespan and leaks are becoming frequent across multiple areas.
For homes where the leak traces back to attic moisture or ventilation problems rather than the shingles themselves, the fix may involve improving attic ventilation, adding or adjusting soffit and ridge vents, or addressing insulation gaps that are letting warm, moist air condense against the cold roof deck. This is a subtler category of “leak” that many inexperienced contractors miss entirely because they’re only looking at the shingles and never consider the building science underneath.
Timelines for repair after detection vary by scope. A single pipe boot or small flashing repair is often same-day work. A valley replacement or partial deck repair might take one to two days. A full ventilation retrofit combined with insulation work can take three to five days depending on attic size and access. Whatever the scope, a reputable contractor will walk you through the “why” behind the recommended fix, not just hand you an invoice.
Preventing Leaks Before They Start
Detection matters most after a leak appears, but a large share of service calls could be avoided with basic seasonal maintenance. A few habits go a long way toward protecting your roof between inspections:
- Clean gutters and downspouts at least twice a year, ideally in late spring and late autumn.
- Trim overhanging branches that drop debris onto the roof or scrape shingles during wind.
- Book a professional inspection every two to three years, or immediately after any major storm with high winds or hail.
- Check attic ventilation annually to confirm soffit and ridge vents aren’t blocked by insulation or debris.
- Address minor issues — a lifted shingle, a small flashing gap — promptly rather than waiting for a leak to fully develop.
Consistent maintenance doesn’t just prevent leaks; it also extends the life of materials that would otherwise fail years early from repeated moisture exposure. It’s a modest, predictable cost compared to reactive water damage repair.
What are the best roof leak detection services for a GTA home?
How much do professional roof leak detection services typically cost?
Can roof leak detection services find a leak that only happens during certain storms?
Is thermal imaging necessary for every roof leak detection visit?
Why does my roof leak seem to appear in a different spot each time it rains?
How quickly should I book roof leak detection services after noticing a stain?
Need Help With What Are the Best?
Chasing a mystery leak on your own rarely ends well, and every season it goes untreated adds to the eventual repair bill. Universal Roofs has been tracing and repairing leaks across the GTA since 2005, using a documented, attic-to-shingle inspection process rather than guesswork.
Call us today at (416) 732-2421 or request a free inspection to get started.
Universal Roofs proudly serves Toronto, Mississauga, Brampton, Vaughan, Markham, Oakville and the GTA since 2005.