
A roof that looks perfectly healthy from the driveway can still be cooking your shingles, rotting your deck, and quietly inflating your energy bills if the ventilation underneath it is not working the way it should. In the Greater Toronto Area, where summer attic temperatures regularly climb past 60 degrees Celsius and winter freeze-thaw cycles punish anything that traps moisture, poor attic airflow is one of the most common — and most overlooked — roofing problems homeowners face.
The good news is that ventilation problems are almost always fixable, and many of the warning signs are easy to spot once you know what to look for. This guide walks through how roof ventilation is supposed to work, the symptoms that tell you it is not, how to diagnose the root cause, and the repair options that actually solve the problem instead of masking it.
Whether you are dealing with ice damming every February, a sweltering upstairs bedroom every July, or curling shingles that seem to be ageing faster than they should, the troubleshooting steps below will help you understand what is happening in your attic and what to do about it. For a professional assessment, a roof repair specialist can pinpoint the exact issue in under an hour.
How Roof Ventilation Is Supposed to Work
Before you can troubleshoot a ventilation problem, it helps to understand what a correctly functioning system looks like. Every attic ventilation system relies on two components working together: intake and exhaust. Intake vents — usually soffit vents along the underside of the roof eaves — pull cooler outside air into the attic. Exhaust vents, typically along or near the ridge, allow warmer, moisture-laden air to escape. This creates continuous airflow that keeps the attic close to outdoor temperature year-round.
When intake and exhaust are balanced, the system does three jobs at once. In summer, it flushes out superheated air before it can bake the underside of the shingles and drive up cooling costs in the rooms below. In winter, it keeps the underside of the roof deck cold enough that snow does not melt unevenly and refreeze at the eaves, which is the mechanism behind ice damming. Year-round, it carries away the water vapour that rises from bathrooms, kitchens, and laundry rooms before it can condense on the underside of the roof sheathing and encourage mould or rot.
The building code standard most contractors reference is a minimum of 1 square foot of net free ventilation area for every 300 square feet of attic floor space, split roughly 50/50 between intake and exhaust. Many older GTA homes were built before this ratio was well understood, or have since had insulation, pot lights, bathroom fans, or attic renovations installed that quietly blocked the airflow path without anyone noticing.
The Warning Signs Homeowners Notice First
Ventilation problems rarely announce themselves directly. Instead, they show up as symptoms in other parts of the house or roof, which is why so many homeowners live with a ventilation issue for years before connecting the dots. The most common signs include:
- Ice dams forming along the eaves every winter, even after eavestrough cleaning
- Upstairs rooms that stay noticeably hotter than the rest of the house in summer
- A musty, damp smell when you open the attic hatch
- Visible frost or condensation on the underside of the roof sheathing in cold weather
- Shingles that appear to be curling, cracking, or losing granules faster than their expected lifespan
- Peeling paint or staining on exterior soffits and fascia
- A spike in summer air conditioning bills compared to similarly sized homes nearby
- Mould spots on the roof sheathing, rafters, or insulation when viewed from the attic
Any one of these on its own might have another explanation, but two or more together are a strong indicator that the attic is not breathing properly. Prolonged ventilation problems also tend to shorten the life of the roofing system, which is why they are often discovered during a roof replacement assessment when a contractor pulls back old shingles and finds sheathing that has been quietly deteriorating underneath.
Diagnosing the Root Cause: A Step-by-Step Approach
Troubleshooting ventilation is a process of elimination. Most issues trace back to one of four causes: blocked intake, insufficient exhaust, an imbalance between the two, or air leakage from the living space into the attic that overwhelms whatever ventilation exists. Here is the order most experienced roofers work through when diagnosing a problem.
Step 1: Inspect the soffit vents from outside and inside. Walk the perimeter of the house and look up at the soffits. Confirm that vent slots or perforated panels are actually present and not painted over, caulked shut, or covered by siding installed during a previous renovation. Then go into the attic with a flashlight and check whether insulation has been pushed up against the eaves, blocking the intake path from the inside. This is one of the single most common ventilation failures in older homes — insulation added over the years slowly creeps outward and seals off the soffit entirely.
Step 2: Check for baffles (vent chutes). Baffles are rigid channels installed between the rafters at the eaves that keep insulation from blocking the soffit intake. If a previous insulation job was done without installing baffles, even brand-new soffit vents will be useless because loose-fill insulation simply slumps over the opening.
Step 3: Evaluate the exhaust side. Look at what is actually installed at the ridge or upper roof: a continuous ridge vent, individual box vents, a power vent, or nothing at all. Measure or estimate the net free area and compare it to the intake. A mismatch — for example, plenty of soffit intake but only one small gable vent — creates weak, uneven airflow.
Step 4: Look for competing exhaust paths. A powered attic fan and a ridge vent installed on the same roof will often fight each other, with the fan pulling air backward through the ridge vent instead of pulling fresh air up from the soffits. Mixing exhaust types is a frequent do-it-yourself mistake.
Step 5: Trace air leaks from the house into the attic. Bathroom exhaust fans vented directly into the attic instead of outside, unsealed pot light housings, and gaps around the attic hatch all dump warm, humid indoor air into the attic space. No amount of passive ventilation can keep up with a continuously running moisture source like this.
Comparing Common Ventilation Problems and Their Fixes
Once the root cause is identified, the fix is usually straightforward, though the cost and complexity vary quite a bit depending on what is wrong. The table below summarizes the most frequent scenarios our technicians encounter across Toronto and the surrounding regions.
| Problem | Typical Cause | Recommended Fix | Approximate Cost Range (CAD) |
|---|---|---|---|
| Ice damming at the eaves | Blocked or missing soffit intake, inadequate insulation | Clear soffit vents, install baffles, add attic insulation | $400 – $1,800 |
| Hot upstairs rooms in summer | Insufficient exhaust area or undersized ridge vent | Upgrade to continuous ridge vent or add box vents | $600 – $2,200 |
| Attic condensation and frost | Bathroom fans venting into attic, air leaks from below | Reroute exhaust fans outside, air-seal penetrations | $300 – $1,200 |
| Mould on sheathing or rafters | Long-term moisture buildup from poor airflow | Improve ventilation plus mould remediation treatment | $800 – $3,000 |
| Premature shingle ageing | Trapped heat baking shingles from underneath | Balance intake/exhaust, consider full roof replacement if deck is damaged | Varies by scope |
Choosing the Right Ventilation System for Your Roof
Not every home needs the same solution, and the right choice depends on roof shape, attic layout, and how the house is used. The most common exhaust options are continuous ridge vents, static box vents, gable-end vents, and powered attic fans, while intake is almost always handled through soffit vents or, on homes without usable soffits, low-profile drip-edge vents.
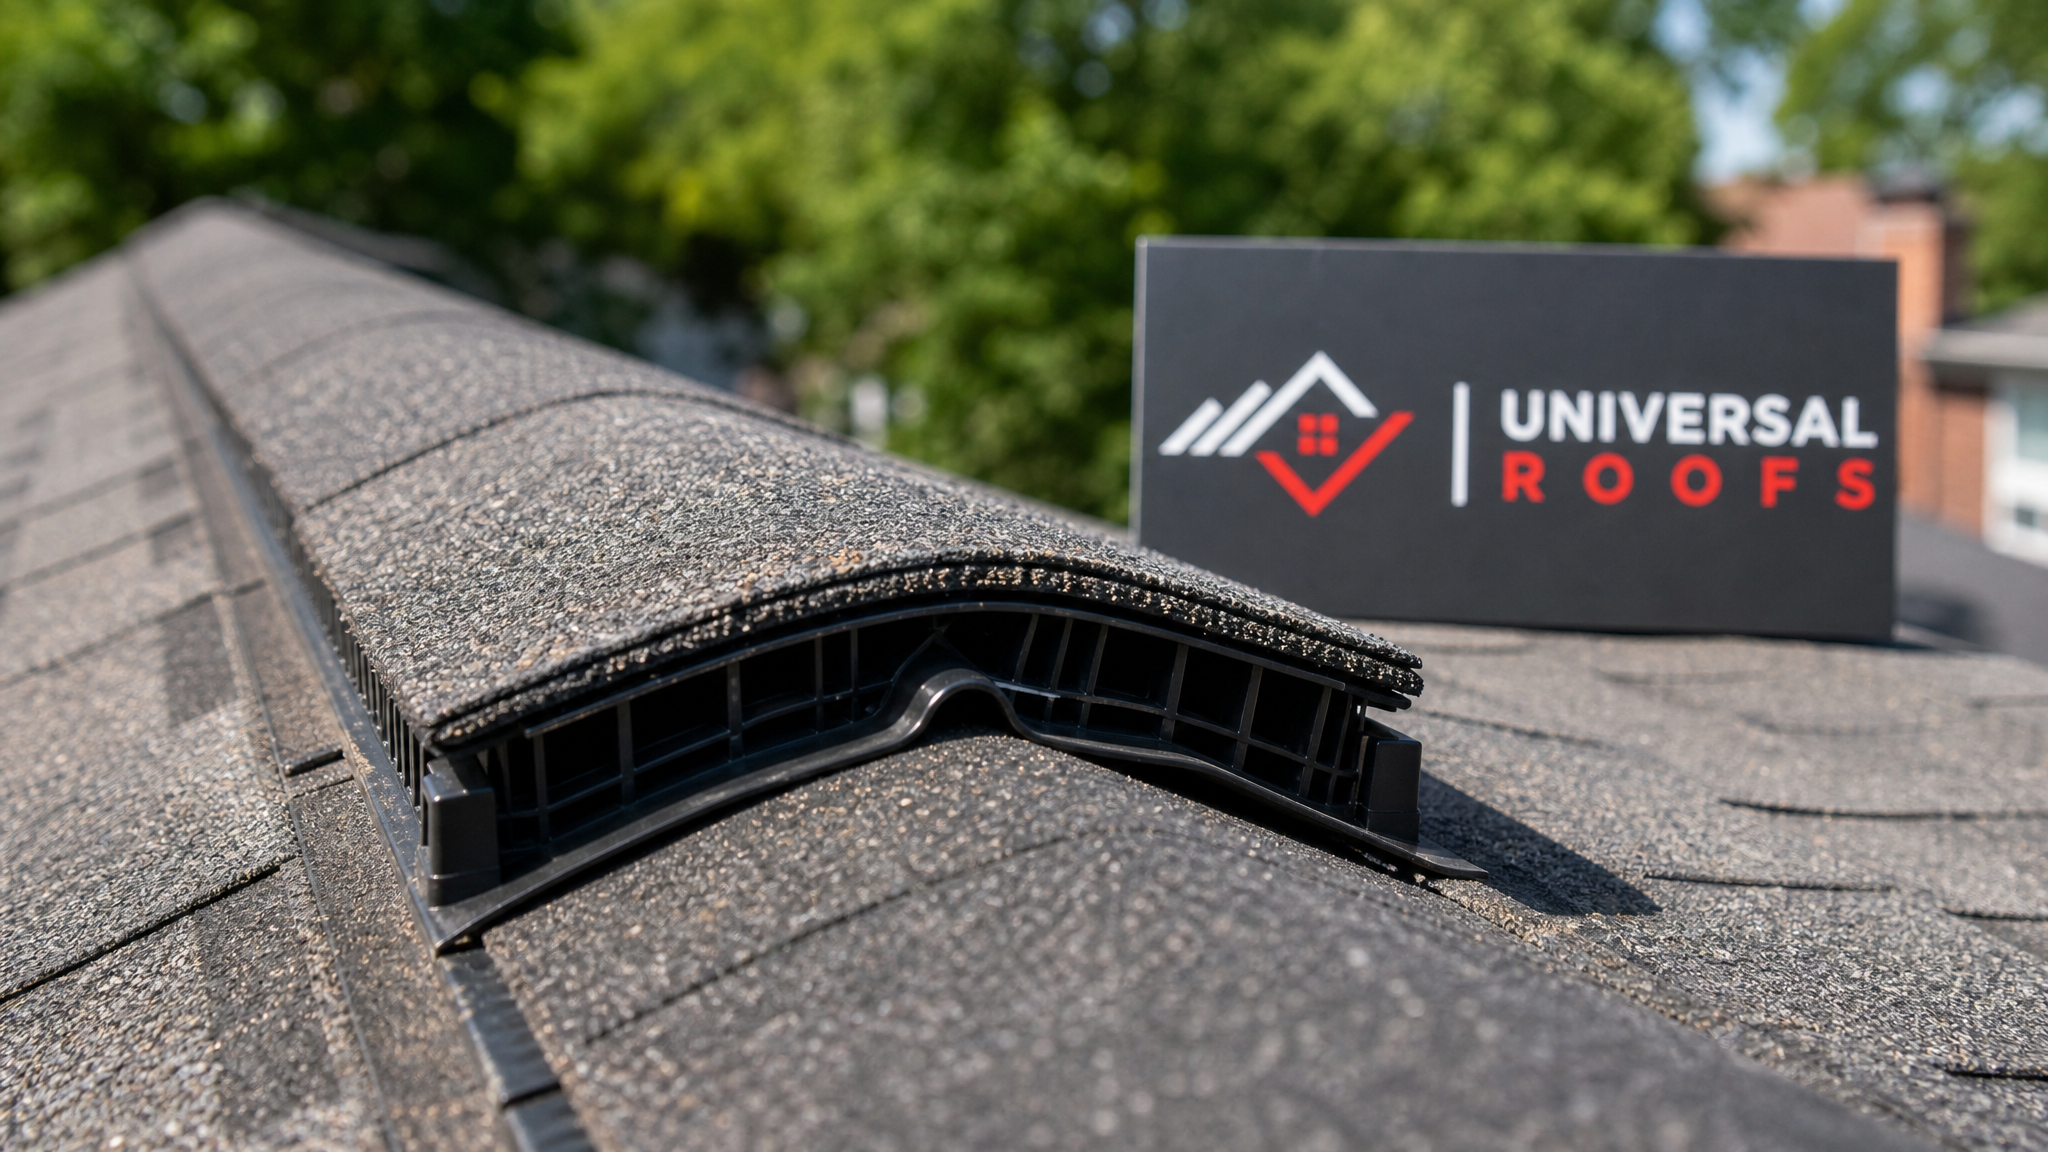
Continuous ridge vents are generally the preferred solution for standard gable and hip roofs because they provide even airflow along the entire length of the roof rather than concentrating exhaust at a few isolated points. They also tend to be the least visually intrusive option, running low along the ridge line rather than sitting as bulky boxes on the roof slope.
Powered attic fans can move a large volume of air quickly, but they need to be sized and controlled carefully. An oversized or poorly placed power fan can actually depressurize the attic enough to pull conditioned air out of the living space through ceiling gaps, which increases energy costs rather than lowering them. For most homes, a well-balanced passive system of ridge and soffit venting performs better over the long run and has no moving parts to fail.
Homes with flat or low-slope roofs need an entirely different ventilation strategy, since there is no ridge to vent through. These roofs typically rely on a combination of perimeter vents, mechanical ventilation, or a carefully designed unvented assembly with rigid insulation directly above the deck. If your home has a flat roof section over an addition or garage, it is worth having that area assessed separately from the main pitched roof.
| Ventilation Type | Best Suited For | Airflow Consistency | Maintenance Needs |
|---|---|---|---|
| Continuous ridge vent | Gable and hip roofs with a clear ridge line | High — even along full roof length | Low, no moving parts |
| Box vents (static) | Roofs without a straight ridge or short ridge runs | Moderate — concentrated at vent points | Low |
| Gable-end vents | Older homes with existing gable openings | Moderate, weaker at roof centre | Low |
| Powered attic fan | Attics with unusually high heat load | High when sized correctly, risky if oversized | Moderate — motor and thermostat checks |
| Soffit intake vents | Nearly all pitched roofs as the intake source | High if kept clear of insulation | Periodic inspection for blockages |
DIY Checks vs. When to Call a Professional
Homeowners can safely handle a few basic diagnostic checks without climbing onto the roof. From inside the attic, you can visually confirm whether soffit vents are blocked by insulation, check for daylight coming through soffit slots, and look for obvious signs of moisture staining or mould. From ground level, you can inspect whether soffit panels have vent perforations at all and whether any exhaust vents are visibly damaged, rusted, or missing screens.
That said, several parts of a proper ventilation diagnosis genuinely require a professional, both for safety and for accuracy. Measuring net free ventilation area correctly, evaluating whether an existing ridge vent was installed with the correct width of shingle cut-back, checking for improperly terminated bathroom exhaust ducts hidden deep in the attic, and any work that involves walking the roof slope itself all call for an experienced technician with the right equipment and fall protection.
It is also worth noting that a ventilation problem is frequently discovered as a side effect of another roofing issue. A contractor called out for a leak, a missing shingle, or storm damage will often find a ventilation deficiency at the same time, since trapped heat and moisture accelerate wear on the whole roofing assembly. This is one of the reasons an annual roof inspection pays for itself — catching a ventilation imbalance early is dramatically cheaper than repairing the rot or premature shingle failure it eventually causes.
Ventilation and Attic Insulation: Why They Must Be Solved Together
Ventilation and insulation are often treated as separate projects, but they function as one system. Adding insulation without addressing ventilation is one of the most common ways homeowners accidentally create a ventilation problem where none existed before. Blown-in or batt insulation added to boost energy efficiency frequently ends up covering the soffit intake, especially in the tight, hard-to-see corners of the eaves where baffles were never installed.
The reverse is also true — a well-ventilated attic with too little insulation will still lose heat rapidly in winter and gain heat rapidly in summer, driving up energy bills even though the airflow itself is working fine. The most reliable approach is to evaluate both at the same time: confirm baffles are in place and soffit intake is clear, top up insulation to the current recommended R-value for the region, and then verify that exhaust venting is proportional to the total attic floor area. For homes undergoing a broader energy efficiency upgrade, a combined attic insulation and ventilation assessment is the most cost-effective way to tackle both issues in a single visit rather than paying for two separate service calls.
This is particularly relevant for skylights as well. A poorly flashed or poorly insulated skylight shaft can act as a direct thermal bridge and a source of condensation, which sometimes gets misdiagnosed as a general attic ventilation problem when the real issue is isolated to the skylight itself. If condensation seems to be concentrated around a skylight opening rather than spread across the whole attic, it is worth having the unit checked as part of a skylight inspection, and in older installations a full skylight replacement with modern flashing and insulated glazing may resolve the issue entirely.
Seasonal Timing: Why Summer Is the Right Time to Fix Ventilation
Ventilation problems can be diagnosed at any time of year, but summer is genuinely the best season to have the work done in the Toronto area. Attic temperatures in July and August make heat-related symptoms — hot upstairs rooms, baked shingles, high cooling bills — obvious and easy to demonstrate to a contractor. Dry, stable weather also means roof work can proceed without the delays that winter storms or spring rain cause, and any deck repairs uncovered during the job can be completed and properly sealed before the next winter’s freeze-thaw cycle arrives.
Homeowners who wait until the first ice dam of the following winter to address a ventilation problem are, in effect, choosing to let one more freeze-thaw cycle stress the roof deck and shingles. Since ventilation repairs are typically quick, low-disruption jobs compared to a full roof replacement, tackling them proactively during the warmer months is almost always the better sequencing decision.
Timeline: What to Expect During a Ventilation Repair
Most ventilation corrections are far less invasive than homeowners expect. The table below outlines a typical project timeline for the most common repair scenarios.
| Stage | What Happens | Typical Duration |
|---|---|---|
| Initial assessment | Attic inspection, exterior soffit/ridge review, net free area calculation | 45 – 90 minutes |
| Baffle installation | Vent chutes installed at each rafter bay along the eaves | Half a day for an average attic |
| Soffit vent correction | Clearing blockages or cutting new vent openings into existing soffit panels | Half a day to one full day |
| Ridge vent installation | Cutting the ridge slot, installing the vent, capping with matching shingles | One full day for most homes |
| Follow-up verification | Airflow check and photo documentation of completed work | Included in final walkthrough |
Larger jobs that involve rot repair to the roof deck, rerouting bathroom exhaust ducting through the attic, or coordinating with a broader insulation upgrade will naturally take longer, but the ventilation-specific work itself rarely stalls a project for more than a day or two.
Regional Considerations Across the GTA
Ventilation requirements do not change dramatically between municipalities, but the age and construction style of housing stock does vary across the region, which affects what problems show up most often. Older detached homes in central Toronto frequently have narrow soffits or none at all, requiring drip-edge intake vents as a retrofit solution. Newer subdivisions across Peel Region and York Region generally have adequate soffit intake built in from construction, but often suffer from insulation crowding that blocks it after a later top-up. Homes in Halton Region and Durham Region with larger, more complex roof lines sometimes have exhaust vents unevenly distributed across multiple roof sections, creating hot and cold zones within the same attic.
Wherever you are located across the region, the diagnostic approach stays the same: confirm intake, confirm exhaust, check the balance between them, and rule out interior air leaks before assuming the ventilation hardware itself is at fault.
Maintaining Ventilation After the Repair
Once a ventilation system has been corrected, keeping it working properly requires very little ongoing effort. An annual attic check — ideally done at the same time as a general roof inspection — should confirm that insulation has not shifted back over the soffit intake, that no new pot lights or fans have been added without proper sealing, and that vent screens have not become clogged with debris or blocked by pests. Homeowners who have squirrels or other wildlife active in the attic should pay particular attention, since nesting material is one of the more common causes of a previously fixed vent becoming blocked again.
It is also worth checking ventilation any time other exterior work is done on the home. New siding, soffit replacement, or an eavestrough upgrade can all inadvertently cover or reduce vent openings if the crew doing the work is not specifically thinking about attic airflow. A quick reminder to your contractor to maintain existing vent capacity avoids undoing a ventilation fix that was working perfectly well before the unrelated project began.
For homeowners who want an independent second opinion or are simply unsure whether their current setup is adequate, reading through verified customer reviews and the answers on our roofing FAQ page is a good starting point before booking an on-site assessment.
What are the most common signs of roof ventilation problems?
How do I know if my attic has enough ventilation?
Can I fix roof ventilation issues myself?
Why does my attic have ice dams every winter?
How much does it cost to fix roof ventilation problems in Toronto?
Does adding a powered attic fan solve ventilation problems?
Need Help With Troubleshooting and Fixing Roof?
If any of the symptoms above sound familiar, the team at Universal Roofs can assess your attic’s airflow, identify exactly where the intake or exhaust is failing, and correct it before it causes lasting damage to your shingles, deck, or ceilings.
Call us today at (416) 732-2421 or request a free inspection to get started.
Universal Roofs proudly serves Toronto, Mississauga, Brampton, Vaughan, Markham, Oakville and the GTA since 2005.