
A roof rarely fails all at once. It fails one missed detail at a time — a lifted shingle tab, a hairline crack in flashing sealant, a clogged downspout that backs water up under the eaves. That is exactly why the best roof inspection tips for maintenance all point toward the same principle: look often, look carefully, and look in the right places before small problems become expensive ones. For homeowners across the Greater Toronto Area, where freeze-thaw cycles, summer thunderstorms, and heavy wet snow all take turns punishing a roof deck, a consistent inspection routine is the cheapest insurance policy you will ever buy.
This guide walks through four practical, field-tested inspection tips that any homeowner can use, plus the warning signs that mean it is time to call in a professional. We will cover what to look for from the ground, what to check in the attic, how often to schedule inspections around the GTA’s seasons, and how to document what you find so small issues get fixed before they become insurance claims. Whether your home has asphalt shingles, a flat membrane, or skylights built into a sloped roof, the fundamentals of a good inspection routine stay the same.
At Universal Roofs, we have been inspecting, repairing, and replacing roofs across Toronto and the surrounding regions since 2005. The patterns we see on service calls are almost always preventable — which is exactly the point of a good maintenance inspection.
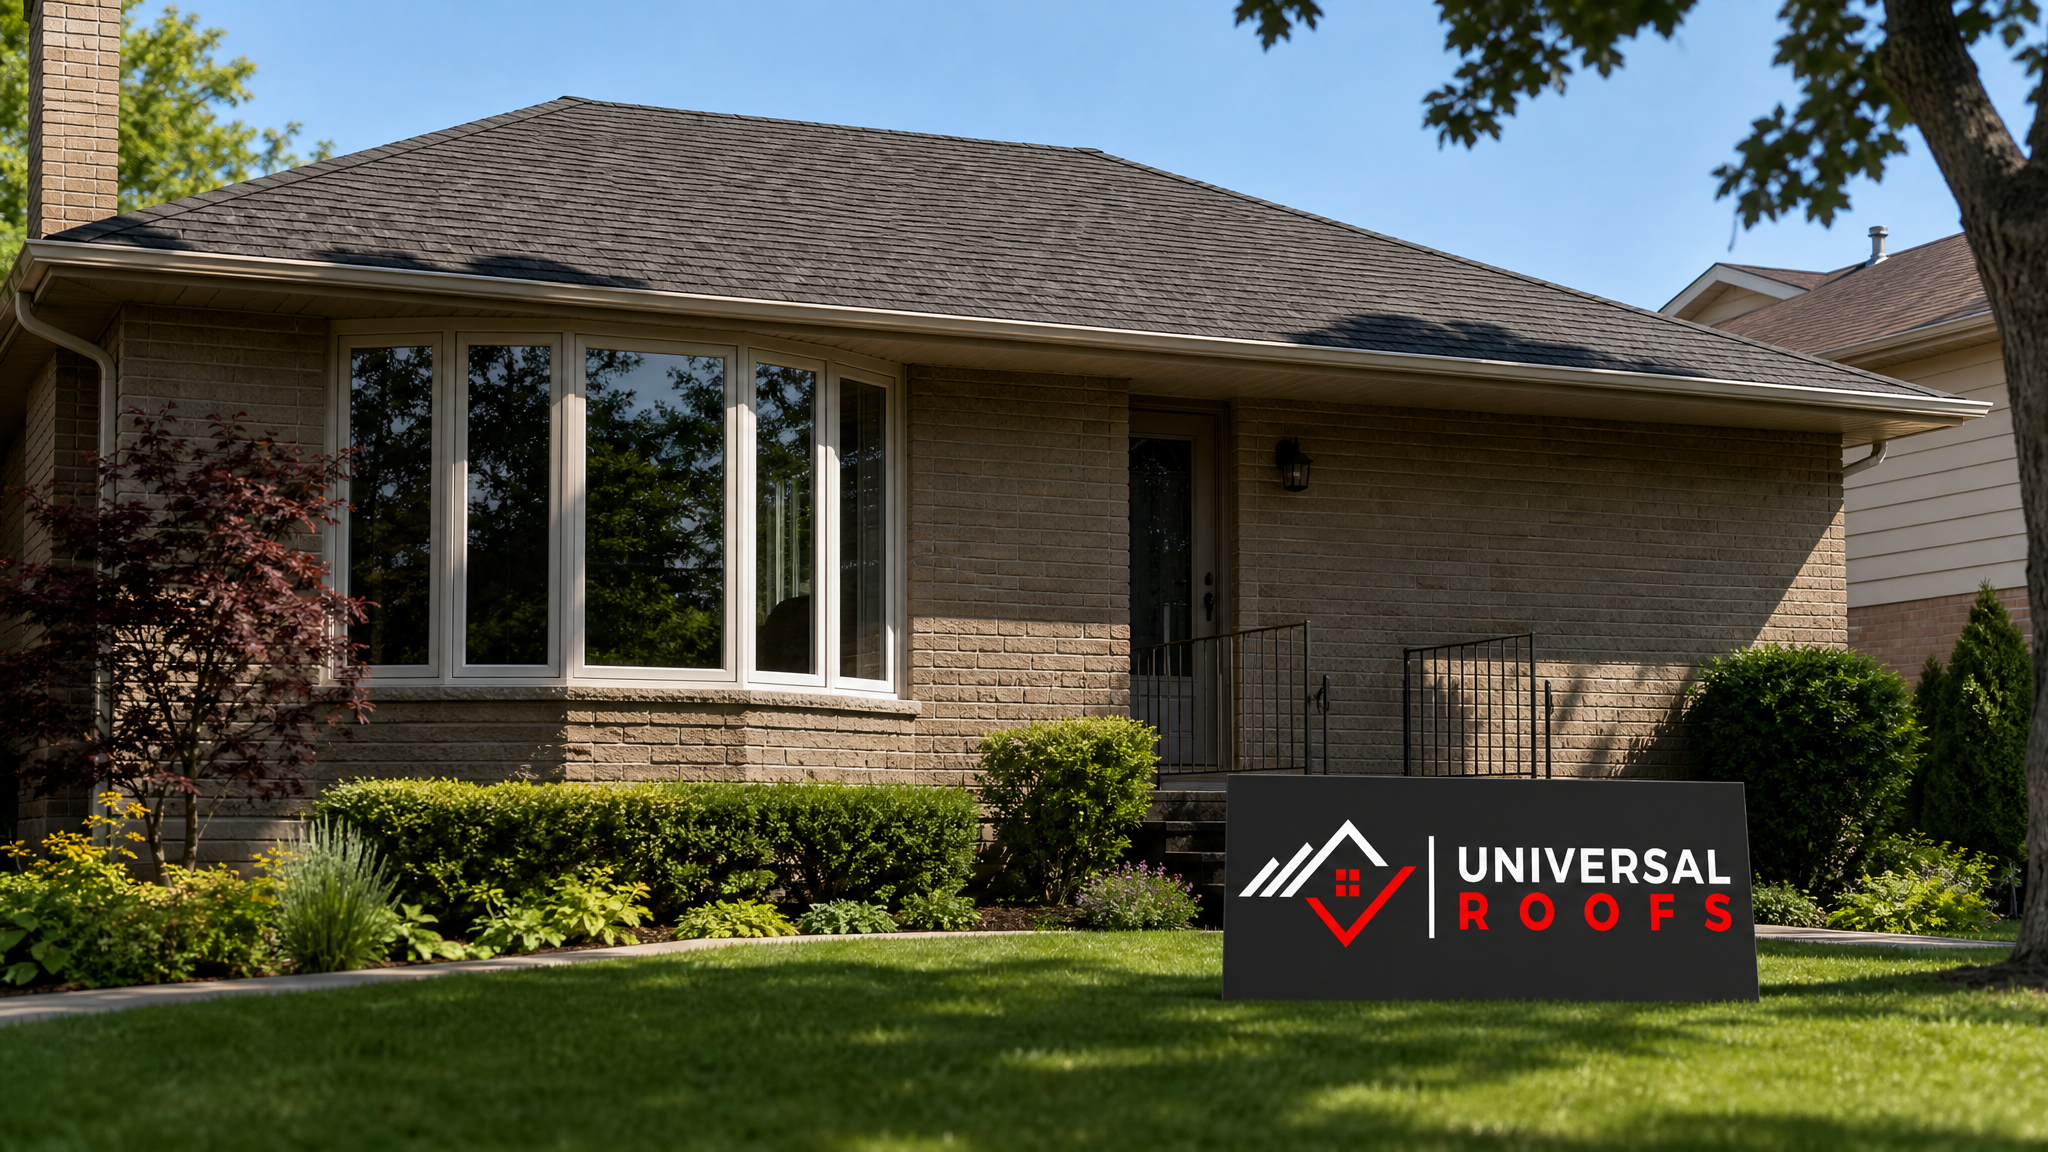
Tip 1: Start Every Inspection From the Ground
You do not need to climb a ladder to catch most early warning signs. In fact, the safest and most useful first step in any roof inspection is a slow walk around the exterior of your home with binoculars. Look at the roof plane from several angles and in different light — shadows at mid-morning and late afternoon reveal dips, sags, and uneven shingle courses that are invisible in flat midday sun.
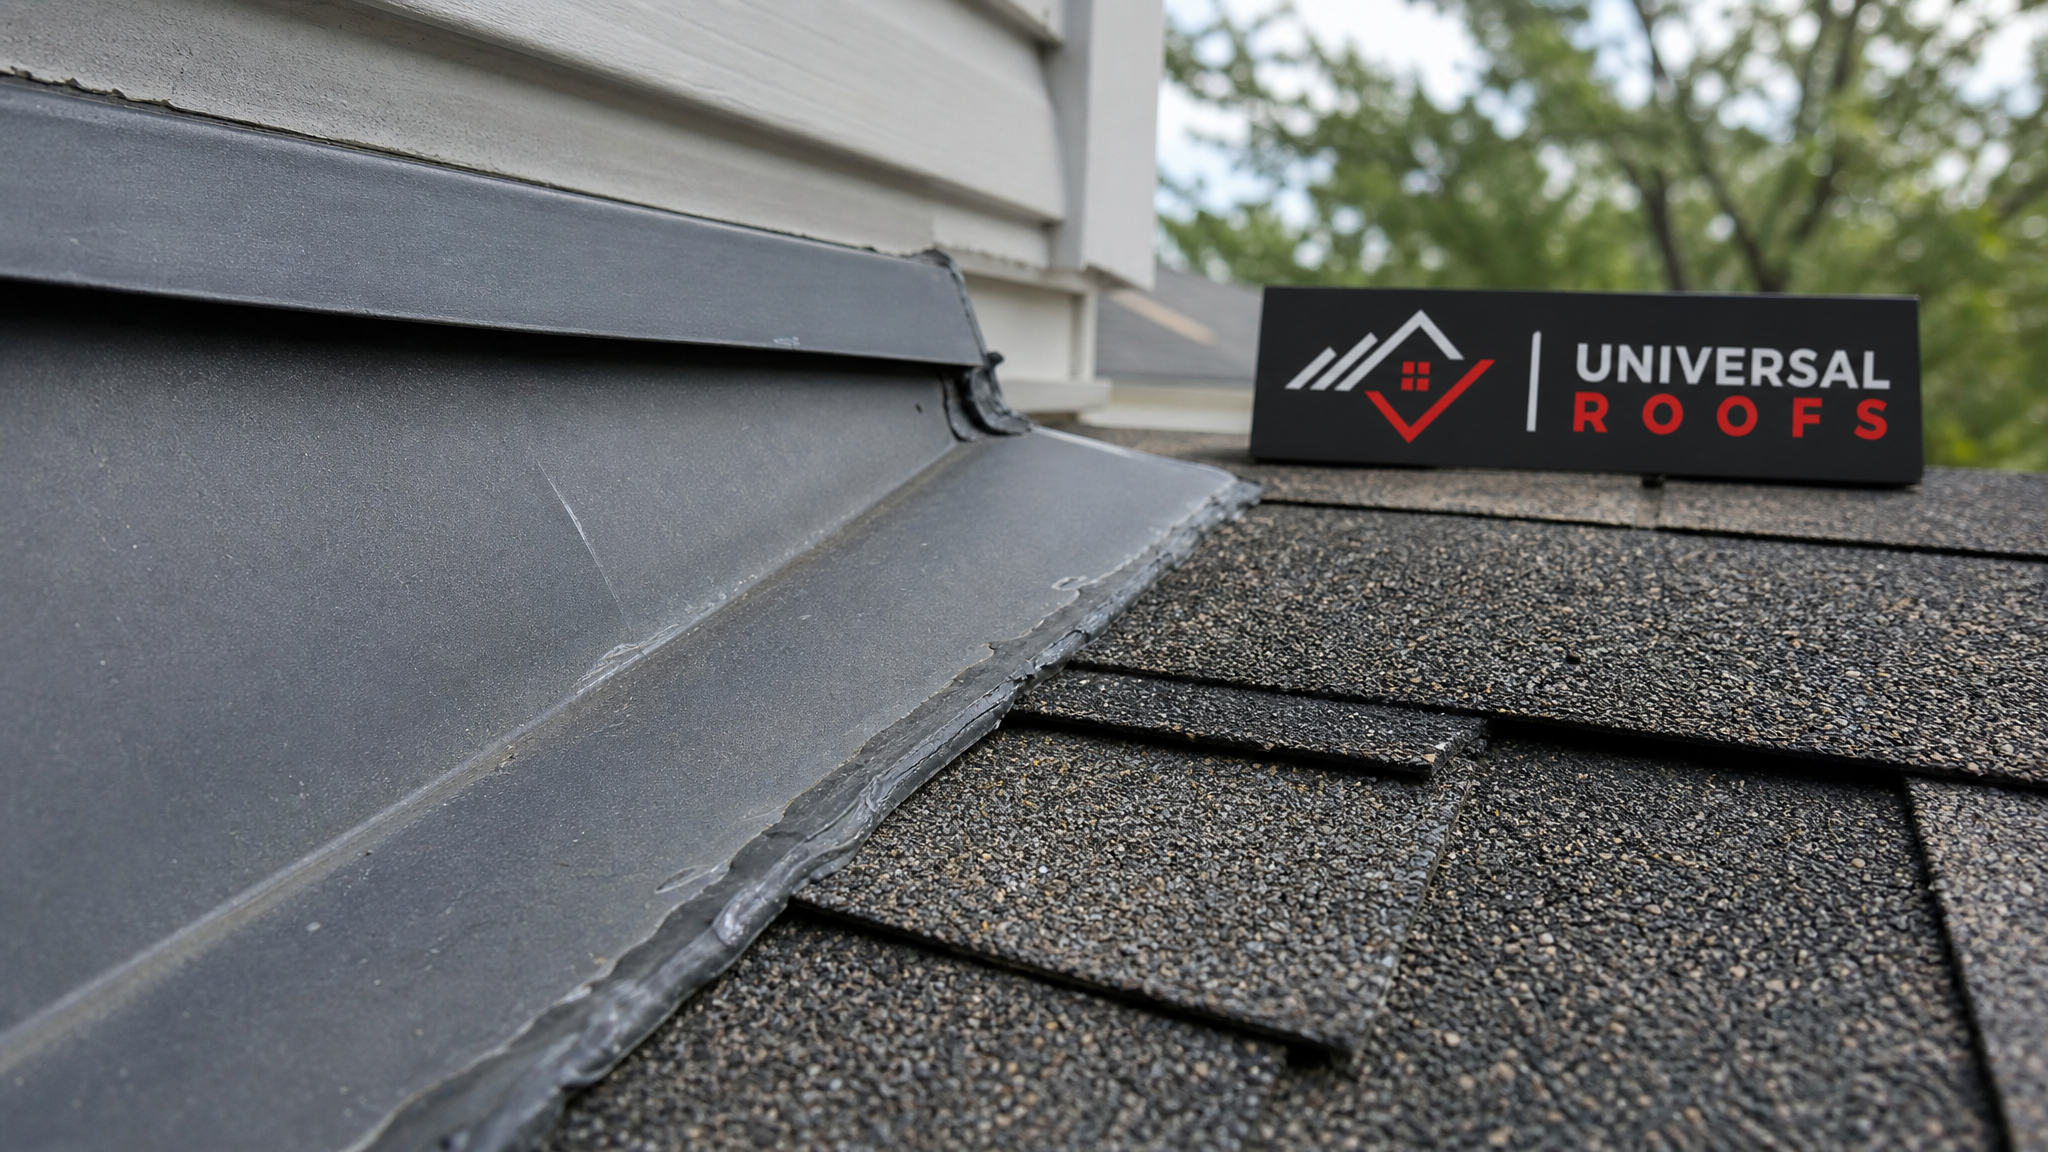
From the ground, check for shingles that are curling, cupping, or missing granules (visible as bald, darker patches). Look along the roofline for sagging between rafters, which can indicate structural moisture damage in the decking below. Check the valleys — the V-shaped channels where two roof planes meet — for buildup of granules, debris, or moss, since valleys carry the highest volume of water runoff and fail first. Examine the flashing around the chimney, any plumbing vents, and skylights for visible rust, gaps, or lifted metal edges.
Gutters and downspouts deserve equal attention. Overflowing or sagging gutters often mean granule buildup from a shingle roof nearing the end of its service life, or a blockage that is forcing water to back up under the shingle edge. Also check the fascia board behind the gutter for peeling paint or soft, spongy wood, which signals water intrusion that started at the roofline. A five-minute ground-level walk twice a year catches most of the problems that would otherwise wait until they showed up as a ceiling stain.
Tip 2: Check the Attic Before You Check the Roof
Many homeowners are surprised to learn that the most reliable place to find early roof problems is not on the roof at all — it is in the attic. Water almost always shows up inside the home before a homeowner notices anything unusual from outside, and an attic inspection can be done safely without a ladder to the roof edge.
On a bright day, turn off the attic light and look for pinpricks of daylight coming through the roof deck — any visible light means there is a gap large enough for water and pests to enter as well. Look at the underside of the roof sheathing for dark staining, streaking, or a musty odour, all of which point to a slow leak that has been present long enough to leave a mark. Check around any roof penetrations from inside — plumbing stacks, exhaust vents, and skylight shafts — since these are the most common failure points for flashing.
Insulation condition matters just as much as the decking itself. Compressed, wet, or discoloured insulation is both a sign of an existing leak and a cause of future problems, because trapped moisture promotes wood rot and mould growth in the rafters. Ventilation is the other half of the equation: a hot, poorly ventilated attic in summer accelerates shingle aging from underneath, while inadequate ventilation in winter contributes to ice damming along the eaves. If your attic feels noticeably hot and stuffy compared to outside temperature, or you notice frost on the underside of the roof deck in winter, ventilation should be part of your next inspection conversation with a roofing professional.
| Inspection Area | What to Check | Warning Sign | Recommended Action |
|---|---|---|---|
| Attic sheathing | Underside of roof deck for stains or light gaps | Dark streaking, daylight visible through deck | Book a professional leak inspection |
| Insulation | Colour, texture, and moisture level | Compressed, damp, or discoloured batts | Replace insulation and locate leak source |
| Roof penetrations | Flashing seals around vents and stacks from inside | Visible gaps, rust streaks, daylight | Schedule flashing repair |
| Ventilation | Airflow, temperature, and frost buildup | Excess heat in summer, frost in winter | Assess soffit and ridge vent balance |
| Rafters and trusses | Straightness and structural soundness | Sagging, cracking, or visible bowing | Structural assessment before further roof work |
Tip 3: Inspect Seasonally, Not Just After a Storm
Most homeowners only think to inspect a roof after a wind event or hailstorm, but the best maintenance programmes are scheduled proactively around the calendar rather than reactively around the weather. In the GTA, a twice-yearly rhythm works well for most sloped roofs: once in late spring after the snow load and freeze-thaw cycles of winter have passed, and once in early fall before the next winter arrives.
The spring inspection should focus on winter damage — ice dam evidence along the eaves, shingles lifted or cracked by repeated freeze-thaw expansion, and any granule accumulation in the gutters that built up over the colder months. This is also the ideal window to schedule any roof repair work while temperatures are warm enough for sealants and shingle adhesives to cure properly. The fall inspection is about preparation: clearing debris before it freezes into gutters, confirming flashing is tight before the first freeze, and checking that ventilation is balanced ahead of a Toronto winter.
Flat roofs on garages, additions, and porches benefit from an additional mid-summer check, since UV exposure and standing water after a storm are the two biggest threats to membrane roofing during warmer months. If your property includes a low-slope section, review our flat roofing guidance for what a membrane inspection should specifically cover, since the failure points on a flat roof differ from a shingled slope. Homes with skylights should also have the flashing around each unit checked each season, as skylight curbs are one of the most common sources of leaks reported on service calls throughout the GTA.
Tip 4: Document Every Inspection and Know When to Call a Professional
An inspection is only useful if you can compare this year’s findings to last year’s. Keep a simple log — even a folder of dated photos on your phone works — noting the condition of shingles, flashing, gutters, and attic sheathing at each check. This record becomes invaluable in three situations: negotiating with an insurance adjuster after storm damage, deciding whether a repair or full roof replacement makes more financial sense, and simply tracking how quickly a given roof is aging compared to its expected lifespan.
Homeowner inspections are excellent for catching early warning signs, but certain findings should always trigger a call to a licensed roofing contractor rather than a DIY fix. Any sign of structural sagging, evidence of an active leak inside the attic, storm damage after hail or high winds, or a roof that is approaching the end of its manufacturer-rated lifespan all warrant a professional assessment. Working at height on a sloped or wet roof is also simply not worth the risk for most homeowners — professional roofers carry the harnesses, fall protection, and insurance coverage to do the job safely.
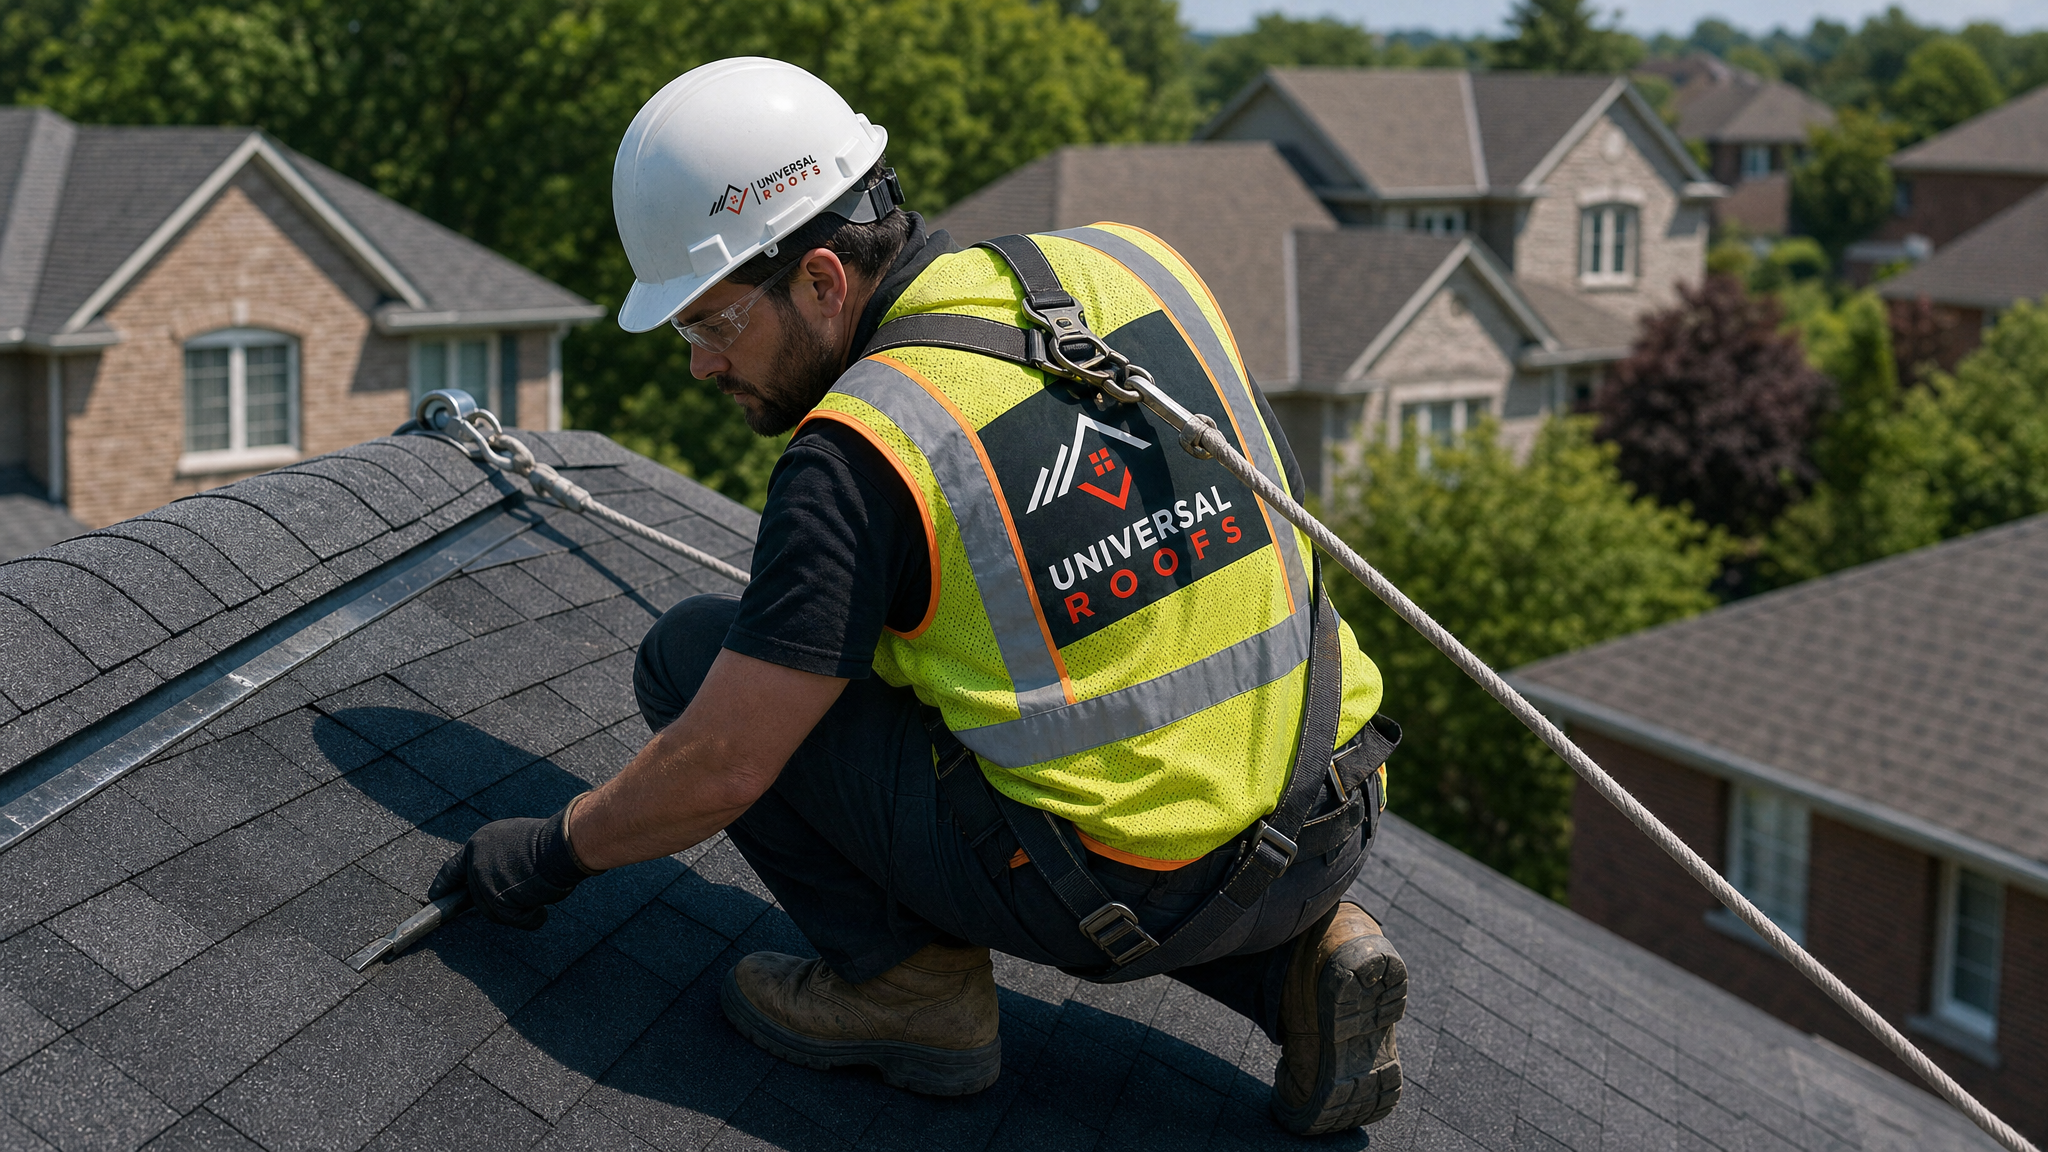
What a Professional Roof Inspection Adds That a DIY Check Cannot
A homeowner’s ground-level and attic inspection catches the majority of visible warning signs, but a licensed roofer brings tools and experience that close the gap on what remains hidden. Moisture meters can detect elevated moisture readings in decking before any staining appears. Infrared thermal imaging can reveal insulation gaps and trapped moisture pockets invisible to the naked eye. And simply having walked hundreds of roofs means a professional can spot subtle sagging, shingle granule loss, or improperly lapped flashing that would not stand out to an untrained eye.
Professional inspections are also the only way to get an accurate estimate of remaining roof lifespan, since that assessment depends on comparing the specific wear pattern against thousands of similar roofs of the same age, material, and exposure. This is particularly valuable before a home sale, before a mortgage renewal that requires proof of roof condition, or before deciding whether a targeted repair will realistically extend the roof’s life or whether replacement is the more cost-effective long-term choice.
| Inspection Method | Who Performs It | Typical Cost | What It Reveals |
|---|---|---|---|
| Ground-level visual check | Homeowner | Free | Obvious shingle, gutter, and flashing issues |
| Attic walkthrough | Homeowner | Free | Active leaks, insulation condition, ventilation issues |
| Standard roof-surface inspection | Licensed roofer | Often free with service call | Shingle wear, flashing seals, valley condition, decking soundness |
| Moisture meter assessment | Licensed roofer | Add-on to inspection | Hidden moisture in decking not yet visibly staining |
| Infrared thermal scan | Specialist roofer or inspector | Premium service | Trapped moisture and insulation gaps invisible to the eye |
Common Roof Problems Inspections Catch Early
Certain problems show up again and again across GTA homes, and each has a distinct early warning sign that a regular inspection routine is designed to catch. Ice damming, for example, starts as small icicles along the eave but leads to shingle lift and water intrusion if the underlying ventilation and insulation issue is not addressed. Shingle granule loss starts as a fine grit collecting in the gutters, long before the shingles themselves look visibly bare. Flashing failure around chimneys and vents typically begins as a hairline gap in the sealant, which is a simple, inexpensive fix compared to the water damage that follows if it is ignored through a full winter.
Wind damage after a storm can be subtle — a single lifted tab rather than obvious missing shingles — which is why a post-storm inspection matters even when the roof looks fine from the driveway. Skylight leaks are almost always a flashing or seal issue rather than a problem with the glazing unit itself, and catching them early through routine inspection is far less costly than water damage reaching the ceiling drywall. If a skylight inspection reveals a failing seal, our skylight replacement page outlines what that process involves and when replacement makes more sense than a repair.
| Problem | Earliest Warning Sign | Cause | Best Time to Address |
|---|---|---|---|
| Ice damming | Icicles forming along the eave | Poor attic ventilation or insulation | Before winter, at fall inspection |
| Shingle granule loss | Grit collecting in gutters | UV aging or shingles nearing end of life | Spring or fall inspection |
| Flashing failure | Hairline gap in sealant around vents/chimney | Sealant shrinkage over time | As soon as noticed, any season |
| Wind-lifted shingles | Single raised tab, not obvious from ground | High wind event or aging adhesive strip | Immediately after any storm |
| Skylight leaks | Faint discolouration on interior drywall | Failed flashing or seal around the curb | At first sign, before drywall damage spreads |
Building a Simple Year-Round Inspection Routine
Turning these four tips into a habit is easier than it sounds. Set two recurring calendar reminders — one in May and one in September — for a ground-level walk and attic check. After any major wind or hailstorm, add an unscheduled check regardless of where you are in the calendar. Keep a folder of dated photos from each inspection so you can compare shingle condition year over year and spot gradual wear before it becomes obvious damage.
Every three to five years, or any time your own inspection turns up something you are not sure how to interpret, bring in a professional for a full assessment. This combination of consistent homeowner vigilance and periodic expert review is what actually extends a roof’s useful life — not any single inspection tip in isolation, but the discipline of doing it regularly. Homeowners across Toronto, Peel Region, York Region, Halton Region, and Durham Region who follow this rhythm consistently report fewer surprise leaks and get more useful years out of every roof material type.
Frequently Asked Questions About Roof Inspection Tips for Maintenance
How often should I use roof inspection tips for maintenance on my home?
What roof inspection tips for maintenance can I do myself without climbing a ladder?
What is the biggest warning sign a roof inspection should never miss?
Do flashing and skylights need different inspection tips for maintenance than shingles?
When should a homeowner call a professional instead of relying on DIY roof inspection tips for maintenance?
How does documenting roof inspections help with insurance or resale?
Need Help With 4 Best Roof Inspection?
A consistent inspection routine is the single best way to protect your investment, and the team at Universal Roofs is ready to help you build one, whether your roof is shingled, flat, or fitted with skylights.
Call us today at (416) 732-2421 or request a free inspection to get started.
Universal Roofs proudly serves Toronto, Mississauga, Brampton, Vaughan, Markham, Oakville and the GTA since 2005.