
Wood shake roofs need to breathe. It sounds like a strange thing to say about a roof, but proper attic and roof deck ventilation is one of the single biggest factors separating a cedar shake roof that lasts 30-plus years from one that starts curling, cupping, and rotting after just a decade. In the Greater Toronto Area, where summer humidity, freeze-thaw winters, and heavy snow loads all put extra stress on a roofing system, ventilation is not an optional upgrade. It is a core requirement for protecting your investment.
Homeowners often assume that once wood shakes are installed correctly, the roof will take care of itself for decades. In reality, cedar and other wood shakes are organic material that constantly absorbs and releases moisture in response to humidity, temperature, and airflow underneath them. When that airflow is blocked or insufficient, moisture has nowhere to go, and the wood pays the price in the form of premature decay, mould, ice damming, and structural damage to the deck below.
In this guide, we explain exactly why proper wood shake roof ventilation is important, how it works, what happens when it fails, and how to tell whether your own attic is set up correctly. We will also cover the building code minimums that apply in Ontario, the visible warning signs of poor ventilation, and the steps involved in correcting the problem before it turns into a costly repair.
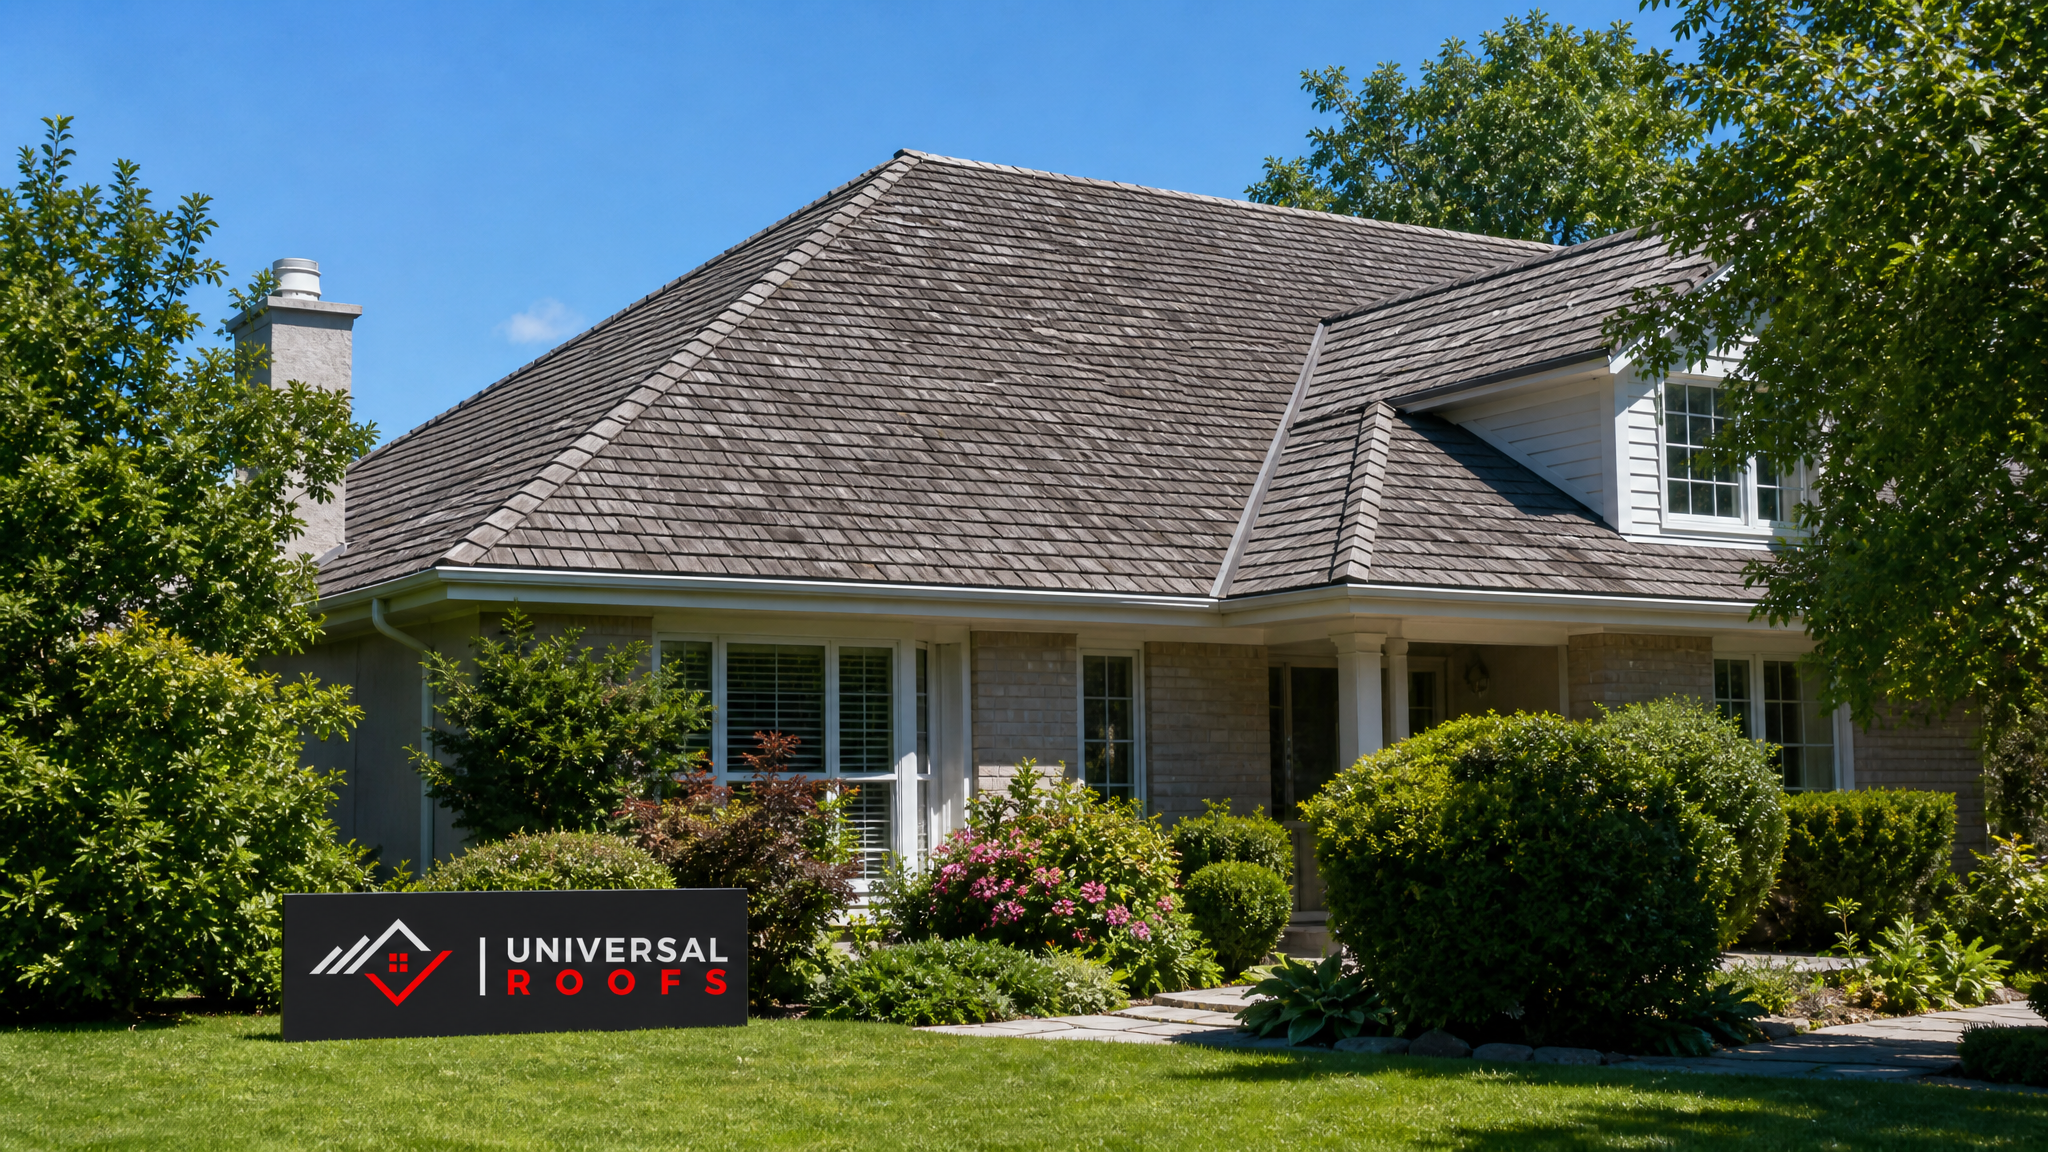
Why Proper Wood Shake Roof Ventilation Is Important for Longevity
Wood shakes are prized for their natural insulating qualities and rustic appearance, but that same organic composition makes them highly sensitive to moisture. Unlike asphalt shingles or metal panels, cedar shakes expand and contract as they absorb and release humidity. Without a steady flow of air moving beneath the shakes and through the attic space, that moisture becomes trapped rather than evaporating away.
Proper wood shake roof ventilation is important because it accomplishes several things simultaneously. It allows the underside of each shake to dry out between rain events, it equalizes temperature so the roof deck does not become a condensation surface, and it prevents the buildup of the warm, moist air that fungi and wood-decay organisms need to establish themselves. When these functions work as intended, a well-maintained cedar shake roof in the GTA can reasonably last 25 to 35 years. When ventilation is inadequate, that same roof can show significant decay in as little as 10 to 15 years, sometimes sooner on shaded, north-facing slopes.
Ventilation also protects components beyond the shakes themselves. The plywood or board sheathing underneath, the underlayment, the fasteners, and even the roof trusses are all vulnerable to prolonged moisture exposure. A roof repair visit that starts as a simple shake replacement can quickly expand in scope once a contractor discovers soft, rotted decking underneath, which is almost always a downstream symptom of a ventilation problem rather than an isolated shake failure.
How Attic and Roof Ventilation Systems Actually Work
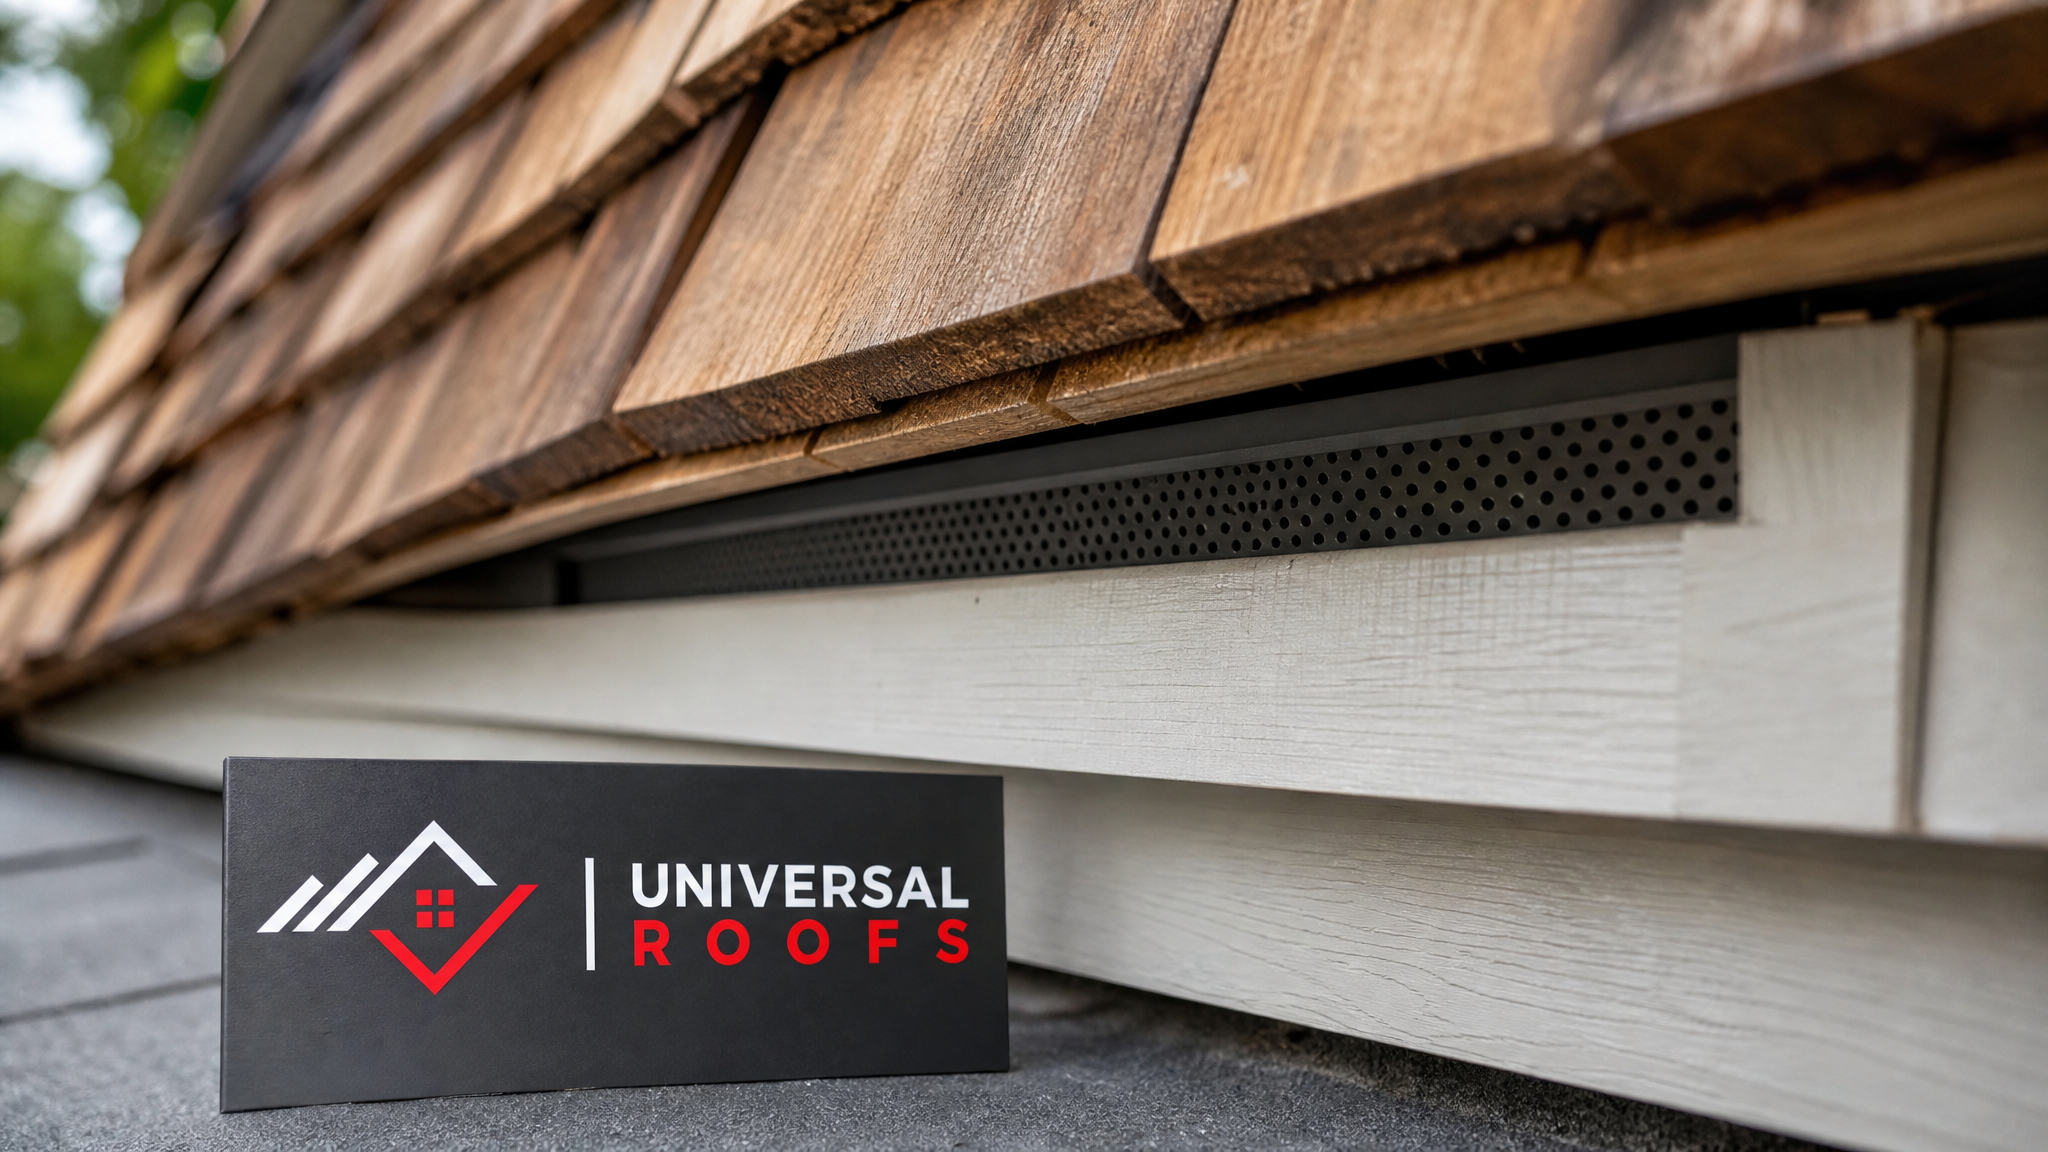
A properly ventilated roof relies on a continuous path of air movement, typically described as intake and exhaust. Cooler, drier air enters low on the roof, usually through soffit vents under the eaves, travels upward beneath the roof deck or through the attic space, and exits high on the roof through ridge vents, roof vents, or gable vents. This constant airflow, sometimes called the “chimney effect,” is driven by the natural tendency of warm air to rise and escape at the peak while replacement air is pulled in from below.
For wood shake roofs specifically, there are two ventilation systems working together:
- Attic ventilation — the broader system that keeps the entire attic space at a temperature and humidity level close to the outdoor air, preventing condensation on the underside of the roof deck
- Sub-shake or batten ventilation — a secondary airflow channel built directly beneath the shakes themselves, often using spaced wood battens or a purpose-built ventilated underlayment mat, allowing air to move under each shake and dry out moisture that gets past the shake surface
Many older wood shake installations in the GTA were built with solid sheathing and no sub-shake airflow channel at all, relying entirely on attic ventilation to manage moisture. This was standard practice decades ago, but it is now understood to shorten the lifespan of the shakes considerably, since the underside of each shake sits directly against a solid, often damp surface with no way to dry out quickly after precipitation.
What Happens When Wood Shake Roof Ventilation Fails
Insufficient ventilation does not cause a sudden roof failure. Instead, it creates a slow, compounding problem that becomes progressively harder and more expensive to correct the longer it goes unaddressed. Understanding the sequence helps homeowners recognize the problem before it reaches a costly stage.
The typical progression looks like this:
- Warm, moist air from living spaces rises into the attic and, with no way to escape, condenses on the cool underside of the roof deck
- Condensation dampens the sheathing and the underside of the shakes, especially on north-facing or shaded slopes that dry more slowly
- Persistent moisture creates ideal conditions for wood-decay fungi and moss growth, which further trap water against the wood surface
- Individual shakes begin to cup, curl, split, or turn soft and spongy to the touch
- Decay spreads to neighbouring shakes and eventually penetrates the sheathing, compromising the structural integrity of the roof deck
- In winter, warm attic air melting snow from below combines with poor ventilation to create ice damming, which forces water backward under the shakes and accelerates the entire cycle
By the time visible symptoms like curling shakes or interior ceiling stains appear, the underlying moisture problem has often been active for several years. This is why a full attic ventilation assessment is a standard part of any thorough wood shake roof inspection, rather than something addressed only after shakes start visibly failing.
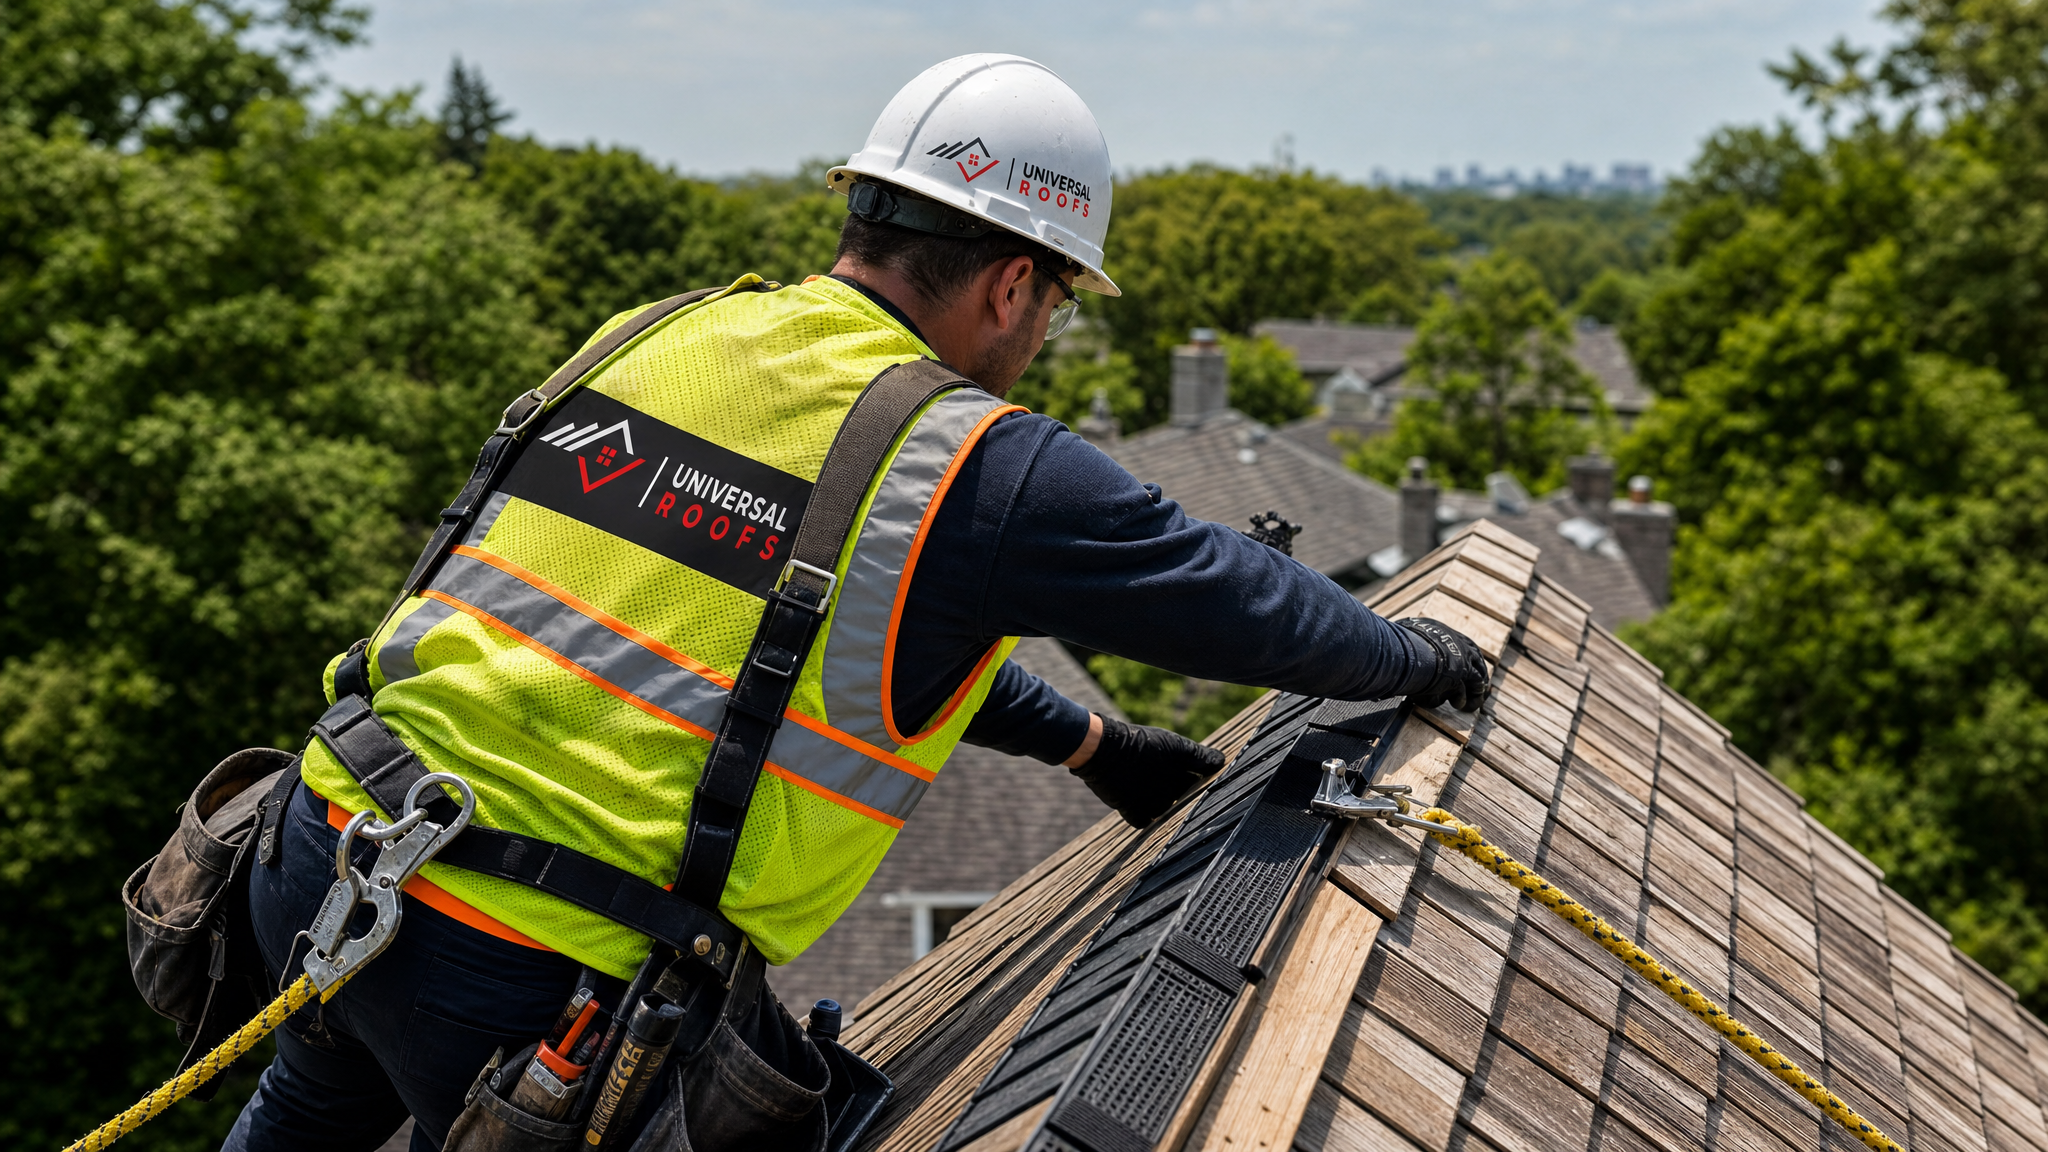
Ontario Building Code Requirements for Roof Ventilation
Ontario’s building code, which follows the National Building Code framework with provincial amendments, sets minimum ventilation requirements for residential attics. While the exact wording is technical, the practical takeaway for homeowners is straightforward: attics must have a net free ventilation area equal to at least 1/300 of the insulated ceiling area, split between intake (soffit) and exhaust (ridge or roof) venting, with some exceptions that tighten this to 1/150 depending on the vapour barrier design and roof slope.
The table below summarizes the general framework used across most GTA municipalities, though homeowners should always confirm specifics with a qualified contractor or their local building department, since slope, insulation type, and vapour barrier presence can all shift the exact requirement.
| Ventilation Factor | Standard Requirement | Why It Matters |
|---|---|---|
| Minimum net free area | 1/300 of ceiling area (or 1/150 in specific cases) | Ensures enough air volume moves through the attic to prevent condensation buildup |
| Intake-to-exhaust balance | Roughly 50/50 split between soffit intake and ridge/roof exhaust | Unbalanced systems create dead air zones where moisture accumulates |
| Soffit clearance | Minimum air gap maintained above insulation at the eaves | Blocked soffits are the most common cause of ventilation failure in older homes |
| Vapour barrier condition | Continuous, unpunctured barrier on the warm side of insulation | Reduces the amount of interior moisture reaching the attic in the first place |
| Bathroom/kitchen exhaust routing | Must vent directly outside, never into the attic space | A single misdirected exhaust fan can overwhelm an otherwise adequate ventilation system |
Homes built before these standards were widely enforced, which describes a large share of the older housing stock across Toronto, Mississauga, Brampton, and surrounding areas, often need retrofitting to bring ventilation up to a level that properly protects a wood shake roof. This is especially true for century homes and properties in established neighbourhoods where wood shakes were the original roofing material.
Signs Your Wood Shake Roof Has a Ventilation Problem
Because ventilation problems develop slowly, the signs are often subtle at first and easy to dismiss as normal weathering. Knowing what to look for, both outside on the roof and inside the attic, helps catch the issue while correction is still simple and affordable.
Common warning signs include:
- Uneven weathering between slopes — one side of the roof (typically north-facing) showing significantly more curling, cupping, or discolouration than others exposed to more sun and airflow
- Visible moss or algae concentration in specific areas rather than spread evenly across the roof
- Musty odours in the attic, particularly noticeable in summer humidity or right after a rain event
- Frost or condensation on the underside of the roof deck visible during a winter attic inspection
- Ice damming along the eaves in winter, with icicles forming even when snowfall has been light
- Warped or discoloured soffit and fascia boards, suggesting moisture is escaping or accumulating at the roof edge
- Higher-than-expected heating and cooling bills, since poor ventilation often correlates with insufficient attic insulation and air sealing
If you notice any of these signs, an inspection that covers both the roof exterior and the attic interior is the right next step. A qualified roof repair specialist can measure existing net free ventilation area, check for blockages, and compare your attic setup against current code minimums.
Comparing Ventilation Correction Methods
Once a ventilation deficiency is confirmed, there are several ways to correct it, ranging from simple, low-cost fixes to more involved retrofits performed during a full roof replacement. The right approach depends on the severity of the problem, the age and condition of the existing shakes, and whether other roofing work is already planned.
| Correction Method | Typical Cost Range (CAD) | Best For | Disruption Level |
|---|---|---|---|
| Clearing blocked soffit vents | $200 – $600 | Homes with existing vents blocked by insulation or debris | Low — usually completed in a few hours |
| Adding supplemental ridge or roof vents | $500 – $1,800 | Attics with intake but insufficient exhaust capacity | Low to moderate — limited roof penetration work |
| Installing sub-shake batten ventilation | $3 – $6 per square foot | Roofs undergoing partial or full re-shaking | Moderate to high — requires removing existing shakes |
| Full attic ventilation retrofit (soffit + ridge + baffles) | $1,500 – $4,000 | Older homes with no functioning ventilation system | Moderate — attic access work, minimal roof surface disruption |
| Ventilation upgrade during full roof replacement | Included in overall replacement cost | Roofs already due for a full roof replacement | High, but already planned as part of the larger project |
For most homeowners, the most cost-effective time to correct ventilation deficiencies is alongside other planned roof work, since the deck and shakes are already exposed. That said, simple fixes like clearing blocked soffits or adding supplemental exhaust vents can often be done independently and provide meaningful protection even before a larger project is scheduled.
Ventilation and Skylights: A Frequently Overlooked Connection
Homes with wood shake roofs often also have skylights, and the two systems interact more than most homeowners realize. A skylight well that is not properly insulated and air-sealed can become a localized source of warm, moist air escaping into the surrounding roof structure, creating a concentrated moisture problem right around the skylight curb even when the rest of the attic ventilation is adequate.
If you are noticing shake decay concentrated specifically around a skylight, it is worth having both the skylight flashing and the surrounding ventilation checked together. In some cases, skylight replacement with a better-insulated, properly flashed unit resolves a decay pattern that homeowners initially assumed was a ventilation-only issue. Similarly, homes with flat-roofed additions or dormers benefit from having those sections reviewed alongside the main wood shake ventilation system, since flat roofing sections have entirely different ventilation needs and can affect airflow patterns in adjoining attic spaces.
Seasonal Considerations for GTA Homeowners
Toronto’s climate puts wood shake roofs through a demanding annual cycle, and ventilation needs shift somewhat with the seasons. Summer humidity, especially during the muggy stretches typical of July and August, means attic air can hold significant moisture even without rain. A properly ventilated attic continuously exchanges that humid air for drier outdoor air, whereas a poorly ventilated one lets humidity build up against the roof deck day after day.
Winter introduces a different challenge. Heat rising from living spaces into a poorly insulated or poorly ventilated attic warms the roof deck unevenly, melting snow near the ridge while the eaves stay cold. That meltwater refreezes at the colder eave line, building the ice dams that force water backward under shakes and shingles alike. This is one of the most damaging seasonal effects of inadequate ventilation, and it disproportionately affects homes with steep-pitched wood shake roofs, which tend to hold snow load longer than lower-slope roofing.
Early summer, which is when many homeowners schedule roof maintenance after the spring thaw has revealed the winter’s damage, is actually an ideal time to address ventilation issues. Warm, dry weather makes attic inspections more comfortable and gives any correction work, from clearing soffits to installing new vents, time to prove itself before the next winter arrives.
DIY Checks Versus Professional Ventilation Assessment
Homeowners can perform a basic first-pass check on their own, but a full assessment genuinely benefits from professional tools and experience. Here is how the two approaches compare.
| Assessment Task | Can a Homeowner Do This? | Why Professional Help Is Recommended |
|---|---|---|
| Visual soffit vent check from ground level | Yes | Straightforward to spot obvious blockages or missing vent covers |
| Attic humidity and odour check | Yes, with caution | Safe if attic access is stable; wear a mask given potential mould exposure |
| Measuring net free ventilation area | Difficult | Requires knowing exact vent product specifications and ceiling area calculations |
| Infrared/thermal imaging for heat loss and moisture | No | Requires specialized equipment and training to interpret results correctly |
| Roof surface inspection for shake condition | Not recommended | Wood shake roofs are steep and slippery; falls are a serious risk without harness and rope |
| Correcting airflow blockages or adding vents | Not recommended | Improper vent placement can create new problems, such as short-circuiting airflow |
If your own ground-level check turns up blocked soffits, visible moss concentration, or a musty attic smell, it is worth booking a professional assessment rather than guessing at a fix. Our team can review your documented history of similar projects across the GTA and walk you through exactly what a proper ventilation retrofit for your specific roof would involve.
Working With a Qualified Roofing Contractor
Not every roofing contractor has deep experience specifically with wood shake systems, and ventilation retrofits on shake roofs require a slightly different approach than on asphalt shingle roofs. When vetting a contractor for this kind of work, ask about their experience with sub-shake ventilation systems, their familiarity with Ontario Building Code ventilation minimums, and whether they inspect the full attic, not just the roof surface, before recommending a scope of work.
A contractor who only looks at the shakes themselves and never opens an attic hatch is likely to miss the root cause of recurring decay. The best outcomes come from a combined assessment: exterior shake condition, interior attic airflow and moisture readings, and a clear explanation of how the two interact on your specific roof. Universal Roofs has served Toronto, Peel Region, York Region, Halton Region, and Durham Region homeowners with exactly this kind of combined assessment since 2005, and we routinely find that correcting ventilation resolves recurring shake problems that previous patch repairs never actually fixed.
Why is proper wood shake roof ventilation important for preventing rot?
How can I tell if my wood shake roof has a ventilation problem?
What ventilation standard applies to wood shake roofs in Ontario?
Can I add ventilation without replacing my wood shake roof?
Does poor ventilation cause ice dams on wood shake roofs?
How often should attic ventilation be inspected on a wood shake roof?
Need Help With Why Is Proper Wood?
Proper wood shake roof ventilation is important to the long-term health of your entire roofing system, and getting it right protects everything from the shakes themselves down to the structural deck underneath. If you have noticed uneven weathering, musty attic odours, or ice damming on your home, the team at Universal Roofs can assess both your roof surface and your attic airflow to find the real cause.
Call us today at (416) 732-2421 or request a free inspection to get started.
Universal Roofs proudly serves Toronto, Mississauga, Brampton, Vaughan, Markham, Oakville and the GTA since 2005.