
A sagging roofline is one of the most alarming things a homeowner can spot from the curb, and it is rarely a coincidence. In the vast majority of Toronto-area homes we inspect, a dip or wave in the roof deck traces back to one root cause: poor attic ventilation that has let heat and moisture attack the structure for years. Preventing roof sagging with a proper DIY ventilation upgrade is one of the few structural problems a motivated homeowner can genuinely get ahead of, provided you understand what is happening above your ceiling and act before the damage becomes structural.
This guide walks through why GTA attics are especially prone to ventilation failure, how to diagnose early sagging before it becomes a five-figure repair, which DIY ventilation upgrades actually work, and when the problem has moved past what any homeowner should tackle alone. We built this from years of attic inspections across Toronto, Mississauga, Brampton, Vaughan, Markham, Oakville and the wider GTA, where our freeze-thaw winters and humid summers put more stress on attic ventilation than almost any other climate in Canada.
If you take one thing away from this article, let it be this: sagging is a symptom, not the disease. Fixing the sag without fixing the ventilation and moisture problem behind it just buys you a few more years before it comes back worse.
Why Roofs Sag: The Ventilation Connection
Most homeowners assume a sagging roof means a snapped rafter or a single catastrophic failure. In reality, sagging almost always develops slowly, through one of three ventilation-related mechanisms:
- Moisture-driven wood rot. Warm, humid air rises from living spaces into the attic. Without adequate intake and exhaust ventilation, that moisture condenses on the underside of the roof deck and on rafters, especially in winter when the deck is cold. Over years, this constant damp cycle softens and rots the plywood or board sheathing and the rafters themselves, and rotten wood loses its ability to bear load.
- Heat-driven material fatigue. A poorly vented attic in a Toronto summer can reach 60 degrees Celsius or more. Sustained heat like that dries out and weakens roof sheathing, degrades asphalt shingle adhesive, and accelerates the breakdown of the wood fibres that give trusses their strength.
- Ice damming and freeze-thaw cycling. When warm attic air escapes upward and melts snow on the upper roof, the meltwater refreezes at the cold eaves, forming ice dams. Trapped water backs up under shingles, saturates the deck, and freezes and thaws repeatedly through our long winters, a cycle that is uniquely punishing in the GTA and one of the fastest routes to sagging near the eaves.
In every one of these cases, the fix is the same: restore a balanced flow of fresh air through the attic, from soffit intake vents at the eaves up through ridge or roof-mounted exhaust vents at the peak. That constant airflow keeps the deck cool in summer, dry in winter, and close to outdoor temperature year-round, which is exactly what stops rot, ice damming, and heat fatigue before they start.
Early Warning Signs Before Sagging Becomes Structural
The earlier you catch a ventilation problem, the more of it you can fix yourself. Once you can see a visible dip from the street, you are usually looking at compromised structural members that need professional roof repair, not a weekend project. Watch for these signs during a seasonal attic check:
- A faint wave or ripple along the roofline visible only in raking morning or evening light
- Musty, damp odour when you open the attic hatch
- Dark staining, streaking, or mould on the underside of the roof deck or rafters
- Nail heads with frost or rust on them in winter (a sign of trapped moisture)
- Sagging or bowed rafters visible from inside the attic, even if not yet visible from outside
- Soft or spongy spots when you press gently on the roof deck from inside the attic
- Consistently ice-damed eaves or icicles forming in the same spot every winter
- Higher-than-expected heating and cooling bills, suggesting attic air is escaping through the insulation layer
If you catch any of these signs early, a DIY ventilation upgrade paired with basic moisture control can genuinely arrest the problem. If you are already seeing a visible sag in the roofline itself, treat that as a signal to book a professional roof repair assessment rather than continuing with DIY fixes.
Understanding Your Attic’s Airflow Requirements
Before buying a single vent, you need to understand the ratio your attic actually requires. The widely used industry guideline (based on FHA and building code minimums, and referenced by most GTA municipal inspectors) is one square foot of net free ventilation area for every 300 square feet of attic floor space, split evenly between intake (soffit vents) and exhaust (ridge, roof, or gable vents), assuming a proper vapour barrier is present on the ceiling below. Without a vapour barrier, that ratio tightens to 1:150.
Net free area (NFA) is not the same as the physical hole size — every vent product has a printed NFA rating (usually in square inches) that accounts for the louvres and screening that reduce actual airflow. Always calculate using NFA, not the vent’s outer dimensions.
| Attic Floor Area | Total NFA Needed (1:300 ratio) | Intake Needed (50%) | Exhaust Needed (50%) |
|---|---|---|---|
| 1,000 sq ft | 4.8 sq ft (691 sq in) | 2.4 sq ft (346 sq in) | 2.4 sq ft (346 sq in) |
| 1,500 sq ft | 7.2 sq ft (1,037 sq in) | 3.6 sq ft (518 sq in) | 3.6 sq ft (518 sq in) |
| 2,000 sq ft | 9.6 sq ft (1,382 sq in) | 4.8 sq ft (691 sq in) | 4.8 sq ft (691 sq in) |
| 2,500 sq ft | 12.0 sq ft (1,728 sq in) | 6.0 sq ft (864 sq in) | 6.0 sq ft (864 sq in) |
| 3,000 sq ft | 14.4 sq ft (2,074 sq in) | 7.2 sq ft (1,037 sq in) | 7.2 sq ft (1,037 sq in) |
Measure your attic floor area (length times width, roughly, for a standard gable roof) and use this table to size your ventilation upgrade. If your existing vents fall well short of these numbers, that shortfall is very likely a major contributor to any sagging or moisture damage you are seeing.
DIY Ventilation Upgrades You Can Tackle Safely
Several ventilation improvements are well within reach of a reasonably handy homeowner with basic tools, a stable ladder, and a helper. Others cross into territory where a mistake can cause leaks or make sagging worse, and those are better left to a professional roof repair crew. Here is an honest breakdown.
| Ventilation Task | DIY Difficulty | Tools Required | Typical Time |
|---|---|---|---|
| Clearing blocked soffit vents of insulation/debris | Easy | Flashlight, shop vac, rake tool | 1-2 hours |
| Installing baffles (rafter vents) at eaves | Easy-Moderate | Staple gun, baffles, utility knife | 2-4 hours |
| Adding a solar or gable-mounted attic fan | Moderate | Drill, jigsaw, wiring basics | 3-5 hours |
| Cutting new soffit vent openings | Moderate-Hard | Circular saw, vent inserts, ladder | Half a day |
| Installing ridge vents (cutting the ridge line) | Hard, not recommended DIY | Roofing tools, shingle removal | Full day, roof access required |
| Diagnosing and repairing sagging rafters/decking | Not DIY — structural | Professional assessment required | Varies |
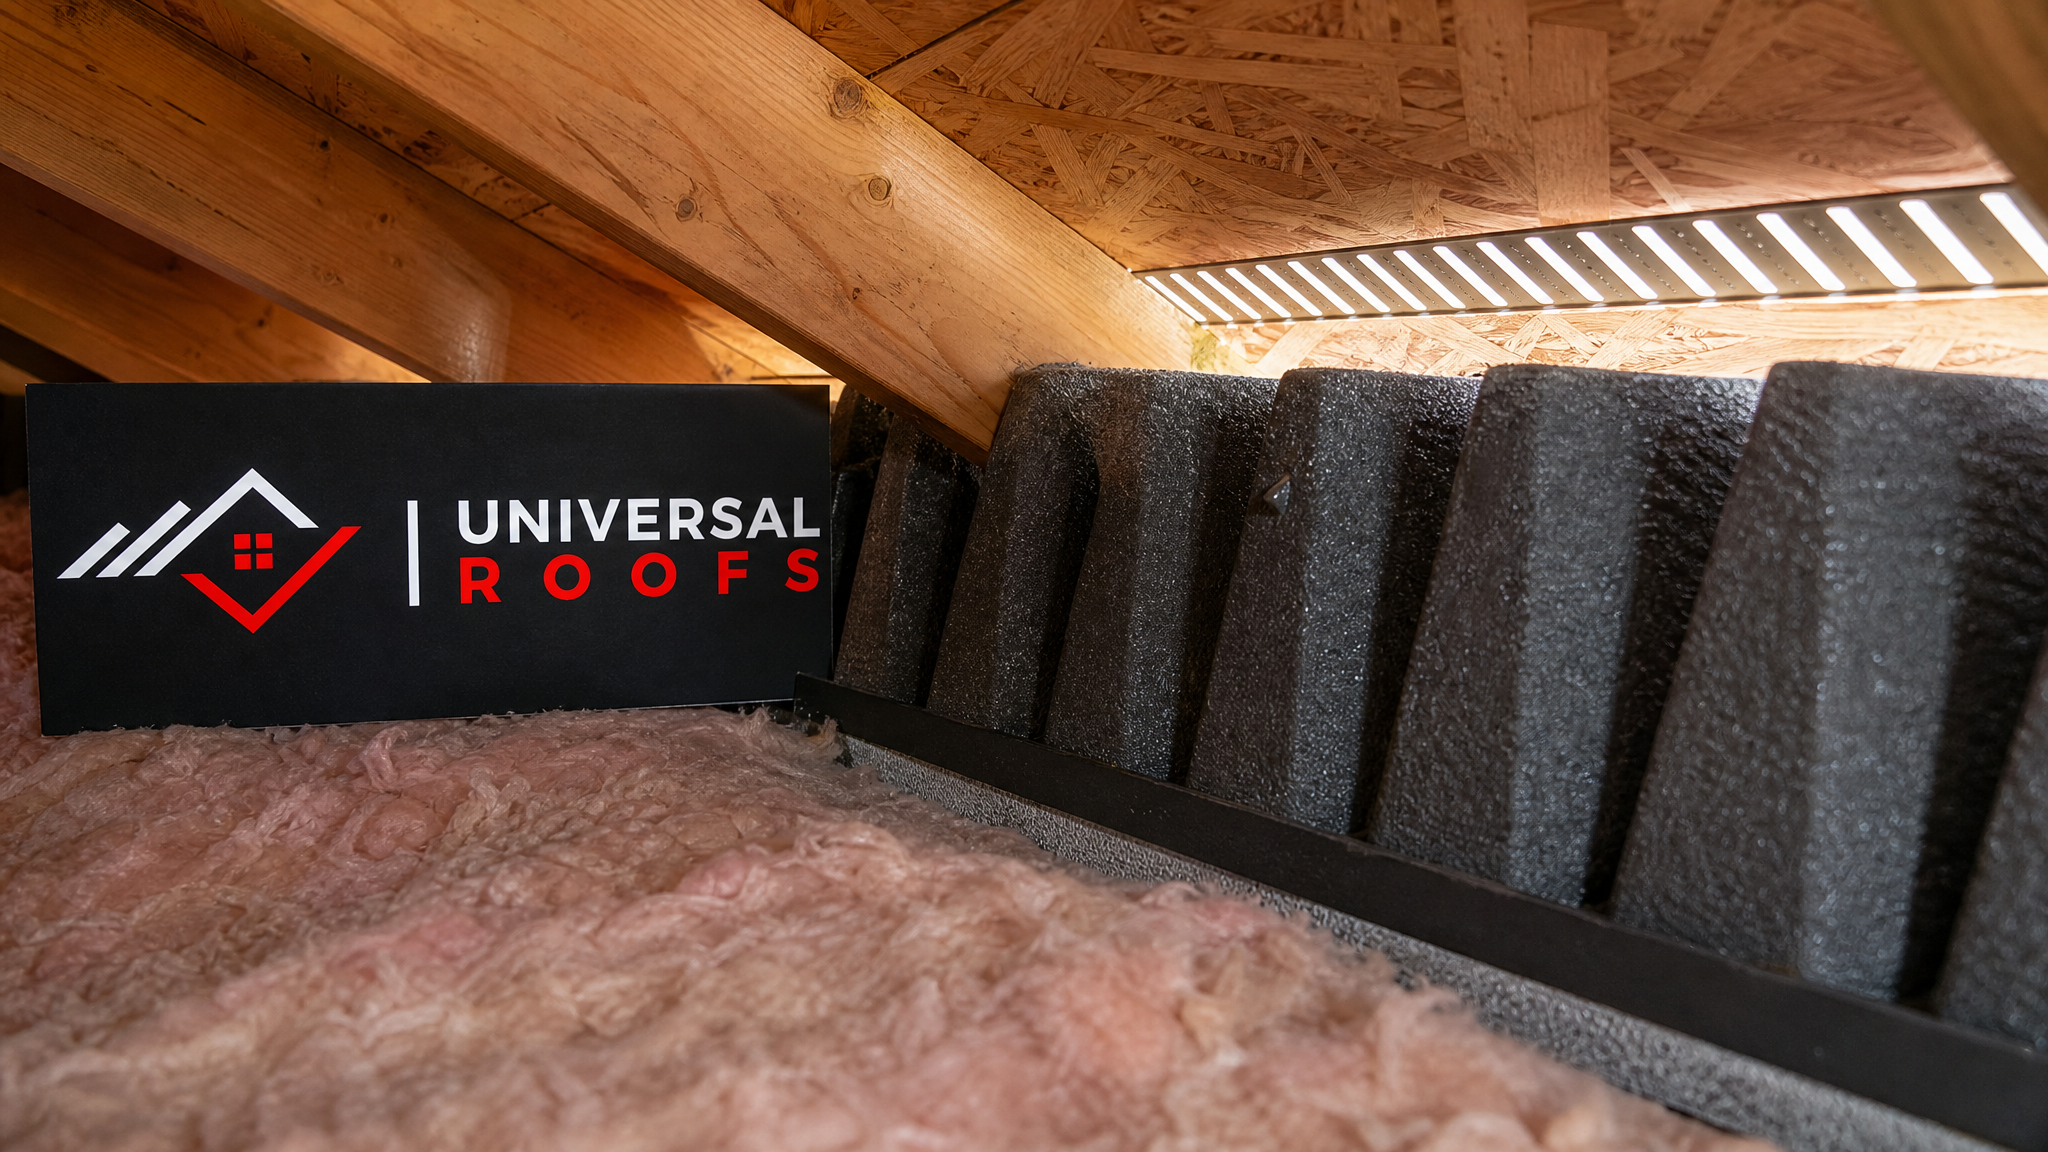
A few notes on the safer end of that list. First, blocked soffit vents are the single most common ventilation failure we find, usually caused by loose-fill insulation that has slumped down and buried the vent openings from inside the attic. This is a genuinely easy fix: from inside the attic, gently pull insulation back a few inches from each soffit vent opening and install foam or cardboard baffles (sometimes called rafter vents) to hold a permanent air channel open between the insulation and the roof deck.
Second, if your attic currently relies only on gable vents or a single roof vent, a solar-powered attic fan is a reasonable and popular upgrade that requires no electrical wiring and adds meaningful exhaust capacity without cutting into the roofline. Just be sure it is sized and positioned correctly, and never rely on a powered fan as a substitute for proper passive balanced ventilation — fans can actually depressurize an attic and pull conditioned air out of the living space if intake ventilation is insufficient.
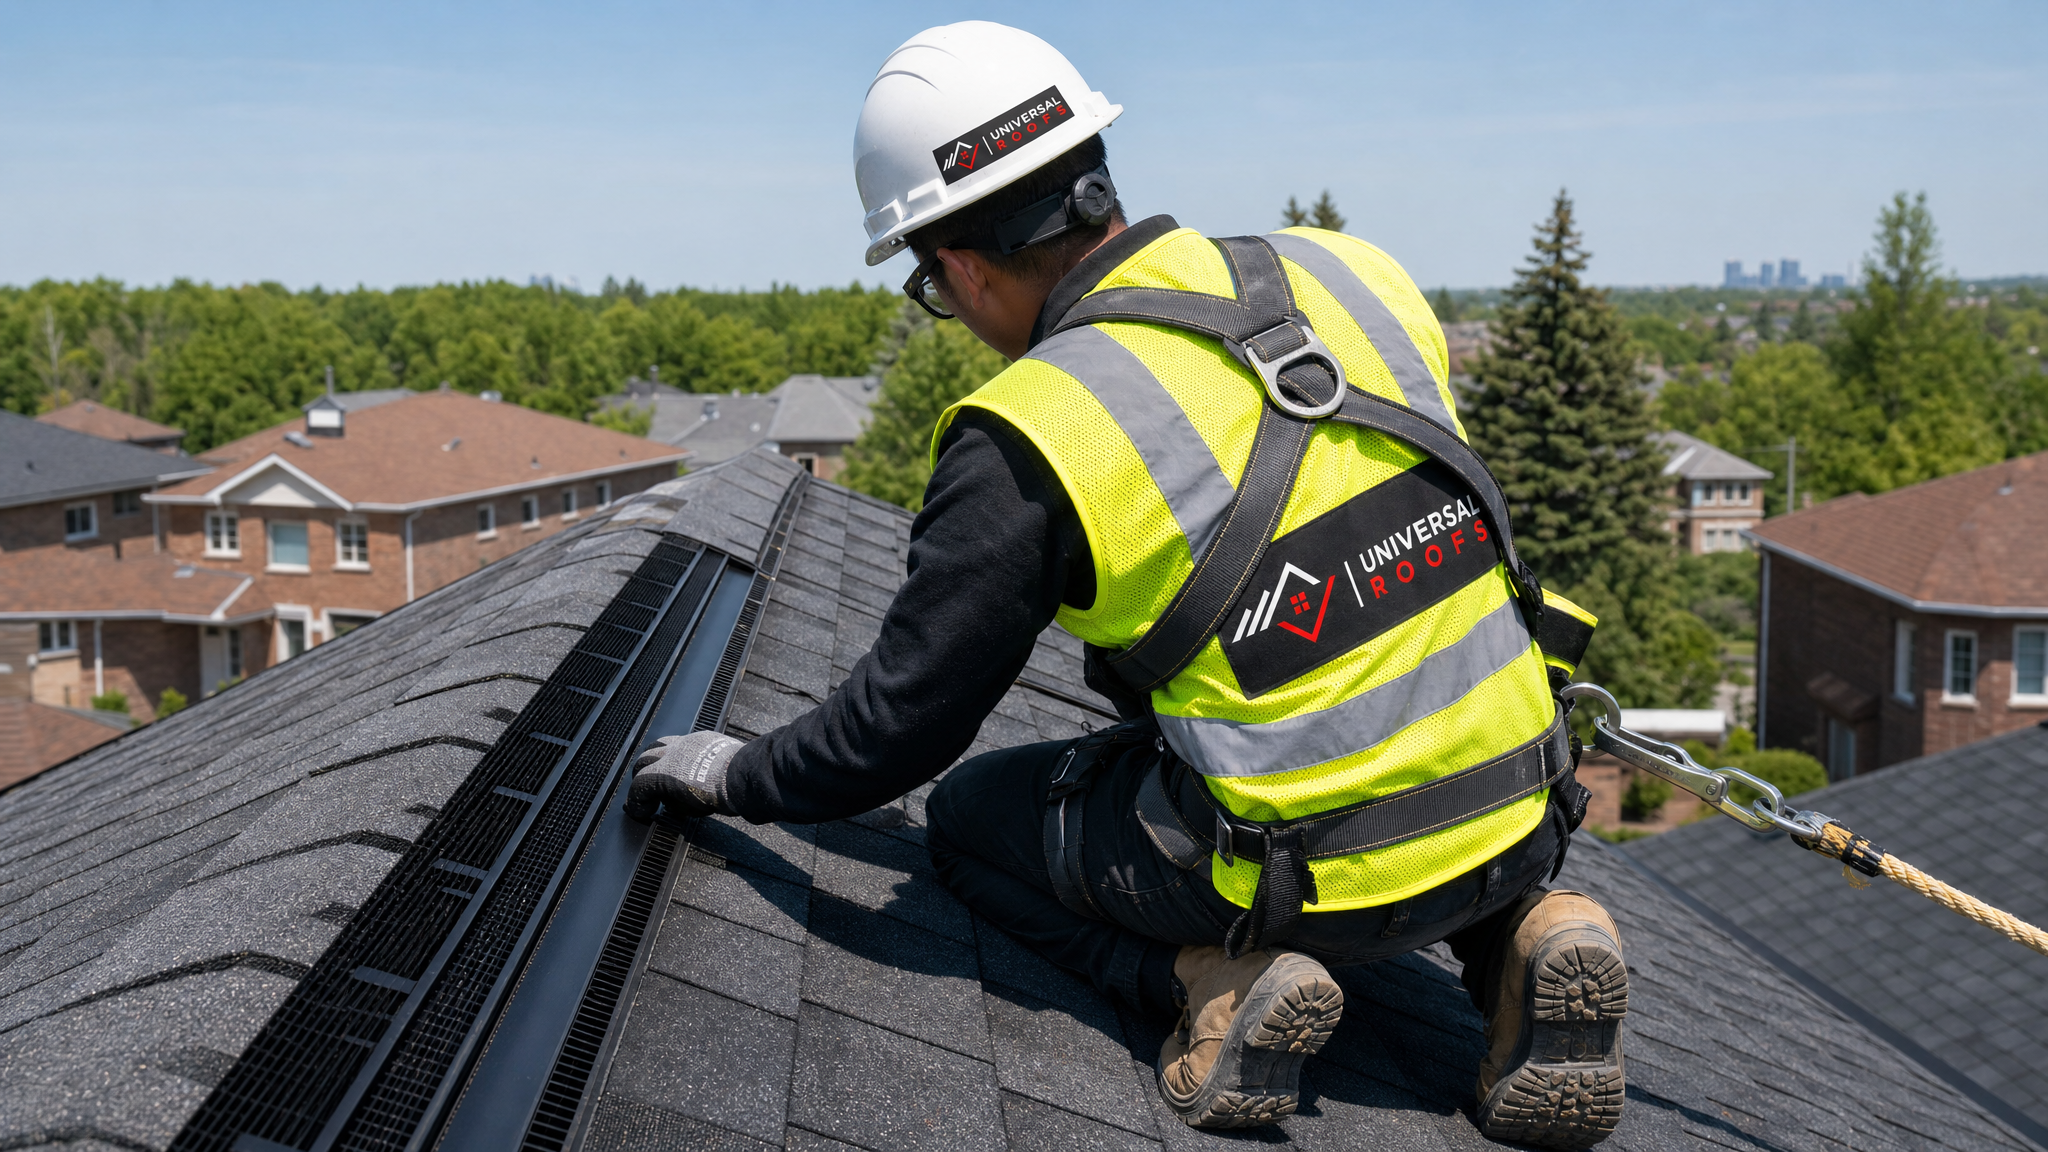
Third, and this is important: cutting a continuous ridge vent means removing shingles along the peak, cutting a slot in the roof deck, and re-flashing the opening. Get this wrong and you introduce a leak path directly into the attic, which accelerates the very rot you are trying to prevent. If your roof needs ridge ventilation and you are not fully comfortable with roofing tools and safety at height, this is the point where calling in a roof replacement or repair specialist protects both your safety and your investment.
Balancing Intake and Exhaust: The Mistake Most DIYers Make
The single most common ventilation mistake we see in GTA attics is exhaust-heavy, intake-starved ventilation: homeowners add a powered gable fan or extra roof vents without ever addressing blocked or undersized soffit intake. This imbalance does not just fail to help, it can actively make things worse.
When exhaust capacity outpaces intake, the fan or vents start pulling air from the easiest available path, which is often through gaps in the ceiling, pot lights, or the attic hatch, rather than from the soffits. That draws warm, moisture-laden household air directly into the attic, which is precisely the condition that causes condensation on the roof deck and accelerates rot. In some cases this is worse than having no additional ventilation at all.
Before adding any exhaust vent or fan, confirm your soffit intake is clear, sized correctly, and unobstructed by insulation. If you are not certain your intake is adequate, address that first. Adding exhaust to a system with insufficient intake is the ventilation equivalent of adding a bigger chimney to a fireplace with the damper stuck shut.
Insulation, Vapour Barriers, and Ventilation Work Together
Ventilation cannot do its job alone. Three systems have to work together to keep an attic and roof deck healthy: the vapour barrier (usually polyethylene sheeting under the drywall, or paint-grade vapour retarders in older homes), the insulation layer, and the ventilation path above it. If any one of the three is compromised, the other two cannot fully compensate.
A torn or missing vapour barrier lets warm, humid household air migrate freely into the attic no matter how well the attic itself is vented, overwhelming even a well-designed ventilation system. Insulation that has settled, gotten wet, or been pushed against the roof deck (blocking the airflow channel) undermines ventilation just as badly as blocked soffits do. Before investing time in ventilation upgrades, do a quick attic walkthrough and confirm insulation depth is consistent, the vapour barrier (where present) is intact, and nothing is compressed against the underside of the deck.
| Attic Symptom | Likely Root Cause | Recommended Action | DIY or Professional? |
|---|---|---|---|
| Frost on nail heads / underside of deck in winter | Warm moist air reaching cold roof deck, insufficient ventilation | Clear soffit intake, add baffles, check vapour barrier | DIY-friendly |
| Ice dams at the same spot every year | Localized heat loss or blocked ventilation over that section | Inspect insulation depth and airflow path in that bay | DIY inspection, may need pro repair |
| Musty smell, visible mould on sheathing | Chronic moisture from poor ventilation or a hidden leak | Ventilation upgrade plus mould remediation; rule out leaks | Professional recommended |
| Visible sag or dip in roofline from the street | Advanced rot or structural fatigue in rafters/decking | Full structural roof inspection, likely roof replacement of affected section | Professional required |
| High summer cooling bills, hot upstairs rooms | Heat buildup from insufficient exhaust ventilation | Add ridge, roof, or solar attic fan exhaust capacity | DIY-friendly with guidance |
Toronto’s Climate Makes Ventilation Non-Negotiable
Some regions can get away with mediocre attic ventilation for decades. The GTA is not one of them. Our winters swing through repeated freeze-thaw cycles that are especially hard on saturated wood, our humid summers push attic temperatures to extremes, and lake-effect snow loads add real weight to a roof structure that may already be weakened by hidden rot. This combination is exactly why we see so much preventable sagging across Toronto, Mississauga, Brampton, Vaughan, Markham, Oakville and the surrounding GTA.
Ontario Building Code references for attic ventilation exist for good reason, and most municipal inspectors in the region will flag inadequate ventilation during a home inspection or permit review. If you are planning a roof replacement, a skylight installation, or any renovation that opens up the roof deck, that is the ideal moment to correct ventilation deficiencies while the roof is already open, since retrofitting later is more labour-intensive.
July is actually a smart time to do this attic walkthrough. You can directly feel how hot the attic gets on a summer afternoon, which tells you a lot about your exhaust capacity, and you have months of comfortable working weather ahead before the freeze-thaw season returns and starts the moisture cycle over again.
When to Stop DIYing and Call a Professional
We want homeowners to feel empowered to handle the parts of this problem that are genuinely safe and effective to do themselves. But there is a clear line where continuing DIY work risks your safety or lets a structural problem get worse while you experiment. Call a professional if:
- You can see an actual dip, wave, or bow in the roofline from outside the house
- You find soft, spongy, or crumbling wood anywhere in the attic
- The project requires cutting into the roof deck or shingles (ridge vents, new roof-mounted exhaust vents)
- You are not fully confident working at height or on a sloped roof surface
- You have already tried ventilation improvements and the moisture or ice damming problem persists
- A home inspection or insurance assessment has flagged the roof structure
A thorough professional roof inspection can confirm whether your rafters and decking are still structurally sound or whether sections need reinforcement or roof replacement. Catching a ventilation-driven sagging problem early, before it reaches the rafters, is almost always dramatically less expensive than waiting until a full section of roof needs rebuilding.
Maintaining Your Ventilation System Long-Term
A ventilation upgrade is not a one-time fix and forget project. Attics need periodic maintenance to keep airflow paths clear:
- Check soffit vents every autumn before insulation settles further with the season’s humidity changes
- Inspect baffles each spring for any that have slipped or been dislodged by squirrels, birds, or insulation shifting
- Clean debris, leaves, and nesting material out of ridge and roof vents annually
- Watch for pest entry points, since ventilation openings are also common access points for squirrels and other wildlife in the GTA
- Re-check attic temperature and frost patterns each winter to confirm the system is still balanced
Keeping a simple annual reminder to check these items, ideally paired with a broader attic page walkthrough, is enough to catch small problems before they become sagging.
Cost Expectations for Ventilation Upgrades vs. Sagging Repair
One of the most persuasive reasons to address ventilation proactively is the enormous cost gap between prevention and structural repair. The table below reflects typical GTA pricing ranges; always get a written quote for your specific home.
| Project | Typical Cost Range (CAD) | Timeline | Prevents |
|---|---|---|---|
| Clearing soffit vents + adding baffles (DIY) | $50 – $200 (materials only) | Half a day | Early moisture buildup, minor frost |
| Solar attic fan installation | $400 – $900 installed | 1 day | Heat buildup, summer shingle fatigue |
| Professional ridge vent installation | $800 – $2,500 depending on roof size | 1 day | Chronic ice damming, deck condensation |
| Rafter/decking repair (localized rot) | $2,500 – $8,000 | 2-4 days | Full structural failure, roof collapse risk |
| Partial roof replacement due to advanced sagging | $10,000 – $25,000+ | 1-2 weeks | N/A — this is the outcome prevention avoids |
The pattern is consistent across every roof we assess: a few hundred dollars in ventilation upgrades, done early, routinely prevents tens of thousands of dollars in structural repair later. If you are already looking at visible sagging, it is worth getting a straightforward roof replacement quote to compare against patch-repair costs, since heavily compromised decking often makes replacement the more economical long-term choice.
How This Fits Into a Broader Roof Health Plan
Ventilation is one piece of a larger system that keeps a roof sound for its full expected lifespan. It works alongside proper attic insulation, sound flashing around chimneys and skylights, and a shingle, flat roofing, or membrane layer that is inspected regularly. If your home has skylights, know that poor attic ventilation can accelerate condensation issues around skylight wells too, so a ventilation upgrade often pairs naturally with a skylight inspection or skylight replacement if that unit is older.
If you are unsure where your roof currently stands, our reviews page reflects the kind of thorough, honest assessments GTA homeowners have come to expect from us, and our FAQ page answers many of the smaller questions homeowners ask before committing to a project. Whether you are in Toronto, the Peel Region, York Region, Halton Region, or Durham Region, the ventilation principles in this guide apply the same way, though local snow-load and humidity patterns can shift the exact numbers slightly.
Can preventing roof sagging with a DIY ventilation upgrade really work without a professional?
What is the main cause of roof sagging in Toronto homes?
How much attic ventilation do I actually need to prevent sagging?
Is it safe to install a ridge vent myself as part of preventing roof sagging?
Why did adding an attic fan make my ventilation problem worse?
How do I know if my sagging roof needs replacement instead of repair?
Need Help With Preventing Roof Sagging a?
Ventilation problems rarely announce themselves loudly until real damage has already been done, and by the time a sag is visible from the street, the fix has usually moved well beyond a weekend project. If you would rather have a trained eye confirm your attic airflow, insulation, and structural condition before committing to any DIY work, Universal Roofs has been assessing and correcting exactly these problems across the GTA since 2005.
Call us today at (416) 732-2421 or request a free inspection to get started.
Universal Roofs proudly serves Toronto, Mississauga, Brampton, Vaughan, Markham, Oakville and the GTA since 2005.