
If water is finding its way into your attic, chimney chase, or ceiling after a rainstorm, the culprit is very often flashing, not the shingles themselves. Flashing is the thin metal barrier installed at every roof transition — chimneys, valleys, skylights, walls, and vents — and when it fails, even a brand-new roof can leak. Knowing the right techniques for flashing repair is the difference between a five-year patch job and a fix that lasts the life of the roof.
At Universal Roofs, we have been repairing and replacing flashing on GTA homes since 2005, through more freeze-thaw cycles than most homeowners will ever see. Toronto’s climate is uniquely hard on flashing: winter ice damming forces water backward under metal edges, summer heat expands and contracts sealants until they crack, and wind-driven rain off Lake Ontario tests every joint. This guide walks through the ten best techniques for flashing repair, when each one applies, and how to tell whether your roof needs a simple resealing or a full flashing replacement.
Whether you are trying to diagnose a mystery leak yourself or want to understand what a contractor should be doing before you approve the invoice, this article covers the methods, materials, and Toronto-specific considerations that matter most.
Why Flashing Fails in the First Place
Before jumping into techniques for flashing repair, it helps to understand why flashing fails at all. Flashing is designed to shed water, not stop it outright — it relies on overlapping layers, correct slope, and a tight bond to the roofing material and the adjoining surface (a chimney, wall, or skylight curb). When any one of those elements is compromised, water finds the gap.
In the GTA, the most common causes we see are:
- Freeze-thaw cycling — water trapped under flashing freezes, expands, and pries the metal away from its seal.
- Sealant breakdown — caulking and roofing cement have a lifespan of roughly 5 to 10 years before UV exposure and thermal cycling cause cracking.
- Nail pops and fastener corrosion — exposed or rusted fasteners create direct entry points for water.
- Poor original installation — flashing cut too short, improperly layered under shingles, or sealed instead of mechanically integrated.
- Age and metal fatigue — galvanized steel flashing typically lasts 20 to 30 years; aluminum can corrode faster near coastal-style salt exposure from winter road salt spray.
Identifying the root cause first is critical, because patching a symptom (a crack in the sealant) without addressing the cause (a poorly lapped joint underneath) means the leak returns within a season. A thorough roof repair assessment always starts with tracing water stains back to their true entry point, which is often metres away from where the stain appears inside the attic.
Technique 1: Re-Sealing With High-Grade Polyurethane Sealant
The simplest and most common of all techniques for flashing repair is re-sealing existing flashing with a fresh bead of sealant. This works well when the metal itself is still sound and properly lapped, but the old caulking has cracked, shrunk, or pulled away.
The key to doing this correctly is material selection. Cheap acrylic caulk fails within a year or two in our climate. We favour a polyurethane or advanced elastomeric sealant rated for a temperature range covering Toronto’s swing from -25°C in January to 35°C in July. The old sealant must be fully removed and the metal cleaned and dried before the new bead is applied — sealing over old, failed caulk is one of the most common shortcuts that leads to a callback within months.
Technique 2: Step Flashing Replacement Along Roof-Wall Junctions
Step flashing consists of individual L-shaped metal pieces woven between each course of shingles where a roof slope meets a vertical wall (common at dormers and additions). When step flashing rusts through or was installed with continuous caulk instead of proper shingle-and-metal layering, the only real fix is full replacement, piece by piece.
This is more labour-intensive than re-sealing because shingles must be carefully lifted, old flashing removed, new galvanized or aluminum pieces slid in with the correct 100mm overlap, and shingles re-nailed without damaging the surrounding roofing. Done correctly, step flashing should never require sealant at all — it works purely through overlap and gravity, which is why it is considered the most durable of all flashing repair techniques when installed properly.
Technique 3: Chimney Flashing Rebuild (Base, Step, and Counter-Flashing)
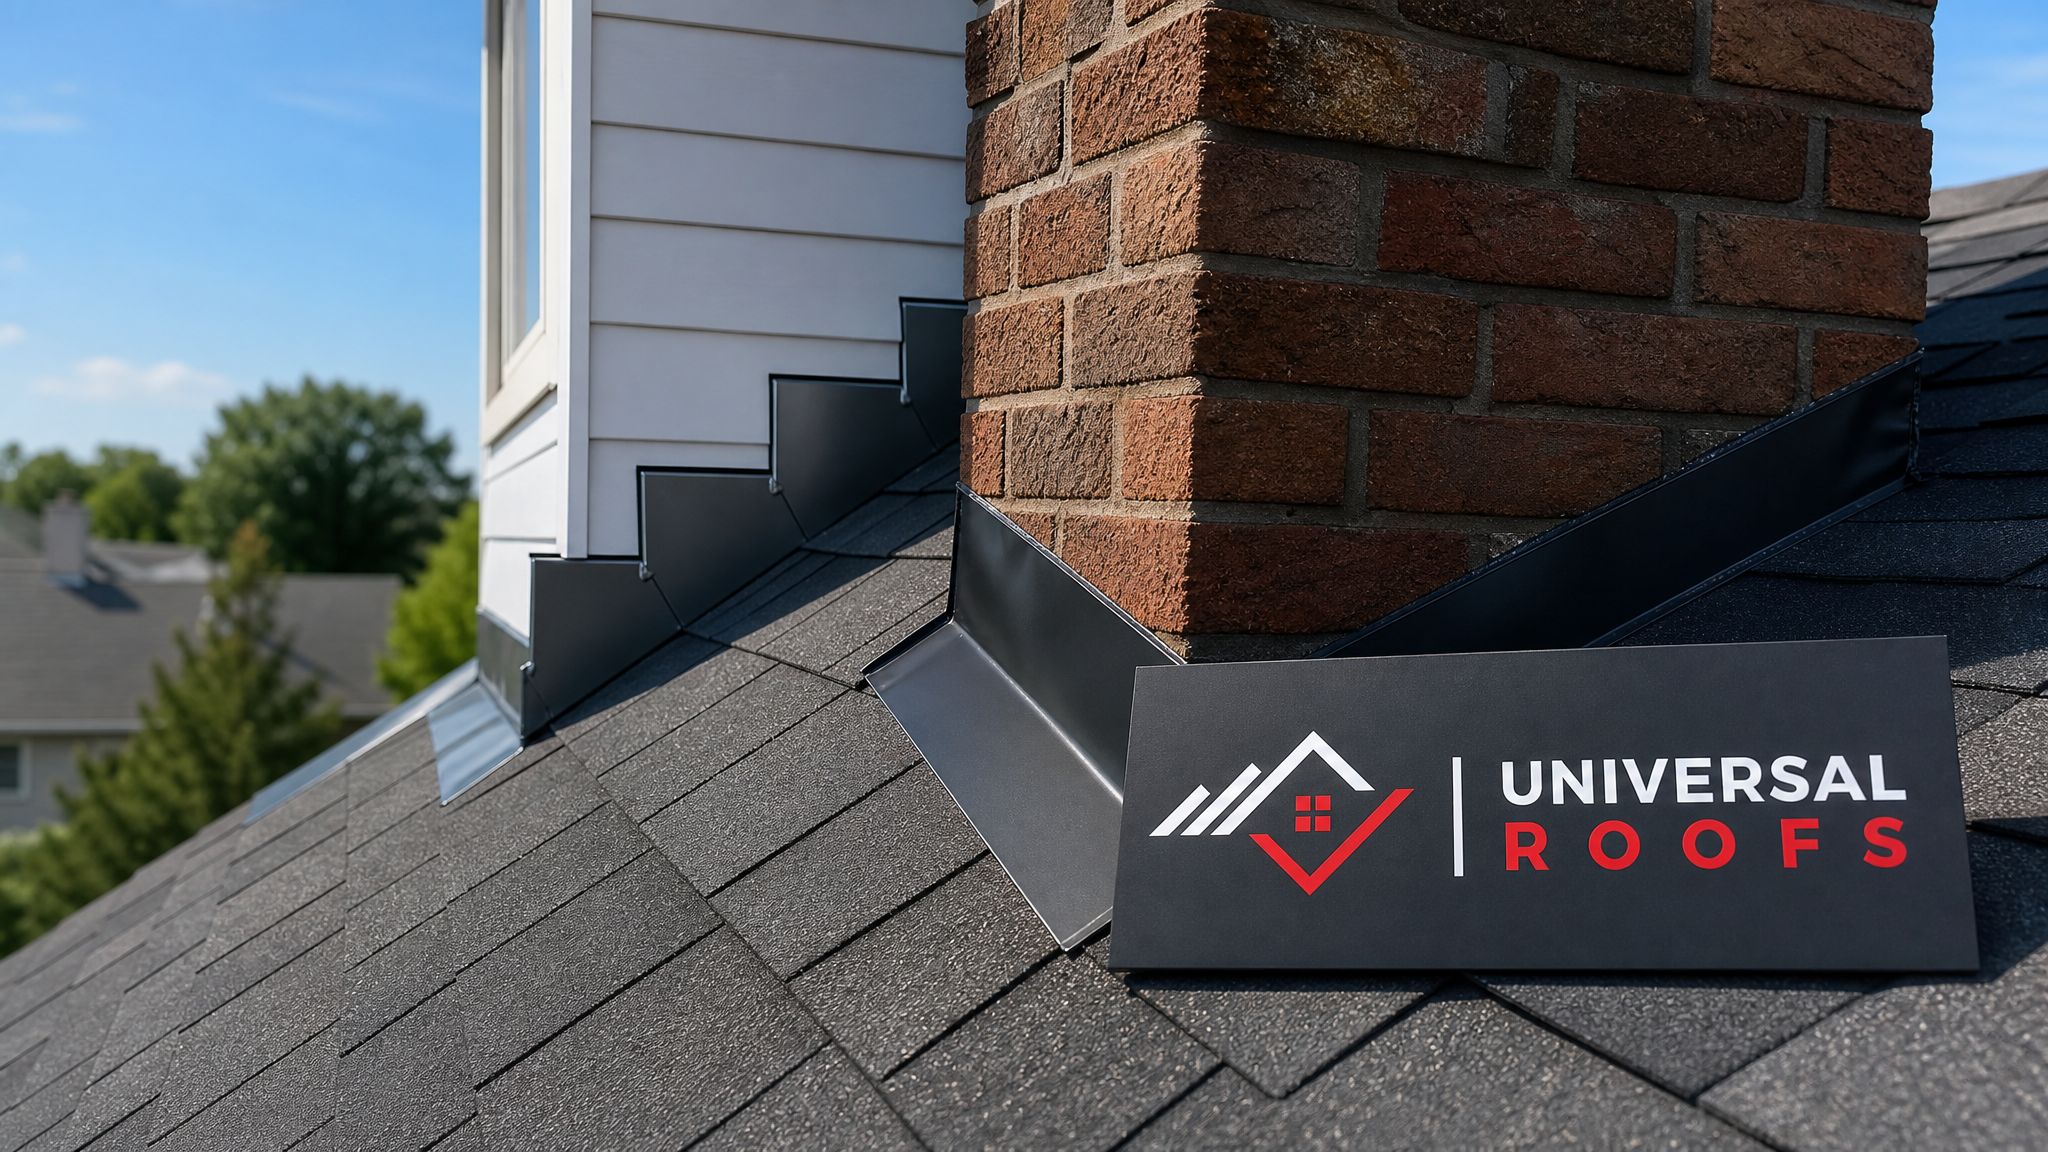
Chimneys are the single most common source of roof leaks in the GTA, and chimney flashing is actually three separate components working together: base flashing (against the roof deck), step flashing (up the sides), and counter-flashing (embedded into the chimney mortar joints, overlapping the step flashing).
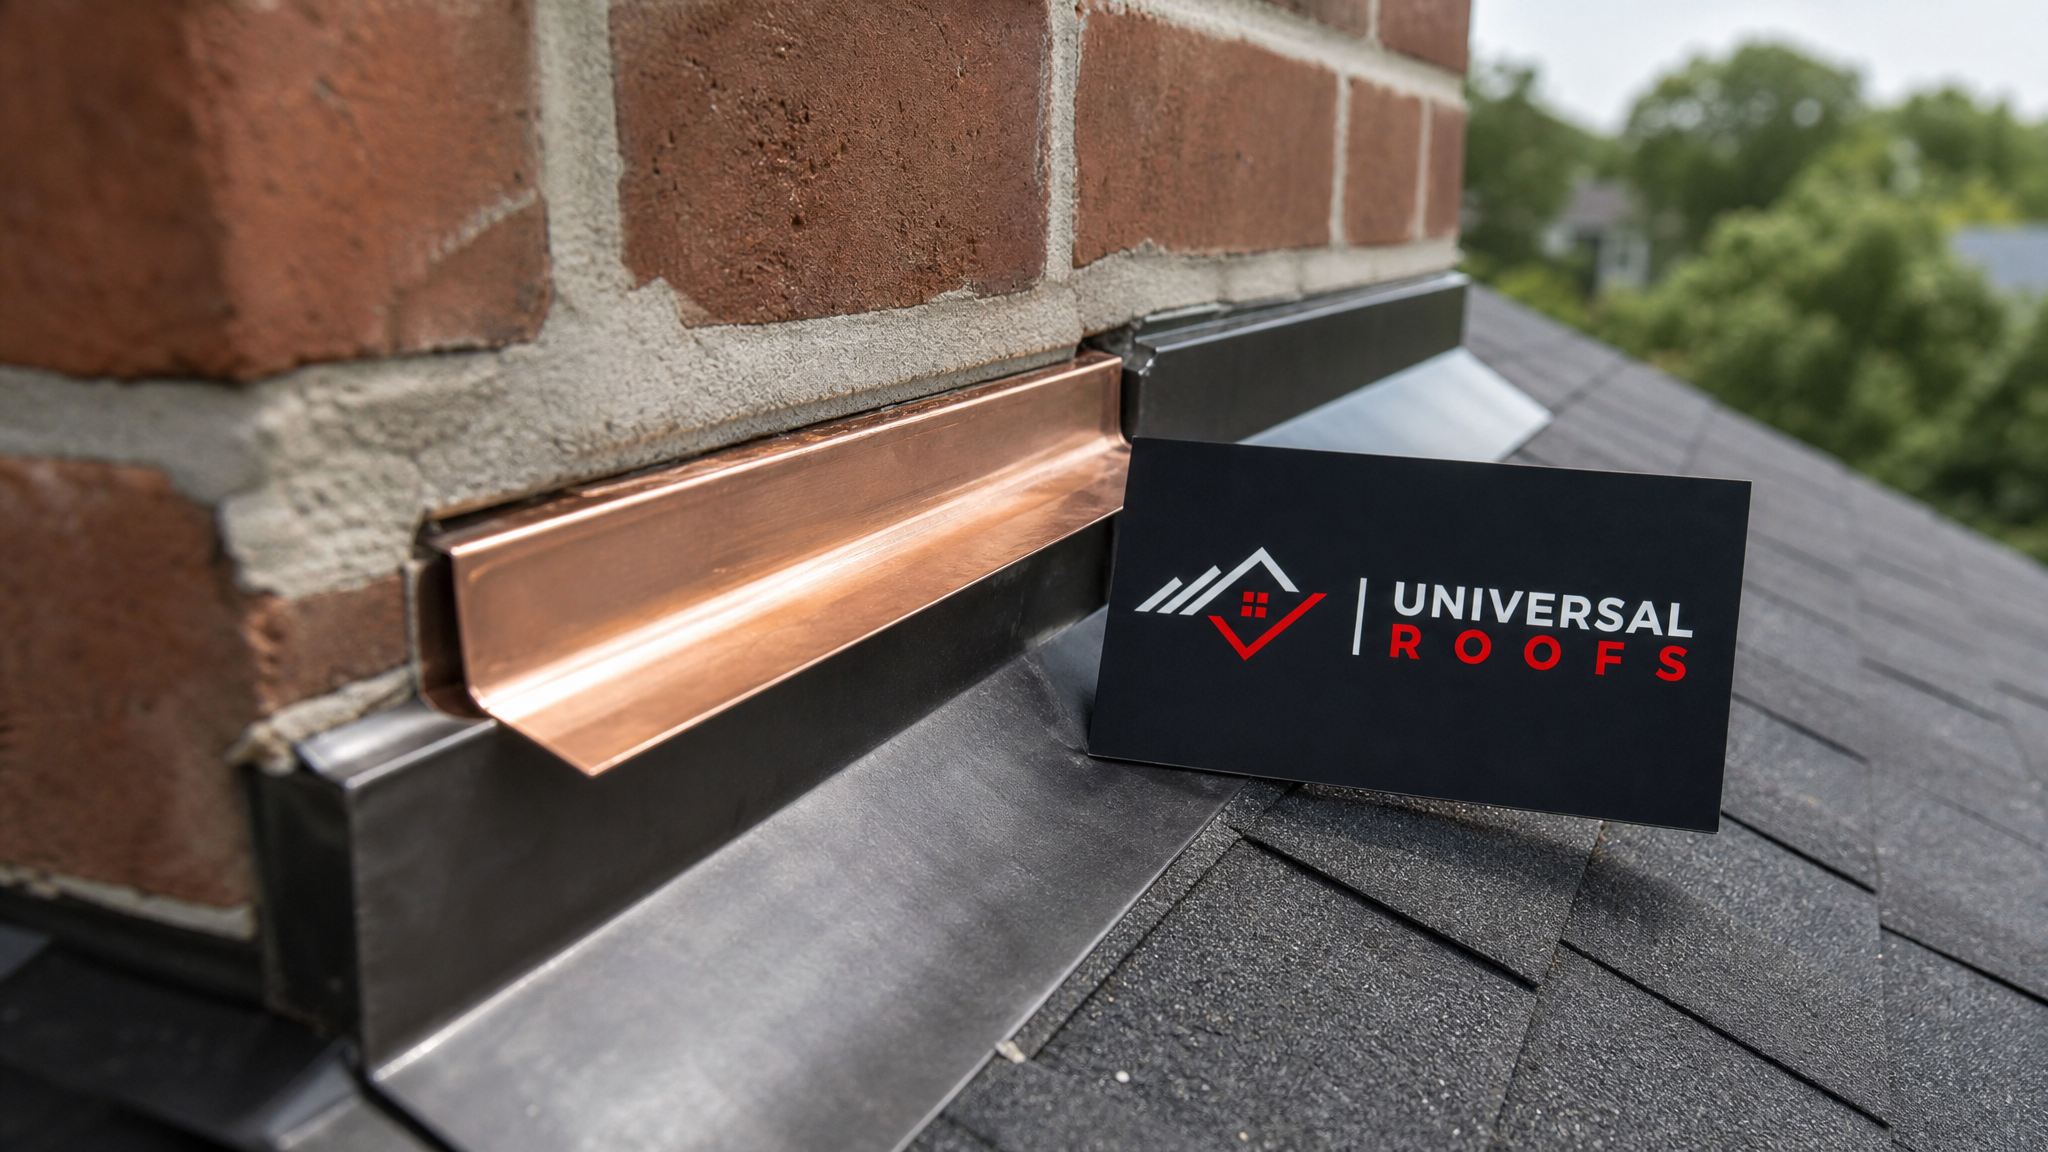
A proper chimney flashing rebuild involves cutting a reglet (a shallow groove) into the mortar joint, inserting new counter-flashing, and sealing it with masonry-grade sealant — not just caulking a flat piece of metal against brick, which is a common but short-lived shortcut. If your chimney is more than 15 years old and has never had counter-flashing embedded into the mortar, this is very likely why you are seeing recurring leaks despite repeated resealing attempts.
Technique 4: Valley Flashing Repair and Replacement
Roof valleys — where two roof slopes meet — carry more water volume than any other part of the roof, which makes valley flashing repair one of the higher-stakes techniques for flashing repair. Open valleys use exposed metal channels; closed (or woven) valleys tuck shingles over one another with flashing hidden beneath.
Open valley metal typically needs replacement when it shows granule buildup damage, rust-through, or has been walked on and dented so water no longer sheds properly. We generally recommend open metal valleys for GTA homes given how effectively they handle the volume of spring meltwater and summer downpours compared to closed valleys, which can trap debris and hold moisture longer.
Technique 5: Skylight and Curb Flashing Correction
Skylights are notorious leak points, and in most cases the skylight glazing itself is not the problem — the flashing kit around the curb is. Skylight flashing repair involves head flashing (top), step flashing (sides), and an apron or sill flashing (bottom), each lapped in the correct sequence so water is directed around, not into, the curb.
If your skylight is leaking, it’s worth having a professional confirm whether this is a flashing-only fix or whether the skylight unit itself has failed glazing seals. In many cases where a skylight is more than 15 to 20 years old, a full skylight replacement with a new, correctly flashed curb kit is more cost-effective than repeatedly re-flashing an aging unit.
Technique 6: Vent Pipe and Boot Flashing Replacement
Plumbing stack vents and exhaust pipes use a rubber or metal “boot” flashing that seals around the pipe. Rubber boots are the most common failure point on any roof because the rubber collar cracks and dries out from UV exposure long before the surrounding shingles wear out — typically within 10 to 15 years.
This is one of the fastest and least expensive techniques for flashing repair: the old boot is removed, the base flashing is checked for rust or damage, and a new boot (or an upgraded lead or reinforced silicone boot for longer life) is installed. Because it is inexpensive relative to other flashing work, we recommend replacing all vent boots on a roof at once during any major repair, rather than waiting for each one to fail individually.
Technique 7: Drip Edge and Eave Flashing Repair
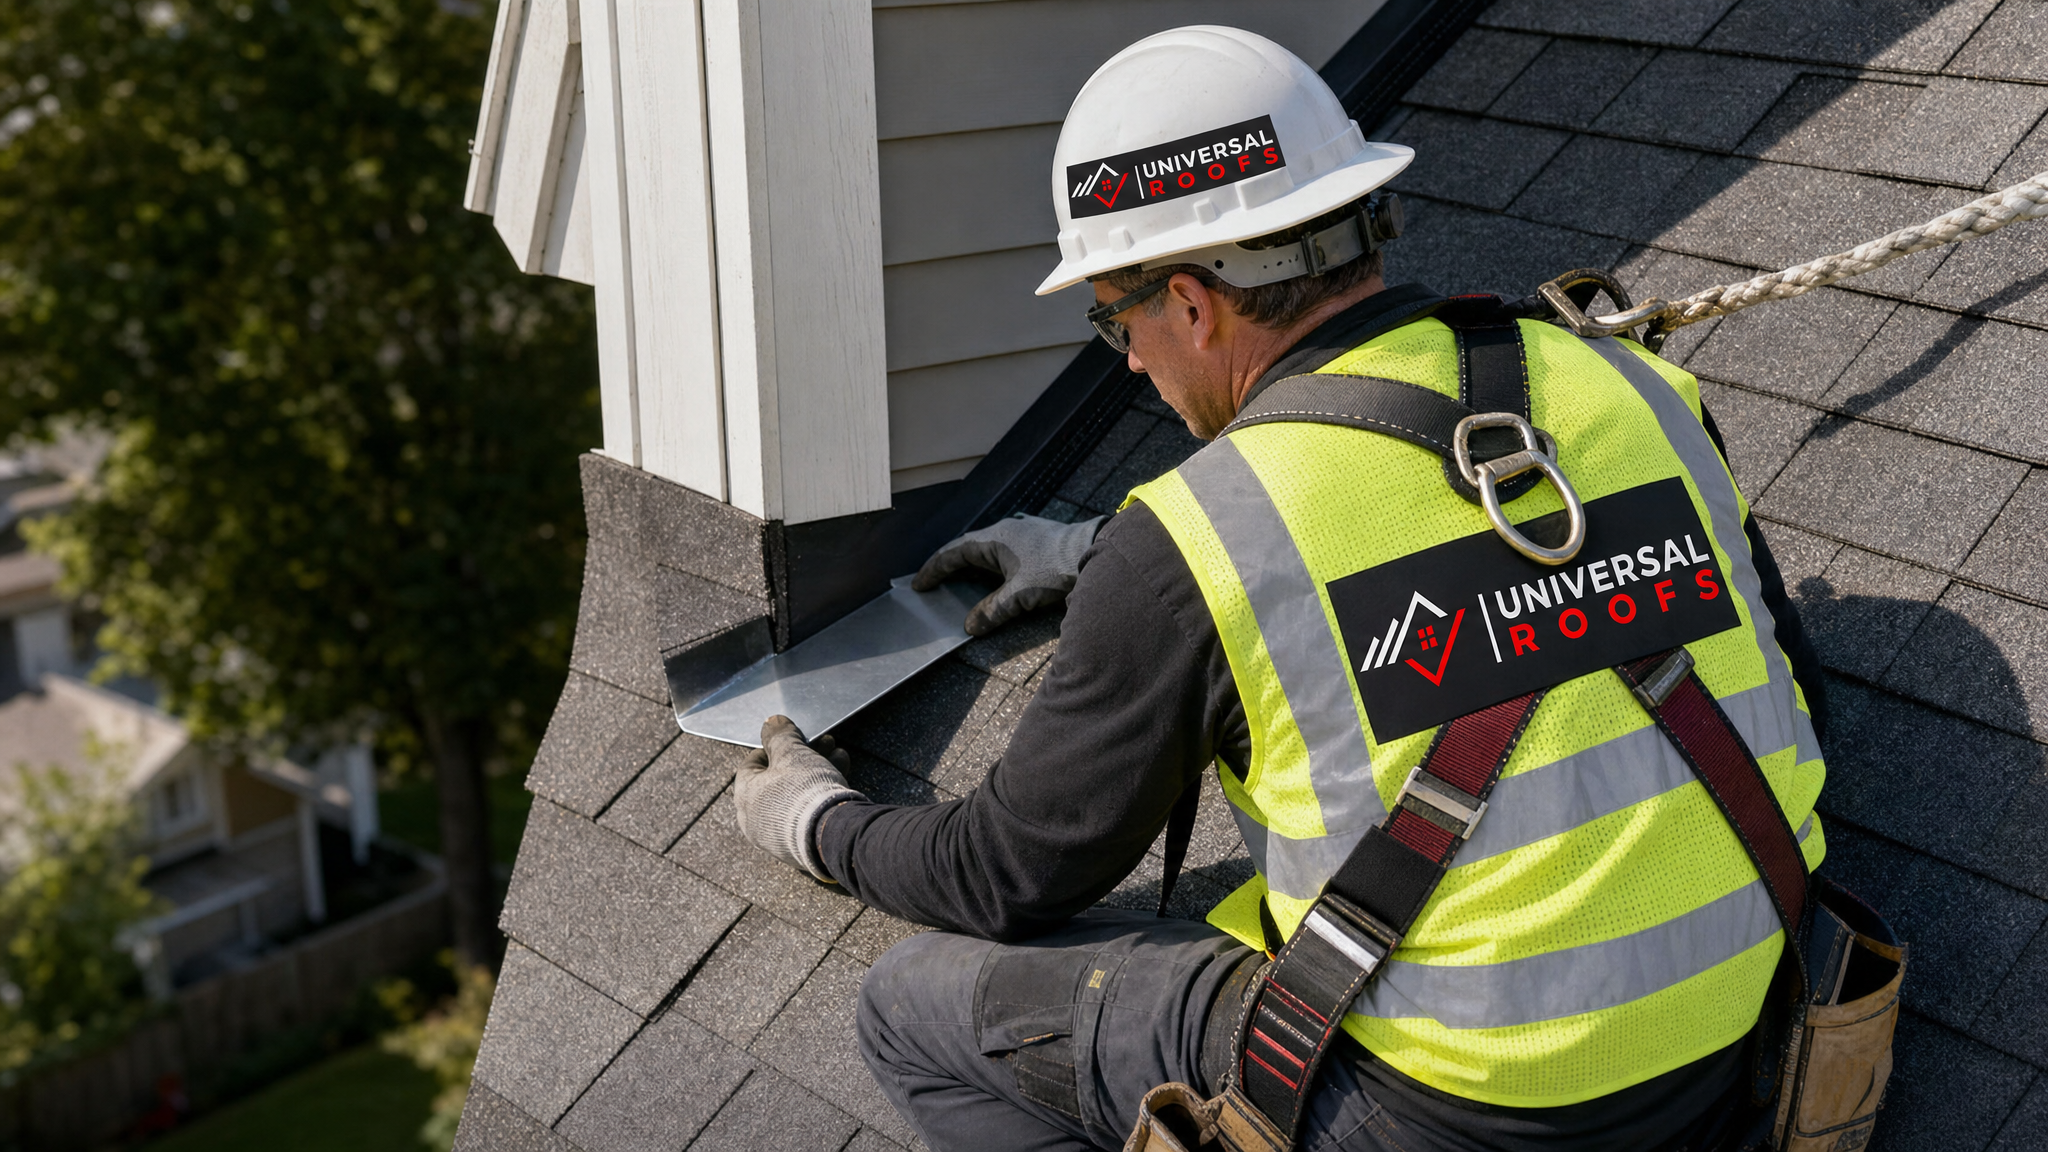
Drip edge flashing runs along the eaves and rakes of the roof, directing water away from the fascia and into the gutters. When it’s missing, bent, or improperly installed (tucked under the underlayment instead of over it in the correct sequence), water wicks back under the shingles and rots the roof deck and fascia board.
Repair involves removing the damaged section, installing new drip edge with the correct overlap direction relative to the underlayment, and re-securing the first course of shingles. This is a particularly important technique in Toronto because ice damming in winter puts enormous backward pressure on eave edges, and a poorly seated drip edge is often the first point of failure during a thaw.
Technique 8: Reglet and Through-Wall Flashing Repair on Flat Roofs
On flat and low-slope sections, flashing takes a different form: reglet flashing cut into a parapet wall, or through-wall flashing embedded in the masonry. These systems fail when mortar around the reglet cracks, or when the membrane termination bar pulls away from the wall.
Repair techniques here typically involve re-cutting the reglet, installing new termination bar and counter-flashing, and applying a compatible membrane-grade sealant matched to the roofing system (EPDM, TPO, or modified bitumen each require different sealant chemistry). This is specialized work best handled alongside a broader flat roofing inspection, since flashing issues on flat roofs are frequently a symptom of membrane seams failing nearby.
Technique 9: Ice and Water Shield Integration Behind Flashing
One of the most effective preventative techniques for flashing repair isn’t visible at all once the job is finished: installing a self-adhering ice and water membrane behind and beneath the flashing at every vulnerable transition. This membrane seals around nail penetrations and provides a secondary barrier if the metal flashing or sealant ever fails again.
Ontario building code requires ice and water shield at eaves in many municipalities, but extending it to valleys, chimneys, skylights, and wall transitions — beyond the minimum code requirement — is one of the best investments a homeowner can make during any flashing repair, because it turns a single point of failure into a two-layer system.
Technique 10: Full Section Tear-Off and Re-Flashing
When flashing has failed in multiple locations, when the roof deck underneath shows rot, or when the shingles around the flashing are also near the end of their service life, patch repairs stop making financial sense. A full section tear-off — removing shingles, old flashing, and damaged decking down to sound wood, then rebuilding with new underlayment, membrane, flashing, and shingles — is the most thorough of all techniques for flashing repair, and often the most economical option over a 10-year horizon once you account for repeated service calls.
This is also the point where it’s worth evaluating whether a full roof replacement makes more sense than a section repair, particularly if the roof is already past 18 to 20 years old.
Comparing the Ten Techniques: Cost, Timeline, and Longevity
| Technique | Typical Cost Range (CAD) | Timeline | Expected Longevity |
|---|---|---|---|
| Re-sealing existing flashing | $150 – $400 | Same day | 3 – 7 years |
| Step flashing replacement | $400 – $1,200 | 1 day | 20 – 30 years |
| Chimney flashing rebuild | $600 – $1,800 | 1 – 2 days | 20 – 25 years |
| Valley flashing replacement | $500 – $1,500 | 1 day | 20 – 25 years |
| Skylight/curb flashing correction | $450 – $1,400 | 1 day | 15 – 20 years |
| Vent boot replacement | $120 – $300 per vent | Same day | 10 – 15 years |
| Drip edge / eave flashing repair | $300 – $900 | 1 day | 20 – 30 years |
| Flat roof reglet/through-wall flashing | $700 – $2,200 | 1 – 2 days | 15 – 20 years |
| Ice and water shield integration | $250 – $700 add-on | Included in repair | Life of the roof |
| Full section tear-off and re-flash | $1,800 – $6,000+ | 2 – 4 days | 25 – 30 years |
Diagnosing Which Technique Your Roof Needs
Homeowners often ask how to tell which of these techniques for flashing repair actually applies before calling a contractor. Here is a general troubleshooting reference based on symptoms we see most often across Toronto, Mississauga, Brampton, Vaughan, Markham, and Oakville homes.
| Symptom | Likely Location | Likely Fix |
|---|---|---|
| Ceiling stain near a fireplace wall | Chimney flashing | Base/counter-flashing rebuild |
| Leak after heavy rain only, along a dormer wall | Step flashing | Piece-by-piece step flashing replacement |
| Leak concentrated where two roof slopes meet | Valley flashing | Open metal valley replacement |
| Water stain ringing a skylight frame | Skylight curb flashing | Flashing correction or skylight replacement |
| Drip stain traced to a plumbing vent pipe | Vent boot | Boot replacement |
| Water intrusion at fascia or soffit line | Drip edge/eave flashing | Drip edge repair with ice/water shield |
| Bubbling or staining on a flat roof near a parapet | Reglet/through-wall flashing | Reglet re-cut and termination bar reseal |
Materials Used in Modern Flashing Repair
Not all flashing metal performs the same way in the GTA’s climate. Here is how the common options compare for durability, cost, and best use case.
| Material | Durability | Relative Cost | Best Use |
|---|---|---|---|
| Galvanized steel | 20 – 25 years | Low | Step flashing, valleys, general use |
| Aluminum | 20 – 30 years | Moderate | Drip edge, vent flashing (avoid direct masonry contact) |
| Copper | 50+ years | High | Chimney counter-flashing, premium valleys |
| Lead / lead-coated copper | 40 – 50 years | High | Vent boots, complex penetrations |
| PVC-coated / rubber boots | 10 – 15 years | Low | Plumbing vent stacks |
When a DIY Fix Makes Sense — and When It Doesn’t
A small bead of sealant on an accessible, low-slope section of flashing is reasonable for a confident homeowner to attempt. However, most of the techniques for flashing repair described above involve working at height, removing shingles without damaging surrounding roofing, and correctly sequencing overlaps that are easy to get wrong and hard to diagnose after the fact. An incorrectly lapped piece of step flashing can look fine to the eye while still funnelling water directly into the wall cavity.
If a leak has recurred more than once despite resealing, if you notice sagging or soft spots near the flashing area, or if the flashing is around a chimney, skylight, or valley, it is worth having a professional inspection rather than repeating a surface-level fix. Our team also inspects attic ventilation and insulation during flashing calls, since poor attic ventilation accelerates ice damming, which is one of the biggest indirect causes of flashing failure in this region.
Seasonal Timing for Flashing Repairs in the GTA
Summer is genuinely the best window for flashing repair work. Sealants cure properly in warm, dry conditions, shingles are pliable enough to lift and re-lay without cracking, and there is no risk of sudden temperature drops interrupting a job mid-repair. If you’ve noticed a leak during spring thaw or a recent summer storm, addressing it now — rather than waiting until autumn — gives any new sealant and membrane a full season to cure before the first freeze-thaw cycle tests it.
We serve homeowners across Toronto, Peel Region, York Region, Halton Region, and Durham Region, and flashing-related calls make up a significant share of our summer repair schedule for exactly this reason.
What to Expect From a Professional Flashing Inspection
A proper flashing assessment goes beyond a visual scan from the ground. Our process typically includes a physical roof walk to check for lifted, cracked, or rusted flashing at every transition point, a check of attic decking for water staining that reveals the true leak path, and photo documentation showing exactly where and why a section is failing before any work begins.
You can read what past clients across the GTA have said about our flashing and roof repair work on our reviews page, and our FAQ page covers additional common questions about repair timelines, warranties, and insurance documentation. You can also learn more about our background and licensing on our about page.
What are the best techniques for flashing repair on an older roof?
How much does flashing repair typically cost in Toronto?
Can I use caulking alone to fix a flashing leak?
What is the difference between step flashing and counter-flashing?
How do I know if my flashing needs repair or full replacement?
Is summer a good time to schedule flashing repair?
Need Help With 10 Best Techniques for?
Whether you need a single vent boot replaced or a full chimney flashing rebuild, the team at Universal Roofs has the experience to diagnose the real source of a leak and fix it right the first time.
Call us today at (416) 732-2421 or request a free inspection to get started.
Universal Roofs proudly serves Toronto, Mississauga, Brampton, Vaughan, Markham, Oakville and the GTA since 2005.