
Flat roofs are the workhorses of Toronto commercial buildings, garages, additions, and mid-century bungalows across the GTA, but they take a harder beating from the climate than most homeowners realize. Between summer heat that softens membranes and winter freeze-thaw cycles that pry apart every seam, a flat roof that was installed with minimal thought will show its age fast. The good news is that upgrading a flat roof does not always mean a full tear-off and replacement.
With the right combination of materials, drainage corrections, and insulation upgrades, most flat roofs can be brought up to modern performance standards without blowing the budget. This guide walks through the practical, expert-backed upgrades that actually extend the life of a flat roof in the Toronto climate, along with the costs, timelines, and common mistakes to avoid.
Whether your flat roof is on a home addition, a garage, or a commercial building anywhere from Toronto to the Peel Region, the same fundamentals apply: control water, manage heat, and reinforce the weak points where most failures start.
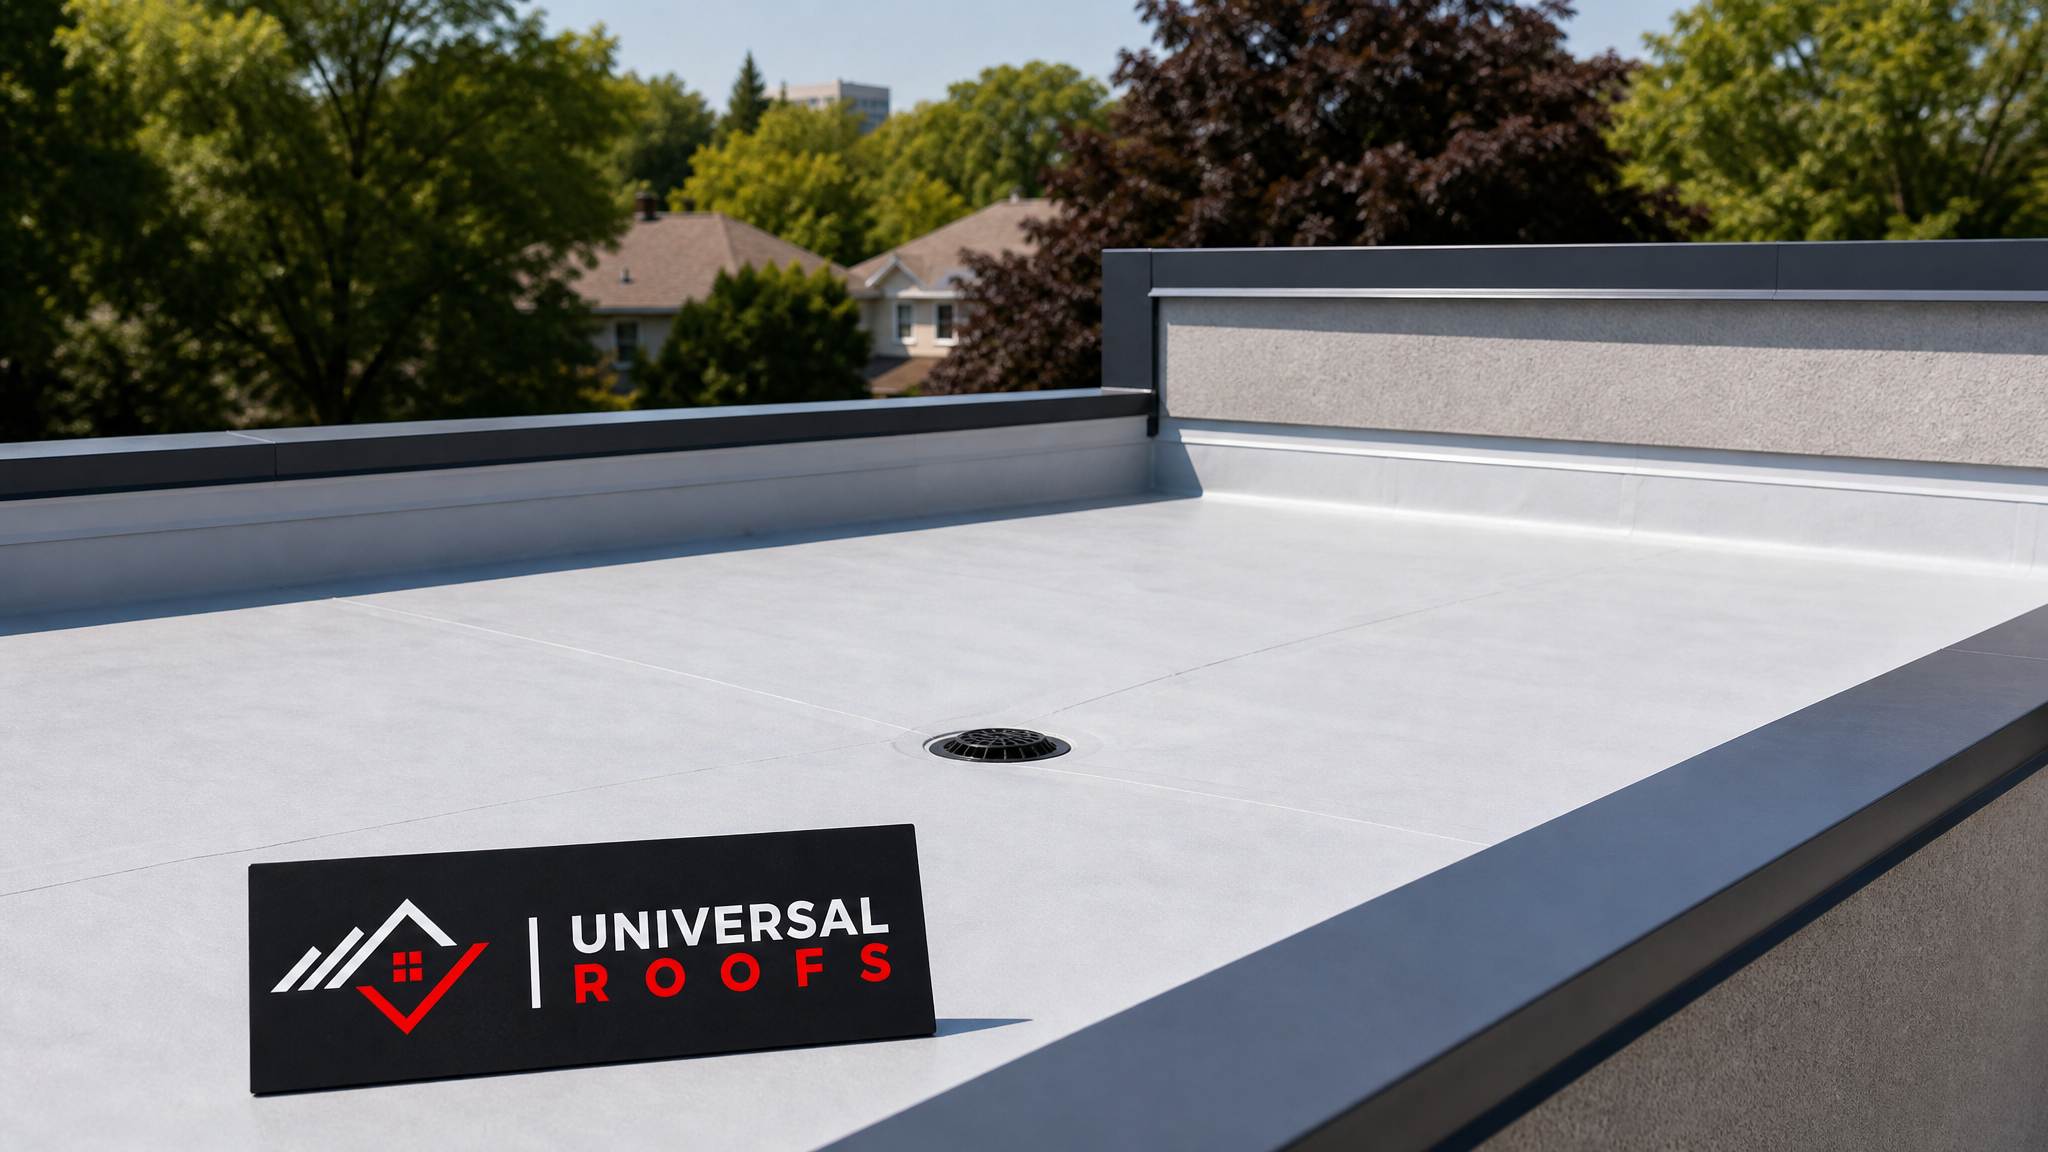
Why Flat Roofs Fail Faster in the GTA Climate
Unlike sloped shingle roofs, a flat roof relies almost entirely on membrane integrity and drainage to stay watertight. There is no gravity assist pulling water away quickly, so any low spot, seam gap, or membrane crack becomes a ponding hazard within hours of a rainstorm. Toronto’s climate compounds this in two specific ways.
First, summer UV exposure and heat cycling cause membranes to expand and contract daily, which accelerates seam fatigue on older built-up roofing (BUR) and modified bitumen systems. Second, our winter freeze-thaw pattern means any water that infiltrates a seam or flashing detail can freeze, expand, and physically pry the material apart, turning a pinhole leak into a metre-wide membrane failure within a season or two.
Municipalities across the GTA also require flat roofs to meet minimum slope and drainage standards under the Ontario Building Code, so an upgrade is often the right moment to correct a roof that was never properly sloped in the first place. If your building has a history of ponding water, ceiling stains, or ice damming along a flat section, it is worth having a professional roof repair assessment before deciding whether repair or replacement makes more sense.
Assess Before You Upgrade: What a Proper Inspection Covers
Before choosing a membrane or ordering materials, every flat roof upgrade should start with a structured inspection. Skipping this step is the single most common reason flat roof upgrades fail within a few years of completion — new material was installed over an undiagnosed problem.
A thorough inspection checks the deck for soft spots or rot, tests the insulation for trapped moisture (often with an infrared camera or core sample), measures the actual roof slope with a level, and examines every penetration point: vents, drains, skylights, HVAC curbs, and parapet walls. Each of these areas fails independently of the membrane field, so patching only the visible surface without checking underneath rarely solves the root cause.
| Inspection Item | What It Reveals | Tool Used | Red Flag |
|---|---|---|---|
| Deck moisture scan | Wet or rotted sheathing under membrane | Infrared camera / core cut | Soft, spongy areas underfoot |
| Slope measurement | Whether water drains within 48 hours | 4-foot level and tape measure | Standing water after 2 days |
| Seam inspection | Membrane lap and seal integrity | Visual + seam probe | Lifting edges, alligatoring |
| Flashing check | Condition at walls, drains, curbs | Visual + pull test | Cracked caulking, rust streaks |
| Insulation condition | R-value loss from trapped moisture | Core sample | Compressed or waterlogged board |
Any competent inspection should be documented with photos and a written scope of work. If a contractor quotes a flat roof upgrade without first walking the roof and checking these five items, treat that as a warning sign, not a shortcut.
Choosing the Right Membrane for Your Upgrade
The membrane is the single biggest decision in any flat roof upgrade, and it is where most of the long-term performance difference comes from. Three systems dominate residential and light commercial flat roofs in the GTA today: TPO (thermoplastic polyolefin), EPDM (rubber membrane), and modified bitumen (torch-down or self-adhered).
TPO has become the most popular choice for new upgrades because its white, reflective surface reduces summer heat gain and its heat-welded seams are stronger than adhesive-only alternatives. EPDM remains a reliable, lower-cost option, particularly for smaller residential sections, though its dark colour absorbs more heat and its seams rely on adhesive rather than welding. Modified bitumen is a proven performer for larger commercial applications, but installation requires either an open flame (torch-down) or careful cold-adhesive application, which affects labour cost and insurance considerations.
| Membrane Type | Typical Lifespan | Seam Method | Best For |
|---|---|---|---|
| TPO | 20-30 years | Heat-welded | Energy efficiency, reflectivity |
| EPDM (rubber) | 20-25 years | Adhesive/tape | Budget-conscious residential upgrades |
| Modified bitumen | 15-20 years | Torch or cold-adhesive | Larger commercial roofs, multi-ply systems |
| Built-up roofing (BUR) | 15-20 years | Hot asphalt/multi-ply | Legacy systems, heavy foot traffic areas |
| PVC | 20-30 years | Heat-welded | Roofs exposed to grease or chemicals |
For most GTA homes upgrading a flat roof section over a kitchen extension, garage, or dormer, TPO offers the best balance of cost, energy performance, and seam durability. Commercial buildings with rooftop mechanical traffic often do better with a reinforced modified bitumen system layered with a protective cap sheet. A licensed contractor can walk you through flat roofing options specific to your building’s size, slope, and budget.
Correcting Drainage and Ponding Water Problems
Even the best membrane will fail prematurely if water is allowed to pond on the surface for extended periods. The Canadian Roofing Contractors Association and most manufacturer warranties define acceptable drainage as water clearing within 48 hours of a rain event. Anything that sits longer accelerates UV degradation, adds unnecessary structural load, and increases the risk of membrane blistering.
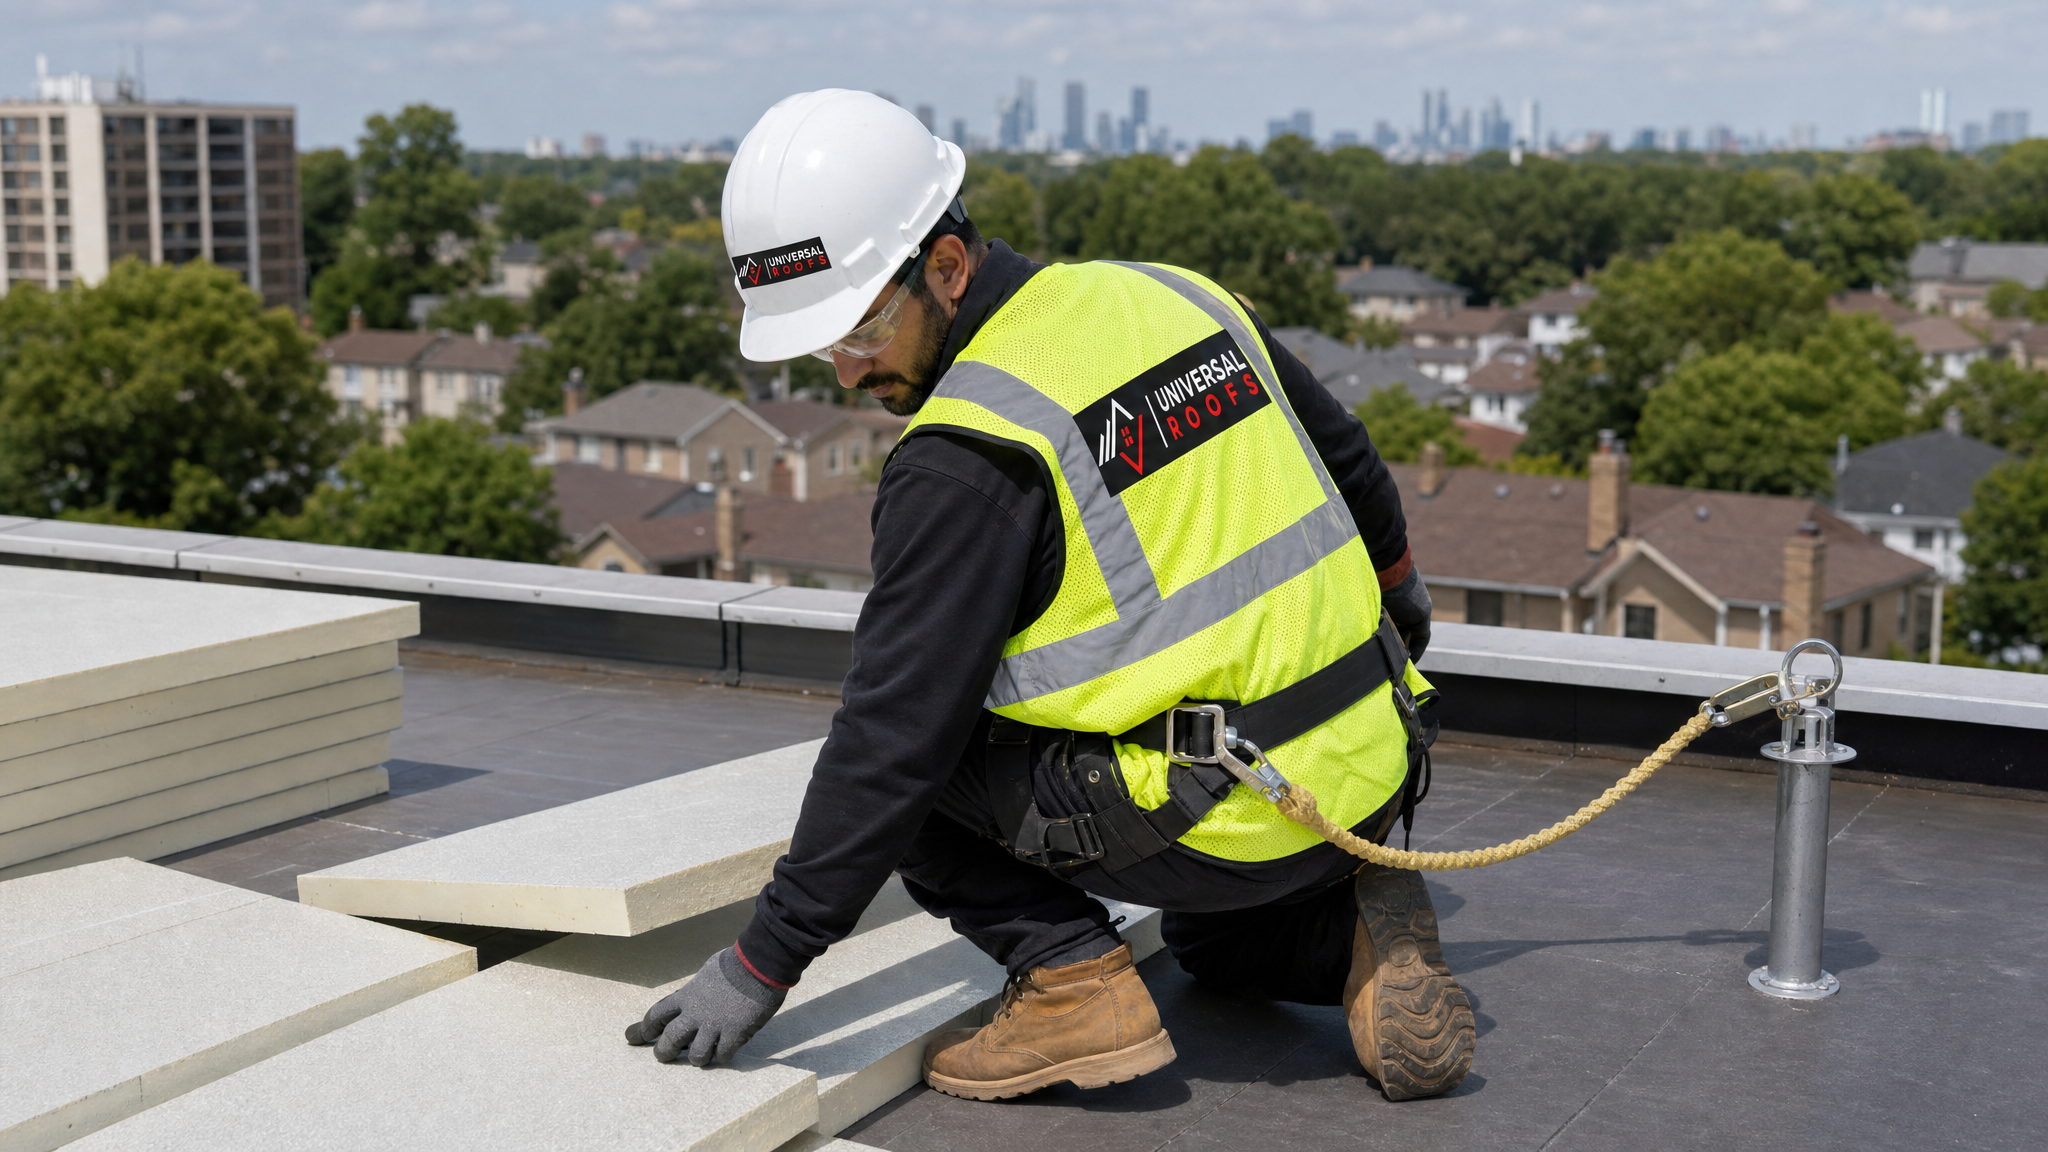
Upgrading drainage typically involves one or more of these approaches: adding tapered insulation panels to create a positive slope toward drains, installing additional roof drains or scuppers to shorten the distance water has to travel, or re-grading a section entirely if the original installation was built dead flat. Tapered insulation is the most common fix during a re-roof because it solves two problems simultaneously — improving both drainage and thermal performance in the same step.
Gutters and downspouts tied into the flat roof drainage system also deserve attention during an upgrade. A membrane can be flawless, but if the drain itself is clogged, undersized, or improperly flashed, water will back up and find the nearest weak point — often a parapet wall or a wall-to-roof transition.
Insulation and Energy Efficiency Upgrades
A flat roof upgrade is one of the most cost-effective times to improve a building’s insulation, because the membrane has to come off anyway. Polyisocyanurate (polyiso) board is the standard choice for flat roof assemblies, offering the highest R-value per inch of any common rigid insulation, which matters when you’re trying to maximize thermal performance without raising the roof height significantly.
There are two main configurations: conventional assemblies place insulation below the membrane and deck, while inverted (protected membrane) roof assemblies place insulation above the waterproofing layer, protecting the membrane itself from UV and temperature swings. Inverted assemblies tend to extend membrane lifespan considerably since the membrane is shielded from direct sun exposure, though they require ballast (typically stone or pavers) to hold the insulation in place.
Toronto’s building code references a minimum effective thermal resistance for roof assemblies, and older flat roofs — particularly those built before the 1990s — often fall well short. Upgrading insulation during a re-roof not only reduces heating and cooling costs but also helps manage condensation risk, which is one of the quieter causes of flat roof deck rot. If your attic or roof assembly has ongoing moisture or ventilation concerns, it’s worth having your attic assessed alongside the roof upgrade, since the two systems are closely connected.
| Insulation Type | R-Value per Inch | Moisture Resistance | Typical Placement |
|---|---|---|---|
| Polyisocyanurate (polyiso) | R-5.6 to R-6.5 | Good with facer | Below membrane (conventional) |
| Extruded polystyrene (XPS) | R-5.0 | Excellent | Above membrane (inverted/IRMA) |
| Expanded polystyrene (EPS) | R-3.6 to R-4.2 | Moderate | Tapered systems, cost-sensitive jobs |
| Mineral wool board | R-4.0 to R-4.3 | Excellent, fire-resistant | Commercial assemblies |
Reinforcing Flashings, Parapets, and Penetrations
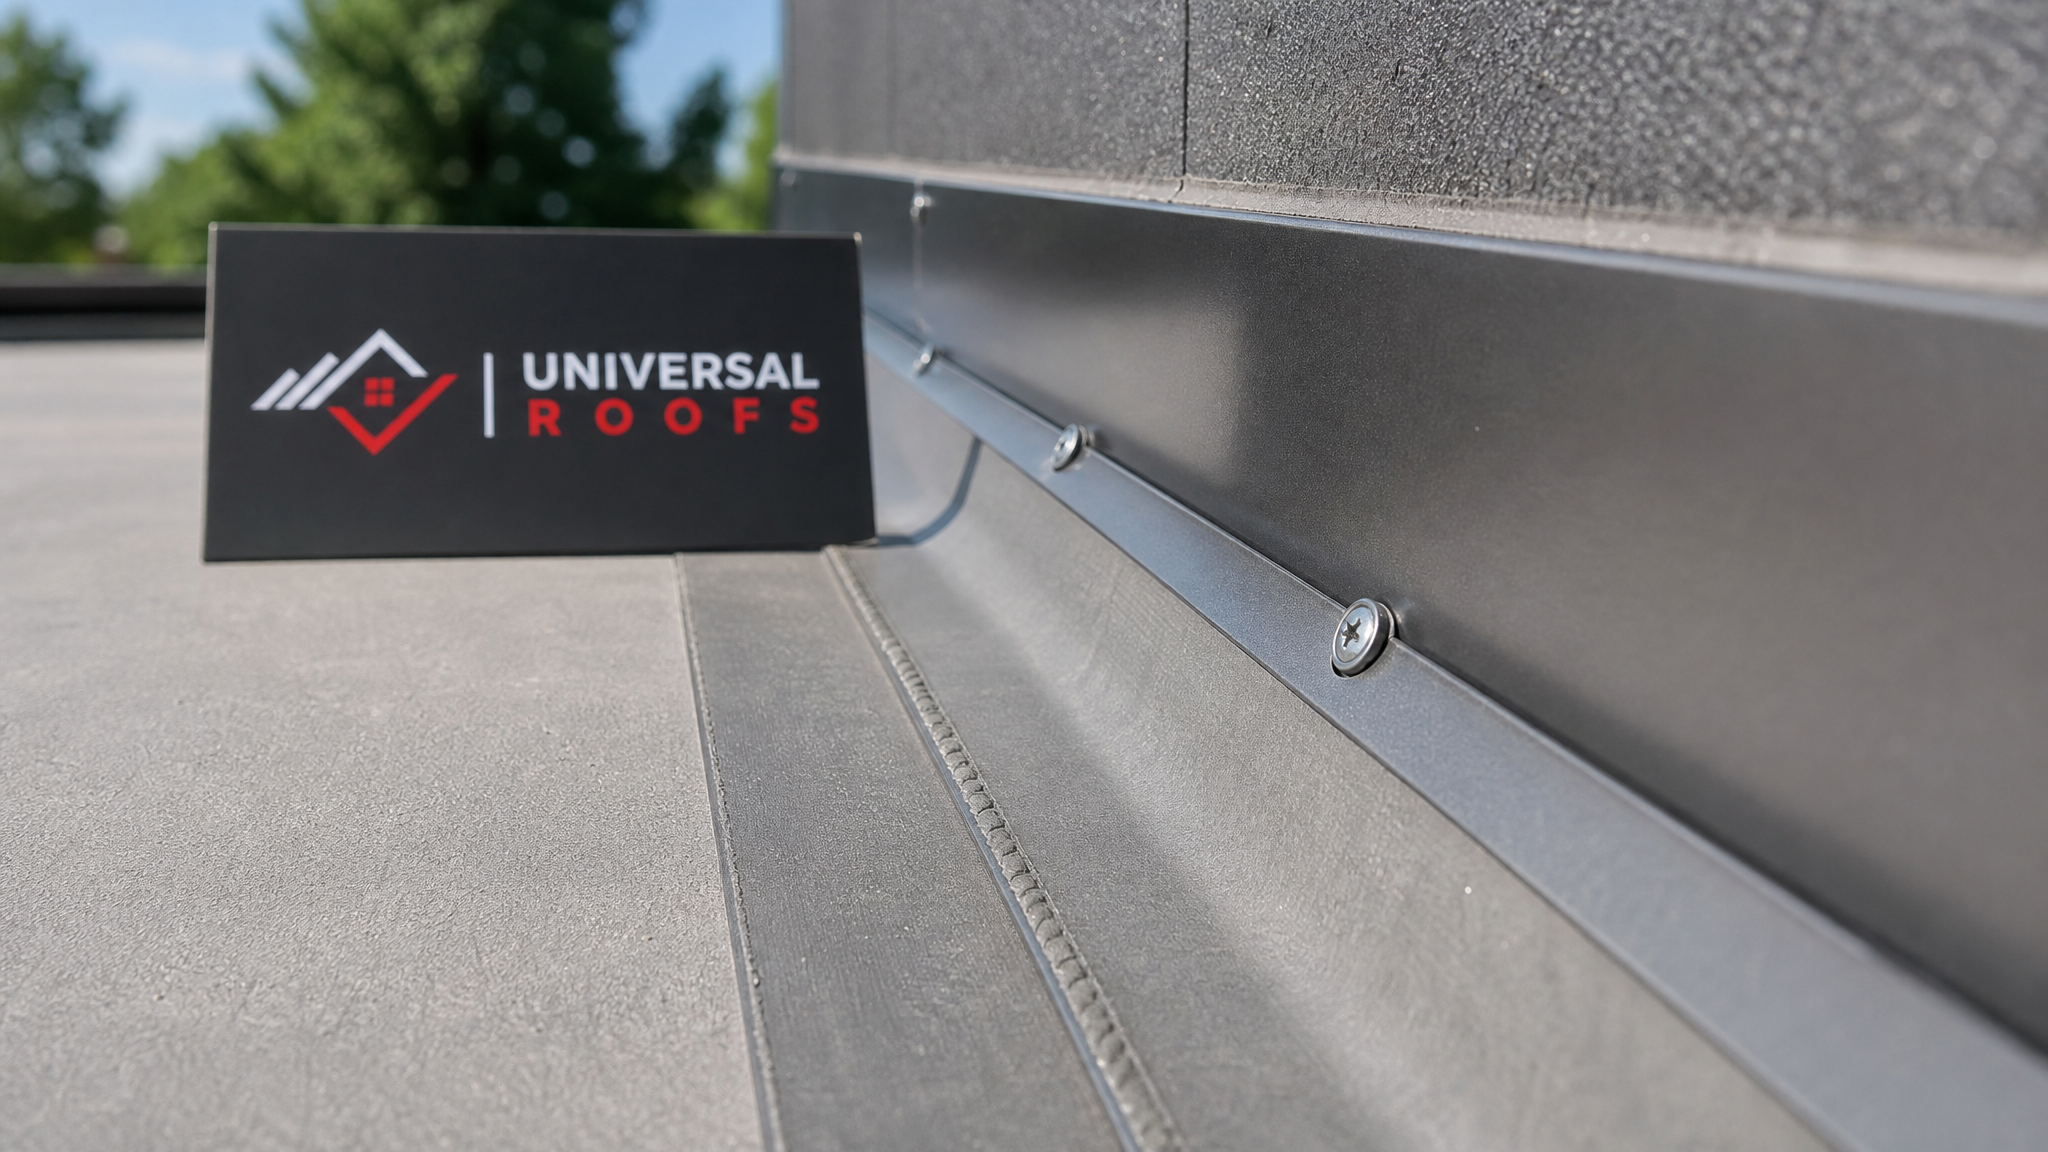
Statistically, the membrane field itself is rarely where flat roofs fail first. The overwhelming majority of leaks originate at transitions: parapet walls, curb flashings around rooftop units, vent pipe boots, and the perimeter edge metal. An upgrade that replaces the membrane but reuses old, cracked flashing details is only solving half the problem.
Expert-grade upgrades treat every penetration as its own mini-project. That means new termination bars and counter-flashing at parapet walls, properly lapped and sealed pipe boots, welded or fully adhered corners at inside and outside angles (rather than caulked patches), and correctly sized cant strips at every horizontal-to-vertical transition to prevent the membrane from cracking under stress.
If your building has a skylight set into or adjacent to the flat roof section, that transition deserves particular attention during an upgrade, since skylight curbs are a common weak point where flashing meets membrane. A coordinated skylight replacement at the same time as a roof upgrade often costs less than doing the two projects separately, since scaffolding, access, and flashing work overlap.
Timeline and Budget Expectations for a Flat Roof Upgrade
Homeowners and building managers frequently underestimate how long a proper flat roof upgrade takes, particularly when tapered insulation and flashing reconstruction are involved. Weather is the biggest variable in the GTA — membrane installation, especially torch-down and heat-welded systems, requires dry conditions and moderate temperatures, which is why late spring through early autumn is the preferred installation window.
| Project Scope | Typical Timeline | Relative Cost | Best Season |
|---|---|---|---|
| Membrane recoat/restoration | 1-2 days | Low | Late spring to early fall |
| Full membrane replacement (no insulation change) | 2-4 days | Moderate | Late spring to early fall |
| Membrane + tapered insulation upgrade | 4-7 days | Moderate-high | Summer preferred |
| Full tear-off with deck repair | 1-2 weeks | High | Summer only |
| Commercial multi-section re-roof | 2-4 weeks | Highest | Summer, phased if occupied |
Since we’re in the middle of summer right now, this is genuinely the ideal window to schedule a flat roof upgrade in the GTA — membranes cure properly, torch-down applications are safer to perform, and there’s enough of the season left to complete even a full tear-off before fall rains arrive. Waiting until September often means competing for contractor availability before the weather turns.
Common Mistakes That Undermine a Flat Roof Upgrade
Even well-intentioned upgrades can fail early if a few well-documented mistakes are made during planning or installation. Recognizing these ahead of time helps you ask the right questions of any contractor you hire.
| Mistake | Why It Causes Failure | Correct Approach | Consequence If Ignored |
|---|---|---|---|
| Installing new membrane over wet insulation | Traps moisture, causes blistering | Core sample and moisture scan first | Membrane failure within 1-3 years |
| Ignoring slope correction | Ponding accelerates UV breakdown | Add tapered insulation to achieve positive drainage | Chronic leaks, algae growth |
| Reusing old flashing | Cracked sealant no longer bonds to new membrane | Replace all flashing during upgrade | Leaks at walls and penetrations |
| Undersized drains | Cannot handle heavy rainfall volume | Size drains to current code and roof area | Overflow, interior water damage |
| Skipping a warranty inspection | Voids manufacturer coverage | Schedule the required post-install inspection | No recourse if membrane fails early |
Because these mistakes are so common in the industry, it’s worth reviewing a contractor’s reviews and asking specifically how they handle drainage correction and flashing replacement — not just which membrane brand they install.
Maintaining Your Flat Roof After the Upgrade
An upgraded flat roof still needs a maintenance routine to reach its full expected lifespan. Twice-yearly inspections — ideally in late spring after winter and again in early fall before the cold sets in — catch small issues before they become expensive repairs. During each check, clear debris from drains and scuppers, look for any lifting seams or punctures, and confirm that flashing sealant hasn’t cracked from thermal movement.
It’s also worth keeping a simple maintenance log with photos from each inspection. If a warranty claim is ever needed, documented maintenance history strengthens your position considerably. Many manufacturer warranties on TPO and PVC systems explicitly require proof of regular inspection to remain valid, so this isn’t just good practice — it can be a contractual requirement.
For buildings across York Region, Halton Region, and Durham Region, seasonal debris (leaves in fall, ice in winter) affects drainage differently depending on surrounding tree cover and building exposure, so it’s worth tailoring your inspection schedule to your specific property rather than following a generic checklist.
When to Repair vs. When to Fully Replace
Not every flat roof needs a full upgrade immediately. If your membrane is under 10 years old, has isolated damage, and the deck underneath tests dry, a targeted repair is usually the more economical choice. But once a roof has multiple failed seams, widespread ponding, or insulation that has absorbed moisture across a large area, patch repairs become a losing game — you’ll be back on the roof every few months chasing new leaks.
A licensed roof replacement assessment can determine which category your building falls into. As a general rule of thumb, if repair costs over the past two years already exceed 30 percent of a full replacement quote, it’s usually more economical to upgrade the whole system rather than continue patching. Reviewing our FAQ page is also a good starting point if you want to understand typical costs and processes before requesting a quote.
What is the best way to upgrade your flat roof with expert techniques?
How much does it cost to upgrade a flat roof in Toronto?
How long does a flat roof upgrade take to complete?
What is the best season to upgrade a flat roof in the GTA?
Can you upgrade a flat roof without replacing the entire membrane?
Does upgrading a flat roof improve energy efficiency?
Need Help With Upgrade Your Flat Roof?
Whether you’re dealing with chronic ponding water, aging membrane seams, or simply want to modernize the insulation and drainage on your building, the team at Universal Roofs has been diagnosing and upgrading flat roofs across the GTA since 2005.
Call us today at (416) 732-2421 or request a free inspection to get started.
Universal Roofs proudly serves Toronto, Mississauga, Brampton, Vaughan, Markham, Oakville and the GTA since 2005.