
A cracked roof tile rarely stays a small problem. Once the surface of a concrete or clay tile splits, rainwater finds the gap, freeze-thaw cycles pry it wider each winter, and what started as a hairline fracture can turn into a leak dripping onto your insulation within a season. If you have spotted a cracked tile from the ground or during a quick attic check, the good news is that the steps to repair cracked roof tiles fast are straightforward when you know the correct order of operations and use the right materials for the job.
This guide walks Toronto-area homeowners through the exact three-step process professional roofers use to repair cracked tiles quickly and correctly: assess and prepare the damage, apply the right repair method for the crack, and seal and inspect the finished patch. We will also cover when a quick DIY patch is appropriate, when it is time to call in a licensed contractor, and how our freeze-thaw climate changes the calculus compared to warmer regions.
Universal Roofs has been repairing roofs across the Greater Toronto Area since 2005, and cracked tiles are one of the most common emergency calls we receive after a hailstorm, a windstorm, or a hard winter. Below is the same process our crews follow on every job site, adapted so you can either do the repair safely yourself or know exactly what to expect when you call a professional.
Why Roof Tiles Crack in the First Place
Before jumping into the repair steps, it helps to understand why tiles crack in the GTA specifically. Concrete and clay tiles are durable, but they are also rigid, and rigid materials are vulnerable to a handful of very specific stresses:
- Freeze-thaw cycling — Toronto winters swing above and below freezing dozens of times per season. Water that seeps into a tile’s pores expands roughly 9% when it freezes, and repeated expansion eventually fractures the tile from the inside out.
- Foot traffic — Walking directly on tiles (during a satellite dish install, gutter cleaning, or holiday light hanging) is the single most common cause of cracks we see on service calls. Tiles are designed to shed water, not bear concentrated point loads.
- Impact damage — Hail, falling branches, and wind-blown debris chip or crack tile edges, especially on older tiles that have already lost some flexibility.
- Thermal shock — Rapid temperature swings between a hot summer afternoon and a cool evening cause tiles to expand and contract; over 15-20 years this cycling produces stress cracks along the tile’s weakest points.
- Manufacturing or installation flaws — Tiles installed without adequate underlayment support, or tiles with air pockets from the original casting process, crack sooner than properly manufactured and installed tiles.
Knowing the cause matters because it tells you whether a quick patch will hold or whether the crack is a symptom of a bigger issue, like a soft spot in the decking or an aging roof repair need that a single tile fix will not solve.
Step 1: Assess the Damage and Prepare the Work Area
Rushing straight to a tube of sealant is the most common mistake homeowners make, and it is also the reason so many “fast” repairs fail within a year. The first of the three steps to repair cracked roof tiles fast is a proper assessment, and it takes only 10-15 minutes.
1a. Identify the Crack Type
Not all cracks are equal. A hairline surface crack that has not penetrated the tile’s full thickness behaves very differently from a through-crack that splits the tile in two. Run your fingers gently along the crack (from a secure ladder position, never standing directly on the tile) to feel whether it is a surface-only fracture or a full separation. Full separations move independently when pressed and need a different repair approach than hairline cracks.
1b. Check for Water Staining Underneath
Before repairing anything from the outside, pop into the attic on a bright day and look for daylight or water staining directly beneath the suspected crack location. If you find active moisture, dry the area with a fan for 24-48 hours before applying any sealant — trapping moisture under a fresh patch guarantees the repair fails and can encourage mould growth. If staining is extensive, this may be more than a single-tile problem and warrants a full attic inspection.
1c. Gather the Right Materials
Fast, durable tile repairs use only a few tools, but using the wrong sealant is the number one reason DIY patches fail within a Toronto winter. You need:
- A wire brush and a clean cloth to remove debris, moss, and loose granules from the crack
- A roofing-grade polyurethane or butyl-based sealant rated for freeze-thaw climates (silicone caulk is not adequate — it does not bond well to concrete or clay and becomes brittle below -10°C)
- A caulking gun
- Fibreglass mesh tape for cracks wider than 3mm
- Roofing cement for larger through-cracks or chipped edges
- A replacement tile on hand in case the crack is too severe to patch
- Fall protection: a securely anchored harness and rope, non-slip footwear, and a spotter on the ground
1d. Confirm Safe Access
Tile roofs are steep, slippery when wet, and unforgiving of a single misstep — Toronto’s insurance claims data consistently shows roof falls as one of the most serious residential DIY injuries each year. If your roof pitch exceeds about 6:12, if the tiles are wet or frosted, or if you do not have proper fall protection equipment, this is the point at which we recommend calling a licensed roof repair team rather than continuing solo. A same-day inspection almost always costs less than an emergency room visit.
| Crack Type | Typical Cause | DIY Difficulty | Recommended Approach |
|---|---|---|---|
| Hairline surface crack | Thermal cycling, age | Easy | Clean and seal with polyurethane sealant |
| Full through-crack | Foot traffic, impact | Moderate | Mesh tape reinforcement + roofing cement |
| Chipped or broken corner | Hail, falling debris | Moderate | Roofing cement fill or corner patch tile |
| Shattered tile (multiple pieces) | Severe impact, tree limb | Hard — professional recommended | Full tile replacement |
| Cracks near a valley or flashing | Water pooling, ice damming | Hard — professional recommended | Flashing inspection plus tile repair |
Step 2: Apply the Correct Repair Method for the Crack
Once the area is clean, dry, and safely accessible, the actual repair for most cracks takes 20-30 minutes per tile. This is the step where speed and durability depend entirely on matching the method to the crack type identified in Step 1.
2a. Hairline Surface Cracks
For a hairline crack that has not fully separated the tile, clean the surface thoroughly with the wire brush, wipe away dust with a dry cloth, and apply a thin, even bead of roofing-grade polyurethane sealant directly along the crack line. Feather the edges with a putty knife so the patch does not create a ridge that catches debris or interrupts water flow. Allow it to cure per the manufacturer’s instructions — usually 24 hours minimum, longer in cooler or humid weather.
2b. Full Through-Cracks
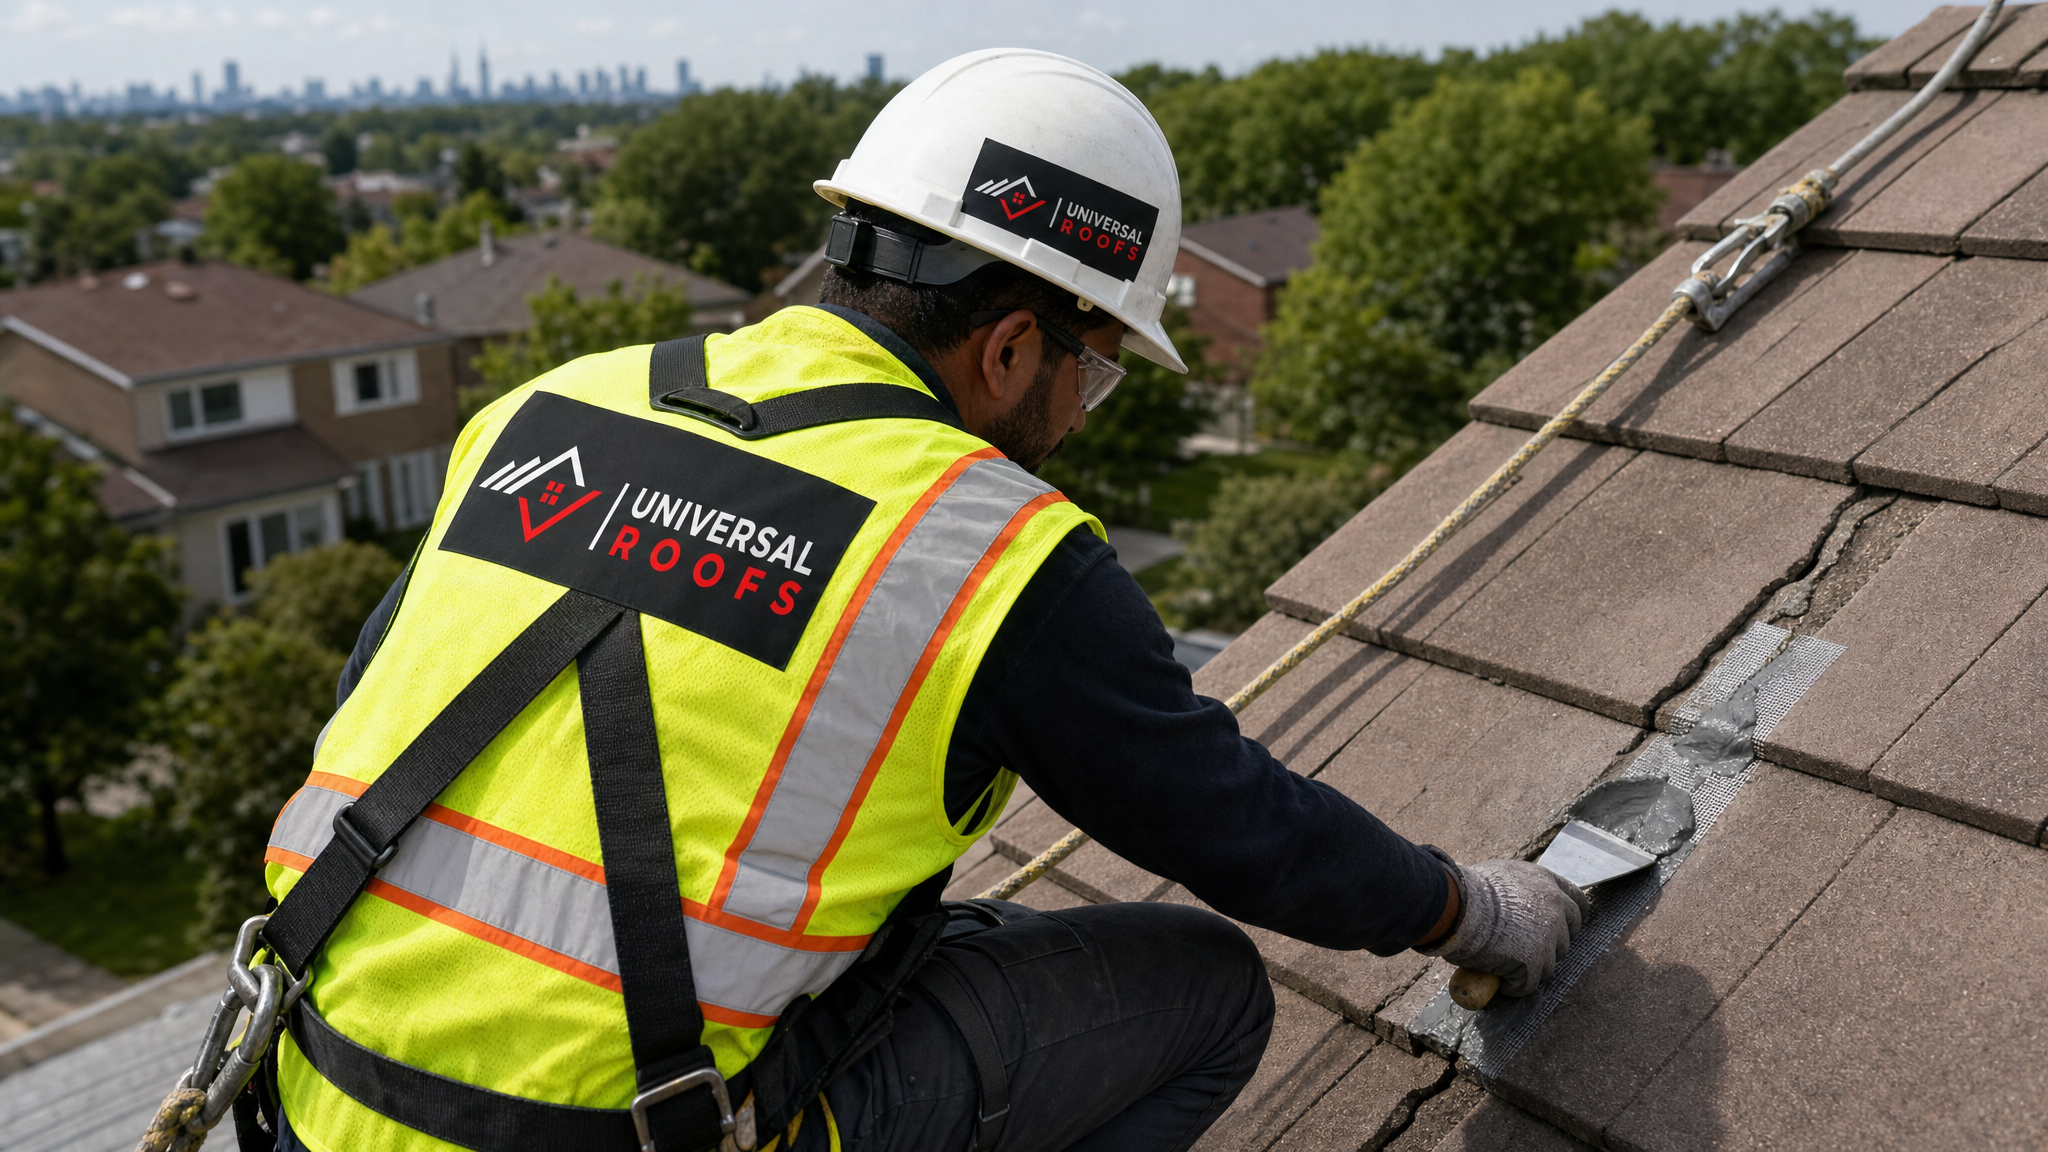
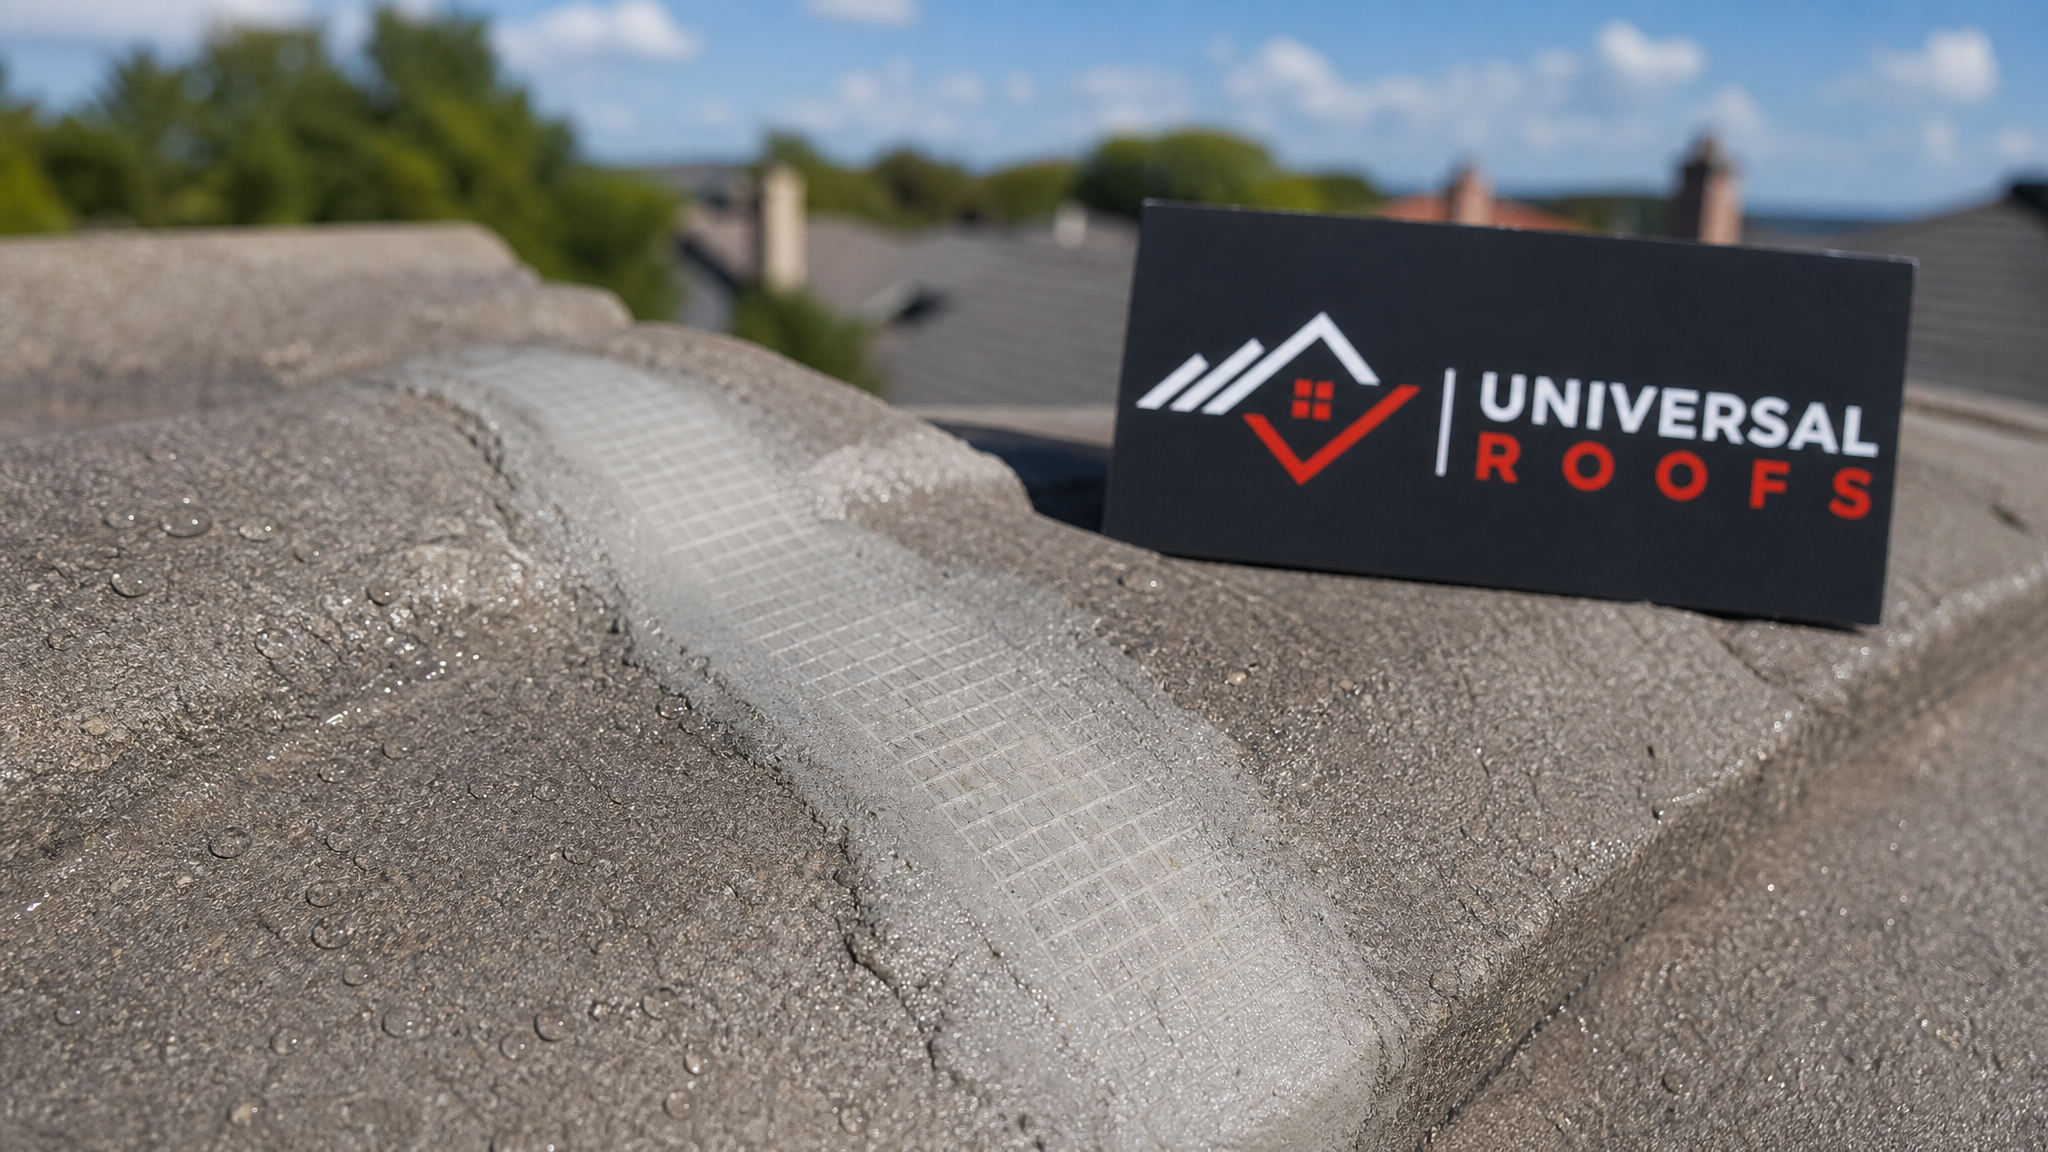
A crack that runs the full thickness of the tile needs reinforcement, not just sealant, or it will reopen the first time the tile flexes under a temperature swing. Cut a strip of fibreglass mesh tape slightly longer than the crack, press it firmly over the cleaned crack, then apply roofing cement over the entire mesh strip, extending about 25mm beyond each edge. Smooth the cement flush with the surrounding tile profile so water continues to shed properly rather than pooling against a raised patch.
2c. Chipped Corners and Edges
Small chips and broken corners are filled directly with roofing cement, built up in thin layers rather than one thick application (thick single applications shrink unevenly as they cure and crack again). Shape the repair to match the tile’s original profile using a putty knife, and let each layer set before adding the next.
2d. When the Tile Needs Full Replacement
If a tile has shattered into multiple pieces, or if more than 30% of its surface is compromised, patching wastes time and rarely lasts. Carefully lift the surrounding tiles, slide out the broken piece, and replace it with a matching tile secured according to the original fastening method (nail, clip, or mortar bed, depending on your roof’s installation style). Matching the colour and profile matters both for appearance and for proper water shedding at the overlaps — an ill-fitting replacement tile can direct water sideways into the underlayment.
2e. Special Considerations for Flat and Low-Slope Sections
Many Toronto homes combine sloped tile sections with flat roof sections over additions, porches, or garages. If your cracked tile sits near a transition to a low-slope area, check that section for pooling water as well — flat sections handle water very differently than sloped tile, and a crack near that junction is often a sign the transition detail itself needs attention. Our flat roofing team frequently finds that tile cracks near these transitions trace back to a flashing or membrane issue rather than the tile itself.
| Repair Method | Materials Needed | Time to Complete | Expected Lifespan |
|---|---|---|---|
| Sealant-only patch | Polyurethane sealant, wire brush | 20-30 minutes | 1-3 years |
| Mesh tape + cement | Fibreglass mesh, roofing cement | 30-45 minutes | 5-8 years |
| Corner/edge fill | Roofing cement, putty knife | 20-30 minutes | 3-5 years |
| Full tile replacement | Matching tile, fasteners | 45-60 minutes | 15-20+ years |
| Professional inspection + repair | Varies by findings | Same-day to 1 week | 10-20+ years |
Step 3: Seal, Test, and Inspect the Finished Repair
The third of the three steps to repair cracked roof tiles fast is the one most DIYers skip, and it is the reason so many “fixed” cracks leak again within a year. A repair is not finished the moment the cement is smoothed — it needs to be tested and documented.
3a. Weatherproof the Perimeter
Once the primary repair material has begun to set (check manufacturer guidance, typically a few hours), run a thin secondary bead of sealant around the entire perimeter of the patch where it meets the original tile. This creates a second line of defence against wind-driven rain, which is common during Toronto’s spring and autumn storm seasons.
3b. Do a Water Test
After the repair has fully cured (allow at least 24-48 hours, longer in cool or damp weather), run a garden hose over the repaired area for 10-15 minutes while a second person checks the attic below for any sign of moisture. This simple test catches incomplete seals before the next real storm does it for you.
3c. Photograph and Log the Repair
Take dated photos of the repair from both the roof surface and the attic underside. This documentation is valuable for insurance claims, for tracking whether the same spot cracks again (a sign of a deeper structural issue), and for any future contractor who inspects the roof.
3d. Schedule a Follow-Up Check
Even a well-executed patch should be re-inspected after the first hard freeze-thaw cycle of the following winter. Mark a reminder to visually check the repair (from the ground with binoculars, or during a gutter cleaning) each spring. If the patch has moved, discoloured unevenly, or begun to lift at the edges, it is time to consider a full tile replacement rather than another round of sealant.
DIY vs. Professional Repair: Making the Right Call
Many single hairline cracks on an accessible, low-slope roof are reasonable DIY projects for a comfortable homeowner with the right materials and safety equipment. But several situations should always be handed to a licensed professional:
- The roof pitch is steep enough that safe footing is uncertain
- You cannot identify the crack’s full extent from a secure vantage point
- The damage recurs at the same spot after a previous repair
- There are multiple cracked tiles, suggesting a broader material or installation problem
- You find water staining, mould, or soft decking in the attic
- The crack is near a valley, chimney, skylight, or other flashing detail
If your cracked tile sits near a skylight, the crack may actually be a symptom of a flashing failure rather than the tile itself, particularly on older installations. In those cases, a skylight replacement assessment alongside the tile repair often solves the root cause rather than just the symptom.
| Factor | DIY Repair | Professional Repair |
|---|---|---|
| Cost (single tile) | $20-$60 in materials | $150-$400 including inspection |
| Safety equipment needed | Harness, ladder, spotter | Included, fully insured crew |
| Warranty on work | None | Typically 1-5 years, workmanship |
| Ability to spot hidden issues | Limited to visible area | Full roof and attic assessment |
| Turnaround time | Same day (weather permitting) | Same-day to a few days |
How Toronto’s Climate Changes the Timeline
Homeowners in warmer regions can often treat tile repair as a purely cosmetic, any-season task. In the GTA, timing matters more. Sealants and roofing cement need above-freezing temperatures to cure properly, which makes late spring through early autumn the ideal repair window. If you spot a crack in the middle of winter, a temporary tarp or emergency patch may be the only safe option until temperatures rise enough for a permanent repair to cure correctly — attempting a full cement repair on a frosty tile in January often fails within weeks because the material never bonds properly.
Since it’s currently summer, this is actually the best possible time of year to address a cracked tile permanently rather than applying a stopgap. Materials cure fully, ladder conditions are safer and drier, and you avoid the scramble that comes with an ice-damming emergency call in February. Waiting until autumn storms or winter freeze-thaw cycles arrive only increases the odds that a small crack becomes a larger, more expensive repair.
Preventing Future Cracks After the Repair
Once your immediate repair is complete, a few habits significantly reduce the odds of new cracks appearing:
- Avoid walking on tiles whenever possible. If access is needed for gutter cleaning or holiday lighting, use a roof ladder or crawl boards that distribute weight across multiple tiles.
- Trim overhanging branches that could drop debris onto the roof during storms or high winds.
- Clean debris from valleys and gutters regularly so water does not pool against tile edges, which accelerates freeze-thaw damage.
- Schedule an annual inspection, ideally in spring, to catch small hairline cracks before a winter freeze-thaw cycle turns them into full separations.
- Check attic ventilation. Poor ventilation traps heat and moisture that stress tiles and shingles alike from underneath — our attic assessments frequently uncover ventilation issues that were quietly shortening the roof’s lifespan.
If your roof has needed repeated tile repairs across several seasons, that pattern is often a sign the roofing system as a whole is approaching the end of its serviceable life. In that case, it’s worth having a roof replacement assessment done so you can compare the cost of ongoing patchwork against a full replacement with a fresh warranty.
Cost Breakdown by Region and Repair Scope
Repair costs vary somewhat across the GTA depending on roof access, tile availability, and local labour rates. The table below reflects typical ranges we see across our service areas.
| Service Area | Single Tile Repair | Multi-Tile Repair (5+) | Typical Response Time |
|---|---|---|---|
| Toronto | $150-$350 | $500-$1,200 | Same-day to 2 days |
| Peel Region | $150-$350 | $500-$1,150 | 1-2 days |
| York Region | $160-$375 | $525-$1,250 | 1-2 days |
| Halton Region | $150-$350 | $500-$1,150 | 1-2 days |
| Durham Region | $160-$375 | $525-$1,250 | 1-3 days |
These figures assume standard tile access and readily matched replacement tiles. Custom colour-matching, steep-slope access, or tiles that have been discontinued by the original manufacturer can push costs higher. A same-day quote is the most reliable way to get an accurate number for your specific roof.
Common Mistakes That Undo a Fast Repair
We are called back to re-fix a surprising number of DIY tile repairs each year, almost always for one of the same handful of reasons:
- Using silicone caulk instead of roofing-grade sealant. Silicone does not bond well to porous concrete or clay and turns brittle in cold weather.
- Skipping the cleaning step. Dust, moss, and granule debris prevent sealant and cement from bonding properly to the tile surface.
- Applying repairs to a wet or frosted tile. Moisture trapped under a fresh patch prevents proper curing and often causes the repair to fail within weeks.
- Overbuilding the patch. A thick, raised repair interrupts water flow and can direct water sideways into an adjacent tile’s overlap.
- Ignoring the underlying cause. Patching a crack caused by a soft spot in the decking or a flashing failure treats the symptom, not the problem, and the crack often reappears.
For homeowners who want a second opinion or a professional-grade result the first time, our reviews reflect two decades of GTA homeowners who chose to have tile repairs done right the first time rather than repeating a DIY patch each season.
What are the fastest steps to repair cracked roof tiles fast without causing further damage?
Can I use regular silicone caulk to repair a cracked roof tile?
How long does a cracked roof tile repair last?
Is it safe to repair cracked roof tiles myself?
What is the best time of year to repair cracked roof tiles in Toronto?
How do I know if a cracked tile needs full replacement instead of a patch?
Need Help With 3 Steps to Repair?
Whether you are dealing with a single hairline crack or a roof full of storm-damaged tiles, Universal Roofs has the experience and safety equipment to get it fixed properly the first time. Our crews carry the correct freeze-thaw-rated materials on every truck so there is no guessing about whether a repair will hold through a Toronto winter.
Call us today at (416) 732-2421 or request a free inspection to get started.
Universal Roofs proudly serves Toronto, Mississauga, Brampton, Vaughan, Markham, Oakville and the GTA since 2005.