
A single unnoticed roof leak can quietly cause thousands of dollars in damage before a homeowner ever sees a stain on the ceiling. Between spring thaw, summer thunderstorms, and the freeze-thaw cycles that define our climate, GTA homes face constant pressure on their roofing systems. Knowing the right methods for roof leak detection and repair is the difference between a quick, affordable fix and a full interior renovation caused by hidden water damage.
At Universal Roofs, we have been diagnosing and repairing leaks on Toronto-area homes since 2005. In that time we have traced leaks to sources homeowners never would have guessed — a cracked pipe boot two metres from the actual ceiling stain, a nail pop under a satellite dish mount, or condensation from a poorly vented attic that was mistaken for a roof leak entirely. This guide walks through the eight most effective methods professionals use to find and fix roof leaks, so you know what to expect whether you are tackling a minor repair yourself or calling in a specialist.
Whether your roof is asphalt shingle, flat, or metal, the diagnostic principles below apply broadly, and we will flag where the approach changes for different roof types.
Why Accurate Leak Detection Matters More Than the Repair Itself
Most homeowners assume the hard part of fixing a leak is the repair. In reality, the repair is usually straightforward once the source is correctly identified — the challenge is finding where the water is actually entering. Water rarely drips straight down from the point of entry. It travels along the underside of the roof deck, follows rafters and trusses, and can appear on a ceiling metres away from the actual breach.
This is why so many DIY leak repairs fail. A homeowner patches the spot directly above a ceiling stain, only to have the leak reappear during the next rainfall because the water was actually entering through a chimney flashing gap or a ridge vent seam much higher up the slope. Proper roof leak detection methods trace water back to its true origin before any sealant, shingle, or flashing repair is attempted.
Getting this wrong doesn’t just waste money on repeated repairs — it allows moisture to keep accumulating in insulation, drywall, and framing, which can lead to mould growth and structural rot. A thorough roof repair always starts with proper diagnosis, not guesswork.
Method 1: Interior Attic Inspection
The first and most cost-effective method for roof leak detection and repair starts inside the home, not on the roof. A flashlight inspection of the attic can reveal water staining, dark streaks on rafters, damp insulation, or mould growth long before any exterior damage is visible.
Professionals look for staining patterns that radiate outward or downward from a single point, since this usually marks where water first entered the roof deck. Rusted nail heads protruding through the sheathing are another telltale sign, as condensation or leaking water often collects around fasteners first. This method is especially effective in winter and early spring, when ice damming is common across the GTA, but it remains a useful baseline check any time of year, including during a routine summer maintenance visit.
Method 2: Exterior Visual Roof Survey
Once the interior inspection narrows down a general area, a visual survey of the exterior roof surface confirms visible damage. This includes checking for cracked, curled, or missing shingles, deteriorated pipe boots, lifted flashing around chimneys and skylights, and granule loss that exposes the shingle mat underneath.
On flat roofs, this survey looks quite different — technicians check membrane seams, ponding water areas, blistering, and drain clogs instead of shingles. If your home has a flat roofing system, the inspection points and repair materials differ significantly from a sloped shingle roof, so it’s worth having a technician familiar with both systems perform the survey.
| Detection Method | Best Used For | Typical Cost Range (CAD) | Skill Level Required |
|---|---|---|---|
| Interior attic inspection | Locating general leak zone | $0–$150 | Beginner |
| Exterior visual survey | Confirming shingle/membrane damage | $0–$200 | Beginner to intermediate |
| Garden hose water test | Isolating exact entry point | $0 (DIY) or $150–$300 (pro) | Intermediate |
| Moisture meter scan | Detecting hidden dampness in decking | $150–$350 | Professional |
| Infrared thermal imaging | Mapping moisture across large or flat roofs | $300–$800 | Professional |
| Smoke pencil/smoke test | Tracing air leaks tied to venting issues | $150–$300 | Professional |
Method 3: The Garden Hose Water Test
When a leak’s source is not obvious from a visual survey alone, a controlled water test is one of the most reliable ways to reproduce the leak on demand. This method involves running water from a garden hose over isolated sections of the roof, starting at the lowest point and working upward, while a second person watches the interior ceiling or attic for the first sign of water intrusion.
This is a slow, methodical process — each section should be soaked for at least 10 to 15 minutes before moving to the next, since water can take time to travel along the deck before dripping through. Rushing this test is the most common reason homeowners fail to reproduce a leak. It works well for shingle roofs, but flat roof leaks often require this test combined with a check of the membrane seams and drains, since water can pool and seep in ways a simple hose test won’t catch on a sloped surface.
Method 4: Moisture Meter Scanning
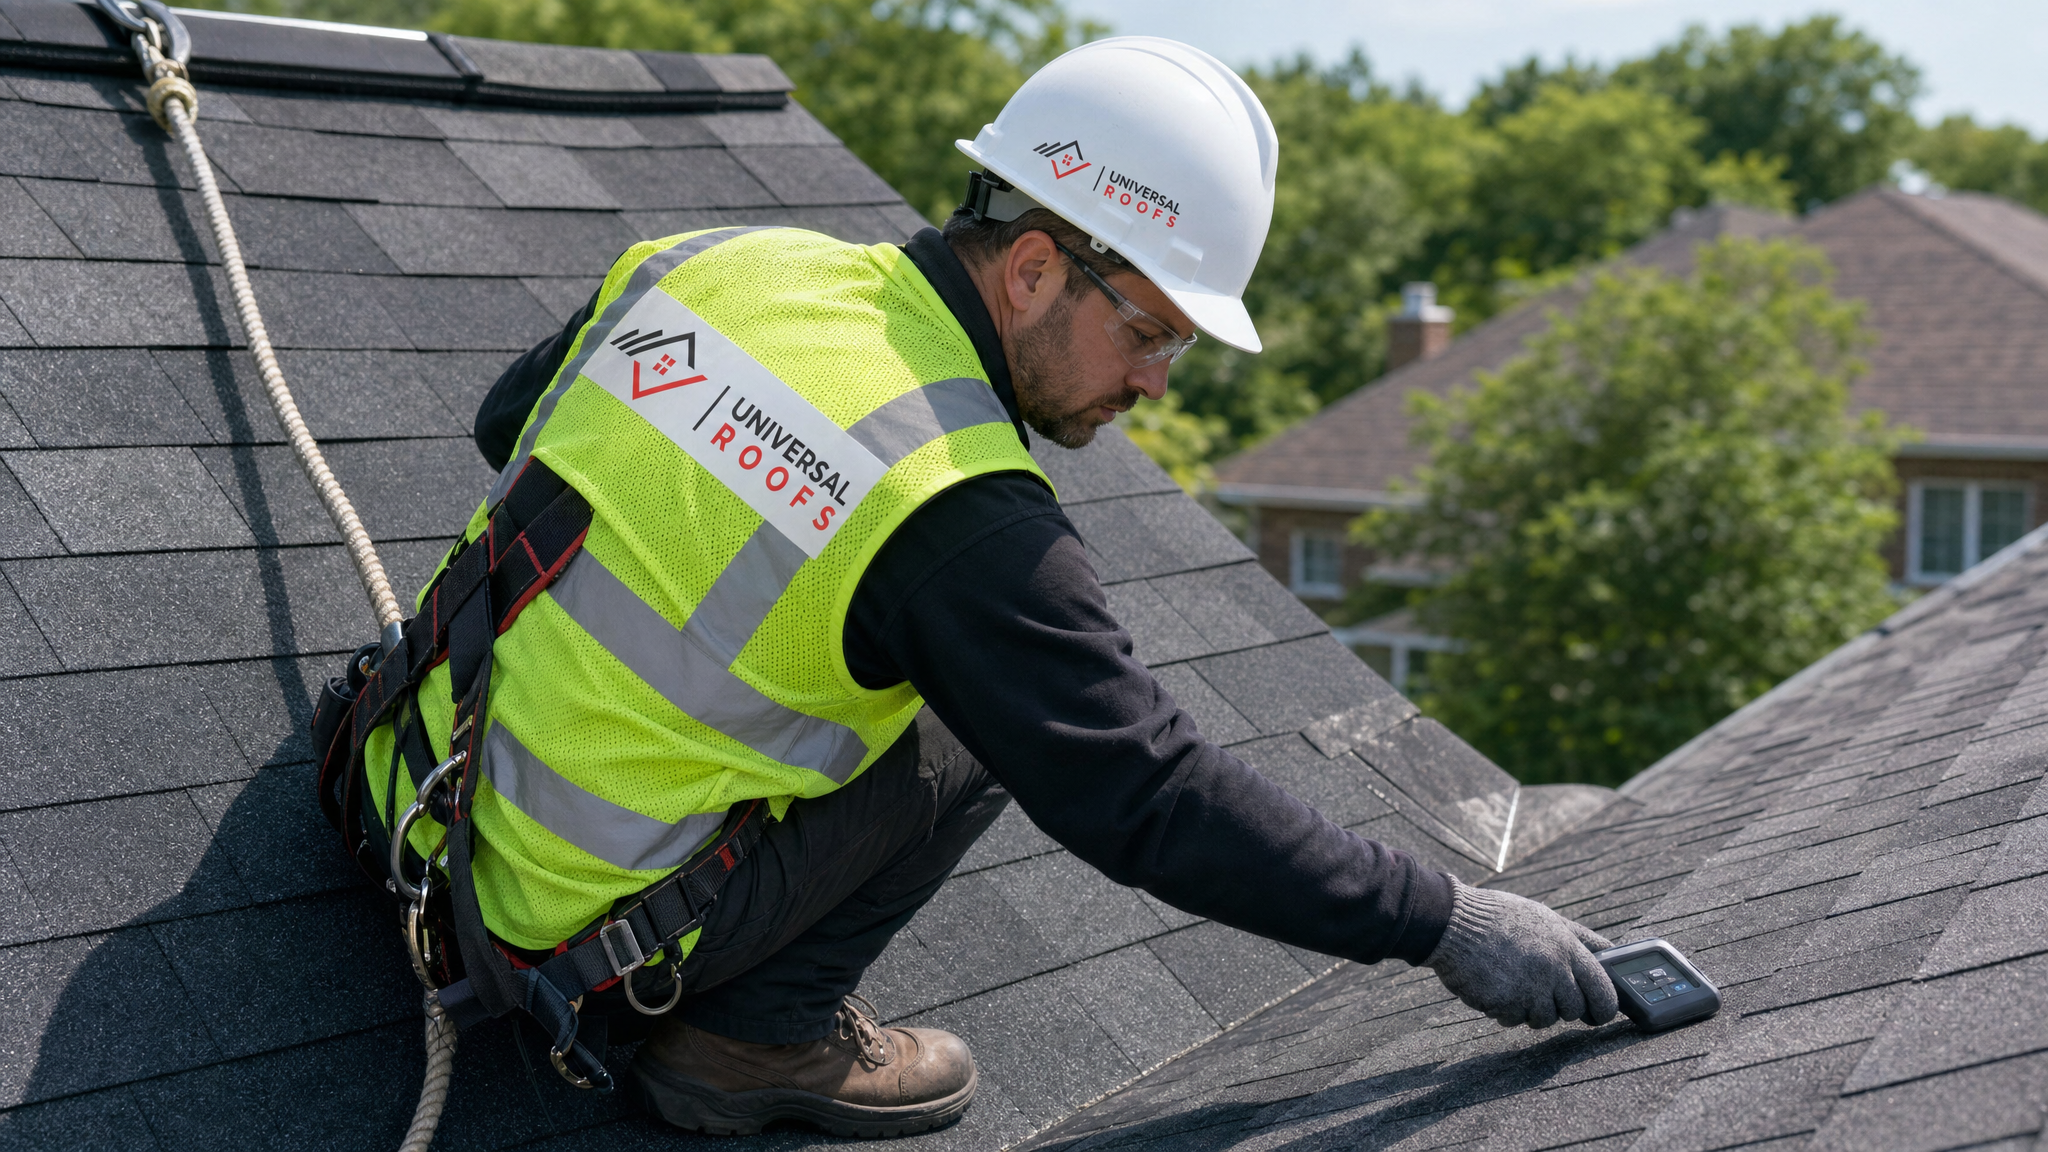
Professional roofers frequently use handheld moisture meters to detect elevated moisture content in roof decking, insulation, and framing that isn’t visible to the eye. These meters use either pin-based probes or non-invasive electromagnetic sensors to measure moisture percentage in wood and other materials.
This method is particularly valuable for identifying the full extent of water damage before repairs begin. A visible stain might represent only the centre of a much larger area of saturated decking, and a moisture scan tells the crew exactly how much material needs to be replaced versus dried and sealed. It’s a standard step in any thorough roof repair assessment, especially after a major storm.
Method 5: Infrared Thermal Imaging
Infrared thermography has become one of the most effective methods for roof leak detection on larger residential and flat roofs. A thermal camera detects temperature differences across the roof surface — wet insulation retains heat differently than dry insulation, so trapped moisture appears as a distinct thermal pattern even when the surface above it looks completely dry.
This method works best in the early morning or evening, when the roof surface has cooled but retained moisture is still releasing heat at a different rate than the surrounding dry areas. It is non-destructive, covers large areas quickly, and is especially useful for commercial and residential flat roofs where ponding water and membrane seams make traditional visual inspection less reliable.
Method 6: Smoke Pencil and Ventilation Testing
Not every “leak” is actually a roof leak. Condensation from poor attic ventilation frequently mimics the symptoms of a water intrusion problem — damp insulation, staining on the underside of the deck, and even dripping in cold weather. A smoke pencil test traces air movement through soffit vents, ridge vents, and bathroom exhaust ducts to determine whether warm, moist indoor air is escaping into the attic and condensing on the cold roof deck.
If ventilation turns out to be the culprit, the fix isn’t a roofing repair at all — it’s correcting airflow through the attic system, often by adding or unblocking soffit vents, sealing bypass points around pot lights, or improving insulation depth. Skipping this step is a common reason repeated “leak repairs” don’t solve the underlying problem.
Method 7: Flashing and Penetration Point Repair
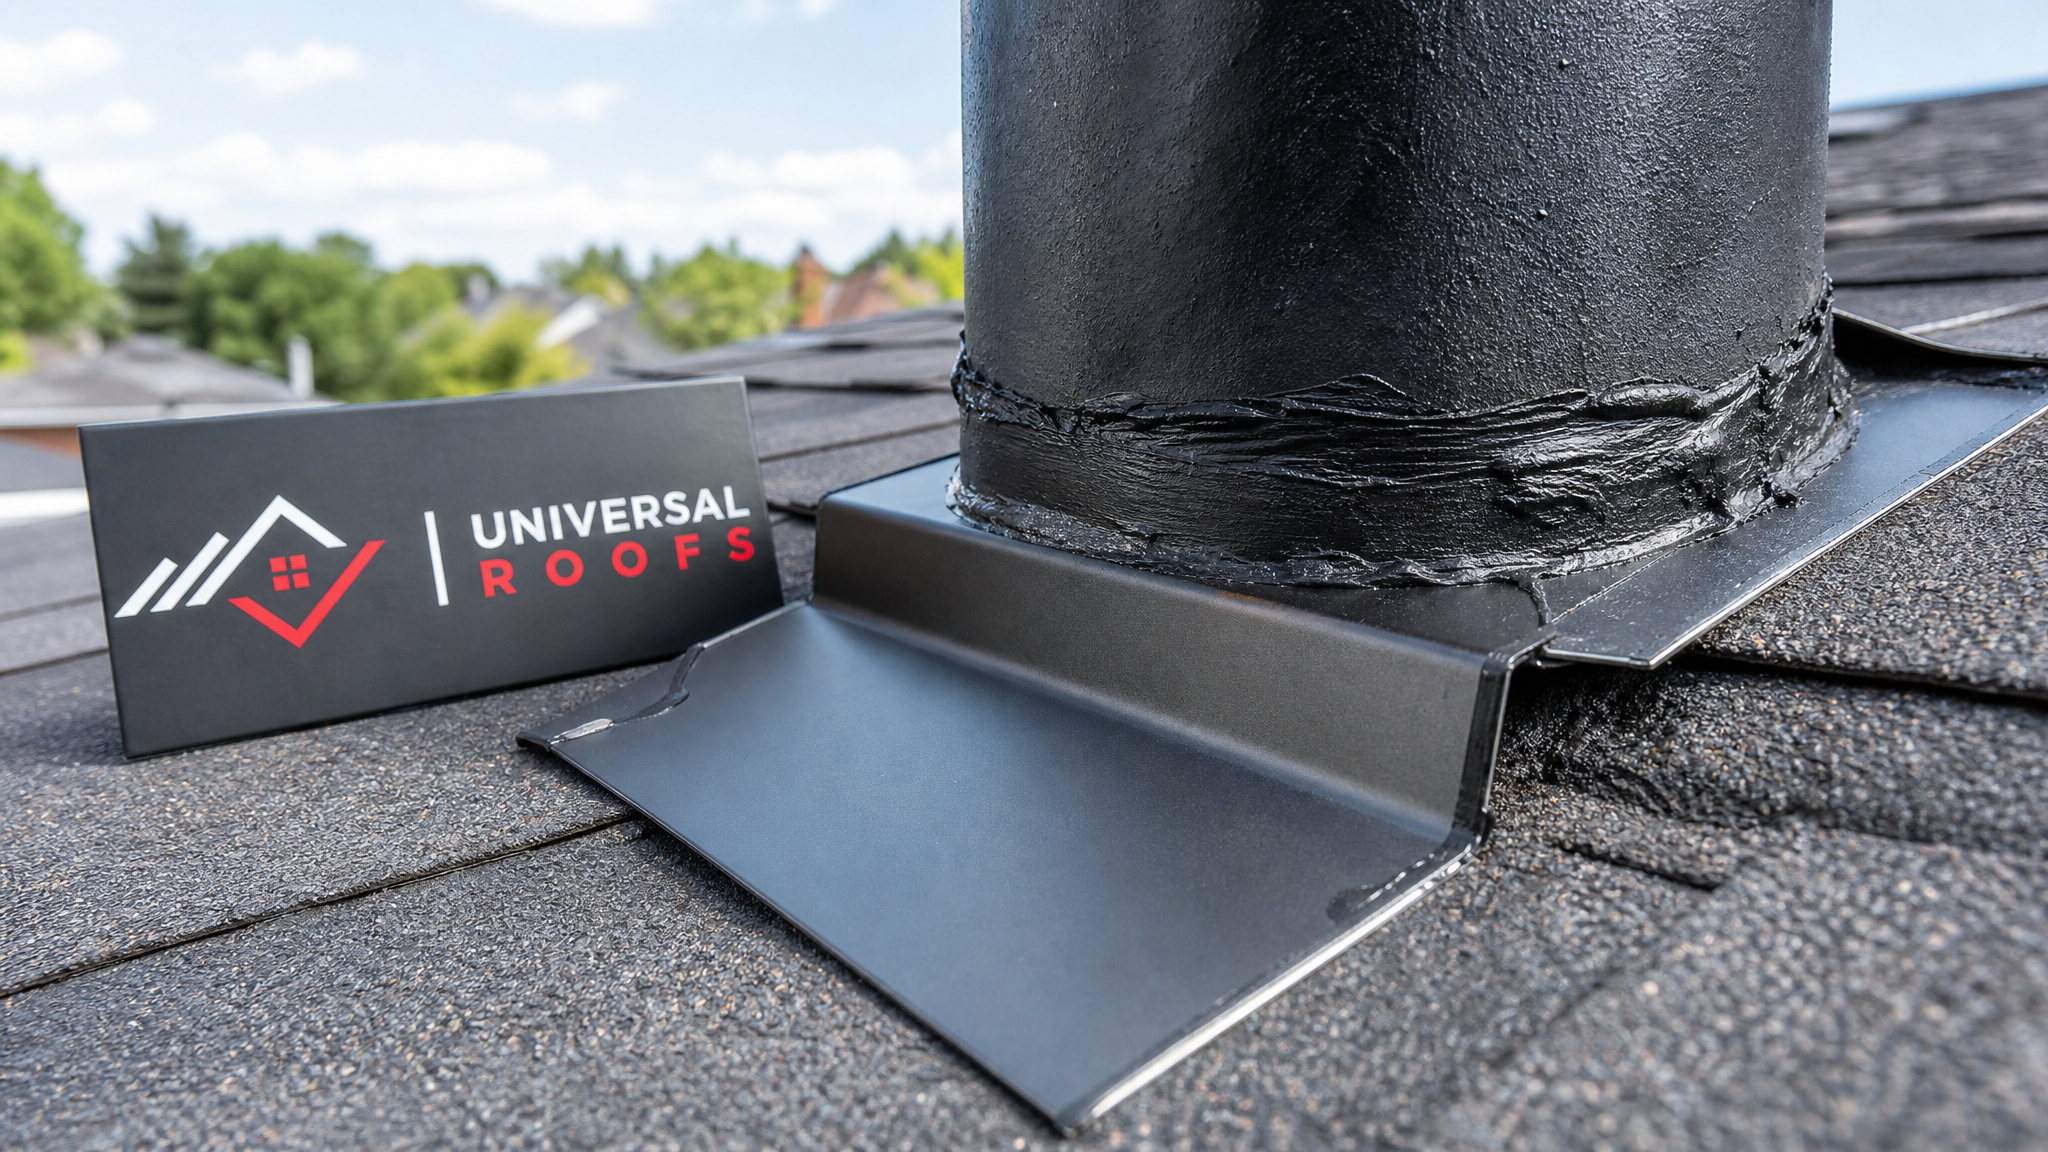
Flashing failure is, by a wide margin, the single most common source of roof leaks we diagnose across the GTA. Chimneys, skylights, plumbing vent boots, and roof-to-wall joints all rely on metal flashing and sealant to stay watertight, and these components degrade faster than the shingles or membrane around them.
Repair here typically involves removing the damaged flashing section, replacing cracked pipe boots with new rubber or lead collars, and re-sealing joints with a compatible roofing sealant rated for our climate’s temperature swings. Skylight curbs are a particularly frequent trouble spot — if you notice staining specifically around a skylight, it’s worth having both the flashing and the unit itself assessed, since older skylights may need skylight replacement rather than a simple reseal.
| Repair Type | Common Cause | Typical Repair Timeline | Expected Lifespan After Repair |
|---|---|---|---|
| Flashing replacement | Corroded or lifted metal flashing | Half-day to 1 day | 10–15 years |
| Pipe boot replacement | Cracked rubber collar from UV exposure | 1–2 hours | 8–10 years |
| Shingle replacement (localized) | Wind damage, granule loss, curling | Half-day | Matches remaining roof life |
| Membrane seam repair (flat roof) | Seam separation, blistering | 1 day | 10–20 years |
| Skylight reseal or replacement | Failed curb flashing or aging unit | 1–2 days | 15–20 years |
Method 8: Full Roof Section or Complete Replacement
When leak detection reveals widespread deck saturation, extensive shingle deterioration, or multiple failure points across an ageing roof, patch repairs stop making financial sense. At that stage, a full section replacement or a complete roof replacement becomes the more cost-effective long-term solution.
A good rule of thumb: if the roof is within five years of its expected lifespan and repairs are recurring in different spots each season, replacement will typically cost less over a five-year window than continuing to chase individual leaks. Our team will always recommend the least invasive fix that genuinely solves the problem, but we’ll be direct with you when a full replacement is the smarter investment.
Choosing the Right Method for Your Situation
Most real-world leak diagnoses combine two or three of the methods above rather than relying on just one. A typical service call might start with an interior attic check, move to an exterior visual survey to confirm suspected damage, and finish with a targeted water test to verify the repair location before any work begins. Larger or harder-to-diagnose leaks, particularly on flat roofs or roofs with multiple penetrations, often justify the added cost of infrared thermal imaging to avoid guesswork entirely.
Homeowners in Toronto, Mississauga, Brampton, Vaughan, Markham, Oakville, and across the wider GTA face slightly different roofing challenges depending on tree cover, roof age, and exposure to lake-effect weather patterns, but the diagnostic sequence above holds true across the region. Our crews serve Toronto, the Peel Region, York Region, Halton Region, and Durham Region, so wherever your property sits in the GTA, our technicians are familiar with the local building conditions.
| Symptom You’re Seeing | Most Likely Cause | Recommended First Step |
|---|---|---|
| Ceiling stain that grows after rain | Active roof leak from flashing or shingle damage | Attic inspection + exterior visual survey |
| Staining that appears only in winter | Ice damming or attic condensation | Ventilation/smoke pencil test |
| Musty smell with no visible stain | Hidden moisture in insulation or decking | Moisture meter scan |
| Staining around a skylight or chimney | Failed flashing at penetration point | Flashing inspection and reseal |
| Recurring leaks in different spots each year | Roof nearing end of service life | Full roof assessment for replacement |
Preventing Leaks Before They Start
Leak detection is far easier, and repairs far cheaper, when they’re caught during routine maintenance rather than after water has already damaged your ceiling or walls. We recommend a professional roof inspection at least once a year, ideally in late spring after winter’s freeze-thaw cycles have had a chance to reveal any weak points, and again in early autumn to prepare for the colder months ahead.
Simple habits also go a long way: keep gutters clear so water doesn’t back up under the shingle edge, trim overhanging branches that drop debris onto the roof surface, and address minor shingle damage as soon as it’s spotted rather than waiting for it to worsen. If your roof includes a skylight, periodic checks of the surrounding flashing are just as important as the shingles themselves — our skylights team can assess whether a unit needs resealing, repair, or replacement during the same visit.
For homeowners who want to see what past clients have experienced with our diagnostic and repair process, our reviews page includes detailed feedback from families across the GTA, and our FAQ page answers many of the most common questions we receive about leak repairs, warranties, and scheduling.
What are the most reliable methods for roof leak detection and repair?
How can I tell if my ceiling stain is from a roof leak or condensation?
How much does professional roof leak detection typically cost in the GTA?
Can a roof leak be repaired without replacing the whole roof?
Why does my roof leak only during winter or after snow melts?
Is it safe to try roof leak detection myself before calling a professional?
Need Help With 8 Best Methods for?
Diagnosing a leak correctly the first time saves you money, time, and the stress of watching a small stain turn into a bigger problem. Universal Roofs has been finding and fixing leaks on GTA roofs since 2005, using the same systematic methods outlined above on every job, whether it’s a single missing shingle or a full assessment of an ageing flat roof.
Call us today at (416) 732-2421 or request a free inspection to get started.
Universal Roofs proudly serves Toronto, Mississauga, Brampton, Vaughan, Markham, Oakville and the GTA since 2005.