
A roof leak rarely announces itself with a dramatic gush of water. Usually it starts as a faint stain on a ceiling tile, a musty smell in the attic, or a few missing granules in the eavestrough after a summer storm. When that happens, the question every GTA homeowner asks is the same: do I need a full roof replacement, or can this be patched? In the vast majority of cases, especially when the damage is caught early, roof patching is the faster, cheaper, and perfectly durable answer.
Roof patching is the practice of repairing a specific, localized area of roof damage rather than replacing an entire roof system. Done correctly, a patch can extend the life of a roof by years and stop water intrusion the same day it’s applied. Done poorly, it can trap moisture, void warranties, and turn a $400 repair into a $9,000 replacement within a single Toronto winter. The technique matters as much as the material.
This guide breaks down the best roof patching techniques used by professional roofers across Toronto and the GTA in 2026, when each method applies, what it costs, and how to tell when patching is the right call versus when it’s time to call in a full assessment. Whether you’re dealing with a sloped asphalt shingle roof in Etobicoke or a flat commercial membrane in Scarborough, the fundamentals below will help you make an informed decision.
How to Know If Your Roof Needs Patching (Not Full Replacement)
Before choosing a technique, it’s worth confirming that patching is actually the right move. As a general rule, patching makes sense when damage is confined to a small, identifiable area and the rest of the roof is structurally sound. Our roof repair technicians typically recommend a patch instead of a full roof replacement when the roof is under 15 years old, the decking underneath is dry and solid, and the damaged area affects less than roughly 10% of the total roof surface.
Warning signs that patching alone won’t solve the problem include soft or spongy decking when walked on, widespread granule loss across multiple slopes, daylight visible through the attic in more than one spot, or repeated leaks in different locations each season. Those symptoms point to systemic aging rather than isolated damage, and a patch in that scenario is a short-term band-aid at best.
Toronto’s climate adds a wrinkle here. Our freeze-thaw cycles, ice damming along eaves, and summer humidity swings mean that small cracks and gaps expand and contract repeatedly through the year. A patch that would last a decade in a milder climate might only buy three or four years locally if the wrong material or technique is used. That’s why material selection and surface preparation matter just as much as the patching method itself.
The Best Roof Patching Techniques by Roof Type
Not every roof patches the same way. Sloped asphalt shingle roofs, flat and low-slope membrane roofs, metal roofs, and tile roofs each call for a different repair approach. Below are the techniques that hold up best across each system.
Shingle Replacement Patching (Asphalt Shingle Roofs)
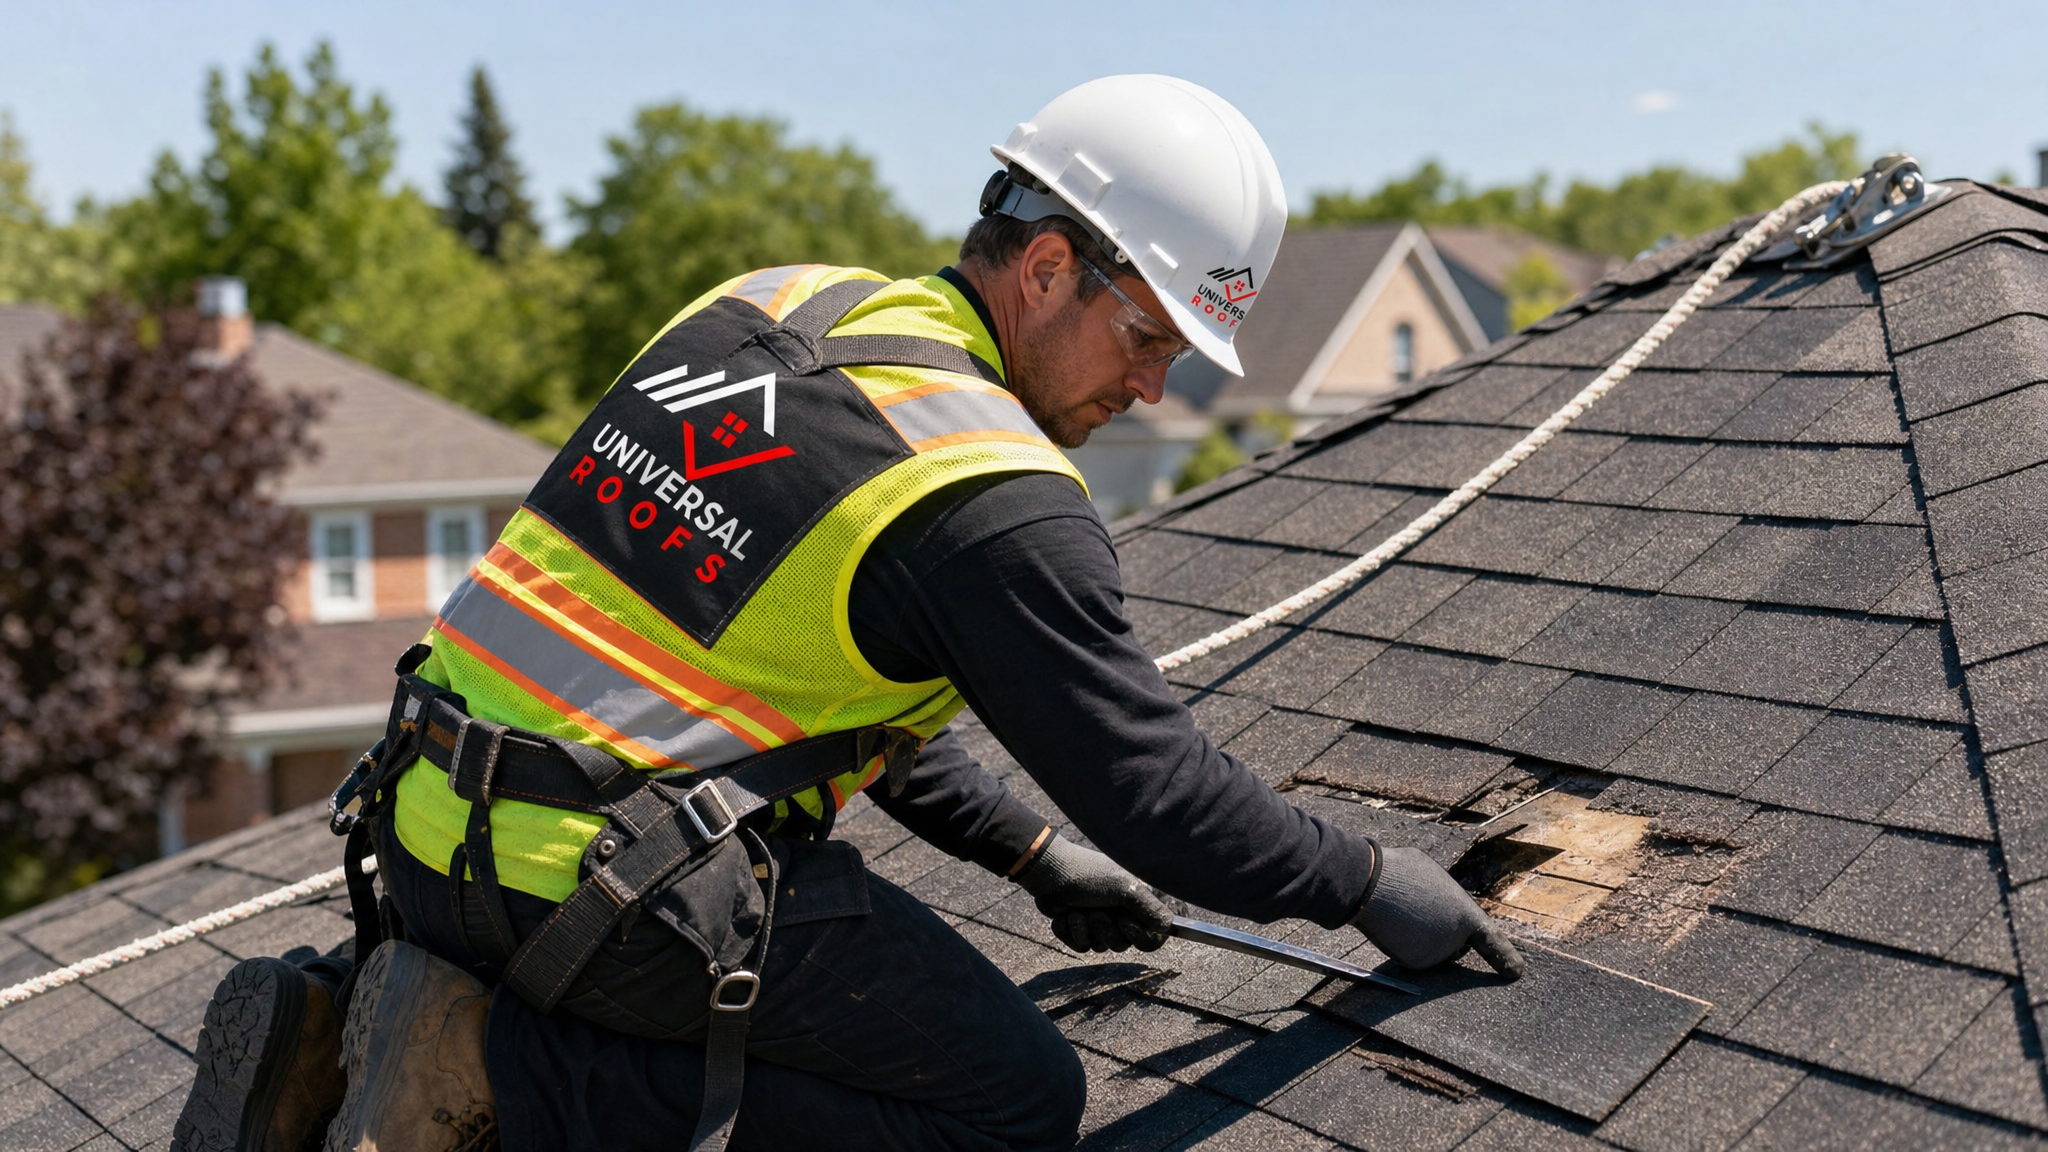
The most common patching technique for the typical GTA sloped roof is individual shingle replacement. A roofer carefully lifts the shingles surrounding the damaged tab using a flat pry bar, removes the nails holding the compromised shingle in place, slides the damaged piece out, and installs a matching replacement shingle secured with roofing nails and sealed at the edges with roofing cement. When done correctly, this technique is nearly invisible from the ground and restores full waterproofing to that section of roof.
The key to a durable shingle patch is matching the granule colour as closely as possible and ensuring the replacement shingle’s nailing pattern follows manufacturer spec, generally four to six nails per shingle placed just below the sealant strip. Skipping this step, or using too few nails, is one of the most common reasons patches fail during high-wind events, which the GTA sees several times a year.
Membrane Patching (Flat and Low-Slope Roofs)
For flat roofing systems, including modified bitumen, EPDM rubber, and TPO membranes, patching involves cutting away the damaged section, cleaning the surrounding membrane thoroughly to remove dirt and oxidation, applying a compatible primer, and then heat-welding or adhering a patch of matching membrane material over the repair with generous overlap, typically a minimum of 75 to 100 millimetres beyond the damaged area on all sides.
Membrane type matters enormously here. EPDM rubber patches use a specialized rubber-compatible adhesive and seam tape, while TPO requires hot-air welding for a truly permanent bond. Mixing incompatible materials, for instance using an EPDM patch kit on a TPO roof, is a frequent DIY mistake that leads to early patch failure since the chemistries don’t bond properly.
Metal Roof Patching
Metal roofs develop leaks primarily at fastener points, seams, and areas where panels have been punctured or corroded. The best technique involves cleaning the area to bare, rust-free metal, applying a butyl rubber sealant tape or metal-specific patch designed for the panel profile, and finishing with a compatible sealant bead at all edges. For larger punctures, a matching metal flashing patch is cut, fitted, and fastened with neoprene-washer screws before sealing.
Tile and Slate Patching
Clay tile and slate roofs are patched by carefully replacing individual cracked or broken tiles rather than sealing over them, since sealants don’t bond well to fired clay or natural stone and tend to fail within a season or two. A roofer lifts the surrounding tiles, removes the broken piece, and slides in a matching replacement secured with corrosion-resistant nails or clips, restoring the roof’s original water-shedding design.
Comparing the Main Patching Methods
The table below compares the primary patching techniques side by side, covering the roof types they suit, typical durability, and relative cost.
| Patching Technique | Best For | Typical Lifespan | Relative Cost |
|---|---|---|---|
| Individual shingle replacement | Asphalt shingle roofs | 10-20 years (matches remaining shingle life) | Low |
| Heat-welded membrane patch | TPO and modified bitumen flat roofs | 10-15 years | Moderate |
| Adhered rubber patch | EPDM flat roofs | 8-12 years | Low to moderate |
| Metal flashing patch | Metal roofs, chimney and vent flashing | 15-25 years | Moderate |
| Tile/slate replacement | Clay tile and natural slate roofs | 25+ years | Moderate to high |
| Sealant/caulk-only repair | Minor gaps, temporary fix only | 1-3 years | Very low |
Step-by-Step: What a Professional Patch Job Looks Like
Regardless of roof type, professional roof patching follows a consistent sequence. Understanding these steps helps homeowners evaluate whether a contractor is doing the job properly, and helps DIYers avoid the most common mistakes.
- Inspection and diagnosis. The technician identifies the true source of the leak, which is often several feet away from where the water stain appears inside, since water travels along rafters and decking before dripping down.
- Assessing the decking. Before any patch material goes down, the roofer checks that the plywood or board decking beneath is dry and structurally sound. Patching over rotten decking is a wasted repair.
- Removing damaged material. Old shingles, membrane, flashing, or tiles are carefully removed, with the surrounding area cleaned of debris, old sealant, and granules.
- Surface preparation. Surfaces are dried, cleaned, and, where needed, primed so the new material bonds correctly. This step is skipped far too often in rushed repairs and is a leading cause of premature patch failure.
- Installing the patch. New material is fitted, fastened according to manufacturer spec, and sealed at all edges and transition points.
- Final waterproofing check. A thorough visual and, where appropriate, water test confirms the patch is fully sealed before the crew leaves site.
Materials Used in Modern Roof Patching
Material choice affects how long a patch lasts and how well it stands up to Toronto’s seasonal extremes, from July humidity to January ice storms. The table below outlines the materials most commonly used and where each performs best.
| Material | Application | Temperature Tolerance | Notes |
|---|---|---|---|
| Modified bitumen patch strips | Flat and low-slope roofs | Good across GTA seasonal range | Requires heat-welding or torch application for best bond |
| Butyl rubber sealant tape | Metal roof seams and fasteners | Excellent, flexible in cold | Stays pliable during winter freeze-thaw cycles |
| Elastomeric roof coating | Small surface cracks, flat roof seams | Good, UV resistant | Best applied in warm, dry summer conditions |
| Matching asphalt shingles | Sloped shingle roofs | Excellent | Colour and granule match is critical for a discreet repair |
| Roofing cement (trowel-grade) | Flashing edges, small gaps | Fair, can become brittle over time | Best as a finishing sealant, not a standalone patch |
Common Roof Patching Mistakes That Cause Repeat Leaks
We’re regularly called out to re-repair patches that a homeowner or another contractor attempted just months earlier. The most frequent failure points are worth understanding before you attempt a repair or hire someone to do it.
- Sealant-only repairs on active leaks. Caulk and roofing cement are excellent finishing touches but are not a substitute for properly integrated flashing or shingle work. A bead of sealant over a gap will fail within a season or two once it dries out and cracks.
- Ignoring the decking underneath. Patching the visible surface while rotten plywood sits underneath simply delays the inevitable, and often makes the eventual repair more expensive.
- Mismatched materials. Using an EPDM patch on a TPO roof, or ordinary caulk on a metal roof seam, leads to poor adhesion and early failure because the chemical compositions aren’t compatible.
- Patching in the wrong weather. Many adhesives and sealants need a minimum surface temperature to cure properly. Rushed cold-weather patches, common when homeowners panic during a winter leak, often fail once temperatures swing again.
- Missing the real source of the leak. Water can enter at a chimney flashing and travel along the decking before dripping through the ceiling several feet away. Patching the visible drip spot without tracing the actual entry point is one of the most common reasons a “fixed” leak returns.
- Skipping proper fastening. Under-nailing shingles or using the wrong fastener type for a metal roof leaves the patch vulnerable to wind uplift, which the GTA experiences several times per year during summer storm systems.
DIY Roof Patching vs. Professional Repair
Minor, easily accessible repairs, such as re-sealing a small gap around a vent boot, are within reach for a comfortable DIYer with the right materials and safe ladder access. However, most patching work involves working at height, correctly diagnosing the true leak source, and matching materials to the existing roof system, all of which benefit from professional experience.
| Factor | DIY Patching | Professional Patching |
|---|---|---|
| Leak source diagnosis | Often limited to visible symptoms | Traced to true origin point, including hidden decking issues |
| Material matching | Store-bought, may not match existing system | Matched to roof age, manufacturer, and membrane type |
| Safety | Fall risk without harness and proper equipment | Full fall-protection protocol and insured crews |
| Warranty impact | Can void manufacturer warranty if done incorrectly | Preserves warranty when performed per spec |
| Typical durability | 1-5 years depending on skill and materials | 10-25 years depending on technique and material |
Cost and Timeline Expectations for Roof Patching in the GTA
Most straightforward patch jobs, such as replacing a handful of damaged shingles or resealing a section of flashing, are completed in a single visit lasting two to four hours. Larger membrane patches on flat roofs, or repairs requiring extensive decking replacement, may take a full day. Costs vary based on roof type, accessibility, and the extent of hidden damage discovered once the area is opened up, which is why an in-person assessment gives the most accurate number.
As a general guide, small shingle patches tend to be the most affordable repair on the list, membrane and metal patches sit in the middle range, and any repair that uncovers rotten decking or structural damage will cost more regardless of the surface technique used. It’s always worth getting a written estimate that separates the surface patch cost from any decking replacement, so you know exactly what you’re paying for.
Seasonal Timing: Why Summer Is an Ideal Time to Patch
July and August are genuinely one of the best windows for roof patching in the GTA. Warm, dry conditions allow adhesives, sealants, and membrane bonds to cure properly, shingle tabs seal down faster in the heat, and there’s no snow or ice obscuring problem areas during inspection. Getting ahead of a patch now, rather than waiting for the fall storm season or winter ice damming, means the repair has months to fully cure before it’s tested by freeze-thaw cycles.
That said, patching isn’t purely a summer job. Emergency leaks get addressed year-round, and experienced crews use cold-weather-rated sealants and careful technique when a repair can’t wait for warmer weather. If you’ve spotted a stain or missing shingles now, addressing it this summer rather than waiting is the more cost-effective choice.
Related Roof Systems Worth Checking
A roof rarely fails in isolation. If you’re dealing with a leak near a skylight, the flashing around the unit is often the actual culprit rather than the roofing material itself, and in some cases a skylight replacement is more cost-effective than repeated flashing patches on an older unit. Similarly, if a patched roof has already allowed moisture into the attic space, it’s worth having insulation and ventilation checked at the same time, since trapped moisture there can cause mould and structural issues independent of the roof surface itself.
Universal Roofs has been diagnosing and patching roofs across the region since 2005, and our reviews reflect a track record of getting repairs right the first time, whether the job is a single shingle in Toronto or a full membrane section in the Peel Region.
When Patching Isn’t Enough
Sometimes an inspection reveals that what looked like a simple patch job is actually the tip of a larger problem. Multiple leak points, widespread granule loss, soft decking across large sections, or a roof already past 20-25 years old are all signs that a patch will only be a short-term fix. In those cases, we’ll always tell you honestly rather than selling a repair we know won’t hold. Our roof repair team can advise on the spot whether a targeted patch or a phased replacement makes more financial sense, and our roof replacement crews handle the transition seamlessly if a full replacement turns out to be the smarter long-term investment.
Homeowners across York Region, Halton Region, and Durham Region trust this honest, assessment-first approach, because a patch that’s set up to fail costs more in the long run than an accurate recommendation up front.
What is the best roof patching technique for a small leak?
How long does a roof patch typically last?
Can roof patching be done in winter in Toronto?
Is roof patching cheaper than roof replacement?
What roof patching mistakes cause leaks to come back?
How do I know if my roof needs a patch or a full replacement?
Need Help With What Are the Best?
Whatever the cause, a properly diagnosed and correctly executed patch from Universal Roofs can add years of reliable protection to your roof without the cost of a full replacement.
Call us today at (416) 732-2421 or request a free inspection to get started.
Universal Roofs proudly serves Toronto, Mississauga, Brampton, Vaughan, Markham, Oakville and the GTA since 2005.