
If your attic turns into an oven every summer and a freezer every winter, the problem usually isn’t your insulation — it’s your ventilation. Toronto homeowners researching why choose solar powered roof ventilation systems are typically dealing with ice damming in January, sky-high cooling bills in July, or a roofing contractor who just told them their existing ridge vents aren’t pulling their weight. Solar powered roof ventilation has become one of the most requested upgrades we install across the GTA, and for good reason: it moves more air than passive vents, costs nothing to run, and often qualifies for rebates that shrink the payback period to a few years.
This guide breaks down exactly how solar attic fans work, how they compare to power (hardwired) fans, ridge vents, and turbine vents, what they cost installed in the Toronto market, and how to tell if your roof is even a good candidate. We’ll also cover the installation process, maintenance, and the mistakes we see homeowners make when they try to shop for one online without understanding attic airflow first.
Universal Roofs has been ventilating GTA attics since 2005, and solar fan installations are now a regular part of our attic ventilation and insulation work. Below is everything we walk our own clients through before they commit to a system.
How Solar Powered Roof Ventilation Actually Works
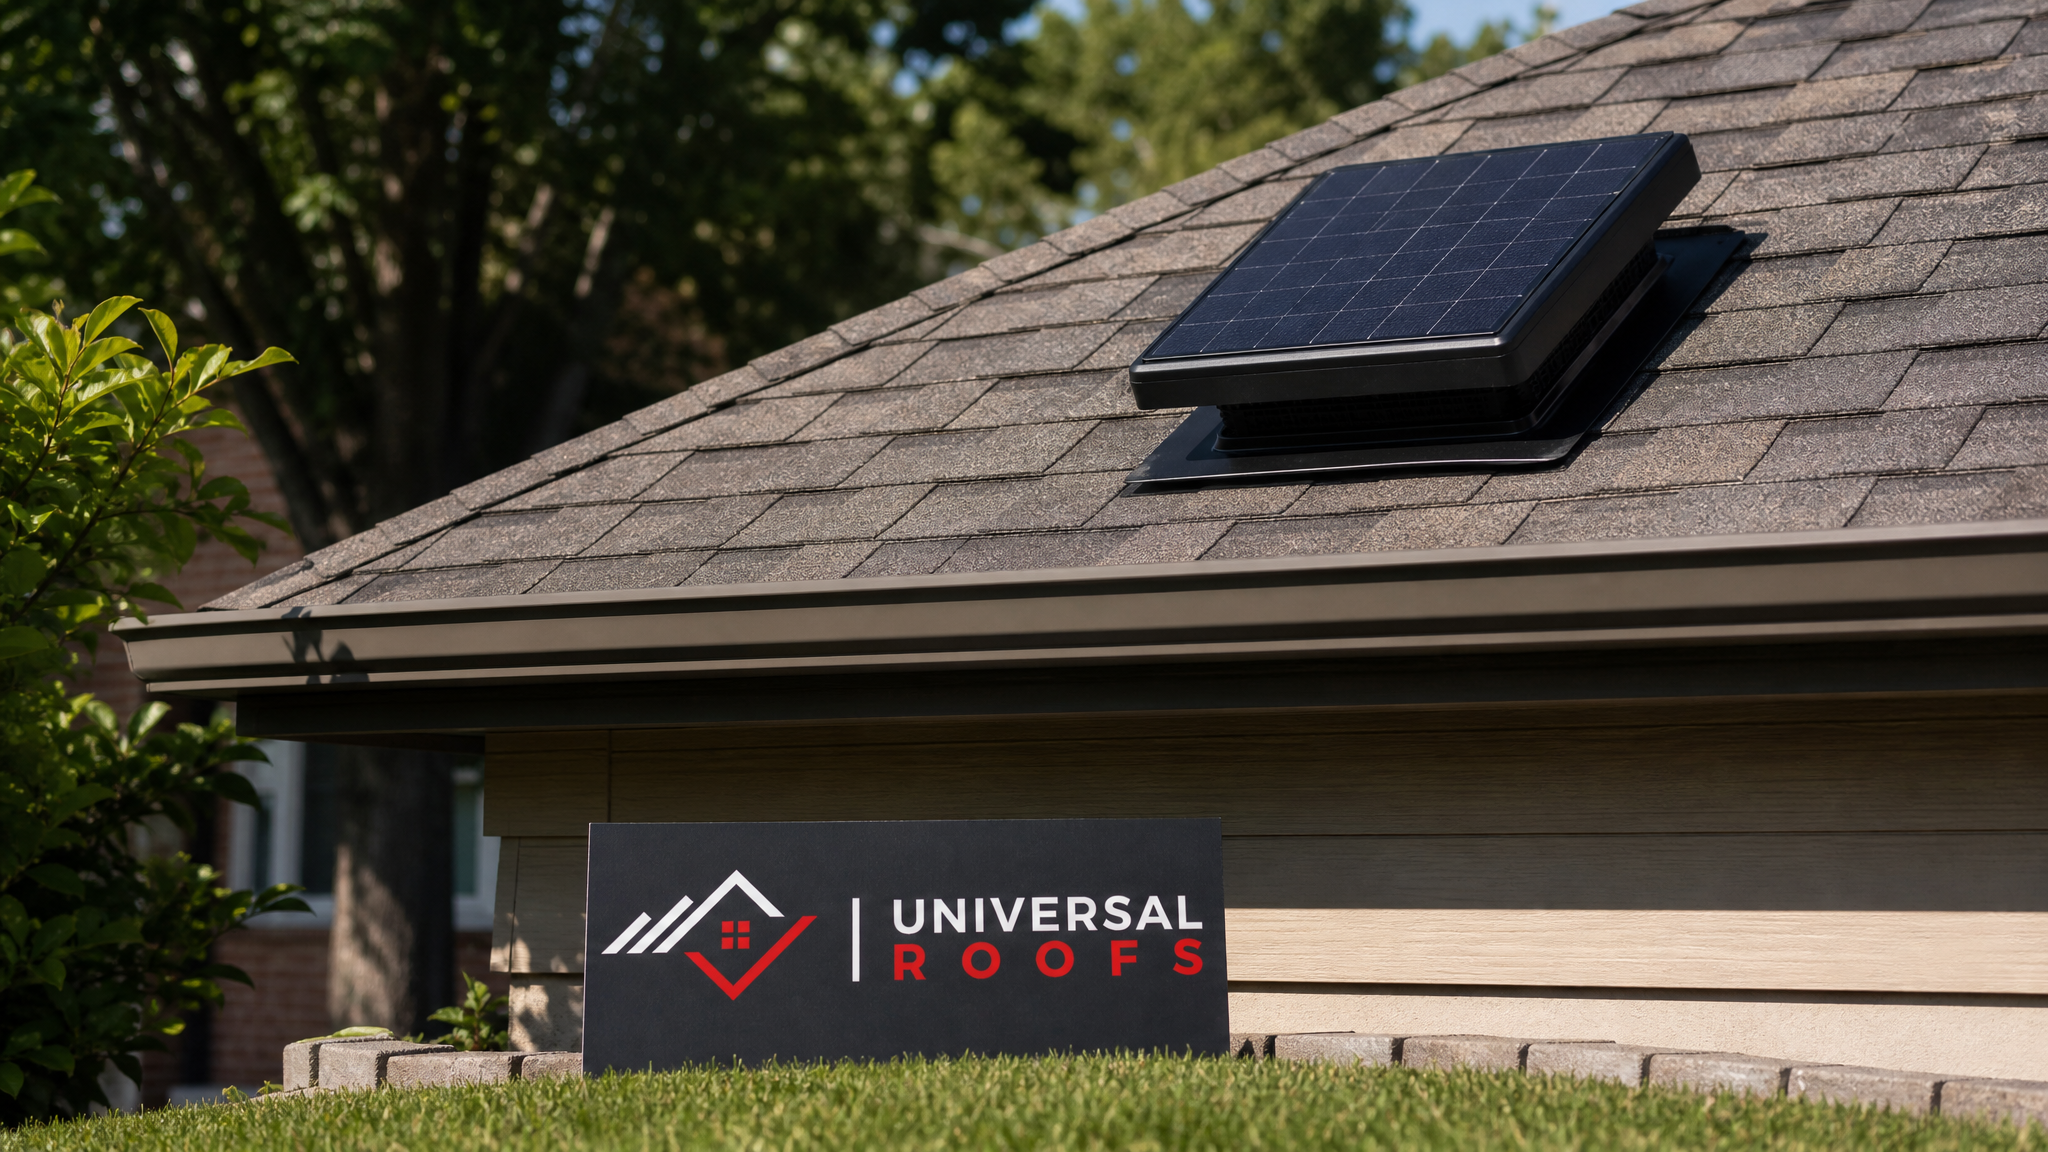
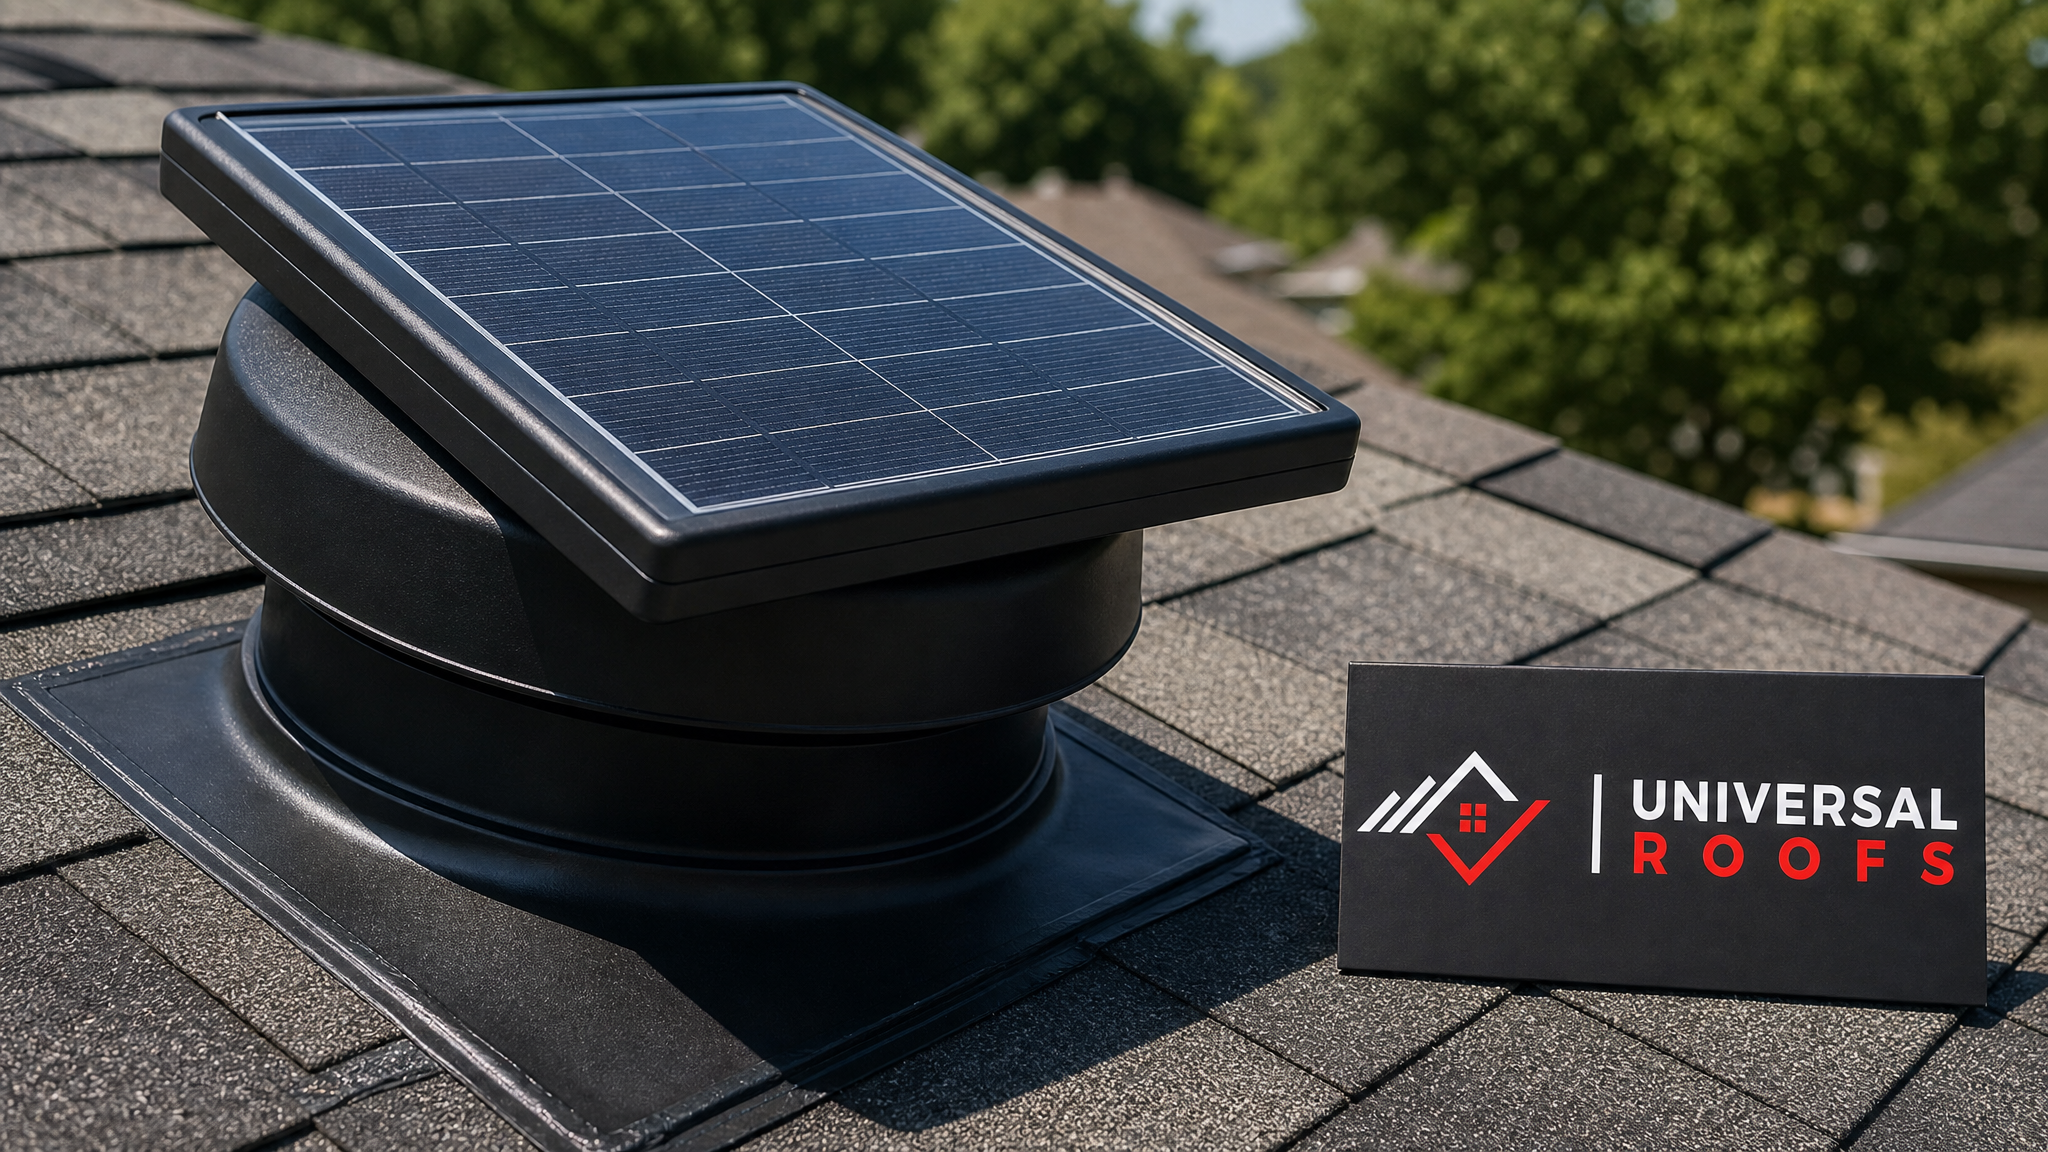
A solar roof ventilator is a self-contained unit: a small photovoltaic panel powers a brushless DC motor that spins a fan blade housed inside a weatherproofed dome, usually mounted directly on the roof deck like a traditional exhaust vent. There’s no wiring to run into the attic and no connection to your home’s electrical panel. As soon as sunlight hits the panel, the fan starts pulling hot, moist air out of the attic and exhausting it outside, while cooler makeup air is drawn in through soffit vents at the eaves.
The key advantage is timing. Attics get hottest exactly when the sun is strongest, which is also when a solar fan produces the most power. On a clear July afternoon in Toronto, an attic can reach 60°C or higher without adequate exhaust ventilation. A solar fan ramps up output in direct proportion to solar intensity, so it works hardest precisely when you need it most — no thermostat wiring or manual switch required, though most quality units include a built-in thermostat that stops the fan once the attic cools below a set point (useful in shoulder seasons so it isn’t pulling conditioned air on a mild 15°C day).
For the system to actually move air rather than just spin locally, it needs a functioning intake path. That means enough net free area at the soffits, and no obstructions from insulation stuffed against the roof deck. This is the single most common installation error we correct: a solar fan bolted onto a roof with blocked or undersized soffit vents will short-cycle air from the nearest gable vent instead of properly exhausting the whole attic, defeating the purpose of the upgrade.
Why Homeowners Are Choosing Solar Over Powered and Passive Vents
There are three broad categories of active or passive attic ventilation: passive vents (ridge, roof, gable, turbine), hardwired powered fans, and solar powered fans. Each has a role, but solar has pulled ahead in popularity for retrofit projects for a few specific reasons.
First, zero operating cost. A hardwired attic fan running on a thermostat through a Toronto summer can add a noticeable amount to a hydro bill over a season, while a solar unit draws its power directly from the sun. Second, installation simplicity: no electrician is required to run a circuit into the attic, which on many older GTA homes means no opening of finished ceilings or fishing wire through tight joist bays. Third, most solar fans on the market today include lithium-ion battery backup options that keep the fan spinning for a period after sunset or on overcast days, closing the gap that used to exist between solar and hardwired performance.
The tradeoff is upfront cost per unit of airflow — solar fans are more expensive per CFM (cubic feet per minute) than an equivalent hardwired fan, and initial equipment cost is higher than simple passive vents like ridge vent or turbines. Homeowners choosing solar are generally making that trade because they want a no-wiring installation, no added electrical draw, and a system that requires effectively no ongoing input from them.
| Ventilation Type | Power Source | Typical Airflow (CFM) | Runs Without Sun/Electricity? |
|---|---|---|---|
| Solar powered attic fan | Photovoltaic panel + optional battery | 800 – 1,600 | Only with battery backup |
| Hardwired electric attic fan | House electrical circuit | 1,000 – 1,800 | Yes, runs anytime powered |
| Ridge vent (passive) | None — wind/stack effect | Varies with wind speed | Yes, always passive |
| Turbine vent (passive) | Wind-driven rotation | Varies, weak in calm air | Yes, but ineffective if no wind |
| Gable-mounted electric fan | House electrical circuit | 1,200 – 2,000 | Yes, runs anytime powered |
Sizing a Solar Attic Fan Correctly for a GTA Roof
The most common mistake homeowners make when shopping for solar fans online is buying based on price rather than attic square footage. Undersizing a unit means it will spin all day and still leave the attic hot; oversizing wastes money and, in extreme cases, can actually pull conditioned air from the living space through gaps in the ceiling if intake ventilation can’t keep pace.
As a general rule of thumb, attics need roughly 1 CFM of exhaust airflow per square foot of attic floor space, though actual sizing should also account for roof pitch, insulation R-value, ceiling height, and whether the attic has any existing passive ventilation that will keep working alongside the new fan. A typical 1,500 to 1,800 square foot GTA bungalow or two-storey attic footprint usually calls for one solar fan rated in the 1,000 to 1,400 CFM range; larger or more complex roof lines sometimes call for two units mounted on opposite slopes.
Just as important as fan capacity is intake. For every square foot of exhaust vent free area, you need roughly equal or slightly greater free area at the soffit intake. On many older Toronto homes we open up during a roof replacement, we find soffit vents painted shut, packed with blown-in insulation, or simply never installed when the house was built in the 1960s or ’70s. Solving that intake bottleneck is often a bigger performance lever than the fan itself.
| Attic Floor Area | Recommended Solar Fan Capacity | Minimum Soffit Intake Needed | Typical Units Required |
|---|---|---|---|
| Under 1,000 sq ft | 600 – 900 CFM | Continuous soffit strip or equivalent | 1 |
| 1,000 – 1,500 sq ft | 900 – 1,200 CFM | Continuous soffit strip, unobstructed | 1 |
| 1,500 – 2,200 sq ft | 1,200 – 1,600 CFM | Full-perimeter soffit venting | 1 – 2 |
| Over 2,200 sq ft or complex roofline | 1,600+ CFM combined | Full-perimeter soffit venting, verified clear | 2 |
Cost of Solar Roof Ventilation Installed in Toronto
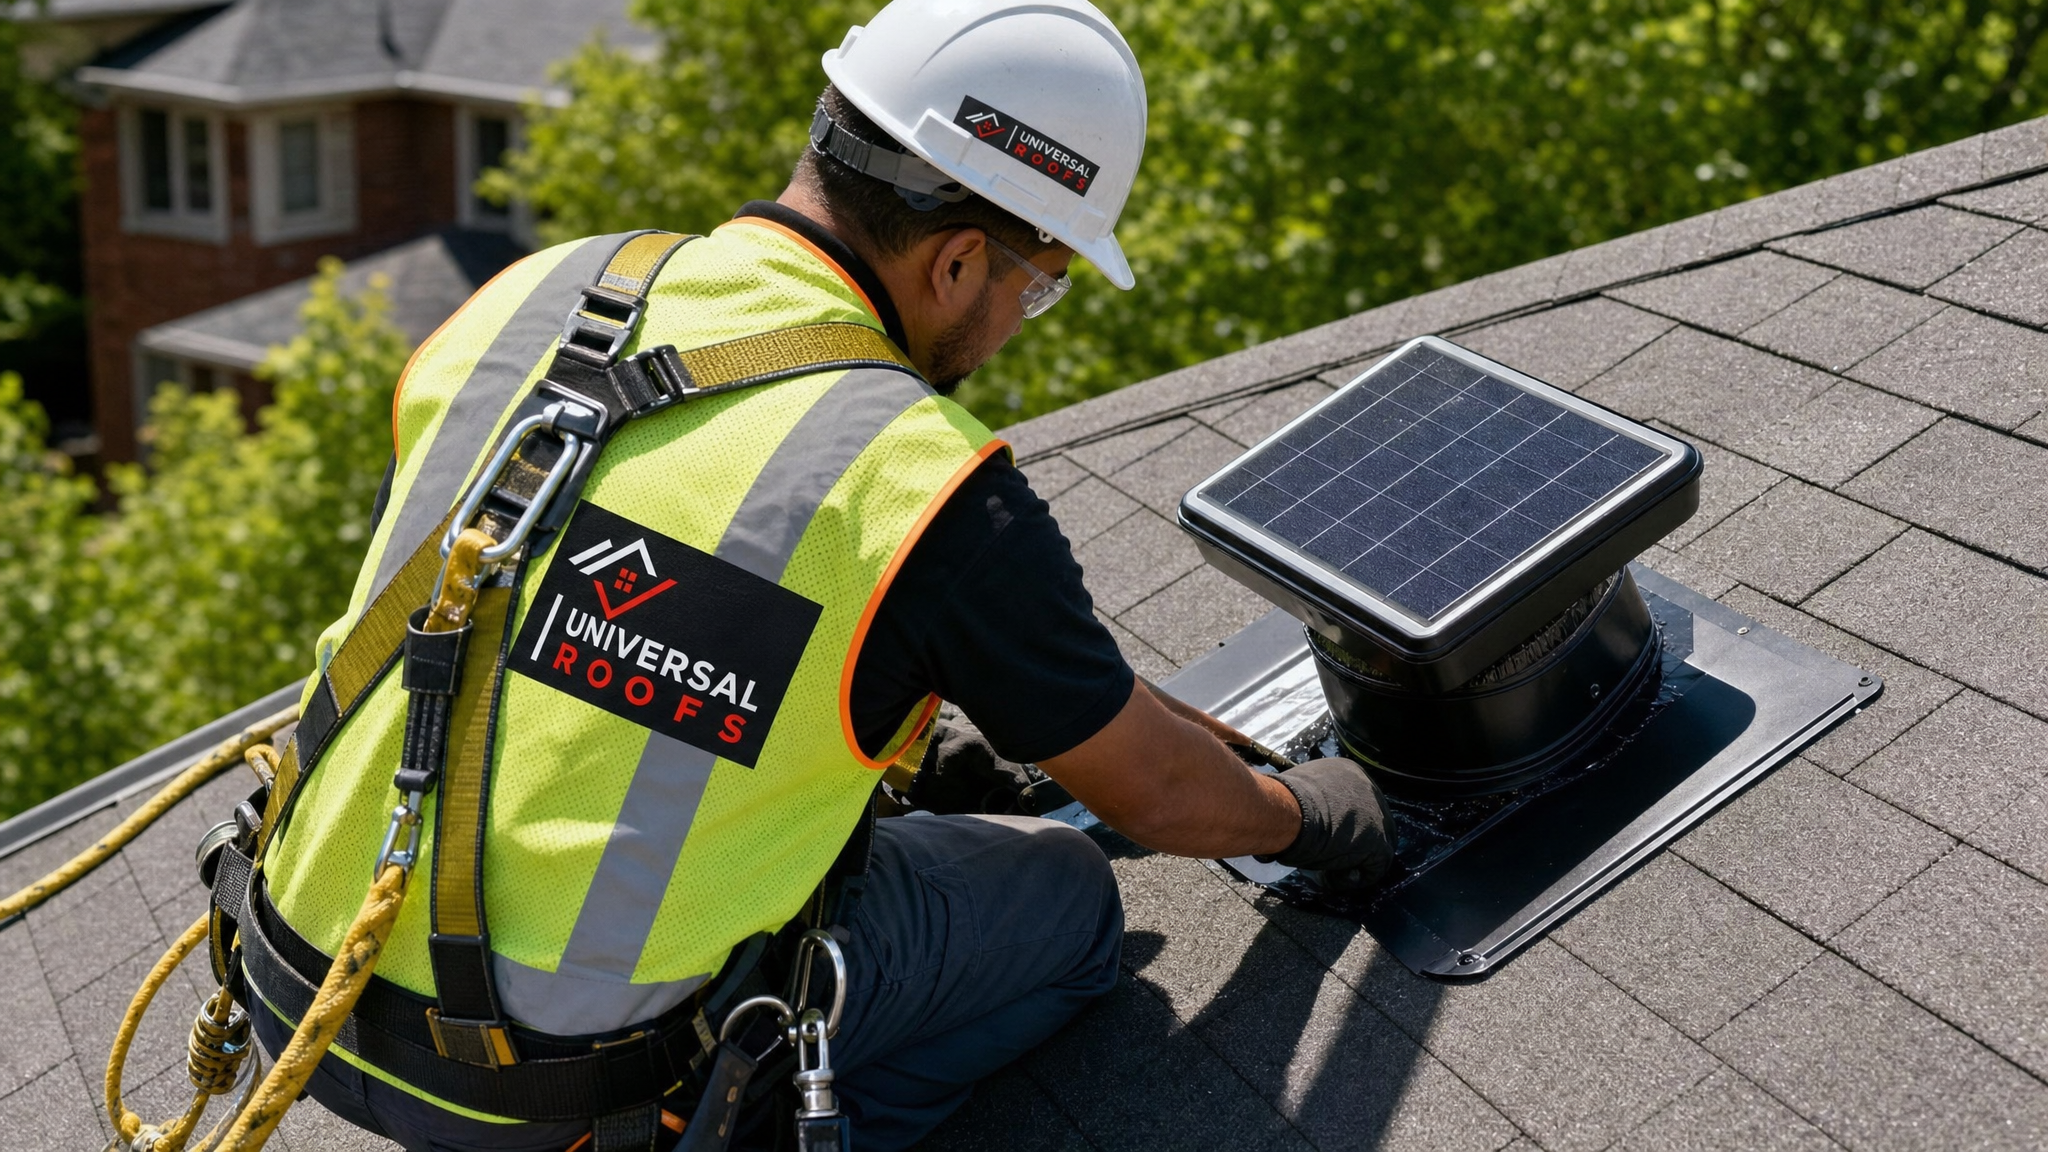
Material cost for a quality solar attic fan alone typically runs from several hundred dollars up to over a thousand for larger, battery-backed units with premium panels. Installed cost is where homeowners are often surprised, because proper installation involves more than setting the fan on the roof: it requires cutting the deck opening to the correct size, flashing the base so it sheds water exactly like the surrounding shingles, sealing all penetrations, and in many cases correcting or adding soffit intake at the same time. Below is a realistic range for what GTA homeowners can expect to pay, all-in, for a properly installed system as of 2026.
| Scope of Work | Typical Installed Cost (CAD) | Notes |
|---|---|---|
| Single solar fan, standard install | $900 – $1,600 | Existing soffit intake adequate |
| Solar fan with battery backup | $1,300 – $2,200 | Extends runtime into evening/overcast days |
| Solar fan plus soffit intake correction | $1,600 – $2,800 | Common on homes built before 1990 |
| Two-unit system for larger/complex roof | $2,400 – $4,200 | Opposing roof slopes or split attic sections |
| Solar fan bundled into full re-roof | Add $700 – $1,400 to roofing quote | Most economical timing — deck already open |
If you’re already planning a roof replacement or repair, that’s the most cost-effective time to add solar ventilation, since the roofing crew is already on the deck and flashing details can be integrated cleanly into the new shingle installation rather than retrofitted afterward.
Solar Ventilation and Ice Damming: The Winter Case
Most homeowners come to us asking about solar attic fans because of summer heat, but proper attic ventilation is just as critical in a Toronto winter. When warm, moist air escapes from the living space into a poorly ventilated attic, it collects under the roof deck. That warmth melts snow on the upper roof slope, the meltwater runs down and refreezes at the cold eaves, and ice dams form — the leading cause of the interior water stains and soffit damage we get emergency calls about every February.
A correctly sized and balanced ventilation system, solar or otherwise, keeps the entire underside of the roof deck close to outdoor ambient temperature, which prevents that uneven melt-and-refreeze cycle in the first place. Solar fans do slow down or stop on short winter days with low sun angle and heavy cloud cover, which is exactly why we never recommend a solar fan as your only line of defence against ice damming — it needs to work alongside adequate insulation, air sealing between living space and attic, and passive ridge or roof venting that functions with or without sun.
If you’ve had ice damming issues, it’s worth having your attic assessed as part of a broader ventilation and insulation review rather than treating a solar fan as a standalone fix. Our attic ventilation team checks insulation depth, air sealing at pot lights and bath fans, and intake/exhaust balance together, since fixing only one piece rarely solves the whole problem.
Common Installation Mistakes We See on GTA Roofs
Because solar attic fans look like a simple DIY-friendly product, a lot of homeowners buy one online and either install it themselves or hire a handyman rather than a licensed roofer. That’s where most of the failures we get called to fix originate. The table below covers the recurring problems and how a proper installation avoids each one.
| Common Mistake | Consequence | Correct Practice |
|---|---|---|
| Mounting fan low on a north-facing slope | Reduced sun exposure, weak airflow most of the day | Mount high on the roof, on the slope with the most direct sun |
| Ignoring soffit intake condition | Fan short-cycles air from the nearest opening, attic stays hot | Verify and correct soffit free area before or during install |
| Poor flashing/sealing at the base | Leaks at the roof penetration within 1–2 seasons | Integrate flashing under the shingle course above, sealed per manufacturer spec |
| Undersized unit for attic square footage | Fan runs constantly, attic temperature barely drops | Size to CFM-per-square-foot using actual attic dimensions |
| No thermostat/humidistat control | Fan pulls conditioned air on mild days, wastes potential | Choose a unit with integrated thermostat cutoff |
Solar Fans, Skylights, and Flat Roofs: Special Considerations
Homes with skylights or a flat roofing section need a slightly different ventilation approach than a standard pitched attic. Skylight shafts create their own micro-attic pocket that can trap heat and moisture around the light well if it isn’t properly vented or insulated separately from the main attic cavity — something we always check during a skylight replacement, since old shaft insulation is a common source of condensation dripping around the frame.
Flat and low-slope roofs generally don’t use attic fans the same way, since there’s often no true attic cavity, but they still need engineered ventilation at the roof assembly to manage moisture in the insulation layer. If your home combines a pitched attic with a flat-roof addition, that’s a case where a one-size-fits-all solar fan purchase online can miss the mark, and it’s worth having an experienced roofer walk the whole roof system before you buy anything.
Maintenance and Expected Lifespan
One of the appeals of solar ventilation is genuinely low maintenance. There’s no belt, no external wiring, and no motor brushes to replace on most quality models. That said, a few things are worth checking once or twice a year, ideally during the same visit you’d have gutters cleaned:
- Wipe dust, pollen, and leaf debris off the solar panel surface — a dirty panel loses efficiency exactly when you need peak output
- Check the flashing and sealant around the base for cracking or lifting, especially after a hard winter freeze-thaw cycle
- Listen for unusual motor noise, which can indicate a failing bearing before it stops moving air entirely
- Confirm the thermostat cutoff is still triggering correctly as the unit ages
Quality solar attic fans typically carry manufacturer warranties in the 20 to 25-year range on the panel, with realistic service life in the same range as the shingles around them. Battery packs, where included, usually need replacement somewhere in the 5 to 10-year mark depending on charge cycles and climate exposure.
Rebates and the Real Payback Period
Because solar attic fans reduce cooling load, some are eligible for regional energy-efficiency rebate programs, and homeowners bundling ventilation upgrades into a broader insulation or roofing project should always ask their contractor what’s currently available, since programs and amounts change from year to year. Independent of rebates, the practical payback comes from two places: reduced air conditioning runtime in July and August, and extended shingle life, since excess attic heat is one of the leading causes of premature shingle granule loss and curling from underneath.
Most GTA homeowners we’ve installed solar ventilation for report a noticeably cooler upper floor within the first summer, though exact energy savings vary with insulation levels, home orientation, and how well the intake side of the system was corrected at installation. For homes with genuinely undersized or blocked soffit intake, fixing that alone — even before adding a fan — often produces the biggest single improvement in attic temperature.
Choosing the Right Contractor for Solar Roof Ventilation
Because a solar attic fan installation involves cutting into the roof deck and flashing a new penetration, it should be treated as a roofing job, not a small appliance install. A contractor who understands shingle overlap, underlayment, and flashing sequencing will integrate the fan so it sheds water exactly the same way a properly installed roof vent does — not simply caulked on top of existing shingles, which is the shortcut that leads to leaks.
Before hiring anyone, it’s reasonable to ask how many solar ventilation systems they’ve installed, whether they’ll assess your existing soffit intake as part of the quote, and what warranty covers both the fan and the roof penetration itself. You can read what past GTA clients have said about our installations on our reviews page, and our FAQ page covers more general roofing and ventilation questions we get asked regularly. You can also learn more about our company and the licensed team behind every installation.
Service Areas Across the GTA
Universal Roofs installs and services solar powered roof ventilation systems throughout Toronto, Peel Region (Mississauga, Brampton), York Region (Vaughan, Markham, Richmond Hill), Halton Region (Oakville, Burlington), and Durham Region (Ajax, Pickering, Whitby). Roof age, attic construction, and typical soffit configurations vary somewhat by neighbourhood and build era across these areas, which is part of why we always recommend an in-person attic assessment rather than a generic online quote before installing any ventilation system.
Why choose solar powered roof ventilation systems over a hardwired attic fan?
Do solar attic fans work on cloudy days or in winter?
How do I know what size solar roof ventilation system my house needs?
What does it cost to install solar powered roof ventilation in Toronto?
Can a solar roof fan cause problems if my soffit vents are blocked?
How long do solar powered roof ventilation systems last?
Need Help With Why Choose Solar Powered?
If your attic is running hot in summer or you’ve dealt with ice damming in winter, a properly sized and installed solar ventilation system from Universal Roofs can solve both ends of the problem at once.
Call us today at (416) 732-2421 or request a free inspection to get started.
Universal Roofs proudly serves Toronto, Mississauga, Brampton, Vaughan, Markham, Oakville and the GTA since 2005.