
A damaged chimney cap looks like a small problem until the first heavy rainfall of the season sends water pouring straight down your flue and into your firebox. As Toronto roofers who have been called out to more chimney leaks than we can count, we can tell you the chimney cap is one of the most overlooked components on an entire roof system — and one of the cheapest to fix correctly, if you catch the damage early. In this guide we break down exactly how to identify chimney cap damage, walk through three expert repair strategies our technicians use in the field, and explain when a repair genuinely makes sense versus when you are better off replacing the cap outright.
Chimney caps take a beating in the Greater Toronto Area. Freeze-thaw cycles through our long winters expand hairline cracks in mortar and metal, spring downpours test every seam, and summer heat dries out sealants and speeds up corrosion on lower-grade metals. By the time most homeowners notice a problem, water has usually already found its way into the flue liner, the damper, or the surrounding masonry. Getting ahead of small chimney cap issues with the right repair approach protects the far more expensive components below it.
How to Tell Your Chimney Cap Is Damaged
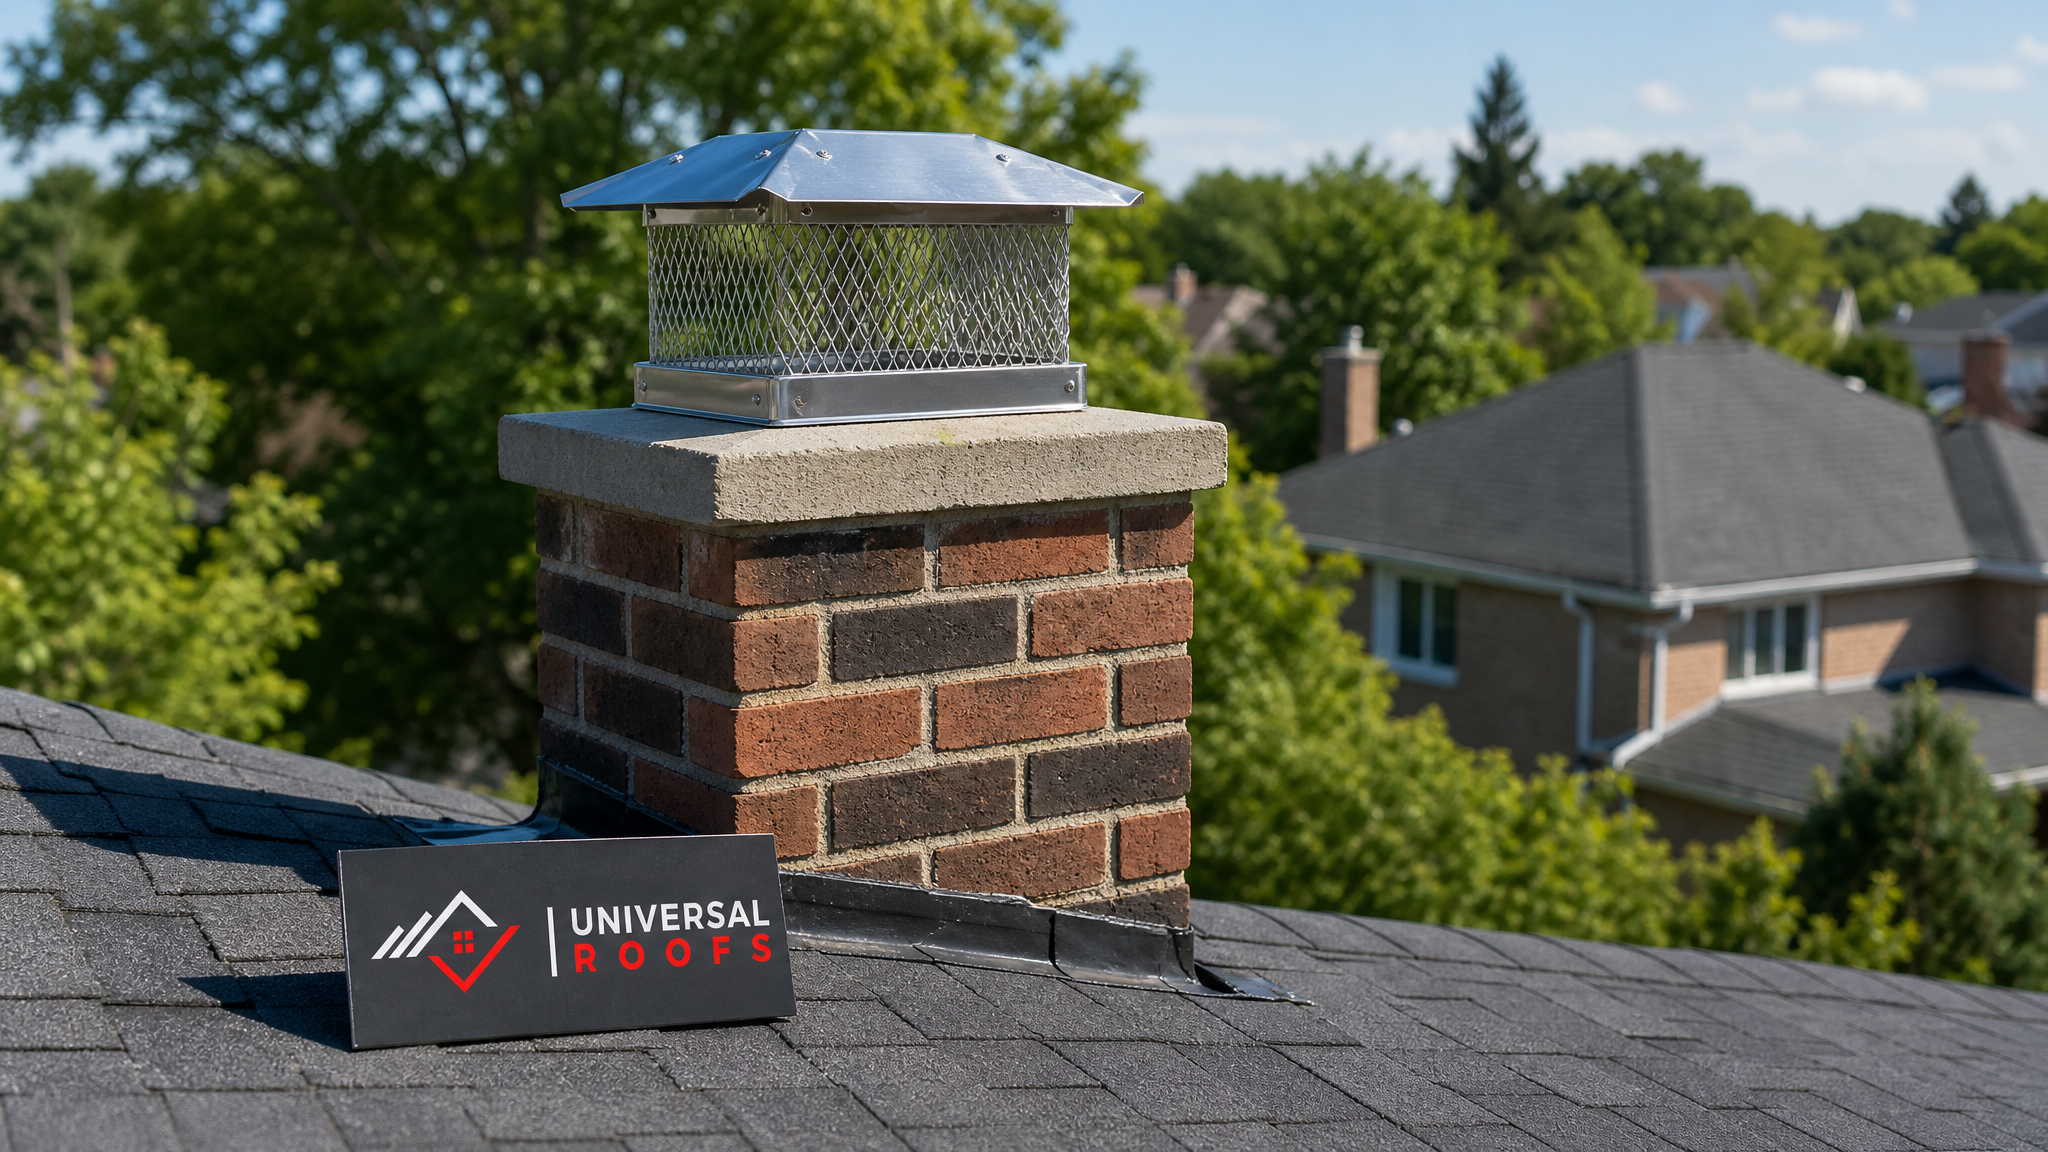
Before you can talk about fixing damaged chimney caps, you need to know what damage actually looks like from the ground and from the roof. Most homeowners spot a problem only after water stains appear on a ceiling near the fireplace, but by that stage the cap has usually been compromised for months. Here are the signs our crews look for on every roof inspection across Toronto, Mississauga, Brampton, and the wider GTA.
- Visible rust streaks running down the brick or the flashing below the cap, which usually means the metal itself is corroding from the inside out.
- A cap that sits crooked or loose on the crown, often the result of wind uplift working screws or clips loose over several seasons.
- Torn or missing mesh screening, which lets sparks escape (a fire risk) and lets birds, squirrels, and raccoons build nests inside the flue.
- Cracked or spalling mortar on the chimney crown itself, which often gets blamed on the cap when it is actually a separate but related masonry issue.
- Whistling or humming noises during windy days, a telltale sign the cap no longer seals properly against the flue opening.
- Water stains inside the firebox or on the damper, which almost always trace back to a cap that is no longer shedding rain correctly.
If you notice any of these signs, do not wait for the next storm. A five-minute inspection from a licensed roofer can usually confirm whether you are dealing with a simple resealing job or a cap that has failed structurally and needs to come off entirely. If you are unsure what you are looking at, our roof repair team can assess it alongside the rest of your roof system in a single visit.
Expert Tip 1: Reseal and Re-Secure Before You Replace
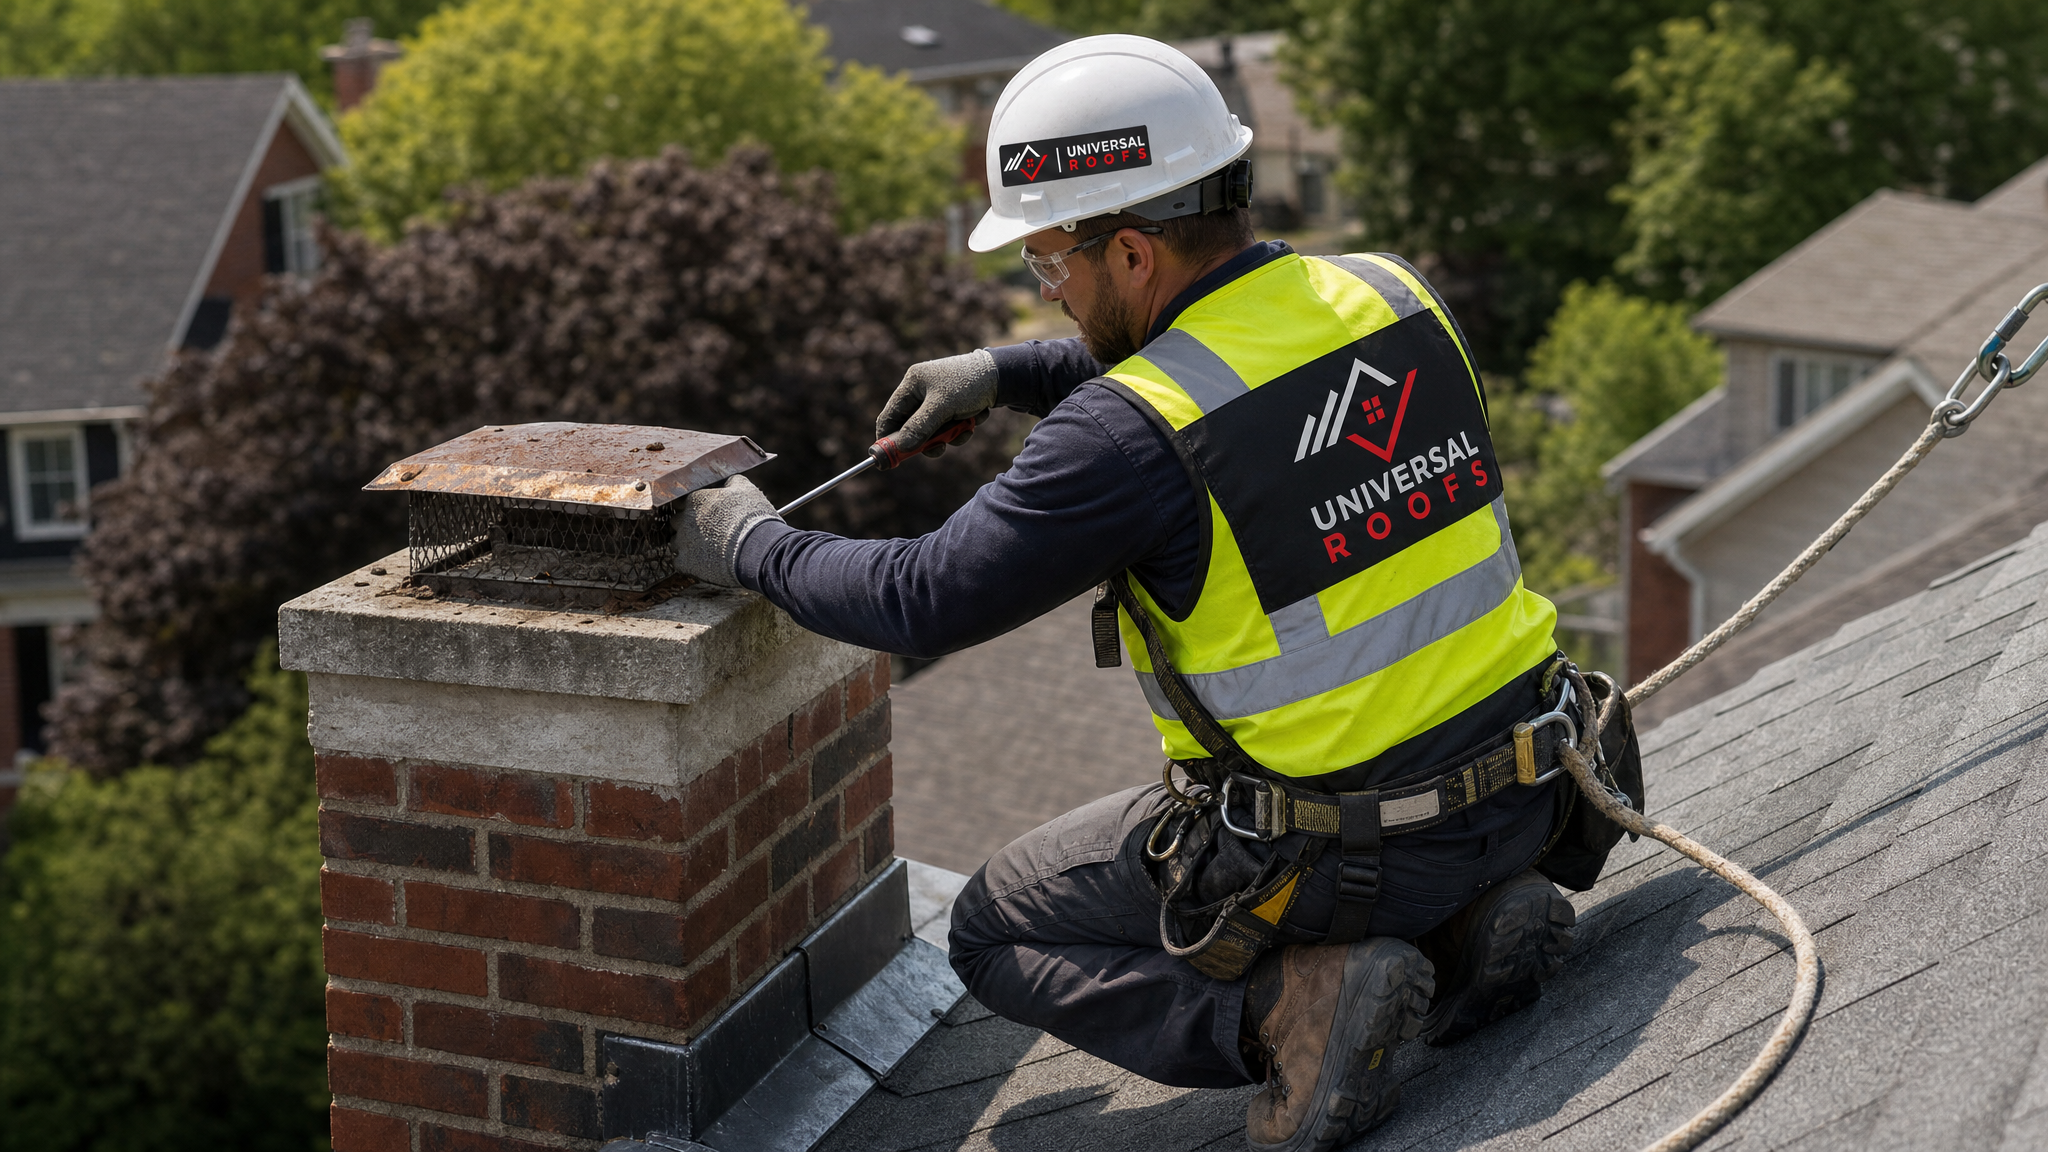
The single most common mistake we see is homeowners (or inexperienced contractors) tearing an entire chimney cap off and replacing it when the underlying metal and mesh are still sound. If the cap itself is not rusted through and the mesh screening is intact, the fix is often as simple as removing the cap, cleaning the mounting flange, and resealing it with a high-temperature silicone sealant rated for chimney applications.
Here is the process our technicians follow for a proper reseal:
- Remove the cap carefully and inspect the underside for rust, cracked welds, or screen tears.
- Clean the chimney crown surface and the cap’s mounting flange with a wire brush to remove old, failed sealant and debris.
- Apply a fresh bead of high-temperature (rated for at least 500°F) silicone sealant around the base of the flange.
- Re-seat the cap and re-secure it with new stainless steel screws — never reuse rusted fasteners.
- Check that the cap sits level and that the mesh screening has no gaps larger than a half centimetre.
This approach costs a fraction of a full replacement and, when the base metal is still healthy, can add several more years of service life. The key is using a sealant rated for the heat cycling a chimney experiences, not a generic exterior caulk that will crack and fail within a single Toronto winter.
Expert Tip 2: Match the Repair Material to Your Cap’s Metal Type
Not all chimney caps are built from the same material, and using the wrong repair approach on the wrong metal is one of the fastest ways to waste money on a fix that fails again within a year. Galvanized steel caps are the most common on GTA homes because they are inexpensive, but the zinc coating that protects them wears thin over 8 to 12 years, especially with our salt-laden winter air near major roads. Once rust starts, galvanized caps rarely accept a lasting reseal — the corrosion tends to keep spreading under any patch.
Stainless steel and copper caps behave very differently. Stainless resists rust almost indefinitely and is an excellent candidate for the reseal-and-resecure approach in Tip 1, even after 15-plus years of service. Copper caps develop a green patina that is purely cosmetic and never indicates structural failure — copper caps should essentially never be replaced due to “damage” that is really just natural oxidation.
| Cap Material | Typical Lifespan | Repair Success Rate | Best Fix Approach |
|---|---|---|---|
| Galvanized steel | 8-12 years | Low once rust starts | Reseal early; replace once rust penetrates metal |
| Stainless steel | 20-25 years | High | Reseal, re-secure, replace mesh only |
| Copper | 50+ years | Very high | Rarely needs repair; patina is cosmetic, not damage |
| Aluminum | 10-15 years | Moderate | Reseal seams; watch for pitting corrosion |
| Painted steel | 6-10 years | Low | Repaint and reseal, or replace if flaking |
If you are not certain what metal your existing cap is made from, do not guess based on colour alone — a painted steel cap and a stainless cap can look nearly identical from the ground. A quick magnet test (stainless is often only weakly magnetic or non-magnetic depending on the alloy, while galvanized steel is strongly magnetic) combined with a close inspection of the rust pattern will usually tell an experienced technician everything they need to know.
Expert Tip 3: Fix the Mesh and Flashing, Not Just the Lid
A chimney cap is really three components working together: the metal lid or hood that keeps rain out, the mesh spark-arrestor screen that keeps sparks in and animals out, and the flashing seal where the whole assembly meets the crown. Homeowners often focus only on the visible lid and miss the other two, which is why “fixed” caps so often fail again within a season.
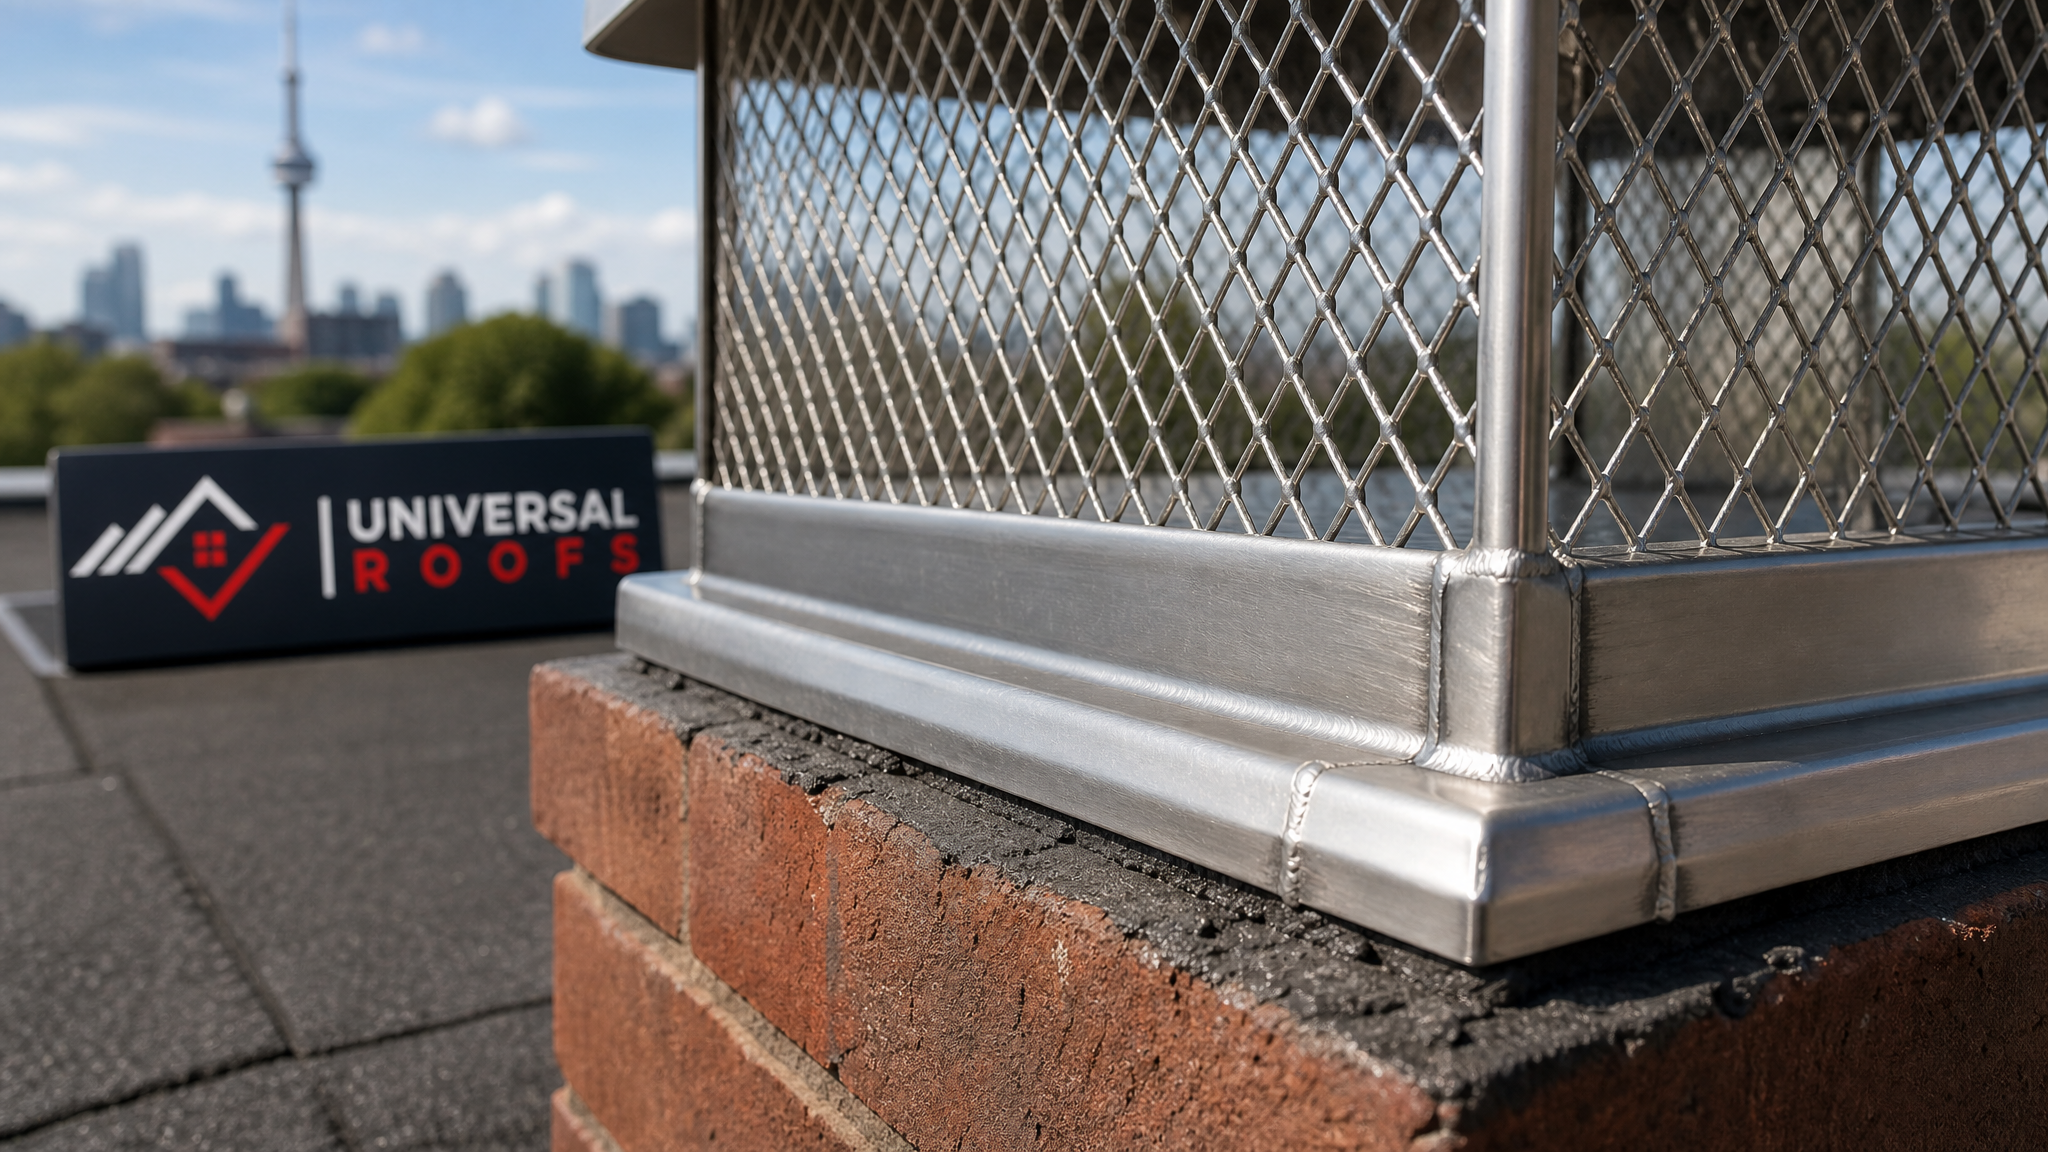
Torn or rusted mesh is one of the most common repair items we handle. Replacing just the mesh screen — rather than the entire cap assembly — is usually possible if the frame and lid are otherwise sound. Stainless steel mesh with openings no larger than 1.3 centimetres (roughly half an inch) is the standard most municipalities and insurance providers expect, since it is fine enough to stop sparks and small animals but coarse enough to avoid trapping creosote and restricting draft.
The flashing seal deserves equal attention. Even a brand-new cap will leak if the flashing where it meets the chimney crown has separated, cracked, or was never properly bedded in sealant to begin with. Our crews always check this seam with a hose test after any cap repair, simulating a heavy rain to confirm no water tracks down into the flue or the surrounding masonry.
| Repair Focus | Common Failure Sign | DIY Feasibility | Typical Cost Range (CAD) |
|---|---|---|---|
| Mesh screen replacement | Visible tears, animal entry, embers escaping | Moderate — roof access risk | $120 – $250 |
| Resealing flange/flashing | Water stains near chimney base | Low — needs proper sealant and access | $150 – $350 |
| Re-securing loose lid | Rattling, whistling in wind | Moderate | $100 – $200 |
| Full cap replacement | Rust-through, structural failure | Not recommended DIY | $300 – $650 |
| Crown repair (masonry) | Cracked, spalling mortar under cap | Not recommended DIY | $400 – $900 |
Note that these figures are general GTA-market ranges and will vary depending on chimney height, roof pitch, and accessibility. A single-storey bungalow with a low-slope roof is a very different job from a steep, three-storey Victorian in downtown Toronto where fall protection and specialized access equipment are required for even a routine inspection.
DIY Repair vs. Calling a Professional
We understand the appeal of tackling a chimney cap fix yourself, especially for something that looks as simple as tightening a few screws. But chimney caps sit at the highest, steepest point of the roof, often on a chimney that itself rises another metre or two above the roofline. That combination of height, awkward footing, and working near a masonry structure is exactly the scenario where professional fall protection — harnesses, anchor points, and safety rope — is not optional.
There is also a knowledge factor. An improperly resealed cap can trap moisture rather than shed it, actually accelerating corrosion. A mesh screen with openings that are too small can restrict draft and cause smoke to back up into the home. And a cap that is re-secured without checking the crown underneath it can mask a much larger masonry problem that keeps growing behind the scenes.
| Factor | DIY Repair | Professional Repair |
|---|---|---|
| Fall protection equipment | Rarely available to homeowners | Harness, anchor, and rope standard on every job |
| Material knowledge | Often guesses metal type | Identifies alloy and matches correct fix |
| Warranty on repair | None | Workmanship warranty included |
| Hidden crown/masonry issues | Frequently missed | Inspected as part of the job |
| Time investment | Half a day or more, including equipment rental | Typically completed same visit |
If your roof has a gentle pitch, a single storey, and you are genuinely comfortable on a ladder and roof surface, a basic reseal of an otherwise healthy stainless cap can be a reasonable weekend project. Anything involving rust, a steep or multi-storey roof, or uncertainty about the crown underneath is worth a call to a licensed roofing contractor.
When to Repair vs. When to Replace the Entire Cap
Not every damaged chimney cap can or should be repaired. Knowing where that line sits saves homeowners from throwing good money after a cap that was already past its service life. As a general rule, we recommend repair when the base metal is structurally sound and the damage is limited to the mesh, seals, or fasteners. We recommend full replacement when rust has penetrated through the metal (not just surface staining), when the lid itself has warped or cracked, or when the cap is more than 15 years old and made from standard galvanized steel.
It is also worth considering a cap upgrade at the same time as any repair. If your existing cap is a basic galvanized model nearing the end of its life, replacing it with a stainless steel or copper cap costs more upfront but can mean never dealing with this issue again for two decades or more. This is especially worth considering if your chimney also needs other roof repair work done at the same time, since combining the jobs saves on separate access and setup costs.
If your roof overall is approaching the end of its service life — not just the chimney cap — it may also be worth having a broader conversation about roof replacement timing rather than investing repeatedly in isolated repairs.
Seasonal Timing for Chimney Cap Repairs in the GTA
Summer is genuinely one of the best times of year to address chimney cap damage in Toronto. Sealants cure properly in warm, dry conditions, roof surfaces are safer to walk with less moisture and no ice, and getting the repair done now means your chimney is fully protected before autumn rain and winter freeze-thaw cycles start testing every seam again. Waiting until late fall or winter to fix a damaged cap often means working in poor conditions, or worse, discovering the damage only after a winter storm has already caused water infiltration into the flue liner or attic space below.
We also see a seasonal pattern in the type of damage that shows up: spring inspections often reveal winter’s freeze-thaw cracking in mortar around the crown, while late summer and early fall are when rust and UV-degraded sealants tend to be most visible. A mid-summer inspection catches problems from both ends of the cycle before the next winter arrives.
Protecting the Rest of Your Roof System
A chimney cap does not exist in isolation — it is one part of a broader system that includes your flashing, your attic ventilation, and in some cases, nearby skylights if your roof has them. Water that bypasses a failed chimney cap often does not stop at the flue; it can travel along framing members and show up as a stain nowhere near the chimney itself, which is why a full roof inspection is always worthwhile when chimney damage is found.
If your home also has skylights, it is worth having them checked at the same time, since both chimneys and skylights are common leak points that share similar flashing vulnerabilities. Our skylights and skylight replacement teams frequently find that a single roof visit addressing both issues is far more cost-effective than two separate service calls. Likewise, if water has already made its way past a damaged cap, checking your attic insulation and ventilation for moisture damage is a smart precaution — trapped moisture in insulation can lead to mould growth long after the original leak is fixed.
Homeowners with flat or low-slope roof sections, common on additions and garages throughout the GTA, should also confirm those areas were not affected, since our flat roofing team often finds pooling and membrane issues connected to poor drainage near chimney penetrations.
Choosing the Right Contractor for Chimney Cap Work
Chimney cap repair sits in an odd niche — too small a job for some masonry specialists, but requiring roof access that general handyman services are not equipped or insured for. Look for a contractor who is licensed, carries liability insurance specific to roofing work, and can show you examples of chimney cap repairs they have completed, ideally in your area. Local experience matters: a contractor who regularly works across Toronto, the Peel Region, York Region, Halton Region, and the Durham Region will already understand the specific roofing styles, chimney construction methods, and climate stresses common to each municipality.
Reading recent customer feedback is one of the fastest ways to gauge a contractor’s reliability for smaller, specialized repairs like chimney caps, which do not always get the same attention as full roof jobs. You can browse verified feedback from homeowners across the GTA on our reviews page, and if you have specific questions about pricing, materials, or scheduling, our FAQ page covers many of the questions we hear most often. You can also learn more about our licensing, experience, and service history on our about page.
What are the best expert tips for fixing damaged chimney caps?
Can a damaged chimney cap be repaired, or does it always need replacement?
How much does it cost to fix a damaged chimney cap in Toronto?
Is it safe to fix a damaged chimney cap myself?
What causes chimney caps to get damaged in the first place?
How often should chimney caps be inspected for damage?
Need Help With Fixing Damaged Chimney Caps?
A damaged chimney cap rarely gets better on its own, and the small repairs we’ve covered here — resealing, re-securing, and fixing mesh or flashing — are far cheaper than dealing with water damage to your flue, attic, or ceilings later. Universal Roofs has been diagnosing and repairing chimney caps across the GTA since 2005, and our technicians carry the fall-protection equipment and material knowledge to get it done safely and correctly the first time.
Call us today at (416) 732-2421 or request a free inspection to get started.
Universal Roofs proudly serves Toronto, Mississauga, Brampton, Vaughan, Markham, Oakville and the GTA since 2005.