
Wood shake roofs remain one of the most attractive roofing styles across older Toronto neighbourhoods, from Riverdale to Port Credit, but they demand a very different repair approach than asphalt shingles. If a section of your cedar shake roof is cracked, curling, or leaking, understanding the correct steps to repair a wood shake roof can mean the difference between a durable fix and a repair that fails after one harsh GTA winter.
At Universal Roofs, we’ve been repairing and maintaining cedar and pressure-treated wood shake roofs across the Greater Toronto Area since 2005. This guide walks through the entire repair process step by step, from initial inspection through to final cleanup, so you know exactly what to expect whether you’re hiring a contractor or evaluating a quote.
Wood shake roofing is beautiful, breathable, and long-lasting when properly maintained, but Toronto’s freeze-thaw cycles, humid summers, and heavy snow loads all take a toll on individual shakes over time. The good news is that most wood shake damage is isolated and repairable without a full roof replacement, provided the underlying deck and flashing are still sound.
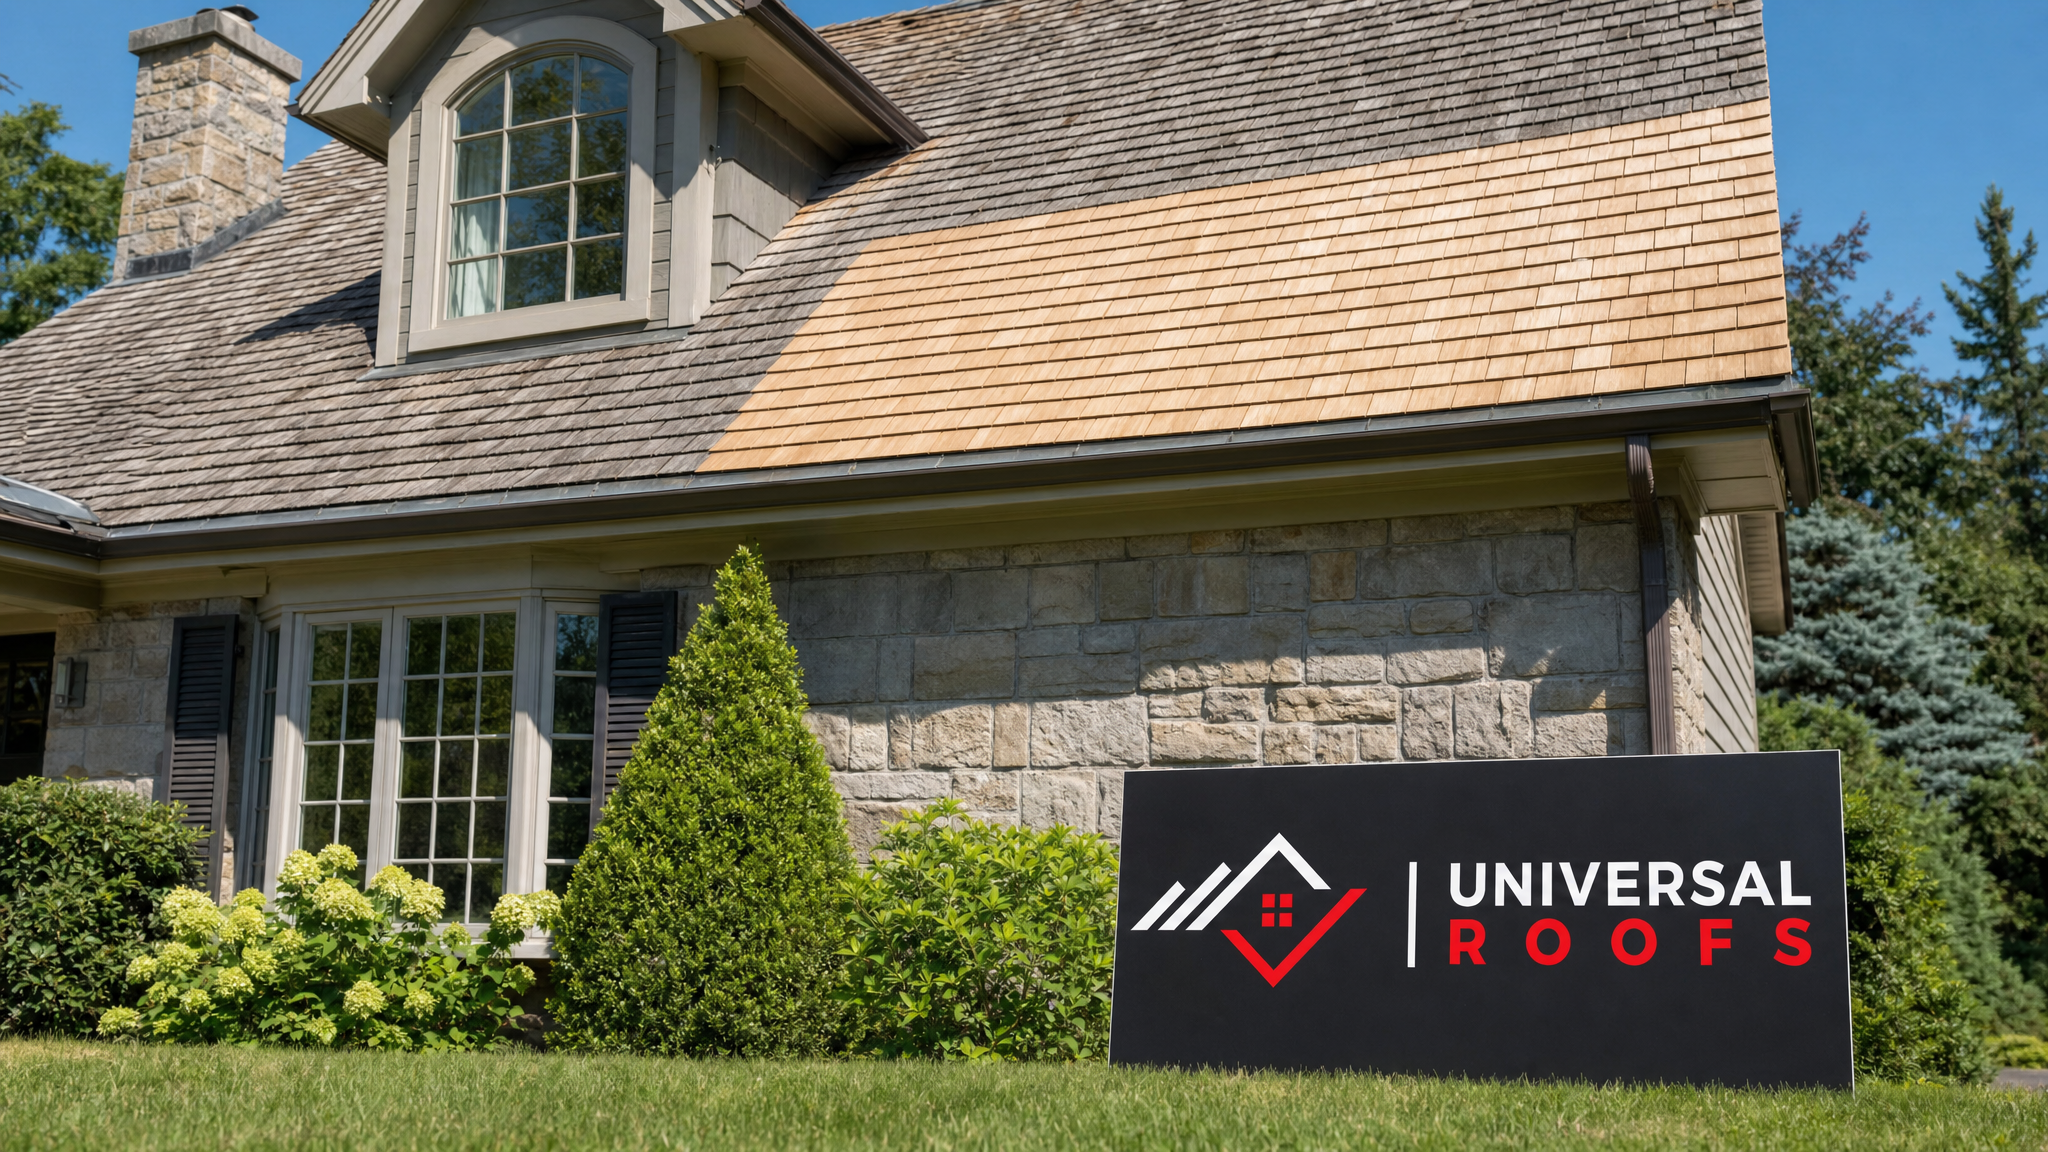
Signs Your Wood Shake Roof Needs Repair
Before discussing the steps to repair a wood shake roof, it helps to know what to look for. Wood shakes fail in predictable, visible ways, and catching the early signs saves you from more expensive interior damage down the road.
Common warning signs include curling or cupping shakes (a sign the wood is drying out and losing its protective oils), split or cracked shakes running parallel to the grain, missing or blown-off shakes after a windstorm, dark streaking or moss growth indicating trapped moisture, soft or spongy spots when walked on, and daylight visible through the roof deck from inside the attic. If you notice water stains on your ceiling or in your attic after a rainstorm, that’s usually a strong indicator that shakes have failed somewhere upslope of the stain, not necessarily directly above it, since water can travel along the underlayment before dripping through.
Granular debris (small wood fibres) collecting in your gutters is another subtle clue. As cedar shakes age and the surface fibres break down under UV exposure, they shed material every time it rains. A small amount is normal weathering; a heavy accumulation suggests the shakes are past their functional lifespan in that section.
Step 1: Inspect the Roof and Identify the Full Extent of Damage
A thorough inspection is the foundation of any successful roof repair. Rushing this step is the single biggest mistake homeowners and even some contractors make, because wood shake damage is rarely confined to the shake you can see cracked from the ground.
A proper inspection involves walking the roof (carefully, and only with the right footwear and fall protection) to check every shake in the affected area and the surrounding courses. Technicians look underneath adjacent shakes for hidden rot, check the felt or synthetic underlayment for tears, examine flashing around chimneys, skylights, and valleys, and inspect the roof deck itself by pressing gently for soft spots that indicate moisture has penetrated to the sheathing.
It’s also important to check attic ventilation during this stage. Poor ventilation traps heat and moisture underneath the shakes, accelerating decay from below even when the exterior looks fine. If your attic runs noticeably hot or humid, that’s worth addressing alongside the shake repair itself, and our attic services team can assess airflow and insulation at the same time as the roof inspection.
Step 2: Remove the Damaged Shakes Without Disturbing Surrounding Courses
Wood shakes are installed in overlapping courses, with each row covering the nail line of the row beneath it. This means you can’t simply pry off a damaged shake with a hammer, since the nails are hidden under the course above.
The correct technique uses a specialized flat roofing shovel or a slate ripper to slide underneath the shake above, hook the concealed nails, and cut or pull them free without lifting or cracking neighbouring shakes. Some contractors use a hacksaw blade to cut the shake into smaller pieces first, which makes it easier to work each piece out from under the overlapping course above. Whichever method is used, the goal is the same: remove only the damaged shake and its nails while leaving the surrounding shakes, felt paper, and nailing pattern intact.
Old, brittle nails are often left behind or bent flat against the deck rather than forcibly removed, since aggressive prying can split adjacent shakes that are otherwise perfectly sound. Any nails that can’t be pulled cleanly are driven flush so they won’t interfere with the new shake.
Step 3: Inspect and Repair the Underlayment and Deck
Once the damaged shakes are out, the underlayment and roof deck underneath are visible for the first time. This is a critical checkpoint. If the felt paper is torn, brittle, or missing in that section, it needs to be patched or replaced before any new shake goes back down, because the underlayment is the actual waterproof barrier; the shakes themselves are primarily a rain-shedding and aesthetic layer.
If the plywood or board sheathing underneath shows soft spots, discolouration, or fungal growth, that section of deck needs to be cut out and replaced with new sheathing matched to the existing thickness. Skipping this step is one of the most common causes of repeat leaks: a new shake nailed over a rotten deck section will look fine for a season or two before the underlying problem resurfaces, often worse than before.
| Deck Condition Found | Required Action | Added Time | Risk If Skipped |
|---|---|---|---|
| Solid, dry sheathing | Proceed directly to underlayment patch | None | N/A |
| Minor felt tear, dry deck | Patch underlayment with compatible membrane | 15-30 minutes | Leak recurs within one season |
| Soft or spongy sheathing | Cut out and replace deck section | 1-2 hours per section | Deck failure risk, mould growth |
| Visible fungal growth on deck | Replace sheathing, treat surrounding wood | 2-3 hours | Rot spreads to healthy framing |
| Rusted or bent flashing nearby | Replace flashing before re-shaking | 30-60 minutes | New leak path forms at flashing edge |
Step 4: Select the Correct Replacement Shakes
Matching replacement shakes to the existing roof is more nuanced than it looks. Wood shakes come in several grades and cuts, and mixing an incompatible product into an existing roof can cause uneven weathering, premature failure, or a visibly mismatched patch.
Number 1 grade cedar shakes (100% edge grain, no sapwood) offer the best durability and are the standard for repairs on a roof originally installed with premium material. Number 2 grade shakes contain some flat grain and limited sapwood and are acceptable for lower-visibility sections but wear faster. Thickness matters too; hand-split shakes and machine-sawn shakes have different butt thicknesses, and mismatching them creates an uneven, unsightly transition that also affects water shedding at the overlap.
Pressure-treated shakes, which are becoming more common in the GTA for their improved fire and rot resistance, cannot simply be substituted into an untreated cedar roof without considering colour blending, since treated wood weathers to a different tone over time. A qualified roof repair technician will match species, grade, thickness, and exposure length to the original roof as closely as possible.
| Shake Type | Typical Lifespan (GTA Climate) | Best Use | Approx. Cost per Bundle (100 shakes) |
|---|---|---|---|
| No. 1 Grade Cedar (hand-split) | 25-35 years | Premium repairs, visible slopes | $180 – $260 |
| No. 2 Grade Cedar | 18-25 years | Secondary slopes, budget repairs | $120 – $170 |
| Pressure-Treated Shakes | 30-40 years | Fire-rated municipalities, high-decay areas | $200 – $280 |
| Machine-Sawn Shingles | 20-30 years | Uniform, tailored roof lines | $150 – $210 |
Step 5: Install the New Shakes With Proper Nailing and Spacing
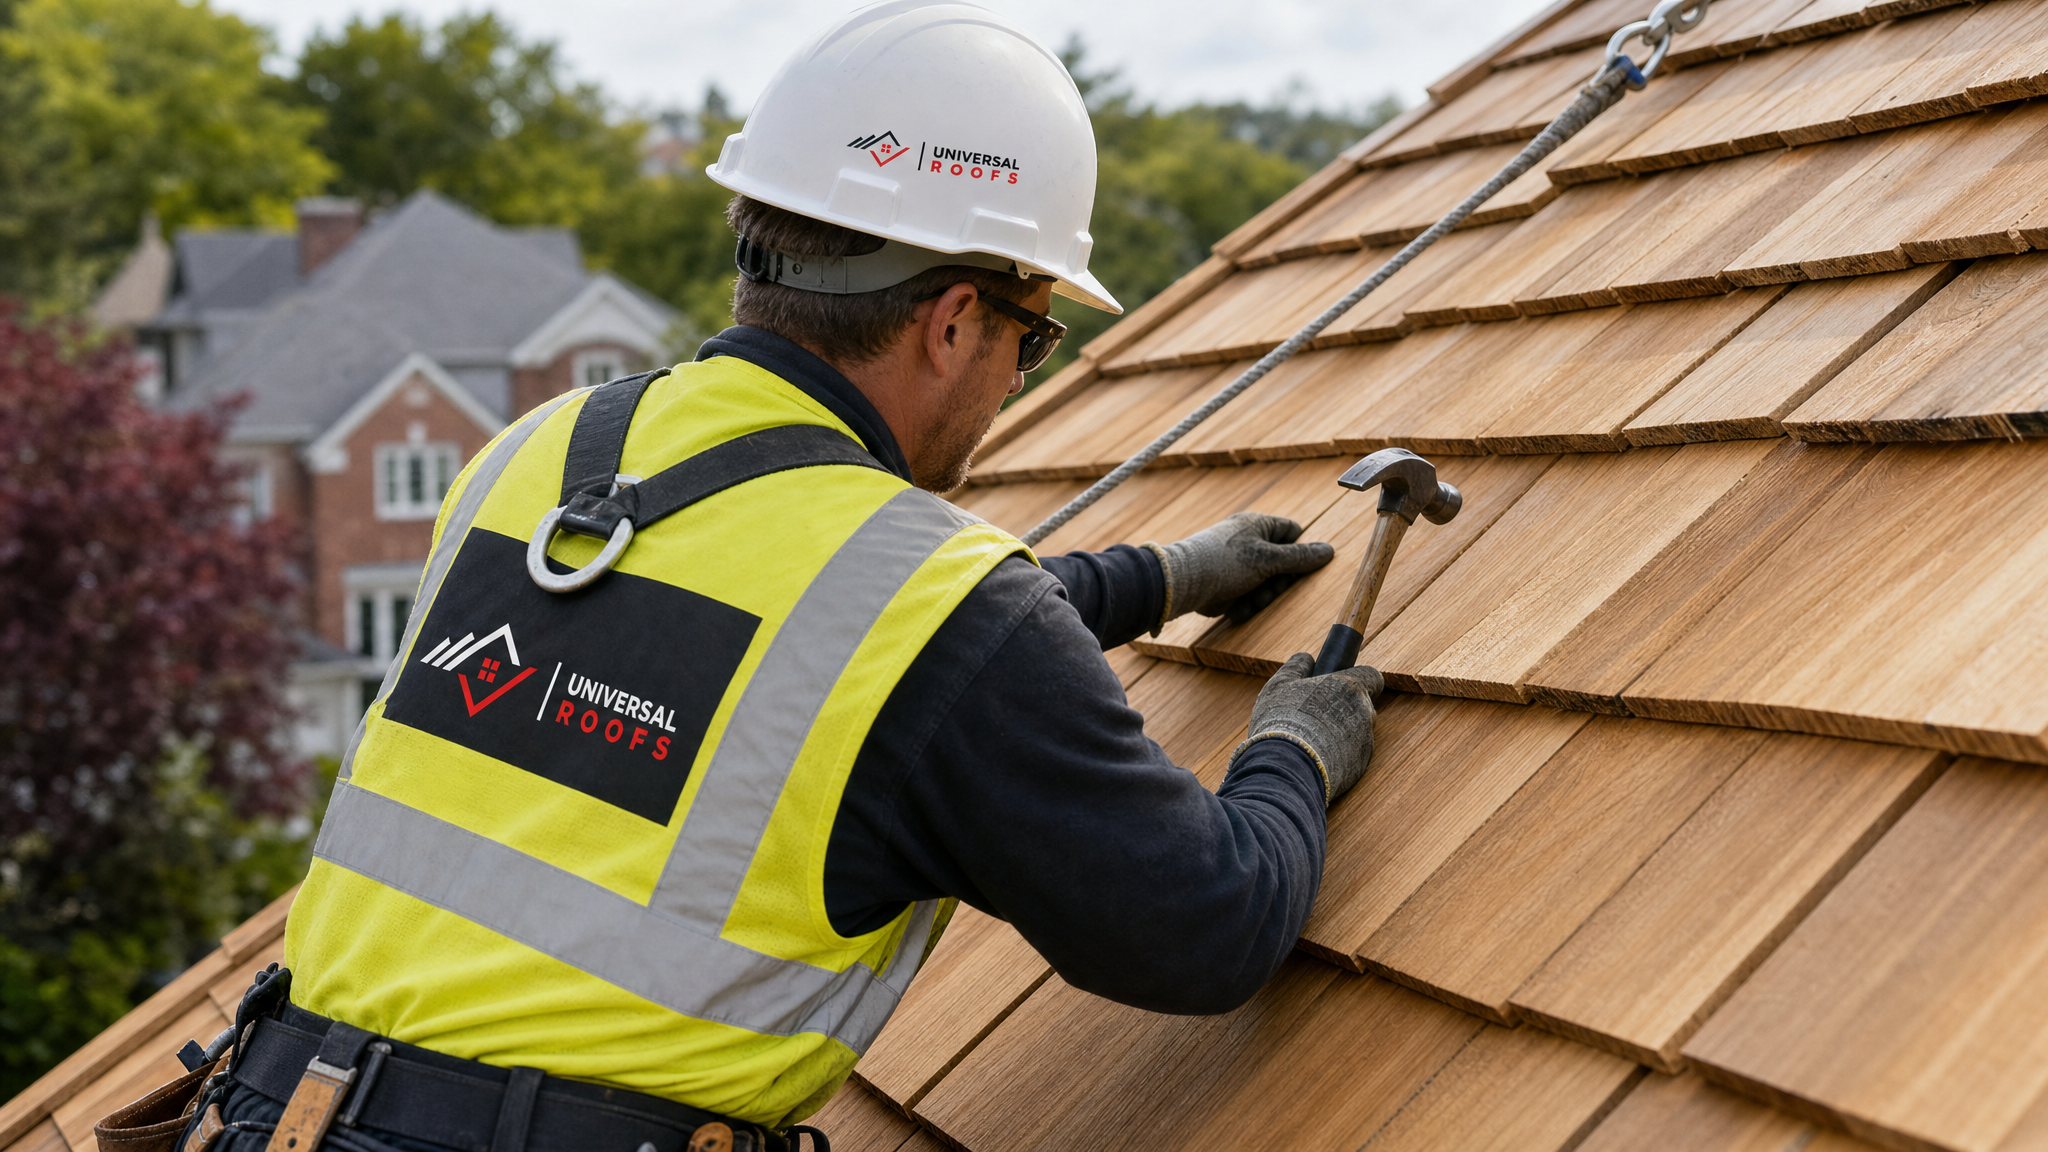
With the deck sound and replacement material selected, the new shakes are slid into place under the course above and aligned with the surrounding butt lines. Correct spacing between adjacent shakes (typically a 6mm to 10mm gap) allows for natural swelling when the wood absorbs moisture; installing shakes tight against each other is a common amateur mistake that causes buckling within a year or two.
Each shake is fastened with two corrosion-resistant nails, hot-dipped galvanized or stainless steel, placed high enough on the shake that the course above will conceal them completely. Nails placed too low remain exposed to weather and will eventually rust and leak around the shank. The exposure length (how much of each shake is visible below the course above) must also match the surrounding roof, generally 250mm for standard 600mm shakes on a typical slope, adjusted slightly for the specific roof pitch.
For valleys, hips, and ridges, specialized cut shakes or factory ridge units are used rather than field-cut standard shakes, since these areas see the highest water volume and need tighter, more precise fitting.
Step 6: Address Flashing, Valleys, and Penetrations
Most wood shake leaks that seem mysterious actually originate at a flashing point rather than the shakes themselves: chimney flashing, valley metal, vent stacks, or skylight curbs. Since wood shakes are somewhat porous and rely heavily on proper flashing details to shed water at transitions, any repair project should include a check of every penetration in the affected roof plane.
If your roof has a skylight near the damaged area, the flashing kit around it deserves particular attention, since wood shake roofs use step flashing and counter-flashing details that are easy to install incorrectly and difficult to inspect once shakes are reinstalled over them. Homeowners dealing with an ageing or leaking skylight at the same time as a shake repair often find it’s more cost-effective to handle both in a single visit; our skylight replacement team coordinates directly with roof repair crews for exactly this scenario.
Valley flashing on wood shake roofs is typically open metal valleys (as opposed to woven shingle valleys), and any corrosion, denting, or gaps in this metal must be corrected before the new shakes are trimmed back into place along the valley line.
Step 7: Clean Up, Final Inspection, and Debris Removal
The final stage of any wood shake repair involves clearing all offcuts, old nails, and wood debris from the roof, gutters, and property grounds. Wood shake debris left in gutters is a common cause of clogged downspouts and ice damming the following winter, so a careful crew clears gutters as part of the cleanup, not just the roof surface itself.
A final walk-through inspection confirms that all replaced shakes are seated correctly, nail heads are fully concealed, flashing is sealed and weathertight, and no loose debris remains that could blow off in a future windstorm. Many contractors, including our team at Universal Roofs, photograph the completed repair for the homeowner’s records, which is useful both for warranty purposes and for insurance documentation if the original damage was storm-related.
How Long Does a Wood Shake Roof Repair Take?
Timeline depends heavily on the extent of damage and deck condition discovered during inspection. A single damaged shake with a sound deck can often be repaired within an hour. A section repair involving multiple shakes, deck replacement, and flashing work typically spans a full day. Widespread damage across multiple roof planes may require several days and starts to approach the threshold where a partial or full roof replacement becomes the more economical option.
| Repair Scope | Typical Timeline | Typical Cost Range (CAD) | When Replacement Makes More Sense |
|---|---|---|---|
| 1-3 individual shakes | 1-2 hours | $250 – $500 | Rarely; isolated repair is efficient |
| Small section (1-2 sq metres) | Half day | $600 – $1,200 | If deck rot found under 30%+ of section |
| Large section with deck repair | Full day | $1,500 – $3,000 | If more than 3 large sections need repair |
| Multiple roof planes affected | 2-4 days | $3,500 – $7,000+ | If overall roof age exceeds 25-30 years |
| Widespread failure, roof over 30 years old | N/A | N/A | Full replacement typically recommended |
Repair vs. Replacement: How to Decide
One of the most common questions we hear is whether it makes more sense to repair isolated wood shake damage or move toward a full replacement. The honest answer depends on the age and overall condition of the roof, not just the section that’s currently failing.
If your wood shake roof is under 20 years old and the damage is isolated to storm impact, a single failed course, or an ageing flashing detail, repair is almost always the right call and extends the roof’s usable life significantly. If the roof is approaching or past 25-30 years and you’re seeing curling, granular loss, and soft spots across multiple sections rather than one isolated area, that’s usually a sign the whole roof is reaching the end of its service life, and repeated patch repairs become a poor long-term investment.
We always recommend getting a written assessment that separates “what needs fixing now” from “what to budget for in the next few years,” rather than a vague verbal estimate. You can review examples of how past clients found this approach helpful on our reviews page, and our FAQ page covers additional cost and timeline questions specific to Toronto homes.
Seasonal Timing for Wood Shake Repairs in the GTA
Summer is genuinely one of the best times of year to schedule a wood shake repair in Toronto. Dry, stable weather allows shakes and underlayment to be installed without moisture interference, and wood shakes handle and cut more predictably when they aren’t frozen or saturated. Contractors can also access roofs more safely without ice or snow load concerns.
That said, delaying an active leak until “the right season” is a mistake. A temporary tarp or emergency patch can hold a damaged area over for a short period, but every rainstorm that reaches an exposed deck increases the odds of needing a full sheathing replacement rather than a simple shake swap. If you notice damage in July, the smart move is to schedule the repair now while conditions are ideal, rather than waiting and risking a larger scope of work by the time autumn rains arrive.
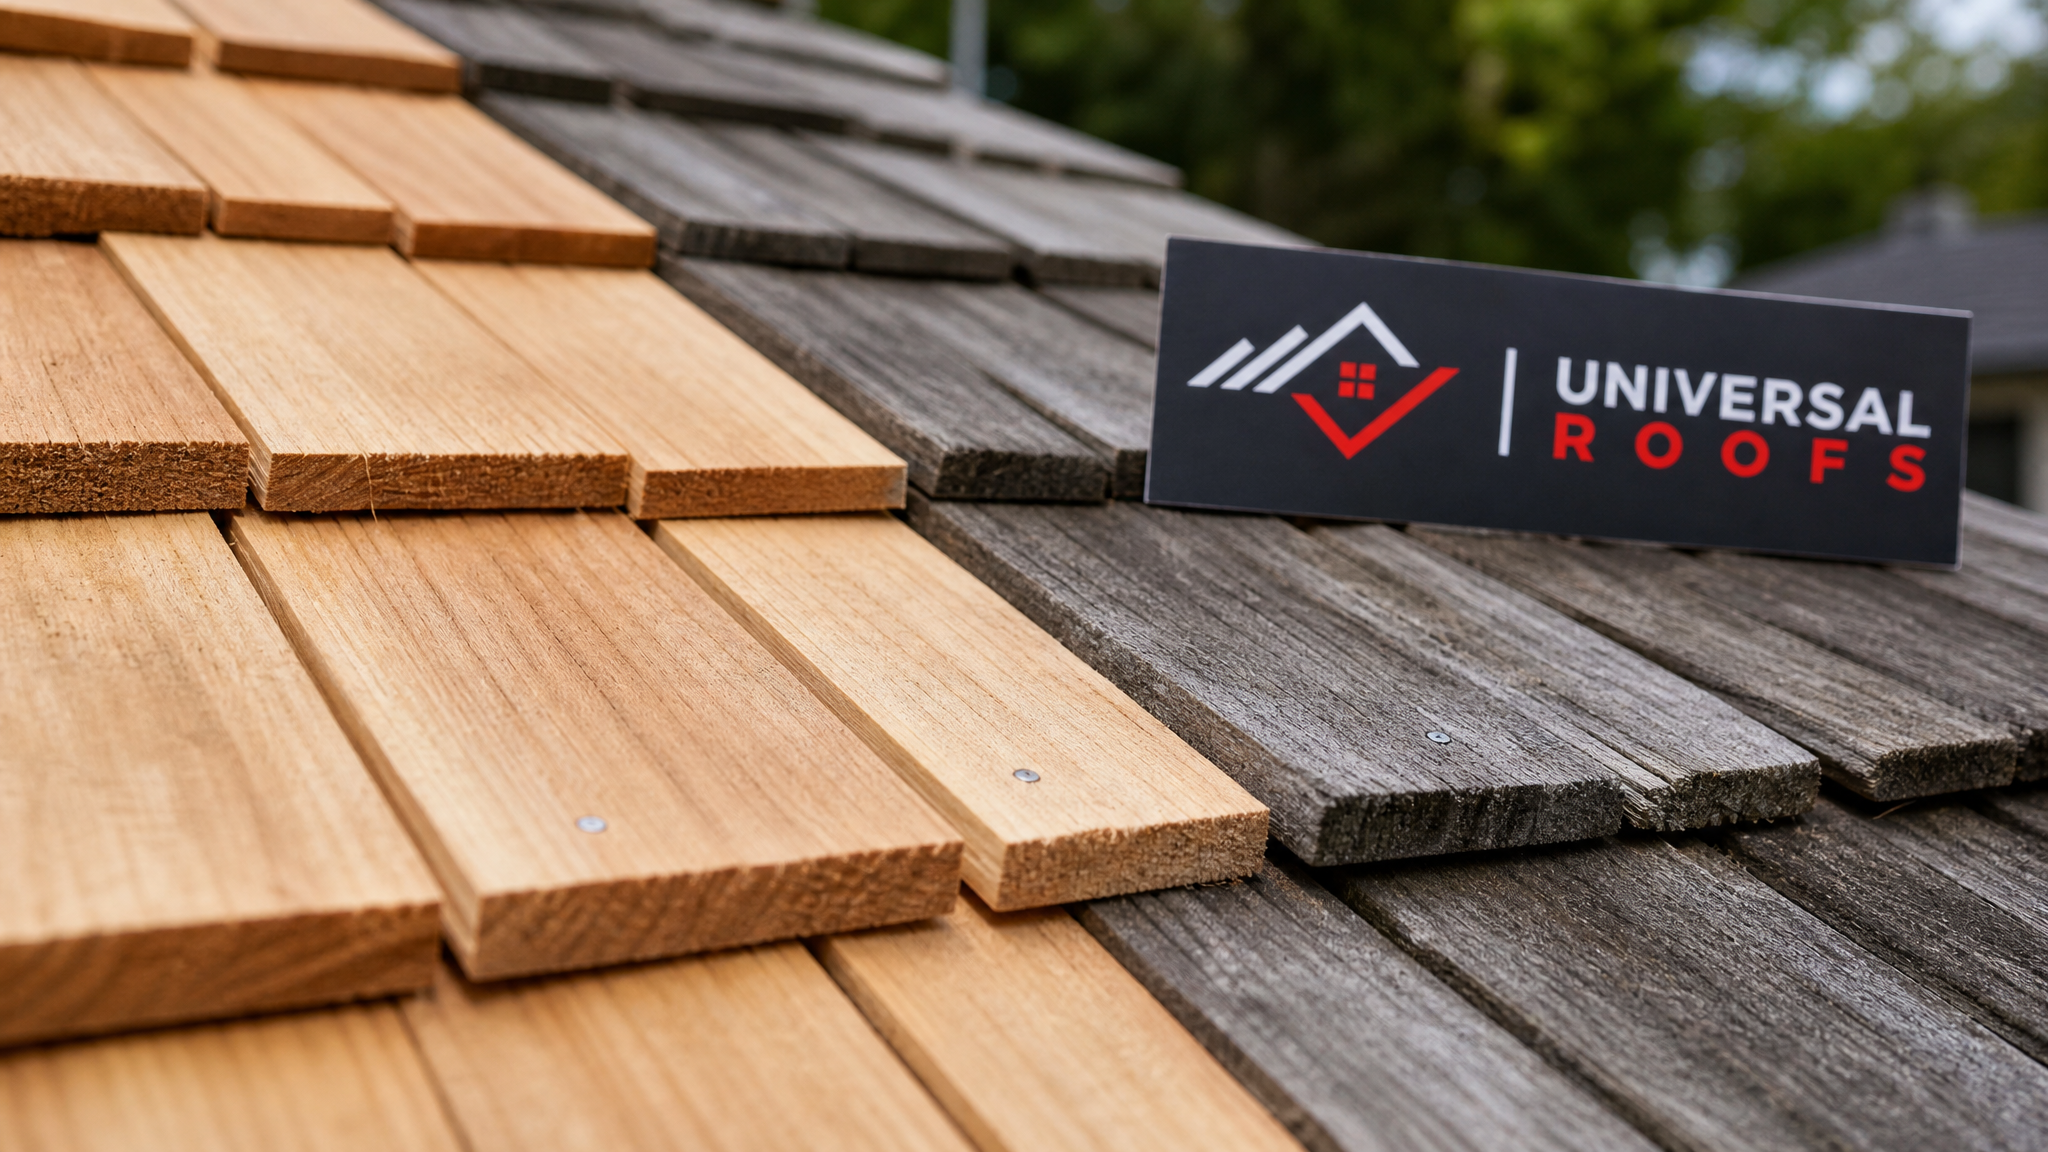
Maintenance Tips to Prevent Future Wood Shake Damage
A well-executed repair is only half the equation; ongoing maintenance is what keeps a wood shake roof performing for decades. Homeowners can extend the life of their repair and the surrounding roof with a few simple habits.
Keep overhanging tree branches trimmed back at least 1.2 metres from the roofline to reduce debris accumulation, moss growth, and physical abrasion during windstorms. Clear gutters and valleys of leaves and debris at least twice a year, since trapped organic material holds moisture directly against the shakes and accelerates decay. Schedule a professional inspection every 2-3 years, or immediately after any major windstorm or hailstorm, so isolated damage gets caught and repaired while it’s still a small, inexpensive fix. Avoid pressure washing wood shakes directly, as high-pressure water forces moisture up under the shakes and can strip protective surface treatments; a soft wash with appropriate cleaning solutions is safer for cedar.
Homeowners across Toronto, the Peel Region, York Region, Halton Region, and Durham Region all deal with slightly different microclimates, but the fundamentals of wood shake care stay consistent: keep moisture moving off the roof, keep ventilation working underneath it, and address small problems before they become structural ones.
Common Mistakes That Lead to Repeat Repairs
We regularly get called out to fix wood shake repairs that failed within a year of being completed by another contractor or a DIY attempt. Almost all of these failures trace back to a handful of avoidable mistakes.
Nailing shakes too tightly together without an expansion gap causes buckling and cracking as the wood swells with moisture. Using mismatched shake grades or thicknesses creates uneven water shedding at the seams. Skipping the underlayment inspection and nailing new shakes directly over torn or aged felt paper guarantees a repeat leak. Reusing old, corroded nails instead of new galvanized or stainless fasteners leads to rust streaks and eventual fastener failure. And perhaps most common: treating a repair as purely cosmetic without checking whether the roof deck itself has already been compromised by the original leak.
| Common Mistake | Why It Fails | Correct Approach | Typical Time to Failure |
|---|---|---|---|
| No expansion gap between shakes | Wood swells and buckles when wet | Leave 6-10mm gap between shakes | 1-2 years |
| Skipping underlayment check | Torn felt paper leaks regardless of shake condition | Inspect and patch underlayment every repair | Under 1 year |
| Reused corroded nails | Rust stains and fastener pull-through | Use new galvanized or stainless nails | 2-3 years |
| Mismatched shake grade/thickness | Uneven water shedding at seams | Match grade, species, and thickness to existing roof | 1-3 years |
| Ignoring deck rot under damaged shake | New shake sits on failing sheathing | Replace compromised deck sections before re-shaking | Under 1 year |
Why Professional Repair Matters for Wood Shake Roofs
Wood shake repair genuinely requires more specialized technique than asphalt shingle work. The overlapping, hand-fitted nature of shake installation, the need to match grain, grade, and exposure, and the safety demands of working on often steep, textured roof surfaces all mean this isn’t the easiest DIY roofing project to attempt safely or successfully.
An experienced crew brings the right tools (shake rippers, proper fasteners, matched replacement material), the judgment to know when deck replacement is truly necessary versus optional, and the safety equipment to work steep wood shake slopes without damaging surrounding shakes in the process. Learn more about our team’s approach and experience on our about page, and reach out any time you’d like a professional opinion on a specific section of your roof.
What are the basic steps to repair a wood shake roof?
Can you repair just a section of a wood shake roof, or do you need to replace the whole thing?
How much does it cost to repair a wood shake roof in Toronto?
What causes wood shake roofs to need repair in the first place?
Is summer a good time to schedule wood shake roof repairs?
Can I repair a wood shake roof myself?
Need Help With What Are the Steps?
Whether you have a single cracked shake or a full section showing signs of failure, Universal Roofs has the experience to diagnose the problem correctly and repair it to last, not just patch it over.
Call us today at (416) 732-2421 or request a free inspection to get started.
Universal Roofs proudly serves Toronto, Mississauga, Brampton, Vaughan, Markham, Oakville and the GTA since 2005.