
A leaking roof rarely starts in the middle of a shingle field. In the vast majority of cases, water finds its way in through flashing — the thin strips of metal installed at every joint, corner, and penetration on your roof. Mastering timely flashing repair is one of the most valuable skills a Toronto-area homeowner can learn, not because you need to climb up and do the work yourself, but because knowing what good flashing looks like, where it fails first, and how quickly a small gap becomes a big problem lets you catch issues before they become five-figure repairs.
At Universal Roofs, we have been repairing and replacing flashing on homes across the Greater Toronto Area since 2005. Freeze-thaw cycles, wind-driven rain, and the constant expansion and contraction of metal against shingles make flashing failure one of the most common reasons homeowners call us for a roof repair. This guide walks through exactly how flashing works, how to spot the early warning signs, what a proper step-by-step repair looks like, and when a patch job is enough versus when it is time to consider broader work.
Summer is actually the best season to deal with flashing issues in the GTA. The roof deck is dry, sealants cure properly in warm weather, and you have a window before autumn rains and winter ice arrive to test every seam. Waiting until October, when temperatures drop and the freeze-thaw cycle begins, makes any repair riskier and more likely to fail prematurely.
What Flashing Actually Does and Why It Fails First
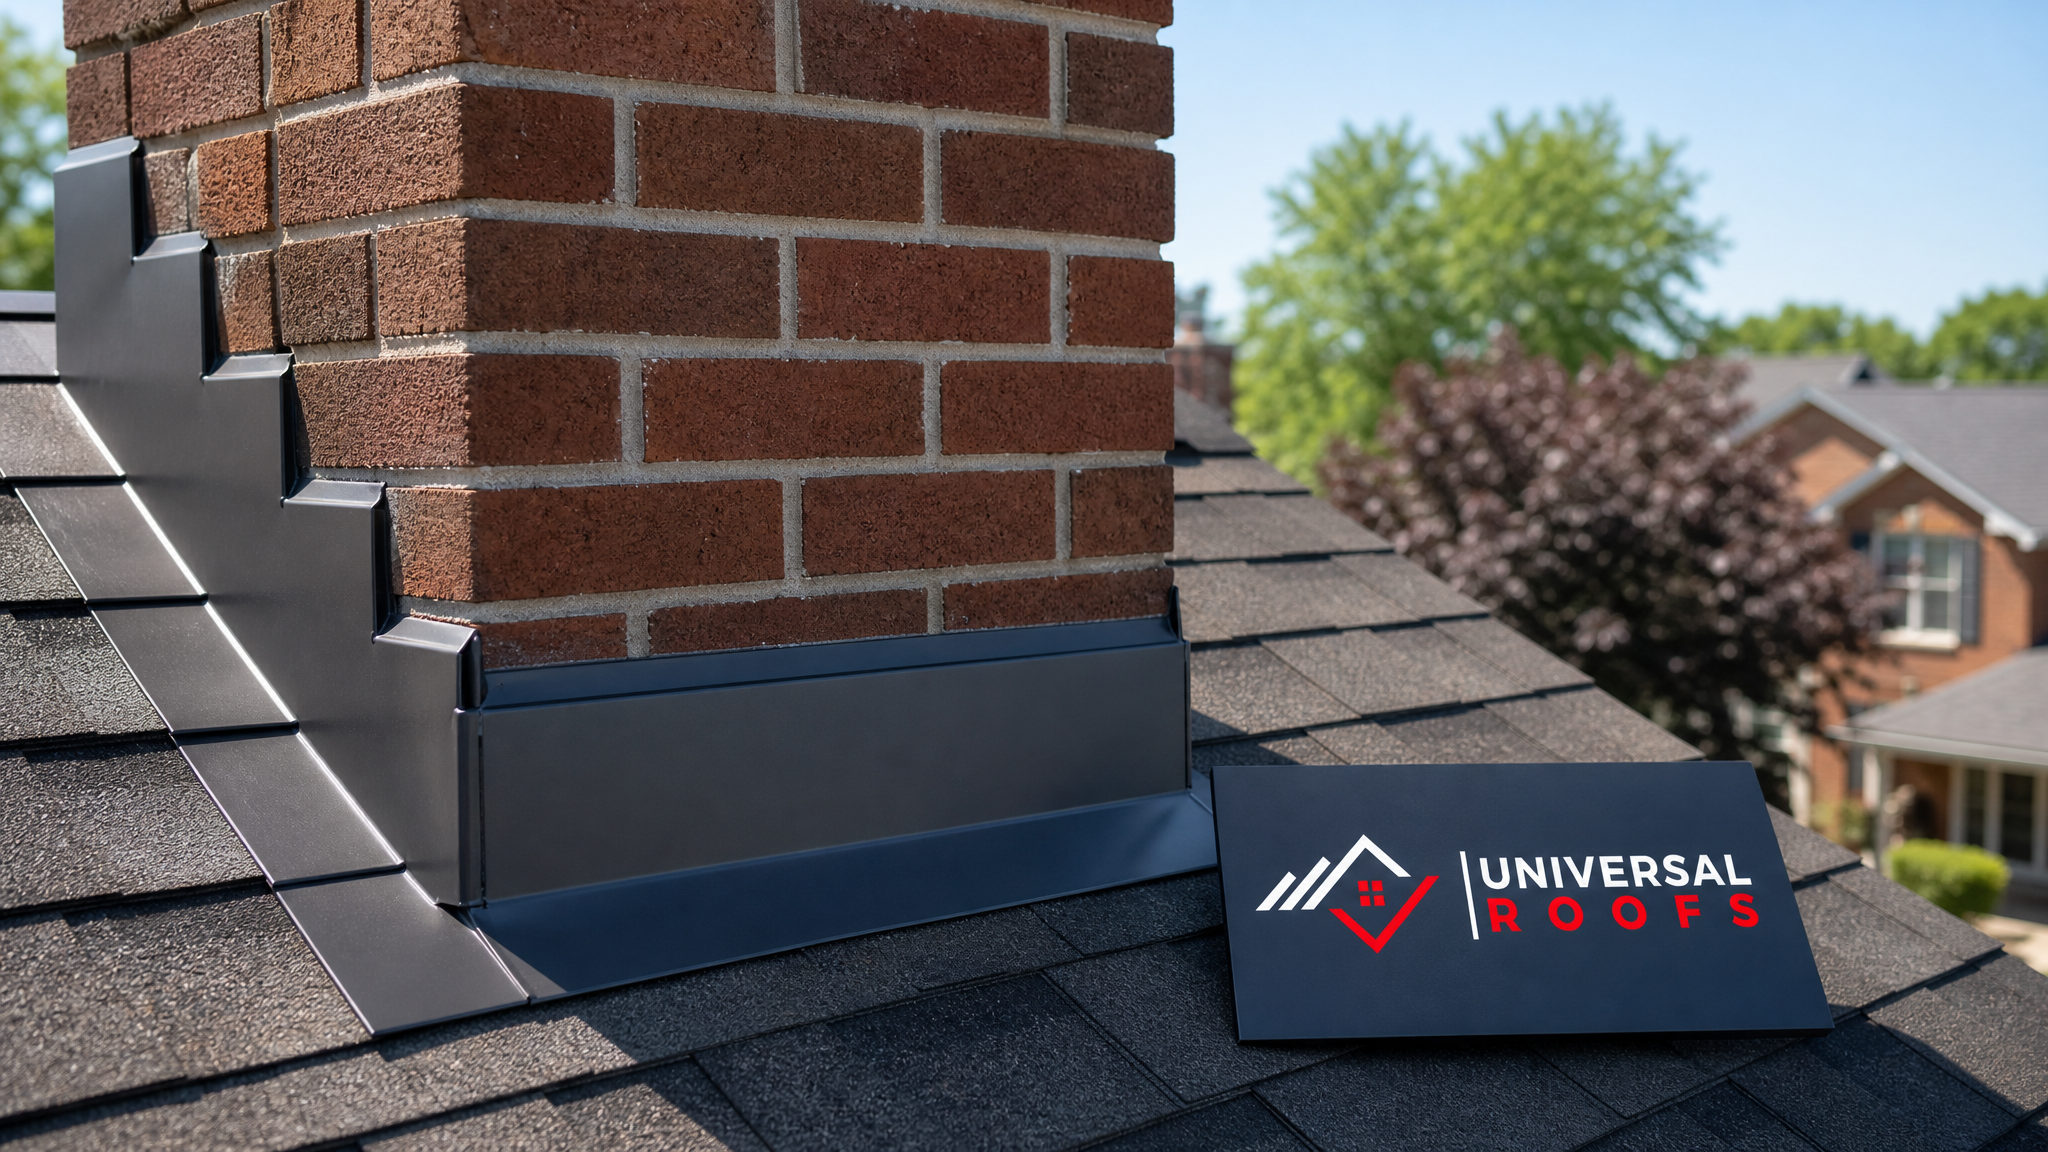
Flashing is the metal (or, less often, rubber or plastic composite) barrier installed anywhere two roof planes meet, or anywhere something penetrates the roof surface — chimneys, skylights, vent pipes, dormers, and the joints where a roof meets a sidewall. Shingles alone cannot shed water reliably at these transitions because water runs along the joint line rather than straight down the slope. Flashing redirects that water back onto the shingle field and down toward the eaves.
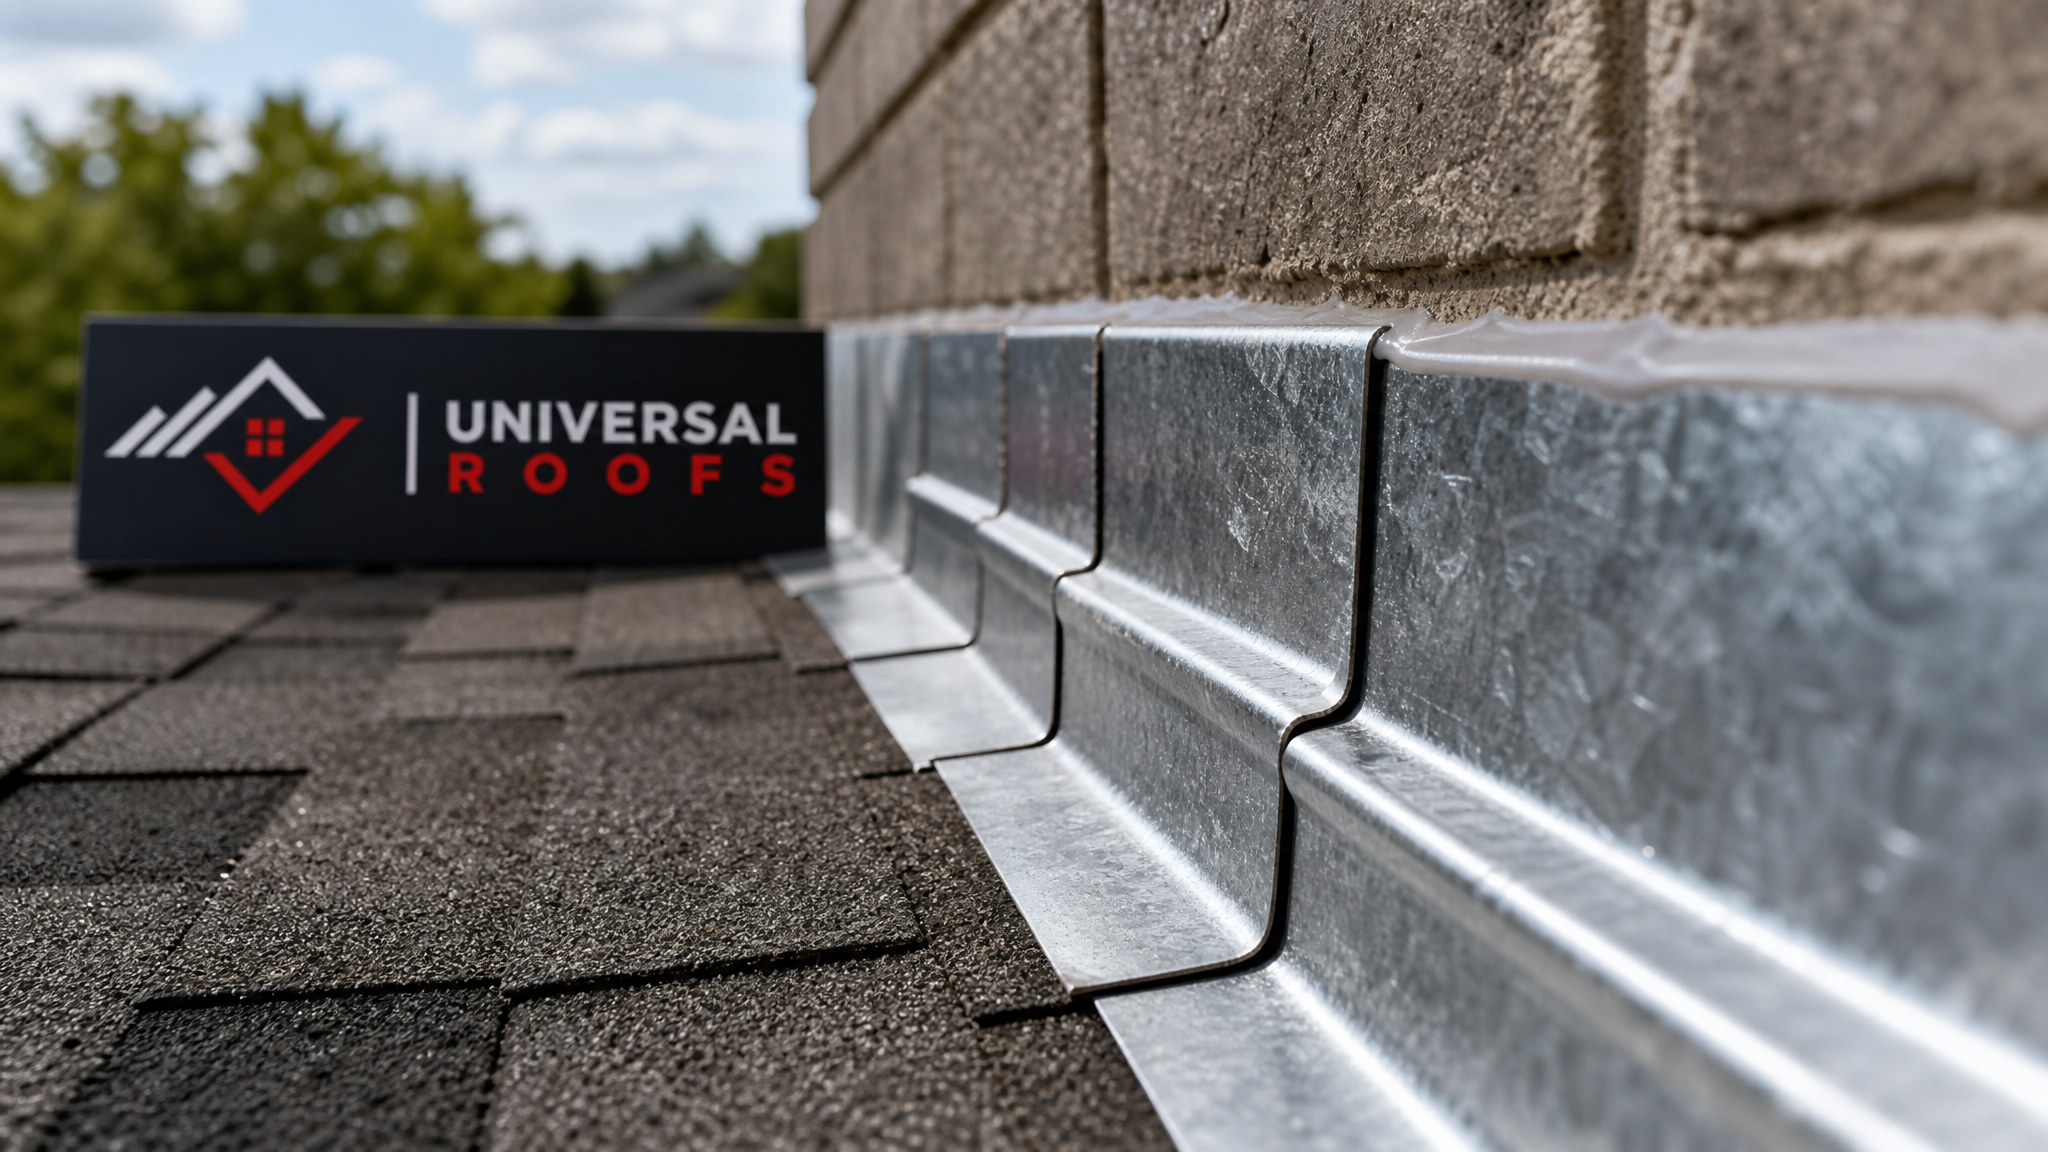
Because flashing sits at every stress point on the roof, it takes the brunt of thermal movement, wind uplift, and freeze-thaw expansion. Metal flashing expands and contracts far more than the surrounding shingles and sheathing, which gradually works fasteners loose and cracks the sealant beads that keep seams watertight. This is precisely why flashing fails years before the shingles around it show any wear, and why a home can have a “young” roof with an old, failing flashing detail hiding a leak.
Common flashing types you will encounter on a typical GTA home include:
- Step flashing — small, individual L-shaped metal pieces woven between shingle courses along a sidewall, such as where a roof meets a dormer or a second-storey wall.
- Continuous or apron flashing — a single long strip used where a roof plane meets a vertical wall at the bottom of a slope.
- Counter-flashing — a second layer of metal, usually embedded into masonry with reglets or surface-mounted with sealant, that overlaps step flashing to fully seal a chimney or wall junction.
- Valley flashing — metal or membrane installed where two roof slopes meet in a “V,” carrying a high volume of water during storms.
- Vent and pipe boot flashing — collars with a rubber or plastic gasket that seals around round penetrations like plumbing stacks.
- Drip edge — flashing along eaves and rakes that directs water away from the fascia and into the gutters.
Each type fails in a slightly different way, which is why an accurate diagnosis matters before any repair begins.
Early Warning Signs You Should Never Ignore
Most flashing failures give homeowners warning signs weeks or months before a leak becomes obvious indoors. Learning to read these signs is the single best way to keep repair costs low. Look for:
- Rust streaks or white mineral deposits on flashing metal, especially around chimneys and vent pipes.
- Visible gaps between flashing and shingles, or flashing that has visibly lifted away from a wall.
- Cracked, shrunken, or missing caulking and sealant at flashing seams.
- Granule buildup in gutters near valley areas, which suggests the valley flashing or the shingles above it are eroding.
- Water stains on interior ceilings or walls directly below a chimney, skylight, or roof-wall junction.
- Soft or discoloured drywall near where a bathroom or kitchen vent pipe passes through the attic.
- Daylight visible through the roof deck at penetration points, seen from inside the attic.
If you notice any of these signs, the smart move is to book an inspection rather than wait. A five-minute look from a trained technician can distinguish between a simple caulking touch-up and a flashing section that needs to be pulled and replaced.
Materials Comparison: Choosing the Right Flashing for Toronto’s Climate
Not all flashing materials perform equally in the GTA’s climate, which swings from humid summers to freeze-thaw winters with significant temperature swings in between. The table below compares the materials we use most often.
| Material | Typical Lifespan | Best Use | Cost Relative to Aluminum |
|---|---|---|---|
| Galvanized steel | 20-30 years | Valleys, high-wear areas | Similar |
| Aluminum | 20-25 years | Step flashing, drip edge | Baseline |
| Copper | 50+ years | Chimneys, premium homes | 3-4x higher |
| Rubber/EPDM boots | 10-15 years | Vent pipe collars | Lower |
| Lead-coated copper | 40-50 years | Complex masonry details | 3-5x higher |
Aluminum remains the most common choice for step and apron flashing on standard asphalt shingle roofs because it resists corrosion well and is easy to form on-site. Galvanized steel is preferred in valleys because it handles higher water volume and abrasion from ice and debris better than softer metals. Copper is typically reserved for chimneys on higher-end homes or heritage properties where longevity and appearance both matter, since a copper detail installed today can genuinely outlast the roof itself.
Step-by-Step Flashing Repair Process
Whether you are watching a professional crew work or simply want to understand what a proper repair involves, here is the sequence a qualified roofer follows when repairing flashing.
| Step | What Happens | Typical Time |
|---|---|---|
| 1. Inspection | Full assessment of flashing, surrounding shingles, and interior attic for water intrusion | 20-40 minutes |
| 2. Removal | Careful removal of damaged flashing and any shingles that must be lifted to access it | 30-60 minutes |
| 3. Deck inspection | Check the roof sheathing underneath for rot or soft spots before reinstalling anything | 15-20 minutes |
| 4. New flashing installation | Cut, bend, and fasten new flashing pieces, weaving step flashing with shingle courses | 45-90 minutes |
| 5. Sealing | Apply roofing-grade sealant at all seams, overlaps, and fastener heads | 15-30 minutes |
| 6. Final inspection | Water test and visual check to confirm proper shingle overlap and watertight seams | 10-15 minutes |
The most important — and most frequently rushed — step is the deck inspection in step 3. If water has been getting behind failed flashing for any length of time, the plywood sheathing beneath it can be soft or delaminated. Installing brand-new flashing over a rotted deck only delays the next failure and hides a structural problem. A thorough contractor will always check this layer before moving forward with a roof repair.
DIY Flashing Repair: What Homeowners Can Safely Handle
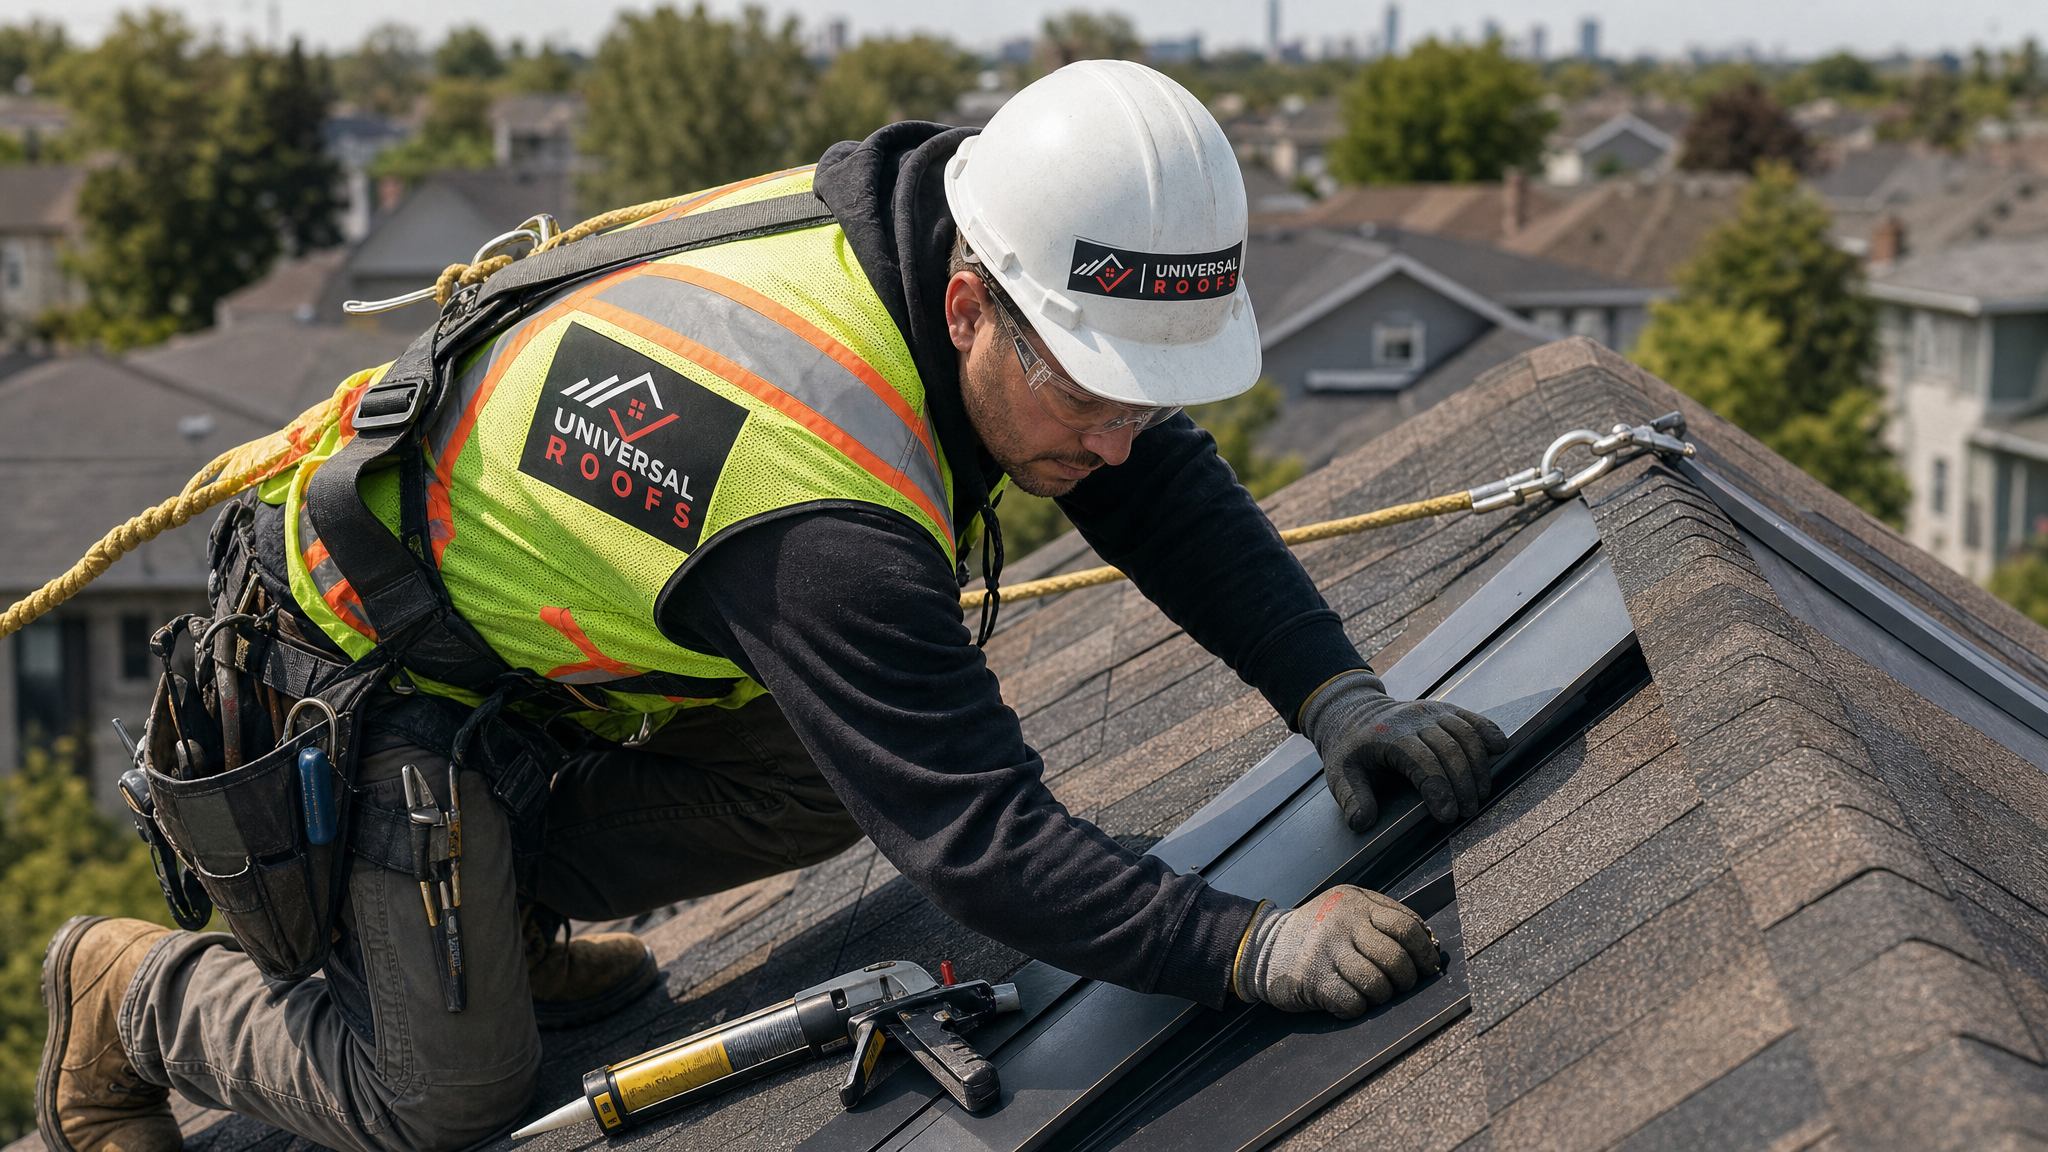
We are often asked whether a homeowner can tackle flashing repair themselves. The honest answer is that some very minor tasks are reasonable for a comfortable, properly equipped homeowner, but most flashing work benefits from professional tools, harnesses, and experience.
Tasks that are generally safe for a confident homeowner with the right ladder and fall protection:
- Re-applying a small bead of roofing sealant to a cracked seam that is otherwise intact.
- Clearing debris away from valley flashing so water can flow freely.
- Visually inspecting flashing with binoculars from the ground after a storm.
- Checking the attic for daylight or water stains near penetrations.
Tasks that should always be left to a professional:
- Removing and replacing step flashing, which requires lifting shingles without cracking them.
- Any work around a chimney requiring counter-flashing to be reset into masonry.
- Valley flashing replacement, since a poor weave here causes some of the most damaging leaks on a roof.
- Any repair requiring roof access steeper than a walkable pitch, or work near the roof edge without proper fall protection.
Flashing looks simple, but the sequencing — which piece overlaps which, how far up a wall counter-flashing must extend, how tight fastener spacing needs to be — is easy to get wrong in ways that are invisible until the next heavy rain. A rushed DIY flashing job is one of the most common reasons we get called for an emergency roof repair a season or two later.
Flashing Around Skylights, Chimneys, and Vents
Different penetrations demand different flashing details, and each has its own failure pattern.
Skylights are flashed with a purpose-built kit from the manufacturer, consisting of head flashing, step flashing along the sides, and a sill piece at the bottom. Skylight flashing kits are matched to specific skylight models and roof pitches, which is why reusing an old flashing kit with a new skylight unit is a common and costly mistake. If your skylight is leaking at the frame rather than through the glass itself, the flashing kit is almost always the culprit, and it typically needs replacing at the same time as the unit. Our skylights and skylight replacement teams handle this integration directly so the flashing and the unit are installed as one properly sequenced job rather than two separate projects.
Chimneys need both step flashing woven into the shingles and counter-flashing that is either mortared into the brick joints or sealed against a stucco or siding surface. Chimney flashing failures are especially common on older Toronto homes where the original mortar has eroded, leaving the counter-flashing loose and able to pull away from the masonry.
Vent pipes use a boot-style flashing with a flexible collar that seals around the pipe. These rubber collars degrade from UV exposure faster than the metal base they sit on, typically needing replacement every 10 to 15 years even when the surrounding roof is otherwise sound.
Flat Roof Flashing: A Different Set of Rules
Flashing on a flat or low-slope roof works differently than on a sloped asphalt shingle roof. Instead of shingles weaving over metal, flat roof systems typically use membrane flashing that is heat-welded, torched, or adhered directly to parapet walls, curbs, and penetrations. Because flat roofs rely on the membrane itself to move water off the surface rather than gravity down a steep slope, any gap in the flashing at a wall or curb becomes a direct entry point for standing water. This is one of the reasons flat roof leaks often appear suddenly and dramatically after a heavy rain rather than gradually like a sloped roof leak. If you own a property with a flat roof section, our flat roofing team can assess whether your parapet and curb flashing details meet current standards, since older flat roofs in the GTA were often finished with tar-based flashing methods that are far less durable than modern membrane systems.
Cost Ranges and Timelines for Flashing Repair
Flashing repair costs in the GTA vary significantly based on the type of flashing, the roof’s accessibility, and whether any deck repair is needed underneath. The table below gives realistic ranges homeowners can expect.
| Repair Type | Typical Cost Range | Typical Timeline |
|---|---|---|
| Re-sealing existing flashing | $150-$350 | Same day |
| Vent pipe boot replacement | $200-$450 | Same day |
| Step flashing section replacement | $400-$900 | Same day to 1 day |
| Chimney counter-flashing repair | $600-$1,500 | 1 day |
| Valley flashing replacement | $700-$1,800 | 1-2 days |
| Skylight flashing kit replacement | $800-$2,000 | 1 day |
These figures assume a straightforward two-storey home with reasonable roof access. Steeper pitches, multiple storeys, or roofs with existing deck rot will push costs toward the higher end of each range. A precise number always requires an on-site assessment, since flashing conditions can vary dramatically even between two homes on the same street.
Preventing Future Flashing Failures
Once flashing has been properly repaired or replaced, a few habits will extend its service life considerably:
- Schedule a roof inspection every spring and fall, ideally including a walk-through of the attic, not just a look from the ground.
- Keep gutters clear so water does not back up under the drip edge and apron flashing at the eaves.
- Trim overhanging branches that can drop debris into valleys, where it traps moisture against valley flashing.
- Address minor sealant cracking immediately rather than waiting for a full seam failure.
- After any siding, stucco, or masonry work near the roofline, confirm the counter-flashing was not disturbed or covered over.
Homeowners across Toronto, Peel Region, York Region, Halton Region, and Durham Region deal with roughly the same freeze-thaw stress on flashing every winter, which is why a proactive inspection schedule matters regardless of which part of the GTA you live in.
When Flashing Repair Isn’t Enough
Sometimes what looks like an isolated flashing problem is actually a symptom of a roof nearing the end of its service life. If the shingles surrounding a flashing failure are brittle, curling, or missing significant granule coverage, patching the flashing alone may only buy a season or two before another leak develops elsewhere. Signs it may be time to discuss a broader roof replacement instead of a targeted repair include multiple flashing failures across different areas of the roof in the same year, shingles that are approaching or past their rated lifespan, or attic insulation that shows repeated past water staining even after previous repairs. Our team will always tell you honestly whether a repair makes sense or whether it is throwing good money after a roof that needs full replacement — read what past customers have said on our reviews page, or browse our FAQ for more on how we approach these assessments.
Why Professional Assessment Matters
Flashing sits at the intersection of roofing, carpentry, and sometimes masonry work, which is why an experienced eye catches problems that are easy to miss from the ground or even from a quick look on the roof. A technician who has repaired thousands of flashing details across the GTA can immediately spot a counter-flashing reglet that was cut too shallow, a valley that is undersized for the roof’s water volume, or a vent boot that was installed with the wrong collar size for the pipe diameter. These details compound over time, and getting them right the first time is far cheaper than repeating a repair. Learn more about our approach and history on our about page.
What does mastering timely flashing repair a step by step approach actually involve?
How do I know if my roof leak is coming from flashing rather than the shingles?
Can flashing repair be done without replacing the whole roof?
What is the best time of year in Toronto for flashing repair?
How long does properly installed flashing last?
Should I attempt flashing repair myself or hire a professional?
Need Help With Mastering Timely Flashing Repair?
Whether you have spotted an early warning sign or are dealing with an active leak, Universal Roofs has the experience to diagnose the exact cause and repair it correctly the first time.
Call us today at (416) 732-2421 or request a free inspection to get started.
Universal Roofs proudly serves Toronto, Mississauga, Brampton, Vaughan, Markham, Oakville and the GTA since 2005.