
A soffit and fascia repair looks, on the surface, like one of the simpler jobs on a roofline. It is a panel, a board, some fasteners, a bit of paint or aluminum trim — nothing like the complexity of a full reroofing project. That impression is exactly why so many homeowners across the Greater Toronto Area end up calling us twice: once for a do-it-yourself patch that did not hold, and again a season or two later when the underlying rot has spread further than the original problem ever suggested.
We are asked why choose professional soffit and fascia repair instead of a weekend fix almost every summer, usually by homeowners standing in their driveway pointing up at a sagging panel or a squirrel-sized hole near the eaves. The honest answer is not that DIY is impossible — some cosmetic touch-ups genuinely are within reach for a careful homeowner. The real answer is that soffit and fascia sit at the intersection of several systems (roof edge, attic ventilation, eavestroughs, and structural framing), and a repair that only addresses what is visible tends to miss what is actually driving the damage.
This guide walks through what a professional soffit and fascia repair actually involves, how it compares to a DIY patch on cost, durability, and risk, what tools and diagnostic steps a trained crew brings that a homeowner typically does not, and the specific situations where hiring it out stops being optional and starts being the only sensible choice. By the end, you should be able to look at your own roofline and know which category your repair falls into.
What Soffit and Fascia Are Actually Protecting
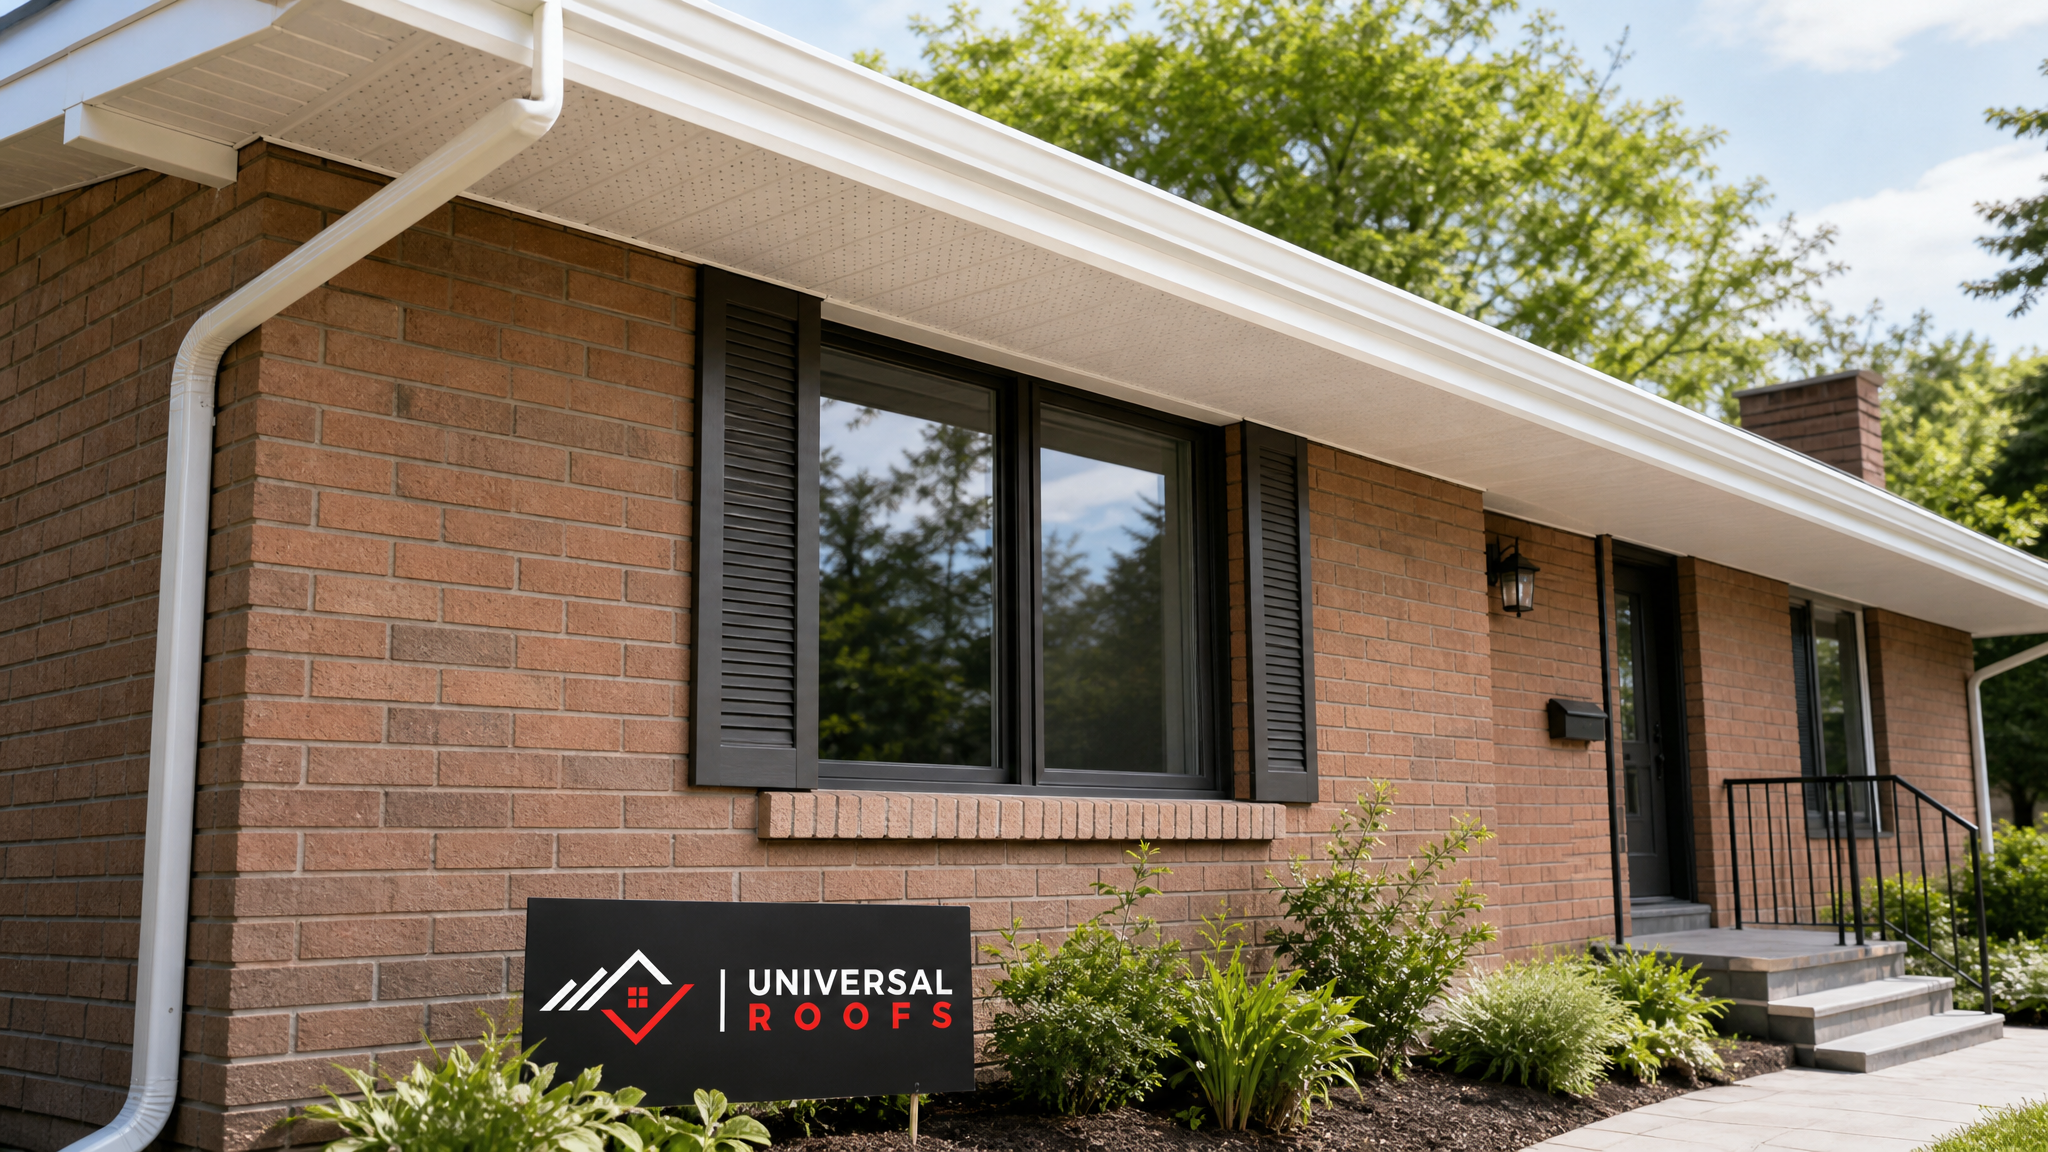
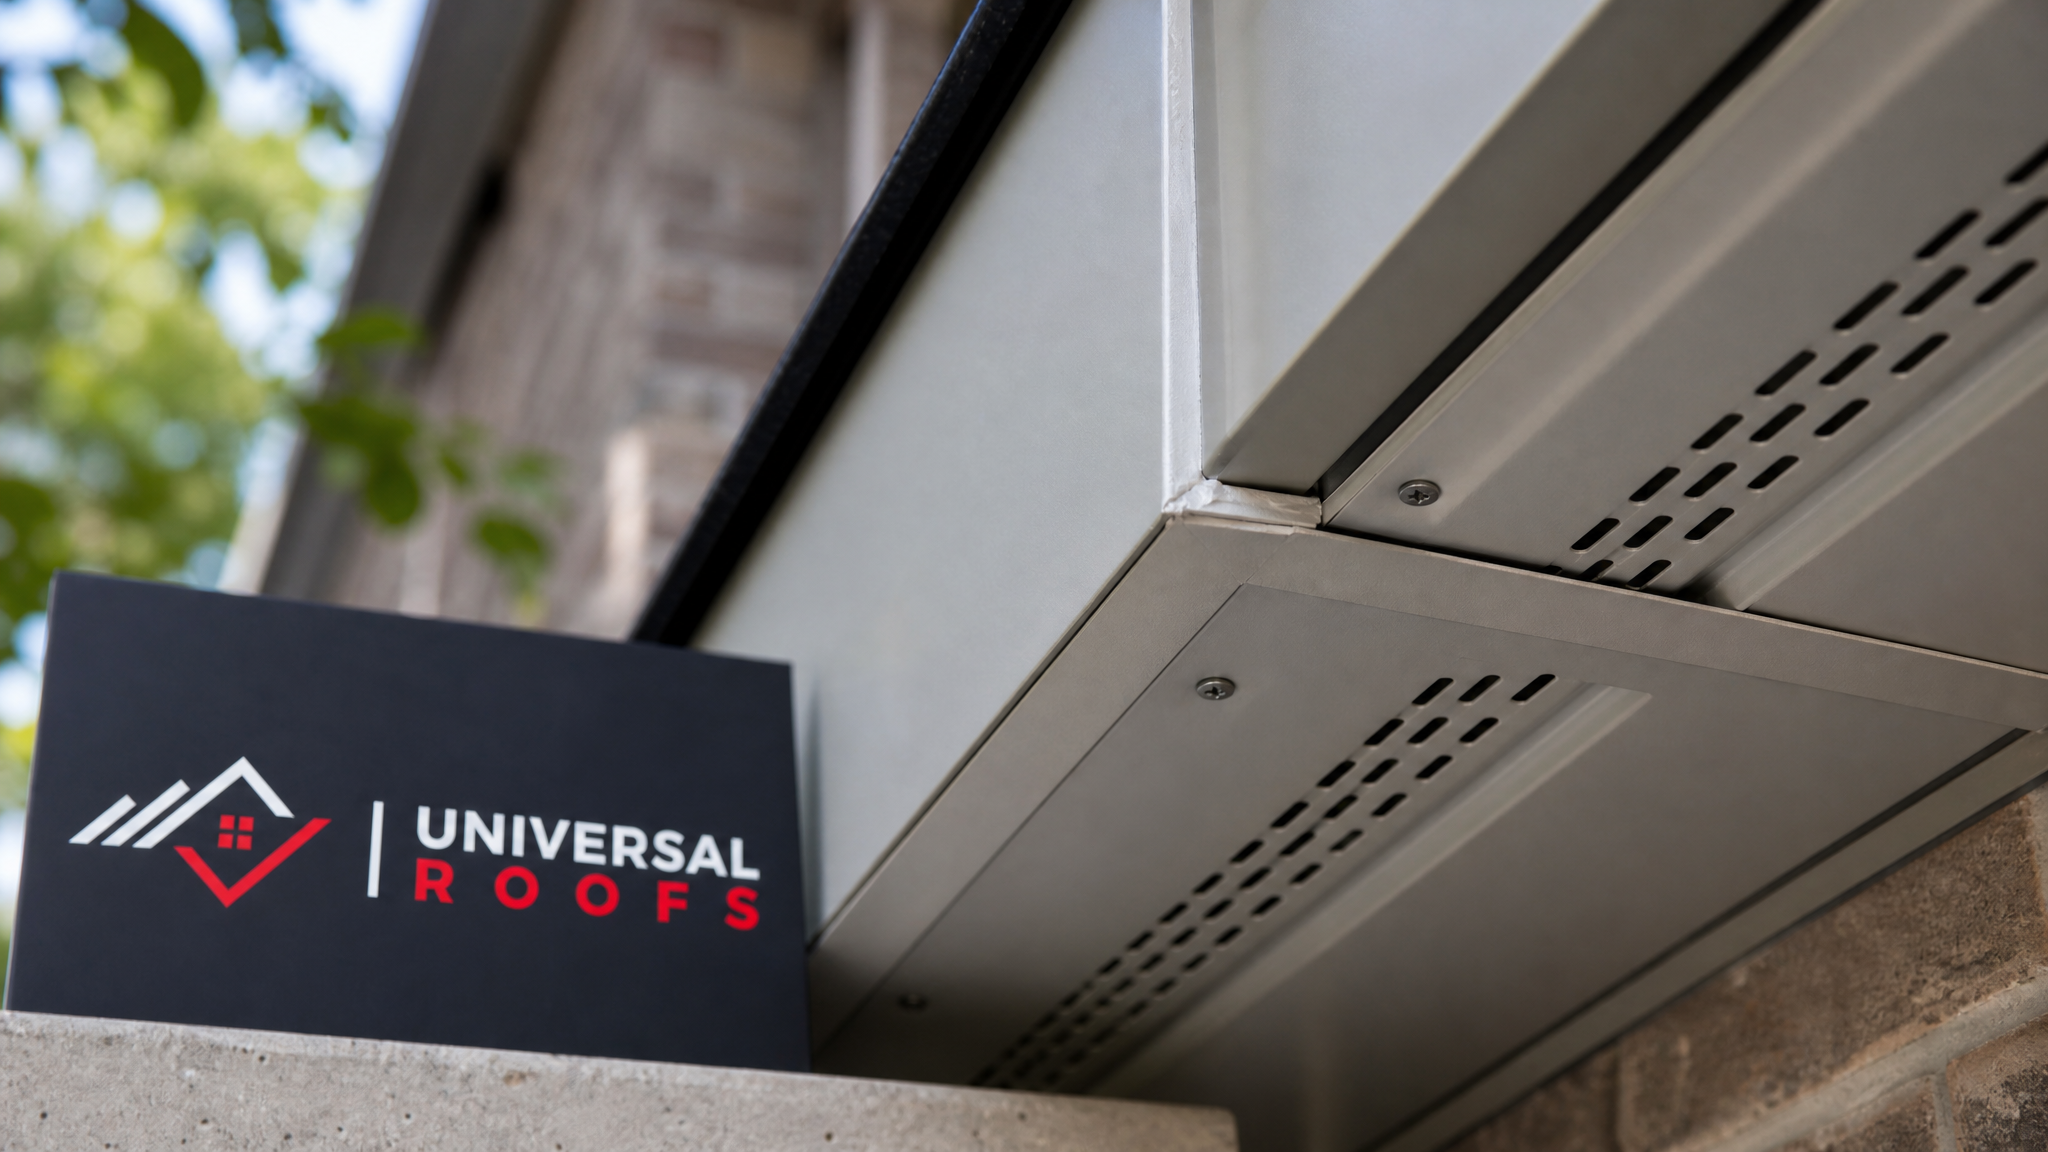
Before weighing DIY against professional work, it helps to understand what is actually at stake if a repair goes wrong. The fascia is the vertical board running along the roof edge, fastened to the tail ends of the rafters or trusses. It is also the anchor point for your eavestroughs, which means every gutter hanger, every pound of rainwater, and every ice buildup in a cold snap puts direct load on that board. The soffit is the panel underneath the overhang, usually vented, that forms the primary intake for fresh air moving into the attic.
Together they:
- Seal the underside of the roof overhang against wind-driven rain, pests, and ice infiltration
- Provide the intake ventilation that balances against ridge or roof vent exhaust
- Carry the structural load of the eavestrough system
- Finish the roofline, concealing rafter tails and roof deck edges from the elements and from view
A repair that gets any one of these wrong does not just look imperfect — it creates a slow-moving problem. A soffit panel installed with the wrong vent ratio quietly starves the attic of airflow for years. A fascia board reattached without addressing the rotted rafter tail behind it looks fine until the next windstorm pulls the whole run loose. This is why the honest comparison is not “professional versus DIY cost,” but “professional versus DIY risk,” and the two are not the same conversation.
Why Professional Diagnosis Changes the Outcome
The single biggest difference between a professional repair and a homeowner patch is not the tools — it is the diagnosis. A trained technician does not start by replacing the visible damaged panel. They start by checking what is behind it.
- Fastener condition. Rusted or backed-out nails are frequently the actual root cause of a sagging soffit, not the panel material itself. Replacing the panel without replacing the fasteners just delays the same failure.
- Rafter tail integrity. A screwdriver test at every rafter tail reveals soft, rotted wood that is completely invisible from the ground or even from a ladder glance.
- Ventilation balance. Professionals calculate whether the soffit intake still matches the roof’s exhaust ventilation, since an imbalance accelerates moisture damage even after a repair looks complete.
- Gutter slope and condition. Since eavestroughs fasten directly to the fascia, a sagging or overflowing gutter run is often the hidden cause of fascia rot, not a coincidence sitting beside it.
- Pest entry points. Squirrels, raccoons, and wasps exploit gaps that are easy to miss unless someone is specifically looking for them at every seam and end cap.
This is the diagnostic depth that separates a repair that lasts fifteen to twenty years from one that needs revisiting within a single season. It is also why we recommend pairing a soffit and fascia assessment with a broader roof repair inspection whenever water staining suggests the source might be higher up on the roof field rather than at the edge itself.
Professional Repair vs. DIY: A Direct Comparison
Homeowners considering a weekend project deserve a straight answer on where DIY genuinely holds up and where it tends to fall short. Here is how the two approaches compare across the factors that matter most.
| Factor | DIY Approach | Professional Repair |
|---|---|---|
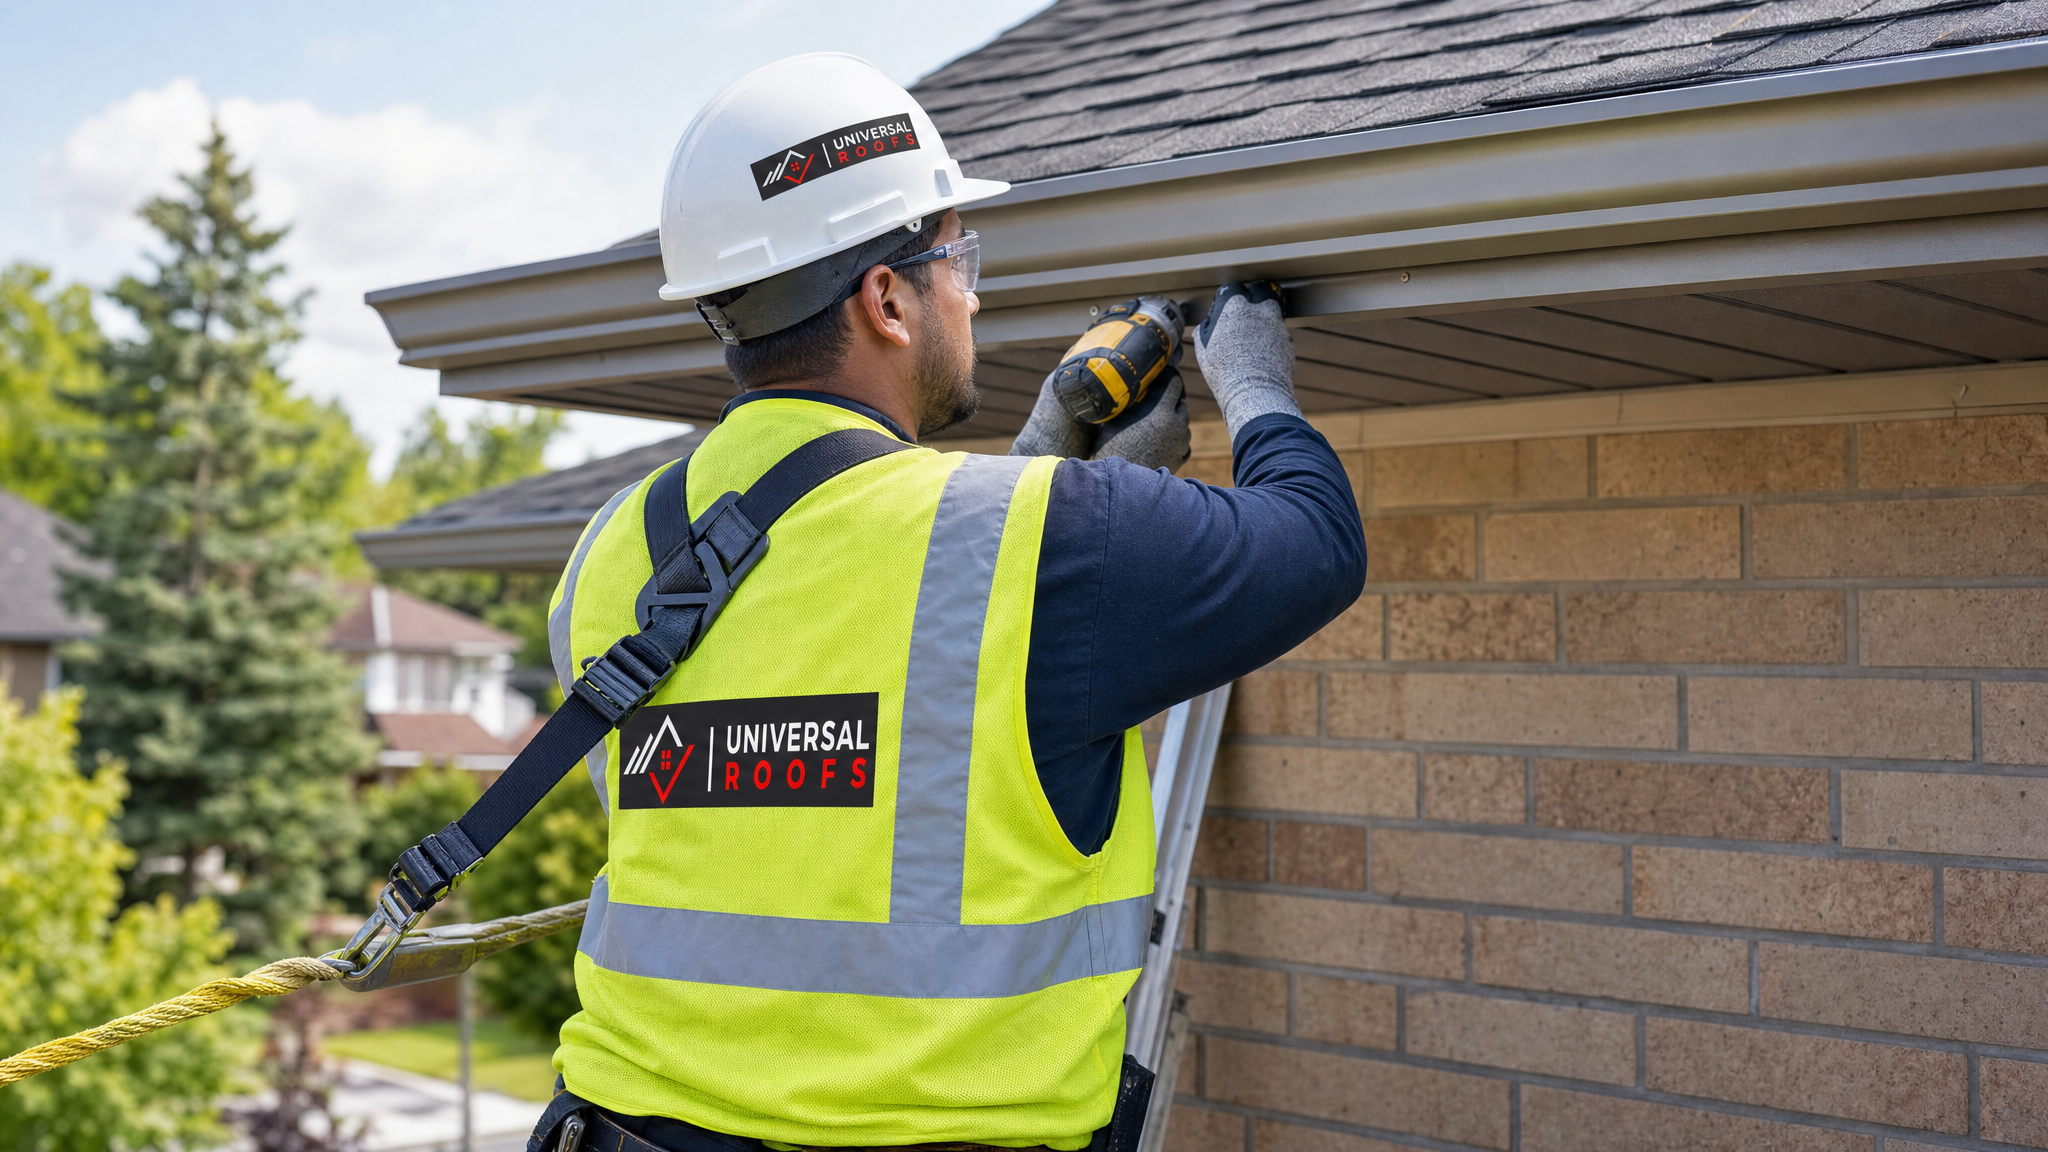
| Working height and fall protection | Extension ladder, limited harness use | Proper fall protection, harness and rope anchored per safety code |
| Diagnosis depth | Visible damage only | Rafter tails, fasteners, ventilation balance, gutter slope checked |
| Material matching | Hardware store stock, approximate colour match | Colour-matched, code-compliant venting ratio calculated for the attic |
| Warranty coverage | None beyond the material manufacturer | Workmanship warranty on labour and installation |
| Typical result lifespan | 2-7 years before recurrence if root cause missed | 15-30+ years depending on material chosen |
| Insurance and liability | Homeowner assumes all risk of falls or damage | Licenced and insured crew covers on-site risk |
None of this means every soffit issue requires a professional. A hairline caulking gap or repainting a fascia board that is structurally sound are reasonable weekend tasks for a confident homeowner with proper ladder safety equipment. The distinction that matters is whether the problem is cosmetic or whether it touches structure, ventilation, or working height — and most calls we receive turn out to be the latter once we get eyes on the rafter tails.
What a Professional Repair Sequence Actually Looks Like
Whether you hire the work out or simply want to understand what should be happening above your head, a properly executed professional repair follows a consistent sequence.
- Disconnect the eavestrough section overlapping the damaged area, since the gutter hangers are mounted directly to the fascia.
- Strip back damaged soffit panels to expose the fascia board and rafter tails, checking each rafter tail for soft wood.
- Replace or sister any compromised rafter tails before new fascia goes up — skipping this step is the most common reason a “repaired” fascia fails again within a year.
- Install new or repaired fascia board, using corrosion-resistant fasteners spaced to manufacturer specification.
- Cut and fit new soffit panels, maintaining the correct vented-to-solid ratio for the attic’s ventilation needs.
- Rehang or upgrade the eavestrough, confirming slope so water drains toward the downspouts rather than pooling against the new fascia.
- Seal all joints and end caps with sealant rated for the temperature swings the GTA sees between summer humidity and winter freeze-thaw cycles.
- Perform a final ventilation check, confirming soffit intake is balanced against ridge or roof vent exhaust.
That last step is the one homeowners most often skip without realizing it, since a solid (non-vented) panel installed for convenience looks identical from the ground to a properly vented one. We have inspected plenty of roofs where a well-intentioned DIY repair quietly starved the attic of airflow for years before anyone noticed the resulting moisture damage.
The Cost of Getting It Wrong the First Time
The financial case for professional work is not just about the repair itself — it is about avoiding a second repair, or a repair to something the first attempt damaged. The table below breaks down realistic scenarios we see across the region.
| Scenario | Typical Cost Range (CAD) | Notes |
|---|---|---|
| Professional spot repair, done right the first time | $300 – $800 | Includes fastener and rafter tail check |
| DIY patch that fails and needs professional correction | $600 – $1,500 | Original materials often need to be removed and redone |
| Professional single-section replacement | $1,200 – $2,800 | 10-20 linear metres, aluminum |
| Rafter tail rot caught early vs. left to spread | $1,800 – $4,500 vs. $6,000+ | Structural repair cost roughly doubles once framing is affected |
| Whole-house replacement after prolonged neglect | $4,500 – $12,000 | Often combined with eavestrough replacement |
The pattern in this data is consistent: the cost of doing it professionally the first time is almost always lower than the combined cost of a DIY attempt plus the professional correction that follows it. This is especially true when a missed rafter tail issue is allowed to progress, since structural repair costs do not increase gradually — they roughly double once framing is involved rather than just cladding.
Material and Workmanship: Why the Combination Matters
Choosing the right material is only half the equation. The same aluminum, wood, or vinyl panel installed with proper fastening, correct venting, and sealed joints will outperform an identical material installed without attention to those details.
| Material | Average Lifespan (Professional Install) | Common Result of DIY Install |
|---|---|---|
| Aluminum (pre-finished) | 30-40 years | Oil-canning or loose panels from improper fastener spacing |
| Painted wood | 10-15 years with proper priming on all sides | Premature rot when only the visible face is primed |
| Vinyl | 20-25 years | Cracking in cold weather from over-tightened fasteners restricting expansion |
| Engineered wood or fibre-cement | 25-30 years | Joint failure when cut edges are not sealed before installation |
Aluminum remains the material we install most often across Toronto, Mississauga, and the surrounding suburbs, since it withstands our freeze-thaw cycles without the repainting schedule that wood demands. But the table above illustrates the real point: even the most durable material can underperform its rated lifespan if the installation details — fastener spacing, expansion allowance, sealed cut edges — are handled without the experience of doing this work repeatedly across hundreds of GTA rooflines.
When Professional Repair Stops Being Optional
Certain situations move soffit and fascia work firmly out of DIY territory, regardless of a homeowner’s confidence or comfort with tools.
- Working height beyond a standard extension ladder’s safe reach, where proper fall protection with a harness and anchored rope becomes necessary rather than optional
- Any soft or spongy wood detected at the fascia or rafter tails, since this indicates rot that has already moved past the surface into structural material
- Visible sagging across an entire soffit run rather than a single isolated section, which usually means the fastening system itself has failed
- Active pest entry, where sealing an entry point without addressing what attracted the animal in the first place often just relocates the problem
- Ice damming concentrated at the eaves in winter, which frequently traces back to a soffit ventilation imbalance that requires a calculated fix, not a guess
- Any work coordinated with eavestrough replacement, since disconnecting and rehanging gutters without damaging hangers or losing proper slope takes practiced technique
If your assessment genuinely comes down to matching a paint colour on an otherwise solid board, that is DIY-friendly territory. Anything touching rafter tails, ventilation calculations, or work more than a storey off the ground is worth having assessed by a professional crew before panels come off. Homeowners weighing this decision can review verified experiences on our reviews page to see how past soffit and fascia projects were handled from first inspection through completion.
How This Work Connects to the Rest of Your Roof
Soffit and fascia rarely fail in isolation, which is another reason professional assessment tends to catch what a DIY approach misses. Because these components sit at the interface between the roof, the attic, and the gutters, a problem in one area frequently points to — or causes — a problem in another.
- Rotting fascia is frequently a symptom of a failing eavestrough, not an independent issue
- Poor soffit ventilation contributes to premature shingle aging and ice damming, tying directly into overall attic health
- Homes with older flat roofing sections often show fascia damage concentrated near the parapet or roof edge transition
- Deteriorated flashing near a skylight can direct extra water toward the soffit, which is worth checking if a skylight replacement is also overdue
- A full roof replacement project is often the most efficient time to address soffit and fascia together, since the roofline is already exposed
This is exactly why we recommend a full roofline assessment rather than treating soffit and fascia as an isolated cosmetic fix — addressing the visible symptom without tracing the underlying water path just guarantees a repeat call in a season or two.
Why Summer Is the Right Time to Address This
July through early October remains the best window for soffit and fascia work across the GTA. Warm, dry conditions allow sealants and adhesives to cure properly, and there is no risk of an active ice dam complicating the eavestrough disconnection step. Waiting until late fall means competing with roofers rushing to finish work before the first frost, and winter repairs are rarely advisable since most exterior sealants will not cure correctly below a certain temperature threshold.
If sagging soffit became obvious during spring melt, as is common when snow slides off the roof and pulls at loose fasteners, summer is exactly when to have it professionally assessed before autumn rains test the repair. Booking early in the season also tends to offer more scheduling flexibility before contractor calendars fill with fall reroofing projects.
Serving the Greater Toronto Area Since 2005
Universal Roofs has repaired and replaced soffit and fascia on residential properties across the Greater Toronto Area since 2005. Our crews regularly work throughout Toronto, Peel Region communities including Mississauga and Brampton, York Region municipalities such as Markham and Vaughan, Halton Region towns like Oakville and Burlington, and across Durham Region. Local experience is not a minor detail here — housing stock, roofline styles, and typical wind exposure vary enough across the GTA that the right repair approach for a 1960s Scarborough bungalow is not always right for a newer Vaughan two-storey.
If you are still weighing whether your situation calls for a simple repair or something more involved, our FAQ page answers many of the follow-up questions homeowners ask after their first inspection, and our about page covers how our crews are trained and equipped for this kind of work.
Why choose professional soffit and fascia repair over a DIY patch?
Is soffit and fascia repair actually safe to do myself?
What does a professional soffit and fascia repair include that a DIY fix usually misses?
How much more does professional soffit and fascia repair cost compared to DIY?
Can a bad soffit and fascia repair lead to bigger problems?
When is the best time to hire a professional for soffit and fascia repair?
Need Help With Why Choose Professional Soffit?
Every roofline is a little different, and the only way to know for certain whether your soffit and fascia need a quick, lasting repair or a more involved fix is a proper professional assessment. Universal Roofs has been assessing and repairing residential rooflines across the GTA since 2005, and we are happy to walk you through exactly what we find and why it matters.
Call us today at (416) 732-2421 or request a free inspection to get started.
Universal Roofs proudly serves Toronto, Mississauga, Brampton, Vaughan, Markham, Oakville and the GTA since 2005.