
If your upstairs bedrooms feel like a sauna in July and an icebox in January, the problem almost never starts with your furnace or air conditioner. It starts on the roof. Improving roof efficiency, ventilation and insulation together is the single most cost-effective way to lower energy bills, prevent premature shingle failure, and stop ice damming before it starts — and the three components only work when they’re balanced as a system, not fixed one at a time.
Most GTA homes built before the early 2000s were insulated to a standard that no longer meets today’s energy codes, and many attics have ventilation that was adequate for the roof design of 1985 but not for the darker, denser shingles and tighter building envelopes common now. The result is a roof deck that runs hotter in summer, colder unevenly in winter, and a home that fights its own attic year-round.
This guide walks through how attic ventilation and insulation interact, what the National Building Code and Ontario Building Code expect, how to diagnose a poorly performing attic, and what it actually costs to fix. We’ll also cover the roofing-specific side of the equation — because a well-insulated attic paired with the wrong roofing assembly still won’t deliver the energy savings or shingle lifespan homeowners expect.
Why Roof Efficiency Depends on Ventilation and Insulation Working Together
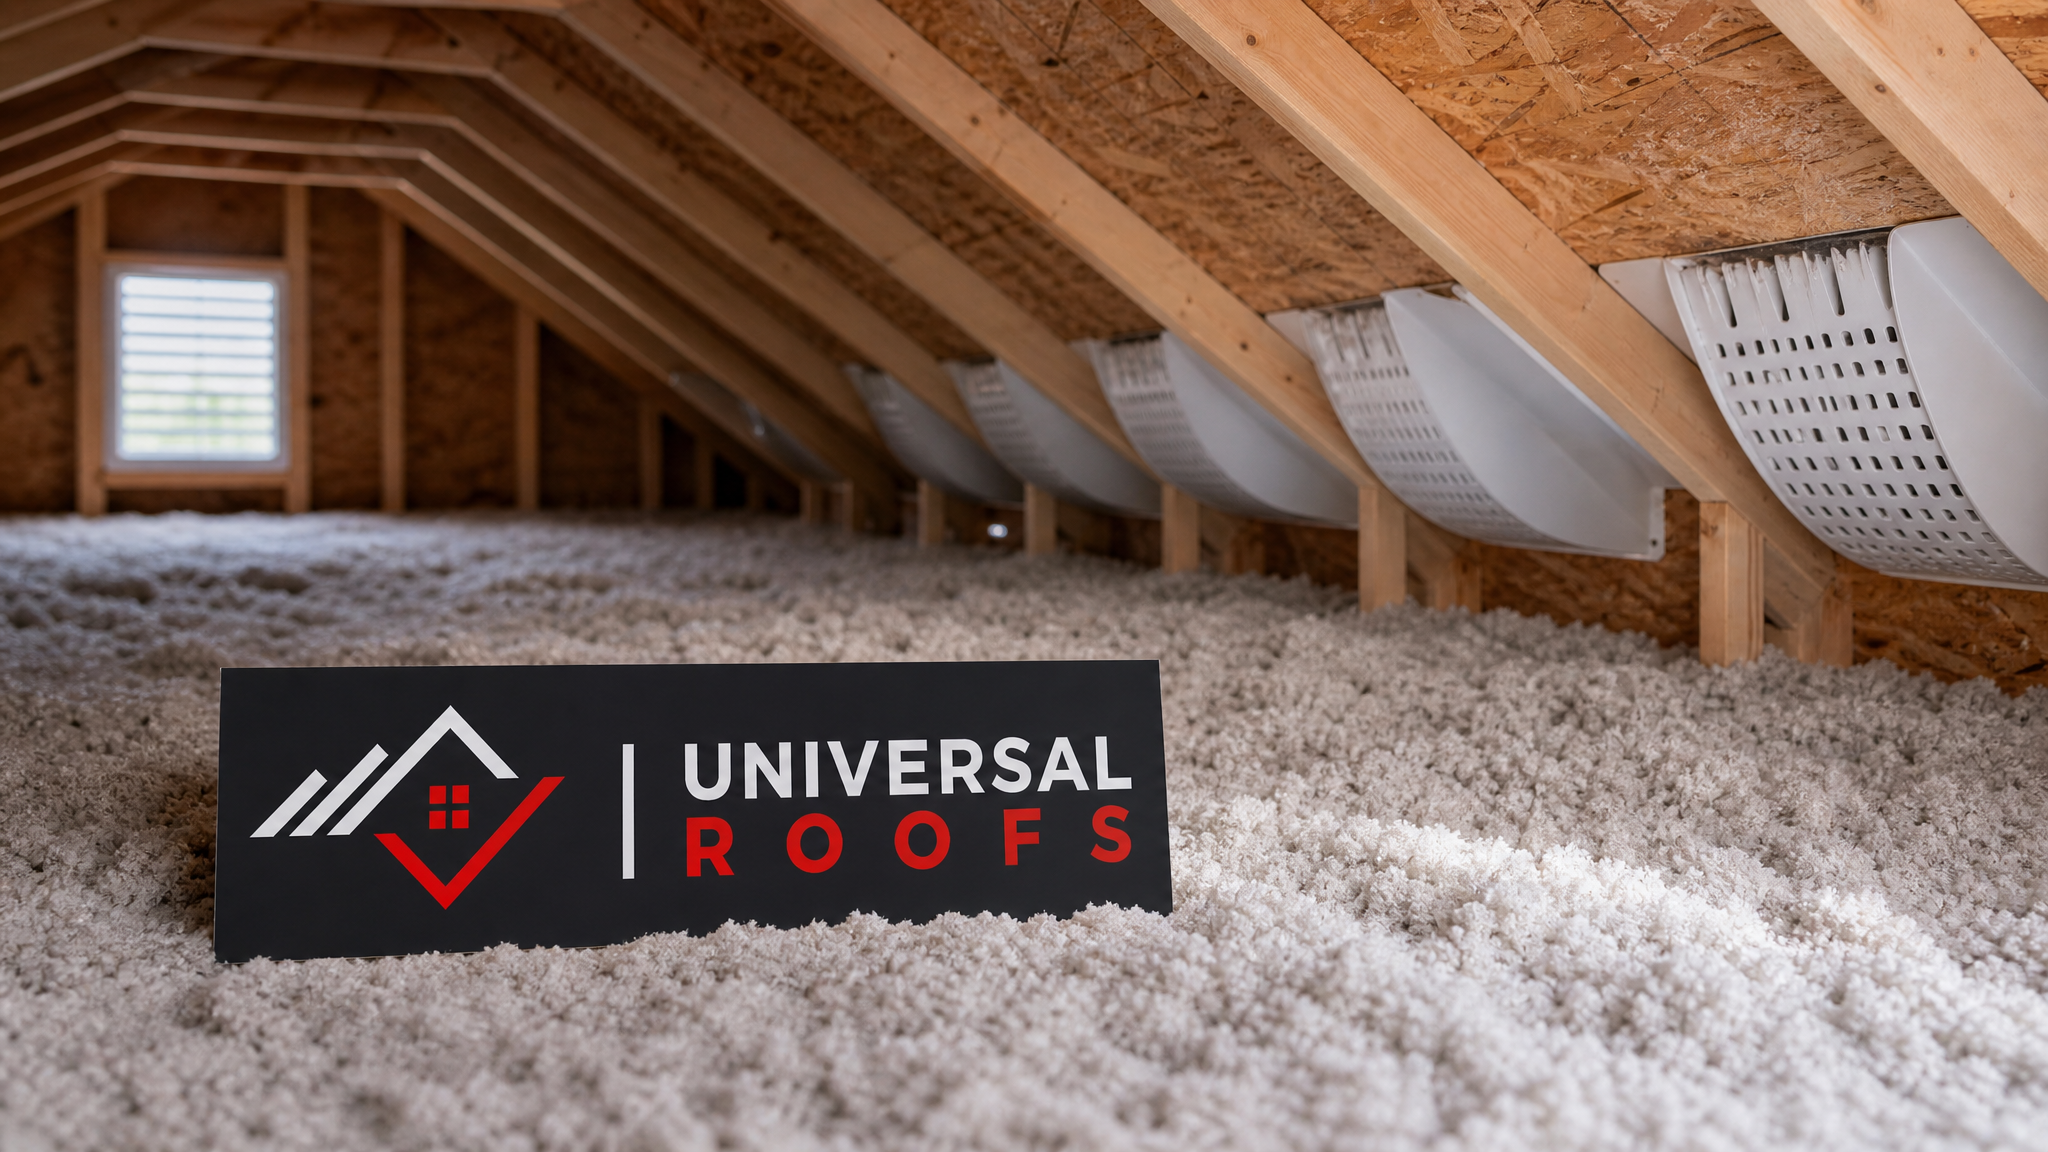
Homeowners often treat insulation and ventilation as separate line items on a renovation quote, but they’re really two halves of the same mechanism. Insulation’s job is to slow heat transfer between the living space below and the attic above. Ventilation’s job is to move outside air through the attic so that whatever heat and moisture do get past the insulation are carried away before they cause damage.
When insulation is thin or has gaps, warm household air rises into the attic and heats the underside of the roof deck. In winter, that warm deck melts snow, which refreezes at the cold eaves and forms ice dams. In summer, that same escaping heat combines with solar gain on the shingles to push attic temperatures well above outdoor air temperature, which accelerates the aging of asphalt shingles and can void manufacturer warranties.
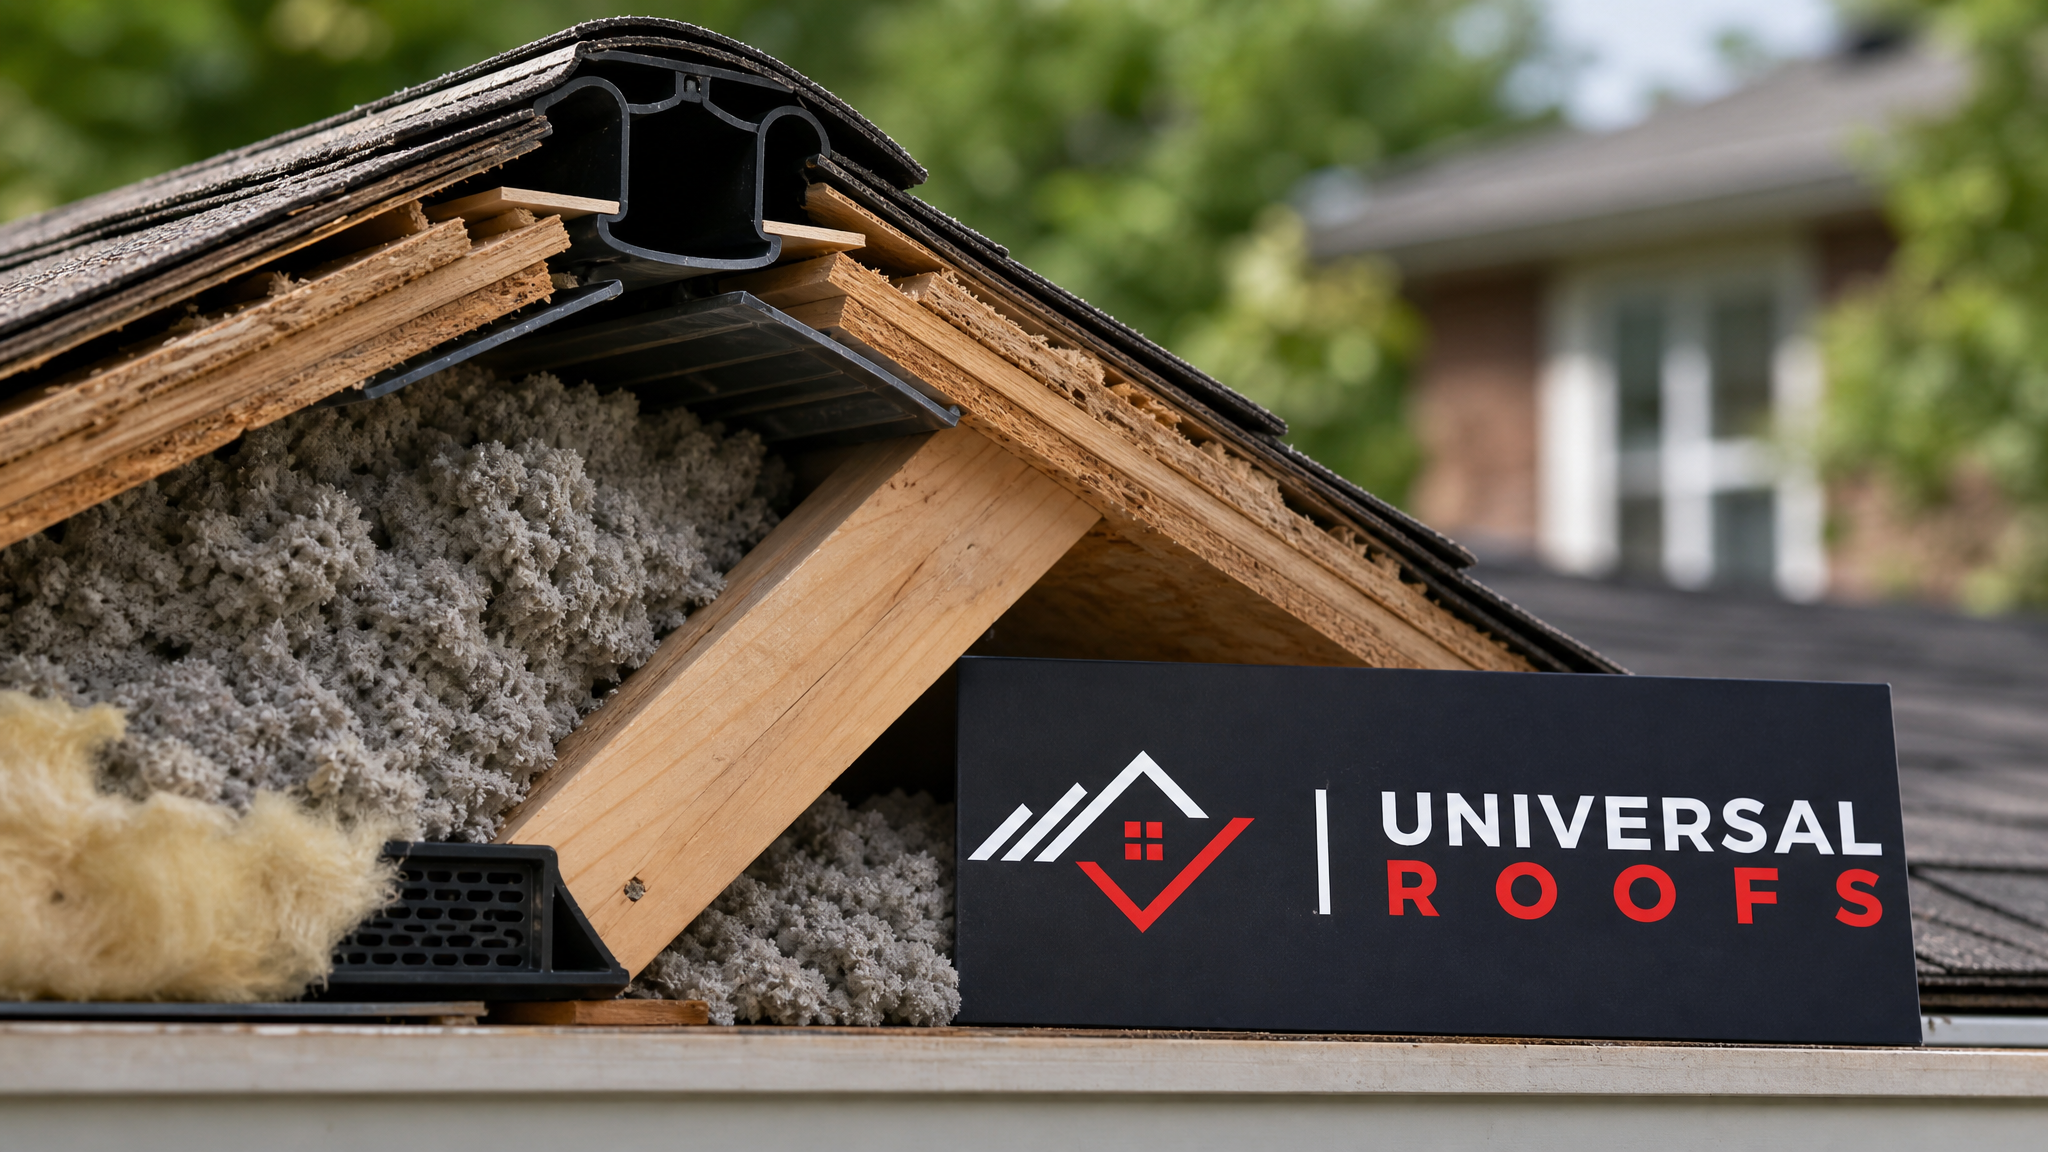
Ventilation alone can’t fix a poorly insulated attic, and insulation alone can’t fix an attic with no airflow. A soffit-to-ridge intake-and-exhaust system needs a continuous, unobstructed air channel, and that channel needs to sit above an air-sealed, adequately insulated ceiling plane. Get one right and the other wrong, and you’ll still see moisture staining, mould on the sheathing, or granule loss on shingles within a few years. This is why any serious roof repair or roof replacement project should include an attic assessment, not just a shingle swap.
Recommended Insulation Levels for Ontario Homes
The Ontario Building Code, referencing the National Building Code’s climate zone tables, sets minimum attic insulation levels based on heating degree days. Most of the Greater Toronto Area falls into a zone requiring roughly RSI 8.8 to RSI 10.6 (R-50 to R-60) of insulation in attic spaces for new construction, though many existing homes built decades ago sit at R-20 to R-30 or less. Upgrading to current recommended levels is one of the highest-return retrofits a homeowner can make.
| Insulation Type | R-Value per Inch | Typical Attic Cost (per sq ft) | Best Use Case |
|---|---|---|---|
| Blown-in fibreglass | R-2.2 to R-2.7 | $1.50 – $2.50 | Open attics, topping up existing insulation |
| Blown-in cellulose | R-3.2 to R-3.8 | $1.75 – $2.75 | Higher density coverage, better sound dampening |
| Batt fibreglass | R-3.0 to R-3.8 | $1.25 – $2.00 | New construction, accessible joist bays |
| Spray foam (closed-cell) | R-6.0 to R-6.5 | $4.50 – $7.00 | Cathedral ceilings, air sealing combined with insulating |
| Rigid foam board | R-4.0 to R-6.5 | $2.00 – $3.50 | Flat and low-slope roof assemblies |
Blown-in fibreglass and cellulose remain the most common choices for topping up standard pitched attics in the GTA because they’re fast to install and inexpensive relative to the R-value gained. Spray foam costs more but is often the right call for cathedral ceilings or homes with complicated roof geometry where a continuous air channel above insulation isn’t practical.
How Attic Ventilation Should Be Balanced
Building codes typically require a minimum of 1 square foot of net free ventilation area for every 300 square feet of attic floor area, split roughly 50/50 between intake (soffit vents) and exhaust (ridge, roof, or gable vents), assuming a vapour barrier is properly installed on the warm side of the insulation. Without a vapour barrier, the ratio tightens to 1:150.
The most common mistake we see on inspections isn’t a lack of vents — it’s an imbalance between intake and exhaust, or exhaust vents that are starved because insulation has been blown directly against the soffit and blocked the airflow channel. Baffles (also called rafter vents) installed at each rafter bay before insulating are inexpensive and solve this almost entirely.
| Ventilation Type | Location | Function | Approx. Cost Installed |
|---|---|---|---|
| Continuous soffit vents | Underside of eaves | Intake | $4 – $8 per linear foot |
| Ridge vent | Peak of roof | Exhaust | $6 – $10 per linear foot |
| Static roof vents (box vents) | Upper roof slope | Exhaust | $150 – $250 per vent |
| Power/turbine vents | Upper roof slope | Exhaust (active) | $300 – $600 per unit |
| Gable end vents | Gable walls | Intake/exhaust | $150 – $350 per vent |
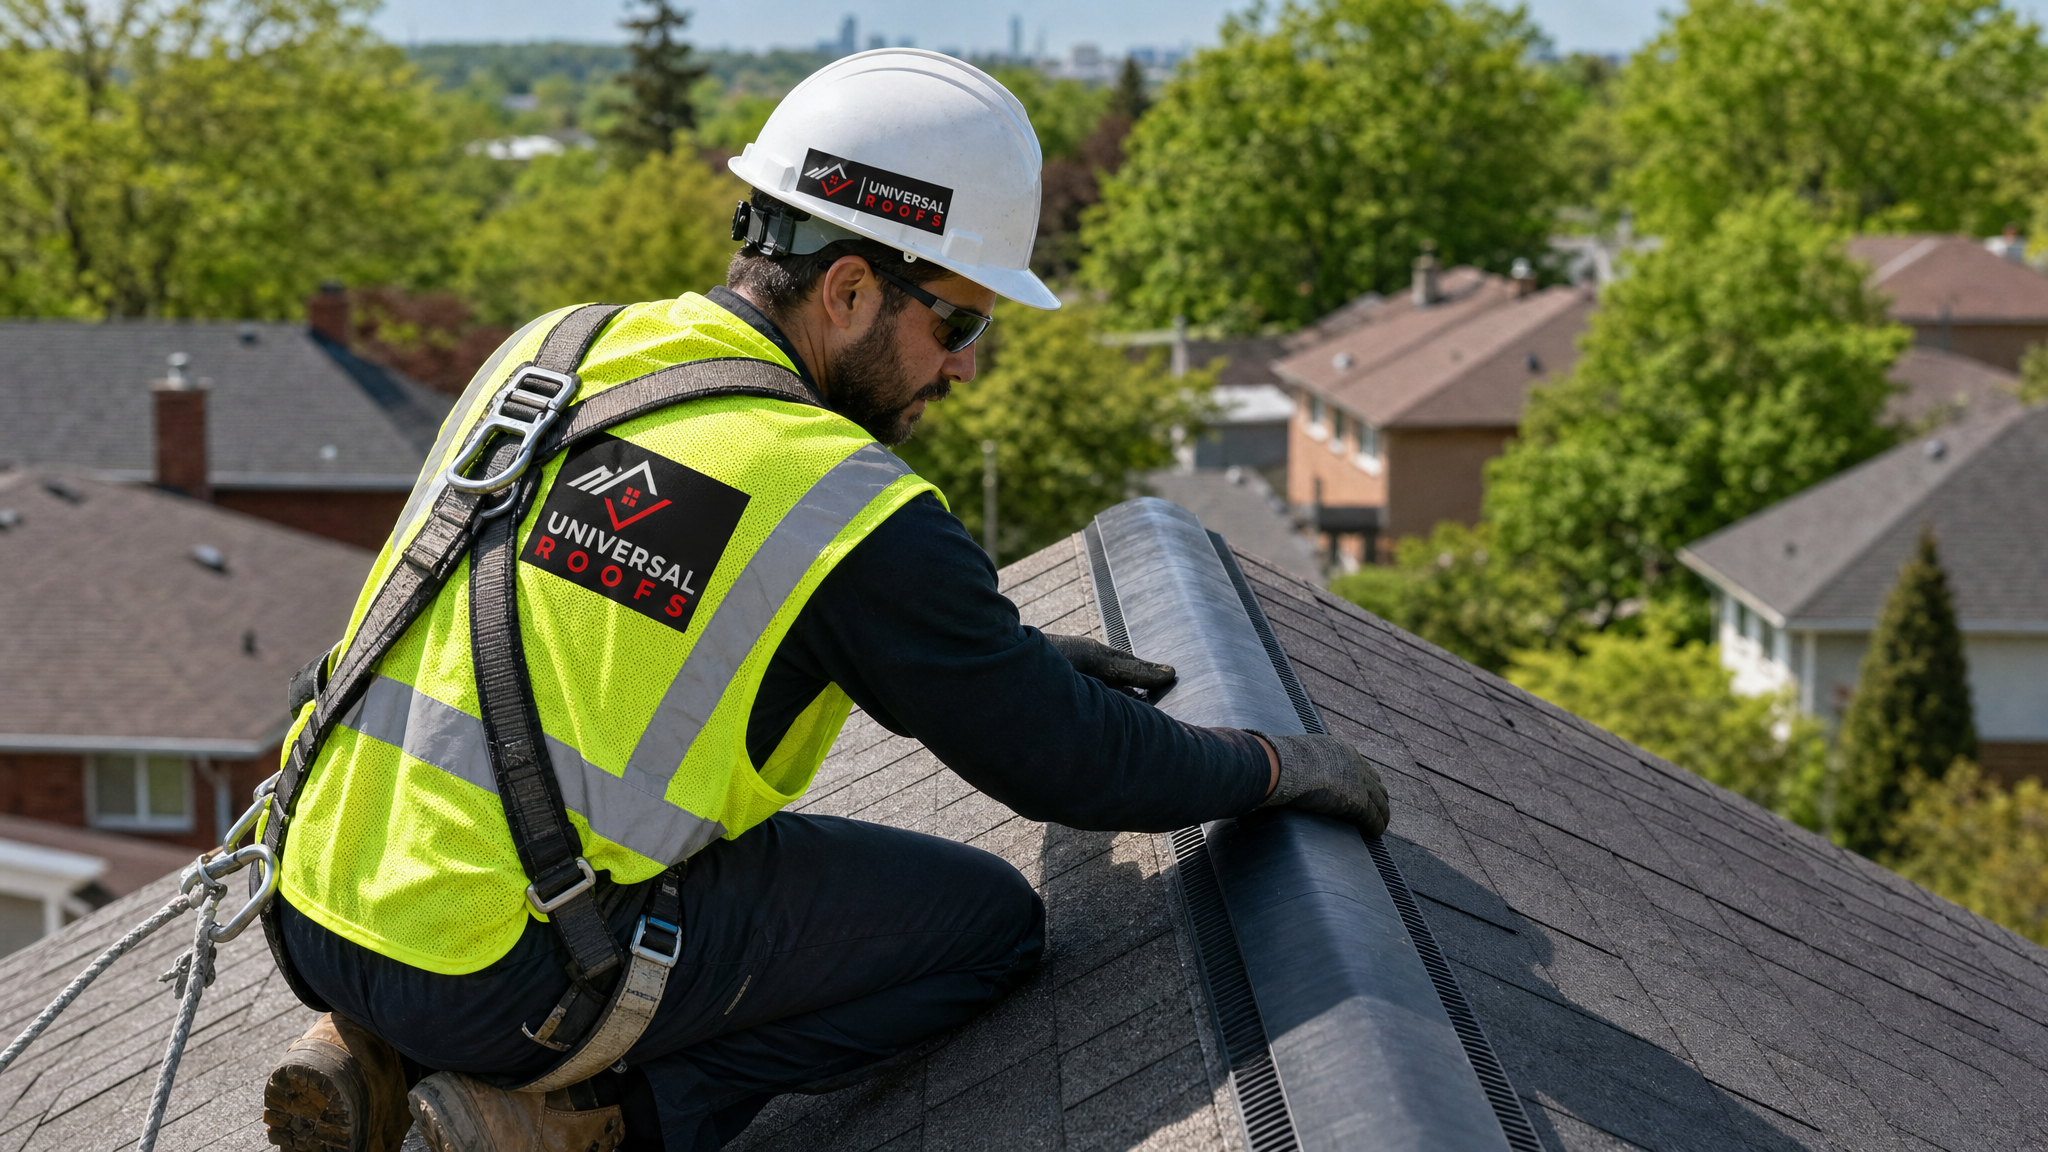
Ridge vents combined with continuous soffit vents are generally the most effective and lowest-maintenance option for a standard gable roof because they create passive, even airflow along the entire underside of the deck without moving parts. Power vents can help in problem attics but shouldn’t be relied on as the only fix — if intake is blocked, a power vent will simply pull conditioned air out of the living space through ceiling gaps instead of pulling fresh air through the soffits, which wastes energy rather than saving it.
Signs Your Roof Has a Ventilation or Insulation Problem
Many homeowners only think about their attic when a leak appears, but ventilation and insulation problems usually show warning signs long before water gets in. Watch for these indicators, especially heading into the shoulder seasons when temperature swings make problems more visible:
- Ice dams or icicles forming along the eaves in winter, even after light snowfalls
- Visible frost or moisture on the underside of the roof deck when viewed from inside the attic
- Uneven snow melt on the roof — patches that clear faster than the rest of the slope
- Musty odours in upstairs closets or bedrooms
- Noticeably higher heating and cooling bills compared to similarly sized neighbouring homes
- Curling, cracking, or granule loss on shingles well before their rated lifespan
- Mould or discoloured sheathing visible from the attic hatch
- Rooms directly under the roof that are uncomfortably hot in summer or cold in winter
If you’re noticing several of these at once, it’s worth having a contractor look at both the attic and the roof assembly together rather than treating them as separate problems. A quick assessment through our attic services team can usually identify whether the root cause is insulation, ventilation, air sealing, or some combination of all three.
Air Sealing: The Step Homeowners Skip
Before adding a single bag of insulation, the attic floor should be air sealed. Warm, moist household air escapes into the attic through gaps far more efficiently than it conducts through insulation, and even R-60 insulation can’t compensate for a leaky ceiling plane. The biggest culprits are usually:
- Recessed pot lights without air-tight housings
- Plumbing and electrical penetrations through the top plate
- Bathroom and kitchen exhaust fans vented into the attic instead of outside (a common and serious defect)
- Gaps around the attic hatch or pull-down stair frame
- Chimney chases and furnace flue penetrations
Sealing these points with fire-rated caulking, foam gaskets, or spray foam before insulation is added typically costs a few hundred dollars but can reduce attic heat and moisture loading more than doubling the insulation depth would on its own. Any bathroom fan venting directly into the attic (rather than through a proper roof or wall cap) should be corrected immediately — it’s one of the fastest ways to rot a roof deck from the inside.
How Roofing Material and Colour Affect Efficiency
Once the attic assembly is sorted, the roofing material itself plays a real role in overall efficiency. Darker shingles absorb more solar radiation and run hotter, which increases the cooling load on the attic below and can shorten shingle life through faster thermal cycling. Lighter or “cool roof” rated shingles reflect more solar energy and reduce peak attic temperatures, sometimes by a noticeable margin during Toronto’s humid summer stretches.
| Roofing Factor | Effect on Attic Temperature | Effect on Energy Bills | Notes |
|---|---|---|---|
| Dark asphalt shingles | Higher peak temperatures | Higher summer cooling costs | Common on GTA homes, still viable with good ventilation |
| Reflective/cool-roof shingles | Lower peak temperatures | Reduced cooling costs | Small cost premium, best on south/west exposures |
| Proper underlayment and ice-and-water shield | Reduces deck moisture absorption | Prevents costly water damage repairs | Code-required at eaves in Ontario |
| Poorly sealed flashing around skylights/vents | Localized heat and moisture leaks | Higher heating/cooling loss at penetrations | Common failure point, inspect annually |
Skylights and roof penetrations deserve special attention, since they interrupt the insulation and ventilation plane and are frequent sources of both heat loss and condensation if not detailed correctly. If you’re planning new skylights or noticing condensation around existing ones, our skylights and skylight replacement pages cover the insulated, properly flashed options that won’t undermine the rest of your attic’s performance. Similarly, flat and low-slope sections common on additions or garages need a different insulation and ventilation strategy than a pitched attic; see our flat roofing page for details specific to those assemblies.
The Cost and Payback of a Combined Ventilation and Insulation Upgrade
Homeowners naturally want to know what a proper upgrade costs and how quickly it pays for itself. Costs vary with attic size, accessibility, and current insulation depth, but here’s a realistic range for a typical GTA detached home (roughly 1,200 to 1,800 square feet of attic floor area):
| Upgrade Component | Typical Total Cost | Estimated Timeline | Typical Payback Period |
|---|---|---|---|
| Air sealing attic penetrations | $300 – $800 | Half a day | 1 – 2 years |
| Top-up blown-in insulation to code | $1,200 – $2,800 | 1 day | 3 – 6 years |
| Soffit and ridge vent installation/upgrade | $800 – $2,500 | 1 – 2 days | 4 – 7 years |
| Full attic remediation (seal + insulate + ventilate) | $2,500 – $5,500 | 2 – 3 days | 4 – 6 years combined |
| Cool-roof shingle upgrade at re-roof time | +$500 – $1,500 over standard shingles | Included in re-roof timeline | 5 – 8 years |
These numbers assume a straightforward attic with reasonable access. Homes with knee walls, multiple roof lines, or finished attic spaces often cost more because the ventilation channels and insulation cavities are harder to reach and require more careful detailing. Government and utility rebate programmes periodically offer incentives for attic insulation upgrades in Ontario, which can meaningfully shorten these payback periods — it’s worth checking current programme availability before starting work.
DIY Versus Professional Attic Work: What’s Realistic
Topping up loose-fill insulation over an existing, well-air-sealed attic with clear baffles already in place is a job many homeowners can reasonably tackle themselves with a rented blower from a hardware store. However, most of the value in a ventilation and insulation upgrade comes from diagnosis and detailing work that’s much harder to get right without experience:
- Correctly sizing and balancing intake versus exhaust vent area for the specific roof geometry
- Installing baffles at every rafter bay without gaps, especially at hip and valley areas
- Identifying and properly rerouting bathroom fans that vent into the attic
- Air sealing top plates, chimney chases, and other penetrations to code with fire-rated materials
- Coordinating attic work with re-roofing so that ridge vents, ice-and-water shield, and underlayment are installed as one integrated system rather than as an afterthought
A professional assessment typically pays for itself by catching problems — like a blocked soffit vent channel or a bathroom fan venting straight into the insulation — that a DIY approach would likely miss entirely, since they’re only visible once the insulation is pulled back or the roof deck is exposed.
Seasonal Timing for Ventilation and Insulation Work in the GTA
Summer is actually one of the better times of year to tackle attic ventilation and insulation upgrades in the Greater Toronto Area. Attic access is easier when there’s no snow load on the roof, contractors can properly inspect soffit and ridge vent lines without ice or debris interference, and any re-roofing needed to add or upgrade ridge ventilation benefits from stable, dry summer weather for proper shingle sealing.
Getting the work done before autumn also means the upgraded system is in place before the first freeze-thaw cycles of the following winter, which is when poor ventilation and insulation cause the most visible damage through ice damming. Waiting until December to notice ice building up at your eaves means the underlying attic problem has likely been building for months, or years.
Choosing a Contractor for a Ventilation and Insulation Assessment
Because ventilation, insulation, and roofing are so interdependent, it’s worth choosing a contractor who assesses all three together rather than one who only quotes insulation top-up or only quotes shingles. Ask any contractor you’re considering:
- Will you inspect the attic from inside, not just estimate from the roof exterior?
- What’s your recommended intake-to-exhaust vent ratio for this specific roof?
- Will you check for bathroom or kitchen fans venting into the attic?
- What insulation R-value do you recommend, and does it meet current Ontario code minimums?
- Can you provide before-and-after photos or a written scope of the air sealing work?
Universal Roofs has been assessing and upgrading attic ventilation and insulation systems across the GTA since 2005, and our crews coordinate the roofing, ventilation, and insulation scope as a single project so nothing falls through the cracks between trades. You can read what past clients have said on our reviews page, or browse common questions on our FAQ page before booking an assessment. Learn more about our history and crews on the about page.
We regularly work on attic and roofing systems throughout Toronto, the Peel Region, York Region, Halton Region, and Durham Region, so our recommendations account for the specific freeze-thaw patterns and building stock common to each area.
What is the fastest way to start improving roof efficiency, ventilation and insulation on an older home?
How much insulation do I need in my attic in Ontario?
Can improving attic ventilation alone stop ice dams?
Do I need to replace my roof to fix ventilation problems?
Why is my bathroom fan making my attic and roof problems worse?
What time of year is best to upgrade roof insulation and ventilation in the GTA?
Need Help With Improving Roof Efficiency Ventilation?
Whether you’re dealing with ice dams every winter, uncomfortably hot upstairs rooms every summer, or simply want to lower your energy bills, Universal Roofs can assess your attic’s insulation, air sealing, and ventilation as one coordinated system rather than a patchwork of separate fixes.
Call us today at (416) 732-2421 or request a free inspection to get started.
Universal Roofs proudly serves Toronto, Mississauga, Brampton, Vaughan, Markham, Oakville and the GTA since 2005.