
A worn-out roof has a way of turning into an emergency at the worst possible moment, and once it does, homeowners often assume a full replacement means an unavoidable five-figure hit to their savings. It doesn’t have to. A budget friendly roof replacement is entirely possible in the Greater Toronto Area if you understand the real cost drivers, plan the project in the right order, and know which corners are safe to trim and which ones will cost you far more down the road. This guide walks through the exact process, step by step, that homeowners across Toronto, Mississauga, Brampton, Vaughan, Markham, Oakville and the surrounding GTA use to replace an aging roof without blowing their budget or their timeline.
Roofing in this region comes with its own rulebook. Freeze-thaw cycles, ice damming, heavy spring rain, and summer heat all put unique stress on a roof system, and skipping steps to save money upfront frequently ends up costing more in repairs, energy loss, or premature failure. The goal of a truly budget friendly roof replacement isn’t to buy the cheapest materials available — it’s to spend money only where it matters and avoid paying twice for the same job.
At Universal Roofs, we’ve walked hundreds of GTA homeowners through this exact process since 2005. What follows is the same step-by-step framework our estimators use on-site, adapted so you can plan your project with confidence before a single quote comes in.
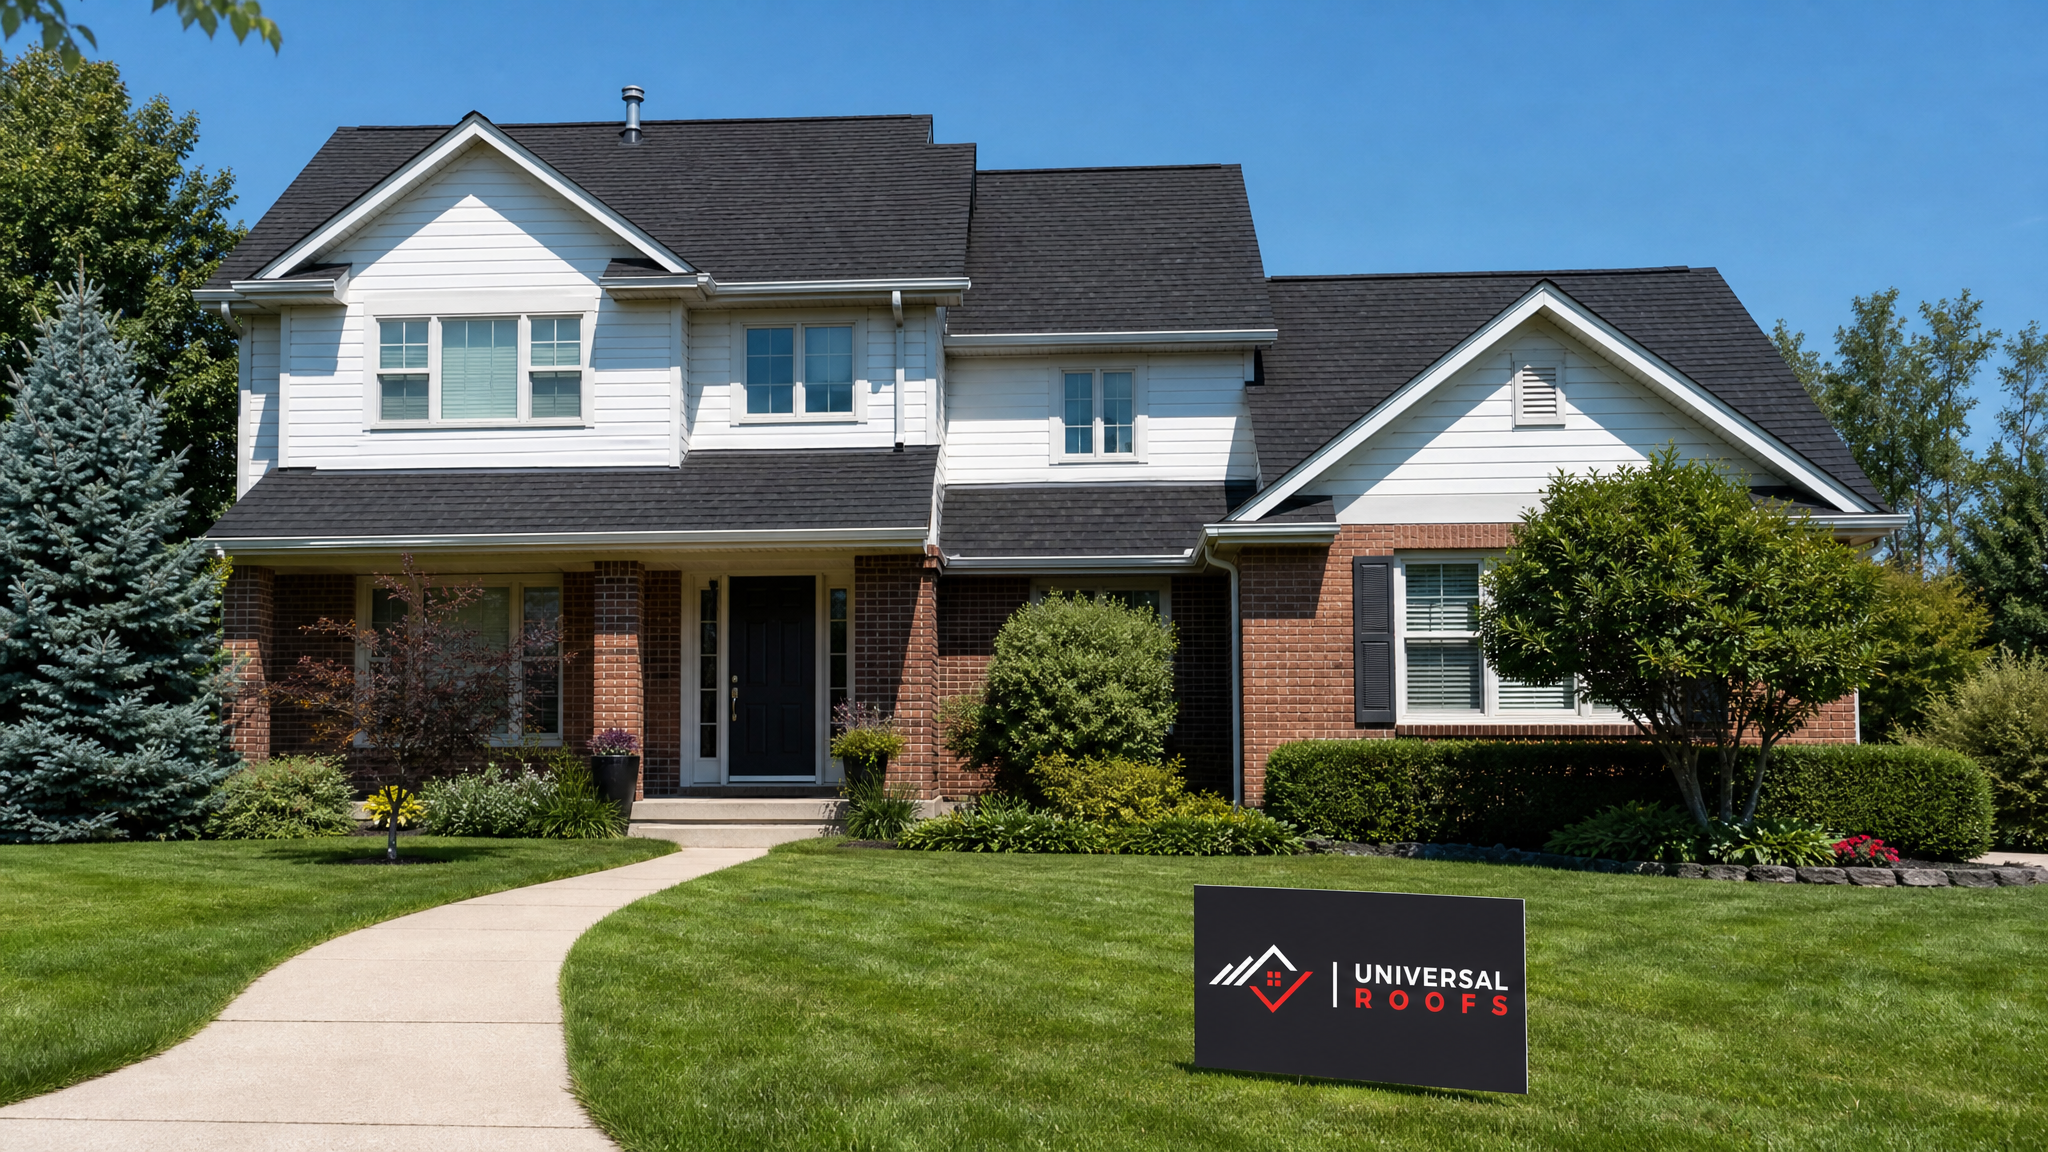
Step 1: Confirm You Actually Need a Full Replacement
The single biggest budget-saving decision in any roofing project happens before a shingle is ever removed: determining whether you need a full roof replacement at all, or whether a targeted roof repair will responsibly extend the life of your existing roof for another few years.
A budget friendly roof replacement plan starts with an honest inspection, not a sales pitch. Signs that point toward repair rather than full replacement include isolated leaks near a single vent pipe or chimney flashing, a handful of cracked or missing shingles after a windstorm, or minor granule loss in one section facing prevailing weather. Signs that point toward full replacement include widespread curling or cupping shingles across the whole roof, multiple soft or spongy spots in the decking, daylight visible through the attic roof boards, or a roof that is already past 20-25 years old for asphalt shingles.
| Symptom | Likely Fix | Approx. Cost Range (GTA) | Urgency |
|---|---|---|---|
| 1-2 missing or cracked shingles | Spot repair | $300 – $700 | Moderate |
| Isolated flashing leak (chimney/vent) | Flashing repair | $400 – $900 | High |
| Widespread granule loss / curling | Full replacement | $6,500 – $14,000+ | Moderate to high |
| Soft decking / visible daylight in attic | Full replacement with deck repair | $8,000 – $16,000+ | Urgent |
| Roof over 20 years old, multiple minor issues | Full replacement (preventive) | $6,500 – $14,000+ | Plan ahead |
If your inspection (or an inspection from a licensed contractor) confirms that replacement is genuinely the right call, the rest of this guide will help you keep that project on budget without sacrificing the parts of the job that actually protect your home.
Step 2: Understand Where Your Money Actually Goes
Most homeowners picture a roof replacement budget as one lump sum for “new shingles,” but a realistic quote breaks down into several categories, and knowing this breakdown is what lets you negotiate intelligently instead of guessing where to cut.
A typical asphalt shingle roof replacement budget on a standard GTA detached home breaks down roughly as follows: tear-off and disposal of the old roofing material, decking repair or replacement where needed, underlayment and ice-and-water shield (a non-negotiable in our climate), the shingles themselves, flashing and ventilation components, and labour. Labour and disposal together often make up 35-45% of the total invoice, which surprises a lot of people who assumed materials were the dominant cost.
| Budget Category | Typical Share of Total Cost | Where Homeowners Can Save |
|---|---|---|
| Tear-off & disposal | 10-15% | Bundle with replacement, avoid separate call-out |
| Decking repair | 5-15% (variable) | Address early to avoid mid-job surprises |
| Underlayment & ice/water shield | 8-12% | Do not cut here in the GTA climate |
| Shingles / roofing material | 25-35% | Choose a mid-tier architectural shingle |
| Flashing & ventilation | 8-12% | Reuse sound existing components when safe |
| Labour | 25-30% | Schedule in shoulder season for better rates |
Once you see the breakdown this way, the path to a genuinely budget friendly roof replacement becomes obvious: the savings live in scheduling, material tier selection, and avoiding scope surprises — not in skipping underlayment or hiring an uninsured crew to shave a few hundred dollars off labour.
Step 3: Choose the Right Material Tier for Your Budget
Asphalt shingles remain the most budget friendly roofing material for the vast majority of GTA homes, and within asphalt shingles there is still a meaningful range of options. Standard three-tab shingles are the least expensive option and can be a perfectly reasonable choice for a starter home, a rental property, or a homeowner planning to sell within a few years. Architectural (laminate) shingles cost more upfront but last longer, handle wind better, and typically carry a stronger warranty, which often makes them the better long-term value even on a tight budget.
If your home has a low-slope or flat section — common on additions, garages, and some bungalow designs — that section needs a different system entirely. Asphalt shingles are not rated for low-slope applications, and forcing them onto a flat section is one of the most common causes of leaks we get called out to fix. That portion of the roof should be quoted separately using a proper flat roofing membrane system.
| Material | Expected Lifespan | Relative Cost | Best For |
|---|---|---|---|
| 3-Tab Asphalt Shingle | 15-20 years | $ | Tight budgets, short-term ownership plans |
| Architectural (Laminate) Shingle | 25-30 years | $$ | Most GTA homeowners staying long-term |
| Premium Designer Shingle | 30-50 years | $$$ | Higher-end homes, resale-focused upgrades |
| Modified Bitumen / TPO (flat sections) | 15-25 years | $$ | Additions, garages, low-slope roofs |
A genuinely budget friendly roof replacement plan often means choosing a solid mid-tier architectural shingle rather than the absolute cheapest option, because the cost-per-year-of-service is usually better, and you avoid re-doing the job a decade sooner than necessary.
Step 4: Get Multiple Quotes and Read Them Line by Line
Never accept the first quote you receive, and never choose a contractor based on price alone without checking what is actually included. A cheap quote that excludes proper ice-and-water shield, adequate ventilation, or code-compliant flashing isn’t a budget friendly roof replacement — it’s a deferred expense that will show up as a leak in two or three years.
When comparing quotes, look specifically for: whether tear-off to bare decking is included or if they plan to layer over existing shingles (never recommended in our climate), whether ice-and-water shield is specified along eaves and valleys, whether the quote itemizes ventilation upgrades, and whether the warranty covers both materials and workmanship. A written scope of work protects you far more than a low number on a single page.
It’s also worth checking a contractor’s track record before signing anything. Reading through a company’s customer reviews and checking their company background will tell you more about how a job actually goes than any quote document can.
Step 5: Sequence the Project to Avoid Costly Surprises
One of the most overlooked budget-saving steps is sequencing the inspection properly before the crew shows up with a dumpster. Hidden decking damage is the single most common source of mid-project cost overruns, because it can only be confirmed once the old shingles are stripped away. A contractor who does a thorough pre-tear-off inspection — checking the attic for daylight, moisture staining, and soft spots from below — can give you a much more accurate estimate of decking repair costs before work begins, rather than surprising you with a change order halfway through.
While the roof is open is also the ideal time to address anything else in that system that needs attention, since access costs are already being paid for. This is the moment to evaluate your attic insulation and ventilation, since poor attic airflow is one of the leading causes of ice damming and premature shingle failure in the GTA. It’s also the right time to inspect any skylights for failing seals, since skylight flashing integrates directly with the surrounding shingle field. If a skylight is more than 15-20 years old, this is often the most cost-effective point to schedule a skylight replacement rather than paying for separate roof access later.
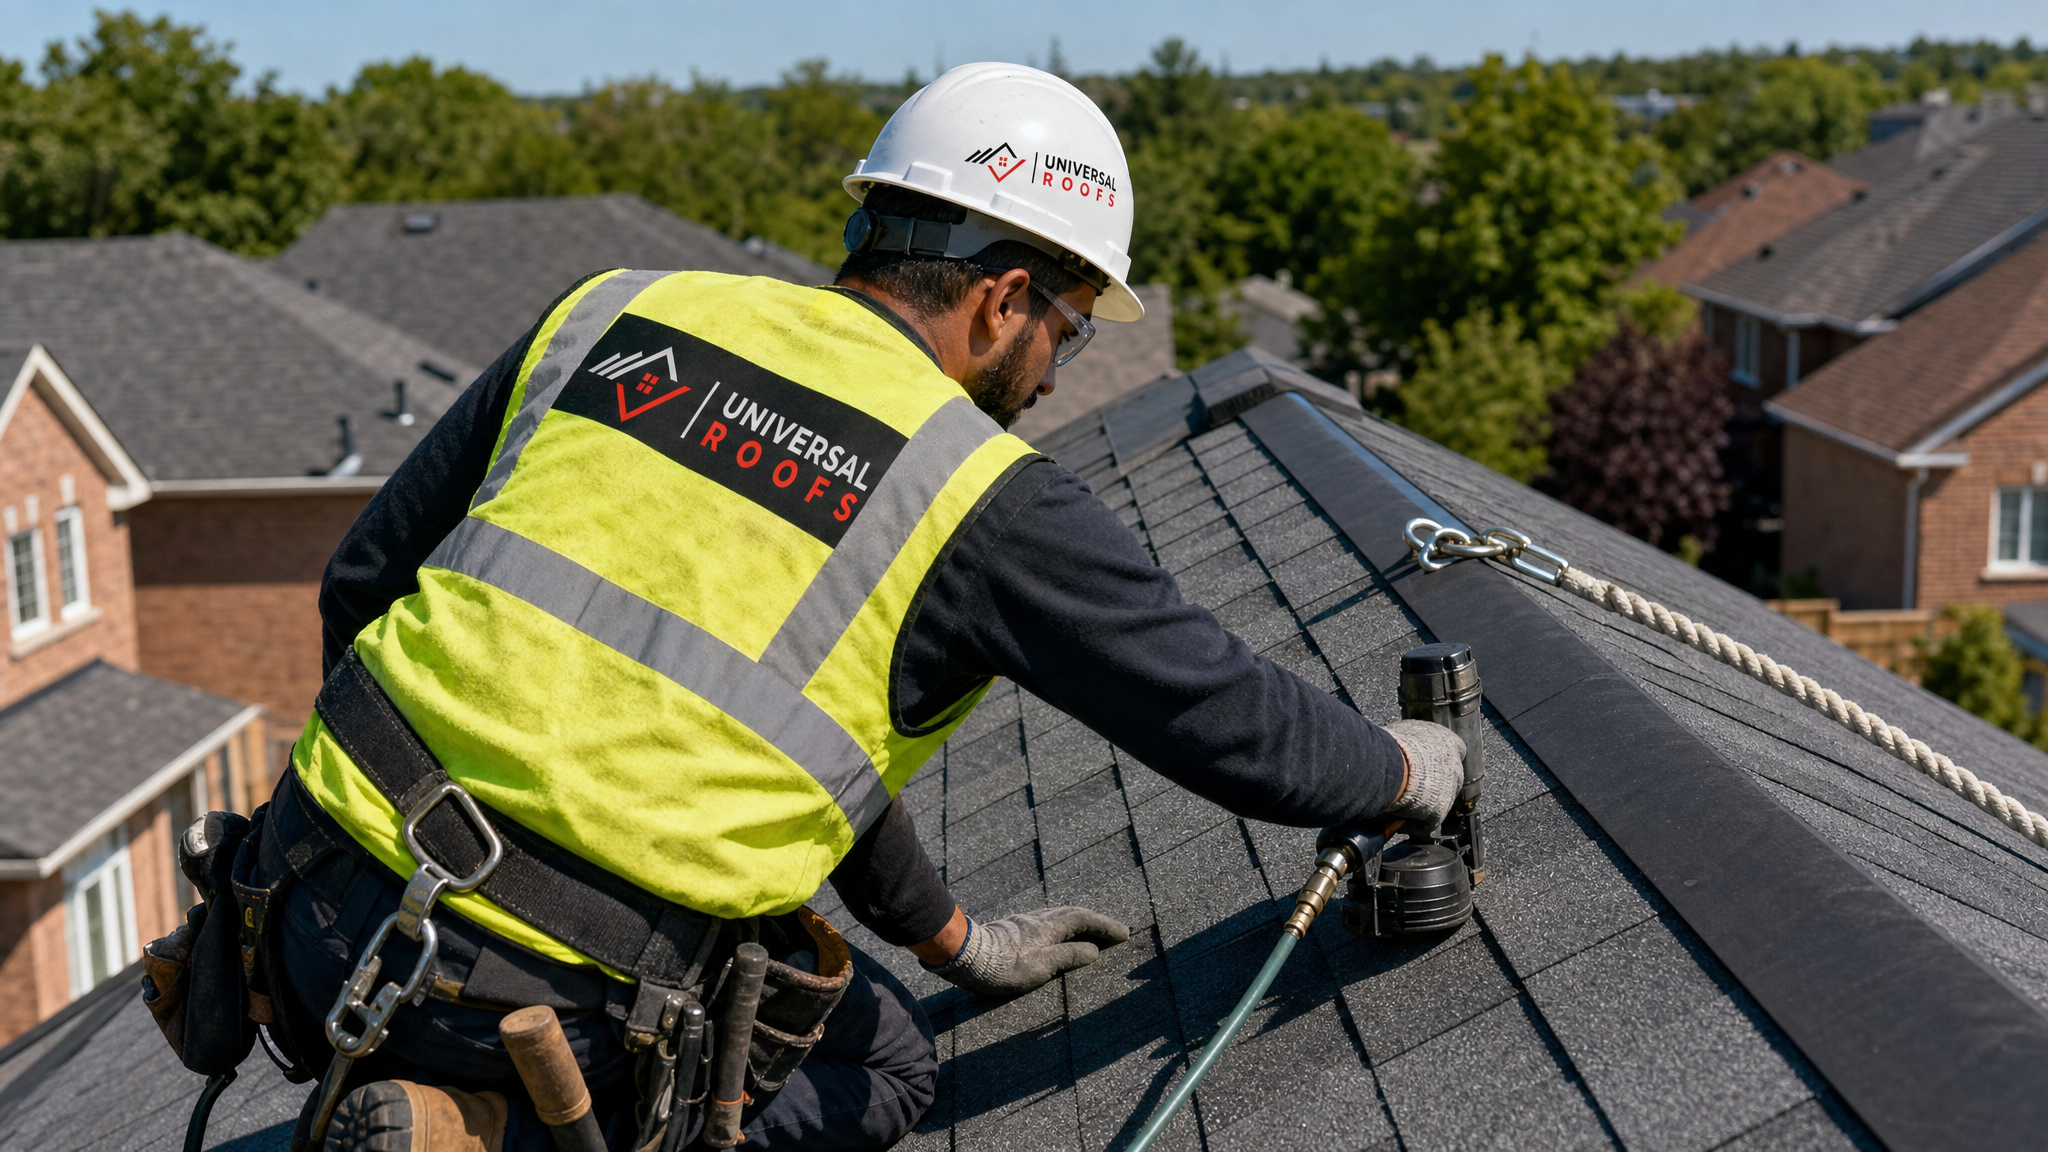
Step 6: Time Your Project for Better Pricing
Roofing demand across the GTA is highly seasonal, and timing your project can meaningfully affect price and availability. Spring and early summer bring a rush of homeowners addressing winter damage, which means contractors are booked out further and pricing is typically firmer. Late summer, as we’re in now, is often a strong window — crews are experienced from the busy season but scheduling still has flexibility before the autumn rush begins. Late fall carries urgency premiums as homeowners scramble to beat the first snowfall, and true winter installation is possible but limited by shingle sealing temperatures.
| Season | Demand Level | Pricing Impact | Scheduling Flexibility |
|---|---|---|---|
| Spring (Apr-Jun) | Very high | Firmest pricing | Low – book weeks ahead |
| Summer (Jul-Aug) | High | Standard pricing | Moderate |
| Early Fall (Sep-Oct) | High (urgency-driven) | Standard to firm | Moderate |
| Late Fall / Early Winter | Very high (weather deadline) | Rush premiums possible | Low |
| Winter (Dec-Feb) | Low | Best negotiating position | High, weather-dependent |
If your roof isn’t in immediate danger of failing, booking a mid-summer or off-peak slot and confirming your date early is one of the simplest ways to protect your budget without touching the material specification at all.
Step 7: Don’t Skip Ventilation and Ice Protection to Save Money
These are the two areas where GTA homeowners most often try to cut cost, and where doing so backfires the fastest. Proper attic ventilation keeps the underside of the roof deck at a consistent temperature, which prevents the freeze-thaw cycling that causes ice dams. Skimping on ventilation to save a few hundred dollars can shorten a shingle’s effective lifespan by years and void manufacturer warranties outright, since most shingle manufacturers require documented, code-compliant ventilation for their warranty to remain valid.
Ice-and-water shield membrane along eaves, valleys, and around penetrations is required by the Ontario Building Code in vulnerable areas for good reason — it is the layer that stops meltwater from backing up under shingles during a mid-winter thaw and finding its way into your attic. This membrane typically represents a relatively small percentage of total project cost, but it is responsible for preventing some of the most expensive water damage claims we see. Any quote that treats this as optional or upsells it as an “extra” should raise a flag.
Step 8: Explore Financing and Timing Options Without Overextending
A full roof replacement is a significant expense, and spreading the cost responsibly is a legitimate part of a budget friendly strategy — as long as it’s done carefully. Many GTA roofing contractors, ourselves included, offer financing plans that break a project into manageable monthly payments rather than requiring the full amount upfront. Homeowners should also check whether their home insurance policy covers any portion of the replacement, particularly if the damage stems from a specific storm event, since wind and hail damage claims can sometimes offset part of the cost.
It’s worth comparing at least two or three financing structures side by side: contractor-offered installment plans, a home equity line of credit, and a personal loan, weighing the interest rate and repayment term of each against the urgency of your project. A roof that is actively leaking justifies moving quickly even at a higher financing cost; a preventive replacement on an aging-but-intact roof gives you room to shop for the best terms.
Step 9: Plan for Disruption and Protect Your Property
A well-run, budget-conscious roof replacement also accounts for the practical side of the job — protecting landscaping, driveways, and vehicles during tear-off, and confirming a clear plan for debris removal and nail cleanup. Ask your contractor directly how they protect gutters, windows, and gardens during tear-off, and whether magnetic nail sweeps are part of their standard cleanup process. These aren’t line items on an invoice, but skipping them creates real costs — a damaged downspout or a punctured tire from a stray nail turns a “budget” project into an expensive one fast.
Most straightforward residential roof replacements in the GTA — barring major decking repairs or complicated rooflines — are completed in one to two days once the crew is on-site, which minimizes the disruption window and keeps your property exposed to the elements for the shortest time possible.
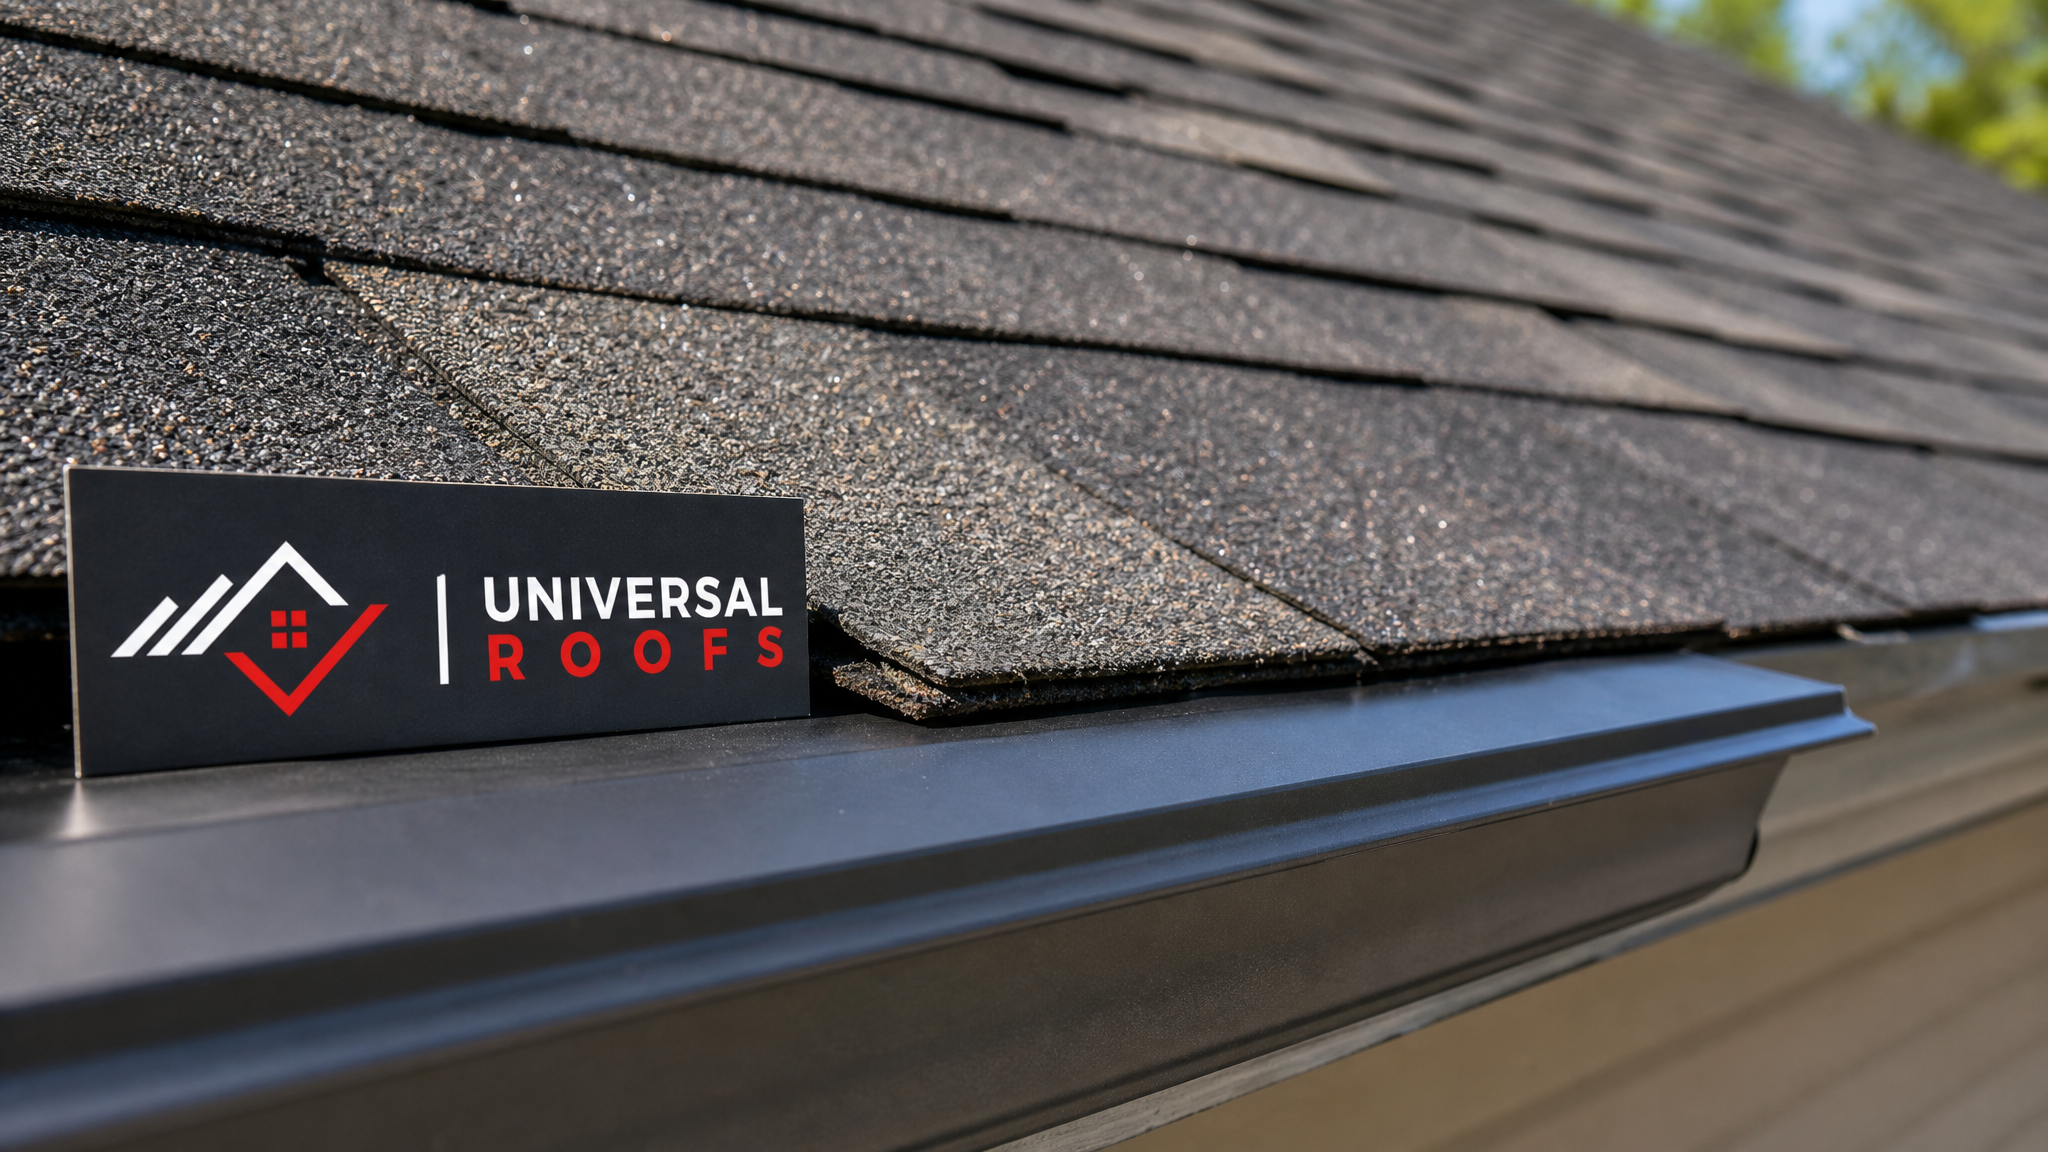
Step 10: Verify the Work and Protect Your Investment Long-Term
Once the replacement is complete, a final walk-through with your contractor should confirm clean gutter lines, properly sealed flashing around every penetration, no visible nail heads, and a tidy property free of debris and stray fasteners. Ask for copies of your material warranty and workmanship warranty in writing, and keep the invoice and any permit documentation on file — this paperwork matters if you ever sell the home or need to make a warranty claim.
A budget friendly roof replacement doesn’t end at installation. A quick annual visual inspection, prompt attention to any small leak, and keeping gutters clear of debris will help your new roof reach or exceed its expected lifespan, which is the real measure of whether the project was actually a good value. Homeowners across our Toronto, Peel Region, York Region, Halton Region, and Durham Region service areas can book a follow-up inspection at any point after installation if questions come up.
Common Budget Mistakes to Avoid
Even well-intentioned homeowners make a handful of predictable mistakes when trying to keep a roof replacement affordable. Hiring an uninsured or unlicensed crew to save on labour is the costliest mistake of all, since any damage or defect becomes entirely the homeowner’s problem to resolve. Choosing the cheapest shingle without checking wind ratings is another common misstep, particularly given how exposed many GTA properties are to seasonal windstorms. Skipping a written contract, agreeing to full payment upfront before any work begins, and ignoring attic ventilation are three more errors that routinely turn a “budget” project into an expensive one.
| Mistake | Why It Backfires | Better Approach |
|---|---|---|
| Hiring uninsured labour | No recourse if damage occurs | Verify licence and insurance before signing |
| Cheapest shingle, no wind rating check | Premature failure in storms | Match shingle wind rating to local exposure |
| No written contract | Scope disputes, no warranty proof | Get an itemized written scope of work |
| Full payment upfront | Reduced leverage if issues arise | Use a staged payment schedule |
| Skipping ventilation upgrades | Voids shingle warranty, causes ice damming | Confirm code-compliant ventilation is included |
Avoiding these five mistakes alone will save most homeowners more money than any amount of haggling over the shingle price itself.
Frequently Asked Questions About Budget Friendly Roof Replacement
What is the fastest way to plan a budget friendly roof replacement a step by step?
How much does a budget friendly roof replacement typically cost in the GTA?
Can I save money by installing new shingles over my old ones?
What is the single biggest way to save money on a roof replacement?
Should I skip ice-and-water shield or ventilation upgrades to lower cost?
How long does a typical residential roof replacement take?
Need Help With Budget Friendly Roof Replacement?
Planning a roof replacement that respects your budget without cutting the corners that actually matter takes experience, and that’s exactly what Universal Roofs brings to every project across the GTA. Our team will walk your roof, give you a clear itemized quote, and help you choose the right materials and schedule for your situation.
Call us today at (416) 732-2421 or request a free inspection to get started.
Universal Roofs proudly serves Toronto, Mississauga, Brampton, Vaughan, Markham, Oakville and the GTA since 2005.