
If your energy bills climb every winter and your attic feels like a sauna every July, the problem may not be your furnace or your air conditioner at all. It is very often your roof. Sealing your roof properly is one of the most overlooked ways to improve a home’s insulation performance, and it is far cheaper than a full roof replacement.
A well-sealed roof stops conditioned air from escaping through gaps, flashing seams, vent penetrations and deck joints, while also blocking outdoor humidity, wind-driven rain and pest access from entering the attic. In the Greater Toronto Area, where summers bring sticky heat and winters bring deep freeze-thaw cycles, an unsealed roof does double duty working against your comfort all year long.
At Universal Roofs, we inspect hundreds of GTA roofs every year and consistently find the same story: small, unsealed gaps around vents, chimneys, and flashing are quietly costing homeowners hundreds of dollars annually in wasted heating and cooling. This guide explains exactly why sealing matters, what parts of your roof need attention, how professionals approach it, and how to know when sealing is enough versus when you need a deeper repair.
How Roof Sealing Affects Home Insulation
Most homeowners think of insulation as something that lives entirely inside the attic floor or between rafters. In reality, insulation only performs as designed when the building envelope above and around it is sealed. Roof sealing and attic insulation work as a team: insulation slows heat transfer, while sealing stops air movement. Without sealing, warm air simply bypasses the insulation layer through gaps, cracks and penetrations, carrying heat (or cooling) straight through to the outdoors.
This is why sealing your roof for better insulation is not a cosmetic upgrade. It directly affects how hard your HVAC system has to work. When flashing around a chimney or plumbing stack is not sealed, warm indoor air rises and escapes through the attic in winter, a phenomenon sometimes called the “stack effect.” In summer, the reverse happens: hot attic air and humidity infiltrate the living space through the same unsealed gaps, undermining your air conditioning.
Sealing addresses three separate problems at once: air leakage, moisture intrusion, and thermal bridging at penetration points. A roof that is watertight but not properly sealed at these transition points can still be a major source of energy loss even if it never leaks a drop of water.
The Main Places Where Roofs Lose Their Seal
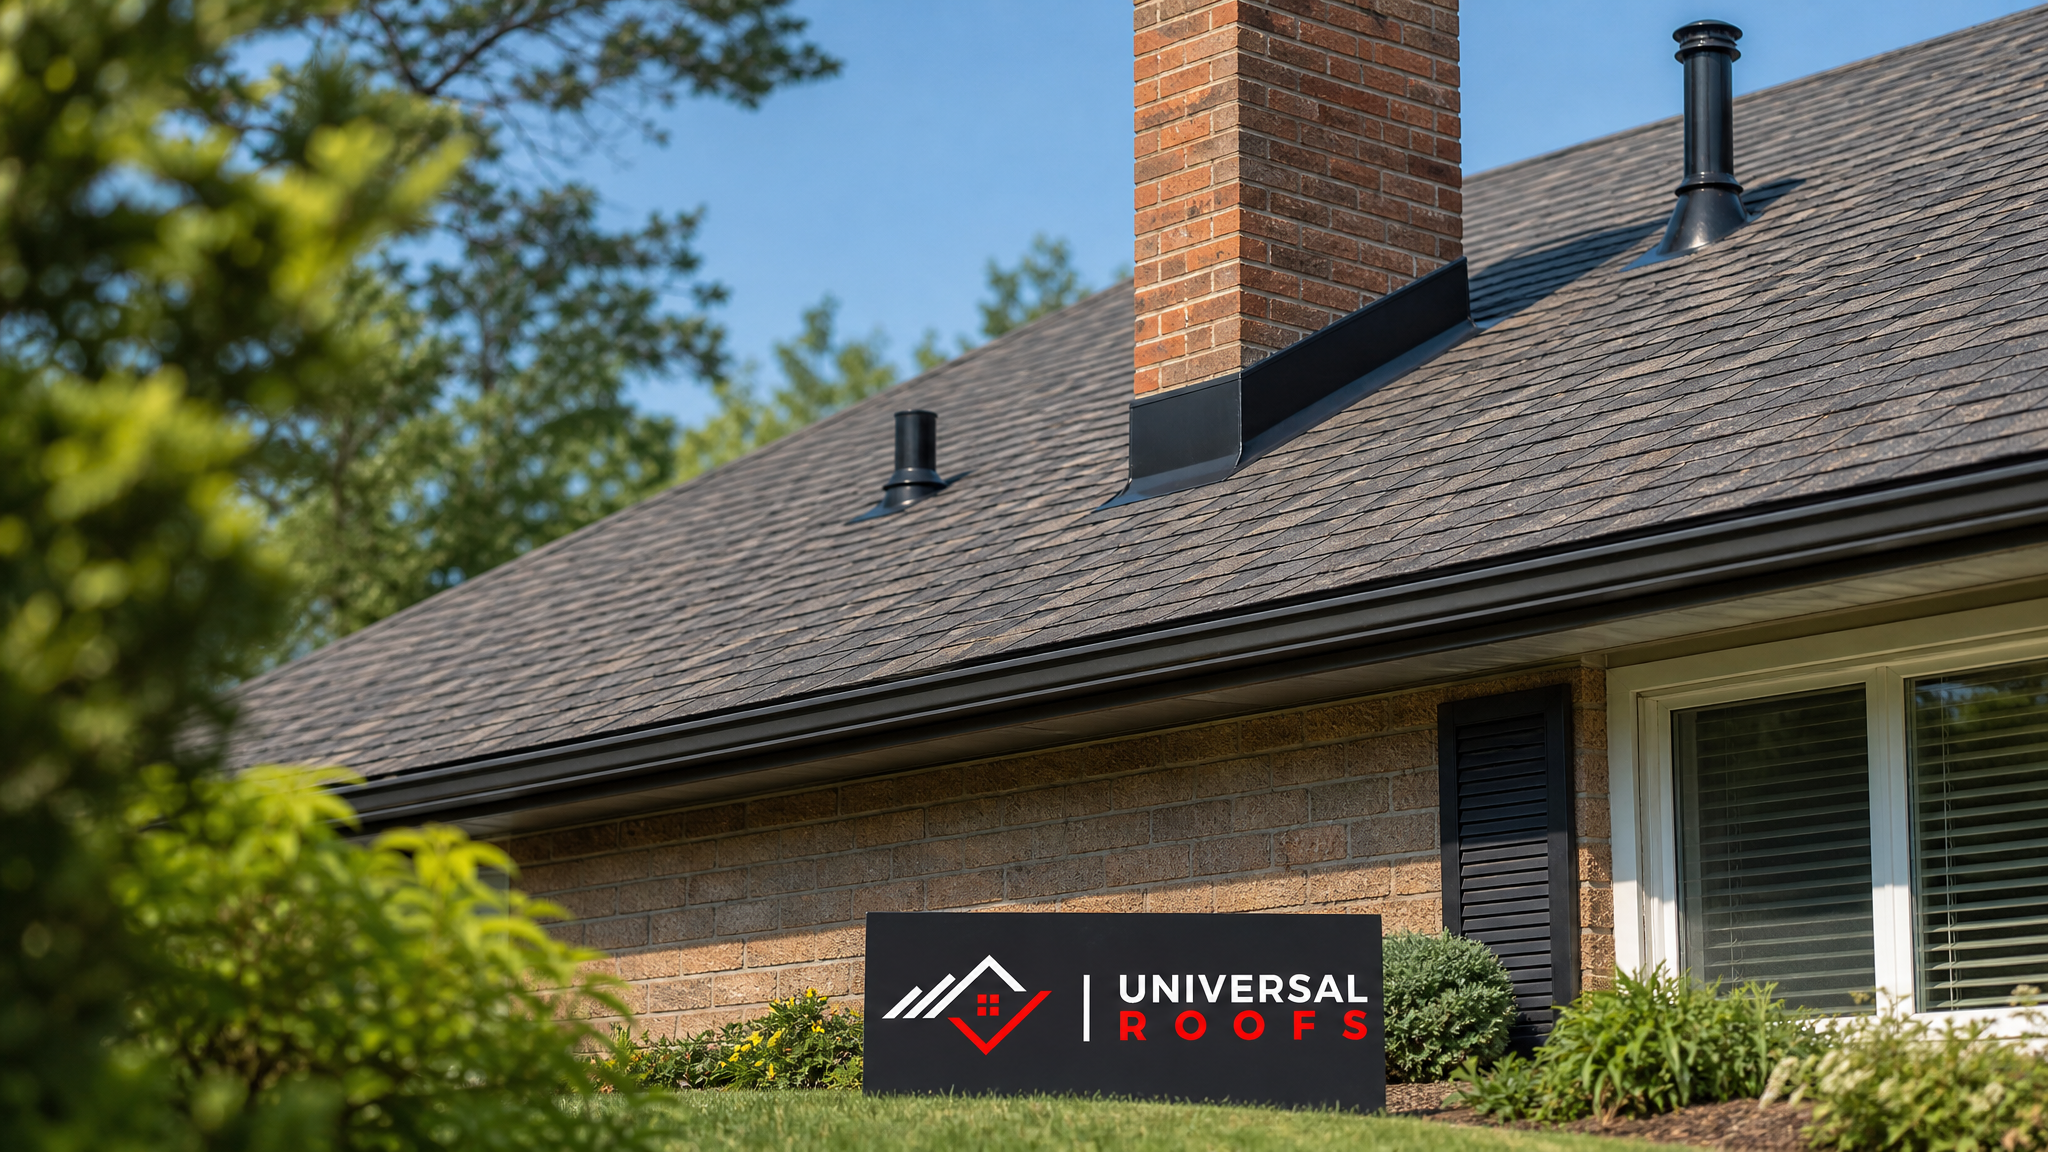
Roof sealing failures rarely happen across an entire roof surface at once. They concentrate at transition points, where one material meets another and movement, aging, or poor original installation causes the seal to break down. Understanding these zones helps homeowners know exactly what to look for during a visual inspection from the ground or with binoculars.
Common trouble spots include:
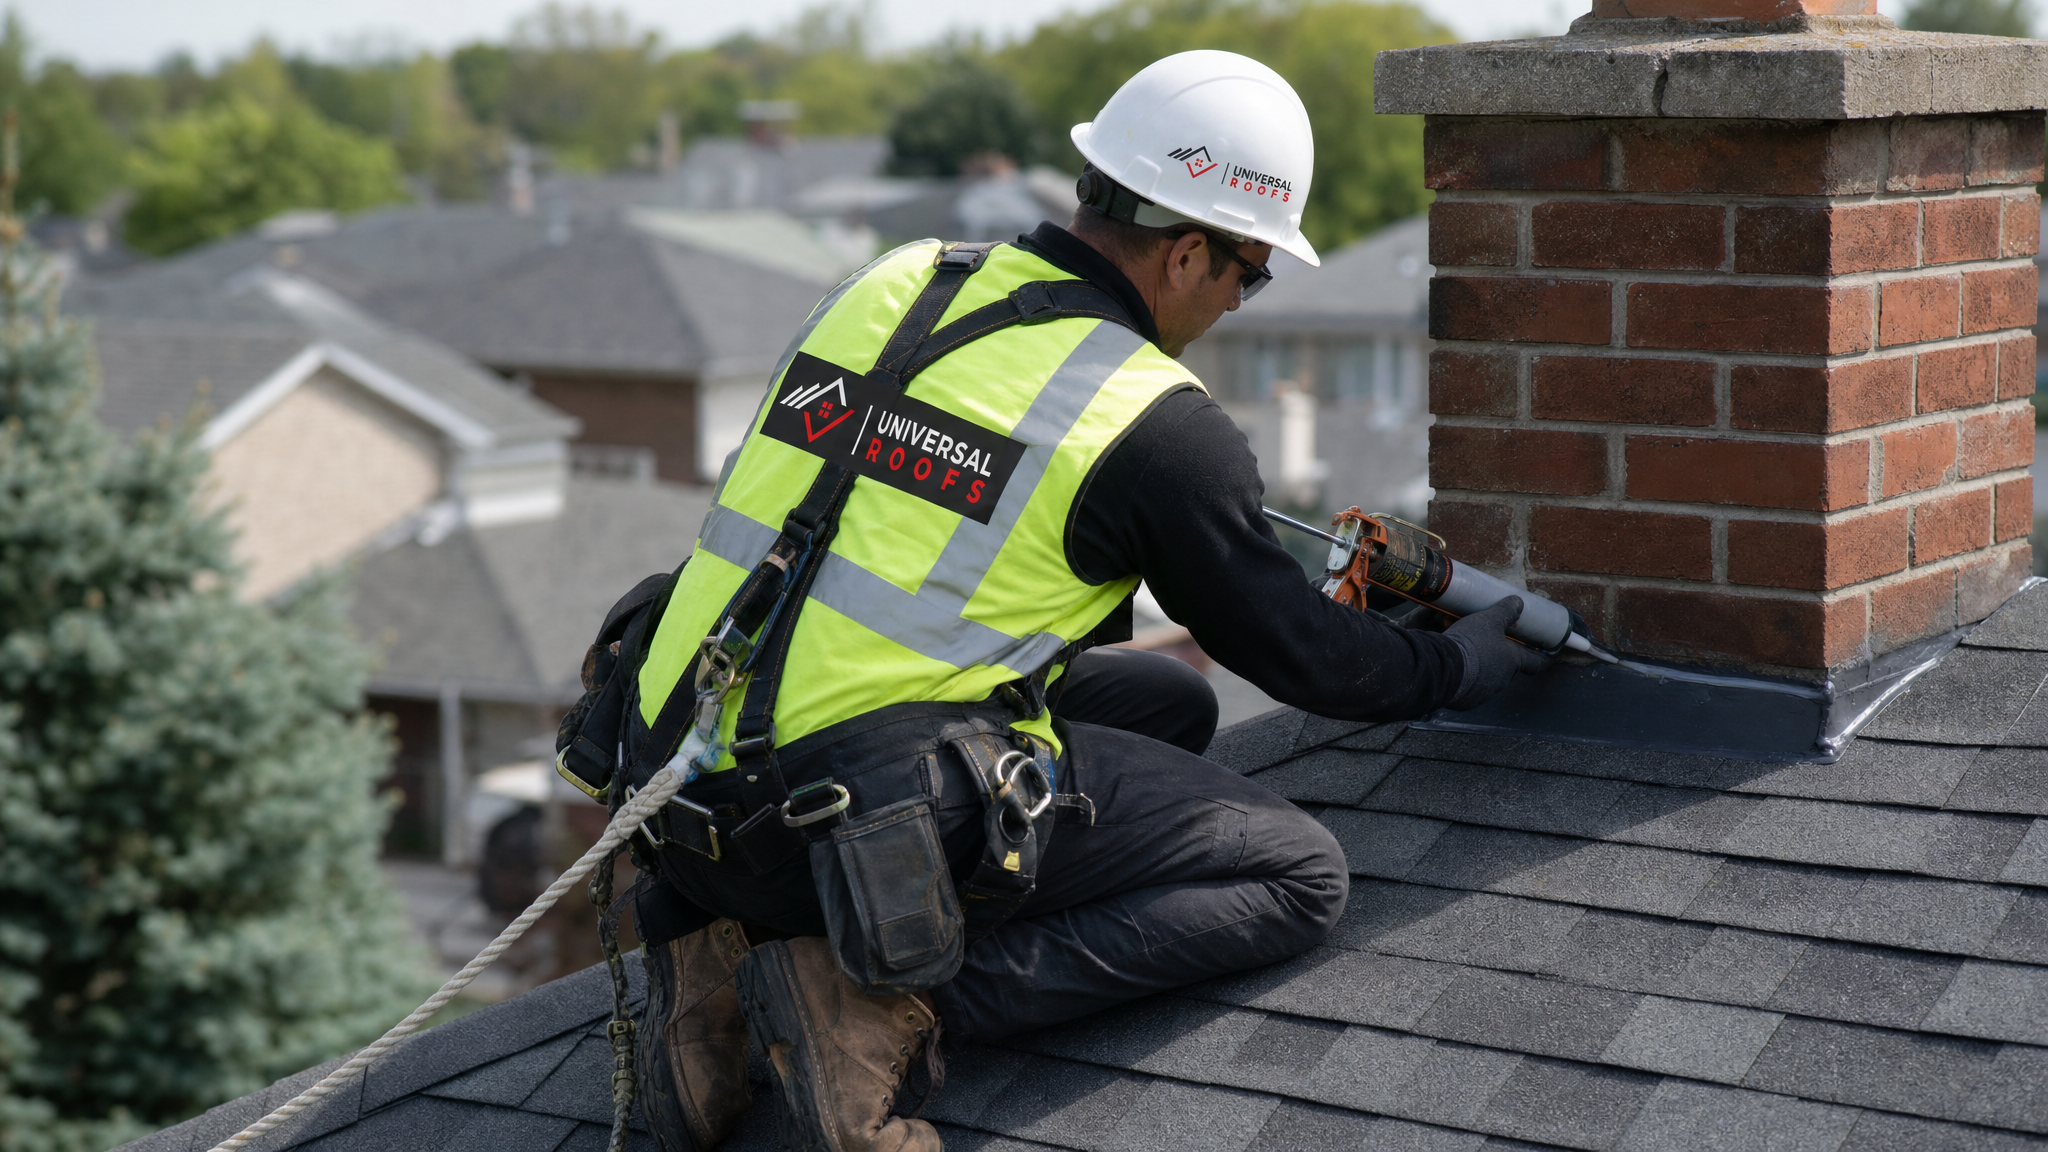
- Flashing around chimneys, skylights and walls — metal flashing relies on sealant and proper step-flashing technique to stay watertight; caulking alone is never a permanent fix.
- Roof vents and pipe boots — the rubber collar (boot) around plumbing vent stacks dries out and cracks after 8-12 years in Toronto’s climate, long before the shingles themselves fail.
- Valleys — where two roof planes meet, valleys concentrate water flow and are especially vulnerable if the underlayment or valley metal was not properly overlapped and sealed.
- Ridge caps — the ridge vent assembly needs a continuous seal to keep wind-driven rain and snow out while still allowing airflow.
- Skylight curbs — skylights introduce a large penetration through the roof deck, and the seal around the curb is one of the most common leak and heat-loss points on any home. Homeowners considering skylight replacement often discover the original flashing seal had failed years earlier.
- Fascia and soffit junctions — where the roof edge meets the eaves, gaps here let conditioned attic air escape and let pests inside.
A thorough roof sealing job addresses every one of these zones, not just the obvious ones. Missing even one penetration point can undo much of the insulation benefit gained elsewhere.
Roof Sealing Methods Compared
There are several distinct approaches to sealing a roof, and the right one depends on your roof type, age, and what specifically has failed. The table below compares the most common methods used across the GTA.
| Sealing Method | Best Used For | Typical Lifespan | Approximate Cost (CAD) |
|---|---|---|---|
| Flashing resealing (butyl or polyurethane sealant) | Chimneys, walls, skylight curbs | 5-10 years | $200-$600 per penetration |
| Pipe boot / vent collar replacement | Plumbing stacks, exhaust vents | 10-15 years | $150-$350 per vent |
| Silicone or acrylic roof coating | Flat and low-slope roofs | 8-12 years | $3-$6 per square foot |
| Self-adhered underlayment at valleys/eaves | New installs, valley rebuilds | 20-30 years (with shingles) | $8-$15 per linear foot |
| Ridge cap re-sealing | Ridge vents, hip lines | 10-15 years | $5-$10 per linear foot |
Homeowners with a flat or low-slope section should pay particular attention to coating-based sealing, since membrane seams are the most common failure point on flat roofing systems. A silicone-based reflective coating not only seals seams but also reduces summer heat gain, which directly supports better insulation performance in the space below.
Signs Your Roof’s Seal Has Failed
Because sealant failure is gradual, most homeowners do not notice a problem until energy bills spike or a leak appears. Catching the early warning signs saves money and prevents insulation damage from moisture. Watch for the following:
- Rising heating or cooling bills without a change in usage habits
- Uneven room temperatures, especially on the top floor
- Visible daylight around vent stacks or chimney flashing from inside the attic
- Water stains on ceilings near chimneys, skylights, or roof valleys
- Cracked, curled, or brittle-looking rubber boots around roof vents
- Musty odours or visible mould in the attic, indicating trapped humidity
- Ice damming along the eaves in winter, which often signals both a sealing and a ventilation issue
- Sagging or discoloured insulation directly below a penetration point
If you notice any combination of these signs, a professional inspection through our roof repair service will identify whether targeted resealing is sufficient or whether underlying materials need replacement.
Roof Sealing and Attic Ventilation Work Together
One mistake we see often in the GTA is homeowners sealing every gap in the attic, including intentional ventilation openings, in an effort to stop drafts. This backfires. A roof needs a balance of intake ventilation (usually at the soffits) and exhaust ventilation (at the ridge or gable vents) to manage moisture and temperature. Sealing should target unintentional air leaks and failed flashing, not the engineered airflow paths that keep your attic healthy.
When ventilation is blocked in the name of sealing, moisture becomes trapped, condensation forms on the underside of the roof deck, and you end up with wood rot, mould growth, and insulation that has lost its R-value from dampness. The correct approach is to seal the accidental gaps (cracked boots, gapped flashing, unsealed wire and duct penetrations) while keeping the designed ventilation system fully open and unobstructed.
This is also why ice damming happens even on roofs that appear well-insulated. Warm air escaping through unsealed penetrations melts snow on the upper roof, which then refreezes at the cold eaves, building an ice dam that forces water back under the shingles. Proper sealing at the source, combined with adequate soffit-to-ridge airflow, is the long-term fix, not simply adding more insulation on top of a leaky air barrier.
Toronto’s Climate Makes Sealing Especially Important
The GTA experiences an unusually demanding freeze-thaw cycle compared to many other Canadian regions. Temperatures can swing from well below freezing to above zero multiple times in a single week during shoulder seasons. Every one of those cycles causes sealant, flashing metal, and roofing membranes to expand and contract slightly. Over years, this repeated movement is what causes sealant joints to crack and pull away from adjoining surfaces long before the shingles themselves wear out.
Summer brings the opposite stress: UV exposure and heat cause asphalt-based sealants to dry out and become brittle, while humidity from lake-effect weather adds moisture pressure at every seam. Homes across Toronto, Peel Region, York Region, Halton Region, and Durham Region all face this same combination of seasonal extremes, which is why we recommend a sealing inspection at minimum every two to three years, and immediately after any major hailstorm or windstorm.
This July, with the summer heat in full swing, is actually an ideal time to have flashing and vent boots inspected and resealed. Sealants cure fastest and adhere best in warm, dry conditions, and catching problems now means your attic stays cooler through the rest of summer and your home is ready before the fall rains and winter freeze-thaw cycle begin again.
DIY Sealing vs. Professional Sealing
Homeowners often ask whether they can seal minor gaps themselves with a tube of roofing caulk from the hardware store. The honest answer is: sometimes, for very minor cosmetic touch-ups, but it comes with real limitations and risks that are worth understanding before climbing a ladder.
| Factor | DIY Sealing | Professional Sealing |
|---|---|---|
| Material quality | Consumer-grade caulk, short lifespan (1-3 years) | Commercial-grade polyurethane/butyl sealants, 8-15 year lifespan |
| Root cause diagnosis | Treats visible symptom only | Identifies underlying flashing, ventilation, or membrane failure |
| Safety | No fall protection, high risk on steep or wet roofs | Full harness, rope, and safety protocol on every job |
| Warranty | None | Workmanship warranty included |
| Insurance implications | May void manufacturer shingle warranty | Maintains manufacturer and workmanship warranties |
For a single, easily reachable, minor gap on a low-slope garage roof, a careful homeowner with the right sealant can achieve a temporary fix. But for anything involving steep pitches, multi-storey height, chimney flashing, or skylight curbs, the risk of a fall combined with the risk of an improper seal that traps moisture makes professional service the safer and more cost-effective route over the long run.
What a Professional Roof Sealing Service Includes
When our team is called out for a sealing job, we do not simply caulk the obvious gap and leave. A proper sealing service follows a consistent process to ensure the fix actually lasts through Toronto’s weather extremes:
- Full roof and attic inspection — checking flashing, vents, valleys, ridge caps, and the attic side of every penetration for moisture staining or daylight gaps.
- Removal of old, failed sealant — old caulk and dried-out sealant must be fully scraped away, since new sealant will not bond properly over failed material.
- Surface preparation — cleaning and drying the substrate so the new sealant achieves full adhesion.
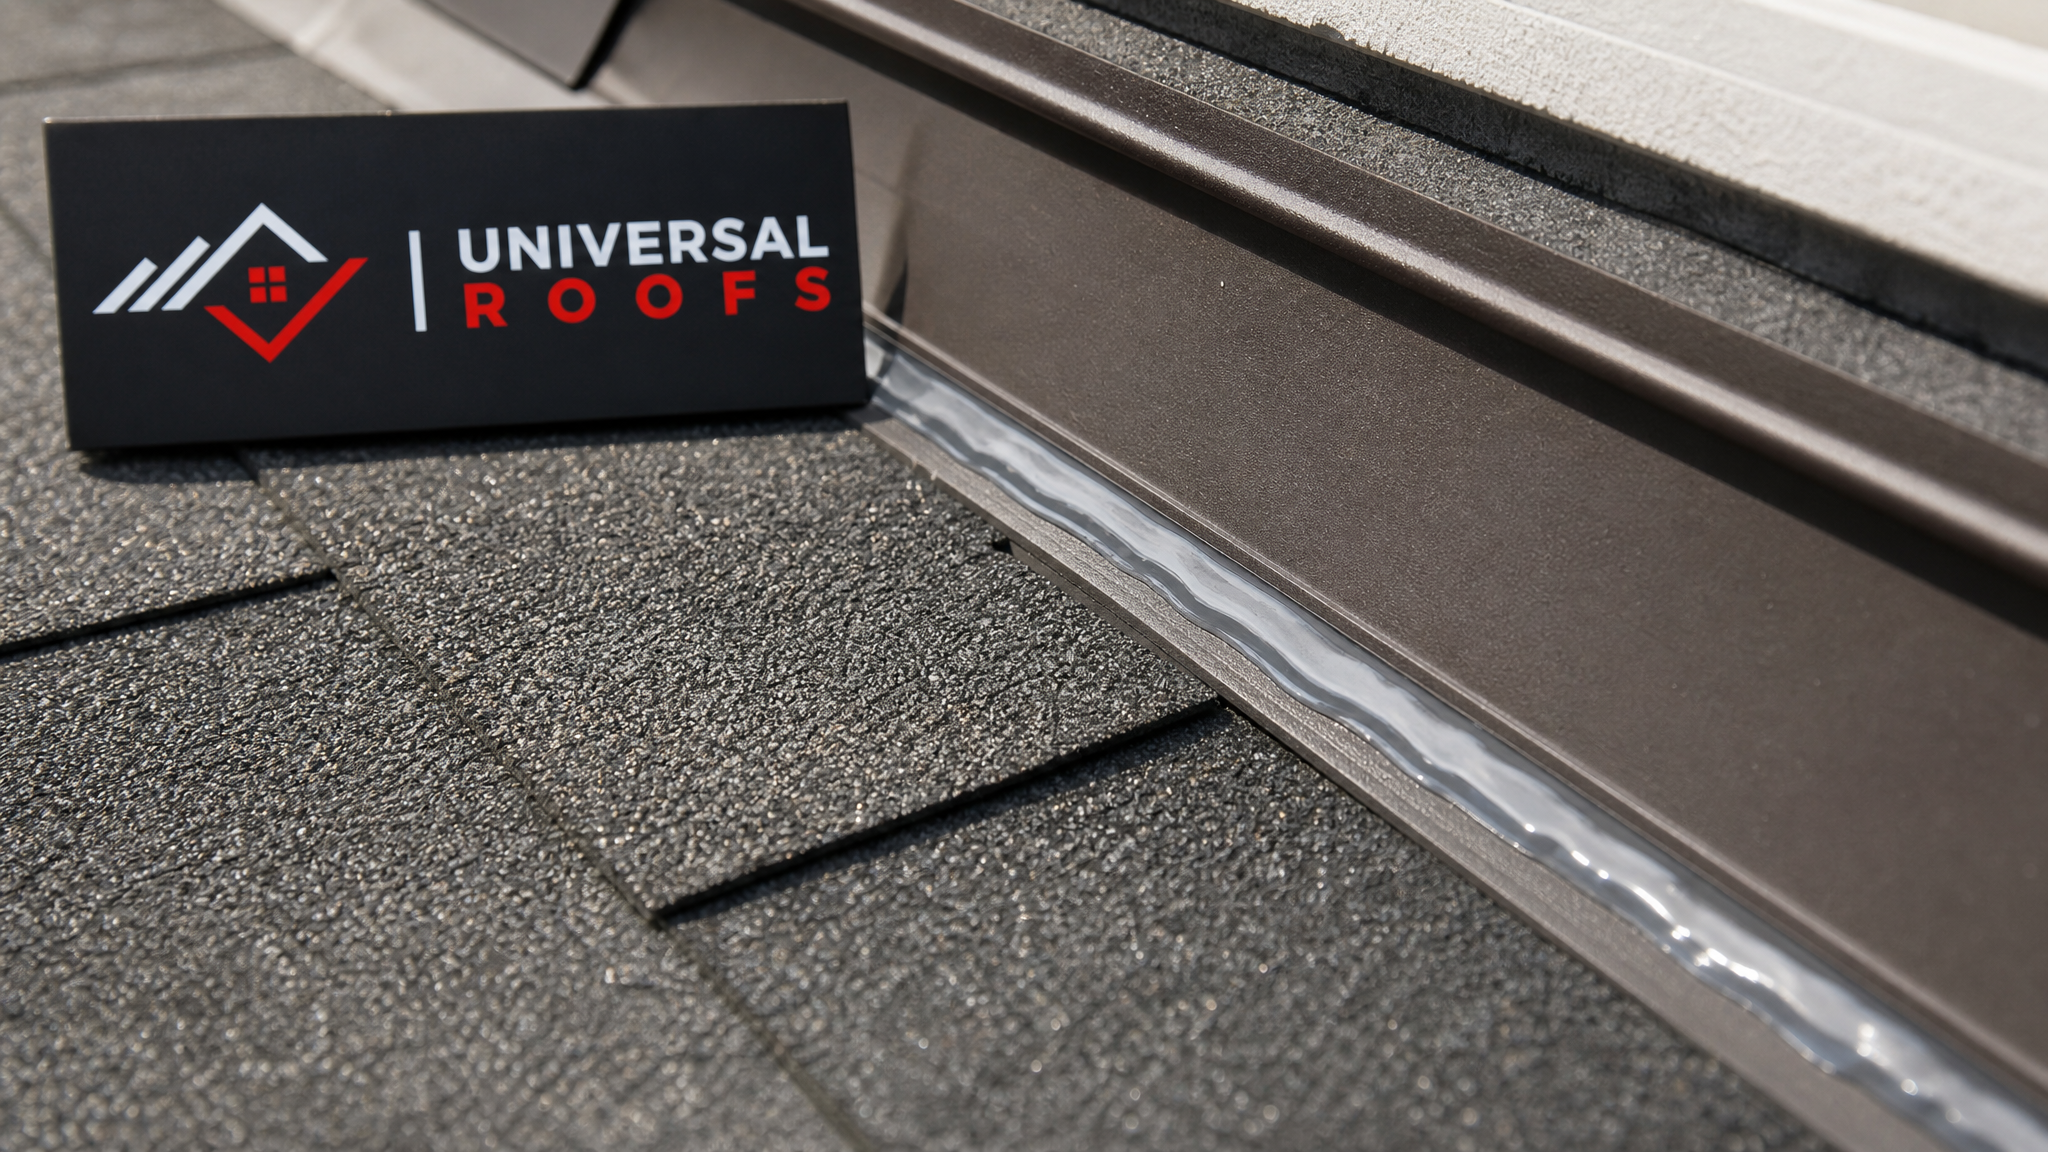
- Application of the correct sealant type for the specific material (metal flashing, rubber boots, membrane seams) rather than a one-size-fits-all approach.
- Ventilation check — confirming soffit and ridge vents remain clear and unobstructed after sealing work is complete.
- Documentation and warranty — photos of the completed work and a written workmanship warranty.
This process is the same whether the job is a small flashing touch-up or part of a larger roof replacement project where sealing every new penetration correctly from day one prevents callbacks for years.
Sealing Costs and Expected Payback
Cost is often the first question homeowners ask, and it is a fair one. The good news is that roof sealing is one of the least expensive roofing services available, and it typically pays for itself through reduced energy bills within a few heating and cooling seasons.
| Scope of Work | Typical Cost Range (CAD) | Estimated Annual Energy Savings | Approximate Payback Period |
|---|---|---|---|
| Single vent boot replacement | $150-$350 | $30-$60 | 3-6 years |
| Chimney and skylight flashing reseal | $400-$900 | $80-$150 | 4-7 years |
| Full roof sealing service (all penetrations) | $800-$1,800 | $150-$300 | 4-6 years |
| Flat roof silicone coating (500 sq ft) | $1,500-$3,000 | $200-$400 | 5-8 years |
These figures are general estimates; actual costs depend on roof pitch, accessibility, material condition, and how many penetration points need attention. The payback period only accounts for direct energy savings and does not include the value of avoided water damage, which can run into the thousands of dollars if a failed seal is left unaddressed long enough to reach the attic insulation and framing.
How Sealing Protects Your Insulation Investment
If you have recently upgraded attic insulation, or are planning to, sealing should always come first, or at minimum be done at the same time. Adding thicker or higher-R-value insulation over a roof deck that still has unsealed penetrations is a bit like buying a heavier winter coat but leaving it unzipped. The insulation is only as effective as the air barrier beneath and around it.
Moisture is the other half of this equation. Wet insulation, whether fibreglass batts or blown-in cellulose, loses a significant portion of its R-value and can take a long time to dry out in an unheated attic space. Every unsealed flashing joint or cracked vent boot is a potential entry point for that moisture, particularly during Toronto’s spring melt and summer thunderstorm season. Sealing first protects the insulation investment you have already made, or are about to make.
For homeowners weighing a larger renovation, it is worth reviewing your overall attic and roof system together rather than tackling insulation and sealing as separate, disconnected projects. Our team can assess both during a single visit and recommend the most cost-effective sequence of work.
Maintaining Your Roof Seal Year-Round
Sealing is not a one-time task; it is ongoing maintenance, much like caulking around a bathtub. A simple annual or biannual routine keeps small problems from becoming expensive ones:
- Spring: inspect for winter damage, check for cracked sealant after the freeze-thaw season, and clear debris from valleys and gutters.
- Summer: ideal season for resealing work, since warm, dry conditions allow sealants to cure properly; also a good time to check attic temperature and ventilation performance.
- Fall: final check before winter, focusing on chimney flashing and any areas prone to ice damming.
- Winter: monitor from indoors for ice dams, icicles concentrated in one area, or interior humidity issues, all of which can point to a sealing failure that needs spring attention.
Keeping a simple log of when each area was last sealed, along with photos, makes it much easier for a roofing professional to assess wear patterns over time and prioritize the right areas during each visit.
Frequently Asked Questions About Roof Sealing
Why seal your roof for better insulation instead of just adding more attic insulation?
How do I know if my roof needs sealing?
How long does roof sealant last in the Toronto climate?
Can I seal my own roof, or should I hire a professional?
Does sealing a roof help with ice dams in winter?
What is the difference between roof sealing and a full roof replacement?
Need Help With Why Seal Your Roof?
Getting your roof properly sealed is one of the fastest ways to improve comfort and cut energy waste without the cost of a full replacement. Our team at Universal Roofs has spent nearly two decades identifying and fixing the exact flashing, vent, and valley failures that quietly undermine attic insulation across the GTA. Curious what other homeowners have experienced working with us? Take a look at our reviews or browse our FAQ page for more answers, or learn more about our team.
Call us today at (416) 732-2421 or request a free inspection to get started.
Universal Roofs proudly serves Toronto, Mississauga, Brampton, Vaughan, Markham, Oakville and the GTA since 2005.