
A sagging roofline is one of the few roofing problems you can spot from the sidewalk, and it is rarely just a cosmetic quirk. When homeowners search for roof sagging repair tips, materials, and tools, they are usually staring up at a dip near the ridge, a wavy plane along a slope, or a soft spot that seems to sink a little more each spring. In the Greater Toronto Area, decades of freeze-thaw cycles, heavy wet snow loads, and humid summers put extra stress on rafters, trusses, and sheathing, which is exactly why sagging shows up here more often than in drier climates.
The good news is that a sagging roof is almost always fixable, and understanding the repair tips, the right materials, and the tools professionals use will help you have a smarter conversation with any contractor you hire — or at least know what “normal” looks like when the crew is on your roof. This guide walks through the top three repair approaches, the structural and surface materials involved, the tools of the trade, and the warning signs that separate a simple fix from an emergency.
At Universal Roofs, we have been diagnosing and repairing sagging rooflines across the GTA since 2005, and the patterns we see are consistent: undersized rafters, water-damaged sheathing, overloaded attics, and old repairs that were never engineered properly. Below, we break down exactly how a professional evaluates and corrects a sagging roof, from the first inspection to the final shingle.
What Causes a Roof to Sag in the First Place?
Before touching any roof sagging repair tips, materials, or tools, it helps to understand why roofs sag. A sag is a structural symptom — the roof deck and framing are no longer holding their designed shape, which means something underneath has weakened, shifted, or was never strong enough to begin with.
The most common causes we find on GTA homes include:
- Undersized or aging rafters. Many homes built before the 1980s used 2×4 or 2×6 rafters that were adequate for the building codes of the time but are marginal by today’s snow-load standards.
- Water-damaged sheathing and framing. A slow roof leak that goes unnoticed for a season or two softens plywood decking and rots the top edges of rafters, robbing them of load-bearing strength.
- Excessive weight from layered shingles. A roof with two or three layers of asphalt shingles carries significantly more dead weight than one with a single layer, and that extra mass compounds over years.
- Undersized ridge beams or missing collar ties. Older additions and DIY-built porches sometimes skip structural elements that a properly engineered roof would include.
- Heavy, wet snow accumulation. Toronto’s late-winter snow-rain mix is heavier than dry powder snow, and ice damming along eaves adds concentrated point loads exactly where rafters are weakest.
- Attic overloading. Storage boxes, old insulation, and even mechanical equipment stacked in the attic add dead load the original design never accounted for.
A thorough roof repair assessment always starts in the attic, where a flashlight and a straightedge tell you more about the real condition of the roof than a walk across the shingles ever could.
Tip #1: Sistering and Reinforcing Weak Rafters
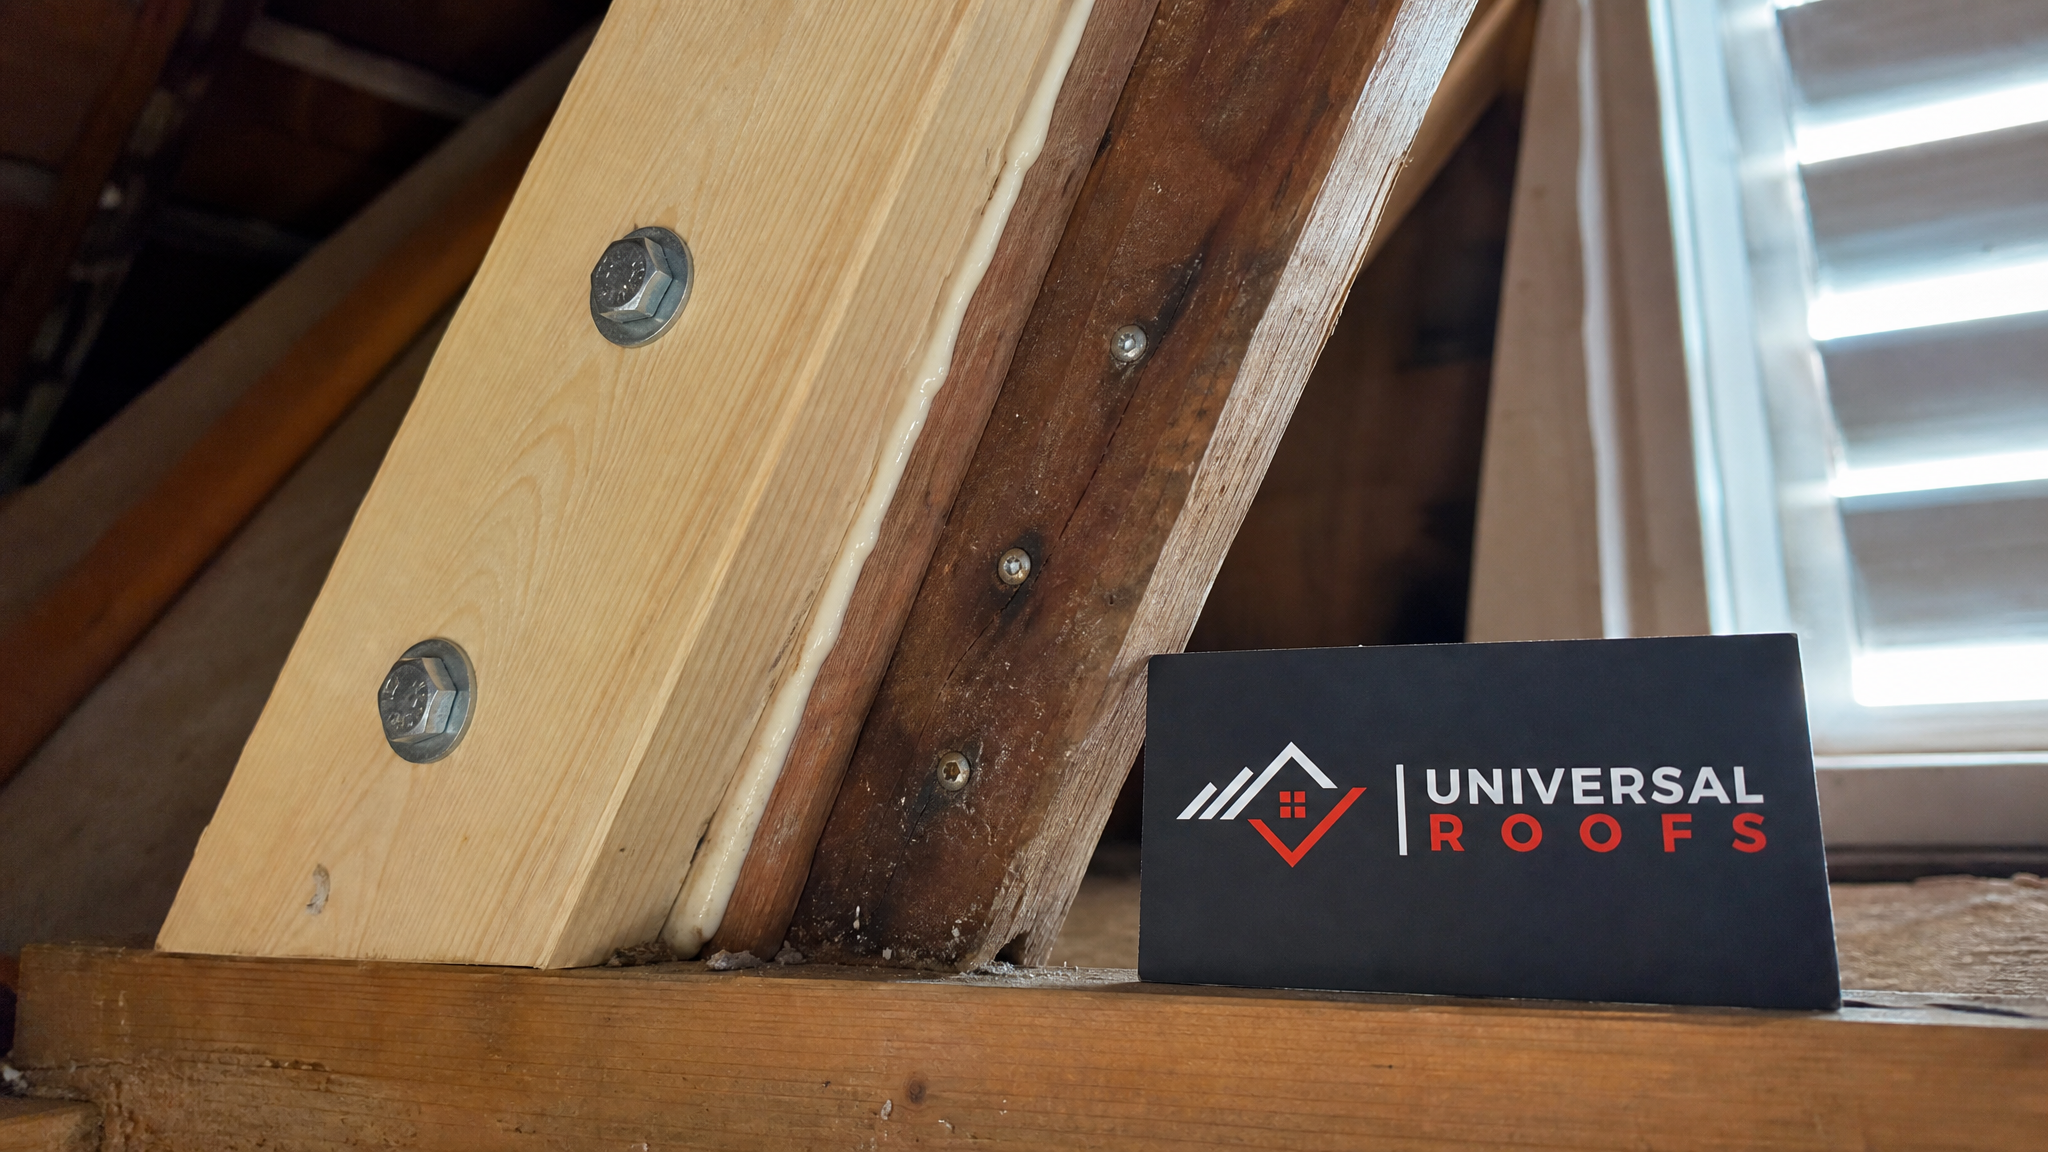
The single most common and most effective roof sagging repair technique is sistering — bolting a new rafter alongside the existing weakened one so the pair shares the structural load. This is the go-to fix when the rafters themselves are the problem, whether from age, undersizing, or moderate water damage that hasn’t fully compromised the wood.
A proper sistering job follows a specific sequence:
- Confirm the sag is structural (framing) rather than cosmetic (shingle wear or a settled ridge vent) using a taut string line or laser level along the roof plane.
- Select sister rafters matched to, or slightly larger than, the existing framing dimension — undersized sisters won’t correct the problem.
- Cut the new rafter to length, ensuring full bearing at both the ridge and the wall plate.
- Apply construction adhesive along the mating face for added rigidity, then clamp the sister tight to the original rafter.
- Fasten with structural screws or through-bolts in a staggered pattern along the full length, not just at the ends.
- Where the sag is severe, use a hydraulic jack post to slowly raise the ridge back toward level before final fastening — raising too quickly can crack drywall or dislodge shingles.
Sistering is ideal for moderate sags and localized weak spots. It is less effective when the sheathing above is also rotted, because a strong rafter under soft plywood will still show a soft spot on the surface — which brings us to the second repair path.
Tip #2: Replacing Rotted Sheathing and Decking
When the sag is concentrated in a small area — often near a valley, chimney, or old vent penetration — the culprit is frequently the roof sheathing itself rather than the rafters. Plywood or oriented strand board (OSB) decking absorbs moisture from slow leaks and gradually loses its rigidity, creating a spongy or visibly dished section even when the framing underneath is sound.
The repair process for sheathing looks like this:
- Strip shingles and underlayment back well past the visibly affected area — rot almost always extends further than it appears from above.
- Inspect exposed rafters for softness by pressing with an awl; any rafter that gives should be sistered per Tip #1 before new decking goes down.
- Cut out damaged sheathing panels along the rafter centrelines so the new panel edges land on solid framing.
- Install new plywood or OSB matched in thickness to the surrounding deck (commonly 12.5 mm or 15.5 mm on GTA homes).
- Fasten with ring-shank nails or coated deck screws on proper on-centre spacing to prevent future squeaking or lifting.
- Reinstall ice-and-water membrane, synthetic underlayment, and shingles to match the existing roof system.
This approach addresses the surface-level dip directly and is frequently paired with sistering when both the deck and the framing show wear. It is also the point where many homeowners discover a related issue — because trapped moisture in a sagging section is often a symptom of poor attic ventilation, which we cover in more detail below.
Tip #3: Correcting Load and Ventilation Issues Before Re-Roofing
The third essential tip is one homeowners often skip: fixing the underlying load and moisture conditions so the sag doesn’t return. Structural repairs alone will not stop a roof from sagging again if the root cause — excess weight or trapped humidity — is left unaddressed.
This step typically includes:
- Tear-off of old shingle layers. If your roof has two or three layers of asphalt shingles, a full tear-off during roof replacement removes hundreds of kilograms of unnecessary dead weight.
- Balanced intake and exhaust ventilation. Soffit vents paired with a ridge vent keep the attic temperature closer to outdoor temperature, which reduces condensation on the underside of the deck and prevents the freeze-thaw cycling that weakens plywood.
- Insulation upgrades. Adding or redistributing attic insulation reduces heat loss that causes uneven snowmelt and ice damming along eaves — a major contributor to point-load sagging.
- Attic decluttering. Removing stored items and old insulation batting from truss bottom chords restores the load path the roof was originally engineered around.
- Collar tie and ridge beam upgrades. On older homes, adding properly sized collar ties or a stronger ridge beam prevents rafters from spreading outward, which is a common hidden cause of a sagging ridge line.
Addressing load and ventilation is what separates a lasting repair from a temporary patch. It is also the step most often skipped by handyman-level repairs, which is why sags tend to reappear within a few years if the structural work isn’t paired with these corrections.
Materials Used in Roof Sagging Repairs
The materials list for a sagging roof repair varies by severity, but most GTA jobs draw from the same core set of structural and surface products. The table below compares the most common materials, what they’re used for, and typical cost ranges homeowners see in the Toronto market.
| Material | Primary Use | Typical Cost Range (CAD) | Notes |
|---|---|---|---|
| Dimensional lumber (2×6, 2×8, 2×10) | Sistering rafters, new framing members | $8 – $22 per piece | Match or exceed existing rafter size; kiln-dried preferred |
| Plywood/OSB sheathing (12.5 mm–15.5 mm) | Replacing rotted roof decking | $45 – $75 per sheet | Thickness must match surrounding deck for a flush surface |
| Structural screws / lag bolts | Fastening sister rafters and collar ties | $0.50 – $2 per fastener | Structural-rated screws outperform standard nails for sistering |
| Construction adhesive | Bonding sister rafters to originals | $8 – $15 per tube | Adds rigidity beyond mechanical fasteners alone |
| Ice-and-water membrane | Waterproofing eaves and valleys during re-decking | $60 – $90 per roll | Required by code in ice-dam-prone GTA climates |
| Ridge and soffit vents | Balancing attic airflow to prevent moisture damage | $150 – $500 total | Reduces recurrence of sheathing rot and ice damming |
| Blown-in or batt insulation | Reducing heat loss and uneven snowmelt | $1.50 – $3 per square foot | Often bundled with attic ventilation upgrades |
Tools Professionals Use to Diagnose and Fix a Sagging Roof
Diagnosing and repairing a sag correctly requires more than a hammer and a ladder. The tools below represent the standard kit for structural roof repair work, and knowing what each one does helps you understand what a contractor is actually checking when they’re on your roof.
| Tool | Purpose | Diagnostic or Repair Stage |
|---|---|---|
| Laser level / string line | Measures deviation from a true, level roof plane | Initial diagnosis |
| Moisture meter | Detects hidden water content in sheathing and rafters | Initial diagnosis |
| Awl or ice pick | Probes wood for softness indicating rot | Initial diagnosis |
| Hydraulic jack post | Slowly raises sagging ridge or rafter sections | Structural correction |
| Circular saw / reciprocating saw | Cuts sister rafters and removes damaged sheathing | Repair execution |
| Framing nailer / impact driver | Fastens sister rafters, sheathing, and blocking | Repair execution |
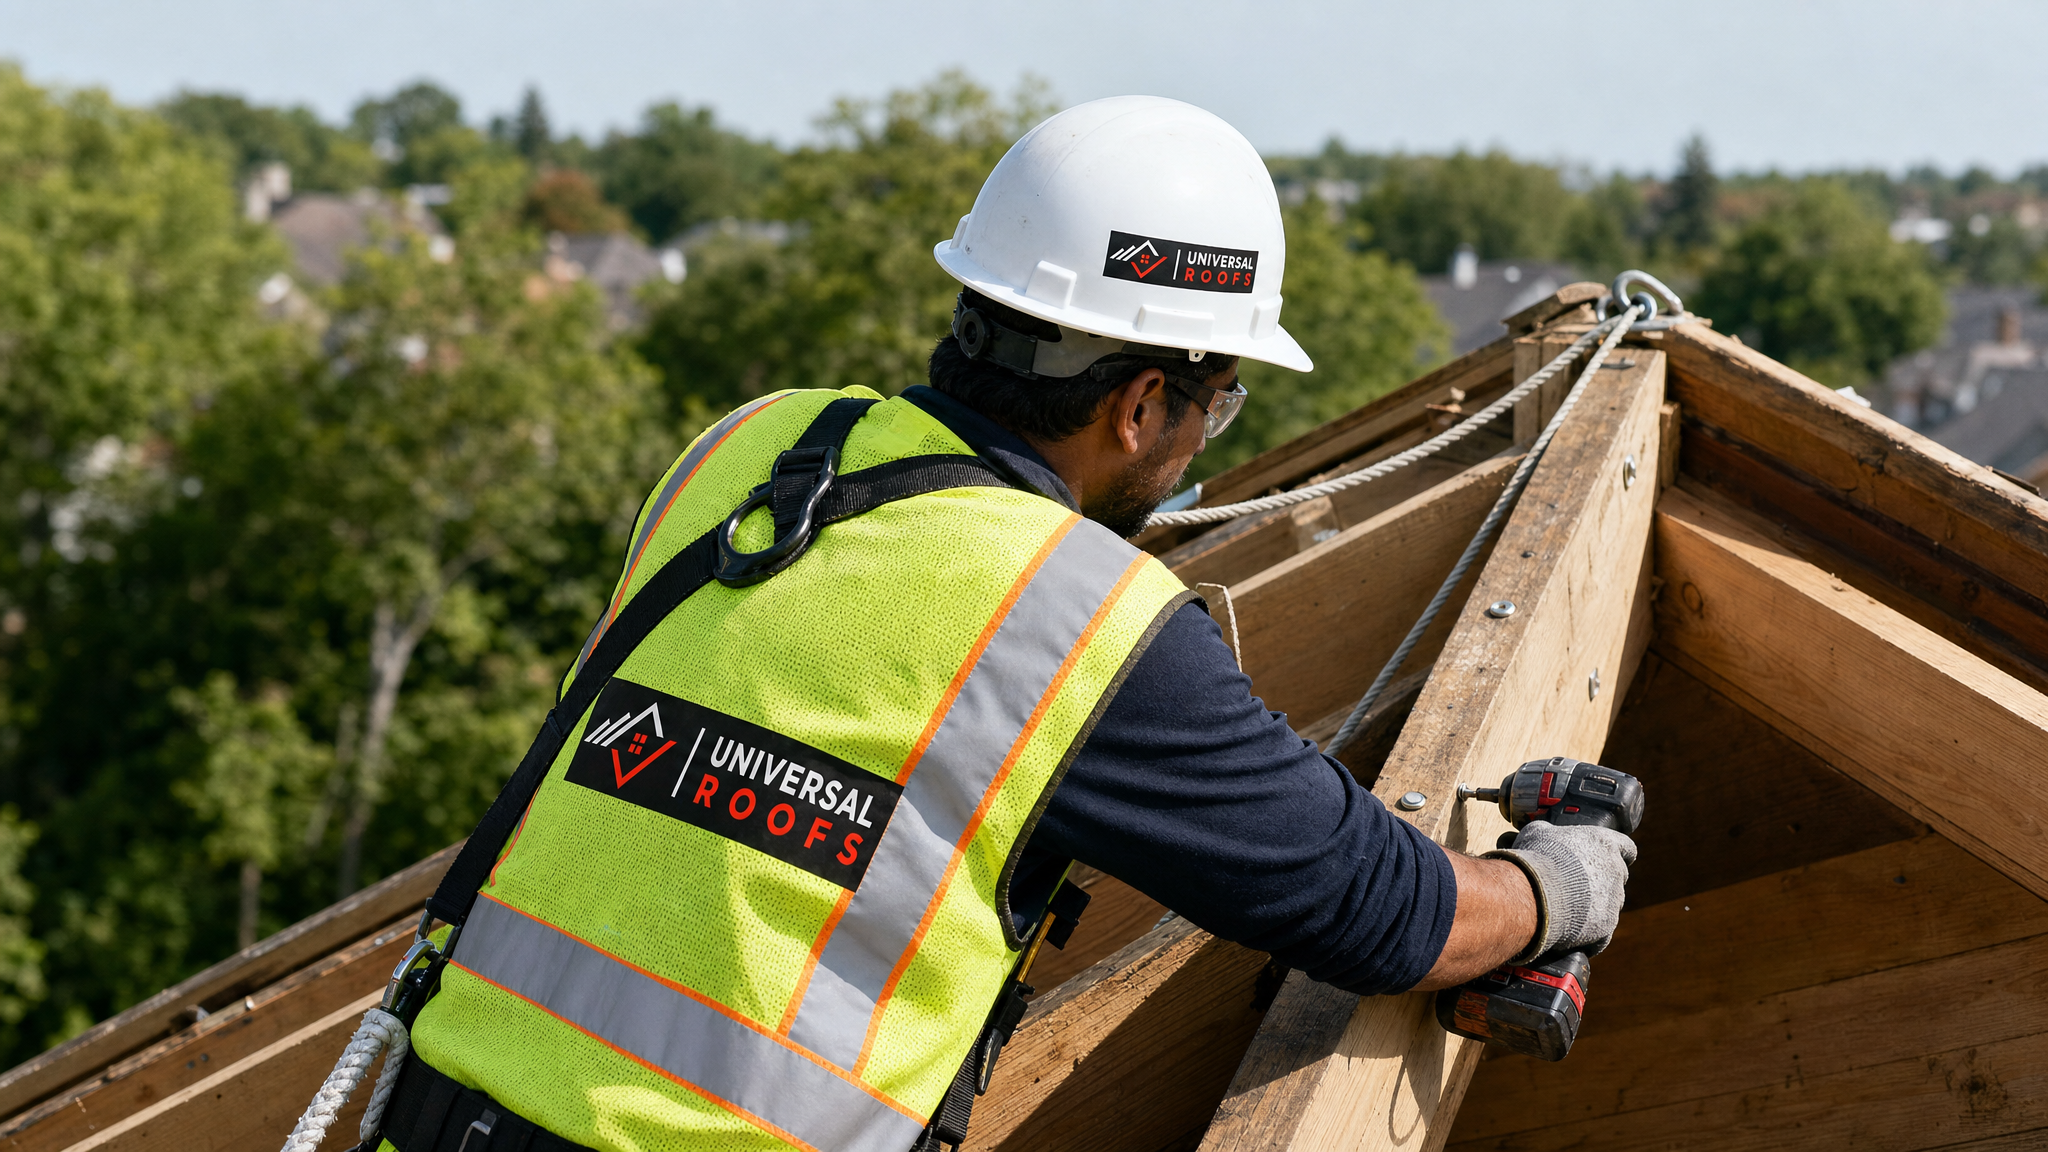
| Fall-protection harness and anchor rope | Secures workers on steep or wet roof sections | Safety, all stages |
How Much Does Roof Sagging Repair Typically Cost?
Cost depends heavily on whether the sag is limited to sheathing, involves rafter sistering, or requires a full structural rebuild with a partial re-roof. The table below gives realistic GTA ranges for each scenario, based on the scope of work most homeowners actually need.
| Repair Scope | Typical Cost (CAD) | Typical Timeline |
|---|---|---|
| Localized sheathing replacement only | $800 – $2,500 | 1 – 2 days |
| Rafter sistering (per affected section) | $1,500 – $4,000 | 2 – 3 days |
| Combined sistering + sheathing + reshingling | $3,500 – $9,000 | 3 – 6 days |
| Full structural rebuild with re-roof | $10,000 – $25,000+ | 1 – 3 weeks |
Signs You Need Professional Help Immediately
Some sagging symptoms can wait for a scheduled inspection, while others signal an active safety risk. Recognizing the difference helps you decide whether to book a routine assessment or call for emergency service.
- A visible dip that has worsened noticeably within weeks. Rapid progression suggests active structural failure, not slow age-related wear.
- Cracking or popping sounds from the attic during wind or after heavy snowfall, which can indicate rafters or connections under active stress.
- Visible daylight through the roof deck when viewed from inside the attic, a sign that sheathing has failed completely in that spot.
- Sagging paired with interior ceiling cracks directly below the affected roof area.
- A sag located directly above a skylight or chimney, where flashing failures can accelerate rot far faster than an open roof plane. If your skylight area shows signs of trouble, our skylights and skylight replacement teams often coordinate directly with structural repair crews on these jobs.
- Standing water or ponding on a low-slope or flat section, which is common on additions and garages and is a specialty of our flat roofing division.
If you notice any of these signs, treat it as a priority rather than a wait-and-see situation. A sag that is caught early is almost always a same-week repair; one that is ignored can escalate into a full structural rebuild.
DIY vs. Professional Repair: What Homeowners Should Know
Minor cosmetic issues — a shingle that has curled slightly over a soft spot, for instance — might tempt a confident homeowner to try a patch job. But true structural sagging is not a reasonable DIY project for several reasons:
- Misjudging load paths when sistering can leave a roof looking fixed while remaining structurally unsound.
- Working on a sloped, potentially weakened roof deck without proper fall protection is a serious safety hazard.
- Permits and structural inspections are often required for framing repairs under Ontario building code, and unpermitted work can complicate home insurance claims and resale.
- Improper jacking of a sagging ridge can crack drywall, break windows, or damage plumbing stacks if done too quickly or unevenly.
A licensed contractor brings the diagnostic tools, load calculations, and code knowledge to fix the problem once — correctly — rather than repeatedly patching symptoms. Homeowners across Toronto, Peel Region, York Region, Halton Region, and Durham Region can browse verified project feedback on our reviews page before booking an assessment.
Preventing Future Sagging After Repair
Once a sag is corrected, a few maintenance habits go a long way toward keeping it from coming back:
- Schedule a professional roof inspection every one to two years, ideally after winter, when freeze-thaw stress is highest.
- Keep attic storage light and off the bottom chords of trusses whenever possible.
- Clear ice dams promptly in winter rather than letting them build season after season.
- Address minor leaks the moment they’re noticed rather than waiting for a visible stain to appear.
- Avoid layering a third set of shingles over an aging roof — a full tear-off keeps dead load in check.
- Confirm attic ventilation is balanced any time insulation or roofing work is performed.
These habits, combined with a properly executed structural repair, typically extend the life of a repaired section well beyond the original roof’s lifespan, since the fix addresses both the symptom and the cause.
What are the best roof sagging repair tips for a homeowner to know before calling a contractor?
What materials are typically used in roof sagging repair?
What tools do professionals use to fix a sagging roof?
Can a sagging roof be repaired without replacing the whole roof?
How much does roof sagging repair cost in the Toronto area?
Is a sagging roof always an emergency?
Need Help With Top 3 Roof Sagging?
A sagging roofline is one problem you don’t want to guess about. Universal Roofs has been diagnosing and correcting structural roof issues across the GTA since 2005, using the same sistering, sheathing, and ventilation-focused approach outlined above on every job.
Call us today at (416) 732-2421 or request a free inspection to get started.
Universal Roofs proudly serves Toronto, Mississauga, Brampton, Vaughan, Markham, Oakville and the GTA since 2005.