
A summer thunderstorm can move through the Greater Toronto Area in under an hour and leave a flat roof in far worse shape than it looks from the ground. Pooled water, torn membrane seams, dented flashing, and debris punctures are the most common outcomes, and every one of them gets worse the longer it sits untreated. Knowing the essential steps to fix storm damaged flat roofs is the difference between a same-week repair and a costly interior rebuild six months later.
This guide walks through the seven steps we follow on every storm-damage call, from the first walk of the property to the final documentation for your insurance file. Flat roofs behave differently than sloped shingle roofs during a storm — water does not simply run off, it sits, finds the lowest point, and works its way through any weak spot in the membrane. That means the response has to be methodical, not just reactive.
Whether you manage a bungalow in Etobicoke, a commercial plaza in Vaughan, or a multi-unit building in Scarborough, the same core process applies. We will cover safety, assessment, temporary protection, drainage, membrane and flashing repair, insulation checks, and long-term prevention, with practical tables you can use to compare materials, timelines, and costs.
Step 1: Confirm It Is Safe Before You Assess Anything
The first of the essential steps to fix storm damaged flat roofs has nothing to do with the roof itself — it is about your own safety and the safety of anyone helping you. After a storm, flat roofs are frequently slick with standing water, loose granules, or algae film, and the surface can hide soft spots where the decking has already begun to weaken. Walking onto a storm-damaged flat roof without checking conditions first is one of the most common causes of injury we see reported in the GTA every summer.
Before anyone climbs a ladder, check for downed power lines near the roofline, especially after wind events that can snap tree limbs onto service drops. Confirm the ladder is on stable, level ground and that a second person is present to spot. If lightning is still in the forecast, wait it out. None of this is overly cautious — flat commercial and residential roofs across Toronto, Mississauga, and Brampton see dozens of storm-related fall incidents every season, and almost all of them are preventable with a five-minute safety check.
If the damage looks severe from the ground — a sagging section, visible daylight through a soffit, or water actively coming through a ceiling — do not attempt a rooftop inspection at all. Call a licensed professional immediately through our roof repair service instead of risking a fall on a compromised structure.
Step 2: Document and Assess the Damage Systematically
Once it is safe to proceed, the next step is a full, methodical assessment — not a quick glance. Storm damage on flat roofs is often more extensive than what is visible from a single vantage point, so we work the roof in a grid pattern, section by section, checking the membrane, flashing, drains, and any roof penetrations (vents, skylights, HVAC curbs) in turn.
Look specifically for:
- Torn, lifted, or blistered membrane, particularly along seams and roof edges
- Standing water more than 48 hours after the storm (a sign drainage is blocked or the roof has lost its slope)
- Punctures from wind-blown debris, tree branches, or hail
- Separated or bent flashing around parapet walls, chimneys, and skylight curbs
- Granule loss or exposed felt on modified bitumen systems
- Sagging areas that may indicate saturated insulation below the membrane
Photograph everything with a wide shot for context and a close-up for detail, and note the location relative to a fixed point (for example, “3 metres from the northeast parapet corner”). This documentation matters twice over: it is what your contractor uses to scope the repair, and it is what your insurance adjuster needs to process a claim. If you are unsure whether what you are seeing constitutes storm damage versus ordinary wear, our team can walk the roof with you as part of a full inspection tied to our flat roofing services.
Do not forget the attic or top-floor ceiling during this stage. Water intrusion on a flat roof often travels laterally along the underside of the deck before it shows up as a stain, so a damp attic is sometimes the first real evidence of a breach even when the membrane looks intact from above. If you notice moisture, discoloration, or a musty smell, have the attic checked as part of the same visit.
Step 3: Stop Active Water Intrusion With Temporary Protection
If water is actively entering the building, temporary protection comes before any permanent repair. This is the step most homeowners skip, and it is usually why a $400 puncture repair turns into a $4,000 drywall and insulation replacement.
Temporary measures typically include:
| Temporary Fix | Best Used For | Expected Lifespan | Notes |
|---|---|---|---|
| Waterproof tarp, mechanically fastened | Large membrane tears, missing sections | 1-2 weeks | Must be secured beyond the damaged area, not just over it |
| Roofing cement / mastic patch | Small punctures, seam separations | 2-4 weeks | Only effective on a dry, clean surface |
| Peel-and-stick membrane patch | Localized tears under 1 metre | 3-6 weeks | Good bridge to a permanent repair |
| Sandbags or ballast weights | Holding tarps in high-wind conditions | N/A (support only) | Never use loose debris as ballast |
| Interior bucket/containment | Active leaks reaching living space | Hours, until roof access is possible | Protects flooring and contents, not a roof fix |
Temporary patches are exactly that — temporary. Roofing cement and tarps are not designed to survive freeze-thaw cycles or repeated summer storms, and relying on them past a few weeks routinely leads to secondary leaks nearby as the patch material degrades. Book a permanent repair as soon as the temporary fix is in place; do not wait for the “next big storm” to justify the cost, because in our experience that is exactly when a temporary patch fails.
Step 4: Clear Drains, Scuppers, and Gutters Immediately
Flat roofs rely entirely on their drainage system to shed water, and storms are notorious for clogging that system at the worst possible moment. Leaves, shingle granules, branches, and even hail debris collect at drains, scuppers, and internal gutters, and a blocked drain turns a manageable rain event into standing water that adds significant weight and accelerates membrane failure.
Clearing drainage is one of the fastest, cheapest things a property owner can do immediately after a storm, and it should happen before any patching begins so you can actually see how the water is behaving on the roof. Walk the perimeter and check:
- Roof drains and strainers for debris buildup
- Scupper openings in parapet walls for blockages
- Overflow drains, which should be a few centimetres higher than primary drains
- Gutters and downspouts at the roof edge for leaf accumulation
If water is pooling more than 48 hours after rainfall even with drains clear, that is a structural drainage problem, not a debris problem, and it usually means the roof has developed a low spot (“bird bath”) that needs correcting as part of the permanent repair, not just a drain cleaning.
Step 5: Repair the Membrane, Seams, and Flashing Properly
This is the core repair stage, and it is where the type of flat roofing system you have determines the method. Toronto homes and commercial buildings use a mix of systems, and each has a different repair approach.
| Membrane Type | Common Storm Damage | Repair Method | Typical Repair Cost (CAD) |
|---|---|---|---|
| EPDM (rubber) | Punctures, seam lifting, wind uplift at edges | Liquid-applied seam primer + patch, or fully adhered patch | $400 – $1,200 |
| TPO / PVC | Seam separation, heat-weld failure, hail bruising | Hot-air welded patch matching existing membrane | $500 – $1,500 |
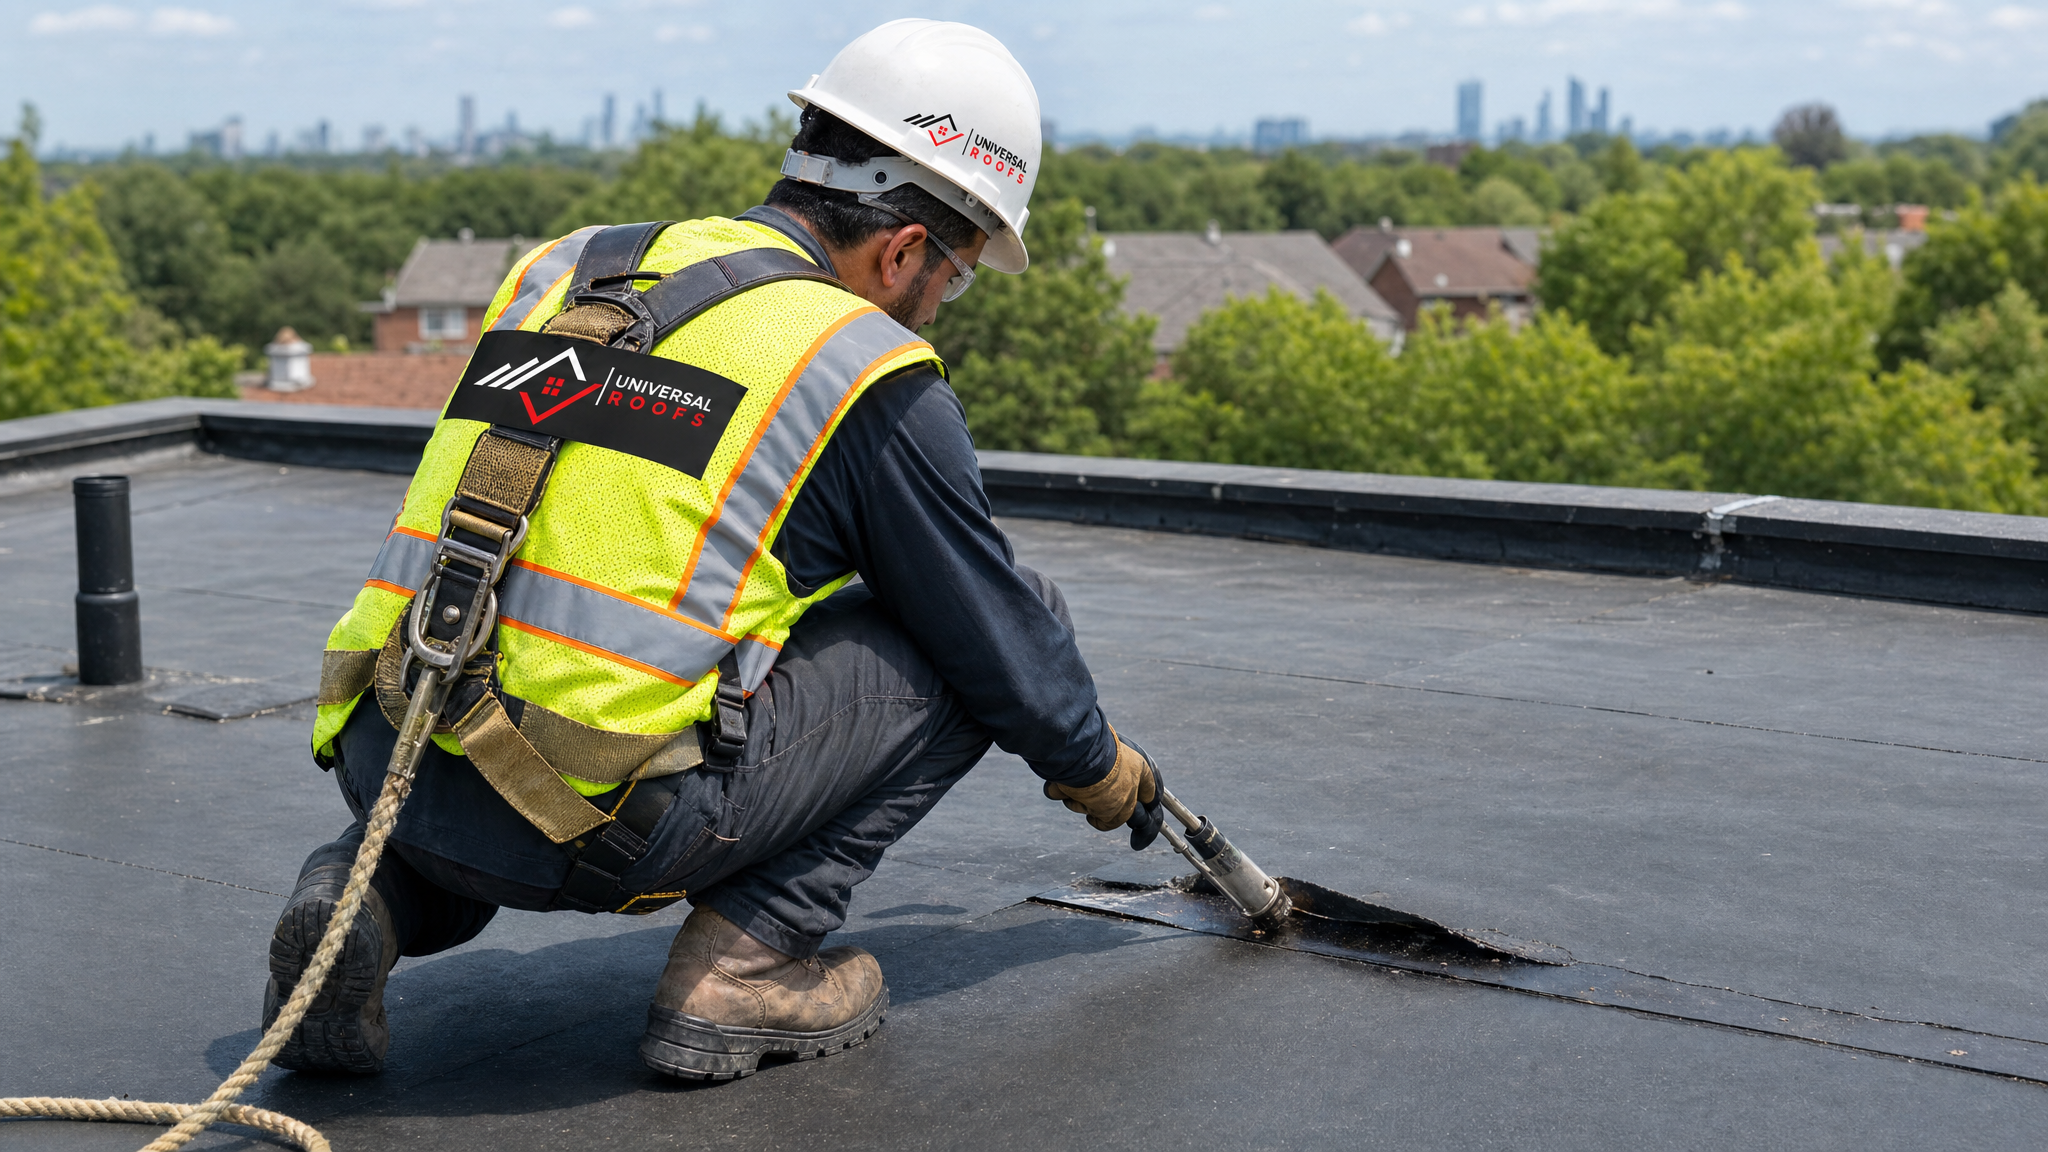
| Modified bitumen | Granule loss, blistering, torn cap sheet | Torch-applied or cold-adhesive patch with new cap sheet section | $450 – $1,400 |
| Built-up roofing (BUR) | Ply separation, gravel displacement, alligatoring | Layered asphalt and felt patch, re-graveled | $500 – $1,600 |
| Spray polyurethane foam (SPF) | Surface coating cracks, minor punctures | Foam fill and recoat with elastomeric top coat | $350 – $1,100 |
Flashing deserves its own attention here, since it fails independently of the membrane field. Parapet wall caps, skylight curbs, and vent boots are all common storm-damage points because wind uplift concentrates stress at these transitions. Bent, lifted, or separated flashing should be re-secured and re-sealed even if the membrane itself looks undamaged, because a compromised flashing joint is often the actual entry point for water that then travels under the membrane before it appears as a visible leak elsewhere.
If a skylight curb or flashing was damaged in the storm, it is worth having it checked alongside the membrane repair — our skylight replacement and skylights teams frequently work jointly with our roofing crews on exactly this kind of combined repair, since a skylight seal failure often shows up at the same time as roof membrane damage after a wind event.
Step 6: Check Insulation and Deck Integrity, Not Just the Surface
A membrane patch is only half the job if water has already reached the insulation layer or roof deck underneath. Saturated insulation loses most of its R-value, stays wet for weeks, and can promote mould growth in the deck below — none of which is visible from the roof surface after a patch is applied.
Signs the insulation or deck has been compromised include:
- A soft, spongy feel underfoot in a specific area of the roof
- Visible sagging when viewed from below or across the roof plane
- A musty smell from roof vents or the attic space
- Interior ceiling stains that continue to spread after the leak is patched
- Unusually heavy sections when compared to the rest of the roof (saturated insulation holds significant water weight)
If any of these are present, the repair needs to go beyond the membrane — the wet insulation has to be cut out and replaced, and the deck below inspected for rot before a new membrane section is installed over it. Patching over saturated insulation is a common shortcut that leads to a second failure within a year, because trapped moisture has nowhere to go and continues to degrade the materials around it.
This is also the point where a repair sometimes becomes a full roof replacement conversation. If storm damage affects more than roughly 25-30% of the roof surface, or if the underlying insulation and deck are compromised across multiple sections, replacement is often more cost-effective over a 10-15 year horizon than a series of repeated patch repairs.
Step 7: Document, Insure, and Schedule a Follow-Up Inspection
The final of the essential steps to fix storm damaged flat roofs is the one most easily forgotten once the leak has stopped: proper documentation and a scheduled follow-up. Insurance claims for storm damage in Ontario are frequently delayed or denied over insufficient documentation, so keep dated photos from Step 2, contractor invoices, and a written scope of work in one file.
We also recommend a follow-up inspection 60-90 days after any storm repair, especially heading into the fall and winter freeze-thaw cycle that is hard on any patched membrane. A quick re-check catches early seam lifting or flashing movement while it is still a five-minute fix, rather than a full re-tear months later.
| Task | Timing | Who Should Do It | Priority Level |
|---|---|---|---|
| Photograph and log all damage | Same day as storm | Homeowner / property manager | High |
| Contact insurer to open claim | Within 48 hours | Homeowner | High |
| Temporary tarp or patch | Same day, if actively leaking | Licensed contractor | Critical |
| Full roof assessment | Within 3-5 days | Licensed contractor | High |
| Permanent membrane/flashing repair | Within 1-2 weeks | Licensed contractor | High |
| Follow-up inspection | 60-90 days later | Licensed contractor | Medium |
Property owners across the Toronto, Peel Region, York Region, Halton Region, and Durham Region areas deal with a wide range of storm patterns each summer, from fast-moving thunderstorms with damaging wind gusts to slower systems that drop significant rainfall over several hours. The follow-up step matters regardless of which type of storm caused the original damage, because both wind uplift and prolonged saturation stress a repair differently over time.
Choosing Between Repair and Replacement After Storm Damage
Not every storm-damaged flat roof needs the same level of intervention, and the honest answer depends on the roof’s age, the extent of the damage, and how many prior repairs it has already had. As a general rule of thumb:
- Under 10 years old with isolated damage: targeted repair is almost always the right call
- 10-15 years old with damage spread across multiple areas: repair is reasonable, but budget for replacement within the next few years
- Over 15-20 years old, or with saturated insulation across large sections: replacement is typically more economical than continued patching
- Membrane system near or past its rated service life: a storm event is often the trigger that reveals a roof was already due for replacement
An honest inspection should always tell you which category your roof falls into rather than defaulting to “replace everything.” A reputable contractor will walk you through the trade-offs rather than pushing a full tear-off when a targeted repair will genuinely hold. If you are unsure which path makes sense, read through real customer experiences on our reviews page or check our FAQ for answers to common flat roof questions before booking an assessment.
Common Mistakes Homeowners Make After Storm Damage
We see the same handful of mistakes repeatedly on storm-damage calls across the GTA, and each one makes the eventual repair more expensive:
- Walking on a wet or soft roof without support boards, which can worsen deck damage that is already weakened
- Using duct tape or non-roofing sealants as a “quick fix,” which fail within days and trap moisture underneath
- Ignoring small drips because they seem minor, when the actual membrane breach may be metres away from where water is showing up inside
- Delaying the insurance call until repairs are already complete, which complicates claims that require pre-repair documentation
- Skipping the insulation and deck check, leading to a repeat leak once the patch material ages
- Hiring uninsured or unlicensed labour for a “cheap” storm fix, which often voids manufacturer warranties on the existing membrane
Every one of these is avoidable by following the seven steps in order rather than jumping straight to a patch. A rushed fix almost always costs more in the long run than a properly sequenced repair completed by a qualified crew.
About Universal Roofs
Universal Roofs has been repairing and replacing flat and sloped roofs across the Greater Toronto Area since 2005. Our crews carry full fall-protection equipment on every storm-damage call, and every technician follows the same seven-step assessment and repair sequence outlined above, whether the job is a single-family home or a multi-unit commercial property. Learn more about our team and history on our about page.
What are the essential steps to fix storm damaged flat roofs?
How quickly should a storm-damaged flat roof be repaired?
Can I repair storm damage on a flat roof myself?
How do I know if my flat roof needs a repair or a full replacement after a storm?
Why does my flat roof still leak after I patched it myself?
Will home insurance cover storm damage repair for a flat roof?
Need Help With 7 Essential Steps to?
Storm damage on a flat roof rarely announces itself clearly, and the fastest way to avoid a much larger repair bill is a proper assessment from a crew that has handled this exact scenario across the GTA for two decades with Universal Roofs.
Call us today at (416) 732-2421 or request a free inspection to get started.
Universal Roofs proudly serves Toronto, Mississauga, Brampton, Vaughan, Markham, Oakville and the GTA since 2005.