
If your upstairs bedrooms turn into ovens by July and your heating bills climb every winter despite a “newer” furnace, the culprit is often hiding above the ceiling drywall: the roof truss system. Trusses are the triangulated wood frames that hold your roof deck up, and they were never designed with insulation or air sealing in mind — they were designed to carry snow load. When a truss system is damaged, sagging, undersized, or simply installed with gaps around every joint, it creates a highway for conditioned air to escape and outdoor air to invade, no matter how much insulation you dump on top of it.
The good news is that roof truss repairs for energy efficiency are some of the most cost-effective upgrades a GTA homeowner can make. Unlike a full re-roof, truss-level work targets the structural and thermal boundary directly, which means every dollar spent translates into real, measurable comfort and lower utility bills. In this guide we walk through the five best truss repair strategies we use on Toronto-area homes, what each one costs, how long it takes, and how to tell which one your attic actually needs.
This is structural and building-science work, not a weekend DIY project. A licensed contractor who understands both truss engineering and building envelope performance should assess your attic before any repair begins. Universal Roofs has been diagnosing and repairing GTA roof structures since 2005, and the patterns below reflect what we see most often in Toronto, Mississauga, Vaughan, and Oakville attics.
Why Roof Truss Condition Directly Affects Energy Efficiency
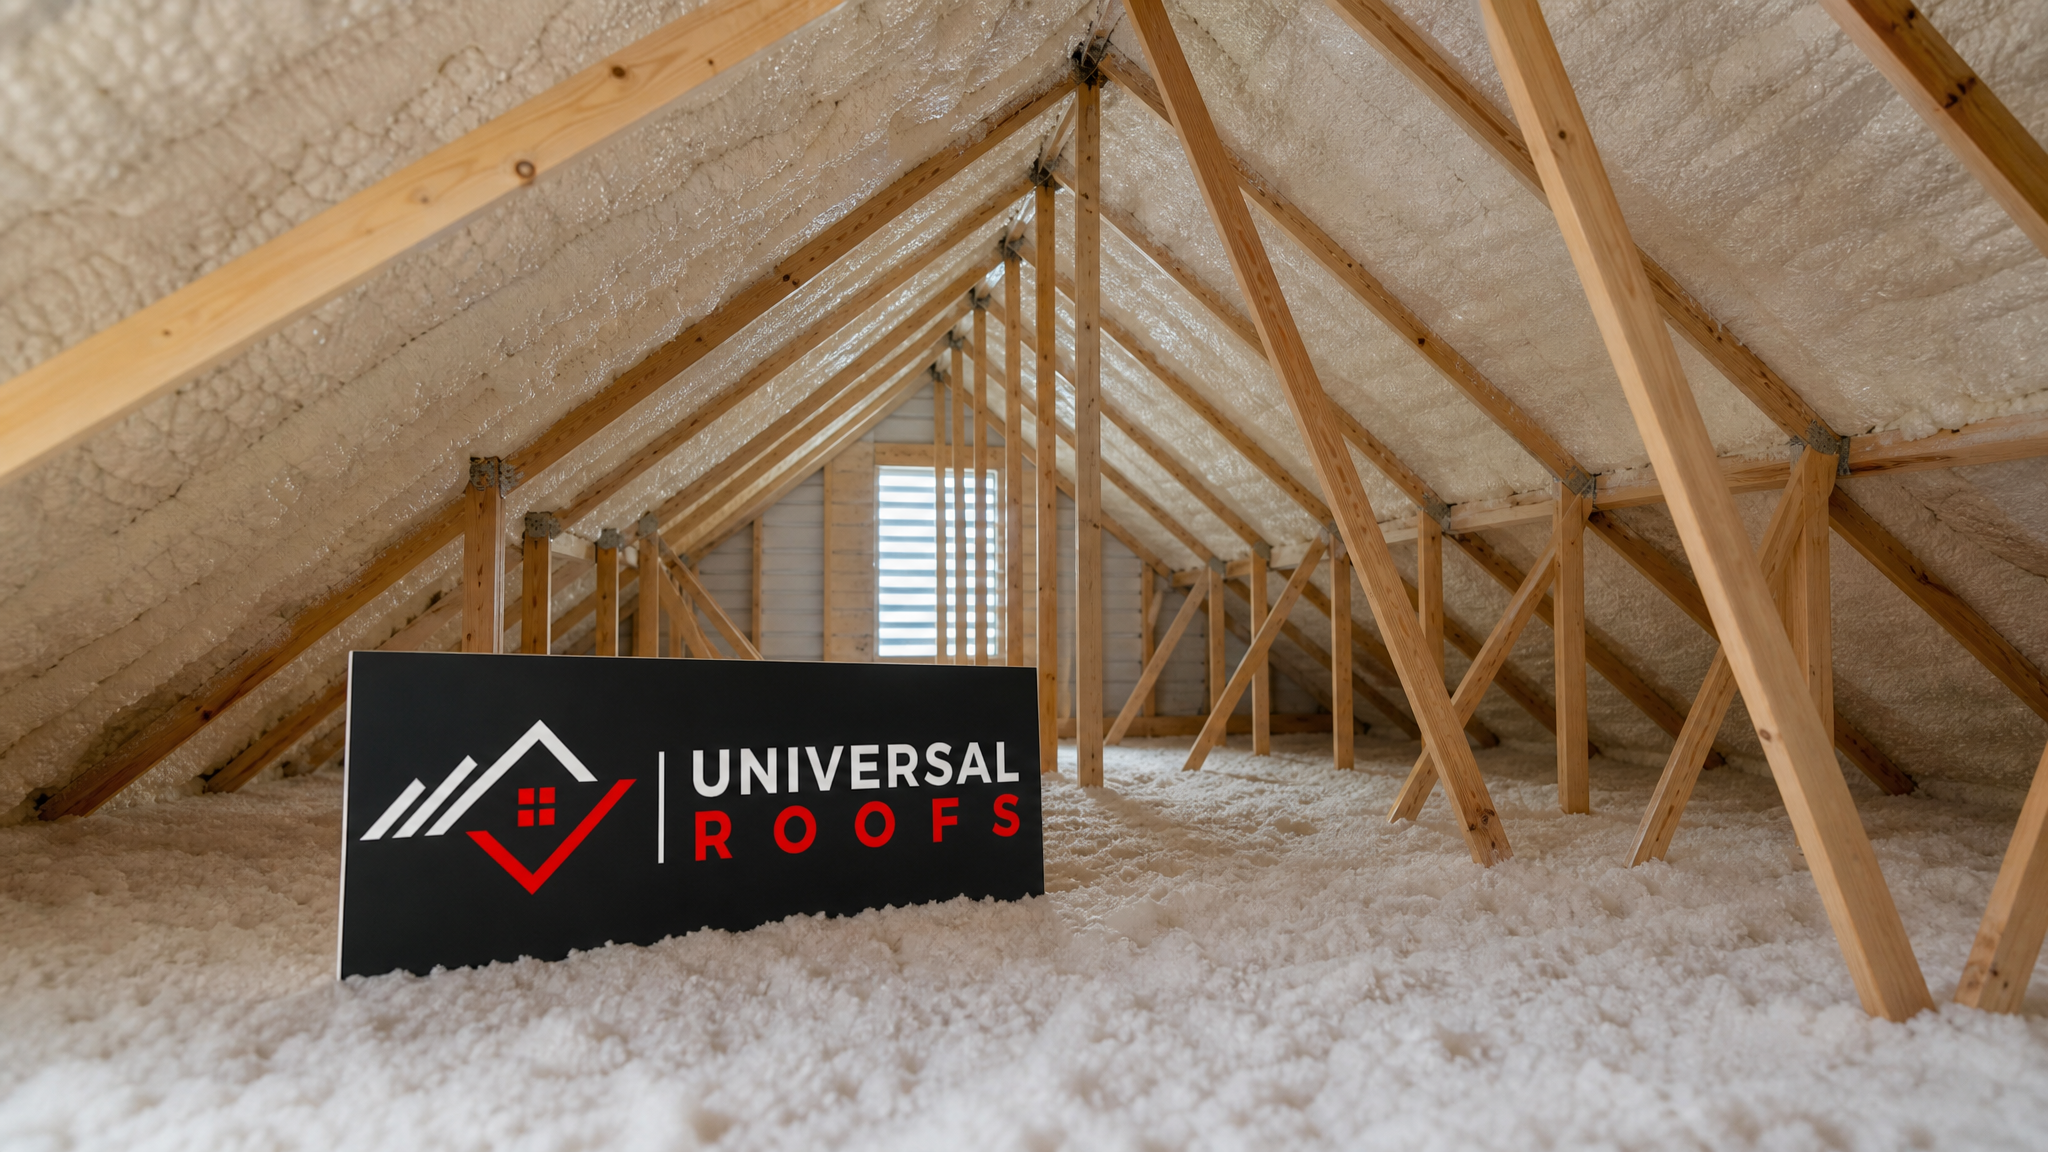
Most homeowners assume energy efficiency starts and ends with insulation thickness. In reality, insulation only performs as well as the structure it sits on. A roof truss system creates dozens of penetration points — where the top chord meets the wall plate, where webbing intersects the ceiling, where plumbing stacks and electrical runs pass through the truss bays. Every one of those intersections is a potential air leak, and air leakage moves heat far faster than conduction through insulation ever could.
In the Toronto climate, this matters more than in milder regions. We get genuine winter cold snaps below -20°C, punishing summer humidity, and constant freeze-thaw cycling in shoulder seasons. Each temperature swing causes lumber to expand and contract, which opens tiny gaps at truss joints that were tight when the house was built. Over 15, 20, or 30 years, those gaps compound. A truss system that was airtight in 2005 may now be leaking warm, moist household air into the attic every single night, where it condenses on cold sheathing and slowly rots the very structure holding your roof up.
There is also a direct link between truss damage and thermal bridging. A cracked or sagging bottom chord forces insulation to compress or shift out of place, creating “cold spots” directly beneath it. Homeowners often notice this as a stripe of frost on the ceiling drywall in winter, or a patch of snow that melts unevenly on the roof — a telltale sign of heat escaping through a compromised truss bay. Addressing the structural issue and the thermal issue together, rather than just blowing in more insulation on top, is what separates a lasting energy-efficiency fix from a temporary patch.
Repair 1: Sistering and Reinforcing Damaged Truss Chords
Sistering involves bolting or screwing a new piece of lumber alongside a cracked, split, or undersized truss chord to restore its structural capacity. While this is fundamentally a structural repair, it has an outsized effect on energy performance because a straight, properly supported chord holds insulation at a consistent depth across the entire attic floor. A sagging chord creates a valley where insulation pools in the low spot and thins out on either side, leaving R-value gaps exactly where you can’t see them.
We typically recommend sistering when a truss shows visible cracking at a joint, more than 12 millimetres of deflection along the bottom chord, or signs of past water damage from an ice dam or flashing failure. The repair uses construction-grade lumber matched to the original truss dimension, secured with structural screws or through-bolts per engineering spec — never just nails, which loosen under the constant load-shift a truss experiences.
| Damage Sign | Likely Cause | Sistering Priority | Typical Cost Range (CAD) |
|---|---|---|---|
| Hairline crack at joint | Age, normal wood movement | Monitor, repair within 1-2 years | $250 – $450 per truss |
| Visible sag over 12mm | Overloading or undersized truss | Repair within 3-6 months | $400 – $700 per truss |
| Crack with water staining | Past ice dam or flashing leak | Repair immediately | $500 – $900 per truss |
| Multiple adjacent trusses affected | Systemic overload or design error | Engineer assessment required | $1,200 – $3,000+ (multi-truss) |
Homeowners sometimes ask why this counts as an “energy efficiency” repair at all. The answer is that a level, structurally sound chord lets an insulation contractor achieve the full designed depth across the whole attic, rather than working around a dip that will always undercut the batt or blown-in fill above it. If your attic already shows uneven frost patterns or a dip you can see with a flashlight, this is usually the first repair to schedule.
Repair 2: Air Sealing Every Truss-to-Wall and Truss-to-Deck Junction
This is, in our experience, the single highest-return truss repair for energy efficiency, and it is the one most frequently skipped. Air sealing means closing every gap where the truss system meets the top plate of the exterior wall, where webbing crosses ceiling penetrations, and where the roof deck meets the truss’s top chord. These junctions are notorious leak points because framing lumber rarely fits perfectly tight, and builders historically relied on insulation alone to “block” airflow — insulation slows heat transfer, but it does not stop moving air.
The repair uses a combination of closed-cell spray foam at small gaps, rigid foam board with foam-sealed edges at larger openings such as attic hatches, and fire-rated caulking around electrical and plumbing penetrations through the top chord. On homes we assess in Scarborough, North York, and Etobicoke, we routinely find 15 to 25 individual air leak points per attic, many of them at truss junctions that a homeowner would never notice from a casual glance.
| Junction Type | Common Leak Size | Recommended Sealant | Est. Heat Loss Impact |
|---|---|---|---|
| Truss-to-top-plate | 3-10mm continuous gap | Closed-cell spray foam | High — runs entire wall length |
| Attic hatch/access | 6-15mm perimeter gap | Rigid foam + weatherstripping | Very high — single largest leak |
| Plumbing stack penetration | 10-25mm around pipe | Fire-rated foam sealant | Moderate, but constant |
| Electrical/pot light boxes | Variable, often unsealed | Foam gasket + caulking | Moderate to high, per fixture |
| Chimney chase (truss-framed) | 15-40mm gap, code clearance | Fire-rated mineral wool + metal flashing | High — cannot use standard foam |
Air sealing is inexpensive relative to its payoff, and it should always happen before new insulation is added — sealing after the fact means working blind through a foot of loose fill. If you’re planning any attic upgrade this year, insist that air sealing at the truss junctions comes first on the scope of work.
Repair 3: Correcting Truss Spacing and Bay Depth for Consistent Insulation
Not every energy problem starts with damage — sometimes it’s a design or renovation-era mismatch. We frequently find homes, particularly ones renovated in the 1990s and early 2000s, where truss spacing was altered to accommodate a skylight, a dormer, or a mechanical chase, leaving irregular bay widths that standard insulation batts don’t fit cleanly. Gaps at the batt edges are invisible from the attic floor but show up clearly on a thermal scan as long, thin cold streaks.
The fix involves adding blocking or furring to standardize bay width, or in some cases installing a continuous rigid foam layer over the trusses to eliminate the bay-width problem entirely. This is also the point at which we evaluate whether a skylight shaft or an existing skylight replacement has disrupted the truss layout enough to need re-blocking, since skylight wells are one of the most common causes of irregular truss spacing in GTA homes.
| Bay Condition | Insulation Fit Problem | Correction Method | Timeframe |
|---|---|---|---|
| Standard 400mm/600mm spacing intact | None — batts fit as designed | No correction needed | N/A |
| Irregular bay near skylight shaft | Batt gaps 20-50mm at edges | Add blocking, custom-cut batts | Half day per bay |
| Bay narrowed by mechanical chase | Compressed insulation, reduced R-value | Furring strips + spray foam fill | 1 day |
| Multiple altered bays (past renovation) | Systemic cold streaking across ceiling | Continuous rigid foam overlay | 2-3 days |
This repair pairs particularly well with an attic insulation top-up, because there’s little point in adding new fill over bays that still can’t hold it evenly. Getting the truss geometry consistent first means every subsequent inch of insulation actually performs at its rated value.
Repair 4: Reinforcing Truss Bearing Points to Stop Ridge and Ceiling Movement
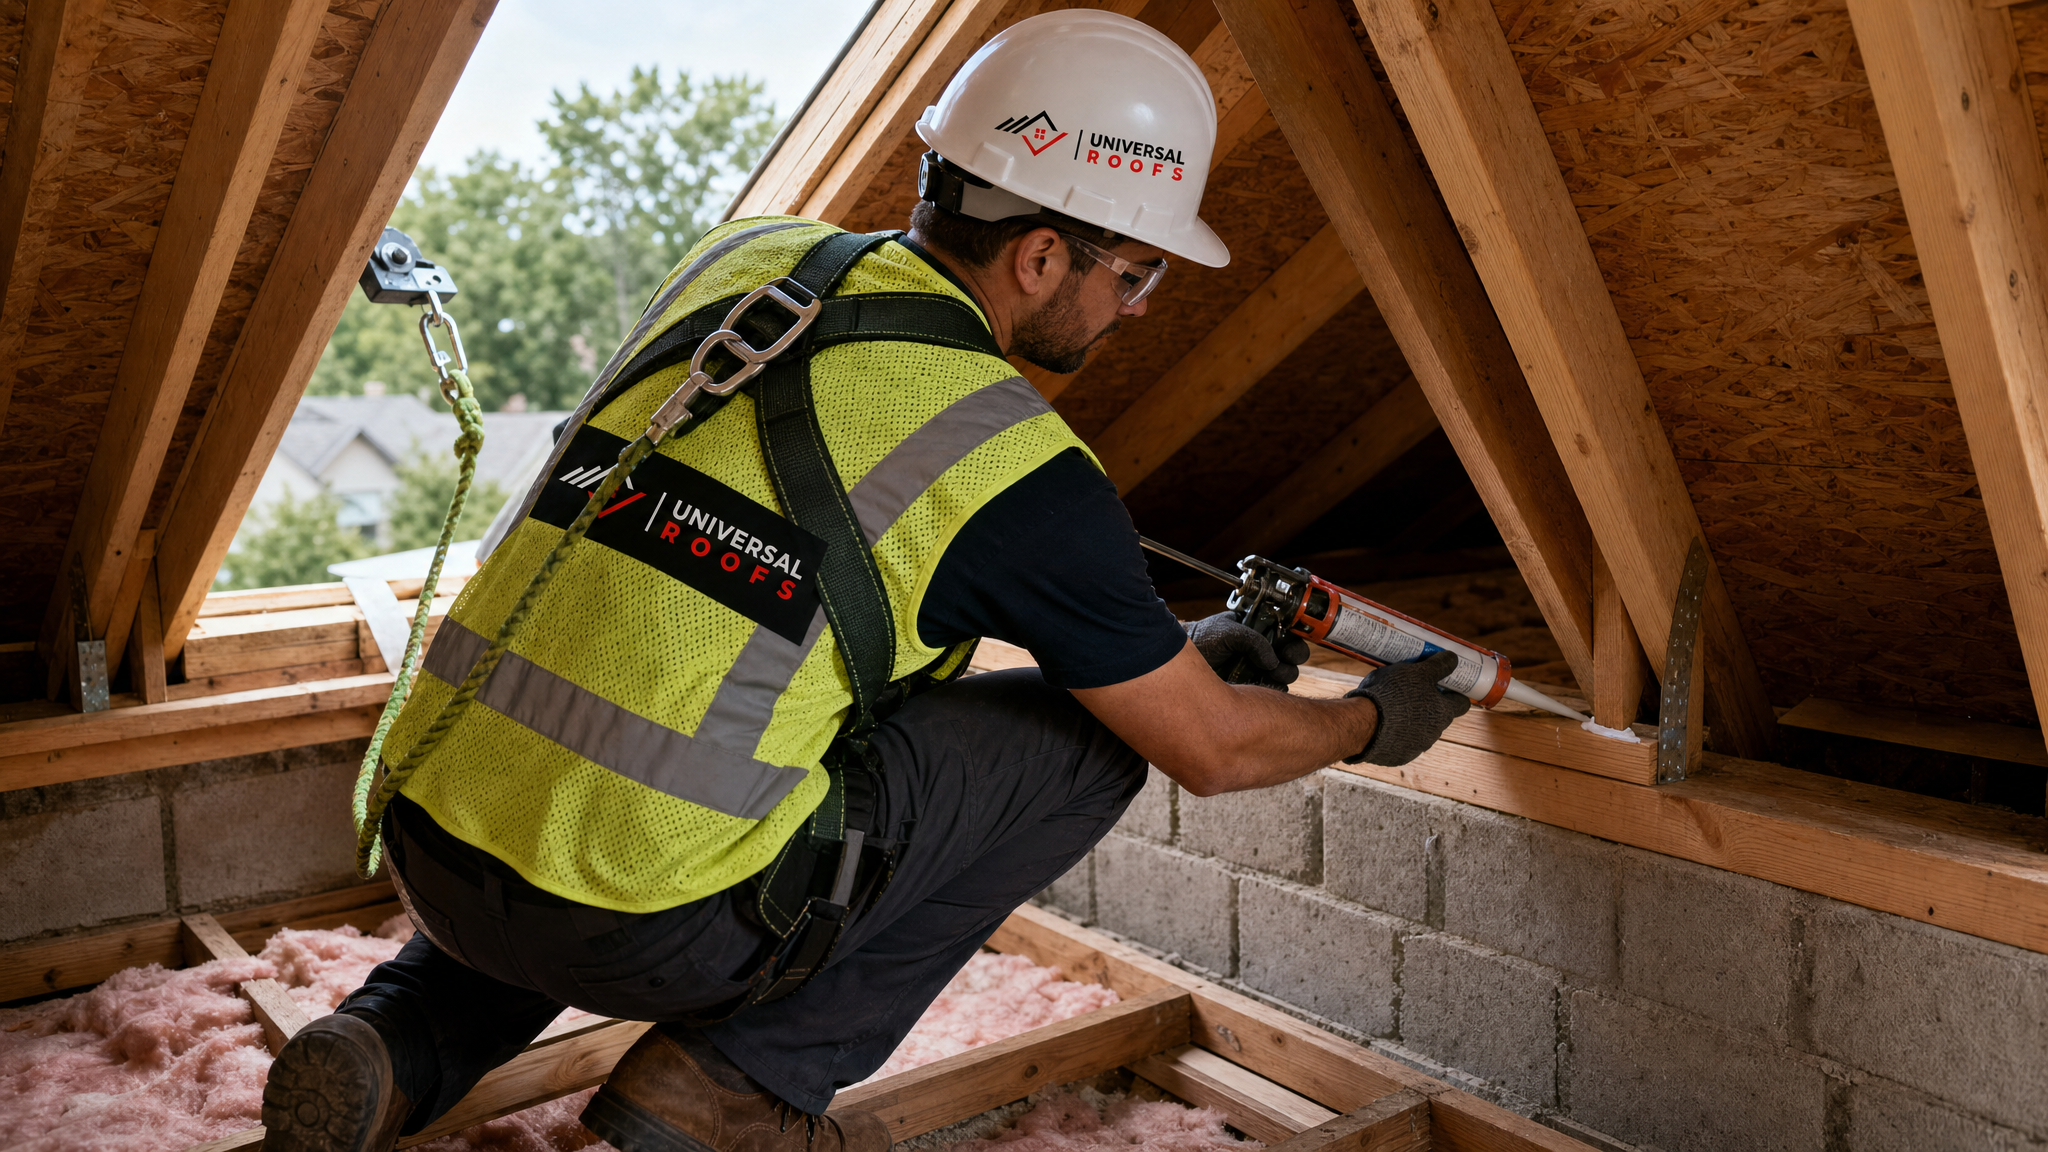
Bearing points are where the truss transfers its load down to the exterior wall. When these connections loosen — from age, from an undersized original design, or from wind uplift during a Toronto windstorm — the whole truss can shift slightly with seasonal load changes. That movement is subtle, often just a few millimetres, but it’s enough to reopen air seals every year and crack drywall along the ceiling-wall junction, which is itself a significant air leak path most homeowners mistake for “just settling.”
The repair involves adding hurricane ties or seismic/wind clips at the bearing point, along with reinforced blocking between the truss and the top plate. This isn’t a cosmetic fix — the Ontario Building Code has specific uplift and lateral load requirements for truss bearing connections, and older homes built before these standards were tightened often have only a couple of toe-nails holding the truss down. We see this most often on homes over 25 years old in Brampton, Richmond Hill, and Ajax that haven’t had a roof-level structural review since original construction.
| Bearing Condition | Risk Level | Reinforcement | Energy Efficiency Benefit |
|---|---|---|---|
| Toe-nail only, no clips | High in wind-exposed areas | Add hurricane/seismic ties | Stops recurring seal failure at wall line |
| Clips present but rusted/loose | Moderate | Replace with galvanized ties | Restores consistent air seal |
| Visible gap opening seasonally | High — active movement | Full bearing reinforcement + resealing | Eliminates annual re-caulking need |
| Cracked drywall at ceiling line | Moderate to high | Reinforce truss + repair interior finish | Removes a major hidden draft source |
Because bearing repairs touch both the structure and the building envelope, they’re best scheduled alongside any broader roof repair visit, so a technician can inspect the bearing points from both the attic side and the exterior wall line in a single trip.
Repair 5: Upgrading Ventilation Baffles at the Truss Tail to Protect Insulation Performance
The fifth repair addresses a problem that undoes the benefit of every other fix on this list if it’s ignored: insulation getting blown or pushed into the soffit vents at the truss tail, blocking airflow and compressing R-value right where the roof edge meets the exterior wall — historically one of the coldest, leakiest zones in any attic.
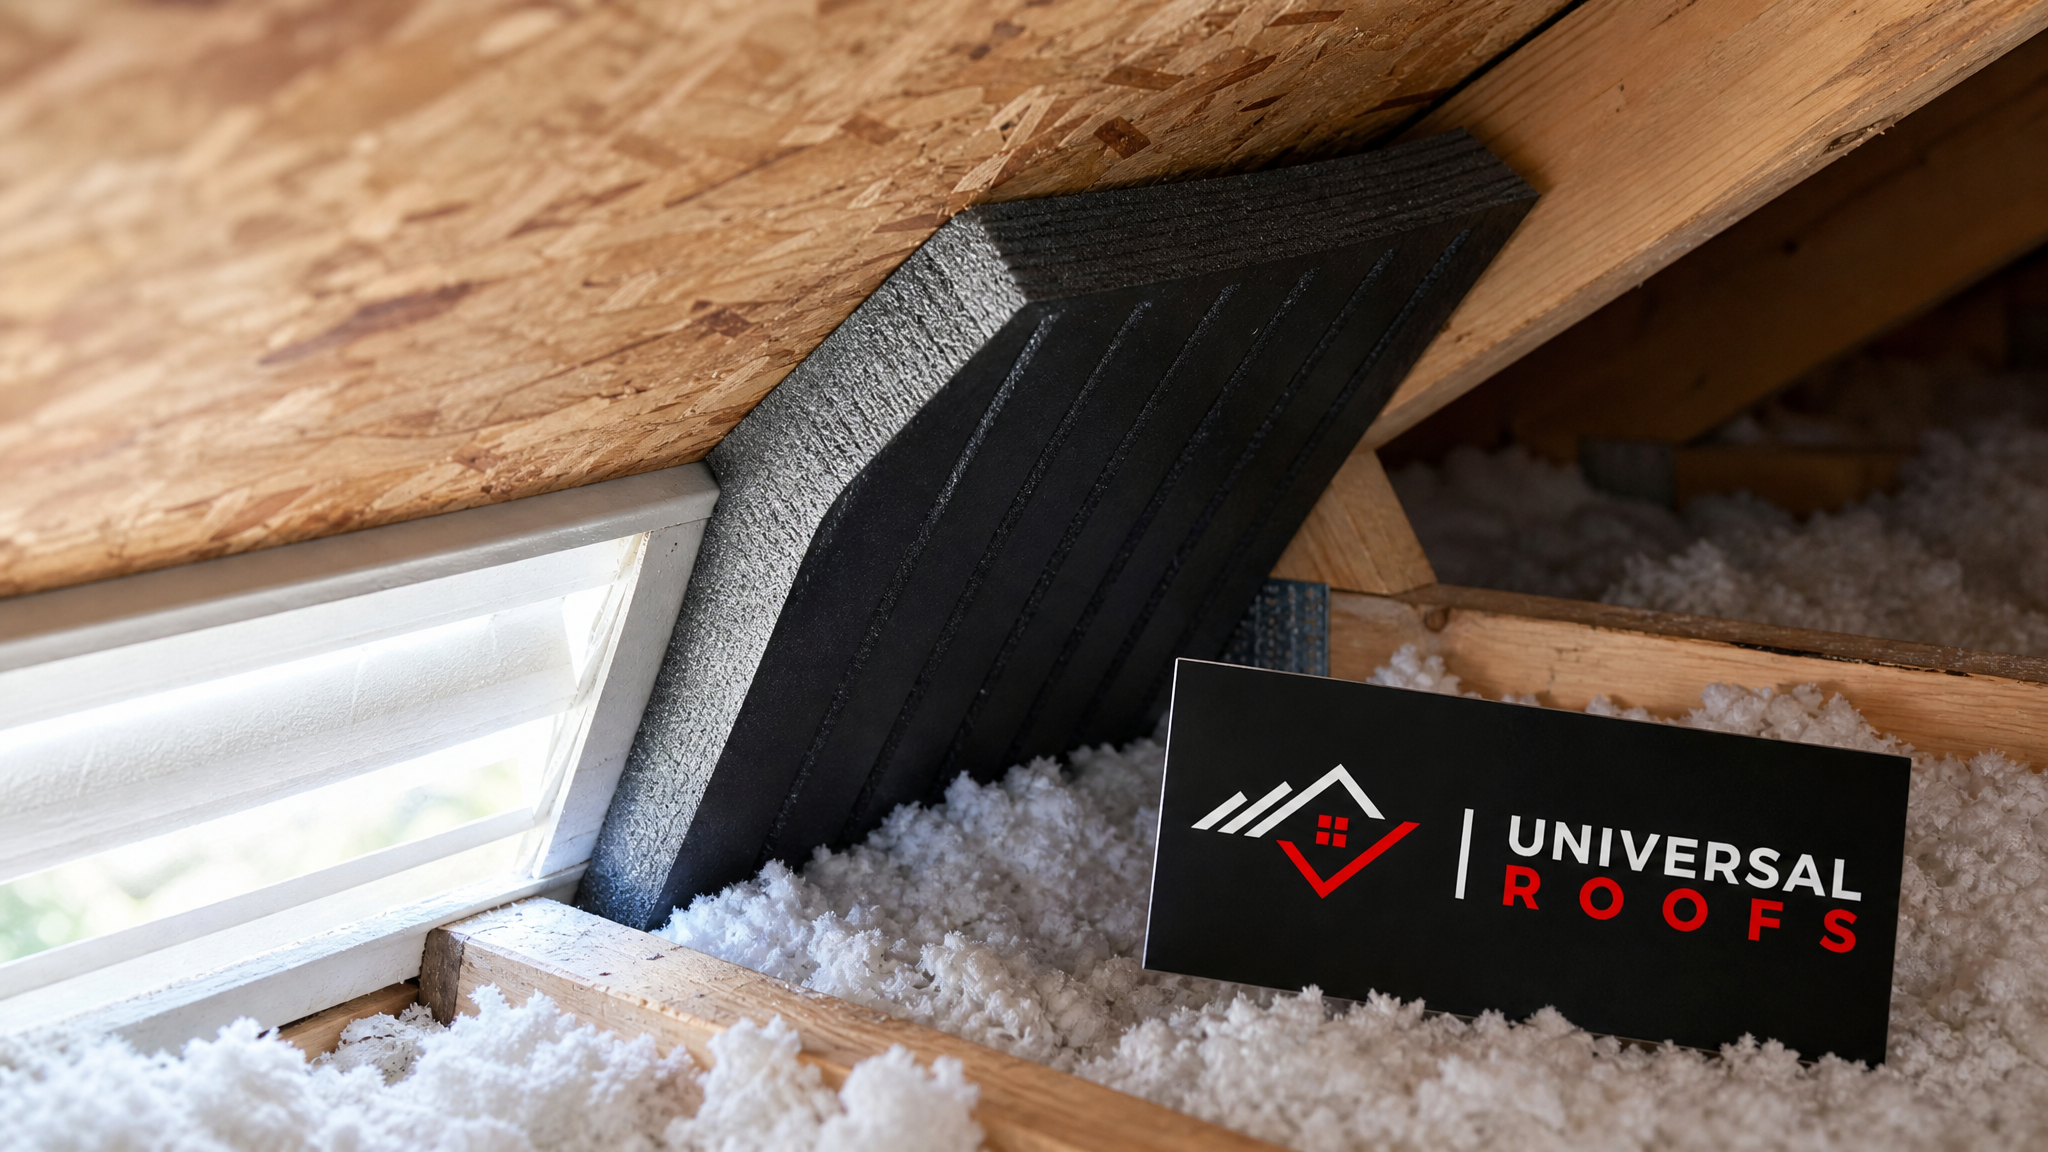
Every truss tail needs a rigid baffle (sometimes called a “raft” or “vent chute”) installed between the top chord and the roof deck, holding insulation back from the soffit vent while preserving a clear airflow channel from soffit to ridge. When baffles are missing, damaged, or were never installed correctly during original construction, two things happen simultaneously: the attic loses proper intake ventilation, which contributes to ice damming in winter and heat buildup in summer, and the insulation at the perimeter gets compressed to a fraction of its rated thickness, creating a ring of poor performance around the entire attic edge.
| Baffle Condition | Impact on Efficiency | Fix | Best Season to Address |
|---|---|---|---|
| No baffles installed | Severe — perimeter R-value loss, ice dam risk | Install rigid baffles at every truss bay | Summer/fall, before first snow |
| Baffles crushed or collapsed | High — blocked soffit intake | Replace with reinforced baffles | Any season, attic-accessible |
| Baffles present but insulation overfilled | Moderate — reduced airflow | Pull back insulation to baffle line | Any season |
| Baffles installed, ventilation balanced | None — system performing correctly | Routine inspection only | Annual check, ideally in summer |
Summer is actually the ideal time to check and correct baffles, since attic temperatures reveal ventilation problems quickly — a poorly ventilated attic can run 15-20°C hotter than outside air, driving up cooling costs and accelerating shingle aging from below. If you’ve noticed your upstairs rooms are unusually hot this July, blocked soffit baffles at the truss tails are one of the first things we check.
How to Tell Which Truss Repair Your Attic Actually Needs
Most homeowners don’t need all five repairs — they need a proper diagnosis first. Start with a flashlight inspection through your attic hatch on a cold morning or a hot afternoon, since temperature extremes make problems more visible. Look for frost patterns on the underside of the roof deck in winter (a sign of air leakage and possibly missing baffles), uneven insulation depth across the attic floor (a sign of sagging chords or bay-width issues), and daylight visible around the attic hatch or penetrations (a sign of missing air sealing).
If you notice cracked drywall along ceiling-wall junctions, unusually high heating or cooling bills relative to similar homes, or visible sagging when you look at your roofline from the street, it’s time for a professional assessment rather than a DIY patch. A trained eye can usually identify which of the five repairs above applies within a single attic visit, and most GTA homes need a combination of two or three rather than a single fix.
| Symptom You Notice | Most Likely Repair Needed | Urgency |
|---|---|---|
| Visible sag in roofline from the street | Sistering damaged chords | High — schedule within weeks |
| Cold drafts near ceiling in winter | Air sealing truss junctions | Moderate — schedule before winter |
| Uneven insulation depth in attic | Correcting bay spacing/depth | Moderate |
| Cracked drywall at wall-ceiling line | Bearing point reinforcement | High if progressive |
| Hot upstairs rooms in summer, ice dams in winter | Ventilation baffle upgrade | High — address before next season |
What to Expect During a Professional Truss Repair Visit
A typical visit begins with a full attic inspection, including photos of every truss junction, bearing point, and baffle location, along with moisture readings on the roof deck where staining is visible. We also check the condition of your flat roofing sections separately if your home has a mixed roofline, since flat sections use different structural framing than pitched-roof trusses and need their own assessment.
Once the inspection is complete, we walk homeowners through exactly which of the five repairs apply, with photos and a written scope, before any work begins. Most single-repair visits — sistering a few trusses, sealing junctions, or replacing baffles — are completed in a single day. Combination repairs involving bay-width correction and bearing reinforcement typically run one to three days depending on attic size and access.
We always recommend combining truss repair with a broader envelope check. If your home hasn’t had a full roof assessment recently, it’s worth reviewing our roof replacement guidance to understand whether your shingles and deck are due for renewal at the same time as any structural attic work — tackling both together saves on mobilization costs and disruption.
Regional Considerations Across the GTA
Truss age and construction style vary meaningfully across the region, which affects which repairs we see most often. In older Toronto neighbourhoods with homes built before 1980, we frequently find rafter-and-joist “stick framing” rather than engineered trusses, which changes the repair approach entirely — these need individual rafter sistering rather than truss-specific fixes. In Peel Region and York Region, where much of the housing stock dates from the 1990s-2010s building boom, engineered wood trusses are standard, and bearing point and baffle issues are more common than sistering, since the lumber itself is younger and less prone to age-related cracking.
In Halton Region and parts of Durham Region, we see a mix of both eras plus more custom-built homes with complex rooflines, multiple dormers, and skylight wells — all of which increase the likelihood of irregular truss spacing. Whatever your postal code, the underlying diagnostic approach is the same: inspect, identify the specific failure, and repair the structure and the air barrier together rather than treating them as separate problems.
Cost, Timeline, and Return on Investment Summary
Homeowners naturally want to know what kind of payback to expect. While every attic is different, the pattern we see across hundreds of GTA inspections is consistent: air sealing delivers the fastest payback, often recovering its cost in reduced heating and cooling bills within two to four years. Structural repairs like sistering and bearing reinforcement have a longer payback horizon on energy savings alone, but they prevent far more expensive problems — a truss left to sag or shift can eventually require a full section replacement, which costs many times more than early intervention.
| Repair Type | Typical Cost Range (CAD) | Typical Timeline | Estimated Payback Period |
|---|---|---|---|
| Sistering damaged chords | $250 – $3,000+ depending on scope | Half day – 2 days | Prevents costly failure; indirect energy benefit |
| Air sealing all junctions | $600 – $2,200 for average attic | 1 day | 2 – 4 years |
| Correcting bay spacing/depth | $800 – $2,500 | 1 – 3 days | 3 – 5 years |
| Bearing point reinforcement | $500 – $1,800 | 1 day | Structural priority; indirect energy benefit |
| Ventilation baffle upgrade | $400 – $1,500 | Half day – 1 day | 2 – 5 years, faster in high-heat attics |
In practice, most homes benefit from bundling two or three of these repairs into a single visit, since the attic is already open and the crew is already on site. Bundling typically reduces the combined cost by 10-20% compared to scheduling each repair separately, and it means your attic is fully addressed rather than partially patched.
Maintaining Your Truss Repair Long-Term
Once repairs are complete, a small amount of annual maintenance keeps the energy efficiency gains in place. Check the attic hatch seal each fall, since it’s the most frequently disturbed air seal point in most homes. Glance at insulation depth near the eaves each spring to confirm baffles are still clear and insulation hasn’t shifted. And after any major wind event, it’s worth a quick visual check of the roofline from the street for new sagging, especially if your home is due for its next inspection cycle.
We recommend a full attic and truss check every three to five years for most homes, or annually for homes over 30 years old or with a history of ice damming. Reading through homeowner experiences on our reviews page gives a good sense of how these repairs perform over time in real GTA attics, and our FAQ page covers additional common questions about attic and roof structure maintenance.
What are the best roof truss repairs for energy efficiency in an older GTA home?
Can truss repairs actually lower my heating and cooling bills?
How do I know if my roof trusses need structural repair versus just air sealing?
Is it worth combining truss repair with a full attic insulation upgrade?
How long do roof truss energy-efficiency repairs typically take?
Does Universal Roofs offer free inspections for truss and attic energy issues?
Need Help With 5 Best Roof Truss?
A properly repaired truss system is the foundation of a genuinely energy-efficient attic, and it’s a job worth doing right the first time. Universal Roofs has spent two decades diagnosing exactly these problems in GTA attics, and we bring the same structural and building-science approach to every inspection.
Call us today at (416) 732-2421 or request a free inspection to get started.
Universal Roofs proudly serves Toronto, Mississauga, Brampton, Vaughan, Markham, Oakville and the GTA since 2005.