
A leaking skylight can turn a bright, sunny room into a source of real stress fast. Water stains spreading across drywall, a musty smell in the attic, or drips landing on the windowsill during a summer thunderstorm are all signs that something around the skylight has failed. The good news is that most skylight problems come down to the same handful of causes, and fixing them properly follows a predictable sequence.
Understanding the essential steps for skylight roof repair helps GTA homeowners tell the difference between a five-minute caulking touch-up and a job that needs a full skylight replacement. It also helps you have an informed conversation with whichever contractor shows up at your door, because skylight leaks are one of the most common places where a quick, cheap “fix” only masks the problem for a season before it comes back worse.
In this guide we walk through the three essential steps every proper skylight repair should follow: diagnosing the true source of the leak, repairing or replacing the failed component (flashing, seal, or glazing), and confirming the fix holds up under real weather. We’ll also cover costs, timelines, seasonal considerations for Toronto’s freeze-thaw climate, and when it’s smarter to stop repairing and start planning a replacement.
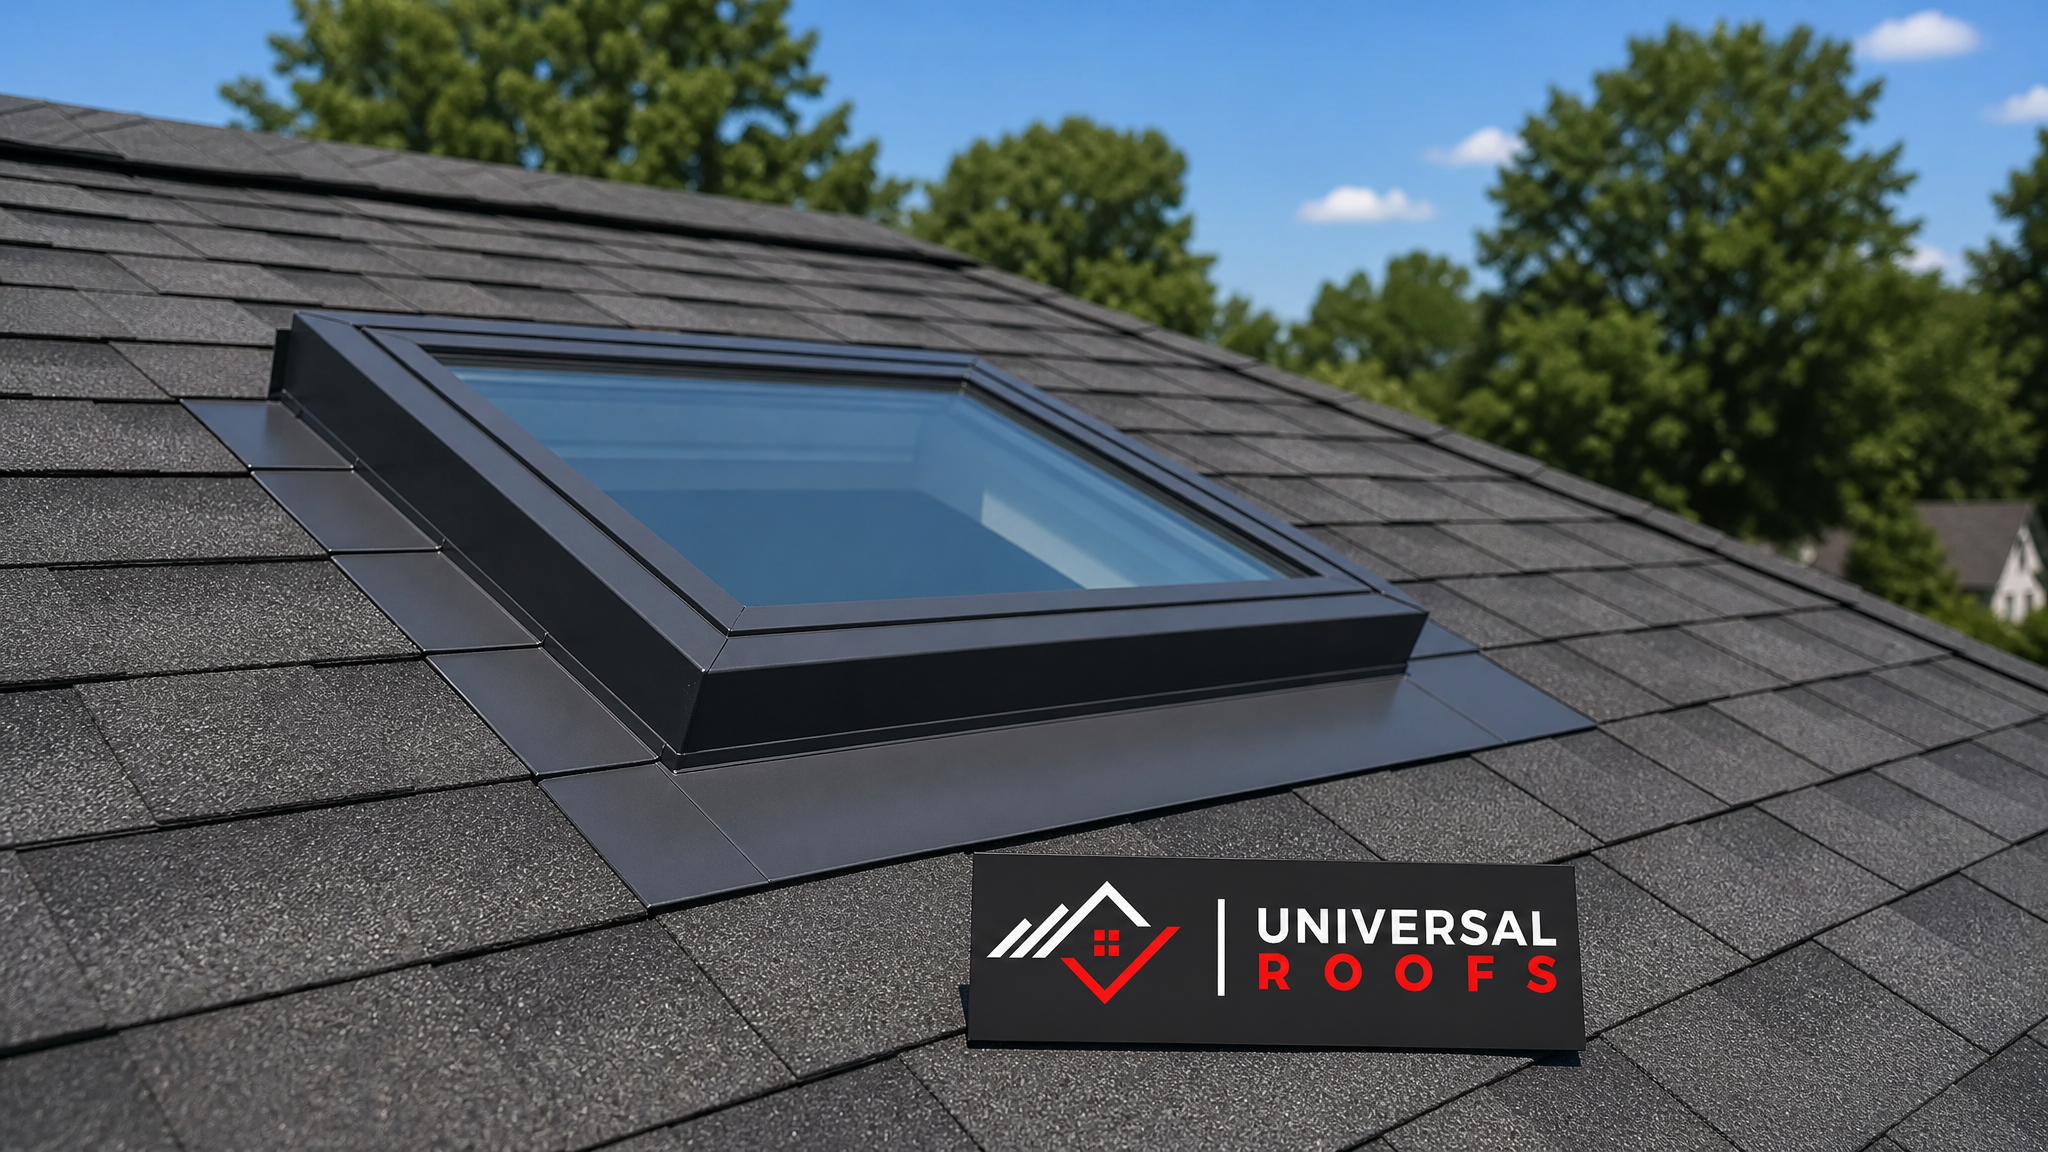
Step 1: Diagnose the Real Source of the Leak
The single biggest mistake homeowners and even some contractors make with skylight problems is treating the symptom instead of the cause. Water that appears around the base of a skylight on the ceiling below doesn’t necessarily mean the skylight itself is broken — it often travels several feet from where it actually entered the roof before it shows up as a stain. A proper diagnosis is the foundation of any lasting roof repair, and skipping it is why so many “fixed” skylights leak again within a year.
A thorough inspection typically checks four areas, in this order:
- Flashing — the metal strips that wrap the base and sides of the skylight where it meets the roofing material. This is the single most common failure point.
- Seals and glazing gaskets — the rubber or silicone seals between the glass/acrylic dome and the frame, which harden and crack with UV exposure and temperature swings over 8-15 years.
- Curb and frame — the wooden or insulated box the skylight sits on; rot or settling here creates gaps that no amount of caulking will solve.
- Condensation vs. leak — sometimes what looks like a leak is actually interior condensation from poor attic ventilation, which is a completely different repair involving the attic rather than the skylight itself.
Technicians usually combine a visual inspection from both the roof and inside the home with a controlled water test — running a hose over specific sections of the skylight one at a time while someone watches from inside — to pinpoint exactly where water is getting in. This is far more reliable than guessing based on where the stain appears, since roof decking and rafters can channel water sideways before it drips through the ceiling.
| Symptom | Likely Cause | Typical Diagnostic Method | Repair Complexity |
|---|---|---|---|
| Staining at skylight corners only | Flashing seam failure | Visual inspection + hose test on corners | Moderate |
| Steady drip during rain, clear glass | Cracked or shrunk perimeter seal | Close visual inspection of gasket | Low to moderate |
| Water only in cold weather, no rain | Condensation from poor attic ventilation | Attic inspection, humidity check | Moderate (ventilation fix) |
| Stain spreads several feet from skylight | Deck or underlayment failure upslope | Roof deck inspection, moisture meter | High |
| Fogging between glass panes | Failed insulated glass unit seal | Visual + manufacturer warranty check | High (glass replacement) |
Step 2: Repair or Replace the Failed Component
Once the source is confirmed, the second essential step is addressing that specific component correctly rather than applying a generic patch. This is where skylight repairs tend to diverge based on what’s actually broken, and it’s also where corner-cutting causes repeat calls.
Flashing Repairs
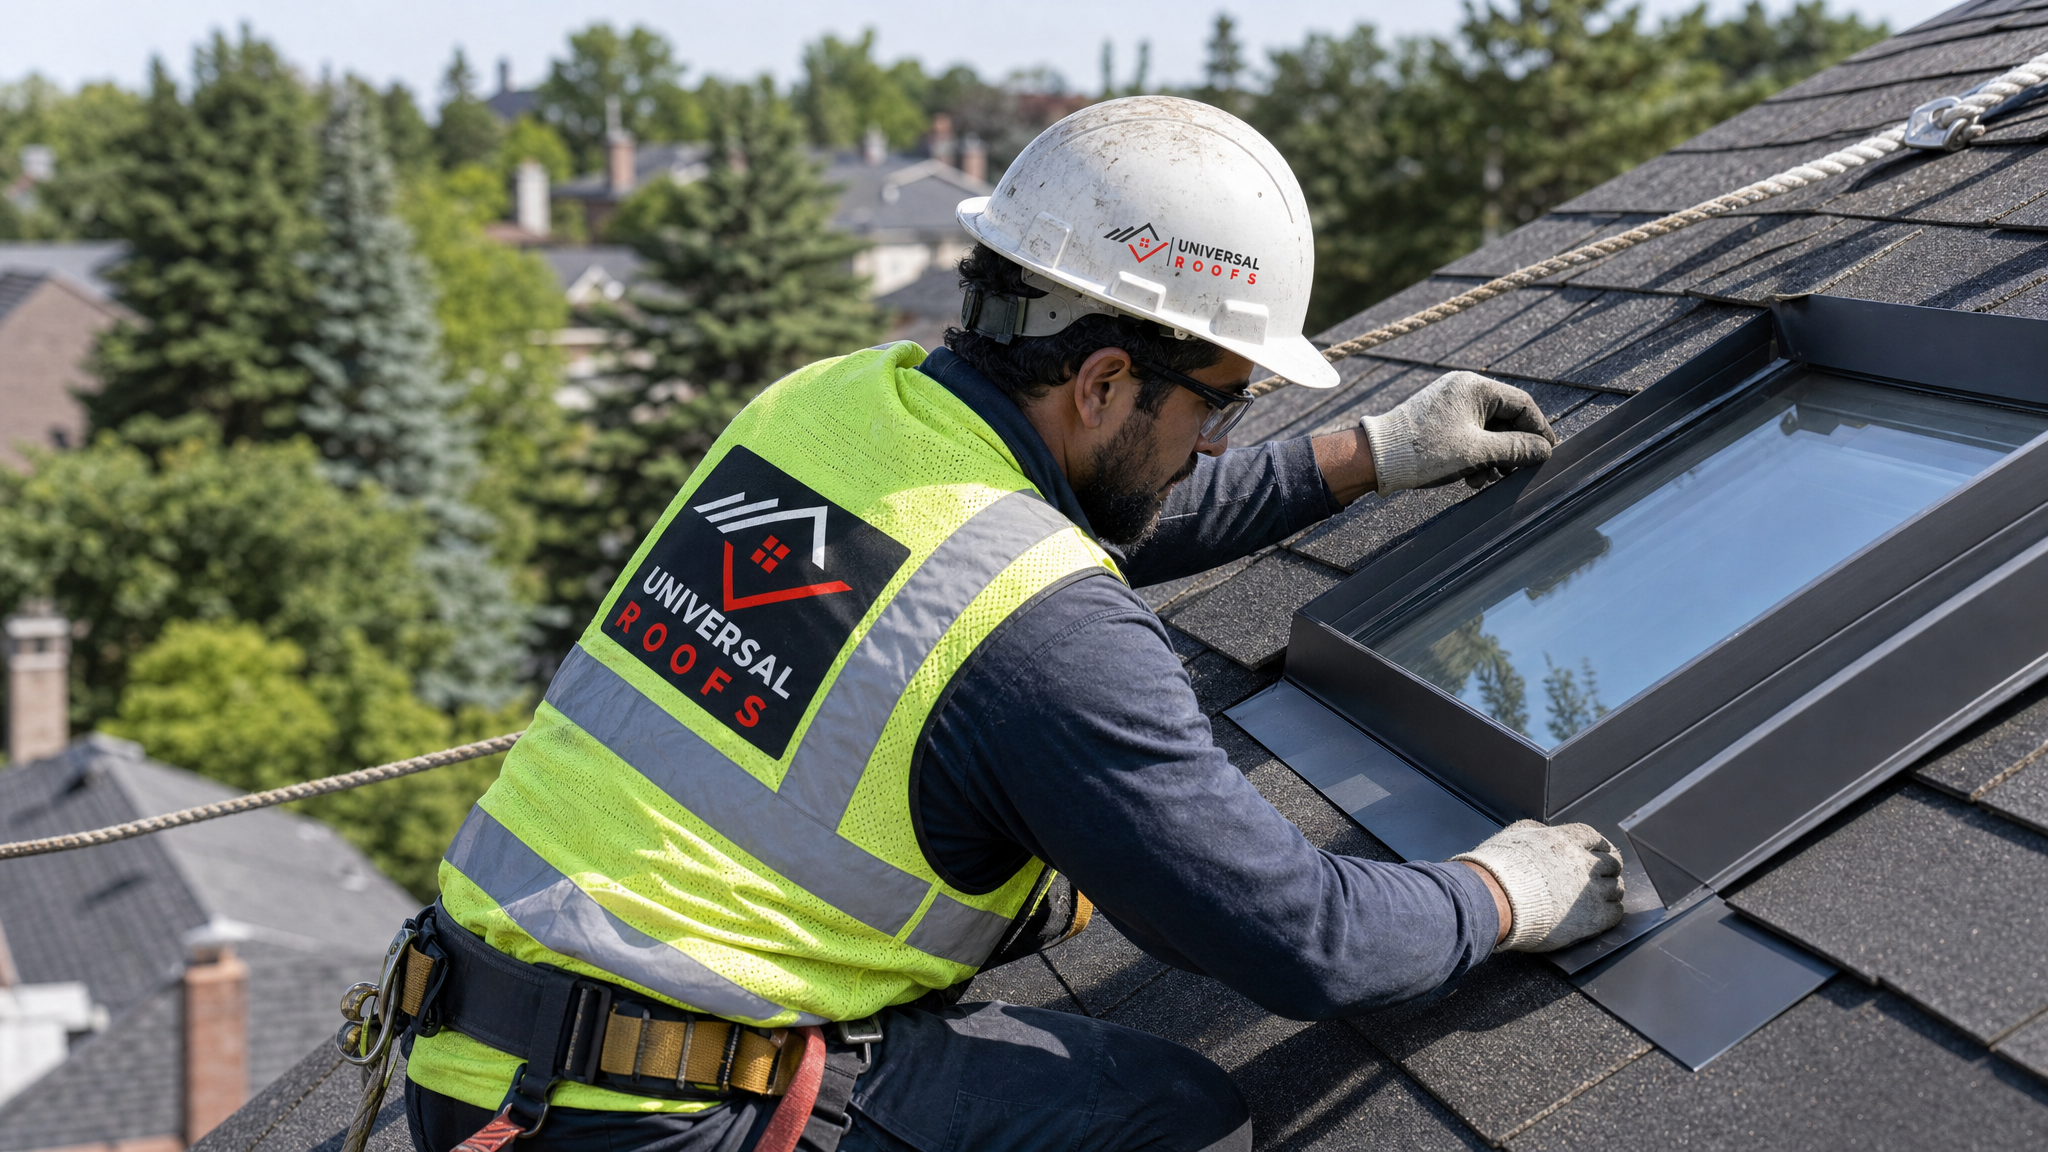
If the flashing has failed, the fix almost always means removing the surrounding shingles or membrane, replacing the step flashing, head flashing, and saddle (or apron) flashing as a complete system, and then reinstalling the roofing material over it with proper overlap. Patching a flashing leak with caulking or roof cement alone is a short-term measure at best — it typically fails again within one to two Toronto winters because the metal continues to move with thermal expansion and the sealant can’t keep up.
Seal and Gasket Replacement
Perimeter seal failures are usually the least invasive repair. The old, cracked gasket is cut out, the frame is cleaned down to bare material, and a new EPDM or silicone gasket rated for the specific skylight model is installed. Using the wrong sealant here — for example, a generic hardware-store silicone instead of a UV-stable, low-modulus product — is a common reason these repairs fail prematurely.
Curb and Deck Repair
When the curb or surrounding deck has rotted, the repair scope grows: the affected wood is cut out and replaced, new underlayment (ice-and-water shield in particular, given our climate) is installed around the curb, and only then is new flashing and roofing material applied. This is invasive but necessary — reinstalling a skylight on a compromised curb guarantees a repeat leak.
When Repair Isn’t Enough
Skylights over roughly 15-20 years old, units with fogged or delaminated glazing, or skylights that have needed flashing repairs more than once already are usually better candidates for full skylight replacement than another repair. A new unit with modern insulated glazing and a proper flashing kit typically costs only somewhat more than a second or third repair attempt, and it resets the clock on reliability.
| Repair Type | Typical Cost Range (CAD) | Typical Timeline | Expected Lifespan of Fix |
|---|---|---|---|
| Perimeter seal/gasket replacement | $250 – $600 | Half day | 8-12 years |
| Full flashing kit replacement | $600 – $1,500 | Half day to 1 full day | 15-20 years |
| Curb and deck repair with new flashing | $1,200 – $3,000 | 1-2 days | 20+ years |
| Full skylight replacement | $1,500 – $4,500 per unit | 1 day | 20-25 years |
| Attic ventilation correction (condensation issues) | $400 – $1,800 | 1 day | Life of roof |
Step 3: Confirm the Repair Holds Under Real Weather
The third essential step is the one most often skipped: verifying the repair actually works before calling the job done. A skylight can look perfectly sealed the day the work finishes and still leak the first time a wind-driven summer storm hits it from an angle that wasn’t tested.
A proper verification process includes a second, more aggressive hose test that simulates wind-driven rain from multiple directions, a visual re-inspection from inside the attic or ceiling cavity (not just the room below) to confirm no moisture is tracking along the rafters, and photo documentation of the completed flashing and seal work before any shingles or roofing membrane go back over it, since that area becomes invisible once the job is finished. On sloped roofs, checking that water sheets properly around the high side of the skylight rather than pooling is also important — pooling is often what causes “repaired” skylights to leak again during a heavy downpour or spring melt.
Homeowners should ask for this verification step explicitly if a contractor doesn’t offer it, and should expect a brief written summary of what was replaced, along with photos, for their records. This documentation also matters if you ever need to reference the work for a home insurance claim or when selling the property.
| Verification Method | What It Confirms | When to Perform | Who Should Be Present |
|---|---|---|---|
| Multi-angle hose test | No leak under wind-driven rain from any direction | Immediately after repair, before cleanup | Technician + homeowner if possible |
| Interior attic inspection | No moisture tracking along rafters or decking | Same day as hose test | Technician |
| Photo documentation of flashing | Proof of correct installation before covering | Before final shingles/membrane reinstalled | Technician |
| Follow-up check after first heavy rain | Real-world confirmation under natural conditions | 1-4 weeks post-repair | Homeowner (self-check) or technician |
Why Toronto’s Climate Makes These Steps Non-Negotiable
Skylight failures in the GTA follow a predictable seasonal pattern because of our climate’s freeze-thaw cycles. Water that seeps into a small flashing gap in autumn can freeze over winter, expand, and widen that gap significantly by spring — a process that repeats every year the leak goes unaddressed. This is precisely why skipping the diagnostic step (Step 1) is so costly here specifically: a repair that only patches the visible symptom in July may already have hidden damage that surfaces as ice damming and interior leaks by February.
Summer, like right now, is actually the ideal window to address skylight issues you may have noticed during spring rains. Dry, stable weather means flashing and sealant can cure properly, roofing crews aren’t racing daylight or dealing with frost, and any curb or deck repairs won’t be compromised by moisture getting trapped under new materials. Homeowners who wait until autumn are often working against the clock before the first frost, which limits contractors’ ability to guarantee a full cure on sealants and adhesives.
It’s also worth noting that skylights installed or repaired to a proper standard should be paired with adequate attic insulation and ventilation. Without it, warm indoor air rising into a cold attic space condenses on the underside of the skylight well or roof deck, mimicking a leak and undermining an otherwise perfect repair. If your home has this issue, it’s worth having your attic assessed at the same time as the skylight.
DIY Skylight Fixes vs. Calling a Professional
Some very minor skylight issues are reasonable for a handy homeowner to address, but the line is narrower than most people think. Here’s how the common scenarios break down.
| Task | Safe/Reasonable for DIY? | Why |
|---|---|---|
| Cleaning debris off the skylight dome | Yes, from inside or with a ground-level tool | No roof access or flashing work required |
| Re-caulking a visibly cracked interior seal | Sometimes, as a temporary measure | Buys time but is not a permanent fix |
| Diagnosing the true source of a leak | No | Requires roof access, hose testing, and experience reading water paths |
| Flashing removal and replacement | No | Requires working at height, roofing material removal, and code knowledge |
| Curb or deck repair | No | Structural work; mistakes cause much larger leaks |
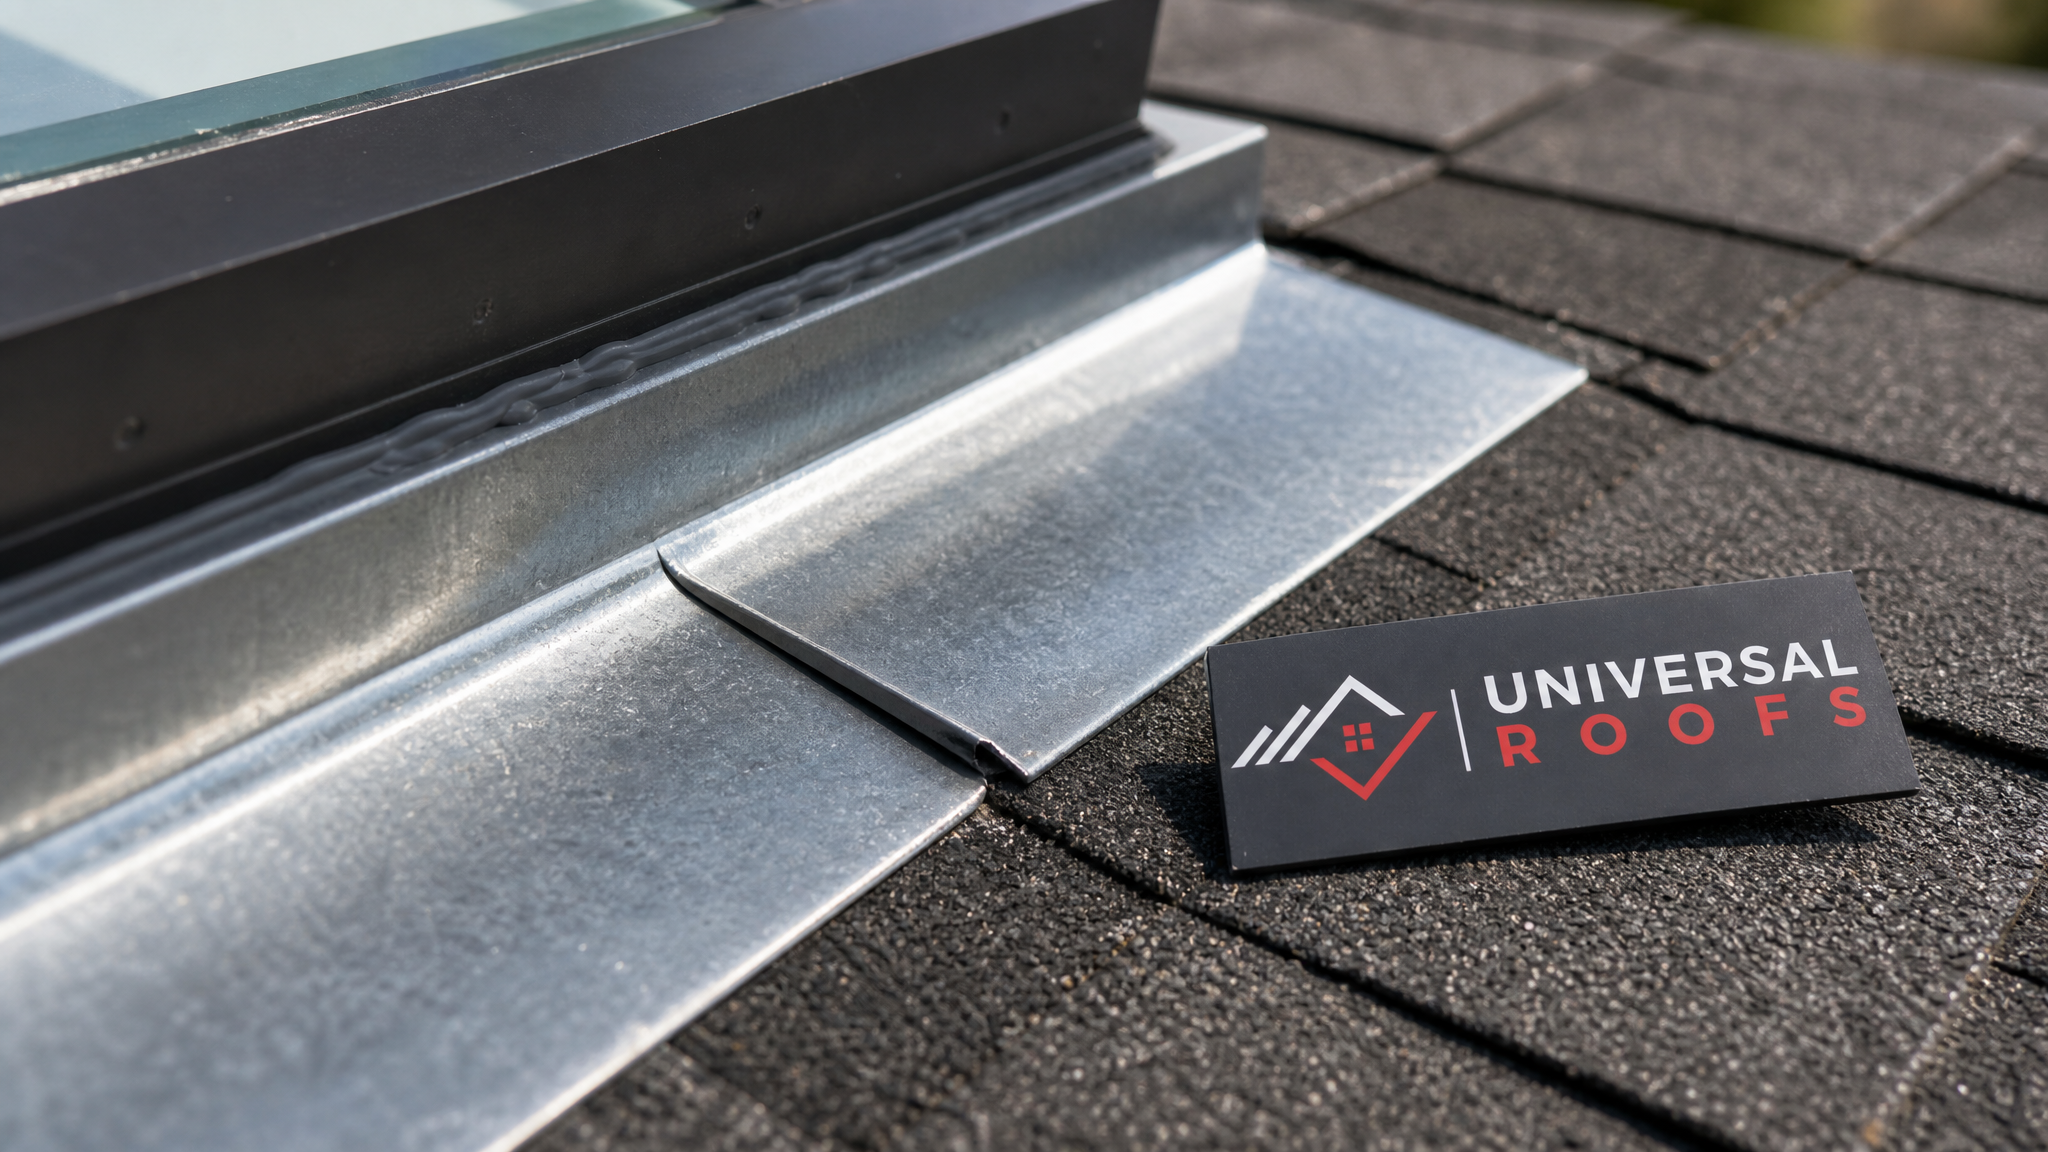
Working at height on a sloped roof, especially around an opening like a skylight curb, is genuinely dangerous without fall protection and training. A licenced roofing technician will use a harness and anchor points, understands how to sequence shingle or membrane removal so the roof stays weather-tight overnight if a job spans more than one day, and carries insurance that covers any accidental damage. For anything beyond surface cleaning, it’s worth having a professional at least confirm the diagnosis, even if you plan to handle a minor fix yourself.
How Skylight Repair Fits Into Overall Roof Health
A skylight is a penetration through your Universal Roofs-installed or existing roofing system, and it should be evaluated as part of that system rather than in isolation. If your roof is approaching the end of its service life, repairing a skylight in isolation may mean redoing that same work again in a few years when the surrounding roof replacement happens anyway. In those cases, it often makes more sense to plan the skylight repair or replacement alongside the broader roofing project.
Similarly, if you have a low-slope section of roof with a skylight — common on additions, sunrooms, and some bungalow layouts — the repair approach differs somewhat from a steep-slope asphalt shingle roof, since flat roofing systems use membrane flashing techniques rather than woven shingle flashing. Make sure whoever diagnoses your leak has specific experience with the roofing system you actually have, not just skylights in general.
Regular roof maintenance also plays a preventive role. Gutters clogged with leaves can back water up toward skylight curbs during heavy rain, and overhanging branches can drop debris that damages glazing or dents flashing. A brief annual visual check, ideally in spring after the snow has cleared, can catch small issues — a lifted shingle tab near the skylight, a hairline gap in caulking — before they become the kind of leak that requires all three of the steps above.
What to Expect From a Professional Skylight Repair Visit
When you book a skylight repair with an experienced roofing company, the visit typically follows a consistent structure. An initial phone or in-person consultation gathers details about when the leak appears (during rain, after snow melt, only in cold weather) and how long it’s been happening. A technician then attends the property to complete the diagnostic step outlined above, often providing a same-visit quote once the cause is confirmed.
For straightforward flashing or seal repairs, many jobs are completed within a single visit. More involved curb or deck repairs may require a follow-up appointment to allow time for material ordering, particularly for specialty flashing kits matched to a specific skylight brand and model. Reputable contractors will walk you through photos of the completed repair and explain what was done, rather than simply handing over an invoice.
Homeowners across the Toronto, Peel Region, York Region, Halton Region, and Durham Region areas deal with broadly similar climate conditions, but local municipal permitting and older housing stock (particularly in established neighbourhoods with skylights installed decades ago) can affect what a repair actually involves. A contractor familiar with your specific municipality will know what, if anything, requires a permit and what building code updates might apply to an older skylight installation.
Warranty and Insurance Considerations
Before any repair begins, it’s worth checking two things: whether your skylight is still under a manufacturer’s warranty, and whether the cause of the leak might be covered by your home insurance policy. Many skylight manufacturers offer 10-20 year warranties on the glazing unit itself, though labour is often not included after the first year or two, and improper prior repairs can void coverage entirely.
From an insurance standpoint, sudden and accidental water damage (for example, from a storm that dislodges flashing) is often covered, while gradual leaks from wear and lack of maintenance typically are not. This is another reason thorough documentation, including photos and a written repair summary, is valuable — it gives you a clear record if you ever need to file a claim or dispute one.
What are the essential steps for skylight roof repair?
How do I know if my skylight leak is a flashing problem or a seal problem?
Can I repair a leaking skylight myself?
How much does skylight roof repair typically cost in the GTA?
Is summer a good time to schedule skylight repair?
When should I replace my skylight instead of repairing it?
Need Help With 3 Essential Steps for?
If you’ve noticed staining, drips, or fogging around a skylight, don’t wait for the next storm to find out how bad it’s gotten. The team at Universal Roofs follows exactly the diagnostic, repair, and verification process outlined above on every skylight call, so the fix actually lasts.
Call us today at (416) 732-2421 or request a free inspection to get started.
Universal Roofs proudly serves Toronto, Mississauga, Brampton, Vaughan, Markham, Oakville and the GTA since 2005.