
Metal roofing is prized across the Greater Toronto Area for its longevity, but the panels themselves are rarely where problems start. In our experience inspecting hundreds of GTA homes, the overwhelming majority of leaks and water damage on metal roofs trace back to two much smaller components: the flashing and the gutters. Fixing metal roof flashing and gutter problems correctly is the single most effective thing a homeowner can do to protect a metal roof investment, because these are the parts of the system that fail first, fail quietly, and cause the most expensive downstream damage when ignored.
This guide walks through exactly how flashing and gutters fail on metal roofs, how to diagnose the difference between a flashing leak and a gutter overflow issue, what proper repairs look like, and when a patch job is no longer enough. We wrote this for homeowners in Toronto, Mississauga, Brampton, Vaughan, Markham, Oakville and across the GTA who are dealing with a mystery leak, a rusting streak below a valley, or a gutter that pulls away from the fascia every spring.
If you are already seeing water stains on an interior ceiling or a sagging eavestrough, do not wait through another freeze-thaw cycle. Our roof repair team handles flashing and gutter diagnostics as a routine part of service calls across the region, and catching the problem early is almost always cheaper than repairing the water damage that follows.
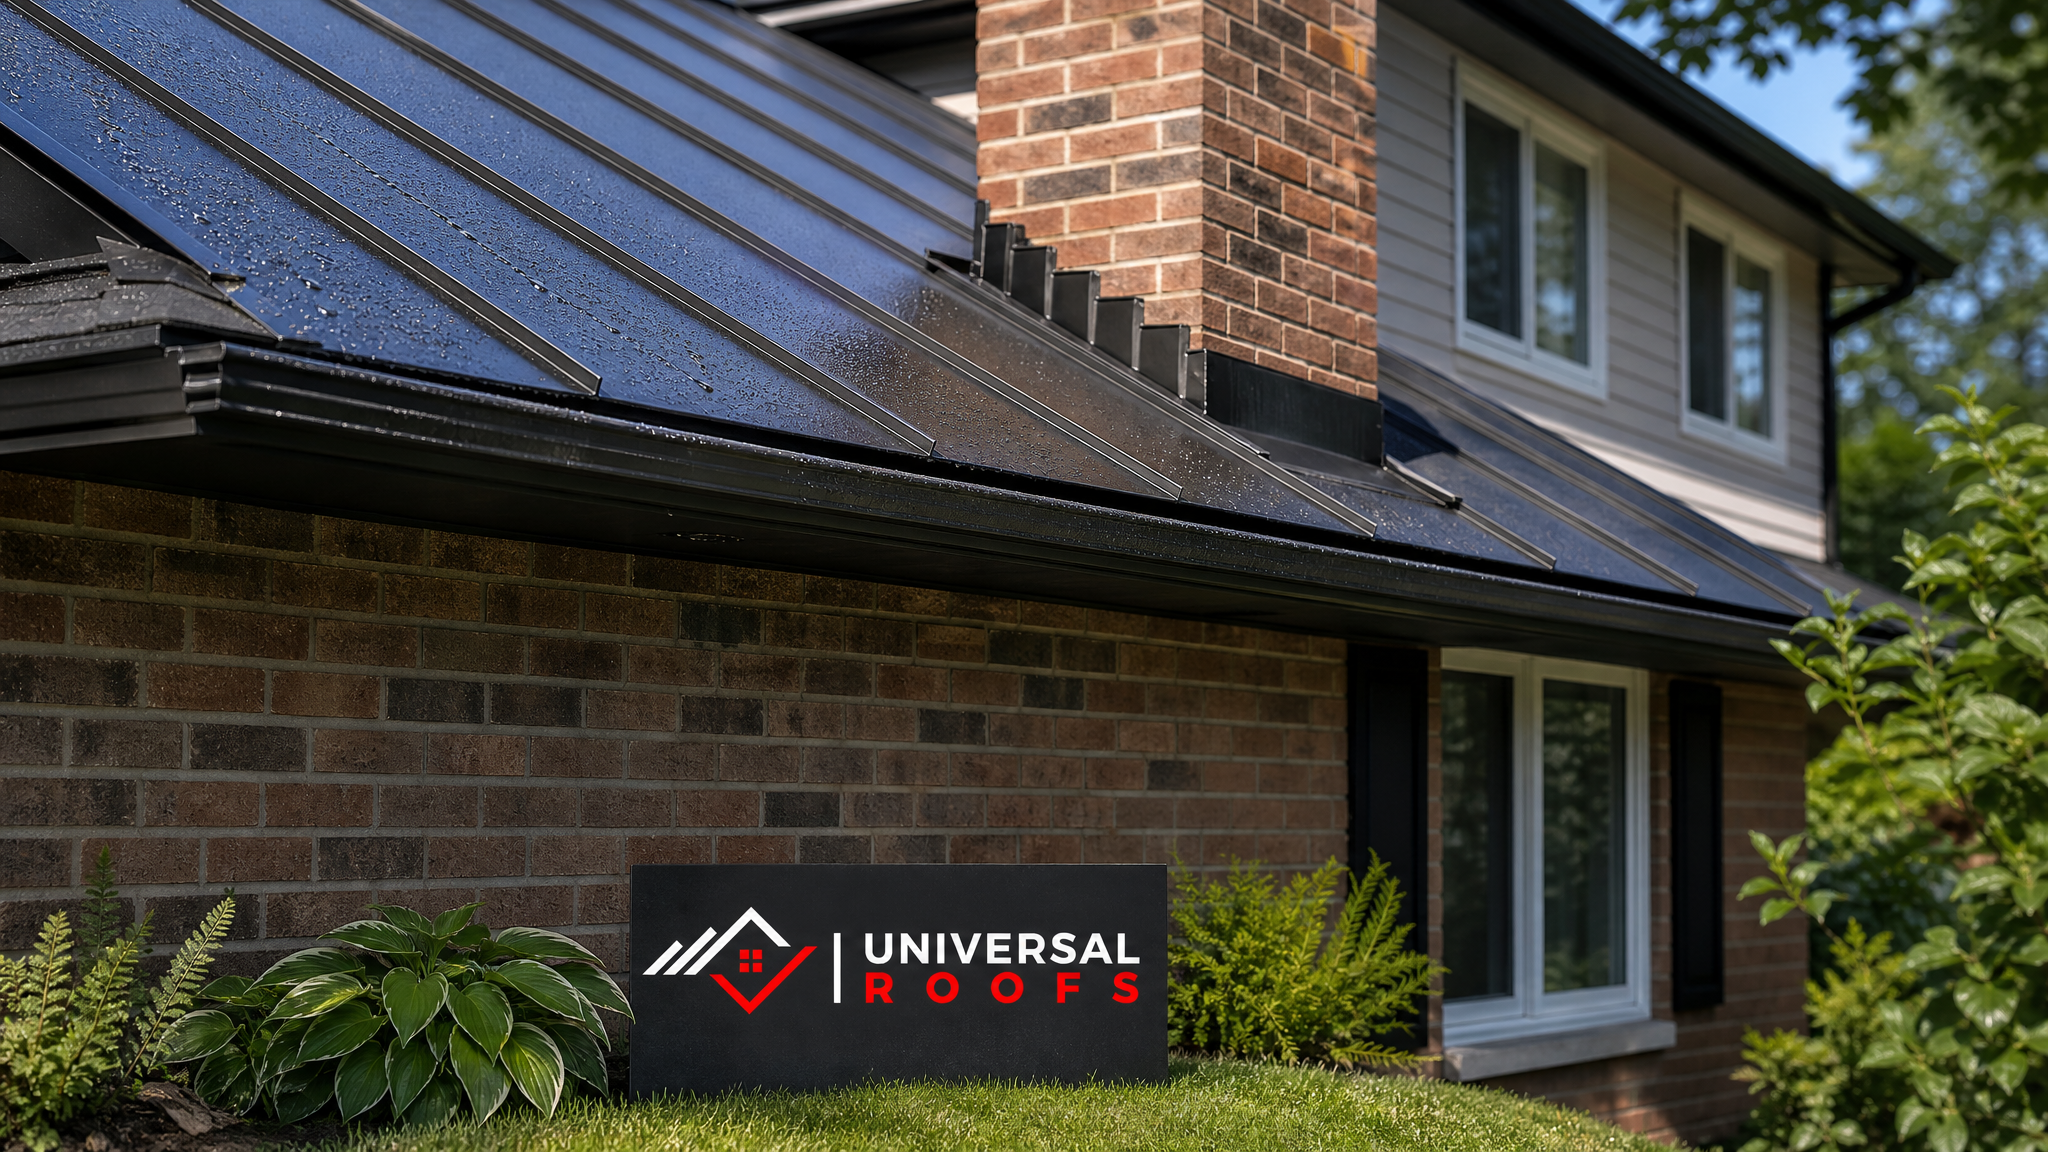
Why Flashing and Gutters Are the Weak Point on a Metal Roof
Metal panels themselves are extremely durable. A quality steel or aluminum panel, properly fastened, will shed water for 40 to 60 years without issue. Flashing and gutters do not enjoy the same lifespan for a simple reason: they are made of thinner metal, they rely on sealants and mechanical overlaps rather than a single continuous surface, and they sit at every transition point on the roof where movement, expansion, and water concentration are highest.
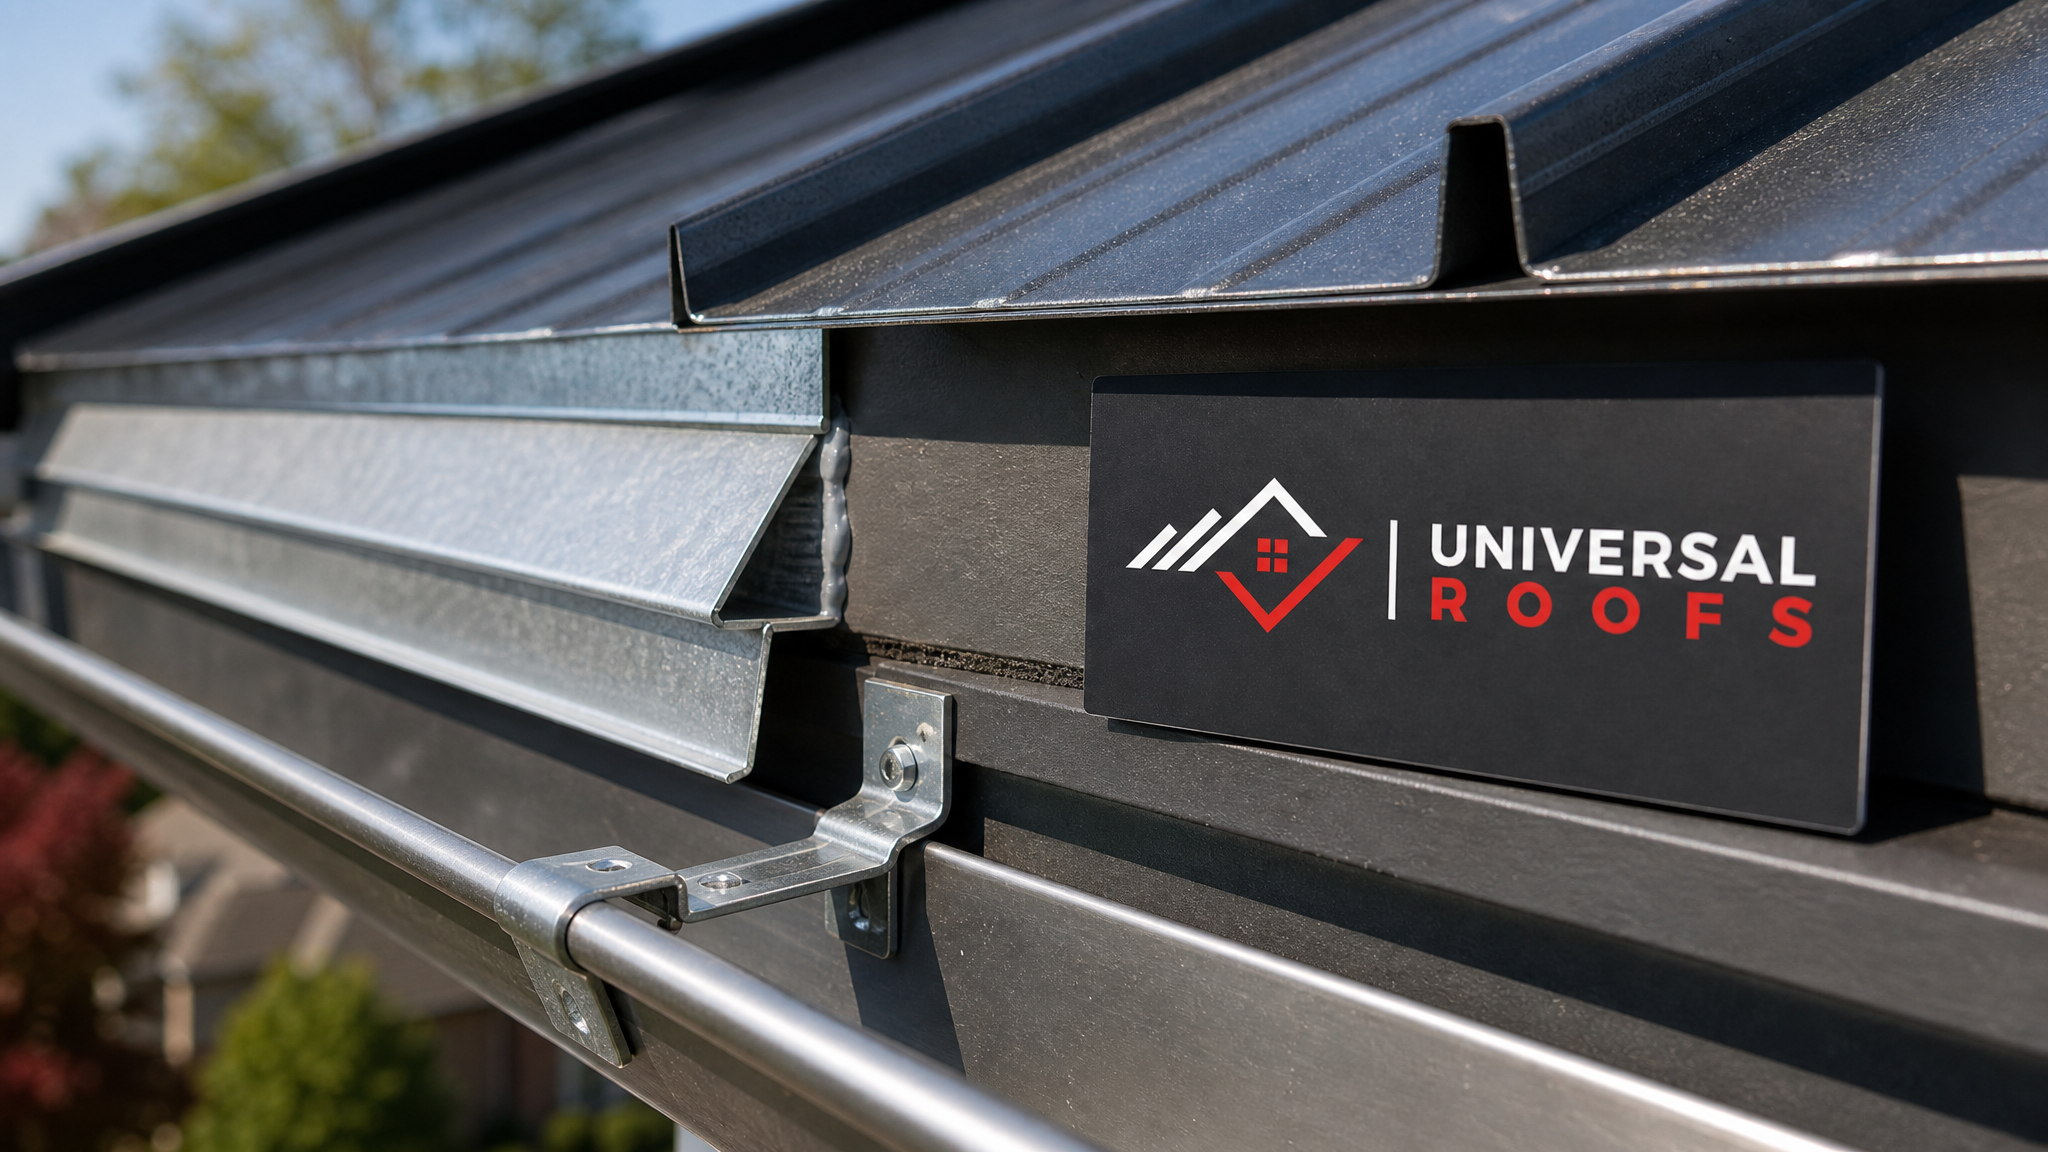
Flashing is the metal (or sometimes rubberized) material installed at every seam, valley, chimney, skylight, wall intersection, and roof penetration. Its entire job is to direct water away from a gap that would otherwise let moisture into the building envelope. Gutters, meanwhile, collect and channel the enormous volume of water that a metal roof sheds. Because metal panels are so slick and non-absorbent, water runs off them faster and in greater volume than off asphalt shingles, which puts extra strain on gutter capacity, hangers, and downspouts.
Toronto’s climate makes both problems worse. Winter freeze-thaw cycles expand and contract flashing seams dozens of times per season, gradually breaking down sealant bonds and loosening fasteners. Spring meltwater and summer downpours then test every one of those weakened joints at full volume. It is a predictable, seasonal cycle of stress that eventually reveals itself as a leak, a stain, or a sagging gutter section.
Common Metal Roof Flashing Problems and Their Causes
Flashing failures rarely happen all at once. They develop gradually, and recognizing the early signs lets you fix a small problem before it becomes a full interior repair. Here are the flashing issues we see most often on GTA metal roofs.
Valley flashing separation. Roof valleys carry more water than any other part of the roof, and the flashing here is under constant flow pressure. Over time, fasteners back out, sealant dries and cracks, and the flashing edges lift just enough to let water track underneath the panel instead of over it.
Step flashing pulling away from masonry. Where a metal roof meets a chimney or a parapet wall, step flashing is woven into the brick or tucked under counter-flashing. Mortar joints degrade over the years, and the flashing that was once locked into the masonry works itself loose, creating a gap exactly where water concentrates.
Sealant failure at penetrations. Plumbing stacks, skylight curbs, and vent boots all rely on flashing collars sealed with roofing caulk or butyl tape. UV exposure and thermal cycling break this sealant down faster than almost any other roofing material, often within 8 to 12 years.
Corroded or mismatched flashing metal. When flashing is a different metal than the roof panels (for example, galvanized steel flashing paired with an aluminum roof), galvanic corrosion can eat through the flashing from the inside out, a problem that is invisible until the flashing is already compromised.
Improper overlap or reverse-lapped seams. This is an installation defect rather than a wear issue, but we still find it on older or poorly contracted roofs. If flashing overlaps were installed backwards relative to the water flow direction, the roof will leak in every rainstorm regardless of how new the materials are.
| Flashing Problem | Typical Cause | Warning Sign | Repair Urgency |
|---|---|---|---|
| Valley flashing separation | Fastener backout, sealant fatigue | Staining below roof valley on ceiling | High — repair within days |
| Step flashing loosening at chimney | Deteriorating mortar joints | Damp brick, efflorescence near chimney | High — repair before next rain |
| Sealant failure at penetrations | UV degradation, thermal cycling | Cracked caulk visible around vents/skylights | Medium — schedule within weeks |
| Galvanic corrosion of flashing | Mismatched metals in contact | Rust streaks, pitting on flashing edges | Medium to High depending on extent |
| Reverse-lapped seams | Original installation error | Leak occurs consistently during rain, not just melt | High — structural water intrusion risk |
Diagnosing a Flashing Leak Versus a Gutter Overflow
One of the most common mistakes homeowners make is assuming every water stain is a roof leak when it is actually a gutter problem, or vice versa. The two failure modes often produce similar interior symptoms but require completely different fixes, so getting the diagnosis right matters.
A true flashing leak tends to show up as a stain that appears during or shortly after rainfall, regardless of how much water is involved, and it usually traces back to a specific point: a valley, a chimney, a skylight curb (our skylights team sees this constantly on older units), or a wall intersection. The stain location on the ceiling below often lines up directly with one of these features when you trace it back through the attic.
A gutter overflow problem, by contrast, tends to worsen specifically during heavy or prolonged rain, and the water damage usually appears near the fascia, soffit, or exterior wall rather than deep inside the attic. If you can see water sheeting over the front lip of the gutter during a storm instead of flowing into the downspout, that is a capacity or blockage issue, not a roof leak. Sagging or separated gutter sections are also a giveaway — the classic “waterfall” cascading from a low point in an eavestrough almost always means a hanger has failed or the gutter has pulled loose from the fascia board.
The most reliable way to tell the two apart is a physical inspection during a controlled water test: running a hose over a specific section of roof or gutter while someone watches from inside the attic or from the ground identifies the exact failure point far more accurately than guessing from an interior stain alone.
Diagnosing and Fixing Gutter Problems on a Metal Roof
Because metal roofs shed water quickly and in higher volumes than shingles, gutters on a metal roof need to be sized, hung, and maintained slightly differently than a standard asphalt-shingle gutter system.
Sagging or pulling gutters. This is almost always a hanger spacing or fastening problem. Hangers spaced more than 60 cm apart, or fastened into deteriorated fascia wood, will eventually let a gutter section sag and pool water instead of draining. The fix is to re-hang the section with hangers spaced correctly and, if the fascia board itself is soft or rotted, replace that section of fascia before reinstalling.
Overflow during heavy rain. On a metal roof, this is frequently a sizing issue rather than a blockage. Standard 5-inch (127 mm) K-style gutters are often undersized for the water volume a large metal roof surface sheds during a downpour. Upsizing to a 6-inch (152 mm) gutter, or adding a second downspout to split the load, solves this permanently rather than temporarily.
Ice damming at the eave. This is a GTA-specific winter problem worth understanding even outside the winter months, since summer is when repairs are easiest to schedule before the next freeze cycle arrives. Ice dams form when heat escaping from the attic melts snow on the upper roof, which then refreezes at the colder eave, backing water up under the flashing. The permanent fix combines attic insulation and ventilation improvements (see our attic services) with properly installed drip edge flashing and, in severe cases, a heat cable system.
Debris blockages at valleys and downspouts. Metal roof valleys concentrate not just water but leaves, needles, and grit washed down from the panels. A blocked valley or downspout redirects that water somewhere it should not go, often straight up under the adjacent flashing. Regular cleaning, twice yearly in most GTA neighbourhoods with mature tree cover, prevents this entirely.
Gutter guards installed incorrectly. We frequently find gutter guards that were installed to reduce cleaning frequency but were pitched or fastened in a way that actually causes water to shoot past the gutter entirely during heavy rain. If you have guards and are still seeing overflow, have the installation checked before assuming the gutter itself is at fault.
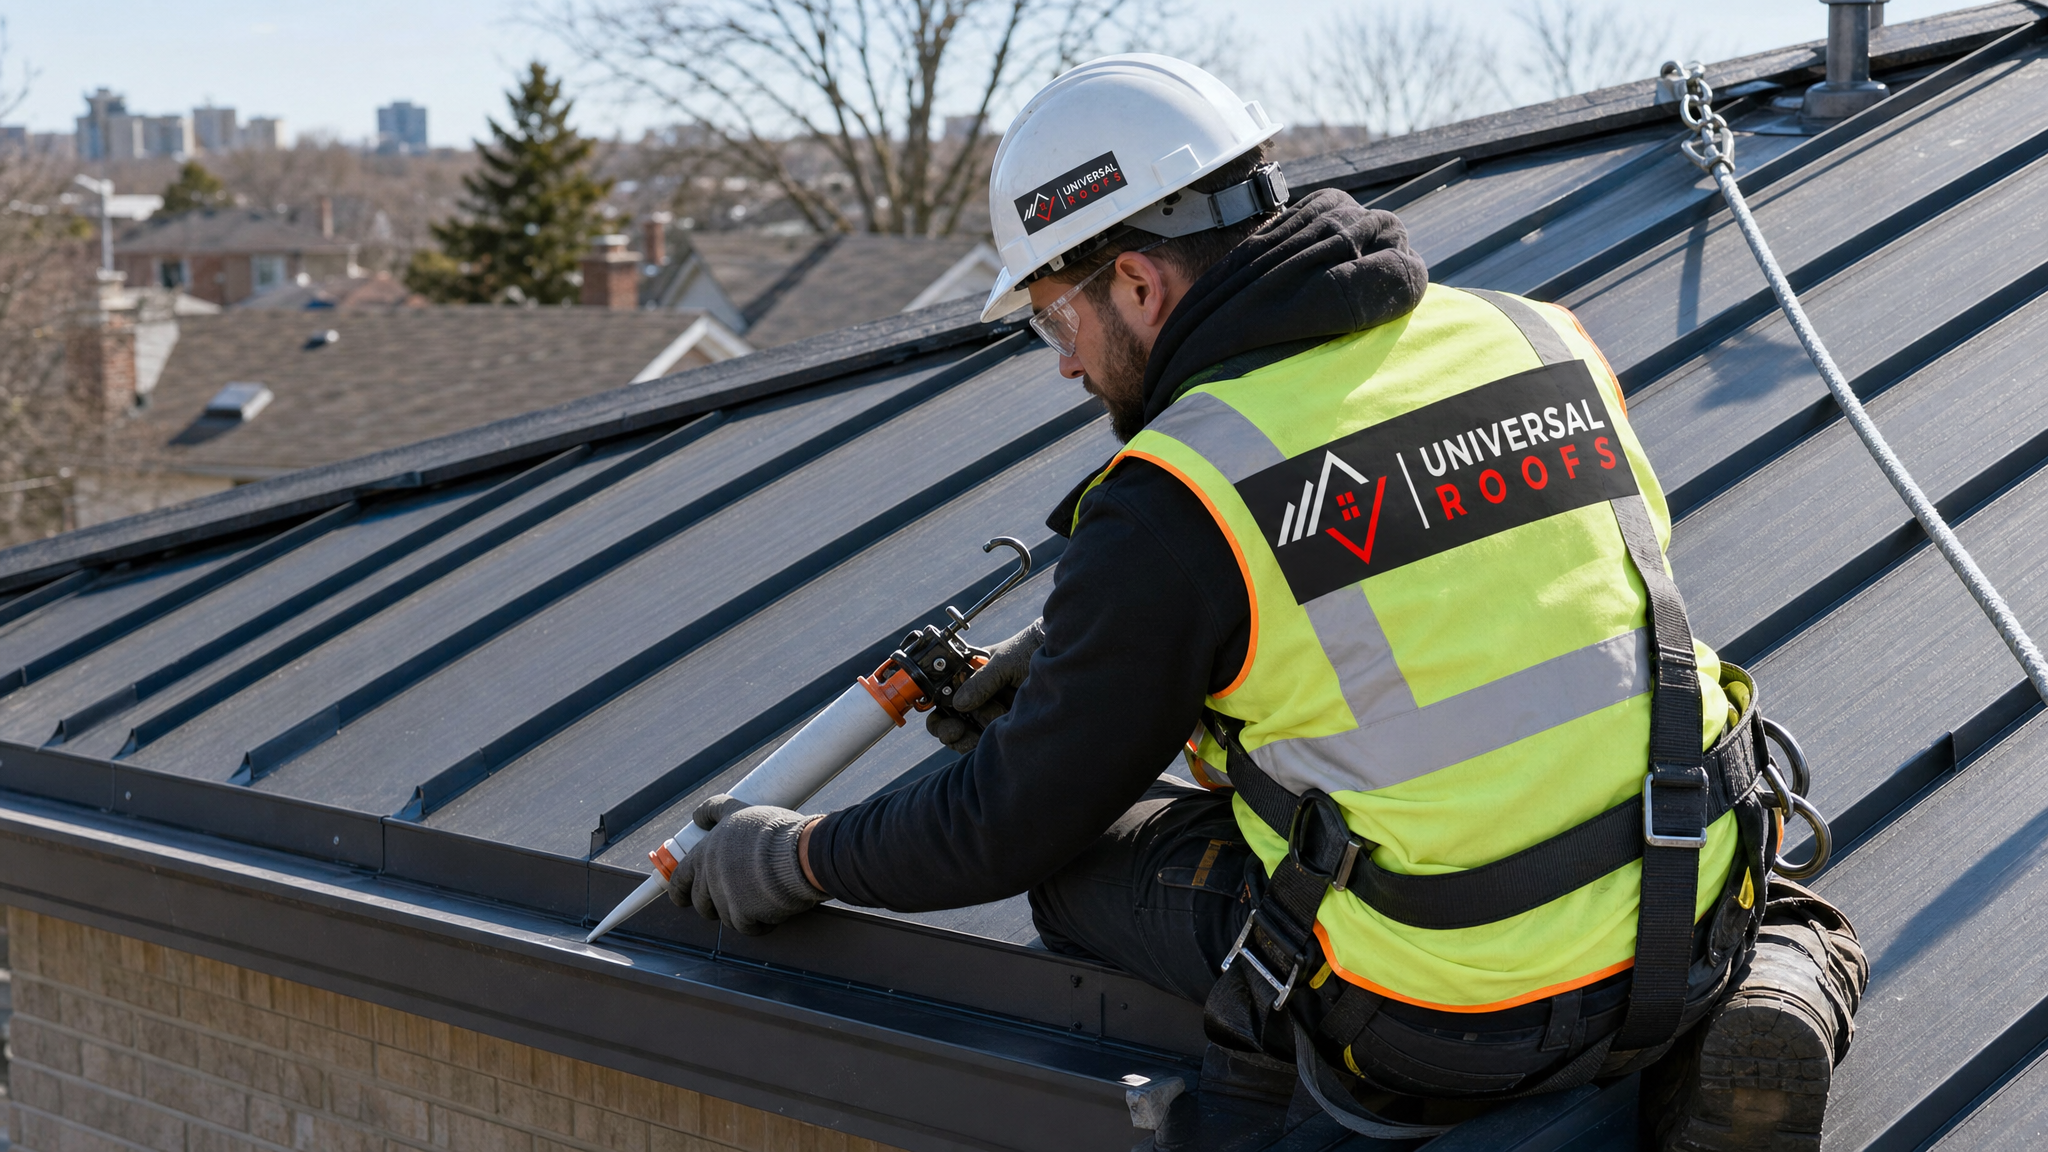
Step-by-Step: How a Professional Flashing Repair Is Done
Homeowners sometimes ask why a flashing repair costs what it does when it “looks like just caulking a seam.” A proper repair involves considerably more than adding sealant on top of an existing failure, and skipping steps is exactly why so many DIY flashing fixes fail again within a year.
- Remove the failed section. Old flashing, degraded sealant, and any corroded fasteners are removed completely rather than sealed over, since sealing over a failure point traps moisture rather than solving the underlying gap.
- Inspect the substrate. The roof deck, fascia, or masonry beneath the flashing is checked for rot, mould, or structural softening before anything new goes back on.
- Cut and form new flashing. Flashing is custom bent to match the existing panel profile and overlap direction, using metal compatible with the existing roof to avoid galvanic corrosion.
- Install with correct overlap and fastening. New flashing is installed with overlaps oriented in the direction of water flow, using fasteners appropriate to the metal type and spaced to manufacturer specification.
- Seal with roofing-grade sealant. A high-quality, UV-stable sealant rated for metal roofing is applied at seams and penetrations, not general-purpose caulk, which fails within a season or two in direct sun.
- Test before closing out. A water test confirms the repair holds before the job is considered complete, particularly for valley and chimney flashing repairs.
For gutter repairs, the process is similar in spirit: failed hangers are replaced rather than reinforced, fascia is repaired if compromised, and the gutter is re-pitched to ensure consistent flow toward the downspout rather than pooling anywhere along its length.
DIY Fixes Versus When to Call a Professional
Some minor gutter maintenance is reasonable for a comfortable homeowner to handle. Clearing debris from a gutter or valley, tightening a visibly loose hanger bracket, or reapplying a small bead of sealant to a penetration boot are all within reach for most people with the right ladder safety precautions.
Flashing repair is a different category of task. Working at the roof edge or on a metal roof surface (which becomes extremely slippery when wet or frosted, even in summer dew) carries real fall risk, and an improperly executed flashing repair can make a leak worse by trapping water rather than diverting it. Any repair involving valley flashing, chimney step flashing, or skylight curb flashing should go to a professional with proper fall protection equipment, as our technicians use on every roof-edge job.
| Task | Reasonable DIY? | Why |
|---|---|---|
| Clearing leaves from gutters and valleys | Yes, with ladder safety | Low risk, no specialized tools required |
| Tightening a loose gutter hanger | Yes, if accessible from a ladder | Simple fastener adjustment |
| Resealing a small penetration boot | Limited — only if fully accessible | Requires correct sealant and clean substrate prep |
| Valley flashing replacement | No | Requires panel lifting, fall protection, custom bending |
| Chimney step flashing repair | No | Involves masonry work and roof-edge access |
| Gutter resizing or re-pitching | No | Requires fascia inspection and proper slope calculation |
Preventing Future Flashing and Gutter Problems
Once a repair is complete, a short list of maintenance habits significantly extends the life of both the flashing and the gutter system on a metal roof.
Schedule a visual inspection twice a year, ideally in late spring after the freeze-thaw season and again in early autumn before leaves accumulate. Keep gutters and valleys clear of debris year-round, since a metal roof’s smooth surface means debris tends to concentrate at flow restrictions rather than spreading evenly. Check sealant at penetrations annually, since it is the first material to fail and the cheapest to refresh proactively. Ensure downspouts direct water at least 1.8 metres away from the foundation to prevent basement moisture issues that often get mistakenly blamed on the roof. Finally, keep an eye on attic insulation and ventilation, since poor attic conditions accelerate both ice damming and the sealant fatigue that leads to flashing failure.
If your metal roof is nearing the end of its service life rather than needing a targeted repair, it is worth having a full assessment done rather than continuing to patch flashing repeatedly. Our roof replacement team can advise honestly on whether repair or replacement makes more financial sense for your specific roof’s age and condition. For homes with a flat roof section feeding into a metal roof valley, our flat roofing page covers the specific flashing challenges at that transition point.
What a Flashing and Gutter Repair Typically Costs
Costs vary by scope, accessibility, and the extent of any substrate damage discovered once the old flashing or gutter section is removed. The ranges below reflect typical GTA pricing for straightforward repairs without major structural surprises.
| Repair Type | Typical Cost Range (CAD) | Typical Timeline |
|---|---|---|
| Single penetration reseal (vent, stack) | $150 – $350 | Same day |
| Valley flashing section replacement | $500 – $1,200 | 1 day |
| Chimney step flashing repair | $600 – $1,500 | 1 – 2 days |
| Gutter section re-hang or repitch | $300 – $800 | Half day to 1 day |
| Full gutter replacement (average home) | $1,800 – $4,500 | 1 – 2 days |
| Fascia repair combined with gutter work | Add $200 – $600 per affected section | Adds half day |
These figures are general guidance rather than a quote. The only reliable way to know your actual cost is a hands-on inspection, since hidden substrate damage behind failed flashing is common and not visible from the ground or even from inside the attic in many cases.
Regional Considerations Across the GTA
Flashing and gutter wear patterns are not identical across the region. Older housing stock in central Toronto neighbourhoods often has masonry chimneys with decades-old step flashing that is due for replacement regardless of the roof’s own age. Newer subdivisions across Peel Region and York Region more commonly show gutter sizing issues, since builder-grade 5-inch gutters are frequently undersized for larger roof surfaces. Homes in Halton Region near the escarpment and lakeshore see additional wind-driven rain exposure that stresses flashing seals faster than in more sheltered areas. Properties throughout Durham Region with heavier tree cover tend to see debris-related valley and downspout blockages as the leading cause of gutter overflow rather than sizing or hanger failure.
Whatever part of the GTA you are in, the underlying principle is the same: flashing and gutters are maintenance items with a finite service life, typically shorter than the metal roof panels themselves, and treating them proactively is far less expensive than repairing the water damage that follows a missed failure. You can read how other homeowners in the area have found our repair work by visiting our reviews page, and general questions about our process are answered on our FAQ page.
What are the signs I need help fixing metal roof flashing and gutter problems?
Can I fix minor metal roof flashing and gutter problems myself?
How much does fixing metal roof flashing and gutter problems typically cost?
Why do gutters overflow more often on a metal roof than a shingle roof?
How does ice damming relate to fixing metal roof flashing and gutter problems?
How often should metal roof flashing and gutters be inspected?
Need Help With Fixing Metal Roof Flashing?
Chasing a mystery leak or a sagging gutter on your own can waste an entire weekend without solving the underlying problem. The team at Universal Roofs diagnoses flashing and gutter issues correctly the first time, using proper materials and fall-protection safety practices on every roof-edge repair.
Call us today at (416) 732-2421 or request a free inspection to get started.
Universal Roofs proudly serves Toronto, Mississauga, Brampton, Vaughan, Markham, Oakville and the GTA since 2005.