
A stain spreading across a bedroom ceiling rarely means what homeowners hope it means. It is almost never “just a little water” — it is a signal that somewhere above, a roof assembly has failed, and every day it goes unaddressed the repair gets more expensive. Finding genuinely roof leak repair solutions that last requires more than a tube of caulking and a prayer; it requires understanding why Toronto-area roofs leak in the first place, matching the repair method to the actual failure, and using materials and installation practices built for our freeze-thaw climate.
At Universal Roofs, we have been repairing leaks across the Greater Toronto Area since 2005, and the pattern is always the same: temporary fixes fail within a season or two, while properly diagnosed and correctly executed repairs hold for a decade or longer. This guide walks through the real causes of roof leaks, the repair methods that actually solve them, realistic costs and timelines, and how to tell a lasting repair from a short-term patch.
This is informational guidance, not a substitute for a professional inspection — every roof is different, and a trained eye catching a small issue today can prevent a five-figure interior renovation next year.
Why Roof Leaks Happen in the First Place
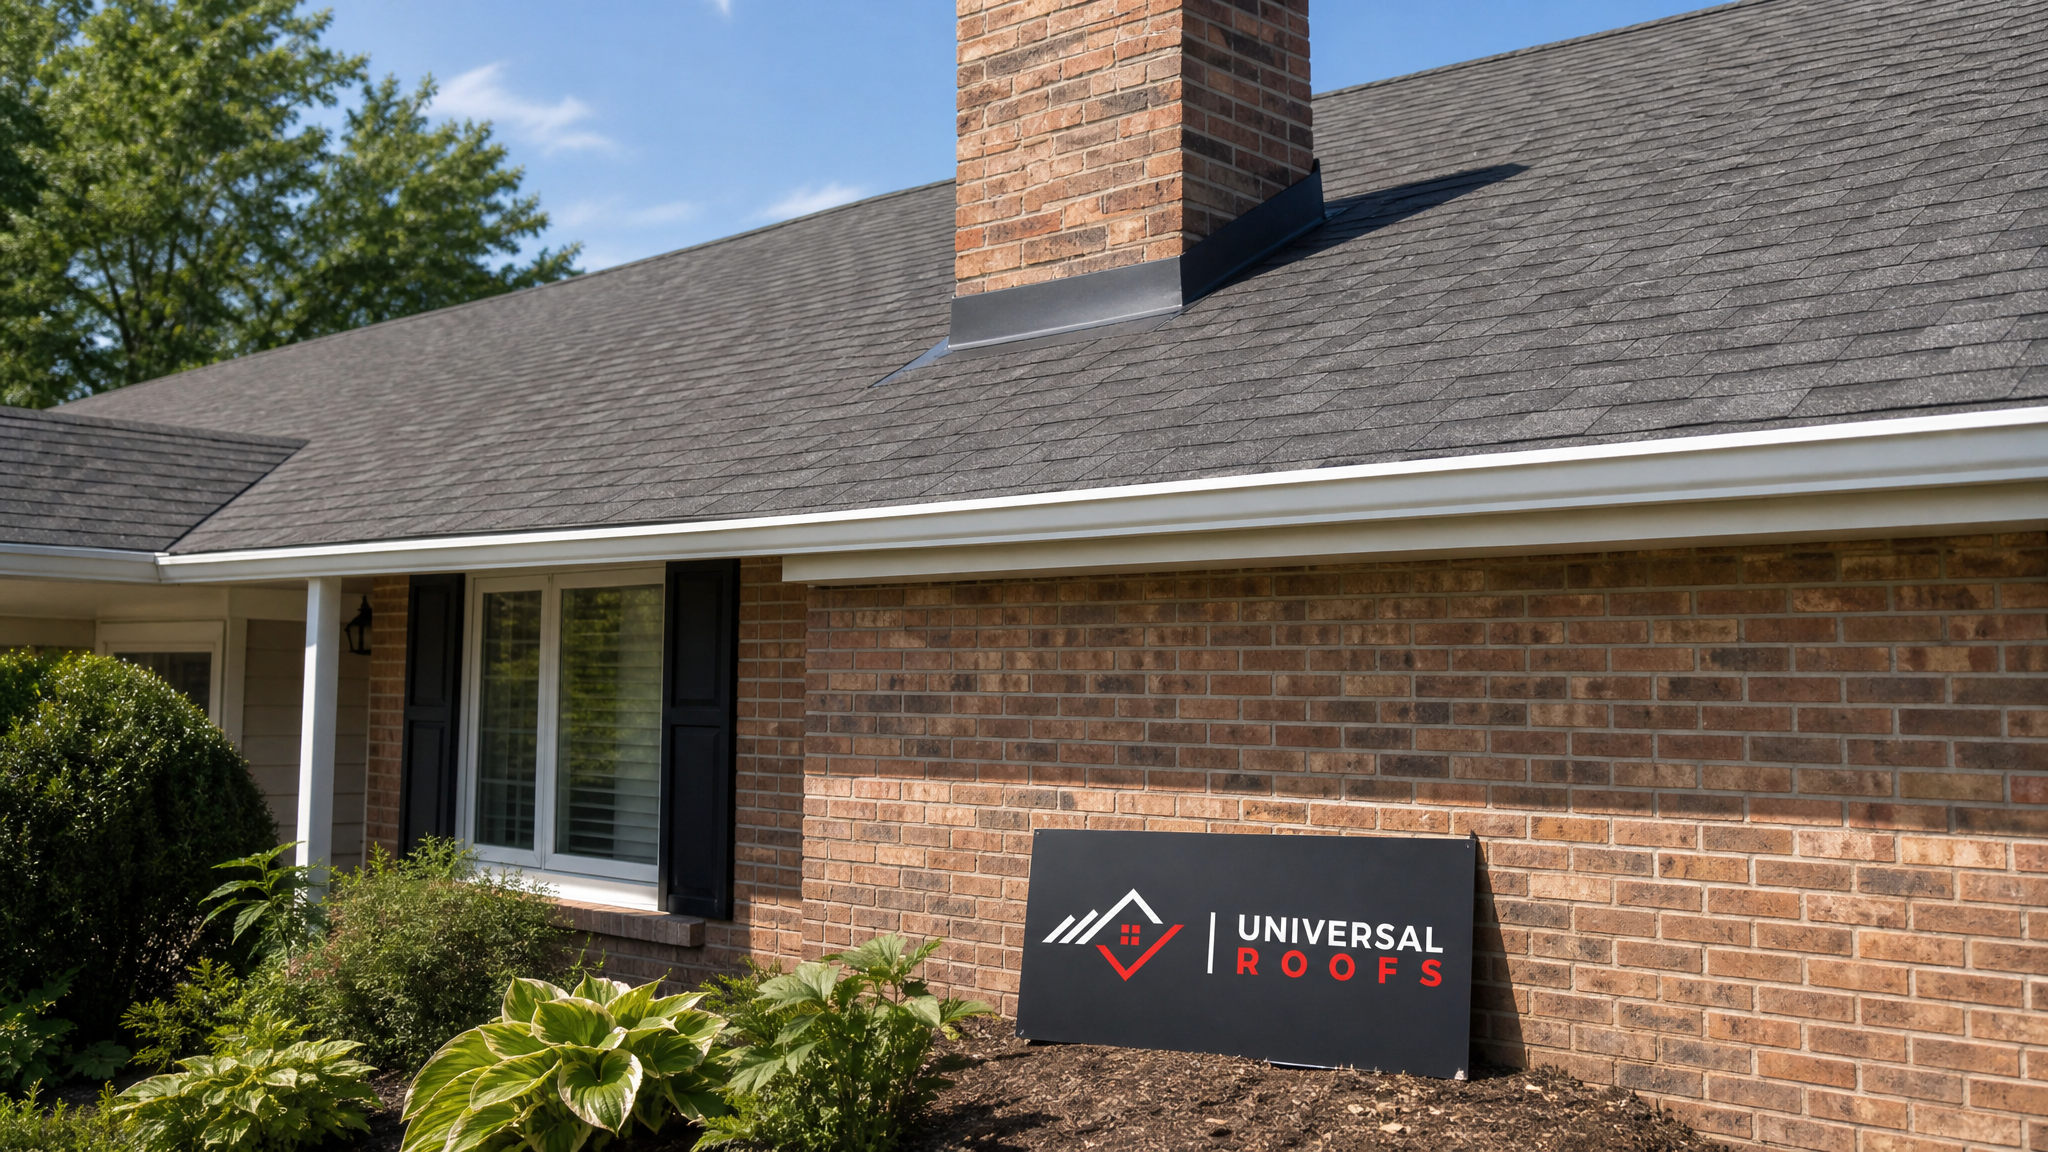
Before any repair can last, the actual source of water intrusion has to be identified — and that is harder than it sounds, because water travels. A stain on a ceiling in the centre of a room might trace back to a flashing failure three metres away near a chimney or a valley. Chasing the visible symptom instead of the true entry point is the single most common reason DIY and low-quality repairs fail within a year.
In the Toronto climate, the biggest driver of roof failure is freeze-thaw cycling. Water gets under shingles or into small cracks during a thaw, then expands as ice overnight, widening the gap. Repeat that dozens of times over a winter and a pinhole becomes a real leak. Add summer UV exposure that dries out and cracks sealants, plus heavy spring rain and occasional summer thunderstorms, and it becomes clear why GTA roofs age faster than roofs in more temperate climates.
The most common leak sources our roof repair technicians encounter, in rough order of frequency, are:
- Deteriorated or improperly installed flashing around chimneys, vents, and walls
- Cracked, curled, or missing shingles, especially after wind events
- Failed pipe boot seals (the rubber collar around plumbing vents)
- Clogged gutters causing water to back up under the roof edge
- Ice damming along eaves in winter, forcing meltwater back under shingles
- Skylight seal failure or improperly flashed skylight curbs
- Nail pops and improperly sealed fasteners
- Aging or damaged flat roof membranes on additions and garages
Diagnosing the Real Source Before Any Repair
A lasting repair starts with an accurate diagnosis, and that means a systematic inspection, not a guess from the ground. A proper assessment includes checking the attic for daylight, staining, or damp insulation; inspecting every flashing point and penetration; examining shingle condition and granule loss; and, where needed, a controlled water test to reproduce the leak and watch where it actually enters.
Homeowners searching for a quick fix often make the mistake of sealing the spot directly above an interior stain. Because water frequently travels along rafters, sheathing, or the underside of the roof deck before dripping down, that spot is often metres away from the true entry point. Skipping this diagnostic step is why so many “repairs” fail the very next rainstorm.
| Leak Source | Typical Warning Sign | How It’s Diagnosed | Urgency |
|---|---|---|---|
| Flashing failure | Staining near chimney, wall, or valley | Visual inspection + water test | High |
| Shingle damage | Missing granules, curling, bald patches | Ground/roof visual inspection | Medium-High |
| Pipe boot failure | Ceiling stain near a bathroom or kitchen vent | Close inspection of rubber collar | Medium |
| Ice damming | Icicles, winter leaks along eaves | Attic insulation/ventilation check | High (seasonal) |
| Skylight seal failure | Water tracking down skylight frame | Curb and flashing inspection | Medium-High |
| Membrane failure (flat roof) | Ponding water, bubbling, seam separation | Full membrane inspection | High |
Flashing Repair: The Fix That Solves the Most Leaks
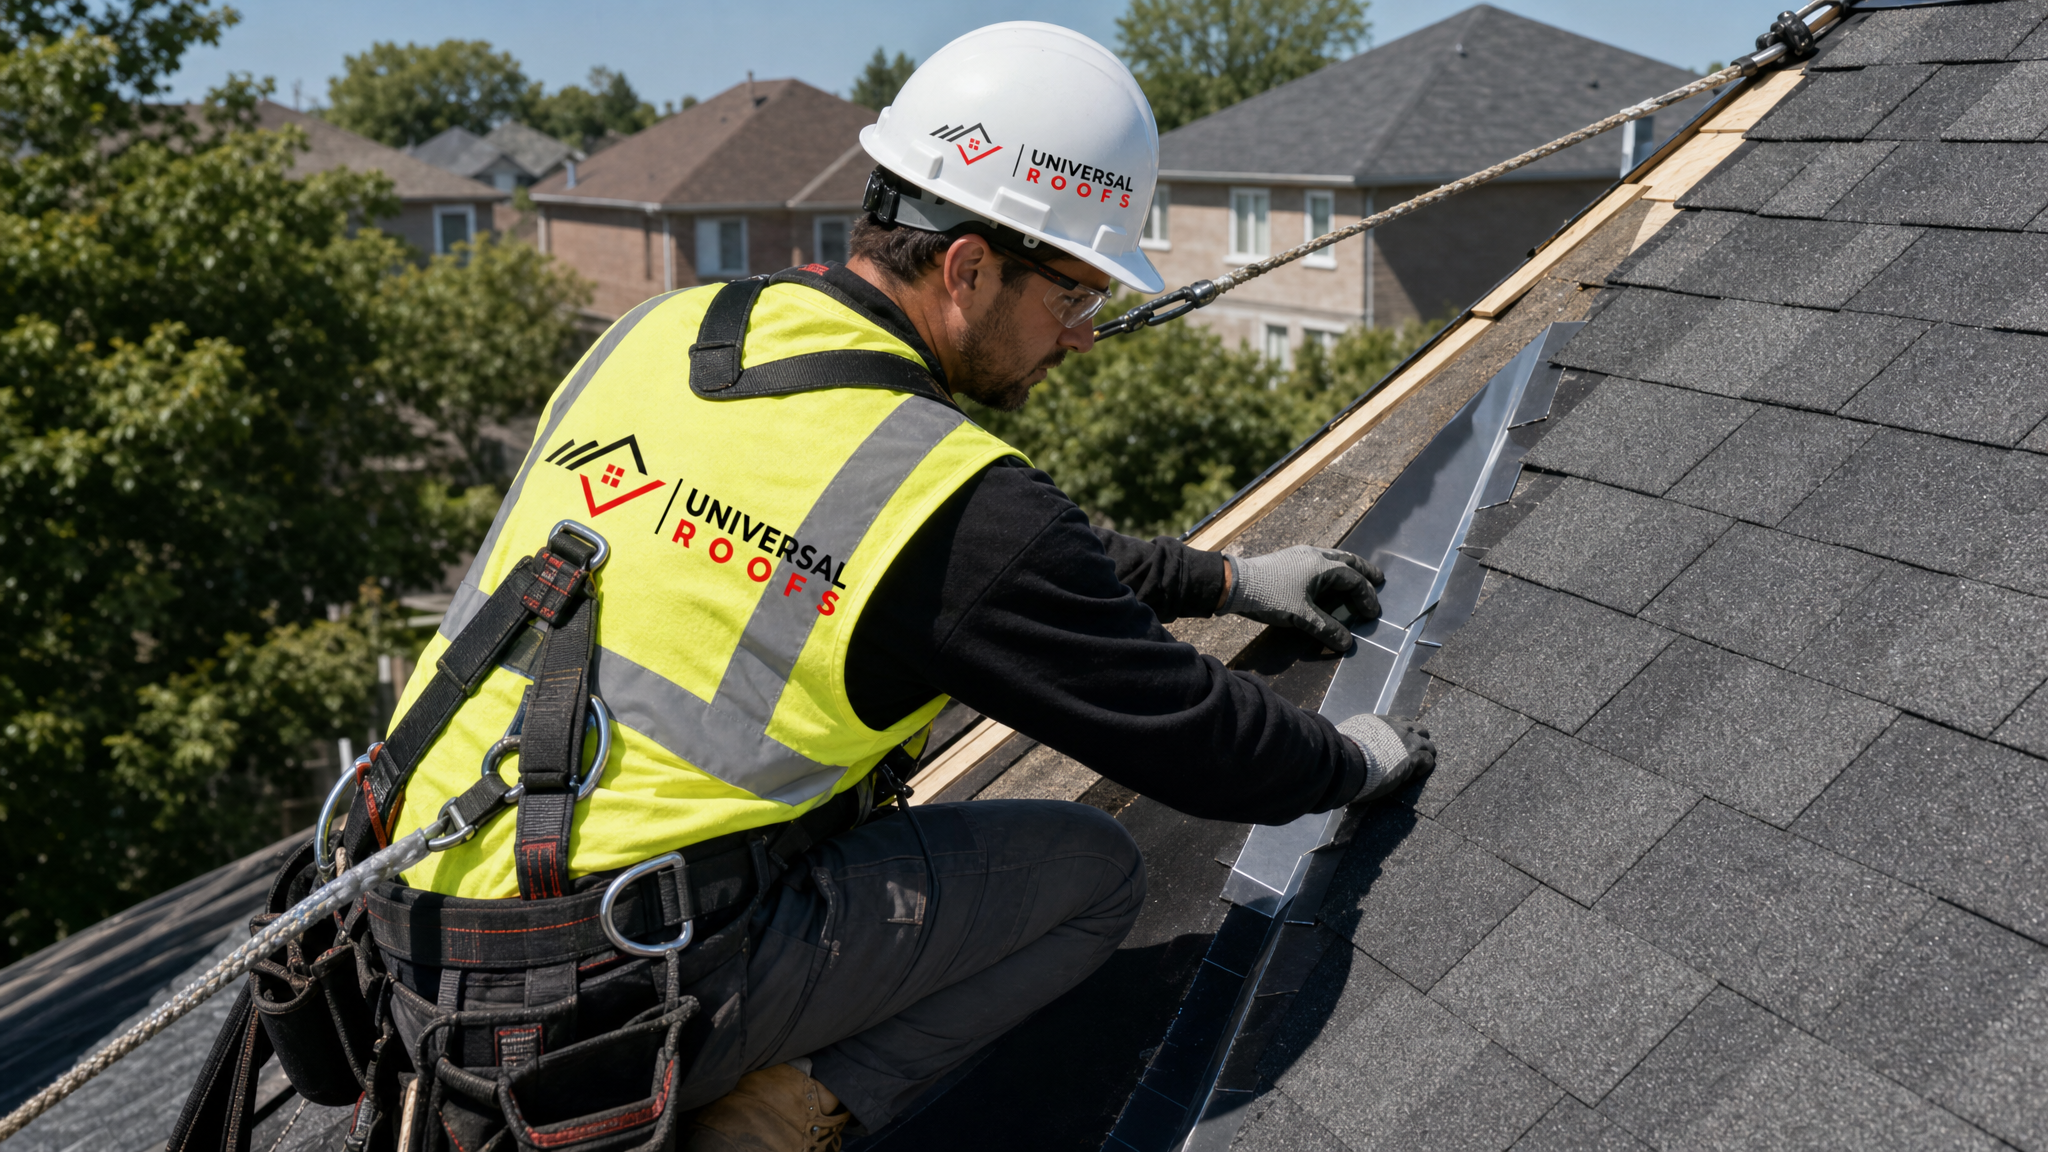
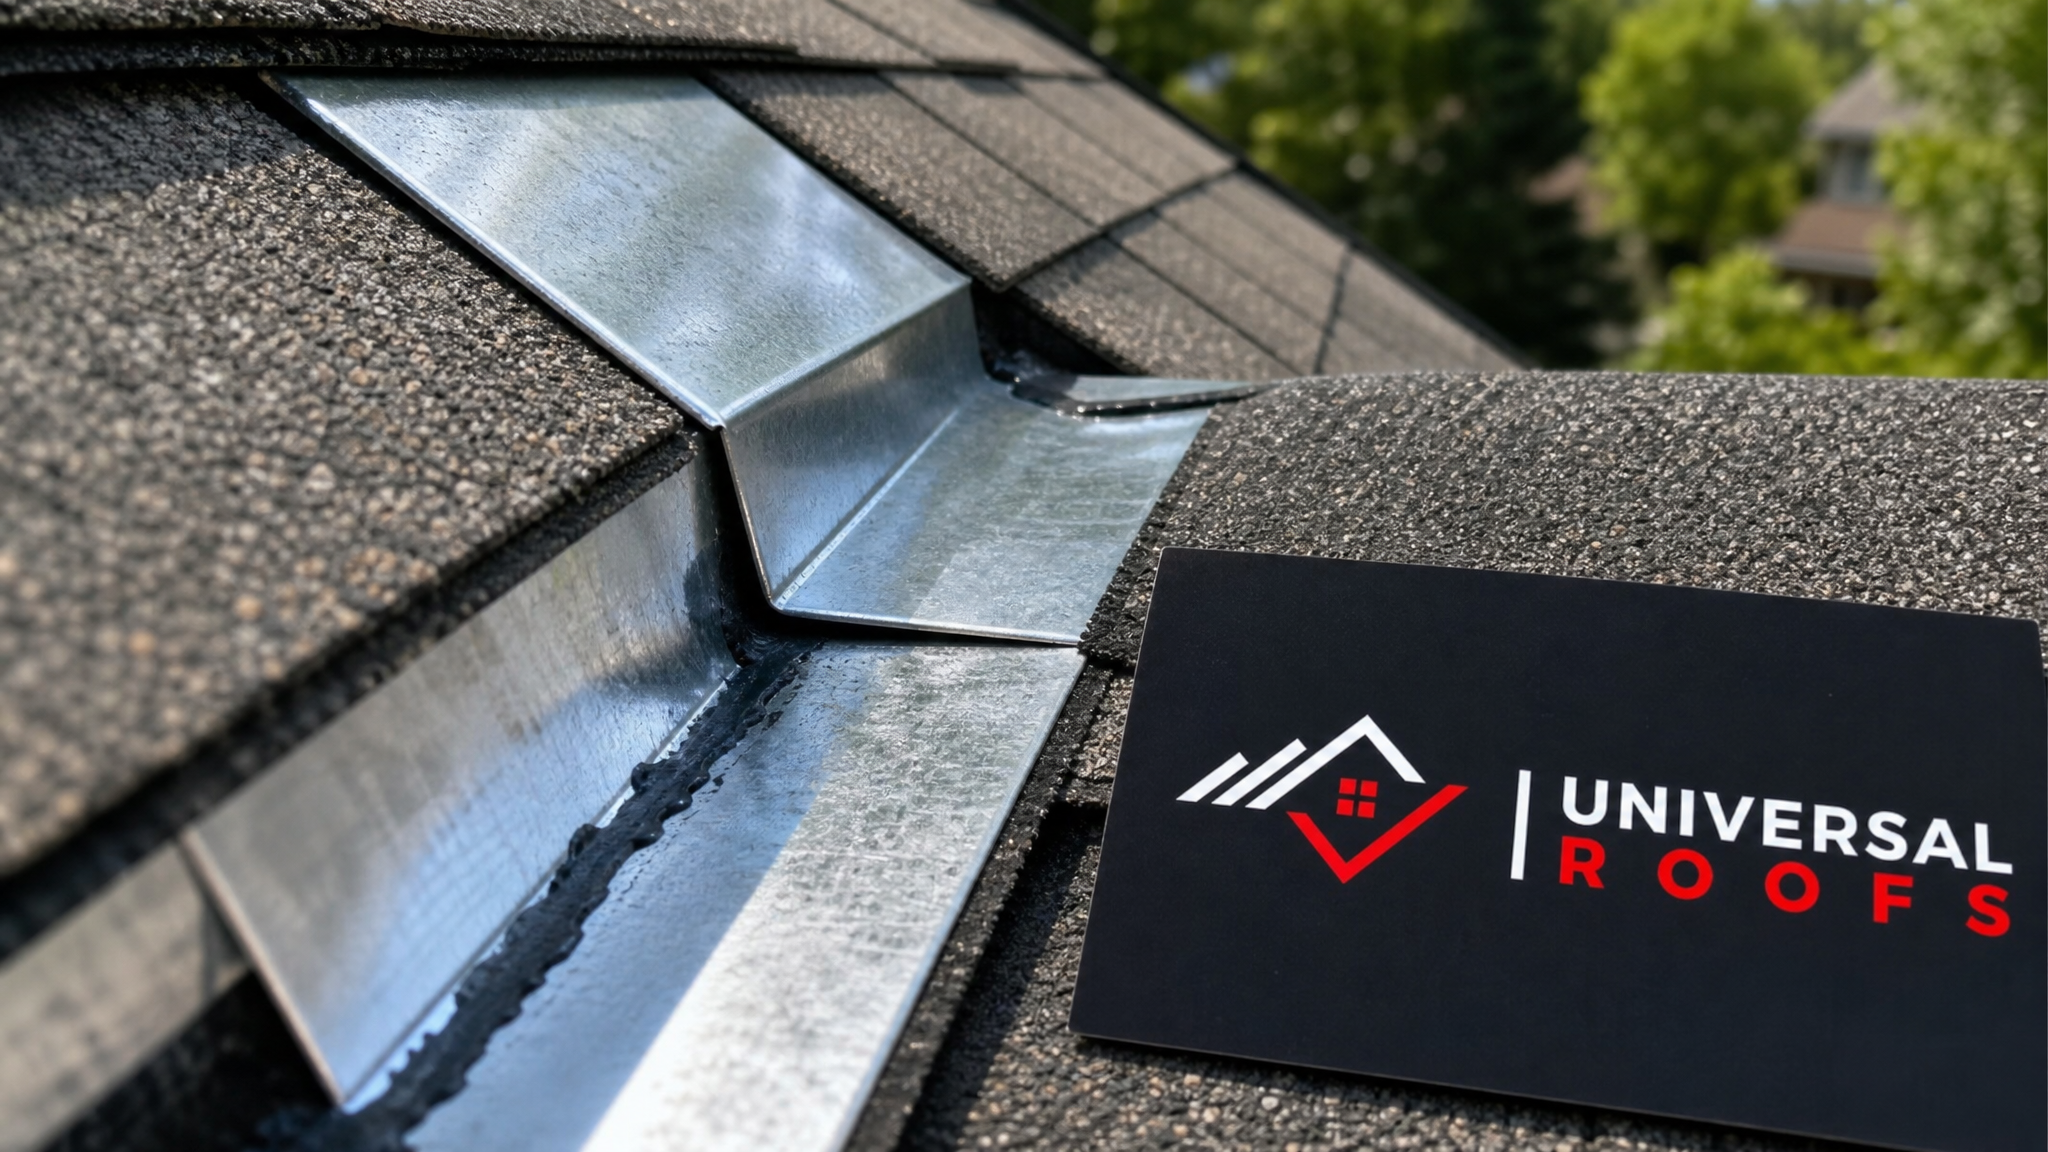
Flashing is the thin metal (or, less commonly, rubber) material installed at every joint, valley, and penetration on a roof — anywhere two surfaces meet, water needs a diverted path around the seam rather than through it. When flashing corrodes, is installed with too few fasteners, or was sealed with caulking instead of properly lapped and step-flashed, it becomes the single most common source of long-term leaks we see across Toronto, Mississauga, and Vaughan homes alike.
A lasting flashing repair means removing the old flashing entirely, replacing corroded or bent sections with new galvanized steel or aluminum, correctly overlapping each course with the shingle above it (step flashing, not a single continuous strip), and sealing with a proper roofing sealant rated for the local climate — not a general-purpose caulk that will crack and shrink within two Toronto winters.
Chimney flashing deserves special mention. A chimney needs a two-part flashing system — base flashing against the roof deck and counter-flashing embedded into the mortar joints of the chimney itself. Homes where only base flashing was installed (a common shortcut) will leak every time, because the seam where the flashing meets brick has nothing to shed water away from it.
Shingle Repair vs. Section Replacement vs. Full Roof Replacement
Not every leak needs a whole new roof, but not every leak can be solved with a single shingle swap either. Choosing the right scope of work is what separates a repair that lasts from one that becomes a recurring service call.
Spot shingle repair makes sense when damage is isolated — a handful of shingles cracked by wind or a branch, for example — and the surrounding roof is still within its useful life. Section replacement is the right call when an entire slope or valley shows widespread granule loss, curling, or age-related brittleness, even if the rest of the roof looks fine. Full roof replacement becomes the more economical choice once a roof is past 18-20 years old and leaks are recurring in multiple, unrelated locations — at that point, repeated spot repairs cost more over a few years than one properly installed new roof.
| Repair Type | Best For | Typical Cost Range (CAD) | Expected Lifespan After Repair |
|---|---|---|---|
| Spot shingle repair | Isolated wind/impact damage | $300 – $800 | Matches remaining roof life |
| Flashing replacement | Chimney, wall, valley leaks | $450 – $1,500 | 15-25 years |
| Pipe boot replacement | Vent stack leaks | $150 – $400 | 10-15 years |
| Section/slope replacement | Widespread wear on one area | $1,800 – $5,000 | 20-30 years |
| Full roof replacement | Roof past 18-20 years, multiple leak points | $8,000 – $20,000+ | 25-40+ years |
Pipe Boots, Vents, and Small Penetrations: Small Parts, Big Leaks
Some of the most persistent leaks come from the smallest components. Pipe boots — the rubber or plastic collars that seal around plumbing vent stacks — typically last 8 to 12 years before the rubber cracks from UV exposure and temperature swings, well before the shingles around them wear out. Because they are easy to overlook during a casual inspection, a cracked boot can leak for months before a homeowner notices a stain, usually in a bathroom or kitchen ceiling below.
The lasting fix is straightforward: replace the boot entirely rather than caulking over the crack. A quality repair uses a boot with a metal base plate and a durable synthetic rubber or silicone collar, properly integrated under the surrounding shingle courses rather than surface-mounted with sealant alone. The same principle applies to bathroom exhaust vents, roof-mounted electrical conduits, and satellite dish mounts — anything that punctures the roof deck needs a properly flashed, weathertight seal, not a bead of caulk.
Ice Dams and Winter-Related Leaks: A GTA-Specific Problem
Toronto winters create a leak pathway that many homeowners do not associate with roofing at all: ice damming. Heat escaping from the attic melts snow on the upper roof, the meltwater runs down to the cold eaves and refreezes, and over time a ridge of ice builds up that forces water back under the shingles instead of off the roof edge. This is why leaks sometimes appear only in January or February and then seem to vanish by summer — the underlying cause (poor attic insulation and ventilation) is still there.
A lasting solution addresses the attic, not just the roof surface. That means verifying adequate insulation depth, confirming soffit and ridge ventilation are balanced so the attic stays close to outdoor temperature, and installing an ice-and-water shield membrane along the eaves during any shingle or section replacement. Our attic assessments frequently uncover ventilation issues that, once corrected, eliminate ice damming entirely — a genuinely lasting fix rather than a seasonal patch. Even in July, this is worth planning for now, since attic upgrades are far easier to schedule and complete in summer than in the middle of a cold snap.
Flat Roof and Skylight Leaks: Different Problems, Different Fixes
Flat and low-slope roofs — common on additions, garages, and older Toronto homes — fail differently than sloped shingle roofs. Because water does not shed as quickly, membrane seams, ponding areas, and edge details take the brunt of the wear. A lasting flat roof repair means identifying the exact seam or puncture causing the leak, cutting out and properly welding or adhering new membrane material (rather than surface-patching with roofing cement, which fails within a season), and correcting any drainage issue causing water to pond in the first place. Our flat roofing team sees this constantly on additions where the original slope was never adequate to begin with.
Skylights are another frequent leak source, and homeowners often blame the skylight unit itself when the actual problem is the curb flashing around it. A properly diagnosed skylight leak distinguishes between a failed glazing seal (which needs unit replacement) and a flashing or curb failure (which can often be repaired without replacing the skylight at all). Our skylights and skylight replacement pages cover this distinction in more detail, but the short version is: never let a contractor recommend full skylight replacement before confirming the flashing wasn’t the actual cause.
Materials That Actually Hold Up in a Toronto Climate
Not all repair materials perform equally once winter arrives. Sealants matter enormously here — general-purpose silicone or acrylic caulk becomes brittle and cracks after one or two freeze-thaw cycles, while a proper roofing-grade polyurethane or butyl sealant remains flexible down to well below freezing and continues to move with the roof as materials expand and contract.
Flashing material matters too. Aluminum is lightweight and corrosion-resistant but can gall against certain fasteners; galvanized steel is more rigid and long-lasting but needs a factory or field-applied coating to resist rust over decades. Copper, while the most expensive option, often outlasts the shingles around it and is worth considering on high-end homes or heritage properties.
| Material | Best Use | Typical Lifespan | Climate Suitability (GTA) |
|---|---|---|---|
| Galvanized steel flashing | General flashing, valleys | 20-30 years | Excellent |
| Aluminum flashing | Lightweight applications, vents | 25-35 years | Excellent |
| Copper flashing | Premium/heritage installations | 50+ years | Excellent |
| Polyurethane roofing sealant | Flexible sealing joints | 10-15 years | Good (stays flexible) |
| General-purpose acrylic caulk | Not recommended for roofing | 1-3 years | Poor (cracks in freeze-thaw) |
| Ice-and-water shield membrane | Eaves, valleys | 25-40 years | Excellent |
Why DIY and Temporary Patches Rarely Last
It is tempting to grab a caulking gun or a tube of roofing cement at the first sign of a leak, and sometimes that buys a homeowner a few weeks before a proper repair can be scheduled. The problem is when that temporary patch gets treated as a permanent solution. Surface-applied cement over a cracked pipe boot, caulk smeared over a flashing gap, or a tarp left over a damaged section through an entire season all share the same weakness: they treat the symptom on the surface without addressing the actual water pathway underneath.
Working at height also carries real risk, and roof work in Toronto is subject to code requirements around fall protection, proper ladder use, and, for larger jobs, permits. A professional repair follows manufacturer installation specifications for shingles, flashing, and membranes — details that directly affect whether a manufacturer’s warranty remains valid, which most DIY repairs void immediately.
What a Lasting Repair Actually Looks Like: A Realistic Timeline
Homeowners often ask how long a leak repair should take from the first phone call to a fully resolved roof. For most single-point leaks — a flashing issue, a pipe boot, or a small shingle section — the process typically runs on the following timeline, assuming reasonable weather.
| Stage | What Happens | Typical Duration |
|---|---|---|
| Initial inspection | Attic check, roof walk, leak-source diagnosis | 1-2 hours |
| Quote and scheduling | Written estimate, material ordering if needed | 1-3 days |
| Repair execution (spot repair) | Flashing, shingle, or pipe boot replacement | Half day to 1 day |
| Repair execution (section replacement) | Tear-off and reinstallation of a slope or valley | 1-2 days |
| Post-repair verification | Water test and visual confirmation of the fix | Same day as completion |
Preventing the Next Leak: Maintenance That Extends Repair Life
A well-executed repair still benefits from basic ongoing maintenance. Homeowners can meaningfully extend the life of any roof repair — and reduce the chance of a new leak developing elsewhere — with a few simple habits:
- Clean gutters at least twice a year so water sheds properly off the roof edge instead of backing up
- Trim overhanging branches that can abrade shingles or drop debris into valleys
- Schedule a professional roof inspection every one to two years, ideally in spring after winter stress and again in fall before winter arrives
- Check the attic occasionally for musty odours, daylight through the roof deck, or damp insulation — early warning signs before ceiling stains appear
- Address minor issues (a lifted shingle, a small crack) promptly rather than waiting for a full leak to develop
Universal Roofs serves homeowners across the Toronto, Peel Region, York Region, Halton Region, and Durham Region areas, and roof age, exposure, and local microclimate all factor into how often a given home should be inspected. A century home in old Toronto with a slate roof has very different maintenance needs than a 15-year-old build in Vaughan with asphalt shingles.
Choosing a Roofing Contractor for a Leak Repair That Actually Lasts
The single biggest factor in whether a leak repair lasts is not the material — it is the contractor. A properly licenced, insured roofing company that diagnoses the true source of the leak, uses climate-appropriate materials, and follows manufacturer installation specifications will consistently outperform a lower-quote patch job, even when the sticker price looks similar at first glance.
Before hiring anyone for leak repair work, homeowners should ask for a written scope of work describing exactly what will be repaired and why, confirmation of licencing and insurance, a warranty on both materials and workmanship, and, ideally, references or reviews from recent local jobs. Our reviews page reflects two decades of this kind of work across the GTA, and our FAQ and about pages cover more on our process and history for homeowners doing their research before committing to a repair.
What are the most effective roof leak repair solutions that last more than a season?
How much does a lasting roof leak repair typically cost in Toronto?
Can a roof leak be repaired without replacing the whole roof?
Why do temporary roof patches fail so quickly in the GTA?
How do I know if my roof leak is caused by ice damming?
How often should a Toronto homeowner inspect their roof to prevent leaks?
Need Help With Effective Roof Leak Repair?
A lasting fix starts with an accurate diagnosis, and that is exactly what the team at Universal Roofs provides on every call, whether the issue is a single cracked pipe boot or a full section of failing shingles.
Call us today at (416) 732-2421 or request a free inspection to get started.
Universal Roofs proudly serves Toronto, Mississauga, Brampton, Vaughan, Markham, Oakville and the GTA since 2005.