
If you have ever stood in your attic after a rainstorm and noticed a damp stain spreading across the drywall near a chimney or vent pipe, chances are the culprit is not your shingles at all. It is your flashing. Unveiling the expenses involved in flashing repair is one of the most common questions Toronto homeowners ask once they realize this thin strip of metal is responsible for keeping water out of every seam, valley, and penetration on their roof. Flashing failures are quiet, sneaky, and can lead to thousands of dollars in hidden water damage long before a visible leak ever appears indoors.
Because flashing sits at every roof-to-wall junction, chimney base, skylight curb, and valley, the cost of repairing it varies enormously depending on location, material, and the extent of the damage. A homeowner in North York might pay a modest fee to reseal a step-flashing seam, while another in Etobicoke could be looking at a full chimney flashing rebuild after twenty years of freeze-thaw cycling. This guide breaks down exactly what drives the price of flashing repair in the Greater Toronto Area, what materials and labour cost, and how to tell the difference between a $150 patch job and a $2,000 structural fix.
We will also cover the warning signs that flashing has failed, how our climate accelerates that failure, and when it makes more sense to repair versus replace. Whether you manage a single-family home in Mississauga or a row of townhomes in Vaughan, understanding these costs upfront will help you budget accurately and avoid being blindsided by a contractor’s invoice.
What Is Roof Flashing and Why Does It Fail?
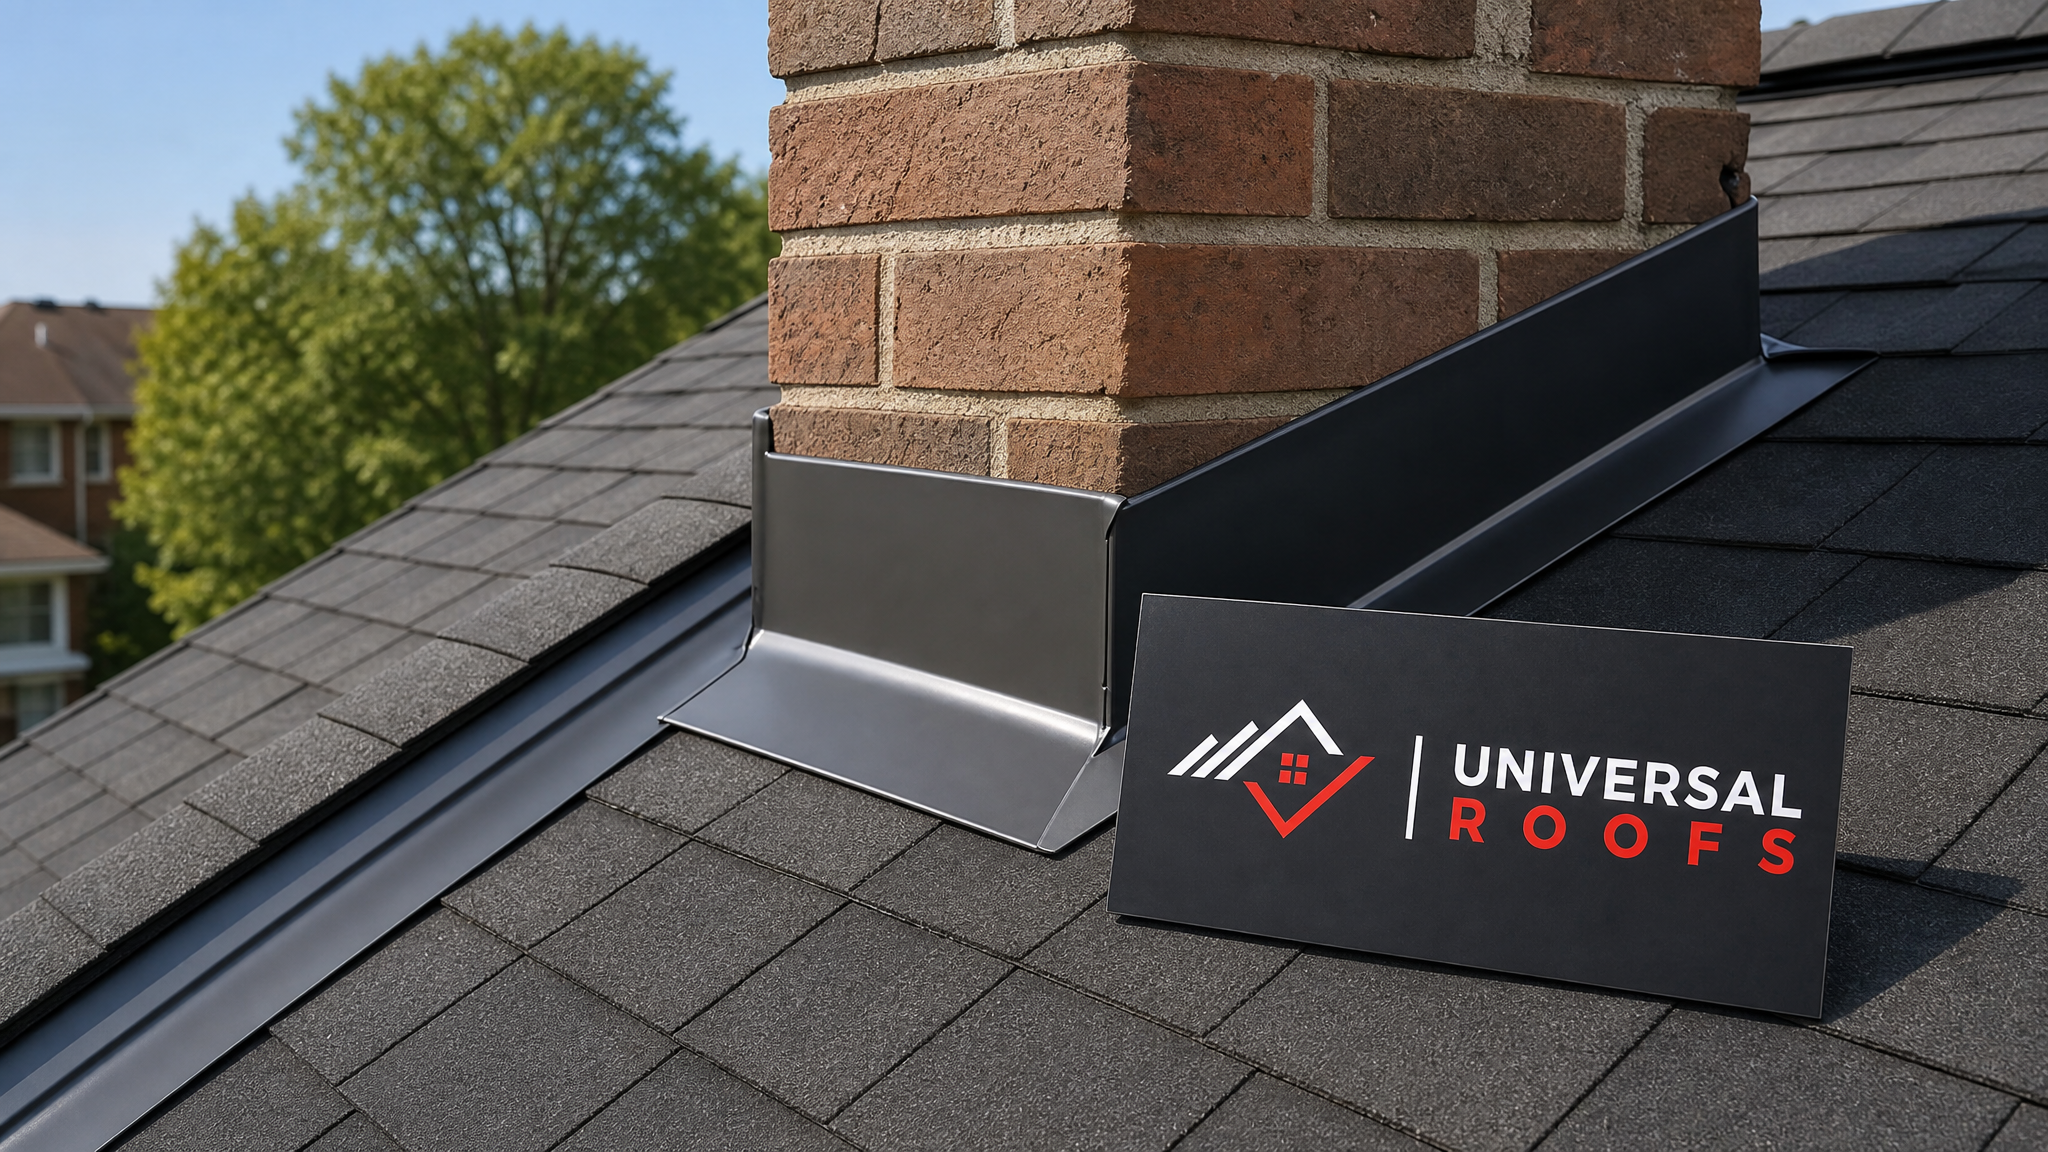
Flashing is the thin, weatherproof metal (typically aluminum, galvanized steel, or copper) installed at every point where your roof plane changes direction or is interrupted by a structure. That includes chimneys, skylights, dormers, vent pipes, valleys, and the wall-to-roof junctions found on additions and dormered bedrooms. Its entire job is to redirect water away from these vulnerable seams and onto the shingle field, where it can run safely into the gutters.
Flashing fails for a handful of predictable reasons. Sealant around the edges dries out and cracks after five to eight years of UV exposure. Nails backing out as wood expands and contracts during freeze-thaw cycles create tiny gaps that widen every winter. Rust eats through galvanized steel over fifteen to twenty years. Ice damming during a Toronto winter can lift flashing edges entirely, and wind can peel back step flashing along a wall if it was never properly counter-flashed. Once any of these failure points opens, water finds its way behind the metal and travels along the roof deck, often surfacing far from the original leak, which is why diagnosing the true cost of flashing repair usually starts with a proper roof repair inspection rather than a guess.
Unveiling the Expenses Involved in Flashing Repair by Type
The single biggest driver of cost is which type of flashing needs attention. Chimney flashing is the most labour-intensive because it requires stepping metal into the mortar joints (called reglet or counter-flashing), while a simple pipe boot replacement can be done in under an hour. Below is a breakdown of typical 2026 pricing across the GTA for the most common flashing repair jobs, based on average material and labour costs for a standard two-storey home.
| Flashing Type | Typical Repair Cost (CAD) | Average Labour Time | Common Failure Cause |
|---|---|---|---|
| Chimney step and counter-flashing | $450 – $1,200 | 3 – 6 hours | Cracked mortar reglet, rusted steel |
| Skylight curb flashing | $350 – $900 | 2 – 4 hours | Failed sealant, corner seams separating |
| Valley flashing (open valley) | $400 – $1,100 | 3 – 5 hours | Granule buildup, nail penetration, rust-through |
| Vent and plumbing pipe boots | $120 – $300 | 0.5 – 1.5 hours | Rubber collar cracking from UV exposure |
| Wall-to-roof (dormer/addition) flashing | $300 – $850 | 2 – 4 hours | Wind-lifted step flashing, missing counter-flashing |
| Drip edge and eave flashing | $200 – $550 | 1 – 3 hours | Ice dam lifting, fastener corrosion |
These figures assume a straightforward repair on an accessible roof with a standard 6:12 to 8:12 pitch. Steeper roofs, third-storey chimneys, or flashing tucked behind brick veneer can add 20 to 40 percent to labour time simply due to access and safety requirements.
Material Choice and How It Changes the Bill
Not all flashing metals are priced the same, and the material you choose (or that a previous contractor used) has a direct impact on both the initial repair cost and how soon you will be paying for it again. Aluminum is the most common choice in new residential construction because it is affordable and resists rust, though it can corrode when it comes into direct contact with certain masonry cleaners or acidic runoff from cedar shakes. Galvanized steel is stronger and cheaper up front but will eventually rust once the zinc coating wears through, typically around the fifteen-year mark in our climate. Copper flashing costs significantly more per linear foot but can last well over fifty years and is often specified for heritage homes or high-end renovations where long-term durability outweighs upfront cost.
| Material | Cost per Linear Foot (Installed) | Expected Lifespan | Best Suited For |
|---|---|---|---|
| Aluminum | $8 – $14 | 20 – 25 years | Standard residential roofs, budget-conscious repairs |
| Galvanized steel | $6 – $11 | 15 – 20 years | High-traffic valleys, cost-sensitive projects |
| Copper | $25 – $45 | 50+ years | Heritage homes, chimneys, premium renovations |
| Lead-coated copper | $30 – $50 | 50+ years | Complex chimney details, historic restorations |
| PVC/rubber pipe boots | $25 – $60 (per unit) | 8 – 12 years | Plumbing vent penetrations |
If your existing flashing is aluminum and only one section has failed, it rarely makes sense to upgrade the entire roof to copper just to fix one leak. However, if you are already planning a full roof replacement, upgrading chimney and valley flashing to a longer-lasting material at that stage is far more cost-effective than paying for access and labour twice.
Labour, Access, and Hidden Cost Factors
Material is rarely the biggest line item on a flashing repair invoice. Labour, safety equipment, and access difficulty usually account for 60 to 75 percent of the total bill. A single-storey bungalow in Scarborough with an easily accessible chimney will always cost less to repair than a third-storey dormer flashing job on a steep Victorian-style home in the Annex, even if the exact same length of metal is being replaced.
Several factors that homeowners often overlook can meaningfully change a quote:
- Roof pitch: Anything steeper than 8:12 typically requires additional fall-protection setup, which adds time and cost.
- Height and storey count: Ladder and staging requirements increase with each additional storey.
- Underlying deck damage: If water has been seeping in for months, the plywood decking beneath the flashing may be soft or rotted, requiring replacement before new flashing can even be installed.
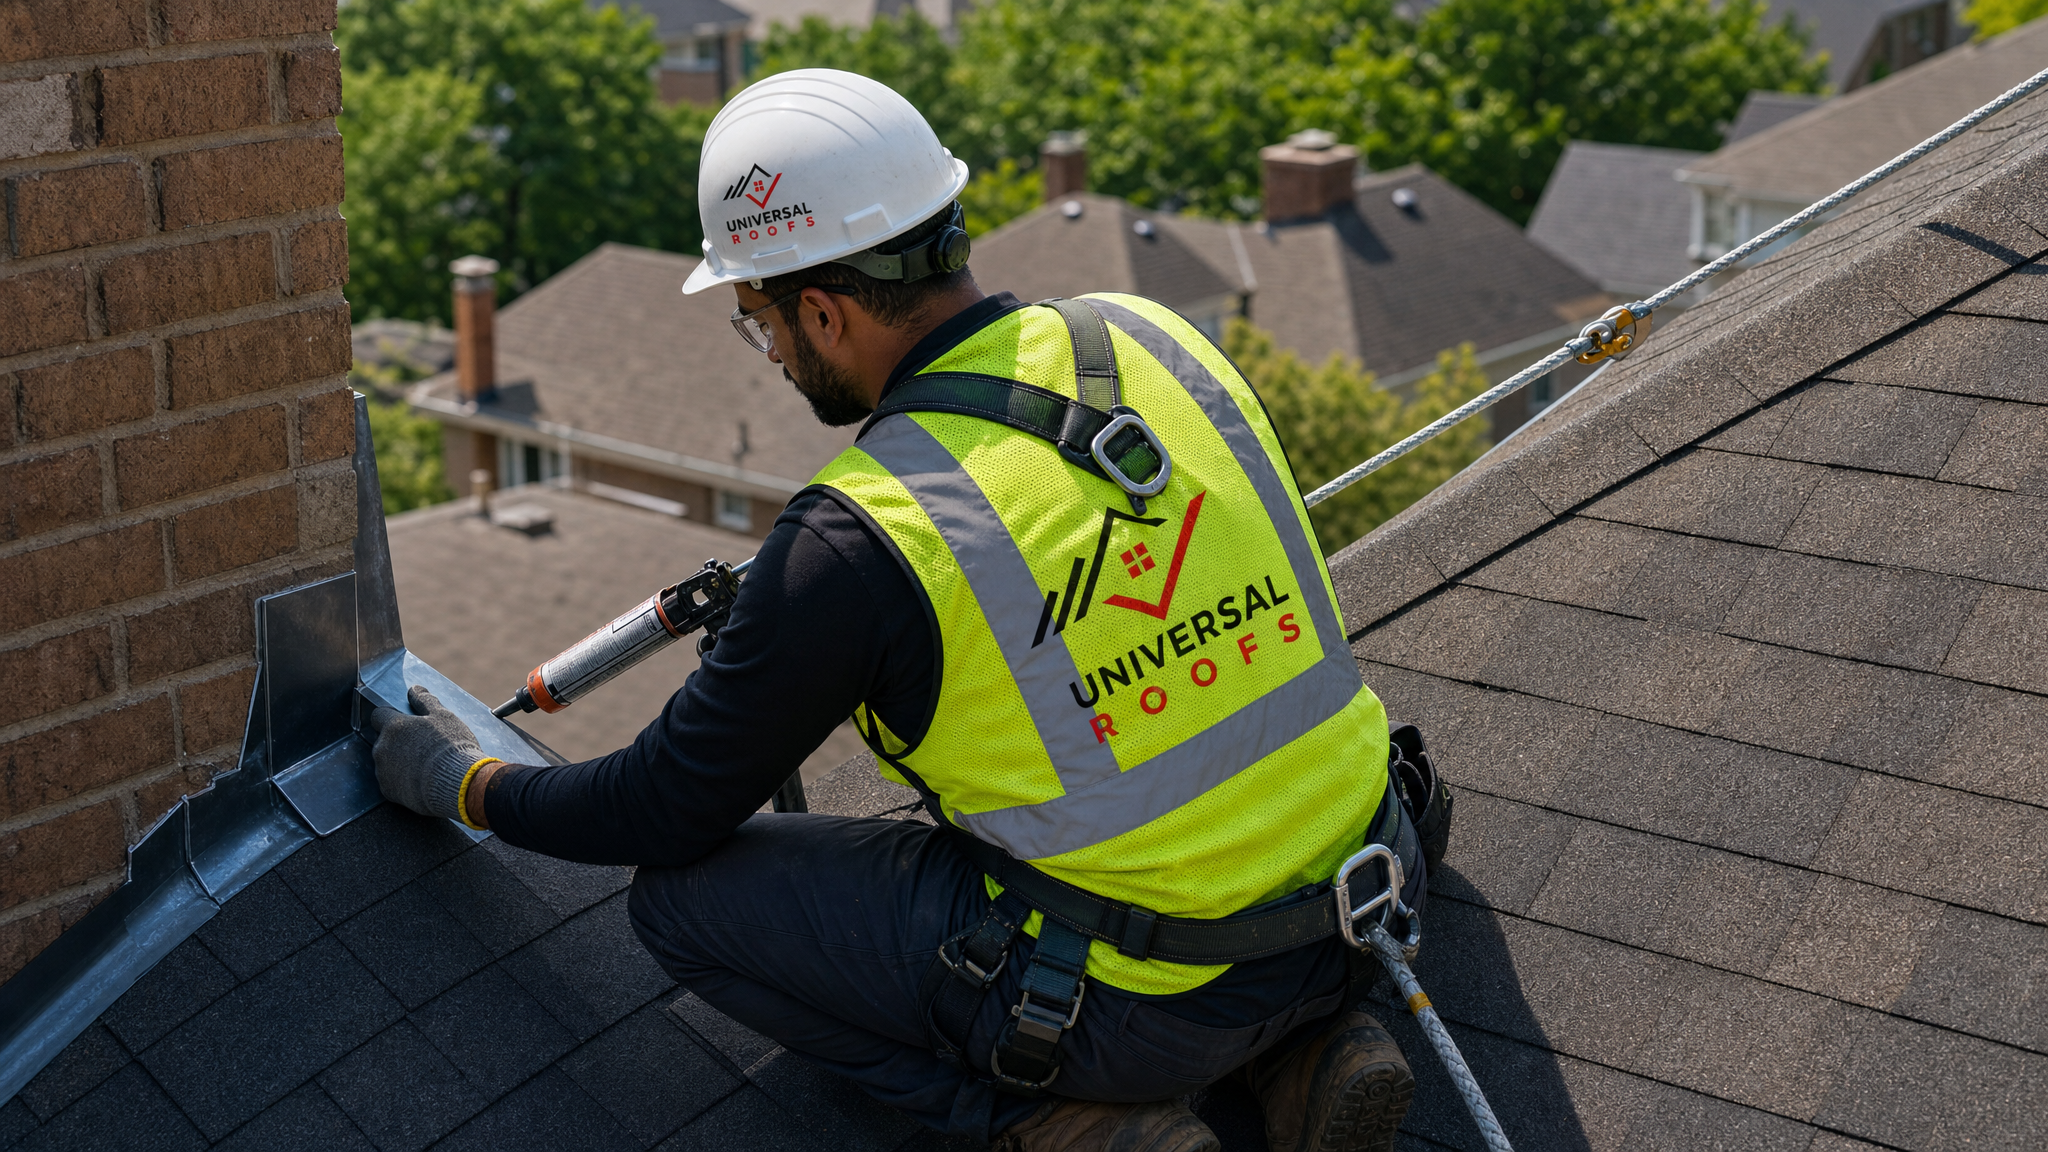
- Masonry condition: Chimney counter-flashing that is embedded in mortar joints requires those joints to be cut open (called reglet cutting) and re-pointed after the new flashing is installed, which is skilled masonry work billed separately from roofing labour.
- Seasonal demand: Spring and early summer are peak season for roofers across the GTA as homeowners address winter damage, and scheduling during this window can mean slightly higher rates than a fall booking.
Repair vs. Replace: Making the Right Call
One of the most common questions we field is whether a homeowner should pay for a targeted flashing repair or bite the bullet and address the whole roof system at once. The answer depends heavily on the age of the surrounding shingles, how many separate flashing points are showing wear, and whether water has already reached the roof deck.
As a general rule, if your shingles are less than ten years old and only one flashing point (say, a single vent boot or one chimney seam) is failing, a targeted repair is almost always the right call. If you are seeing flashing failures at multiple points, your shingles are already past the fifteen-year mark, or an inspection reveals soft decking in more than one area, it is often more economical to bundle the flashing work into a broader roof repair project rather than paying for scaffolding and access multiple times over a few years.
| Scenario | Recommended Approach | Approximate Cost Range |
|---|---|---|
| Single vent boot cracked, roof under 10 years old | Spot repair | $120 – $300 |
| One chimney flashing failing, shingles in good shape | Chimney flashing repair only | $450 – $1,200 |
| Multiple flashing points failing, shingles 12+ years old | Bundled repair with partial reroofing | $2,000 – $5,500 |
| Widespread leaks, deck rot in 2+ areas, shingles 18+ years old | Full roof replacement | $8,000 – $18,000+ |
An honest contractor should walk you through exactly which category your home falls into rather than automatically upselling a full replacement. During any inspection, ask to see photos of the deck condition beneath the flashing so you can make an informed decision rather than taking a verbal estimate at face value.
How Toronto’s Climate Accelerates Flashing Failure
The Greater Toronto Area sees some of the most punishing freeze-thaw cycling in the country, and flashing takes the brunt of it. Metal expands and contracts with every swing between a mild afternoon and a sub-zero overnight low, gradually working fasteners loose and stressing sealant joints until they crack. Ice damming, where melted snow refreezes at the eaves and backs up under the shingles, is one of the single biggest causes of drip-edge and valley flashing lifting across Toronto, Mississauga, and the surrounding 905 communities.
Summer brings its own stress in the form of intense UV exposure and sudden thunderstorms that test every seam at once. Humidity swings between a hot, muggy July afternoon and a cool evening can also accelerate condensation inside poorly ventilated attics, which compounds moisture problems at flashing points if your attic ventilation is not properly balanced. This is why a flashing repair that would last thirty years in a drier, more stable climate might only last fifteen to twenty here, and it is also why routine inspections after major storms are worth the modest cost compared to discovering a slow leak months later.
Flashing Around Skylights: A Special Cost Category
Skylight flashing deserves its own mention because it is one of the more frequent sources of leak calls we receive, and the repair economics are slightly different from a standard chimney or valley job. Skylight curbs use a stepped flashing kit designed specifically for the unit’s dimensions, and if the original installation used an ill-fitting or generic kit, water intrusion around the corners is almost inevitable within a decade.
Repairing skylight flashing typically costs somewhat less than chimney work because there is no masonry involved, but the price climbs quickly if the skylight itself needs to be removed and reset to properly access the curb. In many cases, if a skylight is already past fifteen years old and its flashing has failed once, it is more cost-effective in the long run to consider a full skylight replacement with a modern, better-sealed unit rather than repeatedly patching flashing around an aging frame. Homeowners considering a new installation altogether can review our skylight installation options to compare unit types and long-term flashing warranties.
Flat Roof Flashing: Different Rules, Different Costs
If your home or addition has a flat or low-slope section, flashing repair follows a different cost structure entirely. Flat roofing systems rely on membrane flashing at parapet walls, roof-to-wall transitions, and equipment curbs, which is typically heat-welded or adhered rather than nailed and sealed like sloped-roof metal flashing. Because this work requires membrane-specific expertise and materials, it is usually priced separately from asphalt shingle flashing repairs, generally running from $400 to $1,500 depending on the length of parapet or wall transition involved.
If you are dealing with a flat roof addition, garage, or commercial-style low-slope section common on many renovated GTA homes, it is worth having a contractor familiar with flat roofing systems assess the flashing specifically, since the failure points and repair techniques differ meaningfully from a standard pitched roof.
How to Get an Accurate Flashing Repair Quote
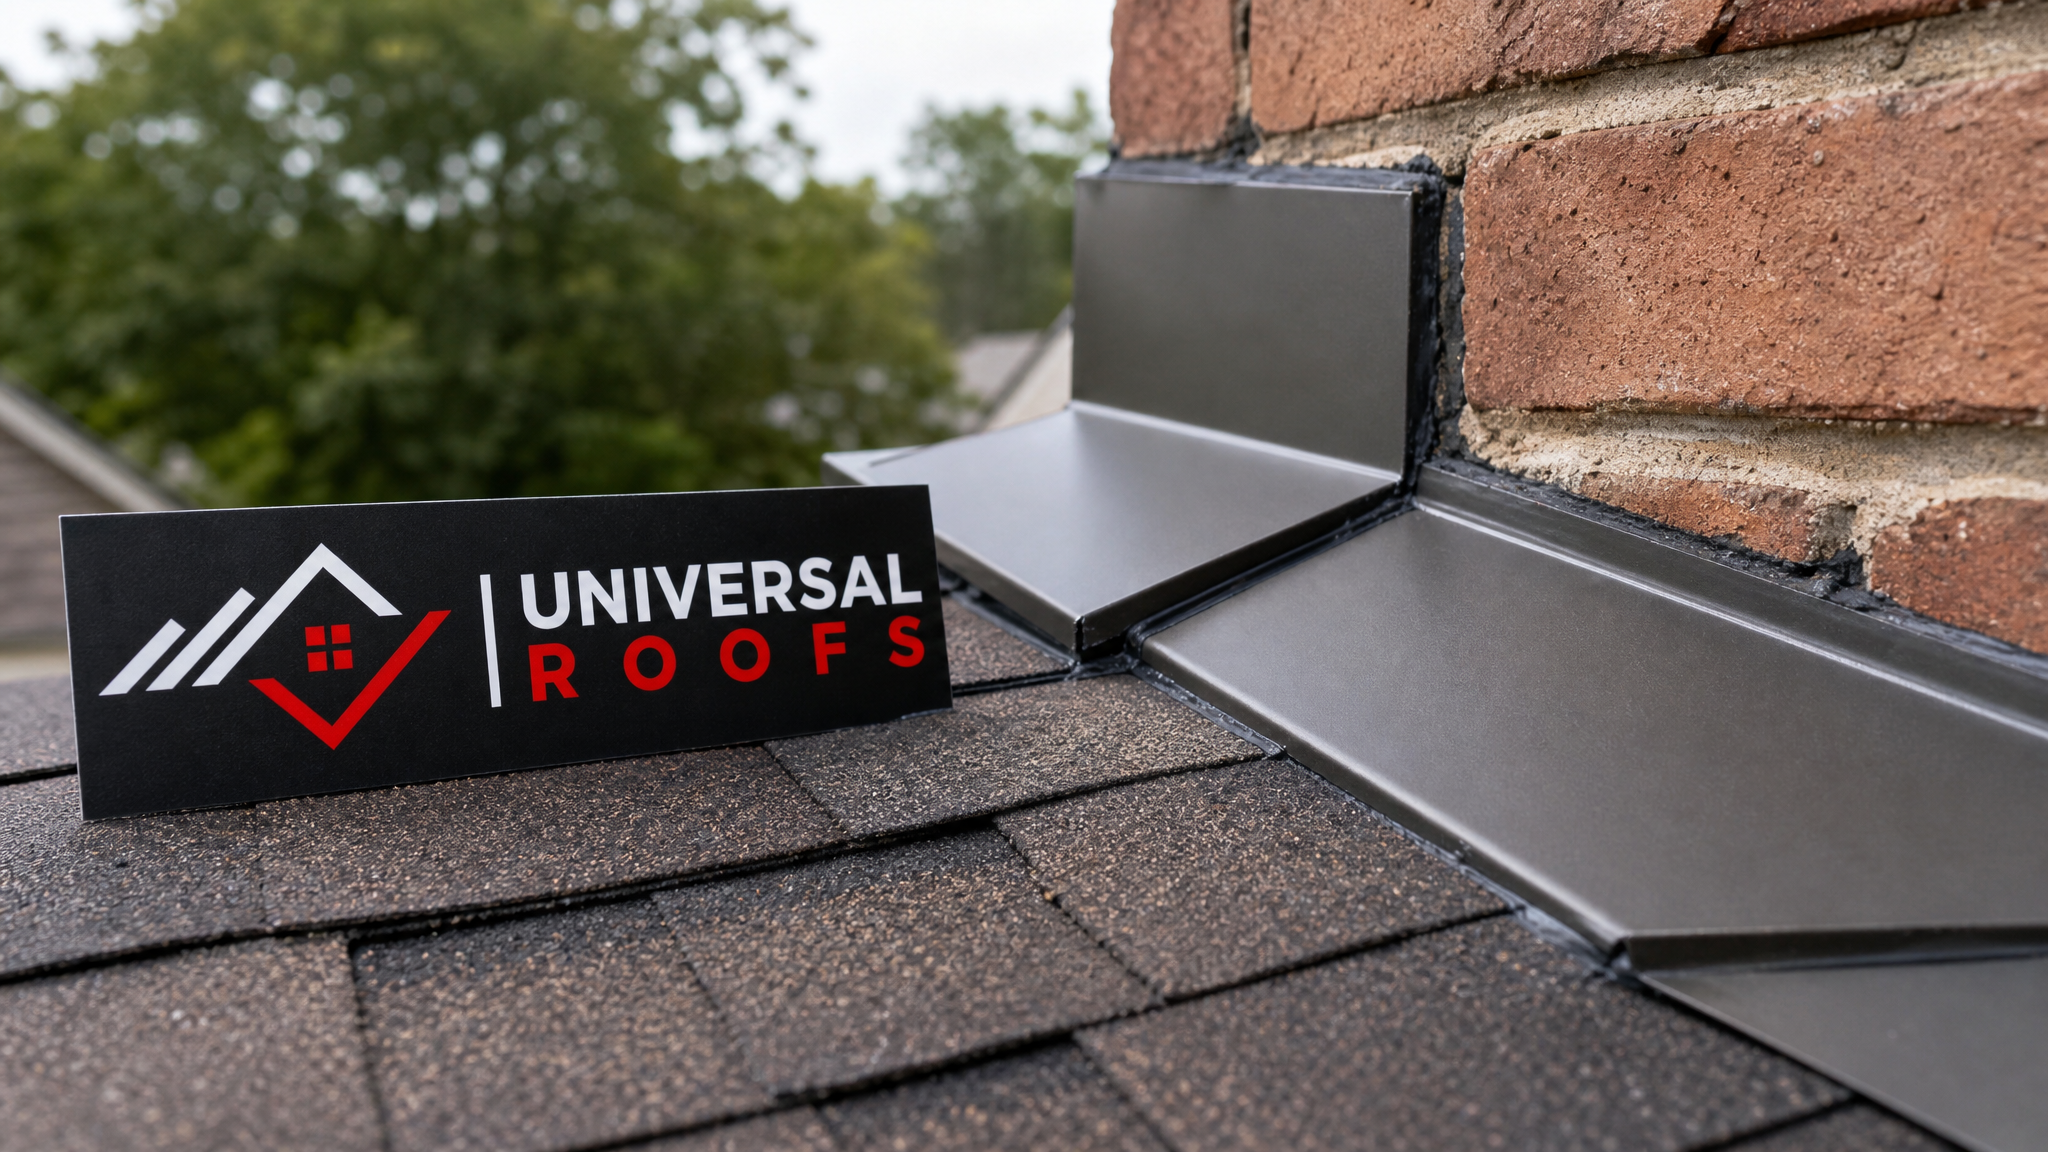
Because flashing problems are often invisible from the ground, an accurate quote requires either a physical roof inspection or, at minimum, quality photos and video from a drone or ladder assessment. When requesting quotes from contractors across Toronto, Mississauga, Brampton, Vaughan, or Markham, ask specifically whether the estimate includes:
- Removal and disposal of old flashing material
- Any necessary deck repair if rot is discovered once the old flashing is removed
- Re-pointing or masonry work if the job involves a chimney reglet
- A written warranty on both materials and labour
- Whether the quote assumes standard access or includes ladder/scaffolding setup
A detailed, itemized quote protects you from surprise add-on charges once the crew is already on the roof and has opened up the area. Reputable contractors will also be transparent about the difference between a temporary sealant patch (a short-term fix that may only last a season) and a full flashing replacement that addresses the root cause.
Signs You Need Flashing Repair Right Now
Some warning signs should prompt an inspection sooner rather than later, regardless of your roof’s age. Watch for water stains on ceilings or walls near a chimney, visible rust streaks running down siding below a flashing joint, daylight visible through flashing seams when viewed from inside the attic, curling or lifted metal edges visible from the ground with binoculars, and granules or metal shavings collecting in gutters near valleys. Catching these signs early is almost always the difference between a $300 repair and a $3,000 one, because water damage compounds quickly once it reaches wood framing.
What is typically included when unveiling the expenses involved in flashing repair?
How much does chimney flashing repair typically cost in the GTA?
Can I repair flashing myself to save money?
Does homeowner’s insurance cover flashing repair costs?
How long does a typical flashing repair take to complete?
Is it worth replacing all the flashing when I get a new roof?
Need Help With Unveiling the Expenses Involved?
Getting a clear, itemized answer on flashing repair costs starts with a proper inspection from a team that works on roofs across the GTA every day. Universal Roofs has been diagnosing and repairing flashing failures on Toronto-area homes since 2005, and we will always tell you honestly whether you need a spot repair or a broader fix.
Call us today at (416) 732-2421 or request a free inspection to get started.
Universal Roofs proudly serves Toronto, Mississauga, Brampton, Vaughan, Markham, Oakville and the GTA since 2005.