
A pitched roof is designed to shed water quickly, but even the steepest, best-built roof in the Greater Toronto Area will eventually develop a leak. Between the freeze-thaw cycles of a Toronto winter, the wind-driven summer thunderstorms, and decades of ultraviolet exposure baking down on asphalt shingles, every sloped roof is under constant attack. The good news is that most pitched roof leaks are traceable to a small number of predictable failure points, and many can be diagnosed and temporarily stopped by a careful homeowner before a professional ever arrives.
This guide walks through practical, field-tested tips for pitched roof leak repair, from locating the true source of a leak (which is almost never directly above the stain on your ceiling) to choosing the right materials, understanding when a patch is appropriate versus when it signals a bigger problem, and knowing exactly when to stop DIY-ing and call in a licensed contractor. Whether you are dealing with a slow drip during a summer storm or planning ahead before the fall rains arrive, these tips for pitched roof leak repair will help you protect your home and your investment.
We have been repairing pitched roofs across the GTA since 2005, and the patterns repeat year after year: ice damming in February, wind-lifted shingles in April storms, and slow, mysterious leaks that show up every time it rains hard in July. Understanding the mechanics behind each of these failure modes is the first step toward a lasting fix.
Why Pitched Roof Leaks Are Deceptively Hard to Trace
The single biggest mistake homeowners make when attempting pitched roof leak repair is assuming the leak enters directly above the stain they see on the ceiling or attic sheathing. Water travels. It can enter at a damaged shingle near the ridge, run along the underlayment or a rafter, and drip onto the ceiling metres away from the actual entry point. This is especially true on steeper pitches, where gravity pulls water further down the slope before it finds a gap in the roof deck to penetrate.
Before you touch a single shingle, go into the attic with a flashlight — ideally during or immediately after a rainstorm — and look for:
- Dark water staining or active drips on the underside of the roof sheathing
- Trails of dried mineral deposits (a sign water has run along a rafter or truss)
- Compressed or matted insulation, which holds moisture and points to a chronic, not new, leak
- Daylight visible through the deck, which usually means a hole large enough to need immediate attention
Once you have a rough idea of where water is entering the attic space, measure from that point to a fixed reference (a gable end or the ridge) so you can find the corresponding spot on the exterior of the roof. This single step saves more wasted time and money than any other part of pitched roof leak repair.
The Most Common Sources of Pitched Roof Leaks
Roughly 80 percent of the leaks we diagnose on sloped roofs in the GTA come from one of the following areas. Knowing this list well is arguably the most valuable of all the tips for pitched roof leak repair, because it tells you where to look first.
| Leak Source | Typical Cause | Warning Signs | Repair Difficulty |
|---|---|---|---|
| Flashing around chimneys | Sealant failure, corrosion, or flashing pulled loose by wind | Staining on the chimney chase, rust streaks | Moderate — often DIY-safe with caulk, but full re-flashing needs a pro |
| Valleys (where two slopes meet) | Worn valley metal, granule loss, ice damming | Water stains following the valley line inside the attic | High — heavy water volume concentrates here |
| Vent pipe boots (plumbing stacks) | Cracked rubber collar from UV and age (typically fails after 8-12 years) | Ring-shaped stain directly below the pipe penetration | Low — a common and very DIY-friendly fix |
| Nail pops and exposed fasteners | Improper nailing depth, thermal expansion/contraction | Small pinhole leaks, visible raised bumps on shingle surface | Low — easy to reseal or replace |
| Wind-lifted or missing shingles | Storm damage, aged adhesive sealant strips | Visible gaps, curling shingle edges, granules in the eavestrough | Moderate — depends on how many courses are affected |
| Skylight curbs and flashing | Failed seals, poor original installation, aged flashing kits | Staining radiating from the skylight frame corners | High — often requires professional-grade re-flashing |
| Ice dams at the eaves | Poor attic insulation/ventilation allowing snowmelt refreeze | Winter leaks near exterior walls, icicles along the eavestrough | Moderate to high — root cause is usually attic ventilation, not the shingles |
If your leak traces back to a skylight or its flashing, it is worth reading our dedicated guide on skylight replacement, since failed skylight seals are rarely a simple caulk-and-forget repair.
Step-by-Step: Diagnosing the Leak Safely
Safety comes first. Pitched roofs — anything steeper than about a 4:12 slope — are genuinely dangerous to walk without fall protection, proper footwear, and a spotter. If your roof pitch is moderate to steep, or if the roof is wet, mossy, or more than one storey up, this is the point where we recommend calling a professional rather than climbing up yourself. With that caution stated, here is the process we use:
- Inspect from the ground first. Use binoculars to scan for missing shingles, lifted tabs, damaged flashing, or debris buildup in valleys.
- Check the attic during active rainfall if it is safe to do so, and mark every point of water intrusion with painter’s tape or a pencil.
- Cross-reference attic findings to the exterior using measurements from a fixed point (ridge, gable, chimney).
- Examine all penetrations — plumbing vents, chimneys, skylights, and any roof-mounted equipment — since these account for the majority of leaks on an otherwise sound pitched roof.
- Check the valleys and eaves for granule loss, cracked sealant strips, or metal flashing that has separated from the shingle courses.
- Photograph everything before you begin any repair. This documentation is invaluable if you later need to file an insurance claim or bring in a contractor for a second opinion.
Materials and Methods for a Lasting Repair
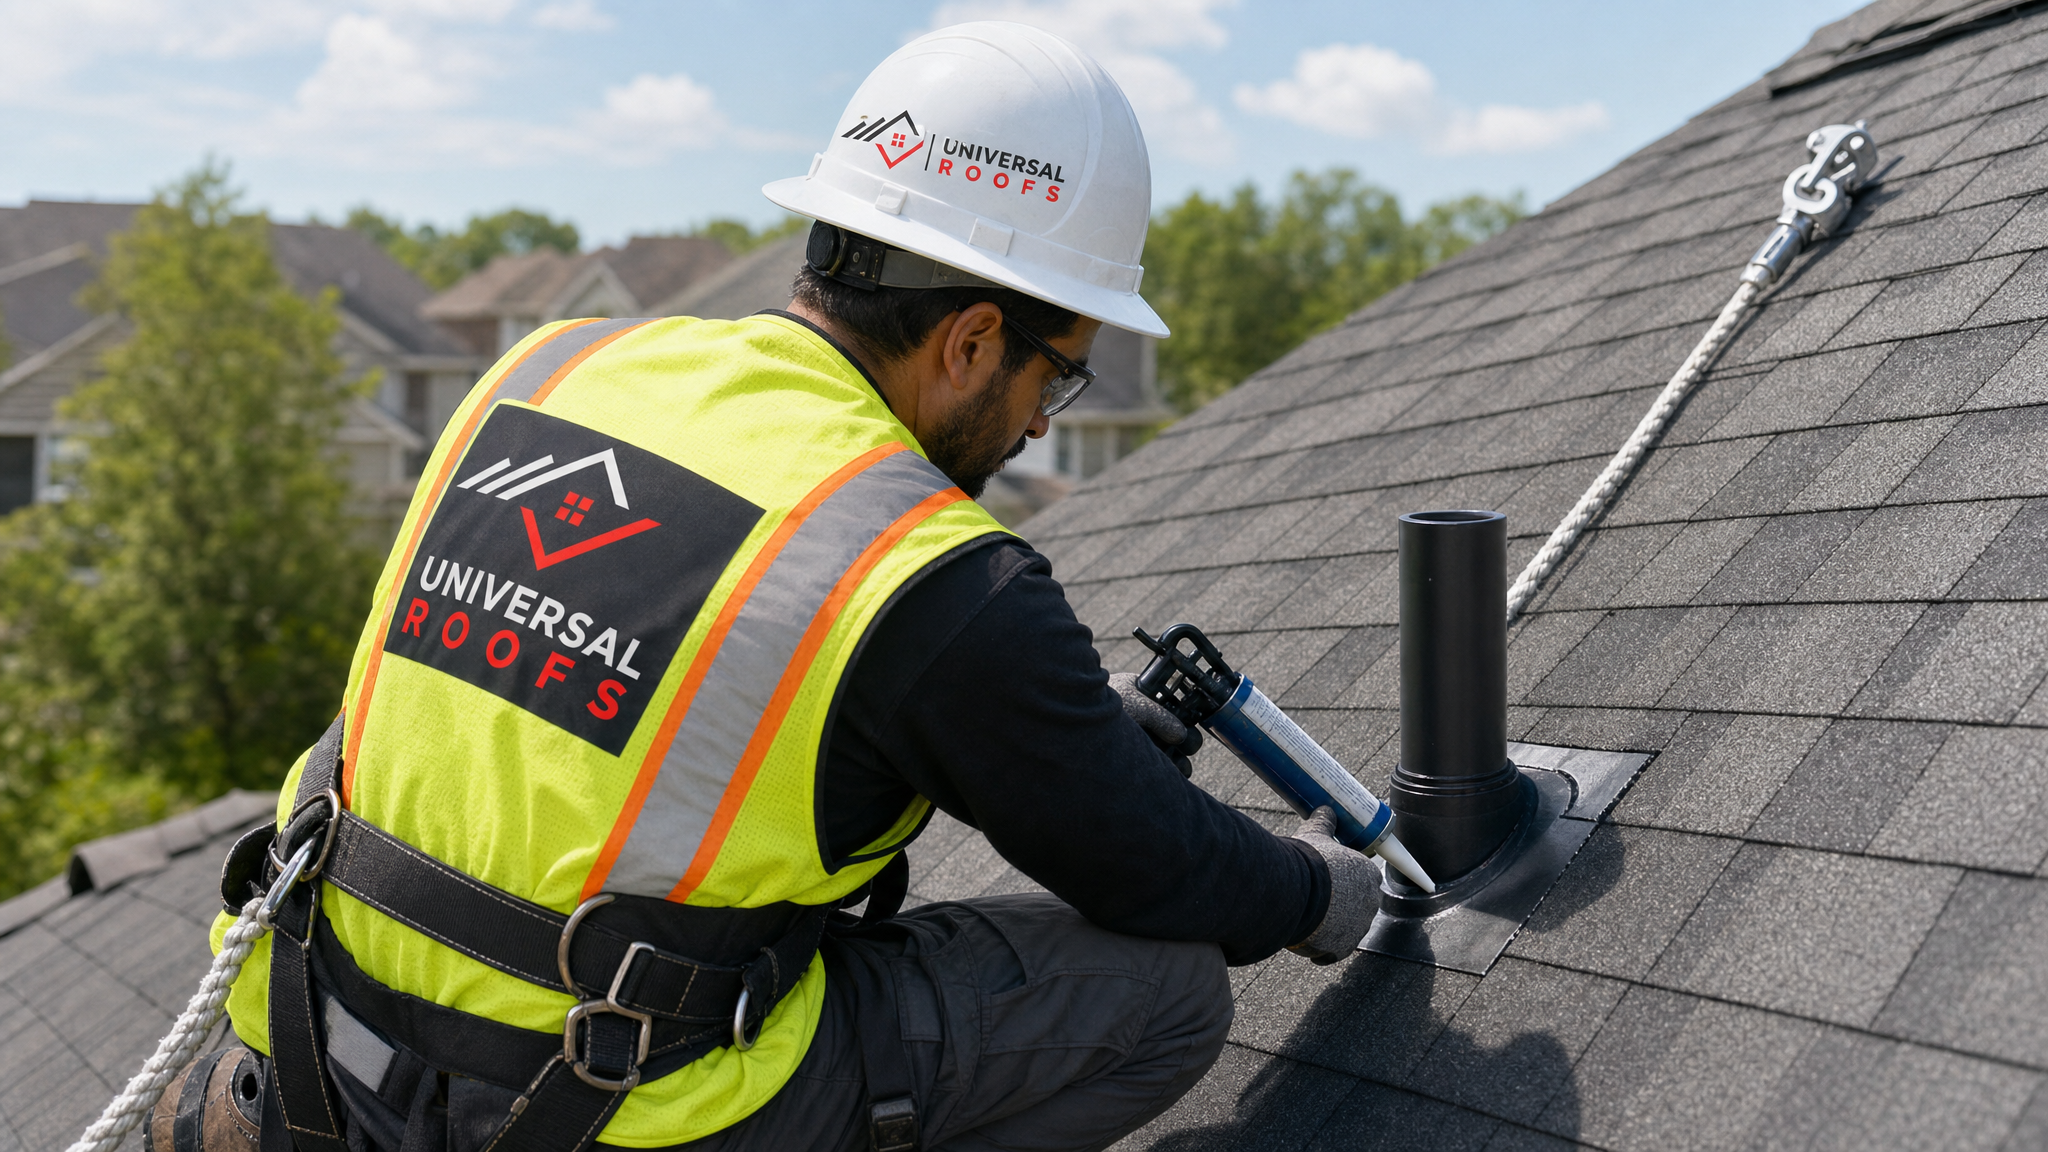
Not every pitched roof leak repair calls for the same materials. Matching the fix to the actual failure mode is what separates a repair that lasts for years from one that fails again in the next storm. Below is a comparison of the methods we use most often across GTA homes.
| Repair Method | Best Used For | Expected Lifespan | Notes |
|---|---|---|---|
| Roofing cement / plastic roof cement | Small cracks, minor flashing gaps, sealing shingle tabs | 1-3 years | A short-term fix — treat it as a stopgap, not a permanent solution |
| Butyl or polyurethane sealant | Vent boot collars, fastener heads, small flashing seams | 3-7 years | More flexible and UV-stable than roofing cement |
| Shingle replacement (individual course) | Wind damage, cracked or missing shingles | Matches remaining roof lifespan | Colour matching can be difficult on older roofs |
| New step or valley flashing | Corroded or displaced metal flashing at walls and valleys | 20-30 years (metal flashing) | Requires partial shingle removal to install correctly |
| Vent pipe boot replacement | Cracked rubber collars around plumbing stacks | 8-12 years | One of the best value-for-money pitched roof repairs available |
| Full section re-roofing | Widespread granule loss, multiple failure points, roof over 20 years old | 25-30+ years (with modern shingles) | Often more cost-effective than repeated patch repairs on an aging roof |
For roofs where patch repairs are becoming frequent or the shingles are visibly nearing the end of their service life, it is worth getting a straightforward assessment of whether continued roof repair still makes financial sense compared with roof replacement. We walk homeowners through that decision honestly rather than defaulting to the more expensive option.
Temporary Fixes That Actually Hold Up
If you have discovered an active leak during a storm and cannot get a contractor out immediately, a few temporary measures can limit interior damage without making the eventual permanent repair harder:
- Tarping. A properly secured tarp, weighted at the edges and run over the ridge (never just laid flat against the slope), can buy days or weeks of protection. Avoid nailing directly through the tarp into good shingles wherever possible.
- Roofing cement on active cracks. Applied with a putty knife to a clean, dry surface, roofing cement can slow a leak significantly, though it is not a long-term fix in Toronto’s freeze-thaw climate.
- Interior water diversion. If water is entering the attic and dripping onto insulation, a temporary channel of plastic sheeting directed into a bucket prevents ceiling damage while you arrange a permanent repair.
- Clearing debris from valleys and eavestroughs. Leaves and granules trap water and accelerate leaks; clearing them is free and immediate.
None of these should be considered a substitute for a proper repair. They exist to buy time and limit damage until the actual source can be addressed correctly.
Ice Damming and Ventilation: The Root Cause Behind Winter Leaks
A large share of the pitched roof leaks we get called out for in the GTA are not shingle failures at all — they are the downstream result of poor attic ventilation. When warm indoor air escapes into the attic, it melts snow on the upper roof surface. That meltwater runs down to the colder eaves, refreezes, and forms an ice dam that backs water up under the shingles. No amount of shingle repair fixes this permanently if the underlying attic ventilation and insulation problem is not addressed.
| Symptom | Likely Cause | Recommended Fix | Priority |
|---|---|---|---|
| Icicles along the eavestrough every winter | Heat escaping into attic, melting snow near the ridge | Improve attic insulation and air-sealing | High |
| Leak appears only near exterior walls in winter | Classic ice dam backing water under shingles | Add or clear soffit/ridge ventilation | High |
| Frost or condensation visible on the underside of the deck | Insufficient attic ventilation trapping moisture | Balanced intake (soffit) and exhaust (ridge) venting | Medium |
| Uneven snow melt pattern on the roof surface | Uneven insulation depth or heat loss points (bathroom fans, pot lights) | Seal bypasses, top up insulation to current code levels | Medium |
If your attic hasn’t been assessed in several years, it is worth having a technician check insulation depth, ventilation balance, and air-sealing as part of any pitched roof leak repair — our attic services page covers what a proper assessment includes. Fixing ventilation is almost always cheaper than repeatedly repairing ice-dam damage every spring.
Flat Sections, Skylights, and Other Complications on Pitched Roofs
Many GTA homes have a primary pitched roof with a secondary flat or low-slope section over a porch, addition, or garage. These transition points — where a steep slope meets a flat plane — are notoriously leak-prone because they combine two different roofing systems that expand, contract, and age differently. If your leak is originating near a flat roof addition, the repair approach is different from a standard shingle fix; our flat roofing team handles these transition areas specifically because a generalist shingle repair often does not solve the underlying problem.
Similarly, skylights installed on a pitched slope introduce their own flashing complexity. A skylight leak is rarely the glass unit itself failing — it is almost always the flashing kit around the curb degrading, especially on installations over 15 years old. If you notice staining specifically radiating from the corners of a skylight frame, that is a strong signal the flashing kit needs replacing rather than a simple caulk touch-up. See our skylights page for more on how these systems are built and maintained.
Seasonal Considerations for Toronto and the GTA
Summer storms bring their own leak risks even without snow and ice in the picture. Wind-driven rain can force water sideways under shingle tabs that have lost their adhesive seal strip, particularly on south and west-facing slopes that see the most sun exposure and sealant breakdown over time. July and August thunderstorms in the GTA are frequently accompanied by gusts strong enough to lift already-weakened shingles, which is why a mid-summer inspection after a storm is one of the most valuable pitched roof leak repair tips we can offer — catching a lifted shingle before the next rain prevents a small problem from becoming a ceiling replacement.
This is also the ideal season to schedule non-emergency repair work. Shingles seal best in warm weather, sealants cure properly, and there is no risk of snow delaying a repair crew. Homeowners who wait until October or November to address a known leak often find themselves competing for contractor availability right as the first cold snap hits.
DIY Versus Calling a Professional
Some pitched roof leak repairs are genuinely reasonable for a comfortable, careful homeowner to attempt. Others carry real risk — to your safety, and to your roof if done incorrectly. Use this as a general guide:
| Repair Task | DIY-Appropriate? | Why |
|---|---|---|
| Clearing debris from valleys/eavestroughs | Yes | Low risk, no specialized tools required |
| Resealing a single nail pop or fastener | Yes, with caution | Small, low-height task if roof access is safe |
| Replacing a vent pipe boot | Sometimes | Straightforward but requires comfort on the roof surface |
| Replacing multiple shingle courses | Not recommended | Colour matching and proper overlap technique matter for long-term performance |
| Valley or chimney flashing replacement | No | High water volume area; mistakes cause worse leaks |
| Any repair on a steep pitch or multi-storey roof | No | Fall risk outweighs the savings of DIY |
When in doubt, a licensed roofer can usually diagnose and repair a straightforward leak in a single visit, and the cost of a professional assessment is almost always less than the cost of repairing water damage to insulation, drywall, and framing caused by a leak that went unaddressed or was patched incorrectly. Read what past customers have said about their own repair experiences on our reviews page.
Preventing Future Leaks
The most cost-effective pitched roof leak repair is the one you never have to make because the problem was caught early. A simple twice-a-year maintenance routine — once in late spring and once in early fall — catches the vast majority of developing issues before they become active leaks:
- Clear leaves and debris from valleys, eavestroughs, and around any roof penetrations
- Visually check for lifted, cracked, or missing shingles, especially after any severe wind event
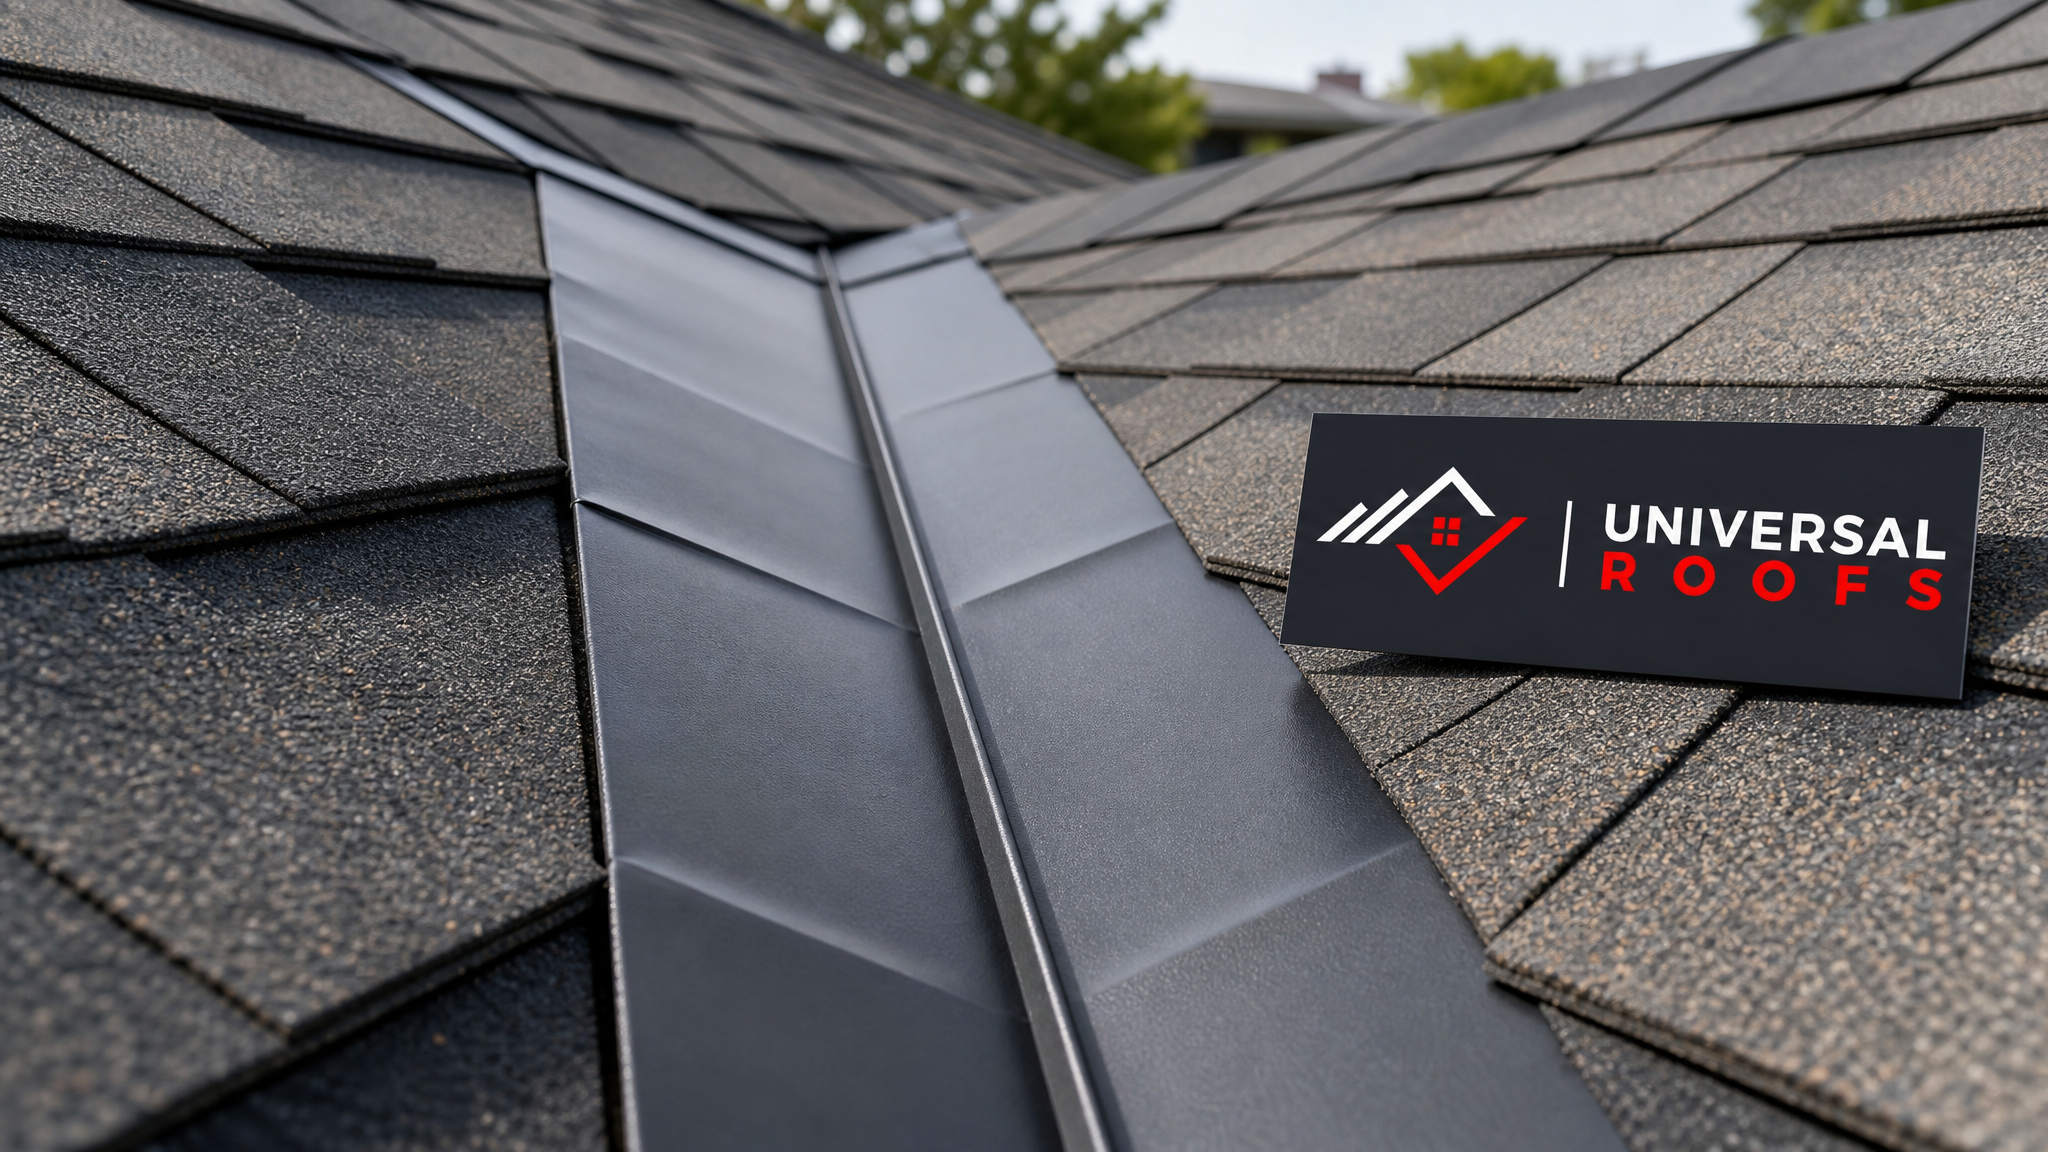
- Inspect all flashing (chimney, wall, valley, skylight) for gaps, rust, or separation
- Check vent pipe boots for cracking, particularly if they are more than 8 years old
- Confirm attic ventilation is unobstructed and insulation has not settled or shifted
- Book a professional inspection every 2-3 years, or annually if the roof is over 15 years old
Homeowners across Toronto, Peel Region, York Region, Halton Region, and Durham Region face very similar roofing conditions, and our crews service all of these areas regularly. If you have questions about your specific situation, our FAQ page covers many of the most common homeowner questions, and our about page has more on our background and approach since 2005.
What are the best tips for pitched roof leak repair on my own?
How much does pitched roof leak repair typically cost?
Can I use roofing cement as a permanent fix for a pitched roof leak?
Why does my pitched roof only leak during heavy rain or wind?
Is a leak near my skylight a sign the skylight itself is broken?
How often should I inspect my pitched roof to prevent leaks?
Need Help With Tips for Pitched Roof?
Whether you are dealing with an active leak right now or want to get ahead of one before the fall rains arrive, Universal Roofs has been diagnosing and repairing pitched roofs across the GTA since 2005, and we know exactly where these leaks hide.
Call us today at (416) 732-2421 or request a free inspection to get started.
Universal Roofs proudly serves Toronto, Mississauga, Brampton, Vaughan, Markham, Oakville and the GTA since 2005.