
Flashing is the single most common source of roof leaks in the Greater Toronto Area, and most homeowners do not realize it until water is already dripping into an attic or running down a chimney chase. Flashing is the thin metal (or, less often, rubber or plastic) material installed at every place your roof changes plane or meets a vertical surface, such as chimneys, skylights, dormers, sidewalls, and valleys. When it corrodes, lifts, or is sealed incorrectly, water finds the shortest path inside your home.
This guide walks through the eight best ways to repair roof flashing, from quick sealant fixes to full metal replacement, so you understand what each method involves, what it costs, and when a small DIY fix is appropriate versus when you need a licensed roofer on the ladder. Toronto’s freeze-thaw winters and humid summers are particularly hard on flashing seams, so getting the repair right the first time matters more here than in milder climates.
Whether you are dealing with a chimney that has started to weep after a heavy July thunderstorm, a skylight curb showing rust streaks, or a valley that has quietly been letting water into your attic insulation for two seasons, one of the methods below will apply to your situation.
Why Roof Flashing Fails in the First Place
Before choosing among the ways to repair roof flashing, it helps to understand why it fails. Flashing is usually made of galvanized steel, aluminum, or copper, and it is designed to shed water by overlapping shingles and being tucked under counter-flashing or siding. Over time, several things go wrong:
- Sealant breakdown — caulking and roofing cement dry out, crack, and shrink after a few Toronto winters of expansion and contraction.
- Corrosion — galvanized steel flashing rusts through after 15-20 years, especially near chimneys where acidic flue condensation drips onto it.
- Physical lifting — high winds, ice damming, or squirrels and raccoons can pry flashing loose at the edges.
- Poor original installation — flashing that was face-nailed through the metal (instead of tucked and layered correctly) will leak from day one.
- Settling and movement — chimneys and dormers settle at a different rate than the roof structure, opening gaps at the counter-flashing reglet.
Identifying which of these is happening on your roof determines which repair method actually solves the problem rather than masking it for a season.
1. Re-Sealing With Roofing-Grade Sealant or Caulking
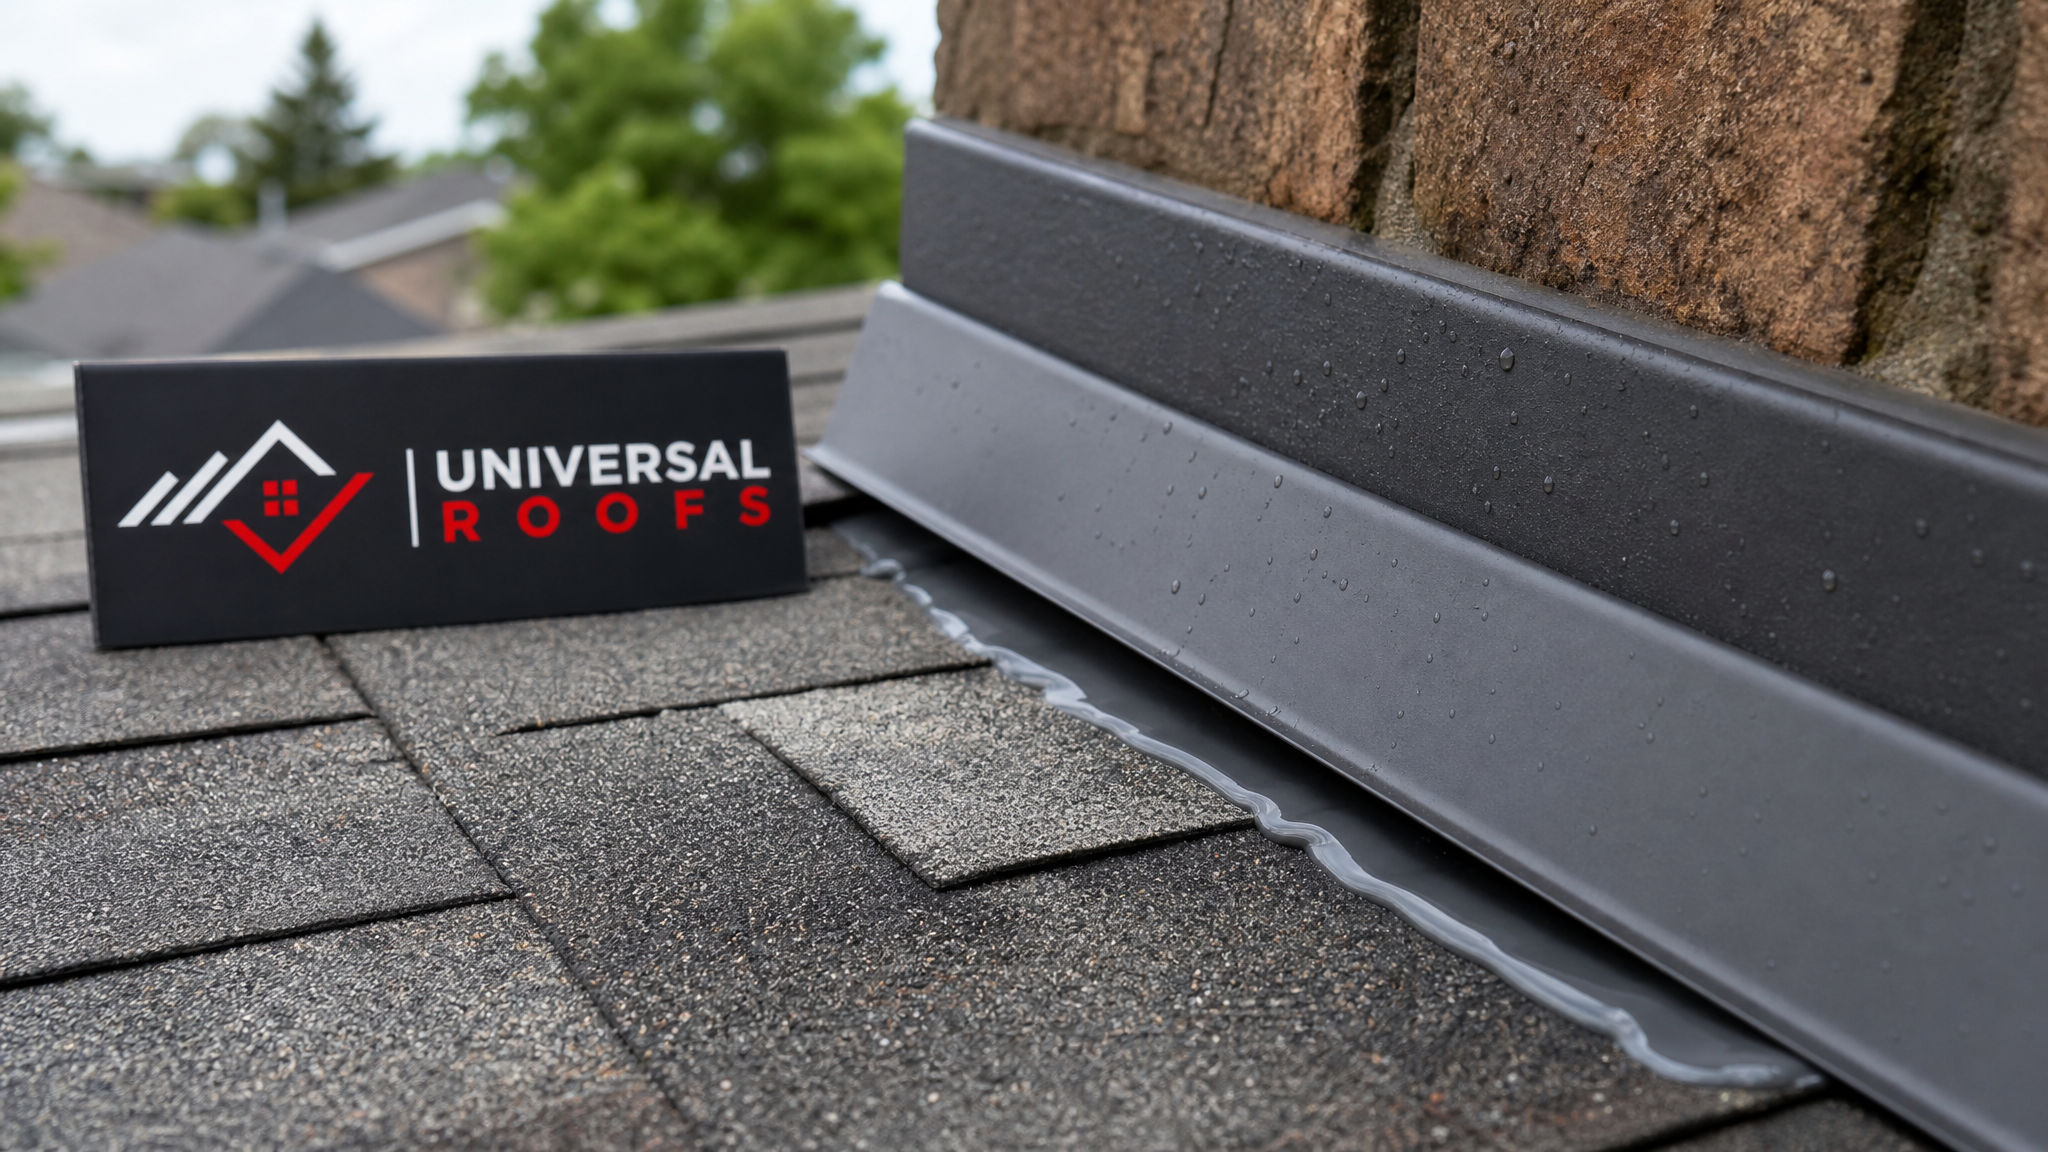
The fastest and cheapest of all the ways to repair roof flashing is simply re-sealing existing metal that is otherwise sound. This works well when the flashing itself is not rusted through and the leak is coming from a cracked bead of old caulking around a chimney counter-flashing reglet, a pipe boot collar, or a skylight frame.
Use a polyurethane or butyl-based roofing sealant rated for exterior metal-to-masonry joints — ordinary silicone caulk does not bond well to shingles and tends to peel within a year or two in our climate. Clean the old, cracked sealant out completely with a scraper before applying a fresh bead, otherwise the new sealant will not adhere properly and you will be back on the roof within months.
This method is a genuine repair, not a stopgap, provided the metal underneath is still structurally sound. It is not a substitute for replacing corroded flashing, and it should be treated as a maintenance task to repeat every few years rather than a one-time fix.
2. Patching With Flashing Cement and Fabric Mesh
For small holes, hairline cracks, or pinholes in otherwise serviceable flashing, a fibre-reinforced flashing cement patch is one of the more durable short-term ways to repair roof flashing. A layer of fibreglass mesh is embedded between two coats of trowel-grade roofing cement, creating a flexible, waterproof patch that can span small gaps a simple caulk bead cannot bridge.
This method is popular for repairing minor rust-through spots on step flashing along a roof valley or sidewall before they become bigger holes. It buys time — typically two to five years — but it does not restore the original strength of the metal, so it should be viewed as a bridge to eventual replacement rather than a permanent solution on flashing that is already rusting.
3. Replacing Individual Step Flashing Pieces
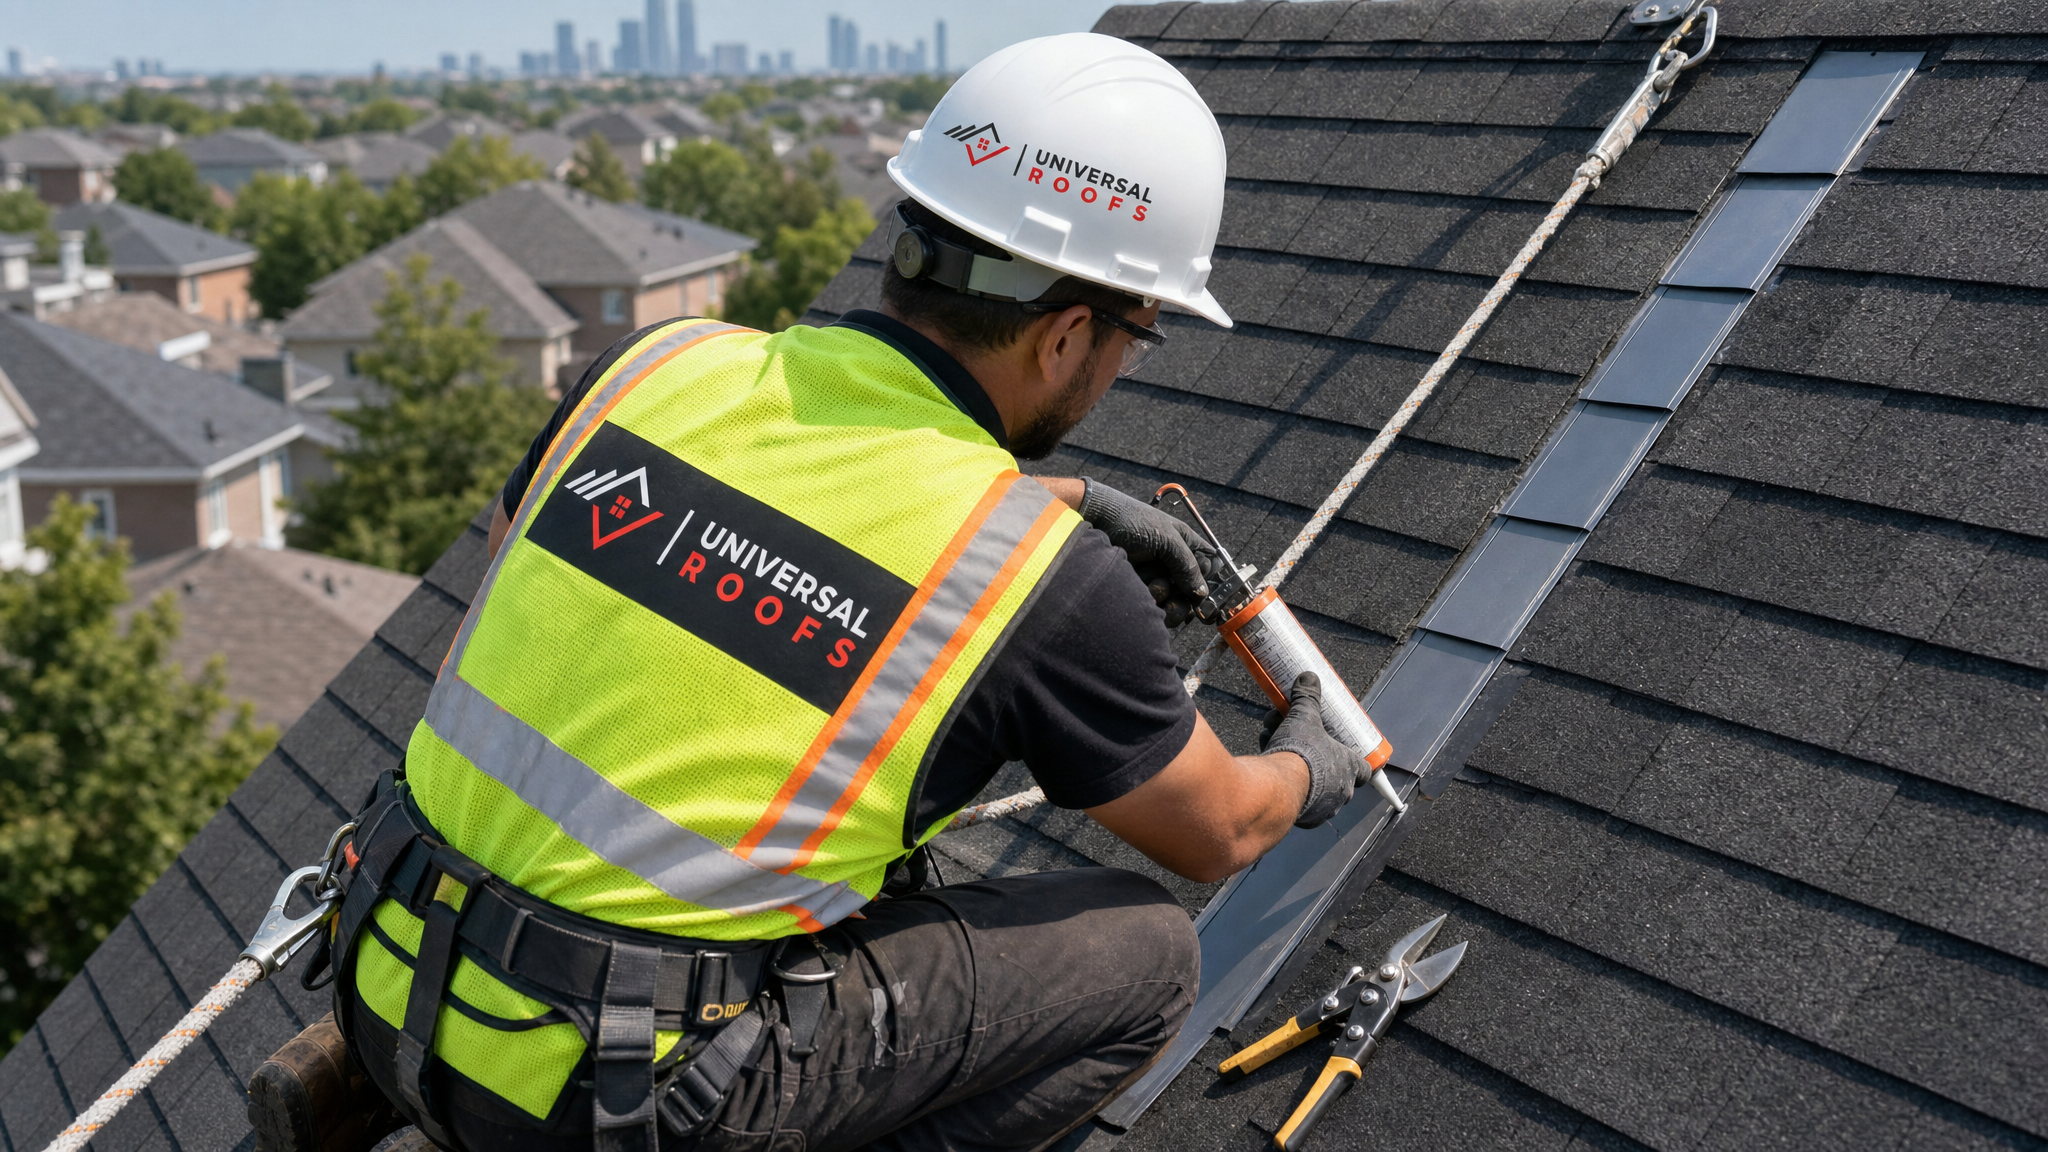
Step flashing is installed in individual L-shaped pieces, one per shingle course, along roof-to-wall junctions such as dormers and sidewalls. When a handful of pieces have rusted or come loose, a roofer can carefully lift the surrounding shingles, remove and replace only the damaged pieces, and re-lace the shingles back over the new metal, without disturbing the rest of the roof.
This is one of the more labour-intensive of the ways to repair roof flashing because it requires removing nails and shingles in the correct sequence and re-nailing everything back exactly as it was, but it is far less invasive and less expensive than replacing an entire roof slope. Our roof repair technicians do this regularly on 15 to 25-year-old roofs in Etobicoke, Scarborough, and North York where the shingles are still in good shape but the flashing underneath has failed.
4. Full Chimney Flashing Replacement (Step and Counter-Flashing)
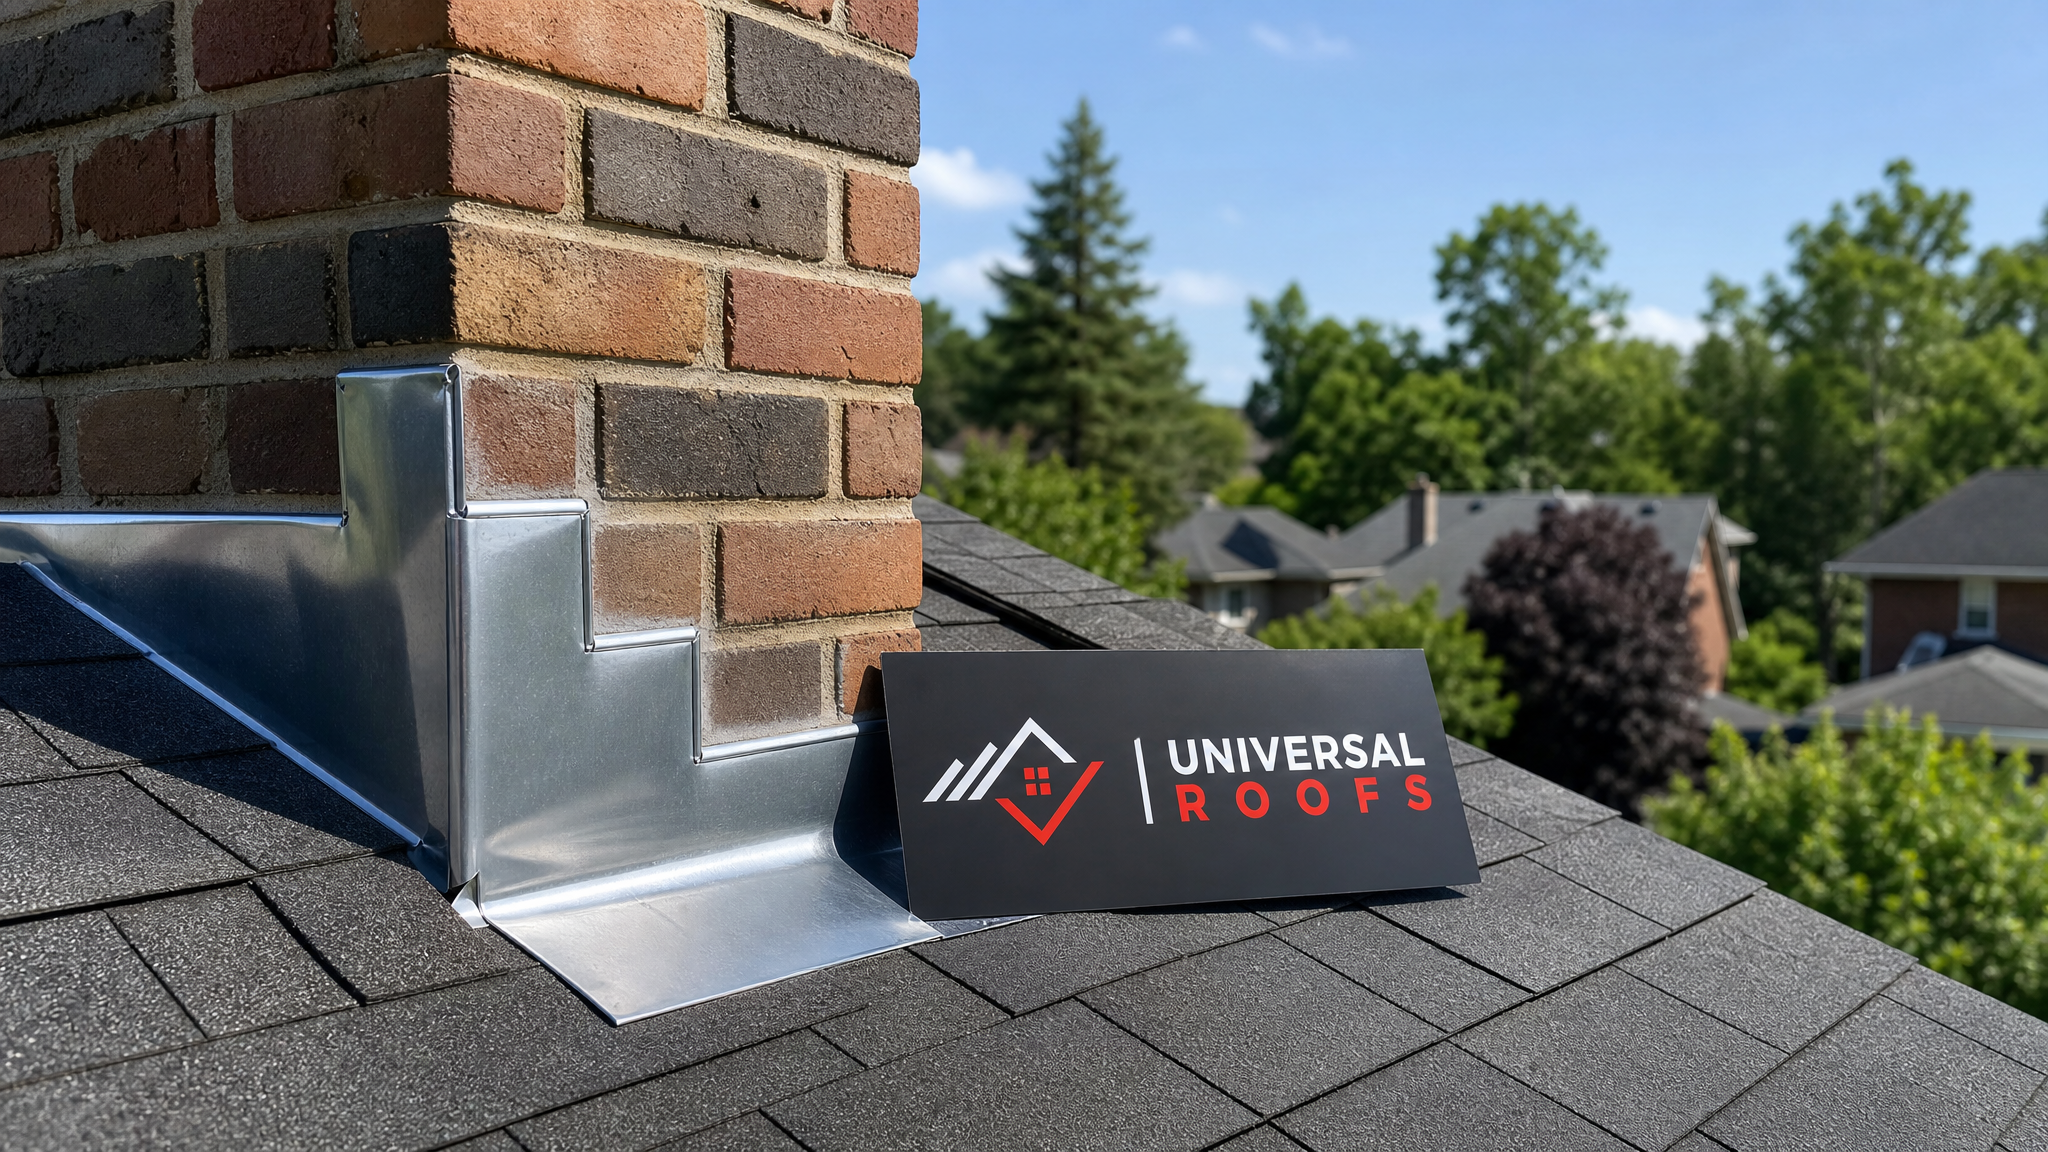
Chimneys are the single most common leak point on a residential roof because they combine two separate flashing systems: step flashing woven into the shingles, and counter-flashing that is cut into the mortar joints of the chimney and folded down over the step flashing. When either component fails, water tracks down the inside of the chimney chase and into ceilings below.
A full chimney flashing replacement involves removing the old step and counter-flashing, cutting a new reglet into the mortar joint (or reusing the existing one if it is still sound), and installing new galvanized steel, aluminum, or copper flashing sealed with high-temperature-rated sealant near the flue. This is a job for a licensed roofer, both because working at a chimney means working at the highest, steepest point of the roof, and because a poorly cut reglet can damage the chimney masonry.
Homeowners in older Toronto neighbourhoods with masonry chimneys — the Beaches, Leaside, and parts of Mississauga’s older subdivisions — tend to need this repair most often, usually once the flashing passes the 20-year mark.
5. Valley Flashing Replacement
Roof valleys carry more water than almost any other part of a roof, since they collect runoff from two adjoining slopes. Open metal valleys (visible metal channel) and closed-cut valleys (shingles woven over hidden metal) both eventually need the underlying flashing replaced, especially after ice damming has forced water backward under the shingles during a Toronto winter.
Valley flashing replacement typically requires removing shingles on both sides of the valley for a metre or more, installing new ice-and-water membrane and metal, and re-shingling. Because valleys handle so much water volume, this is one of the ways to repair roof flashing where cutting corners shows up quickly as a repeat leak — the overlap, fastening pattern, and membrane underlayment all have to be correct.
6. Skylight Flashing Repair and Kit Replacement
Skylights use a four-piece flashing kit (head, sill, and two side pieces) that integrates with the roofing membrane around the curb. Leaks around a skylight are almost always a flashing problem rather than a glazing problem, particularly on skylights installed more than a decade ago with the original manufacturer’s flashing kit.
Repair options range from resealing the corners and head flashing where most leaks originate, to a full flashing kit replacement when the metal has corroded or was undersized for the curb. If you’re noticing water stains on the drywall around a skylight, it’s worth having both the flashing and the unit itself assessed together — our skylights team frequently finds that what looks like a seal failure is actually a flashing installation issue from the original build. In cases where the skylight itself is also past its service life, a skylight replacement paired with new flashing solves both problems at once rather than repairing flashing around glazing that will need replacing again soon.
7. Pipe Boot and Vent Flashing Replacement
Rubber pipe boots (the collar around plumbing stacks and vent pipes) are usually the first flashing component to fail on any roof, because the rubber gasket degrades from UV exposure years before the surrounding shingles wear out. A cracked or split boot lets rain run directly down the vent pipe into the attic.
Replacing a pipe boot is a relatively contained repair: the surrounding shingles are lifted, the old boot is removed, and a new boot — ideally one with a lead or aluminum base rather than an all-rubber design, which lasts considerably longer — is slid over the pipe and re-integrated with the shingles. This is one of the more affordable of the ways to repair roof flashing and is a good item to have inspected annually, since a $150-$300 repair now prevents attic insulation and drywall damage later.
8. Full Flashing System Overhaul During Re-Roofing
When a roof has multiple flashing failures at once — chimney, valleys, sidewalls, and pipe boots all showing wear — patch-repairing each one individually stops making financial sense. At that point, a full flashing system overhaul, done as part of a complete roof replacement, is the most cost-effective of all the ways to repair roof flashing over the long run, because every flashing component is installed fresh, to code, with the new shingles and underlayment working together as one system.
This approach also applies to flat roof sections, where flashing at parapet walls and roof-to-wall transitions needs to be integrated with the membrane rather than treated as a separate metal component — something our flat roofing crews account for on mixed-slope homes common across the GTA.
Comparing the 8 Flashing Repair Methods
| Repair Method | Best For | Typical Lifespan | DIY-Friendly? |
|---|---|---|---|
| Re-sealing with roofing sealant | Sound metal, cracked caulk joints | 2-5 years | Yes, with caution |
| Flashing cement + mesh patch | Small holes, pinhole rust | 2-5 years | Yes, small areas only |
| Individual step flashing replacement | Localized rust along sidewalls/dormers | 15-20 years | No — licensed roofer |
| Chimney step + counter-flashing replacement | Chimney leaks, mortar reglet failure | 20-25 years | No — licensed roofer |
| Valley flashing replacement | Ice-dam damage, high water-volume leaks | 20-25 years | No — licensed roofer |
| Skylight flashing kit replacement | Skylight leaks, corroded kits | 15-20 years | No — licensed roofer |
| Pipe boot / vent flashing replacement | Cracked rubber collars | 10-15 years | Yes, for handy homeowners |
| Full flashing overhaul during re-roofing | Multiple failures, ageing roof system | 25-40+ years | No — licensed roofer |
Estimated Costs for GTA Homeowners
| Repair Type | Estimated Cost Range (CAD) | Typical Time on Site |
|---|---|---|
| Sealant/caulk touch-up | $150 – $350 | 1-2 hours |
| Flashing cement patch | $200 – $450 | 1-3 hours |
| Pipe boot replacement | $150 – $350 | 1 hour |
| Step flashing section replacement | $400 – $900 | Half day |
| Chimney flashing replacement | $700 – $1,800 | Half to full day |
| Valley flashing replacement | $800 – $2,200 | Full day |
| Skylight flashing kit replacement | $500 – $1,400 per skylight | Half day |
| Full flashing overhaul (with re-roof) | Included in re-roof pricing | 2-5 days |
Costs vary based on roof pitch, flashing material (copper costs considerably more than aluminum or galvanized steel), and accessibility. Homes with steep pitches or multiple storeys in areas like the Toronto core or hillside properties in Halton Region often carry higher labour costs due to the added safety equipment and time required.
Troubleshooting: Matching Symptoms to the Right Fix
| Symptom | Likely Cause | Recommended Method |
|---|---|---|
| Water stain on ceiling below chimney | Failed counter-flashing at mortar joint | Full chimney flashing replacement |
| Damp patch where two roof slopes meet | Valley flashing corrosion or ice-dam damage | Valley flashing replacement |
| Drip stain around skylight frame corners | Cracked sealant at flashing kit corners | Re-seal or replace flashing kit |
| Small brown ring on drywall near a vent pipe | Cracked rubber pipe boot collar | Pipe boot replacement |
| Rust streaks on shingles below a dormer | Individual step flashing pieces corroding | Step flashing replacement |
| Multiple leak points across an older roof | System-wide flashing failure at 20+ years | Full overhaul during re-roofing |
DIY vs. Calling a Licensed Roofer
Homeowners can reasonably handle re-sealing accessible sections of flashing and replacing a ground-level pipe boot with the roof at a low, safe pitch. Beyond that, the combination of working at height, correctly integrating new metal with existing shingles and underlayment, and cutting into chimney mortar without damaging it is best left to a licensed professional.
Improperly executed flashing repairs are also one of the leading causes of denied insurance claims after water damage, since insurers frequently ask for proof of proper installation. A professional assessment through our FAQ resources or a direct inspection gives you documentation as well as a correct repair. You can also read what past clients across the Peel Region, York Region, and Durham Region have to say about our flashing and roof repair work on our reviews page.
Preventing Future Flashing Failures
Once flashing is repaired or replaced correctly, a few habits keep it performing for its full lifespan:
- Schedule a roof inspection every spring and fall to catch flashing wear before it becomes an active leak.
- Keep gutters clear so water does not back up against valley and eave flashing.
- Check attic insulation and ventilation — poor attic airflow contributes to ice damming, which is one of the fastest ways to damage valley and eave flashing during a Toronto winter. Our attic team can assess ventilation as part of a full roof check.
- Have chimney flashing checked whenever masonry repointing work is done nearby, since mortar work can disturb the counter-flashing reglet.
- Address minor sealant cracking each summer rather than waiting for a full leak, since summer is the easiest and most cost-effective season to do rooftop sealant maintenance in the GTA.
Learn more about our team’s background and licensing on our about page.
What are the best ways to repair roof flashing on an older home?
Can I repair roof flashing myself?
How much does it cost to repair roof flashing in Toronto?
How long does repaired roof flashing typically last?
What causes roof flashing to fail in the GTA specifically?
How do I know if my flashing needs repair versus full replacement?
Need Help With 8 Best Ways to?
Whichever of these ways to repair roof flashing matches your situation, getting it diagnosed correctly the first time saves money and prevents repeat leaks. Universal Roofs has been repairing and replacing flashing on GTA homes since 2005, and our technicians can quickly tell you whether your roof needs a simple re-seal or a full flashing system replacement.
Call us today at (416) 732-2421 or request a free inspection to get started.
Universal Roofs proudly serves Toronto, Mississauga, Brampton, Vaughan, Markham, Oakville and the GTA since 2005.