
A noisy roof is one of the most overlooked comfort problems in GTA homes. Rain that sounds like gravel on a tin drum, a hollow thumping when the wind picks up, or a constant tick and crackle as the deck expands and contracts through a hot Toronto summer afternoon — these sounds usually mean your roof sealing has gaps that let vibration and airborne sound travel straight into the attic and living space below. The good news is that most roof noise is fixable without a full tear-off, as long as you understand which noise you are dealing with and how to seal for it properly.
At Universal Roofs, we get calls every summer from homeowners who assumed a loud roof meant a failing one. Sometimes that is true. More often, the roof itself is structurally sound, but the sealing details — flashing, underlayment, ventilation baffles, and penetration seals — were installed loosely or have degraded after years of freeze-thaw cycling. Below are five practical, field-tested noise reduction tips for roof sealing, along with the reasoning behind each so you can judge whether your own roof needs attention now or can wait for a scheduled service.
Why Roofs Get Noisy in the First Place
Before sealing anything, it helps to know what actually causes roof noise. Sound and vibration enter a roof system in three main ways: through direct impact (rain, hail, branches), through airflow turbulence (wind moving across ridge vents, gaps, or loose flashing), and through thermal movement (materials expanding and contracting as temperatures swing). In the GTA, all three are amplified by our climate. Winters bring deep freeze-thaw cycles that loosen fasteners and crack old sealant, while summer humidity and heat cause rapid expansion of metal flashing and shingle mat. By the time July rolls around, small gaps that opened over the winter are often wide enough to whistle or rattle in a stiff breeze off Lake Ontario.
Noise is also a diagnostic clue. A drumming sound during rain usually points to insufficient roof deck insulation or an unsealed attic space acting as a resonance chamber. A rhythmic tapping in the wind often means a flashing edge, vent boot, or shingle tab has come loose. A hollow popping on hot afternoons is typically thermal expansion transmitting through poorly fastened decking. Treating the symptom without diagnosing the cause is why some homeowners reseal the wrong spot and wonder why the noise comes right back.
Tip 1: Reseal and Re-Bed Flashing at Every Penetration
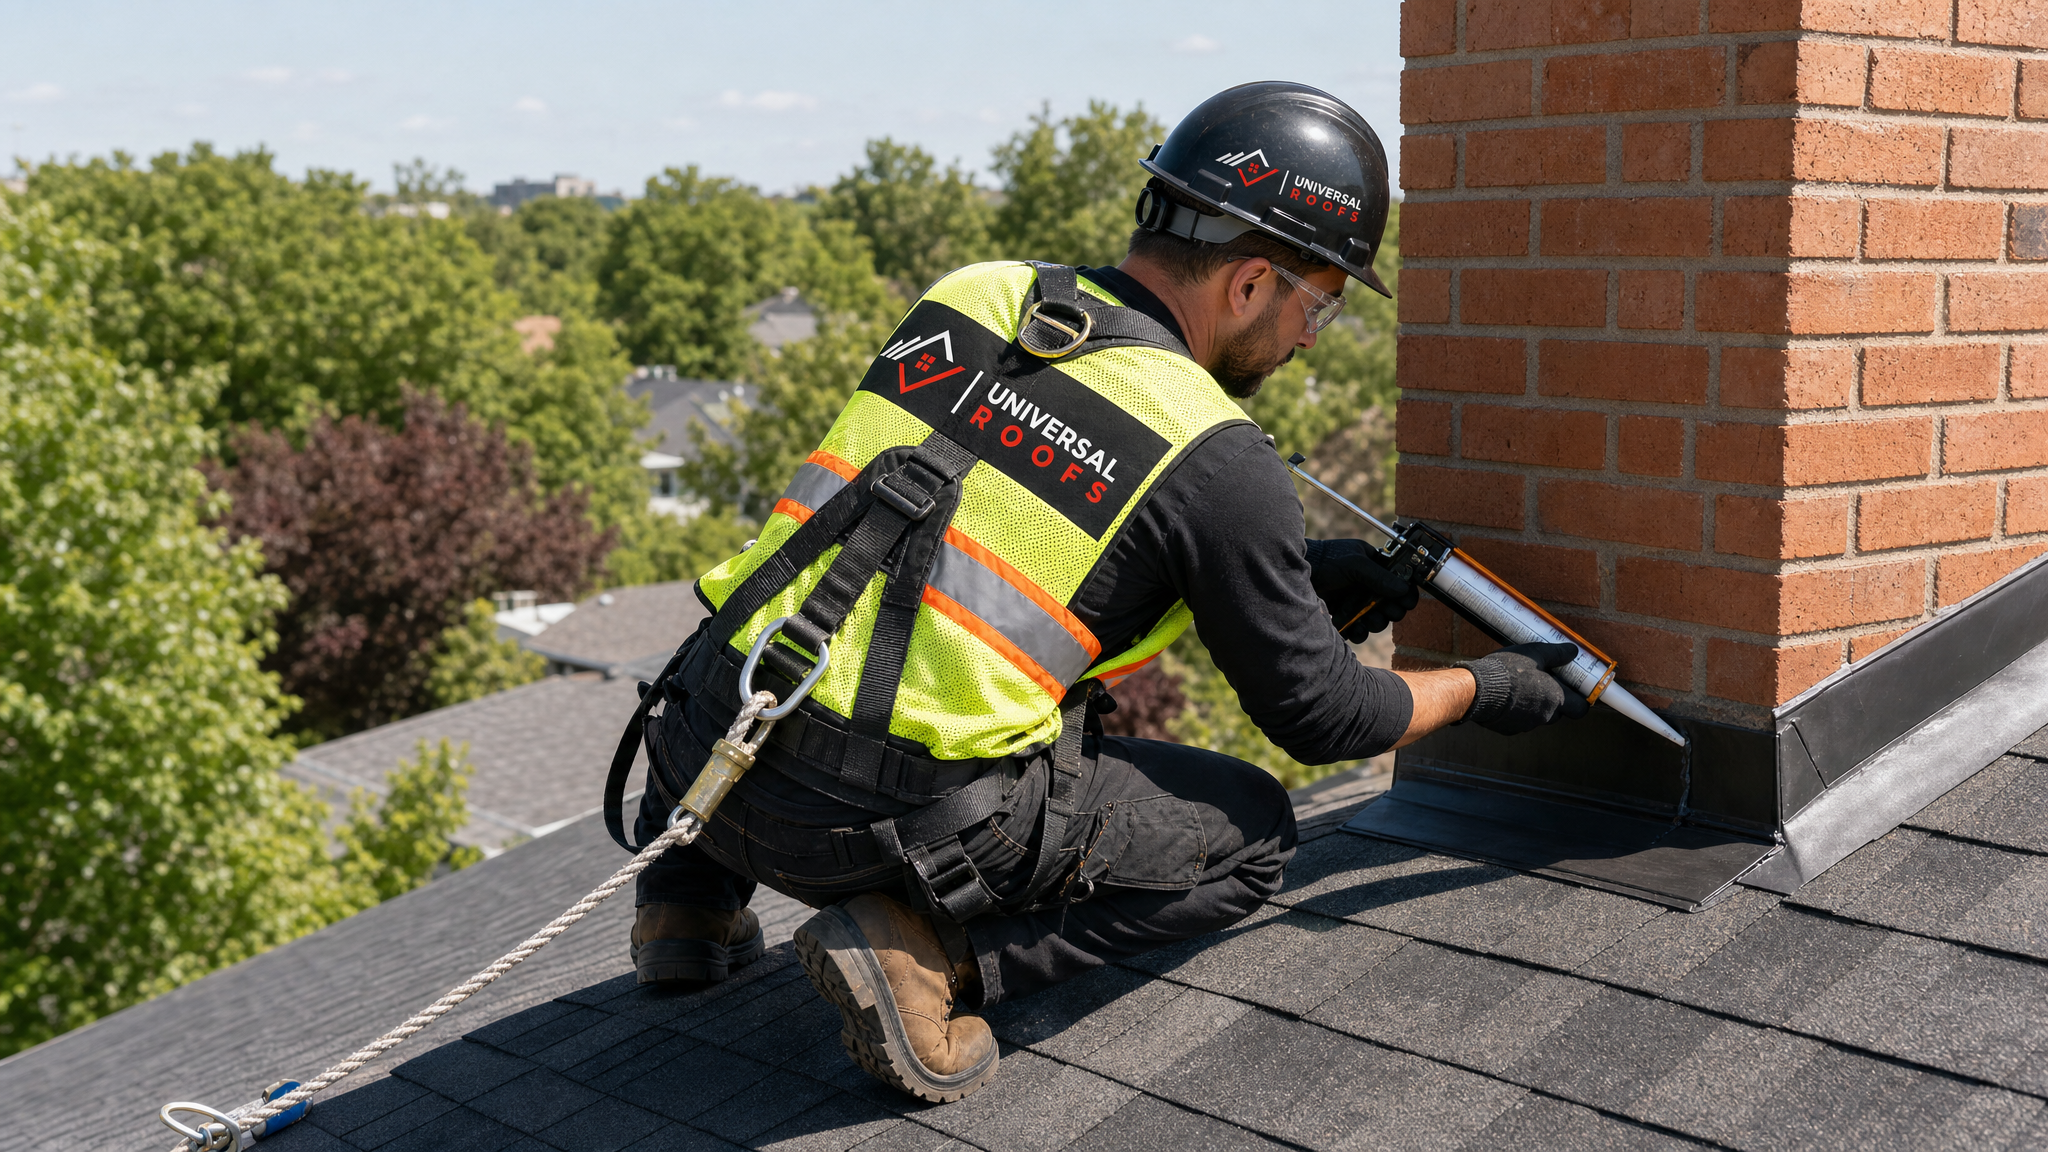
Flashing is the single most common source of roof noise, and it is also the easiest to fix. Flashing sits around chimneys, plumbing vents, skylights, and roof-to-wall transitions, and it is designed to be mechanically locked and sealed rather than simply nailed down. When the sealant under a flashing edge dries out, cracks, or was never properly tooled in the first place, wind gets underneath it and creates a fluttering or ticking sound every time there is a gust.
The fix is straightforward for a qualified roofer: remove the old, brittle sealant, clean the metal and shingle surfaces back to bare material, and re-bed the flashing with a high-quality, UV-stable polyurethane or butyl sealant rated for exterior roofing use. Avoid cheap acrylic caulk — it shrinks and cracks within a season or two in our climate. Pay particular attention to skylight curbs, since a loose skylight flashing not only rattles but can also let water in over time. If your home has an older skylight showing chronic flashing issues, it may be more cost-effective to address it during a skylight replacement than to keep re-sealing an aging unit every year or two.
Tip 2: Seal and Insulate the Attic Deck, Not Just the Shingles
Homeowners often focus sealing efforts entirely on the exterior roof surface and forget that the attic side matters just as much for noise. An unsealed or under-insulated attic acts like the inside of a drum — every raindrop and gust transmits directly through the roof deck into a hollow, resonant space, then down into the ceiling below. Adding a continuous air seal at the attic floor (around light fixtures, bath fan housings, and the attic hatch) combined with adequate insulation depth dampens that resonance considerably.
This is also where sealing overlaps with energy efficiency, so the investment pays for itself twice. A well-sealed attic reduces summer heat gain, winter heat loss, and ice damming risk, while also cutting the drum-like noise transfer that makes rain sound far louder indoors than it actually is outside. When we assess a noise complaint, we always check attic air sealing alongside the roof exterior — treating only one side rarely solves the problem completely.
Tip 3: Use Acoustic or Self-Adhering Underlayment During Resealing Work
If your roof is due for a resealing project that involves lifting shingles or working near the deck anyway (for example, addressing a leak or replacing damaged flashing), it is worth upgrading the underlayment at the same time. Standard felt underlayment does very little to dampen sound. Self-adhering rubberized asphalt underlayment (the same membrane typically used at eaves and valleys for ice-and-water protection) is denser and bonds directly to the deck, which meaningfully reduces the drumming effect of rain impact.
Some homeowners specifically request a full acoustic underlayment layer across the whole roof deck when they are especially sensitive to rain noise — for instance, in a bedroom directly under a low-slope or cathedral ceiling section. This is a bigger job than a simple spot reseal, and it usually makes more sense as part of a broader roof replacement project than as a standalone retrofit, since removing and re-laying shingles across an entire slope is required either way. If your roof already needs replacement within the next few years, ask your contractor to price the acoustic underlayment upgrade as a line item — the incremental cost is usually modest next to the labour already required.
Tip 4: Don’t Neglect Ventilation Components — Loose Vents Are Frequent Whistlers
Ridge vents, roof-mounted exhaust caps, and soffit vents are necessary for a healthy roof system, but they are also common noise sources when their seals degrade or their baffles loosen. A whistling sound that changes pitch with wind speed is almost always airflow moving through a gap around a vent, not the roof deck itself. This is an easy mistake to misdiagnose, because the sound seems to come from “the roof” generally rather than a specific two-inch gap.
Sealing around vent bases with the correct sealant (matched to the vent manufacturer’s specification — some plastic vent boots require different adhesives than metal ones) usually resolves whistling within a single visit. If the vent itself has warped, cracked, or lost its baffle fins, sealing alone will not fix it; the component needs to be replaced. This is a good moment to also check that your flat roofing sections, if you have any (common on additions, garages, and porch roofs across the GTA), have properly sealed roof drains and scuppers, since debris-clogged drainage can create its own gurgling and dripping noises during heavy summer storms.
Common Roof Noise Types and Their Usual Cause
| Noise Description | Most Likely Cause | Typical Fix | Urgency Level |
|---|---|---|---|
| Loud drumming during rain | Thin or absent acoustic underlayment; poor attic air sealing | Attic air sealing; underlayment upgrade at next reseal | Low-Moderate |
| Rhythmic ticking/flapping in wind | Loose flashing edge or lifted shingle tab | Re-bed flashing with fresh sealant; re-nail tabs | Moderate |
| Whistling that changes with wind speed | Gap around a vent boot or ridge vent baffle | Reseal vent base; replace cracked vent | Moderate |
| Hollow popping on hot afternoons | Thermal expansion of decking or metal flashing | Check fastening pattern; add expansion-tolerant sealant | Low |
| Gurgling or dripping after storms | Clogged flat roof drain or scupper | Clear debris; reseal drain collar | High (water risk) |
| Rattling specifically near a skylight | Degraded skylight flashing or seal | Reseal curb flashing; assess for replacement | Moderate-High |
Tip 5: Schedule Sealing Work Before the Seasonal Freeze-Thaw Cycle Begins
Timing matters more than most homeowners realize. Sealants need a proper temperature window to cure correctly — generally above about 5°C and ideally in dry conditions — which makes late spring through early autumn the best window for GTA homeowners to have sealing work done. Summer, in particular, is ideal: warm, stable weather lets polyurethane and butyl sealants achieve a full, flexible cure before they’re tested by winter’s expansion and contraction cycles.
Waiting until late autumn or attempting sealing work in freezing conditions is one of the most common mistakes we see. Sealant applied too cold never fully bonds, and it can crack again within a single winter, undoing the noise reduction almost immediately. If you have noticed roof noise this summer, this is genuinely the right season to book an assessment rather than putting it off — by the time the first freeze-thaw cycle hits in November, any loose flashing or vent seals will only get looser.
DIY Sealing vs. Professional Roof Sealing: What You Can (and Shouldn’t) Do Yourself
Some homeowners are comfortable doing minor sealant touch-ups themselves, and for very small, accessible spots that can be reasonable. However, roof noise complaints often involve flashing that needs to be lifted and re-bedded correctly, not just caulked over the top — and caulking over a symptom instead of fixing the underlying gap is a common DIY mistake that makes the noise return within a season. There is also a real fall-risk consideration: working at height on a sloped roof without harness equipment and proper footwear is not something we recommend for homeowners, regardless of how minor the repair looks from the ground.
| Task | Reasonable for a Confident DIYer | Recommend a Professional | Why |
|---|---|---|---|
| Topical caulk touch-up on a low, easily accessible eave | Yes, with caution | — | Low fall risk, low complexity |
| Lifting and re-bedding flashing | Not recommended | Yes | Requires removing shingles/fasteners without damaging the roof |
| Sealing around a skylight curb | Not recommended | Yes | Improper seal risks leaks, not just noise |
| Diagnosing an intermittent whistle | Difficult | Yes | Requires experience isolating airflow gaps vs. structural sources |
| Full acoustic underlayment installation | Not recommended | Yes | Involves partial or full shingle removal and deck-level work |
| Attic-side air sealing and insulation top-up | Yes, for accessible areas | Recommended for complex attics | Moderate complexity, no fall risk if attic is walkable |
What a Professional Roof Sealing Assessment Actually Involves
When our team is called out for a noise complaint, we do not just walk the roof surface and reseal whatever looks obviously worn. We start with a structured inspection: checking every flashing edge, every penetration (plumbing stacks, exhaust vents, skylights), the ridge and soffit ventilation system, and the condition of the shingle field itself for lifted tabs or granule loss that can indicate broader wear. We also check inside the attic, since — as covered above — a noise that seems to originate at the roof surface is often actually an attic resonance problem.
From there we build a scope that separates true noise-causing defects from cosmetic wear that doesn’t need immediate attention. Not every homeowner needs a full reseal; sometimes three or four specific spots account for nearly all of the noise, and addressing those is far more cost-effective than a blanket treatment. If the inspection turns up more significant issues — soft decking, widespread granule loss, or flashing that has failed structurally rather than just aesthetically — we will say so plainly rather than recommending sealing work that would only mask a bigger problem. In those cases, comparing the cost of extensive sealing repairs against a roof replacement or a more limited roof repair is the honest conversation to have.
Estimated Cost Ranges for Common Noise-Related Sealing Repairs (GTA, 2026)
| Repair Type | Typical Cost Range (CAD) | Typical Time on Site | Noise Reduction Expected |
|---|---|---|---|
| Single vent boot reseal/replace | $150 – $350 | 1 – 2 hours | Eliminates localized whistling |
| Flashing re-bed (chimney or wall transition) | $300 – $900 | Half day | Eliminates flapping/ticking at that point |
| Skylight curb flashing reseal | $400 – $1,200 | Half day | Eliminates rattling; reduces leak risk |
| Attic air sealing (whole attic) | $800 – $2,500 | 1 day | Reduces overall rain “drumming” volume |
| Acoustic underlayment upgrade (per slope, during reseal/reroof) | Incremental $1.50 – $3.00/sq ft over standard underlayment | Added to reroof timeline | Significant reduction in direct rain impact noise |
| Full multi-point sealing assessment and repair | $600 – $2,000 | 1 day | Addresses most or all identified noise sources |
These ranges are general estimates and will vary based on roof pitch, accessibility, material type, and the extent of pre-existing damage found during inspection. A written quote after an on-site assessment is always the most reliable number.
Regional Considerations Across the GTA
Roof noise causes are broadly similar across the region, but exposure varies by location. Homes closer to open lake frontage in Toronto‘s eastern and western waterfront neighbourhoods tend to see more wind-driven noise from exposed ridge vents and flashing, simply because they experience stronger, more sustained gusts off Lake Ontario. Newer subdivisions throughout Peel Region and York Region often have younger roofs, so noise there is more frequently tied to a specific installation defect (a poorly sealed vent or flashing detail) rather than general age-related wear. In the more established, tree-lined streets common through Halton Region and Durham Region, we more often find debris-related noise — twigs and leaves collecting near flat roof drains or under loose flashing edges, especially after summer storms.
Regardless of location, the underlying physics are the same: gaps let sound and airflow through, and Toronto-area weather swings work those gaps looser year over year if they are not addressed. A roof that was properly sealed a decade ago is not guaranteed to still be properly sealed today, even without any visible leak.
Signs Your Roof Noise Needs Attention Soon, Not Eventually
Not every roof sound needs an emergency callout, but certain signs suggest you should not wait for a routine annual check:
- Noise has noticeably gotten louder or more frequent over the past few months
- You can hear water sounds (dripping, gurgling) inside the attic or ceiling during rain, not just wind noise
- A specific spot rattles consistently in the same wind direction, suggesting a fully detached component rather than a loose seal
- You notice a musty smell or any staining on ceilings alongside the noise, which can indicate the sealing gap is also letting in moisture
- The noise started suddenly after a storm, which often means physical damage rather than gradual wear
If any of these apply, it is worth having a professional look sooner rather than later. Noise on its own is rarely dangerous, but the same gaps that let sound through can, over time, let water through as well.
Maintaining Quiet After Sealing Work Is Done
Once a roof has been properly resealed, a small amount of ongoing maintenance keeps it that way. Clear debris from valleys and drains twice a year (spring and fall are ideal), keep overhanging branches trimmed back so they cannot scrape or drop debris onto flashing, and schedule a walk-through inspection every year or two, particularly after any major wind event. Catching a single lifted shingle tab or loosened vent seal early is a five-minute fix; left through a full winter of freeze-thaw cycling, that same small gap can widen into a noticeably louder problem — or a leak.
If you are ever unsure whether what you are hearing is a nuisance sound or a sign of a developing issue, a quick photo or a short video of the noise (many homeowners record it on their phone during a windstorm) helps a roofer diagnose the likely cause before ever stepping on a ladder. You can also browse feedback from homeowners we’ve helped with similar noise and sealing issues on our reviews page, or check our FAQ page for answers to other common roofing questions.
Learn More About Our Roofing Approach
We have been diagnosing and solving roof performance issues — noise included — across the Greater Toronto Area since 2005. You can read more about our background and approach on our about page. Every noise complaint is different, and the right fix depends on an honest, thorough inspection rather than guesswork from the ground.
What are the most effective noise reduction tips for roof sealing?
Why does my roof get louder in the rain during summer storms?
Can I fix roof noise myself without professional roof sealing?
How much does professional roof sealing to reduce noise typically cost?
What is the best season for roof sealing work in the Toronto area?
How do I know if my roof noise is a sealing issue or something more serious?
Need Help With 5 Noise Reduction Tips?
A quieter roof is usually a matter of sealing the right details correctly, and our team at Universal Roofs has spent nearly two decades diagnosing exactly these kinds of issues across the GTA.
Call us today at (416) 732-2421 or request a free inspection to get started.
Universal Roofs proudly serves Toronto, Mississauga, Brampton, Vaughan, Markham, Oakville and the GTA since 2005.