
If you have ever stood in your attic after a rainstorm and traced a water stain back to the chimney or a wall junction, there is a good chance the culprit is failed flashing waterproofing rather than the shingles themselves. Homeowners across the GTA regularly ask us the same question: what is the best waterproofing for roof flashing, and does it really matter which product a contractor uses? The honest answer is yes, it matters enormously. Flashing is the thin metal (or, increasingly, membrane) barrier installed at every roof transition — chimneys, valleys, skylights, walls, vents and dormers — and it is only as good as the sealant or membrane that waterproofs its seams and fasteners. Choose the wrong product, or apply the right product incorrectly, and you get slow leaks that rot decking long before a stain ever appears on your ceiling.
At Universal Roofs, we have been repairing and replacing flashing systems on Toronto-area homes since 2005, which means we have watched two decades of sealant technology come and go. Tar-based mastics that were standard in the 1990s are now the first thing we tear out during a roof repair call, because they crack and shrink within a few Ontario winters. This guide breaks down every major waterproofing option available for flashing today — butyl tape, liquid rubber and elastomeric coatings, silicone sealant, self-adhered membrane flashing, and polyurethane sealants — so you can understand what your contractor is proposing and why.
Why Flashing Waterproofing Fails in the First Place
Before comparing products, it helps to understand what actually destroys flashing seals in a climate like Toronto’s. The GTA sees roughly 100 freeze-thaw cycles per winter, temperature swings from -20°C to 35°C across the year, intense UV exposure in summer, and heavy spring rain. Every one of those conditions attacks a sealant differently.
- Thermal cycling causes metal flashing to expand and contract, which stresses any rigid sealant bonded to it. Products that stay flexible across a wide temperature range last longer.
- UV radiation breaks down the polymer chains in cheaper sealants, causing chalking, cracking and eventual failure — usually within 3 to 5 years for low-grade caulking.
- Standing water and ice at valleys and low-slope transitions put constant hydrostatic pressure on seams, which is why membrane-based waterproofing tends to outperform bead-applied sealants in these zones.
- Poor surface preparation is the single biggest cause of early failure we see on service calls. Even the best waterproofing membrane will peel within a season if it is applied over dust, rust or a damp substrate.
Understanding these failure modes is the key to answering the “best waterproofing” question correctly — because the best product for a chimney counter-flashing is not always the best product for a low-slope valley or a skylight curb. Let’s walk through each option.
Butyl Tape: The Reliable Workhorse for Metal-to-Metal Seams
Butyl rubber tape is a non-curing, self-adhesive strip commonly used underneath and between overlapping flashing pieces. Unlike sealants that dry and harden, butyl tape stays permanently tacky and pliable, which lets it absorb movement between two metal surfaces without cracking. It is our go-to choice for bedding step flashing, sealing under drip edge, and waterproofing seams on flat roofing metal terminations.
The main advantage of butyl tape is longevity in compressed, hidden joints where UV never reaches it — it can easily outlast 20 years in that environment. Its main limitation is that it is not a great choice for exposed, visible seams, because without a top coat it can smear or become sticky-looking in direct summer sun. Most professional installations pair butyl tape as the hidden waterproofing layer with a different exposed sealant or coating on top.
| Property | Butyl Tape | Typical Performance | Best Use on Flashing |
|---|---|---|---|
| Flexibility range | Excellent, stays pliable to -40°C | Handles freeze-thaw well | Step flashing, drip edge |
| UV resistance (exposed) | Poor without cover | Softens and smears in sun | Not recommended exposed |
| Expected lifespan | 15-25 years hidden | Very long in shaded joints | Under-metal bedding |
| Application difficulty | Easy, peel-and-stick | Consistent results | DIY-friendly for small jobs |
| Cost per linear metre | Low to moderate | Economical | Budget-conscious repairs |
Liquid Rubber and Elastomeric Coatings
Liquid rubber (often sold as a brush or roller-applied elastomeric coating) creates a seamless, monolithic waterproof membrane once cured. It is particularly effective at bridging small gaps, corroded fastener heads, and irregular surfaces where a rigid patch would never conform properly. Many of the flat-roof and skylight curb repairs we perform involve troweling or rolling an elastomeric coating over the entire flashing assembly rather than just caulking the seam.
The appeal of liquid rubber is coverage and flexibility — a single coat can waterproof an entire irregular transition, including old fastener holes, in a way that tape or a caulking gun cannot. The trade-off is surface prep sensitivity: these coatings need a clean, dry, often primed substrate to bond correctly, and they typically need reapplication or a maintenance recoat every 5 to 10 years depending on sun exposure. On steep, highly visible slopes we usually pair the elastomeric coating with a matching granulated finish so it blends with the surrounding shingles.
Silicone Sealant: Fast, Flexible, and Frequently Misused
Silicone sealant is the product most homeowners reach for themselves, and it is genuinely excellent at what it does well — bridging small, low-movement gaps with outstanding flexibility and water resistance. High-grade roofing silicone can remain pliable for 20+ years and shrugs off UV better than almost any other sealant chemistry.
The problem is not the silicone itself, it is how often it is misapplied. Silicone does not accept paint, so a silicone repair on a shingled roof always stays visibly shiny and grey or black. It also will not bond reliably to a damp or dusty surface, and it cannot span gaps wider than about 6mm without slumping. We see a huge number of failed DIY flashing repairs where a homeowner squeezed a thick bead of silicone over a gap that was really a structural flashing problem — the silicone bridges the visible crack for a season, then peels away from the substrate because the underlying metal was still moving or corroding underneath it.
Self-Adhered Membrane Flashing: The Modern Standard
Self-adhered membrane flashing (SAM) is a rubberized-asphalt or synthetic polymer membrane with a factory-applied adhesive backing, sold in rolls and cut to size on site. This is what most reputable Toronto contractors now install at every new valley, chimney, skylight curb and wall-to-roof transition, because it combines the best properties of the other categories: it seals around fastener penetrations the way liquid rubber does, it stays flexible through freeze-thaw the way butyl does, and once installed it does not require the surface prep sensitivity of a brushed coating.
When we perform roof replacement work, self-adhered membrane goes down first as the underlying waterproofing layer, with the metal flashing installed over top as the finished, UV-protective layer. This “belt and suspenders” approach is why membrane-backed flashing systems routinely outlast bead-sealant-only repairs by a decade or more. The main downside is cost and installation skill — membrane needs to be rolled, pressed and lapped correctly by an experienced crew, which is not a weekend DIY project the way a tube of silicone is.
| Waterproofing Method | Typical Lifespan | UV Exposure Tolerance | Best Application | DIY Suitability |
|---|---|---|---|---|
| Butyl tape | 15-25 years (hidden) | Poor if exposed | Step flashing, hidden laps | Moderate |
| Liquid rubber / elastomeric | 5-10 years per coat | Good with UV-stable formula | Irregular surfaces, flat roof curbs | Low |
| Silicone sealant | 15-20+ years | Excellent | Small gaps, low-movement joints | High |
| Self-adhered membrane | 25-40+ years | Excellent (once covered) | Valleys, chimneys, skylight curbs | Low |
| Polyurethane sealant | 15-25 years | Good | High-movement joints, masonry | Moderate |
Polyurethane Sealants: The Structural Movement Specialist
Polyurethane sealant cures into a tougher, more paintable finish than silicone, with excellent adhesion to masonry, wood, and metal alike. This makes it a strong choice specifically for chimney counter-flashing reglets cut into brick or stone, where the sealant needs to bond two very different materials that expand at different rates. Polyurethane also accepts paint, so it can be colour-matched to blend into masonry in a way silicone never will.
Its downside is a shorter working time during application and slightly less flexibility than premium silicone in extreme cold, which matters in a climate that regularly drops well below freezing. It is also more sensitive to moisture during cure than silicone. For most Toronto homes, polyurethane earns its place specifically at masonry-to-flashing joints, while silicone and membrane handle the metal-to-metal and metal-to-shingle transitions elsewhere on the roof.
How Roof Slope and Location Change the Right Choice
There is no single “best” product across an entire roof — the right waterproofing depends on where the flashing sits and how much water and movement it will see.
| Flashing Location | Primary Water Exposure | Recommended Waterproofing | Notes |
|---|---|---|---|
| Roof valleys | Very high, constant flow | Self-adhered membrane under metal | Highest-failure zone on any roof |
| Chimney counter-flashing | Moderate, wind-driven rain | Polyurethane at masonry reglet | Re-caulk every 5-8 years |
| Skylight curbs | High, ponding risk on low slopes | Membrane plus silicone at seams | Pair with our skylight curb detailing |
| Wall-to-roof step flashing | Moderate, hidden joints | Butyl tape between laps | Rarely needs surface sealant |
| Vent pipe boots | Low to moderate | Silicone or elastomeric collar | Inspect annually, rubber boots crack with age |
Signs Your Existing Flashing Waterproofing Has Already Failed
Because flashing sits above the living space, most homeowners do not discover a failed seal until secondary damage shows up. Watch for these warning signs, especially after the spring melt or a heavy summer storm:
- Water stains on the ceiling near a chimney, skylight, or exterior wall line
- Visible cracking, chalking or gaps in caulking around any flashing edge
- Rust streaks running down metal flashing, which indicates the protective coating has already broken down
- Soft or sagging attic decking near roof penetrations
- Granule loss or lifted shingle edges immediately adjacent to flashing
- A musty smell in the attic that persists even in dry weather
If you notice any of these signs, it is worth having a professional inspect the flashing before the next major storm rather than after. Small waterproofing failures are inexpensive to correct; the rotted decking and mould remediation that follow a missed leak are not.
What a Proper Flashing Waterproofing Job Actually Involves
A durable repair is never just “add more caulking.” Our crews follow a consistent sequence on every flashing waterproofing job across Toronto and the surrounding region:
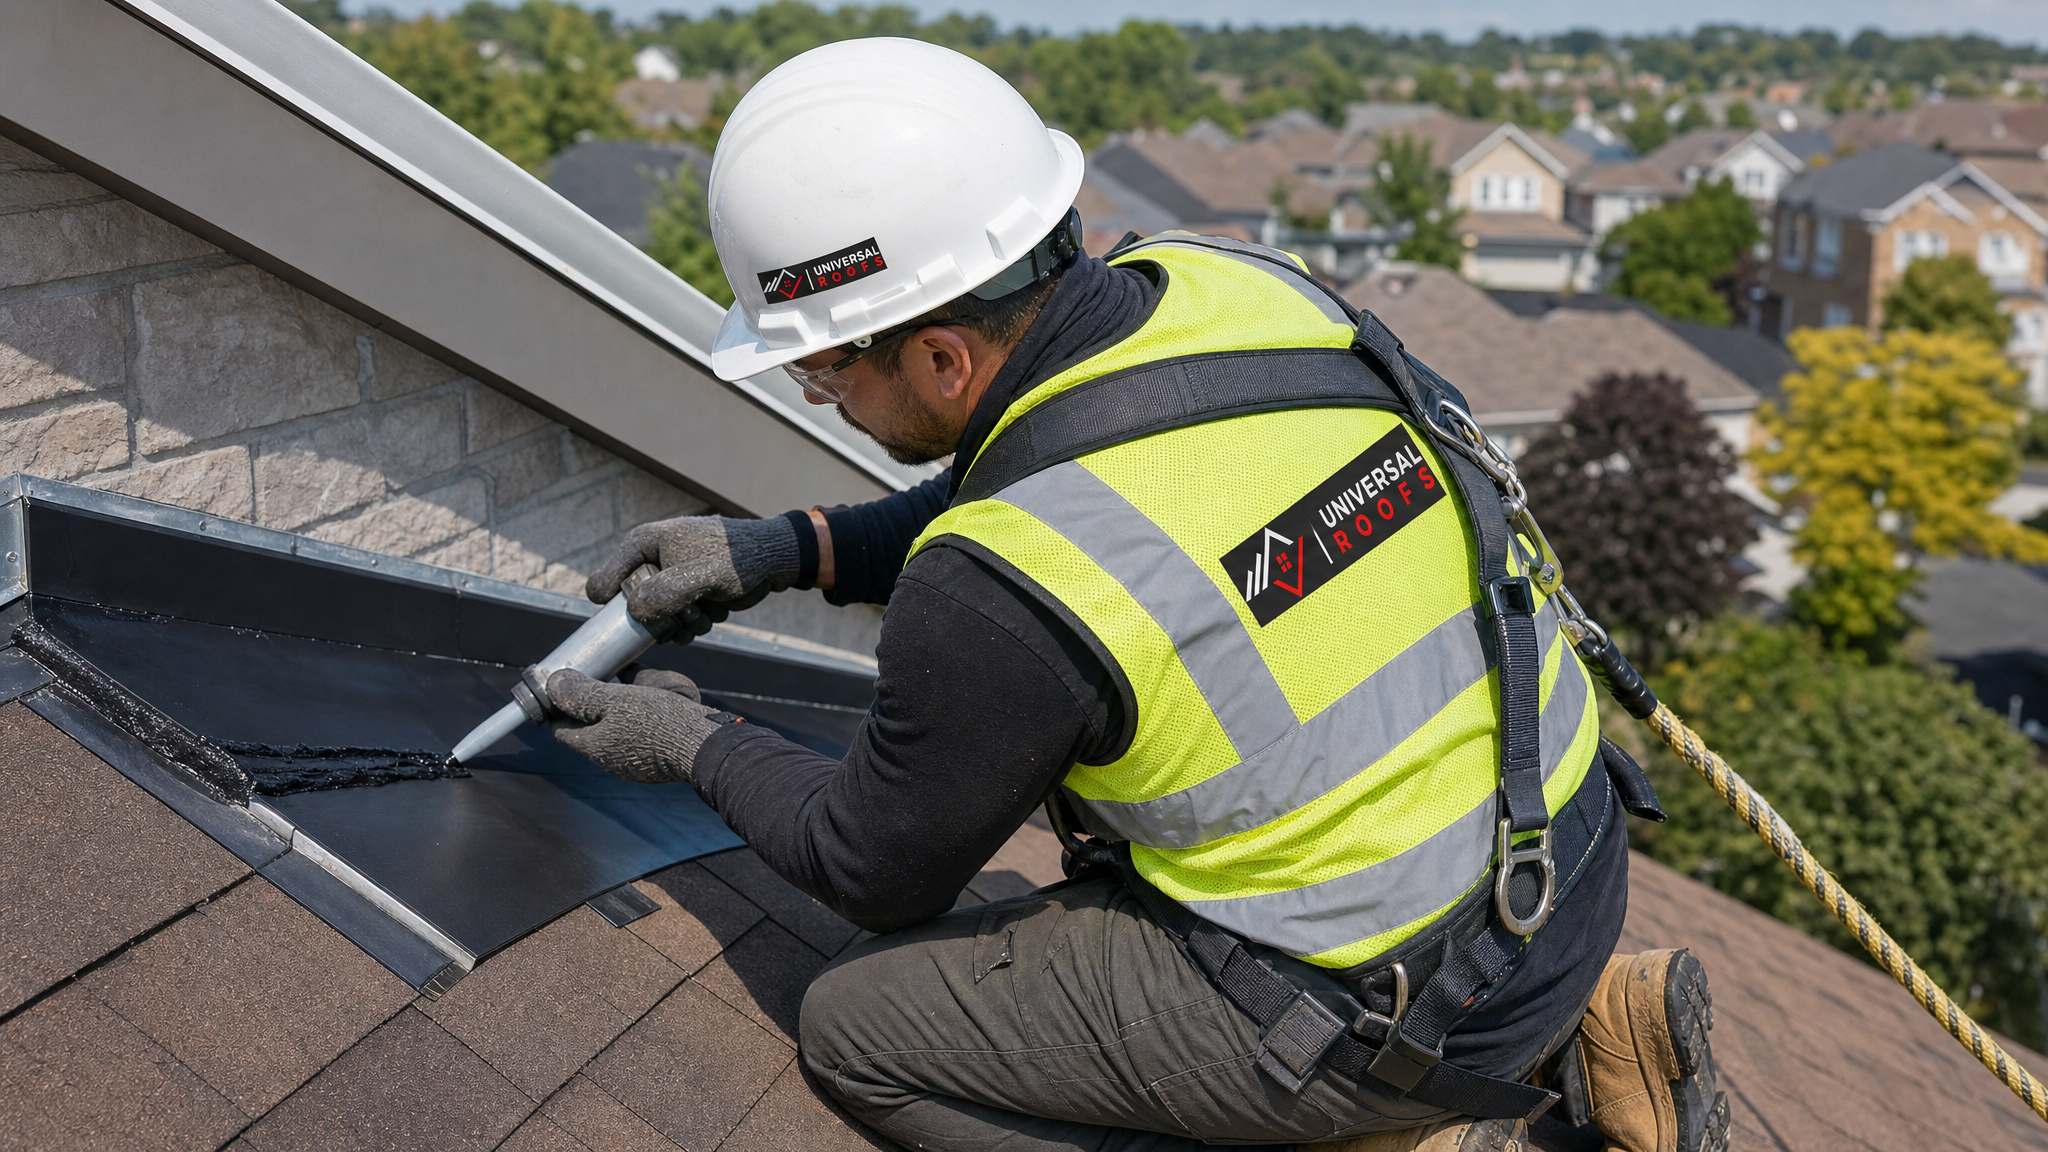
- Remove failed material completely — old caulking, cracked tar mastic, and any corroded fasteners are stripped back to bare, sound metal or masonry.
- Clean and dry the substrate — dust, rust and moisture are the top reasons any sealant fails prematurely, so surfaces are wire-brushed and allowed to dry fully.
- Select the product by location — membrane for valleys and curbs, polyurethane for masonry joints, butyl for hidden metal laps, silicone for small exposed gaps.
- Apply within manufacturer temperature and humidity windows — most premium sealants specify a minimum application temperature, which is why quality contractors avoid rushing repairs during late-fall cold snaps.
- Inspect fastener penetrations separately — every nail and screw head is its own potential leak point and needs its own waterproof seal, not just the main seam.
- Document and photograph the completed work — so homeowners have a clear record of what was installed and when, useful for warranty claims and future inspections.
This process takes longer than a quick caulk-gun fix, but it is the difference between a repair that lasts two seasons and one that lasts two decades.
Cost Considerations Across Waterproofing Options
Material cost alone is a poor way to compare these options, since labour, substrate prep, and expected lifespan vary so much between them. A rough per-metre material cost for silicone might look cheaper than self-adhered membrane, but when you divide by expected years of service, membrane is frequently the better long-term value, particularly in high-flow areas like valleys.
| Waterproofing Option | Relative Material Cost | Labour Intensity | Cost per Year of Service (approx.) |
|---|---|---|---|
| Silicone sealant | Low | Low | Low to moderate |
| Butyl tape | Low to moderate | Low to moderate | Low |
| Liquid rubber coating | Moderate | Moderate | Moderate (due to recoat cycle) |
| Polyurethane sealant | Moderate | Moderate | Low to moderate |
| Self-adhered membrane | Moderate to high | High | Lowest overall |
For most Toronto homeowners, the right approach blends products by location rather than picking a single one for the whole roof, which is exactly how our crews price and scope flashing work during an on-site assessment.
Why Professional Installation Matters More Than Product Choice
We want to be candid about something the sealant manufacturers will not tell you: the single biggest predictor of whether flashing waterproofing lasts is installation quality, not brand. We have replaced premium membrane that failed in three years because it was installed over a damp deck, and we have seen basic butyl tape hold for fifteen years because it was installed correctly with proper laps and fastener placement.
That is why, when homeowners in Toronto ask us what the best waterproofing for roof flashing is, our honest answer is always two-part: the right product for that specific location on the roof, installed by a crew that understands substrate prep, lap direction, and manufacturer cure windows. Read what our past clients say about that approach on our reviews page, or check our FAQ page for more on how we scope a flashing inspection.
Frequently Asked Questions
What is the best waterproofing for roof flashing on a chimney?
Is silicone or polyurethane better for roof flashing?
How long does self-adhered membrane flashing last?
Can I use caulking alone to waterproof roof flashing?
Why does my roof flashing keep leaking after I re-caulk it every year?
What is the most durable waterproofing for a low-slope or flat roof flashing?
Need Help With Roof Flashing Waterproofing?
Choosing the best waterproofing for roof flashing starts with an honest look at your roof’s specific transitions, slopes and materials, and that is exactly what the team at Universal Roofs provides on every service call.
Call us today at (416) 732-2421 or request a free inspection to get started.
Universal Roofs proudly serves Toronto, Mississauga, Brampton, Vaughan, Markham, Oakville and the GTA since 2005.