
A sagging roof is one of those problems that tends to surface at the worst possible moment: after a heavy summer storm, in the middle of a heatwave, or on a Sunday evening when no contractor is answering the phone. If you have spotted a new dip, wave, or bow in your ceiling or roofline and you are searching for DIY temporary fixes for roof sagging emergencies, this guide will walk you through what you can safely do right now, what you should never attempt without training, and how to buy yourself time until a professional can assess the structure properly.
It is important to be honest from the outset: sagging is a structural symptom, not a cosmetic one. A dip in a roofline or ceiling usually means a truss, rafter, ridge beam, or roof deck has been overloaded, weakened by moisture, or damaged by rot, pests, or age. Nothing you do with plywood, jacks, or tarps in an afternoon will permanently fix that. What DIY measures can do is stabilize the situation, prevent the sag from getting worse overnight, and protect your family and belongings until a licensed contractor can put a permanent repair in place.
Below, we cover the emergency triage steps, the temporary shoring and bracing techniques that are genuinely safe for a homeowner to attempt, the ones that are not, how to tell when a sag has crossed the line into an immediate evacuation situation, and what happens during a proper structural repair once the emergency has passed. We serve homeowners across Toronto, Mississauga, Brampton, Vaughan and the wider GTA, and we have seen nearly every version of this emergency, so this guide reflects what actually works in the field, not just textbook theory.

First Steps: Assess Before You Touch Anything
Before reaching for a single tool, the first and most important step in any roof sagging emergency is a calm, honest assessment of severity. Not every sag is a five-alarm emergency, but some absolutely are, and confusing the two categories is how homeowners get hurt.
Start by looking at the pattern and speed of the sag. A dip that has been slowly worsening over several years and is now a few centimetres deep is concerning and needs professional attention soon, but it is unlikely to collapse tonight. A sag that appeared suddenly after a storm, a heavy snow load, or a leak, especially if it is accompanied by new cracks in drywall, doors that suddenly will not close, or popping and creaking sounds, is a much more urgent situation. If you can see daylight through the roof deck, if the sag is deepening while you watch, or if you hear ongoing cracking sounds from the attic, that is not a DIY project of any kind. Evacuate the area under that section of roof immediately and call a structural professional or emergency roofing service.
For anything short of that immediate-collapse scenario, walk through this checklist before deciding on a temporary fix:
- Identify exactly which room or section of roof is affected, and clear furniture, people, and pets from directly underneath it.
- Check the attic (if it is safe to enter) for standing water, wet insulation, visible mould, or a broken or split truss/rafter.
- Look outside for obvious causes: a fallen tree branch, an accumulation of debris, a collapsed section of flat roof, or pooling water on a low-slope section.
- Take photos and, if possible, measurements of the sag depth for your contractor and insurance company.
- Check your local weather forecast — if more heavy rain or snow is coming in the next 24 to 48 hours, your temporary fix needs to account for added load, not just the current situation.
Only once you have done this assessment should you consider any temporary stabilization. If at any point the situation feels beyond a simple prop or brace, stop and call in a professional for a same-day roof repair assessment rather than improvising further.
Emergency Interior Bracing and Shoring
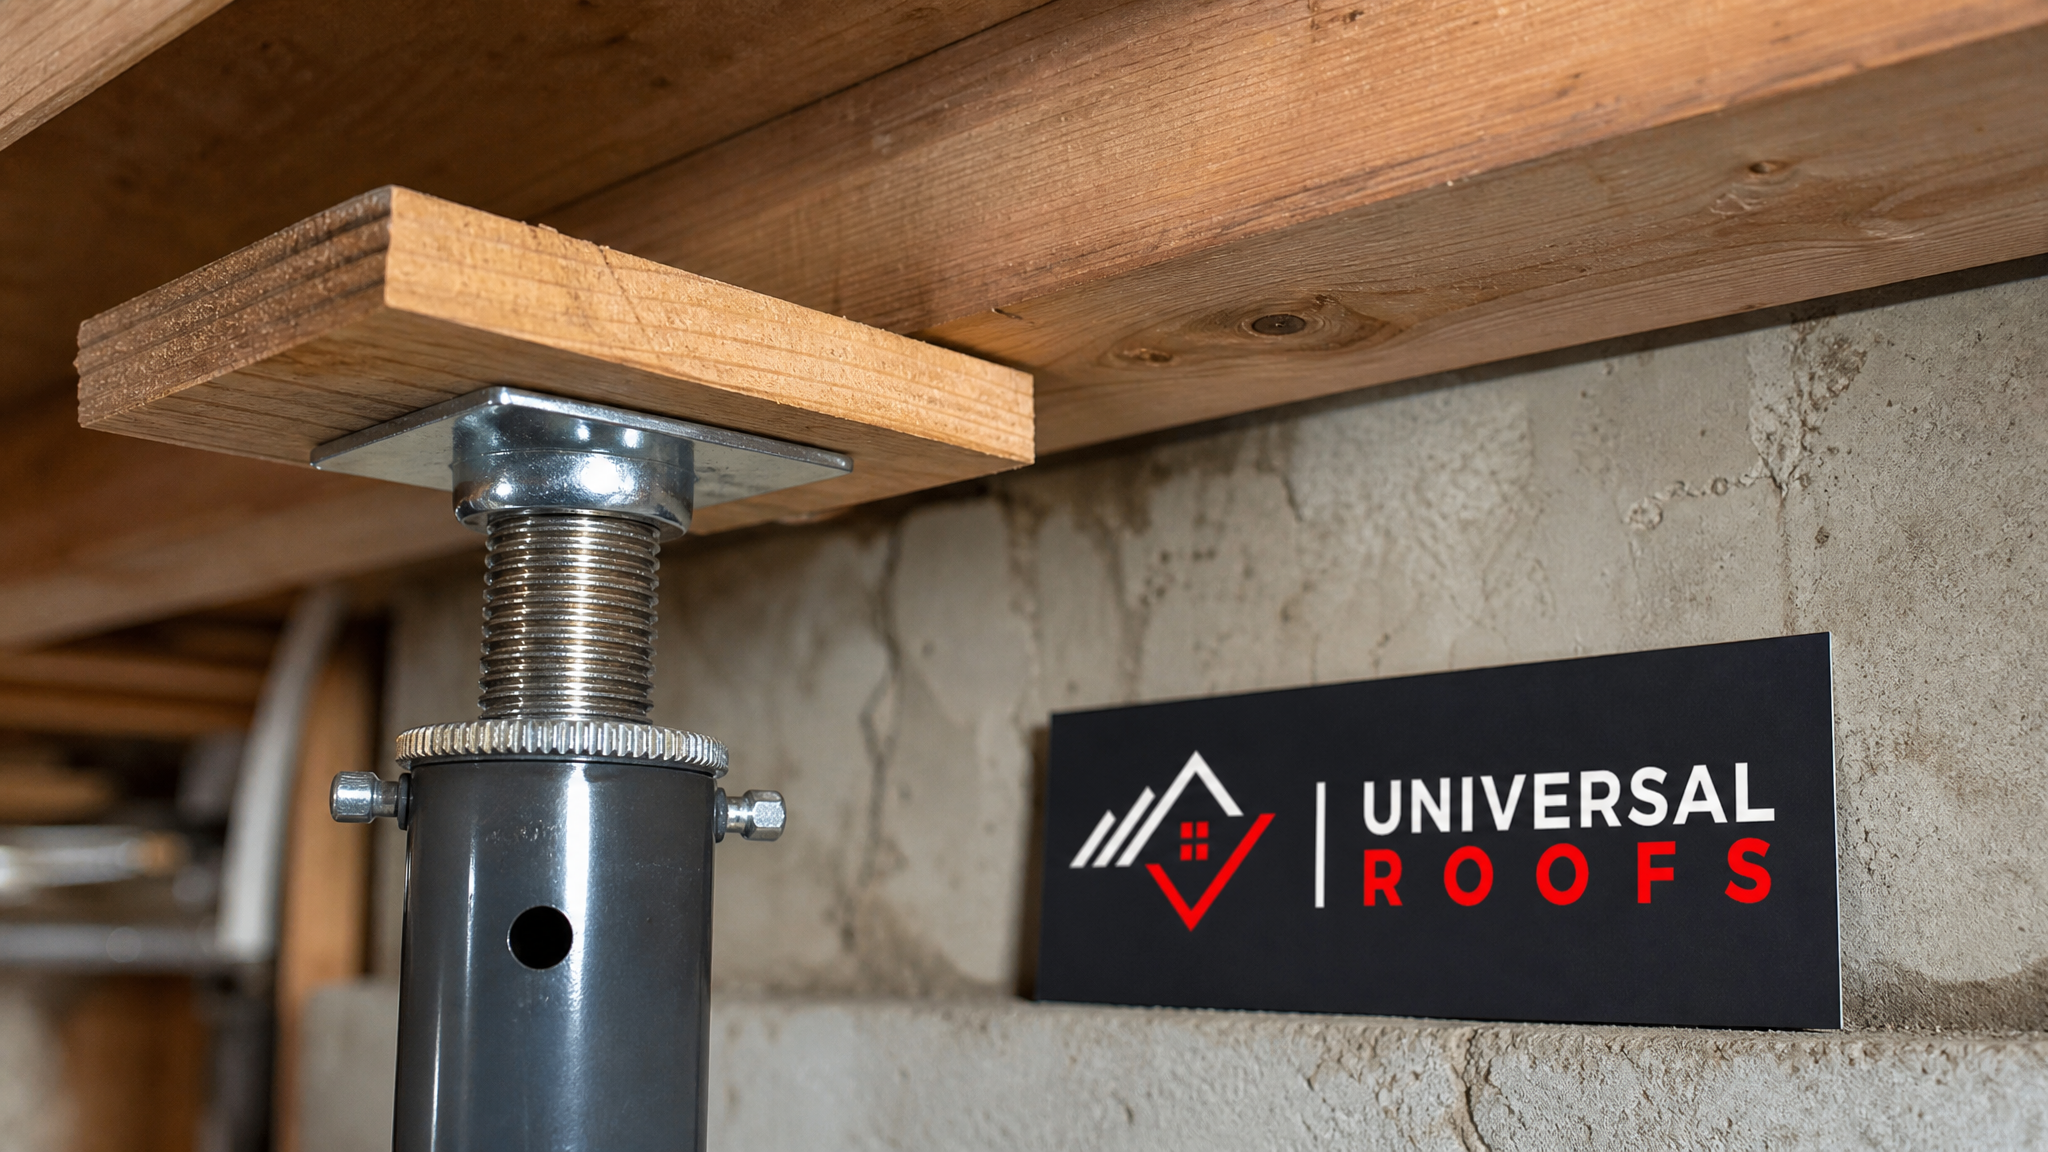
The single most effective and genuinely safe DIY temporary fix for a sagging roof is interior vertical shoring: using temporary posts to transfer the load of the sagging structure down to a solid bearing point below, such as a concrete basement floor or a load-bearing wall.
This is essentially what professional contractors do in the first hour of an emergency call, just with better materials and engineering judgment behind it. Here is how a basic, temporary shoring setup works for a homeowner:
Adjustable steel jack posts (sometimes called screw jacks or Lally column jacks) are the preferred tool because they can be precisely adjusted and are rated for real structural loads, unlike stacked lumber. These are available at most Toronto-area hardware and building supply stores. You place a post directly under the sagging section, ideally under a joist or beam rather than in the middle of an open span, with a solid footing (a concrete floor, or a spread footing plate on soil) underneath and a header board or spreader plate on top to distribute the load across the joist rather than punching a hole through drywall or decking.
Wood shoring posts built from doubled or tripled 2×4 or 2×6 lumber can work in a pinch if steel jacks are not available, but they must be cut perfectly square and plumb, and they cannot be adjusted once installed, which makes them harder to fine-tune. If you use wood, add diagonal bracing to prevent the post from kicking out sideways under load.
The critical rule with any temporary shoring: do not try to push the sag back up to its original position in one go. Raising a sagging structure too quickly, or too far, can crack drywall, snap already-weakened framing, or shift loads onto connections that cannot handle a sudden change. Bring the post up snug to the underside of the sagging joist or rafter, tighten just enough to remove slack and stop further downward movement, and leave it there. The goal is to arrest the sag, not correct it.
Tarping and Weatherproofing a Compromised Roof Section
If the sagging is accompanied by a breach in the roof surface itself, such as a split membrane on a flat roof, missing shingles, or a hole from a fallen branch, stopping water intrusion becomes just as urgent as the structural concern, because a wet, saturated deck will sag faster and further than a dry one.
A heavy-duty poly tarp, ideally 6-mil or thicker, stretched over the affected area and secured well past the edges of the damage, is the standard emergency measure. A few practical notes that matter more than people expect:
Anchor the tarp using wood furring strips screwed down over the tarp edges rather than nails punched directly through the material, since nail holes simply create new leak points. Route the tarp so water sheds away from the damaged section and off the edge of the roof, never pooling against a ridge or parapet. On a flat or low-slope roof, this is especially important, since standing water is exactly the added weight that worsens sagging in the first place. If you have a flat or low-slope roof, weigh the tarp down with sandbags rather than loose bricks or lumber, which can shift and puncture the tarp in wind.
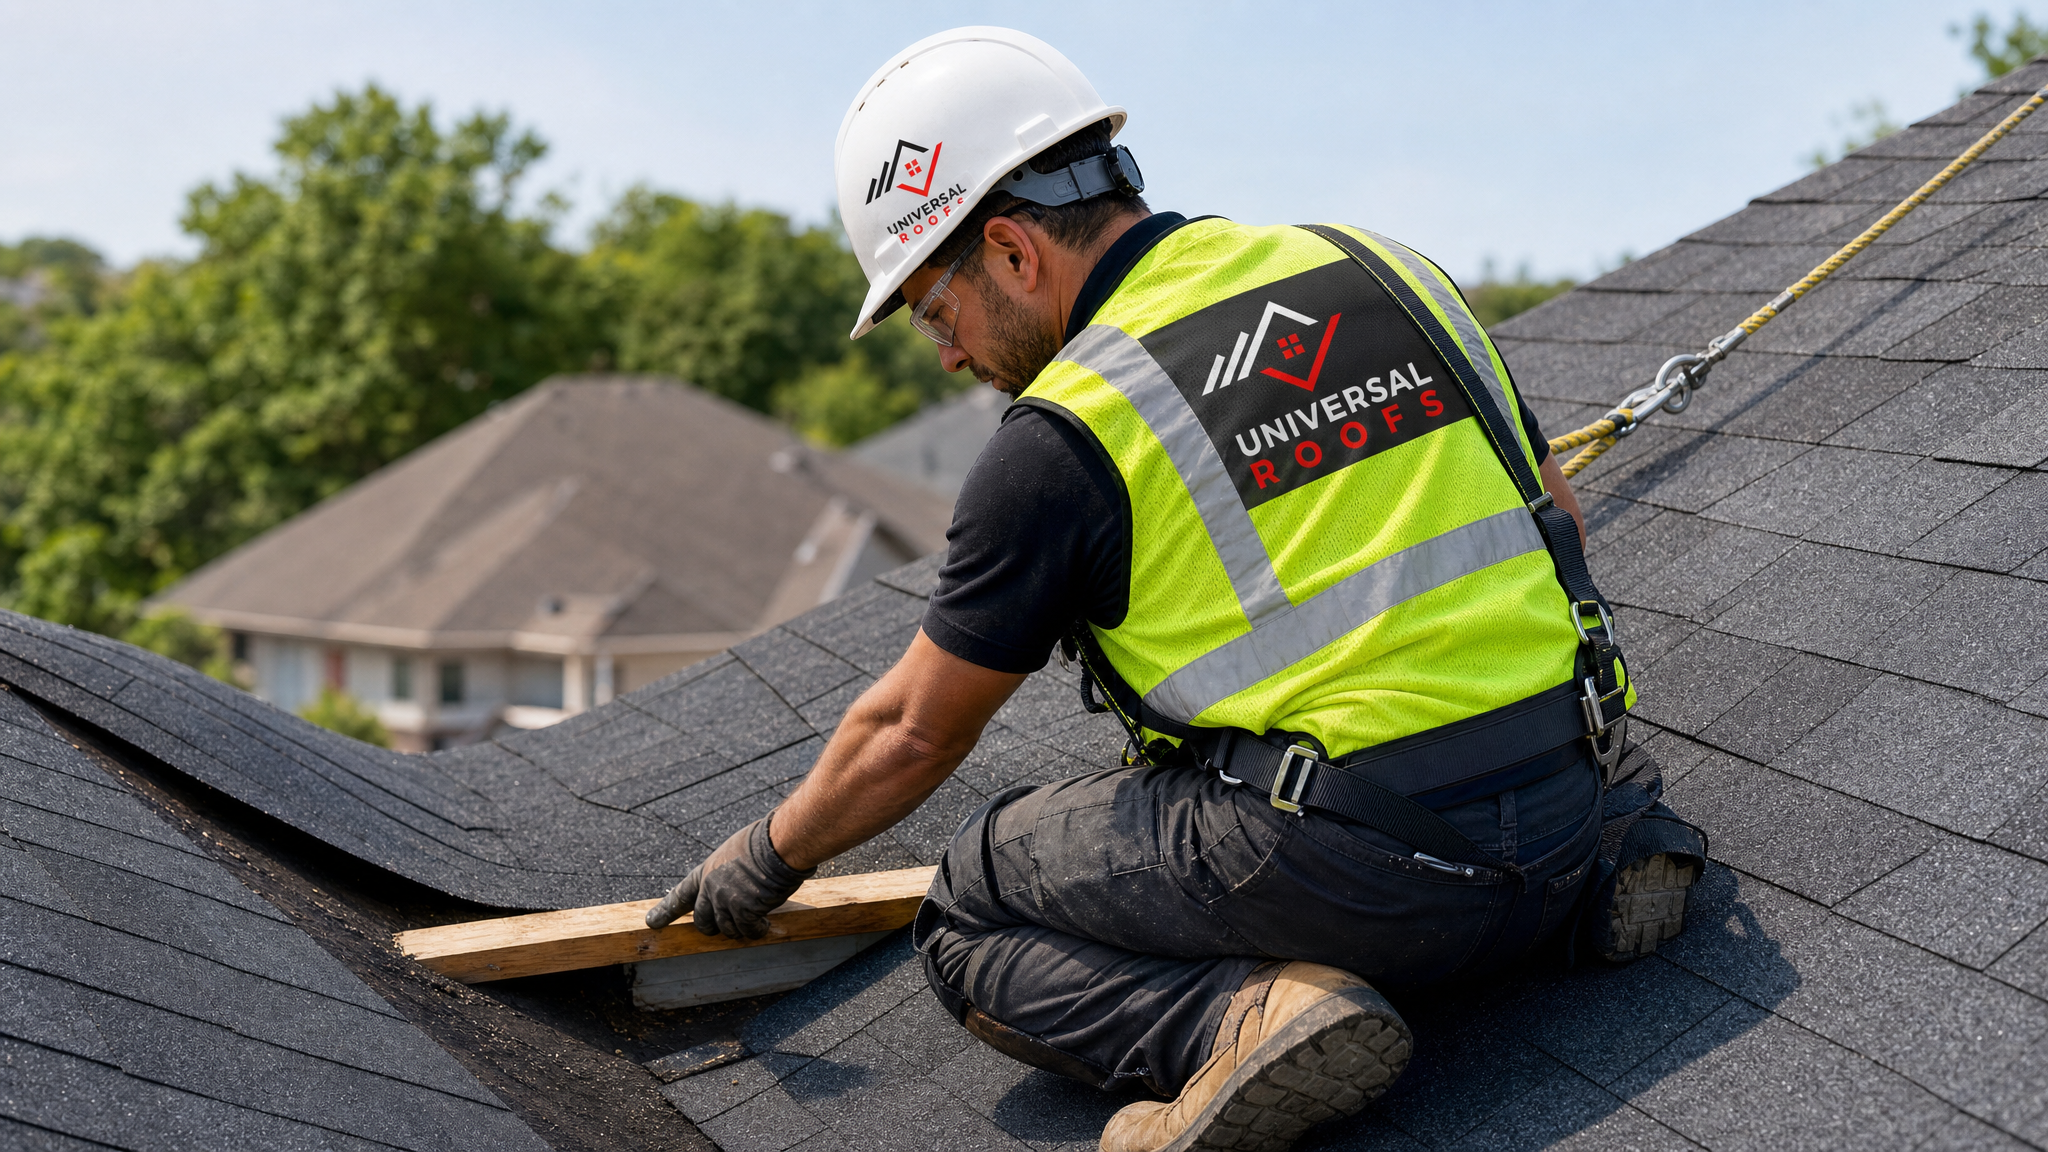
Never climb onto a roof section that is actively sagging to install a tarp yourself. If the damaged area cannot be reached safely from a ladder at the eave, this becomes a job for a professional with proper fall protection, full stop. We would rather receive an emergency call than hear that a homeowner was hurt trying to save a service fee.
| Temporary Fix | Best For | Skill Level | Typical Materials Cost | How Long It Holds |
|---|---|---|---|---|
| Adjustable steel jack post | Interior ceiling/joist sagging | Moderate DIY | $60–150 per post | Weeks to a few months |
| Doubled 2×4/2×6 wood shoring | Interior sagging, jacks unavailable | Moderate DIY | $20–50 per post | Days to a few weeks |
| Heavy poly tarp (6-mil+) | Active leaks with roof surface breach | Basic DIY (ground/ladder access only) | $40–120 | Days to a couple of weeks |
| Plywood deck patch | Small holes on accessible low-slope roofs | Advanced, professional recommended | $40–90 | Weeks with proper flashing |
| Sandbag load redistribution | Ponding water on flat roofs | Basic DIY | $30–80 | Hours to days, monitor closely |
Reducing Load: Snow, Water, and Debris Removal
Sometimes the fastest and safest temporary fix for a sagging roof is not adding a support at all, but removing weight. In the GTA, this most often means snow, ice, and ponded water, though storm debris also plays a role in summer.
If a heavy, wet snowfall has contributed to the sag, a roof rake used from the ground along the eaves can remove a meaningful amount of load without anyone setting foot on a ladder or the roof itself. Work from the ground, pull snow down and away from the building rather than pushing it further up the slope, and never use a metal rake near overhead power lines. On flat roofs where standing water is compounding a sag, a push broom or soft-bristle roof squeegee can help direct water toward a functioning drain or scupper, but only if the flat roof surface itself is confirmed safe to walk on — a section that is actively sagging under your feet is not.
Clearing fallen branches, leaves, or storm debris that has piled up against a ridge, valley, or parapet wall is safe from a ladder in most cases and can meaningfully reduce added weight and water damming. If debris has actually punctured the roof deck, however, removing it can sometimes worsen an active leak by opening the hole further, so proceed carefully and have your tarp ready before you start pulling anything loose.
This kind of load reduction is a genuine short-term win precisely because it addresses the mechanical cause of the sag rather than just supporting the symptom. It buys real time, especially heading into a stretch of poor weather, and it is one of the lowest-risk actions on this entire list when done from the ground or a stable ladder.
Tools and Materials Checklist for a Temporary Fix
Having the right materials staged before an emergency happens, or ready to grab quickly from a nearby hardware store, makes a real difference in how safely and effectively you can respond. Here is a practical checklist most GTA homeowners can assemble without specialty suppliers.
| Item | Purpose | Where to Source | Approximate Cost |
|---|---|---|---|
| Adjustable steel jack post(s) | Interior vertical shoring under sagging joist/beam | Hardware or building supply store | $60–150 each |
| 4×4 or 2×6 spreader plate lumber | Distributes load across joist, prevents point damage | Any lumber yard | $10–25 |
| 6-mil (or thicker) poly tarp | Emergency weatherproofing over breached roof surface | Hardware store, home centre | $40–120 |
| Furring strips + exterior screws | Securing tarp edges without new puncture holes | Lumber yard, hardware store | $15–30 |
| Sandbags | Weighing down tarps; redistributing ponded water load | Hardware store, landscaping supplier | $30–80 |
| Painter’s tape or pencil + straightedge | Marking sag depth for daily monitoring | Already on hand or hardware store | Under $10 |
What You Should Never Attempt Yourself
Just as important as knowing what you can safely do is knowing where the line sits. Several tempting DIY fixes are genuinely dangerous or counterproductive for roof sagging emergencies, and we see the aftermath of these mistakes often enough to warn against them directly.
Do not attempt to jack up an exterior roof structure from outside or from the roof surface itself. Exterior shoring involves working at height on a compromised structure, exactly the combination that leads to serious falls. This work requires fall protection, an understanding of load paths, and often a second set of hands, and it belongs to a professional roof repair crew.
Do not cut into drywall or ceiling material to “relieve pressure.” This is a persistent myth. Cutting a hole does not reduce structural load; it only removes your ability to see how the sag is progressing and can accelerate collapse of the remaining material around the cut.
Do not attempt to walk on a roof deck that you know or suspect is sagging, even to inspect it, even in good weather, even if you have walked that roof many times before. A sagging deck has already lost some of its designed strength, and a concentrated point load from a person standing on it is a very different stress than the distributed load it was engineered for.
Do not ignore electrical hazards. A sagging ceiling near light fixtures, ceiling fans, or wiring runs should be treated as a shock and fire risk until inspected. Shut off the circuit at the panel if you can safely access it, and avoid the area otherwise.
Do not rely on a single temporary fix indefinitely. Every measure on this page, from jack posts to tarps to sandbags, is designed to last days to a few weeks at most under close monitoring, not months. Treating a temporary fix as a permanent solution is how a manageable emergency becomes a full roof replacement project.
Monitoring a Temporary Fix Until Help Arrives
Once you have stabilized the situation with interior shoring, a tarp, or load reduction, the job is not finished. Active monitoring is what separates a successful stopgap from a fix that fails silently overnight.
Mark the current depth of the sag with painter’s tape or a pencil line on an exposed joist, beam, or wall stud so you have a fixed reference point. Check it at least twice a day, morning and evening, and immediately after any additional rain, wind, or temperature swing. If the mark shows the sag has moved even a few millimetres further, that is your signal to re-evacuate the area and call for emergency professional support immediately, rather than adjusting your temporary fix further yourself.
Keep a flashlight or work light near the attic access point so you can quickly check on the shored area without a delay in the dark, particularly if you hear any new noises. Photograph the shoring setup, the sag reference mark, and the surrounding area daily; this documentation is genuinely useful both for your contractor’s assessment and for any insurance claim tied to storm or water damage.
| Warning Sign | What It Usually Means | Recommended Action | Urgency |
|---|---|---|---|
| Sag depth increasing day over day | Structure continuing to fail under load | Evacuate area, call emergency roofer | Immediate |
| New cracking sounds from attic/ceiling | Wood fibres or fasteners failing | Evacuate area, call emergency roofer | Immediate |
| Daylight visible through roof deck | Deck breach or rot-through | Tarp if safely accessible, call for repair | Same day |
| Doors/windows suddenly sticking nearby | Frame racking from structural movement | Document, schedule assessment | Within days |
| Musty odour or visible mould in attic | Prolonged moisture, deck/truss weakening | Improve ventilation, schedule inspection | Within 1–2 weeks |
What a Permanent Structural Repair Involves
Understanding what comes after the emergency helps put the temporary fix in perspective. Once your household is safe and the immediate risk has been controlled, a licensed contractor’s job is to diagnose why the sag happened, not just to straighten the structure back into place.
This typically starts with a full attic and roof deck inspection to identify every affected truss, rafter, or section of decking, since sagging in one visible spot often indicates weakness that extends beyond what you can see from inside a room. Contractors then plan a controlled, gradual jacking sequence, sometimes over several days, to bring the structure back toward level without shocking the remaining sound framing. Damaged members are sistered with new lumber or replaced outright, water-damaged decking is cut out and replaced, and any underlying cause, whether that is inadequate attic insulation and ventilation that led to ice damming, a chronic leak, or simple undersized framing from decades ago, gets addressed so the sag does not recur.
For roofs with skylights near the affected area, it is also worth having those checked at the same time, since structural movement can stress skylight curbs and seals even if the skylight itself was not the original cause. Our skylight and skylight replacement teams often coordinate directly with structural repair crews for exactly this reason.
This is also the point where your homeowner’s insurance often becomes relevant, particularly if the sag was triggered by a covered event like a storm, wind damage, or a sudden leak. The documentation you gathered during the emergency, photos, sag measurements, and dates, becomes valuable evidence for that claims process.
Regional Considerations Across the GTA
While the fundamentals of temporary roof sagging fixes are the same everywhere, a few regional realities across the Greater Toronto Area are worth factoring in when you are deciding how urgently to act and what to prioritize.
Older housing stock in central Toronto neighbourhoods often means original roof framing built to lighter, older-era load standards, so sagging in these homes deserves a faster professional follow-up even if the temporary fix looks like it is holding well. In Peel Region communities like Mississauga and Brampton, a mix of home ages means the cause can range from original construction shortcuts to more recent storm damage, so a proper inspection is the only reliable way to know which you are dealing with. Homes in York Region, including Vaughan, Markham, and Richmond Hill, tend to be newer on average, so unexpected sagging there more often points to a specific event like an ice dam, a plumbing leak into the attic, or storm damage rather than gradual age-related fatigue.
Out in Halton Region and Durham Region, larger lot sizes and more mature tree cover mean fallen branches and storm debris are a more common trigger for sudden sagging than in denser urban cores. In every part of the GTA, the freeze-thaw cycles typical of our winters and the humid heat of our summers both play a role in weakening roof structures over time, which is why a sag that seems to have appeared “out of nowhere” is very often the final visible sign of gradual, invisible deterioration rather than a truly sudden event.
When to Call a Professional Immediately, Not Tomorrow
It bears repeating clearly: temporary DIY fixes exist to buy time safely, not to replace professional judgment. A same-day or emergency call is warranted, rather than waiting for a scheduled appointment, in several specific situations.
Call immediately if the sag is visibly deepening while you watch or over a period of hours, if you hear ongoing cracking, popping, or groaning sounds from the roof structure, if water is actively pouring rather than dripping into the living space, if there is any visible daylight through the roof deck from inside the attic, or if the affected area is directly above a bedroom, a space with young children, or any area you cannot fully restrict access to. None of these situations should wait for a next-day appointment, and a reputable roofing company in the GTA should have some form of emergency response available for exactly these calls.
If the situation is serious enough to have you searching for information at midnight, it is serious enough to make that call rather than waiting until morning. A quick phone consultation can often help you decide, in the moment, whether your temporary fix plan is appropriate or whether you need someone on-site tonight.
What are the safest DIY temporary fixes for roof sagging emergencies?
Can I jack up a sagging ceiling myself?
How do I know if roof sagging is a true emergency?
Is it safe to tarp a sagging section of roof myself?
How long will a temporary fix for a sagging roof hold?
What causes a roof to sag in the first place?
Need Help With What Are DIY Temporary?
A safe, well-executed temporary fix can protect your home for days or weeks, but only a full structural assessment from Universal Roofs can tell you exactly why your roof sagged and what it will take to fix it permanently.
Call us today at (416) 732-2421 or request a free inspection to get started.
Universal Roofs proudly serves Toronto, Mississauga, Brampton, Vaughan, Markham, Oakville and the GTA since 2005.