
Metal roofing has become one of the most popular upgrades for homeowners across the Greater Toronto Area, prized for its durability, energy efficiency and ability to shed heavy snow loads. But even the toughest standing seam panel or steel shingle system can develop problems over time, whether from a wind-lifted fastener, a failed sealant joint, or hail damage after a summer storm. Knowing the right metal roof repair techniques – and knowing when a small fix is enough versus when a larger repair is needed – can save you thousands of dollars and add years to your roof’s service life.
This guide walks through the most effective, field-tested metal roof repair methods used by professional roofers in Toronto and the surrounding GTA, including Mississauga, Brampton, Vaughan, Markham, Oakville and Durham Region. We will cover how to diagnose common failure points, the tools and materials that actually hold up through our freeze-thaw winters and humid summers, and the situations where a targeted repair makes more sense than a full roof replacement. Whether you manage a bungalow in Etobicoke or a large commercial building near the 401, the principles below apply to almost every metal roofing system on the market today.
Metal roofs are engineered to last 40 to 70 years, far outperforming asphalt shingles, but that longevity depends entirely on catching small issues before they become structural problems. A single loose fastener left unaddressed for a season can allow water to track along a purlin and rot the underlying deck. The good news is that most metal roof repairs are localized, fast, and considerably less expensive than replacing an entire roof section.
Common Causes of Metal Roof Damage in the GTA
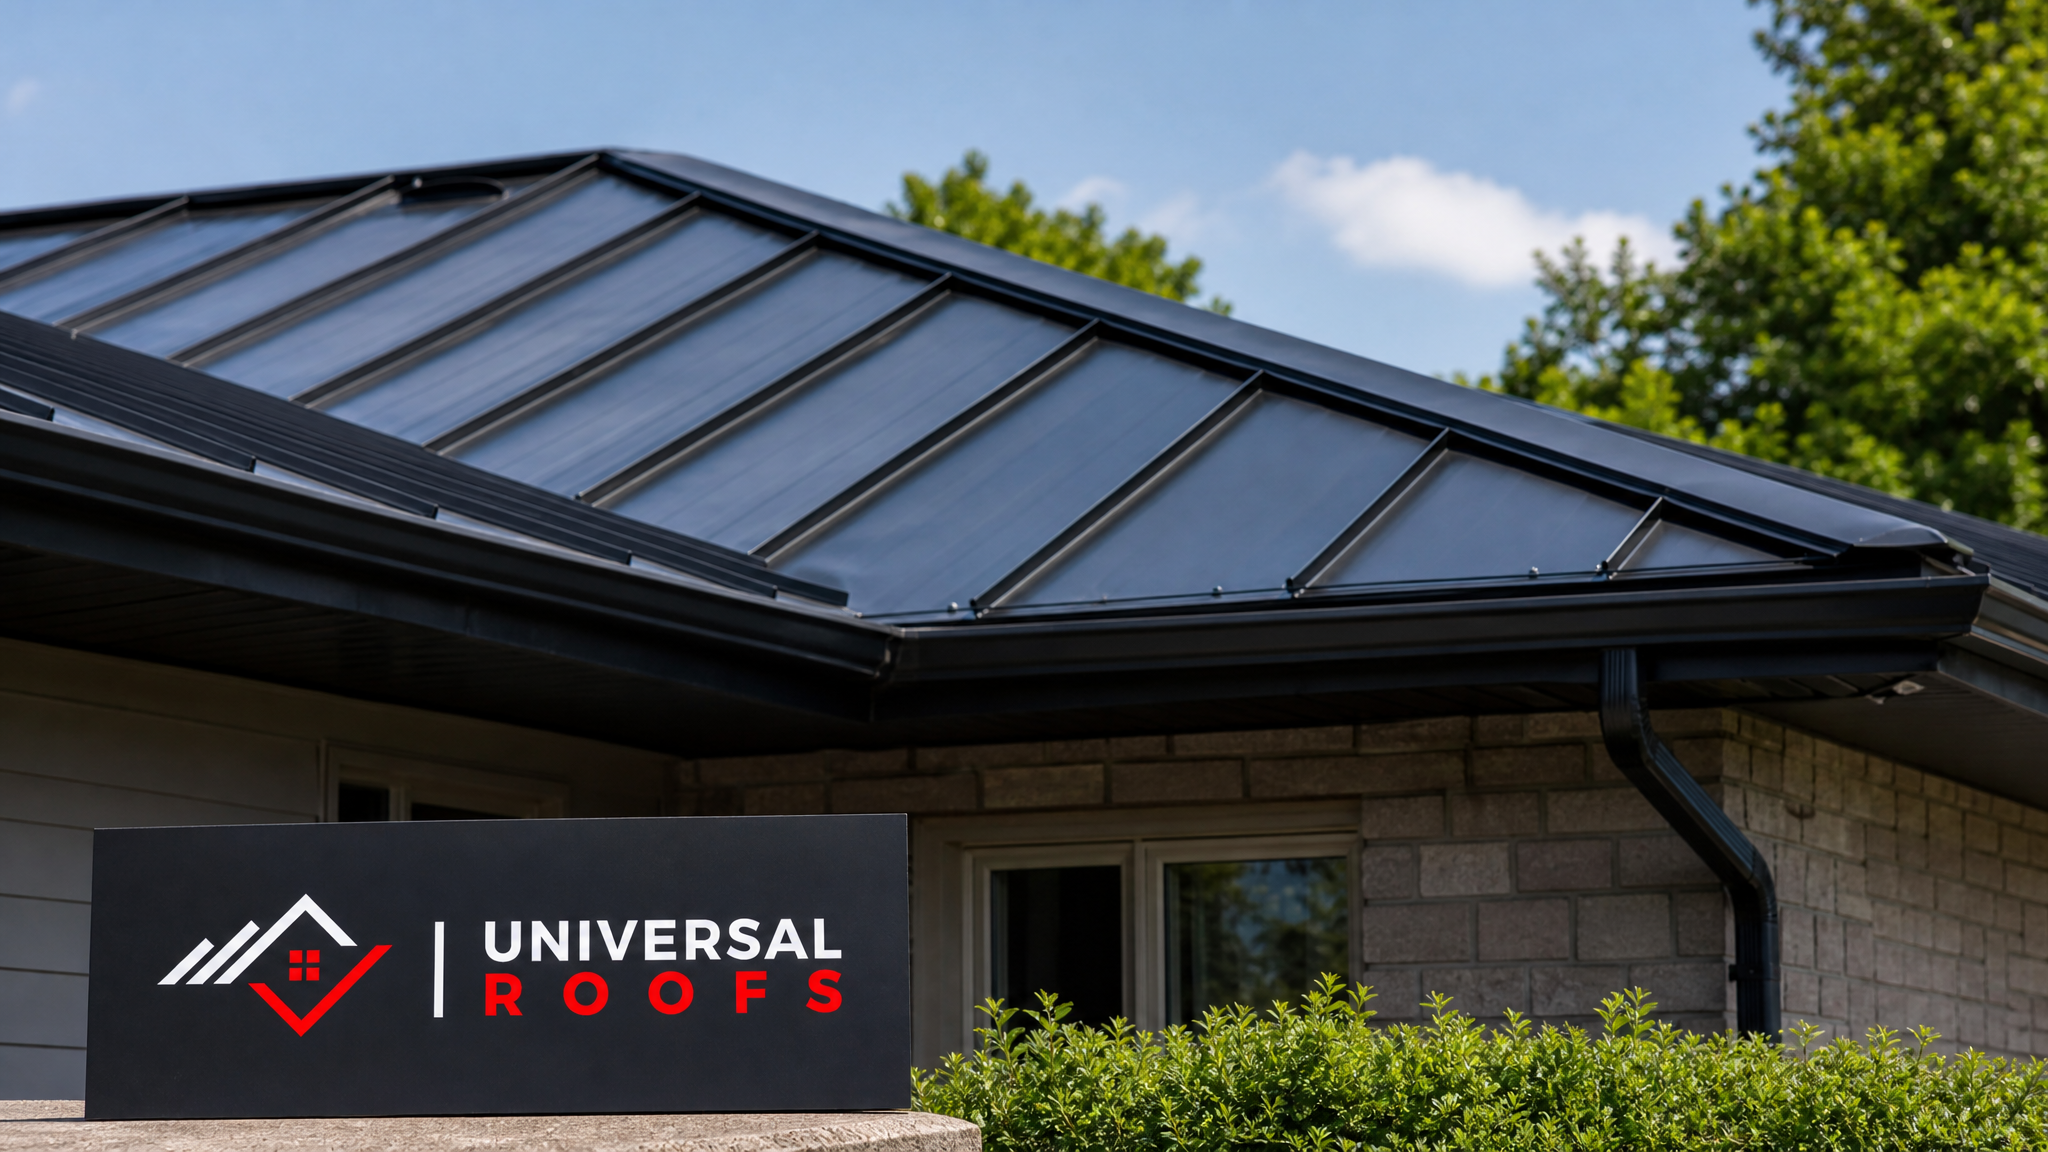
Before choosing a repair technique, it helps to understand why metal roofs fail in the first place. Toronto’s climate is uniquely hard on roofing systems because it cycles through deep winter freezes, rapid spring thaws, humid summers and violent wind storms – sometimes all within the same week. Metal expands and contracts more than most other roofing materials, so fasteners, seams and flashing details take the brunt of that movement over time.
The most frequent causes of metal roof damage we see across our service areas in Toronto, Peel Region, York Region, Halton Region and Durham Region include:
- Fastener back-out and loosening – repeated thermal cycling gradually works exposed screws upward, breaking the neoprene washer seal.
- Sealant and butyl tape failure – UV exposure and freeze-thaw cycles cause sealant at seams, flashing and penetrations to crack and shrink.
- Hail and wind-driven debris impacts – dents and small punctures, particularly on lower-gauge residential panels.
- Rust and corrosion at cut edges – unsealed panel cuts and scratches that expose bare steel to moisture.
- Improper flashing at penetrations – vents, chimneys and skylights are common leak points when flashing was not properly integrated with the panel profile.
- Ice damming – meltwater refreezing at the eaves, forcing water backward under panels and trim.
Identifying which of these is causing your leak or visible damage is the first step in choosing the correct metal roof repair technique, and it is exactly what a proper roof inspection should uncover before any work begins.
Diagnosing the Problem Before You Repair
A successful metal roof repair always starts with an accurate diagnosis. Chasing a stain on your ceiling to its actual source on the roof deck can be surprisingly tricky, because water often travels sideways along purlins or underlayment before dripping down through insulation. Professional roofers typically follow a structured inspection sequence:
- Interior inspection of the attic or roof deck for staining, mould, or wet insulation, tracing the water’s path uphill from the stain.
- Exterior visual inspection of all seams, fasteners, flashing, and penetrations, working from the eaves to the ridge.
- A hands-on check of fastener tightness and washer condition across a representative sample of the roof.
- Inspection of valleys, hips, and any transition points where two roof planes meet, since these concentrate water flow.
- A water test, where a hose is run over a suspected area for 15-20 minutes while someone watches the interior, if the leak source is not obvious.
This process matters because misdiagnosed leaks are the single biggest cause of failed metal roof repairs. Resealing the wrong seam, for example, does nothing if the actual entry point is a corroded fastener three metres away. If you are not confident diagnosing the issue yourself, our roof repair team can perform a full diagnostic inspection and pinpoint the exact failure point before recommending a fix.
Fastener and Screw Replacement Techniques
Loose or failed fasteners are, by a wide margin, the most common metal roof repair job. Exposed-fastener metal roofing systems rely on screws with a rubber or neoprene washer to create a watertight seal at every penetration. Over 10-15 years, thermal cycling causes these washers to compress, crack, or spin loose, and this is often the very first repair a metal roof will need.
The correct technique is not simply to tighten the existing screw. A loosened fastener has typically enlarged its pilot hole slightly, so re-tightening the same screw into the same hole rarely creates a lasting seal. Professional practice is to:
- Remove the failed fastener completely and inspect the panel and purlin for any enlargement or stripping of the hole.
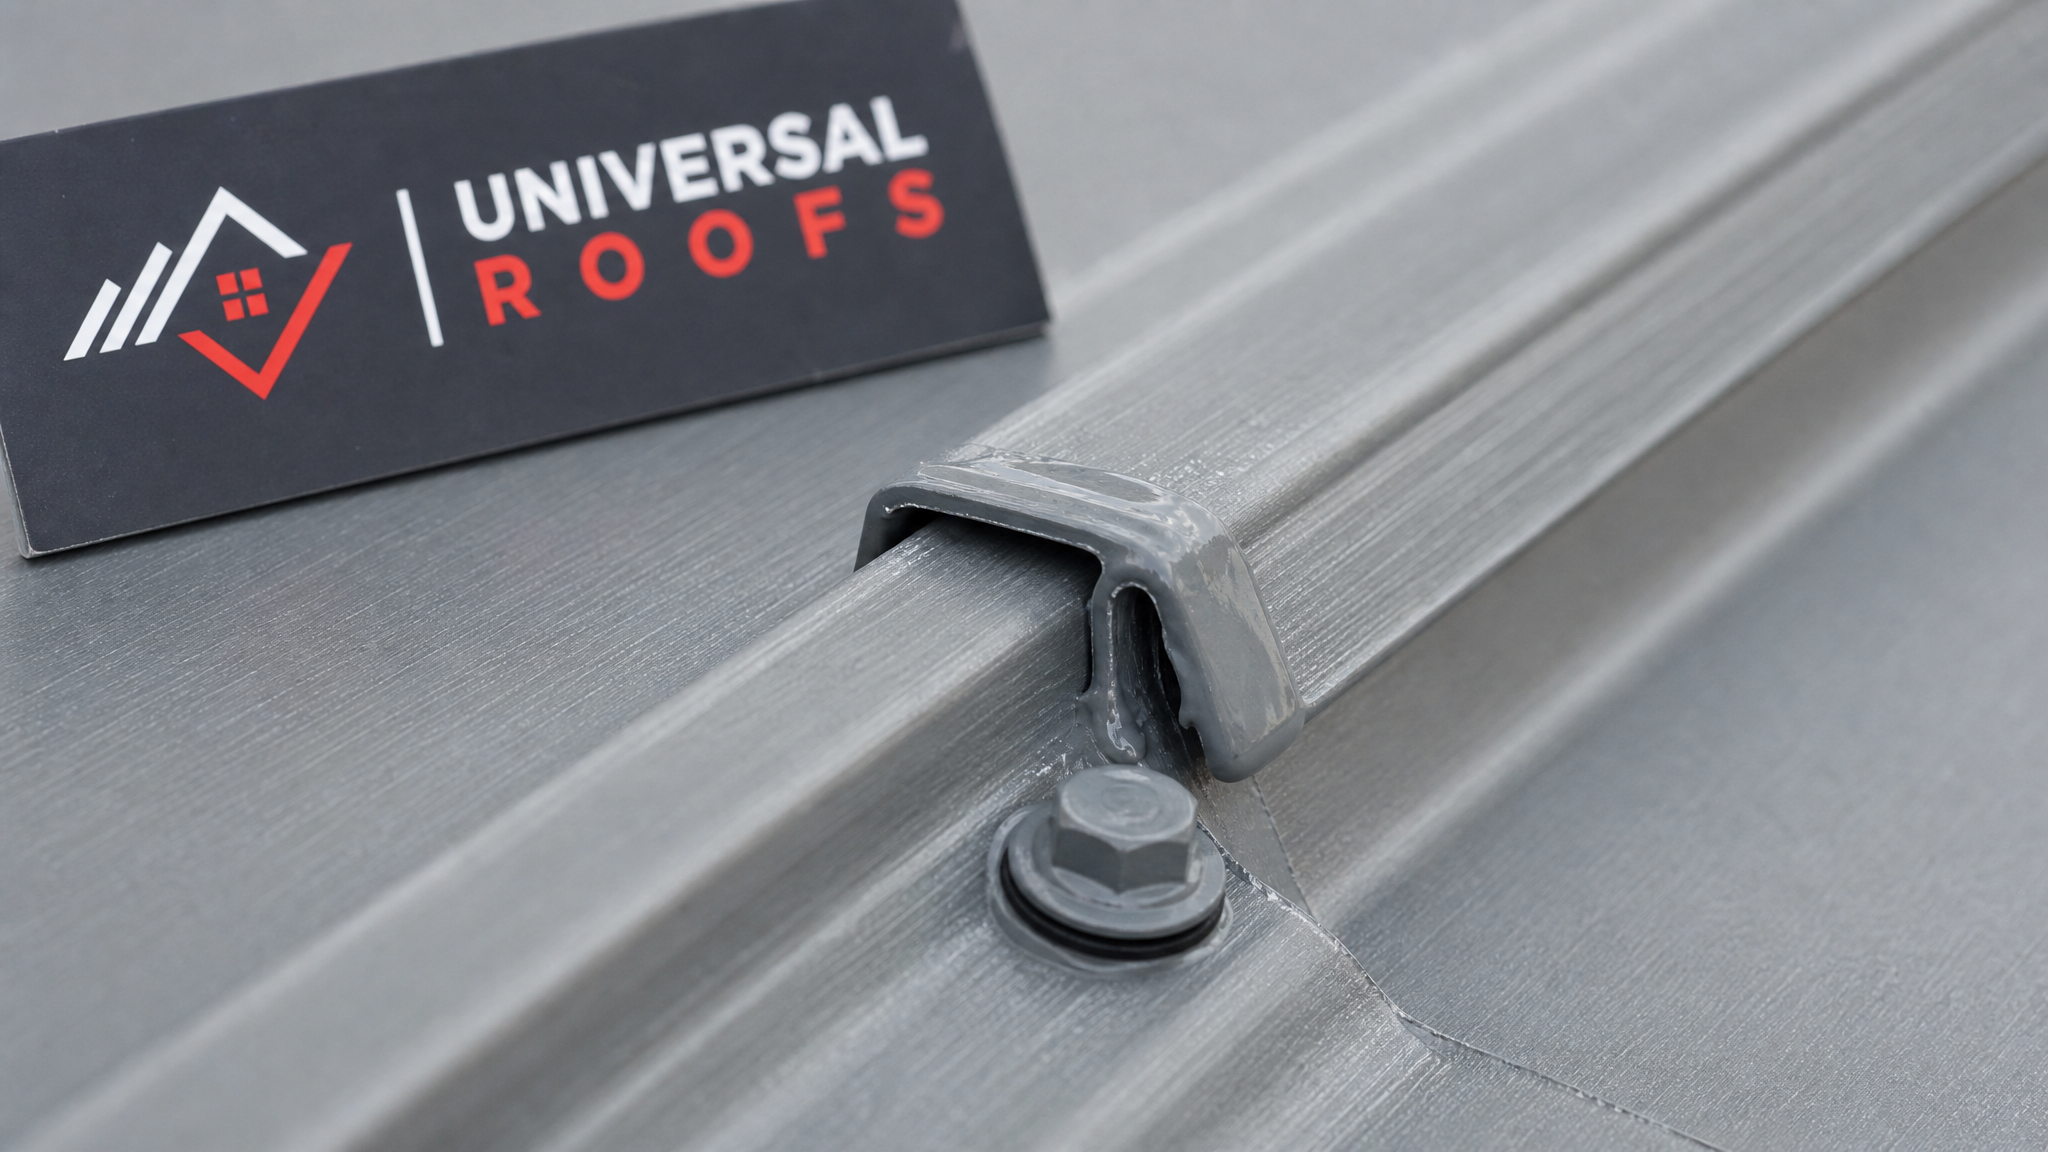
- Install a fastener one size larger in diameter with a fresh EPDM-bonded washer, driven at the correct torque – overdriving compresses and splits the washer, while underdriving leaves a gap.
- Where a hole is too enlarged to reseat a fastener reliably, relocate the new fastener 25-50mm away and seal the abandoned hole with a compatible metal roof sealant and a matching-colour rivet or screw cap.
- Replace fasteners in a logical pattern rather than one at a time, since a single failed washer nearby often signals others are close to failing too.
On larger commercial or agricultural buildings, we often recommend a full fastener replacement program once 15-20% of original screws show washer failure, since it is far more cost-effective to replace them all in one visit than to keep sending a crew back for isolated leaks.
Seam Repair for Standing Seam and Panel Roofs
Standing seam metal roofing is popular across the GTA because its concealed fastener design eliminates most of the exposed-screw failure points described above. However, standing seam systems have their own vulnerability: the mechanically or hand-crimped seam itself. Over decades of expansion and contraction, a seam can loosen slightly, or the sealant strip inside the seam can degrade, allowing capillary action to draw water inward during wind-driven rain.
Repairing a standing seam roof requires different tools and techniques than an exposed-fastener repair:
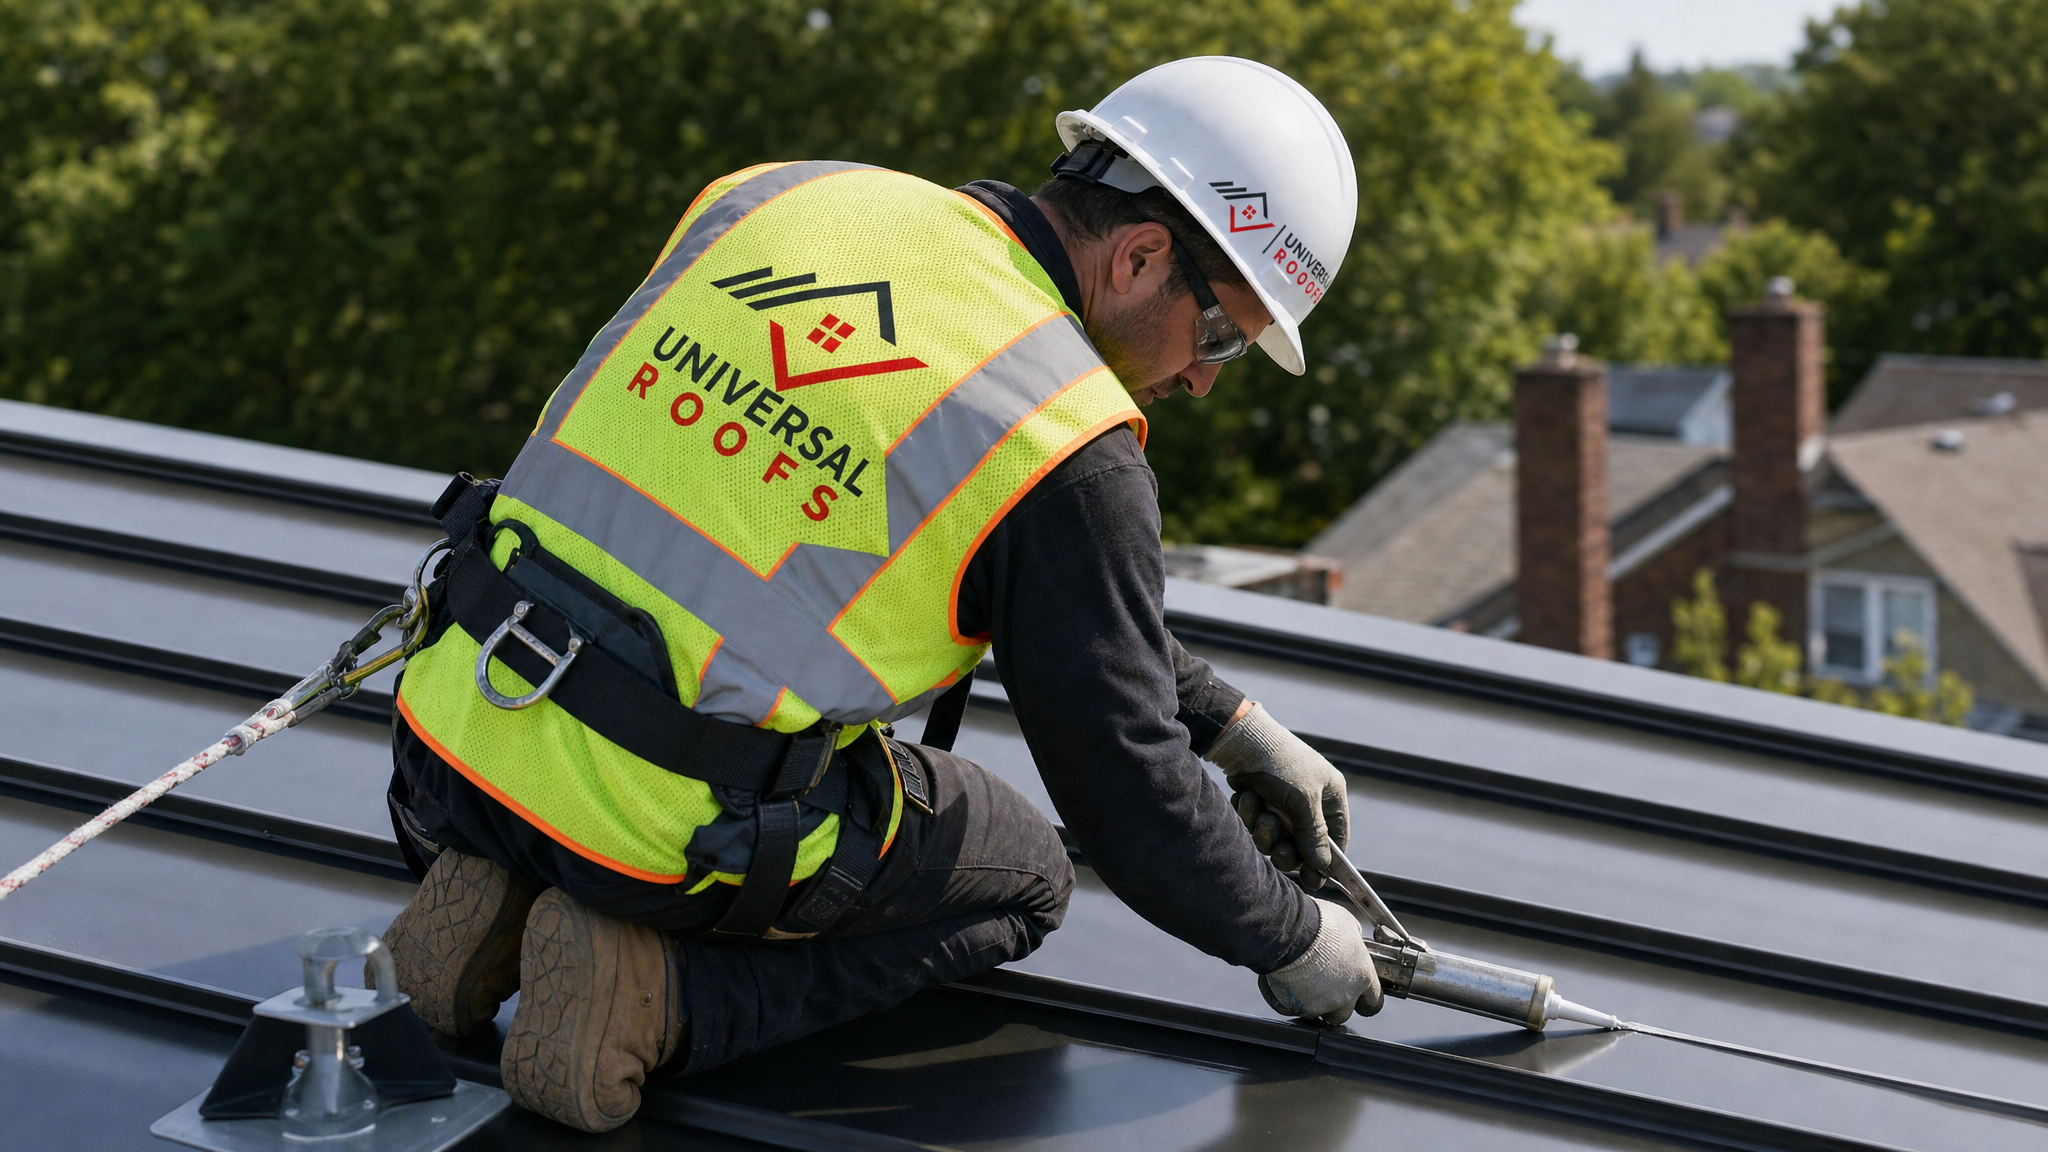
- Re-crimping – a portable seaming tool re-engages a loosened or improperly closed seam without removing the panel, restoring the mechanical lock.
- Sealant injection – for seams that have separated slightly, a compatible butyl or urethane sealant can be injected along the seam using a specialized applicator tip, then the seam is re-crimped over top.
- Panel clip inspection – standing seam systems float on concealed clips that allow thermal movement; a clip that has failed or backed out can cause an entire panel run to shift and open a seam at the ridge or eave.
- End-lap resealing – where two panel lengths overlap (common on long roof runs), the factory sealant tape can fail first, and this is often mistaken for a seam problem when it is actually an end-lap problem.
Because standing seam repairs require matching the exact panel profile and rib spacing, mismatched replacement panels are one of the most common mistakes we see from inexperienced installers. Always confirm the manufacturer and profile before ordering repair materials, and consider having our roof repair specialists source an exact match.
Repairing Dents, Punctures and Hail Damage
Toronto and the surrounding GTA see periodic hailstorms strong enough to dent lower-gauge residential steel panels, and wind-driven debris can occasionally puncture a panel outright. The repair technique depends entirely on severity:
Cosmetic dents that have not cracked the paint finish or coating typically do not require repair, since the panel’s water-shedding performance is unaffected. However, dents at seams or fastener locations should always be checked closely, since impact can loosen an adjacent seam or crack a washer.
Minor punctures and small holes (under roughly 10mm) can often be repaired with a butyl-backed metal repair patch and a compatible urethane sealant, provided the surrounding metal is not corroded. The patch should extend at least 75mm beyond the puncture in every direction and be mechanically fastened at the corners in addition to being sealed.
Larger punctures or tears generally call for a full panel section replacement rather than a patch, since a patched panel over a large opening rarely performs as well long-term and can be visually obvious. This is also the point where it makes sense to weigh a targeted panel replacement against a broader roof replacement if the roof is nearing the end of its service life anyway.
Corroded or rusted-through sections should never simply be patched over. Rust at a cut edge or scratch will continue spreading beneath any patch or paint, so the corroded metal must be cut out and replaced with new matching material, with all raw edges properly primed and sealed.
Comparing Metal Roof Repair Methods
The table below compares the most common metal roof repair techniques used across the GTA, including typical cost range, expected lifespan of the repair, and the situations each is best suited for.
| Repair Technique | Typical Cost Range (CAD) | Expected Lifespan | Best Suited For |
|---|---|---|---|
| Fastener replacement (per screw/area) | $150 – $450 | 10-15 years | Isolated leaks at exposed-fastener roofs |
| Seam re-crimping and sealing | $400 – $1,200 | 10-20 years | Standing seam roofs with loosened joints |
| Patch repair (small puncture/hole) | $250 – $600 | 5-10 years | Minor hail or debris punctures |
| Panel section replacement | $800 – $2,500 | 25-40 years | Large tears, corrosion, or storm damage |
| Flashing and penetration resealing | $300 – $900 | 8-15 years | Leaks at vents, chimneys, or skylights |
| Full recoat/recoating system | $3,500 – $9,000 | 15-20 years | Widespread minor corrosion or chalking finish |
These figures are general GTA market ranges and will vary based on roof pitch, accessibility, panel profile availability, and the extent of any hidden deck damage discovered once repairs begin.
Flashing, Skylight and Penetration Repairs
A large share of the metal roof repair calls we handle across Toronto, Mississauga and Vaughan are not actually failures of the metal panels themselves, but of the flashing details around penetrations – plumbing stacks, chimneys, HVAC curbs and skylights. Metal roofing sheds water extremely well across open panel runs, but every penetration interrupts that continuous surface and requires a properly integrated flashing detail.
Common flashing repair techniques include:
- Removing and replacing failed pipe boot collars, which degrade from UV exposure faster than the surrounding metal panel.
- Re-forming and resealing step flashing at chimneys and walls where the original flashing has separated from thermal movement.
- Rebuilding curb flashing around rooftop units so that it properly laps over the panel seams rather than butting against them.
- Replacing aged or improperly installed skylight curb flashing – a frequent issue we find during service calls, and one reason we recommend confirming skylight flashing was installed to manufacturer specification during any skylight replacement or new installation.
If your leak consistently appears near a roof penetration rather than in the open field of the roof, flashing is almost always the culprit, not the metal panels themselves.
Recoating and Rust Prevention for Ageing Metal Roofs
Many metal roofs across older GTA neighbourhoods are now 25-40 years old, and while the structural panels often remain sound, the factory paint or galvanized coating can chalk, fade, or develop surface rust. Rather than replacing an otherwise structurally sound roof, a specialized elastomeric or silicone recoating system can restore weathertightness and add another 15-20 years of service life at a fraction of replacement cost.
The recoating process typically involves:
- Pressure washing the entire roof surface to remove chalking, dirt, and biological growth.
- Wire-brushing and treating any rust spots with a rust-converting primer before coating.
- Caulking and sealing all seams, fasteners, and penetrations as part of the prep work, not as an afterthought.
- Applying a primer coat where bare or rusted metal is exposed.
- Applying two coats of a reflective elastomeric or silicone roof coating, which also improves summer energy efficiency by reflecting solar heat.
Recoating is not appropriate for every roof – panels with significant structural corrosion, delamination, or more than minor surface rust generally need replacement rather than a coating, since a coating cannot restore structural integrity to compromised metal.
Repair vs. Replacement: Making the Right Call
One of the most common questions homeowners ask is whether a given problem justifies a full repair or whether it makes more financial sense to move toward replacement. As a general rule of thumb across our service area:
| Situation | Recommended Approach | Reasoning |
|---|---|---|
| Roof under 20 years old, isolated leak | Targeted repair | Panels and coating are still within their service life; localized repair is cost-effective |
| Roof 20-35 years old, multiple failure points | Repair now, plan for replacement | Repairs extend life short-term, but widespread fastener/seam failure often clusters together |
| Roof over 35-40 years old, corrosion spreading | Full replacement | Structural steel integrity is compromised; recoating and patching no longer address root cause |
| Storm damage covering under 10% of roof area | Panel section replacement | Localized replacement matches existing panels without full tear-off cost |
| Storm damage covering over 25% of roof area | Full replacement (often insurance-eligible) | Matching aged panels becomes difficult; insurance claims often cover full replacement |
If you are unsure which category your roof falls into, an in-person inspection is the only reliable way to know. Our team can walk you through the trade-offs between repair and full roof replacement based on the actual condition of your panels, fasteners and deck, not just the age on paper.
Seasonal Timing and Maintenance for Metal Roof Repairs
Summer is genuinely the best season for most metal roof repair work in the GTA. Sealants and coatings cure properly in warm, dry conditions, panels are easier to walk on safely without ice or frost, and contractors have more flexibility to schedule around good weather windows before fall storms arrive. If you noticed a leak or staining over the winter, July and August are an ideal time to get it addressed before the next freeze-thaw cycle begins working on any existing weak points.
Beyond emergency repairs, a simple annual maintenance routine will catch most metal roof problems while they are still inexpensive to fix:
| Maintenance Task | Recommended Frequency | What It Prevents |
|---|---|---|
| Visual inspection of fasteners and seams | Annually (spring or summer) | Catches loosening before washers fail completely |
| Clearing debris from valleys and gutters | Twice yearly (spring and fall) | Prevents ponding water and ice damming |
| Inspecting flashing at penetrations | Annually | Identifies early sealant cracking before leaks develop |
| Checking for scratches or bare metal exposure | Annually | Prevents rust from taking hold at damaged coating areas |
| Professional inspection after major storms | As needed | Identifies hail or wind damage before it worsens |
Homeowners who follow a routine like this consistently get more years out of their roof than those who wait for an active leak before calling a contractor. It’s also worth checking your attic ventilation as part of this routine, since poor attic ventilation can accelerate condensation-related corrosion from underneath the panels, a problem that is often mistaken for an external leak.
When to Call a Professional vs. DIY
Many homeowners are comfortable handling small tasks like clearing debris or doing a visual inspection from a ladder, but actual metal roof repair work carries real risks that go beyond most DIY comfort levels. Metal roofing is slippery even when dry, becomes extremely hazardous when wet or frosted, and improper fastener or sealant work can actually create new leak paths rather than fixing the original one.
We recommend calling a professional roofer when:
- The roof pitch is steep enough that safe footing requires fall protection equipment.
- The repair involves standing seam re-crimping, which requires specialized tools most homeowners do not own.
- There is any sign of structural damage, sagging, or extensive corrosion.
- The leak source has not been clearly identified after a basic inspection.
- The roof is still under manufacturer warranty, since unauthorized repairs can void coverage.
For minor tasks like a single accessible fastener or a small sealant touch-up on a low-slope section, a confident and safety-conscious homeowner can often manage the job. For everything else, the cost of a professional repair is almost always lower than the cost of fixing a botched DIY attempt later, particularly once water has already found its way into the deck or insulation.
Choosing the Right Materials for a Lasting Repair
The single biggest factor separating a repair that lasts 15 years from one that fails within a season is material compatibility. Metal roofs involve several different metals and coatings, and mixing incompatible materials creates galvanic corrosion that can eat through a panel far faster than normal weathering ever would.
Key material considerations for any metal roof repair include:
- Matching fastener metal to panel metal – stainless steel fasteners on an aluminum roof, for example, can trigger galvanic corrosion around every screw hole over time.
- Using purpose-made metal roof sealants – generic silicone caulk from a hardware store often fails within a year or two on a metal roof; proper butyl and urethane sealants formulated for metal-to-metal movement last far longer.
- Colour-matching replacement panels and trim – beyond appearance, mismatched coatings can have different expansion rates that stress a seam over time.
- Confirming gauge and profile – a thinner replacement panel section will flex differently than the surrounding original panels, creating a new stress point at the seam.
Sourcing the correct materials is often the hardest part of a DIY metal roof repair, since many suppliers only sell in full-roll or full-panel quantities. Working with an established roofing contractor typically gives you access to smaller repair quantities and the exact colour-matched trim and fasteners needed for a seamless fix.
What is the best technique for metal roof repair on a small leak?
How much does professional metal roof repair typically cost in Toronto?
Can a metal roof be repaired instead of replaced?
What causes most metal roof leaks in the GTA?
Is summer a good time to schedule metal roof repair?
How do I know if my metal roof needs a professional repair versus DIY?
Need Help With What Are the Best?
If you are dealing with a leak, loose fasteners, storm damage, or an ageing metal roof anywhere in the GTA, the experienced team at Universal Roofs can diagnose the exact cause and recommend the right repair technique for your specific roofing system.
Call us today at (416) 732-2421 or request a free inspection to get started.
Universal Roofs proudly serves Toronto, Mississauga, Brampton, Vaughan, Markham, Oakville and the GTA since 2005.