
A roof leak rarely announces itself politely. It starts as a faint brown ring on a ceiling tile, a musty smell in the attic, or a drip during a July thunderstorm, and by the time most homeowners notice it, water has already been finding its way through flashing, shingles, or a failed sealant joint for weeks. Choosing the right roof leak repair products for lasting results is what separates a fix that survives the next decade of Toronto winters from one that reappears with the first spring thaw.
At Universal Roofs, we have spent almost two decades chasing leaks across the GTA, and one lesson repeats itself constantly: the product matters far less than getting the diagnosis right and matching the material to the actual failure. A premium sealant applied to the wrong problem will fail just as fast as a bargain-bin patch. This guide walks through the roofing products that genuinely hold up in our climate, how to match them to the type of leak you are dealing with, and when a product-level fix simply is not enough.
Whether you are dealing with a small drip around a vent pipe or a stubborn leak that keeps returning near a chimney, understanding your options before you climb a ladder — or call a contractor — will save you money and frustration.
Why Product Choice Matters More in the GTA Climate
Toronto and the surrounding regions put roofing materials through a brutal annual cycle: deep freezes in January, rapid freeze-thaw swings in March, humid downpours in July, and UV exposure that bakes shingles and sealants all summer long. A repair product that performs beautifully in a mild coastal climate can crack, shrink, or delaminate here within a single season if it is not rated for our temperature range.
This is why we always recommend products rated for at least -40°C to 80°C service temperatures, with proven flexibility after repeated freeze-thaw cycling. Cheaper caulking-tube sealants sold at big-box stores are often rated for general use, not roofing, and they harden and crack within a year or two of GTA winters. Reading the technical data sheet — not just the marketing copy on the tube — is the single best habit a homeowner can build before buying any leak repair product.
Freeze-thaw movement is also why so many “permanent” patches fail at the edges. Roofing materials expand and contract at different rates, and a rigid patch over a flexible substrate will eventually separate. The best-performing products on this list are engineered specifically to move with the roof rather than fight against it.
Roofing Sealants and Caulks: What Actually Lasts
Sealants are the most commonly reached-for roof leak repair products, and also the most commonly misused. There are four main chemistries worth knowing:
Butyl rubber sealant is the workhorse for flashing joints, vent boots, and metal-to-metal seams. It stays pliable for years, adheres aggressively to metal, and resists ponding water better than almost anything else in this category. It is our default choice for flashing repairs.
Polyurethane roofing sealant offers excellent UV resistance and paintability, making it a strong choice for visible repairs on shingle roofs where the patch needs to blend in. It cures firmer than butyl, which makes it less ideal for joints that see constant movement.
Silicone roofing sealant is the most weatherproof option and performs exceptionally on flat and low-slope roofing, but it cannot be painted over and it does not bond well to already-degraded asphalt, which limits where we use it.
Asphalt plastic roofing cement (trowel-grade) remains the standard for shingle tab reattachment and small membrane patches on flat roofs. It is inexpensive and easy to apply, but it dries out and becomes brittle faster than the other three, so it is best treated as a shorter-term or supplementary fix rather than a permanent solution on its own.
| Sealant Type | Best Used For | Typical Lifespan | Temperature Rating |
|---|---|---|---|
| Butyl rubber sealant | Flashing joints, vent boots, metal seams | 10-15 years | -40°C to 90°C |
| Polyurethane sealant | Shingle repairs, visible patches | 8-12 years | -35°C to 80°C |
| Silicone sealant | Flat roof seams, ponding areas | 15-20 years | -45°C to 120°C |
| Asphalt plastic cement | Shingle tabs, quick membrane patches | 2-5 years | -20°C to 70°C |
Flashing Repair and Replacement Materials
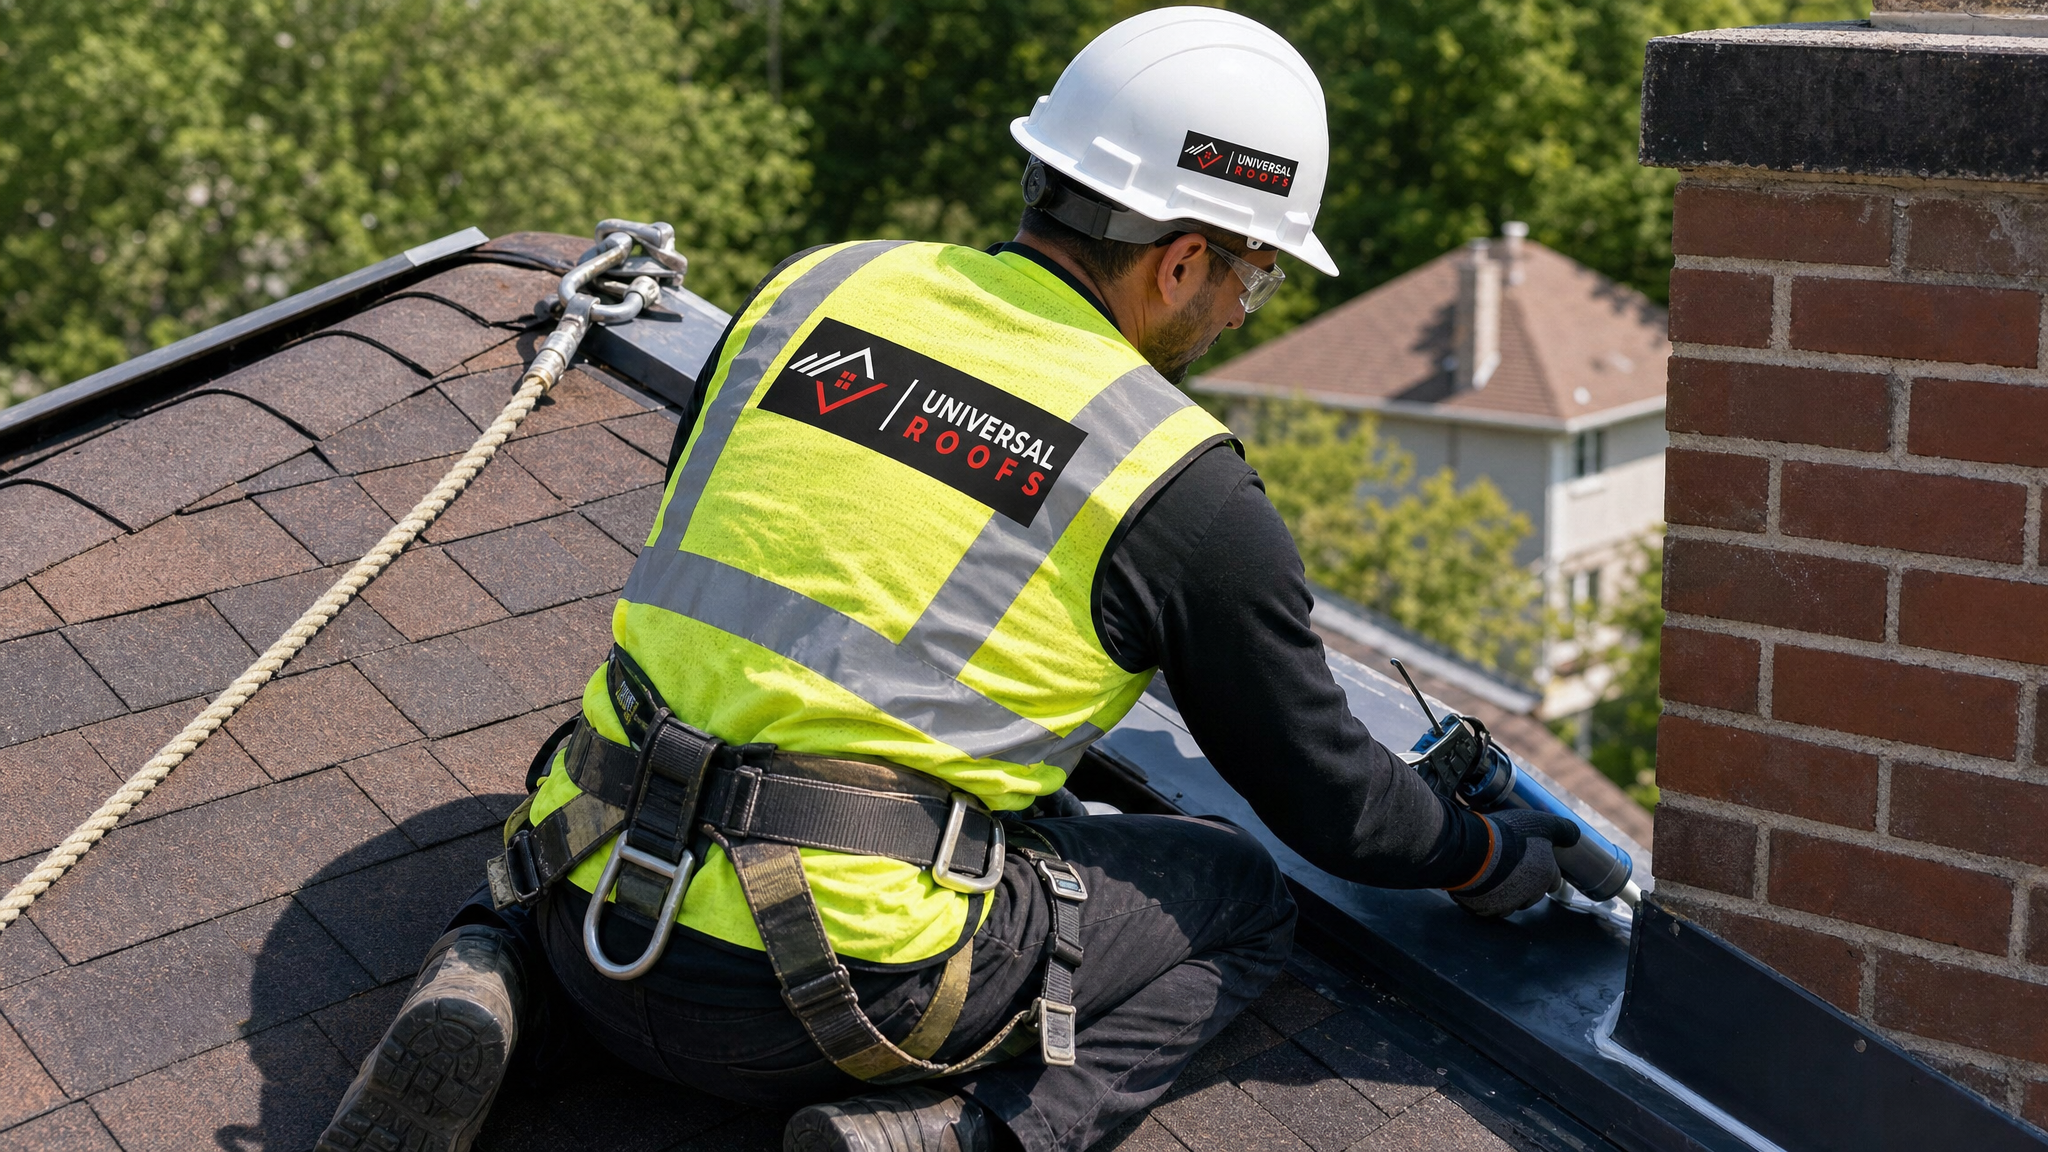
More roof leaks originate at flashing than anywhere else on the structure. Flashing is the metal barrier installed at every roof penetration and transition — chimneys, skylights, walls, valleys, vent pipes — and it is where two different materials meet, which makes it the most vulnerable point on any roof.
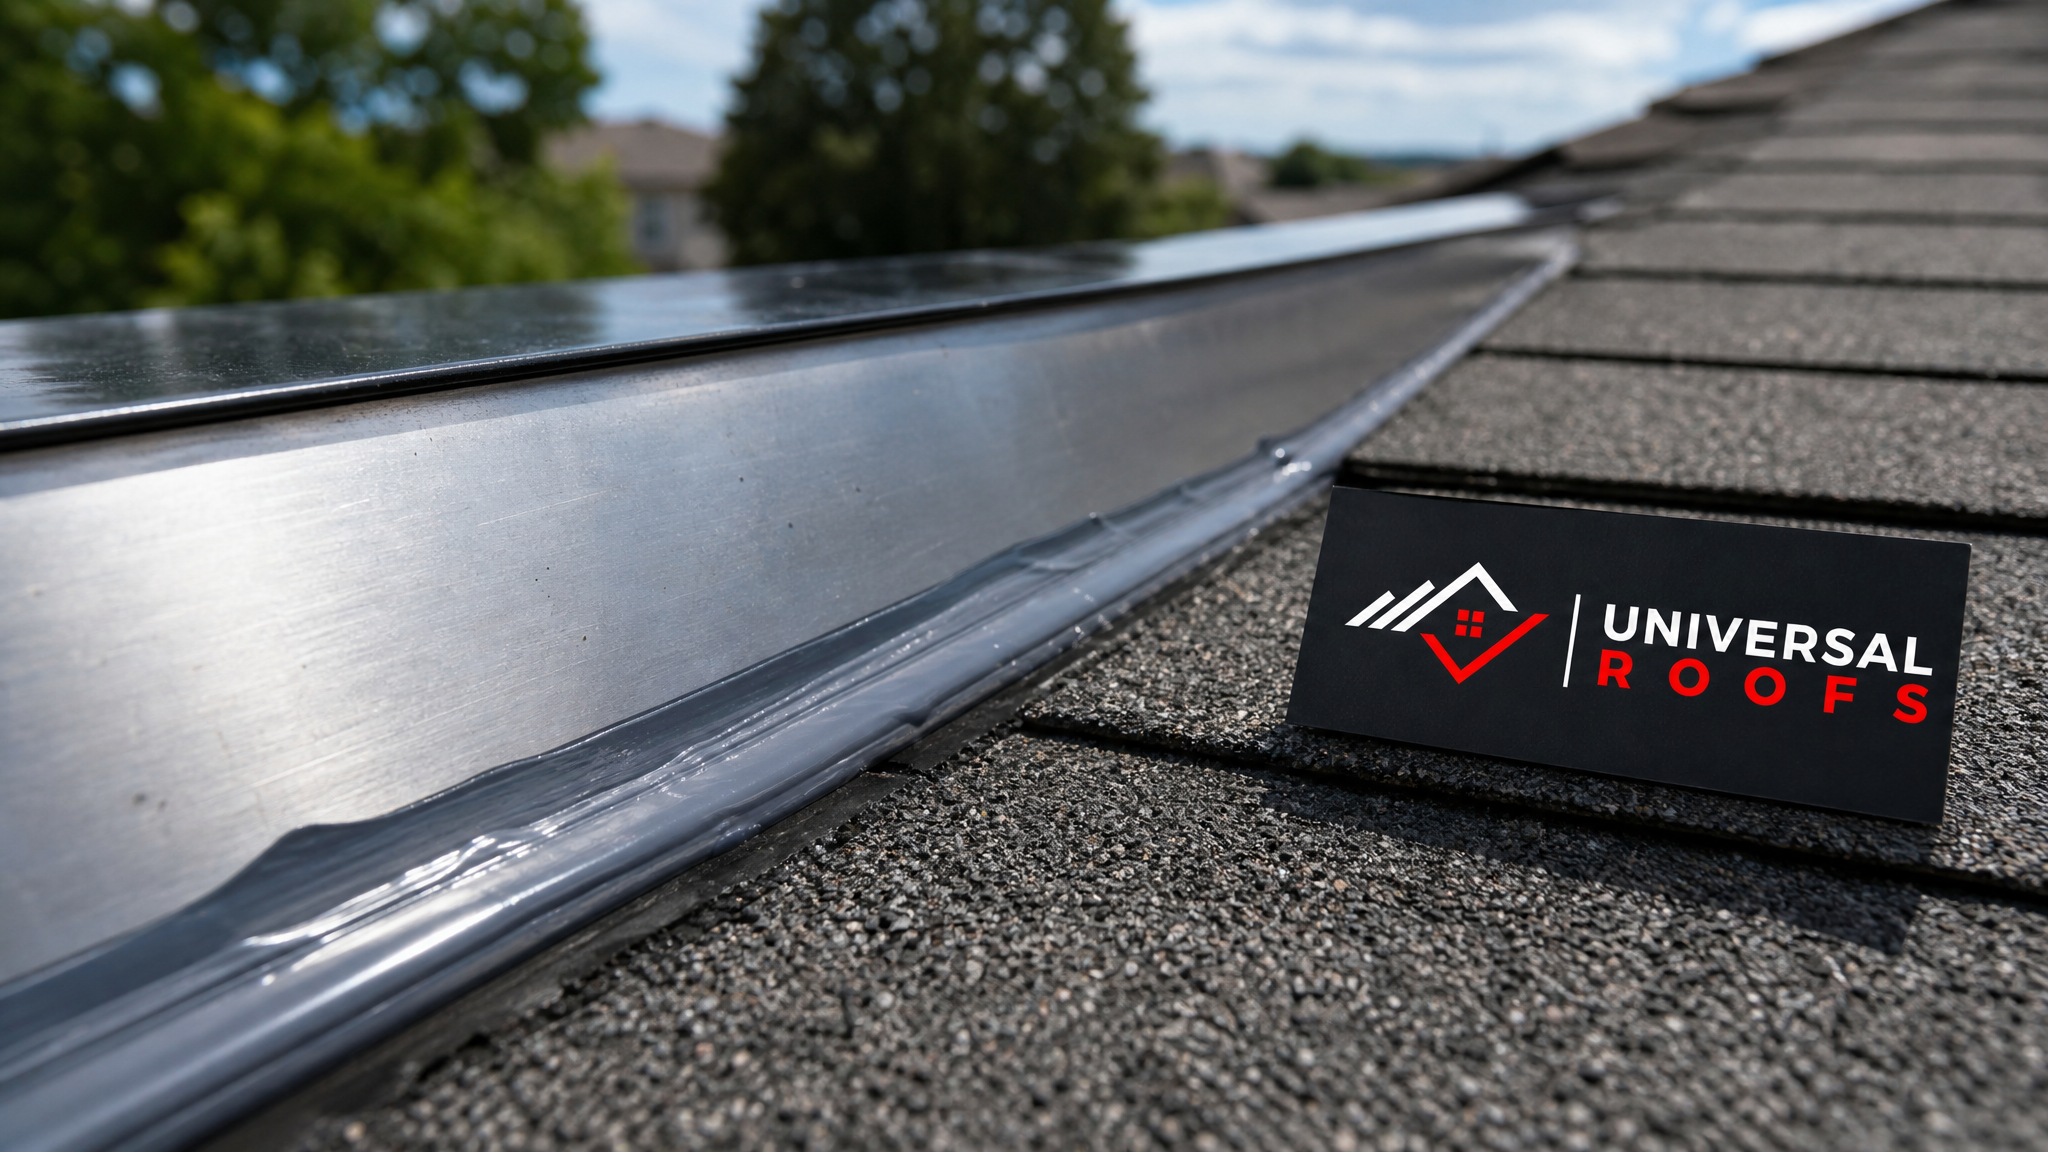
When a flashing leak is caught early, a fresh bead of butyl sealant under the lifted edge, combined with new roofing nails and cap sealant, can resolve it. But when flashing has rusted, warped, or pulled away from the substrate, sealant alone is a temporary band-aid. At that point, the correct product is new flashing material, and material choice matters:
Aluminum flashing is lightweight, corrosion-resistant, and easy to form on site, making it the most common choice for residential re-flashing in our market. Galvanized steel flashing offers more rigidity and impact resistance, which suits areas prone to ice damage, but it requires a protective coating to prevent rust over time. Copper flashing is the premium option, essentially maintenance-free for 50+ years, and often specified around skylights and chimneys on higher-end homes.
If your leak is around a roof window, the flashing kit is just as important as the unit itself — see our skylight installation guidance for how proper flashing integration prevents the leaks we see most often around these fixtures, and our skylight replacement page for what to expect when an older unit’s flashing has failed beyond repair.
Shingle and Membrane Patch Products
For asphalt shingle roofs, the most common leak sources after flashing are cracked, curled, or missing shingles, and lifted or torn tabs. The right product depends on the extent of damage:
A single cracked shingle can often be repaired with a bead of roofing cement under the crack and a matching sealant bead over the top — provided the shingle is not brittle throughout. Brittle, sun-baked shingles will crack again nearby within a season, so replacement is the more durable answer once a shingle has lost its flexibility.
For torn or missing shingle tabs, self-sealing replacement shingles matched to the existing colour and profile, secured with roofing nails and sealed at the tab edges, provide the most durable repair. Avoid relying on cement alone to hold a shingle in place — wind uplift in GTA storms will work a poorly-fastened shingle loose again.
On flat and low-slope sections, common on additions, garages, and older Toronto homes, the leak repair products differ entirely. Modified bitumen and TPO systems use heat-welded or self-adhered patches specific to the membrane type; using the wrong patch material on the wrong membrane is one of the most frequent DIY mistakes we see. If your home has any flat roof area, our flat roofing services page outlines the membrane types in more depth, and matching the patch material to the existing membrane brand and type is essential for adhesion.
| Roof Type | Common Leak Product | Application Method | Notes |
|---|---|---|---|
| Asphalt shingle | Self-sealing replacement shingles | Nail + tab sealant | Match colour and profile exactly |
| Modified bitumen (flat) | Torch-applied or peel-and-stick patch | Heat weld or self-adhere | Must match membrane type |
| TPO membrane (flat) | TPO-specific seam tape | Heat gun weld | Standard asphalt cement will not bond |
| Cedar shake | Matching cedar shim + flashing | Hand-split replacement | Requires specialty contractor |
Sealing Around Vents, Pipes, and Roof Penetrations
Rubber vent boots and pipe collars degrade faster than almost any other roofing component because they are constantly flexing and directly exposed to UV. A cracked rubber boot is one of the most common — and most overlooked — sources of ceiling stains near bathrooms and kitchens.
The most durable fix is a full boot replacement using a product with a lead or aluminum base collar and a UV-resistant EPDM or silicone rubber sleeve, sealed at the top with a bead of matching sealant. Slip-on rubber patches sold as universal fixes tend to fail within two to three years because they rely entirely on adhesive rather than a mechanical seal, and they should be treated as a temporary measure at best.
Attic ventilation also plays a quiet but important role here. Poor attic airflow drives condensation that mimics a roof leak, and it accelerates the deterioration of the very sealants and boots meant to keep water out. If you are chasing a leak that never quite resolves, it is worth having your attic ventilation assessed alongside the roof surface itself.
DIY Products vs. Professional-Grade Materials
Homeowners can absolutely handle small, well-diagnosed leaks with off-the-shelf products, but there is a meaningful gap between consumer-grade tubes purchased at a hardware store and the professional-grade materials contractors use. The difference usually comes down to solids content, UV stabilizers, and elastomeric performance — the percentage of the product that remains as durable material after curing, and how well it retains flexibility over years of temperature swings.
A $12 tube of general-purpose roof sealant might contain 40-50% solids and offer two to three years of real performance. A professional-grade polyurethane or silicone product, often applied with proper surface preparation and primer, can contain 90%+ solids and perform reliably for a decade or more. The upfront cost difference rarely matches the difference in service life.
| Factor | Consumer-Grade Product | Professional-Grade Product |
|---|---|---|
| Solids content | 40-60% | 85-95%+ |
| Typical cost | $10-20 per tube | $35-70 per tube or specialty kit |
| Expected lifespan | 1-3 years | 8-20 years |
| UV stabilizers | Minimal or none | Formulated for exposed use |
| Surface prep required | Minimal | Primer and cleaning typically specified |
When a Product Alone Will Not Solve the Problem
It is worth being direct about the limits of any leak repair product: no sealant, patch, or flashing kit can fix a leak caused by structural sagging, extensive rot in the roof deck, or a shingle system that has reached the end of its service life. In these situations, applying more product simply delays an inevitable, larger repair — and can mask the real extent of water damage from an insurance adjuster or future buyer.
A general rule we use with clients: if a leak has recurred more than twice in the same location, or if the surrounding shingles are visibly curling and granule loss is heavy, it is time to have a full roof repair assessment rather than another round of patching. If more than 25-30% of the roof surface shows comparable wear, a full roof replacement is usually more cost-effective than continuing to chase individual leaks across an aging roof.
This is also where professional inspection earns its keep. A contractor can trace water staining back to its true entry point — which is often metres away from where the stain appears on the ceiling, since water travels along rafters and sheathing before dripping down — and recommend the right product or repair scope rather than guessing from the attic hatch. You can read how past clients rate this process on our reviews page, or check common questions on our FAQ page before booking.
Step-by-Step: Applying a Roof Leak Repair Product Correctly
Product selection is only half the job — application technique determines whether even the best sealant performs as advertised. The following sequence applies to most sealant and small patch repairs on sloped roofs:
Start by identifying the true source, not just the visible symptom, by inspecting the attic during or immediately after rainfall if possible. Next, clean the repair area completely, removing old sealant, granules, and debris with a wire brush, since new product will not bond properly over failed material. Allow the surface to dry fully — moisture trapped under a fresh seal is one of the most common causes of early failure. Apply a compatible primer if the product data sheet calls for one, particularly for silicone and polyurethane sealants on porous substrates. Apply the sealant or cement in a continuous, even bead, tooling it smooth so it sheds water rather than pooling. Finally, inspect the repair after the next few rainfalls and again after the first hard freeze, since this is when marginal repairs typically reveal themselves.
| Step | Task | Common Mistake to Avoid | Approx. Time |
|---|---|---|---|
| 1 | Locate true leak source | Treating the ceiling stain as the leak point | 30-60 minutes |
| 2 | Clean and prep surface | Applying over old, failed sealant | 15-30 minutes |
| 3 | Dry surface fully | Sealing over trapped moisture | Several hours to 1 day |
| 4 | Apply primer if required | Skipping primer on porous substrates | 15 minutes |
| 5 | Apply and tool sealant | Uneven beads that pool water | 20-40 minutes |
| 6 | Inspect after rain and frost | Assuming the repair is done after one dry week | Ongoing |
Seasonal Timing for Roof Leak Repairs in the GTA
Summer is genuinely the best window for most leak repair work in Toronto. Sealants and cements cure more reliably above 10°C, shingles are pliable enough to lift and reseal without cracking, and dry stretches between July storms give freshly applied products time to set before the next rainfall tests them. Attempting sealant repairs in late fall or winter, when many homeowners first notice a leak after a cold snap, often means the product cannot cure properly and the repair needs to be redone in spring anyway.
If you have noticed a leak this summer, this is the ideal time to address it properly rather than applying a rushed patch and hoping it holds through winter. Our teams serve homeowners across Toronto, Peel Region, York Region, Halton Region, and Durham Region, and summer scheduling tends to be the most flexible time of year to get a proper assessment booked. You can learn more about our approach on our about page.
What are the best roof leak repair products for lasting results?
How long should a properly applied roof sealant last?
Can I use roofing cement to fix a leak myself?
Why do roof leak repairs fail after only a year or two?
What is the best time of year to apply roof leak repair products?
When should I stop patching and consider a full roof repair instead?
Need Help With Top Roof Leak Repair?
Choosing the right product is only part of a lasting fix — proper diagnosis, surface preparation, and correct application matter just as much. Universal Roofs has been solving stubborn GTA leaks since 2005, and our technicians carry professional-grade materials matched to your specific roof type rather than one-size-fits-all fixes.
Call us today at (416) 732-2421 or request a free inspection to get started.
Universal Roofs proudly serves Toronto, Mississauga, Brampton, Vaughan, Markham, Oakville and the GTA since 2005.