
A metal roof is one of the best long-term investments a Toronto homeowner can make, but the metal panels themselves are only half the story. Without the right insulation strategy underneath, a metal roof can transfer heat straight into your attic on a July afternoon and let warmth escape just as fast on a January night. That gap between roofing material and insulation performance is where most of the energy savings homeowners expect from a metal roof quietly disappear.
At Universal Roofs, we have been installing and retrofitting metal roofs across the Greater Toronto Area since 2005, and the question we hear most from homeowners who just switched from asphalt shingles is simple: “Why isn’t my energy bill dropping as much as I expected?” The answer almost always comes down to insulation, ventilation, and a handful of overlooked details in the roof assembly. This guide walks through seven practical, proven ways to boost metal roof energy efficiency, with real GTA climate considerations built into every recommendation.
Whether you already have a standing seam metal roof or you are planning a roof replacement and want to get the insulation right from day one, these tips will help you get the comfort and energy performance that metal roofing promises on paper.
Why Metal Roof Insulation Matters More in the GTA Climate
Toronto and the surrounding regions see some of the widest seasonal temperature swings in the country. Summers regularly push past 30 degrees Celsius with high humidity, while winters bring extended stretches below freezing, punctuated by the freeze-thaw cycles that are notoriously hard on building envelopes. A metal roof handles both extremes well on its own merits — it reflects solar radiation better than asphalt shingles and sheds snow more efficiently — but metal is also highly conductive. Without adequate insulation and an air gap, heat moves through a metal panel far faster than through shingles layered over felt and plywood.
That conductivity cuts both ways. In summer, an under-insulated metal roof can radiate heat into the attic and living space below, forcing your air conditioner to work overtime. In winter, warm indoor air can escape upward through gaps in the insulation layer, which not only wastes energy but also contributes to ice damming at the eaves — a problem we see constantly on homes across Toronto, Peel Region, and York Region. Getting the insulation strategy right is not a cosmetic upgrade; it is the mechanism that actually delivers the energy savings a metal roof is supposed to provide.
Tip 1: Choose the Right Insulation R-Value for Your Attic
The Ontario Building Code recommends a minimum attic insulation level of R-60 for most residential applications in our climate zone, though many older GTA homes were built to much lower standards and have never been upgraded. Before you insulate under or around a metal roof, get an accurate measurement of your current R-value. A qualified contractor can do this in under an hour using a simple depth check combined with material type identification.
If your attic currently sits at R-20 or R-30, jumping to R-60 will noticeably reduce both your summer cooling load and winter heating load. The type of insulation matters too — blown-in cellulose, fibreglass batts, and spray foam all perform differently in terms of settling, air sealing, and moisture resistance. For most retrofit situations under a metal roof, we favour a combination of an air-sealed baseline layer topped with blown-in insulation to reach target R-values without adding excessive weight to the roof structure.
| Insulation Type | Typical R-Value per Inch | Air Sealing Ability | Best Use Under Metal Roofing |
|---|---|---|---|
| Closed-cell spray foam | R-6.0 to R-6.5 | Excellent | Cathedral ceilings, tight rafter bays |
| Open-cell spray foam | R-3.5 to R-3.7 | Good | Deep rafter bays, sound dampening |
| Blown-in cellulose | R-3.2 to R-3.8 | Fair (needs separate air barrier) | Flat attic floors, retrofits |
| Fibreglass batts | R-3.0 to R-3.5 | Poor without taping | New construction, budget projects |
| Rigid foam board | R-4.5 to R-6.5 | Excellent at seams | Above-deck continuous insulation |
Tip 2: Install a Continuous Air Barrier Before Adding Insulation
Insulation slows down heat transfer, but it does very little to stop air leakage on its own. Warm, moist household air that escapes through pot lights, bathroom fan housings, attic hatches, and wiring penetrations carries far more energy loss than most homeowners realize, and it is also the leading cause of condensation problems inside a metal roof assembly. A continuous air barrier — typically a sealed poly sheet, taped rigid foam, or a spray foam layer — needs to go in before or alongside your insulation upgrade.
This step is frequently skipped because it is less visible than adding more insulation depth, but it is arguably the more important of the two. We have inspected attics with R-50 insulation that still had drafty, energy-wasting ceilings simply because nobody sealed the penetrations first. If you are unsure whether your home has air leakage issues, a blower door test or an infrared scan during a roof repair visit can quickly identify the weak points.
Tip 3: Add a Radiant Barrier Beneath the Metal Panels
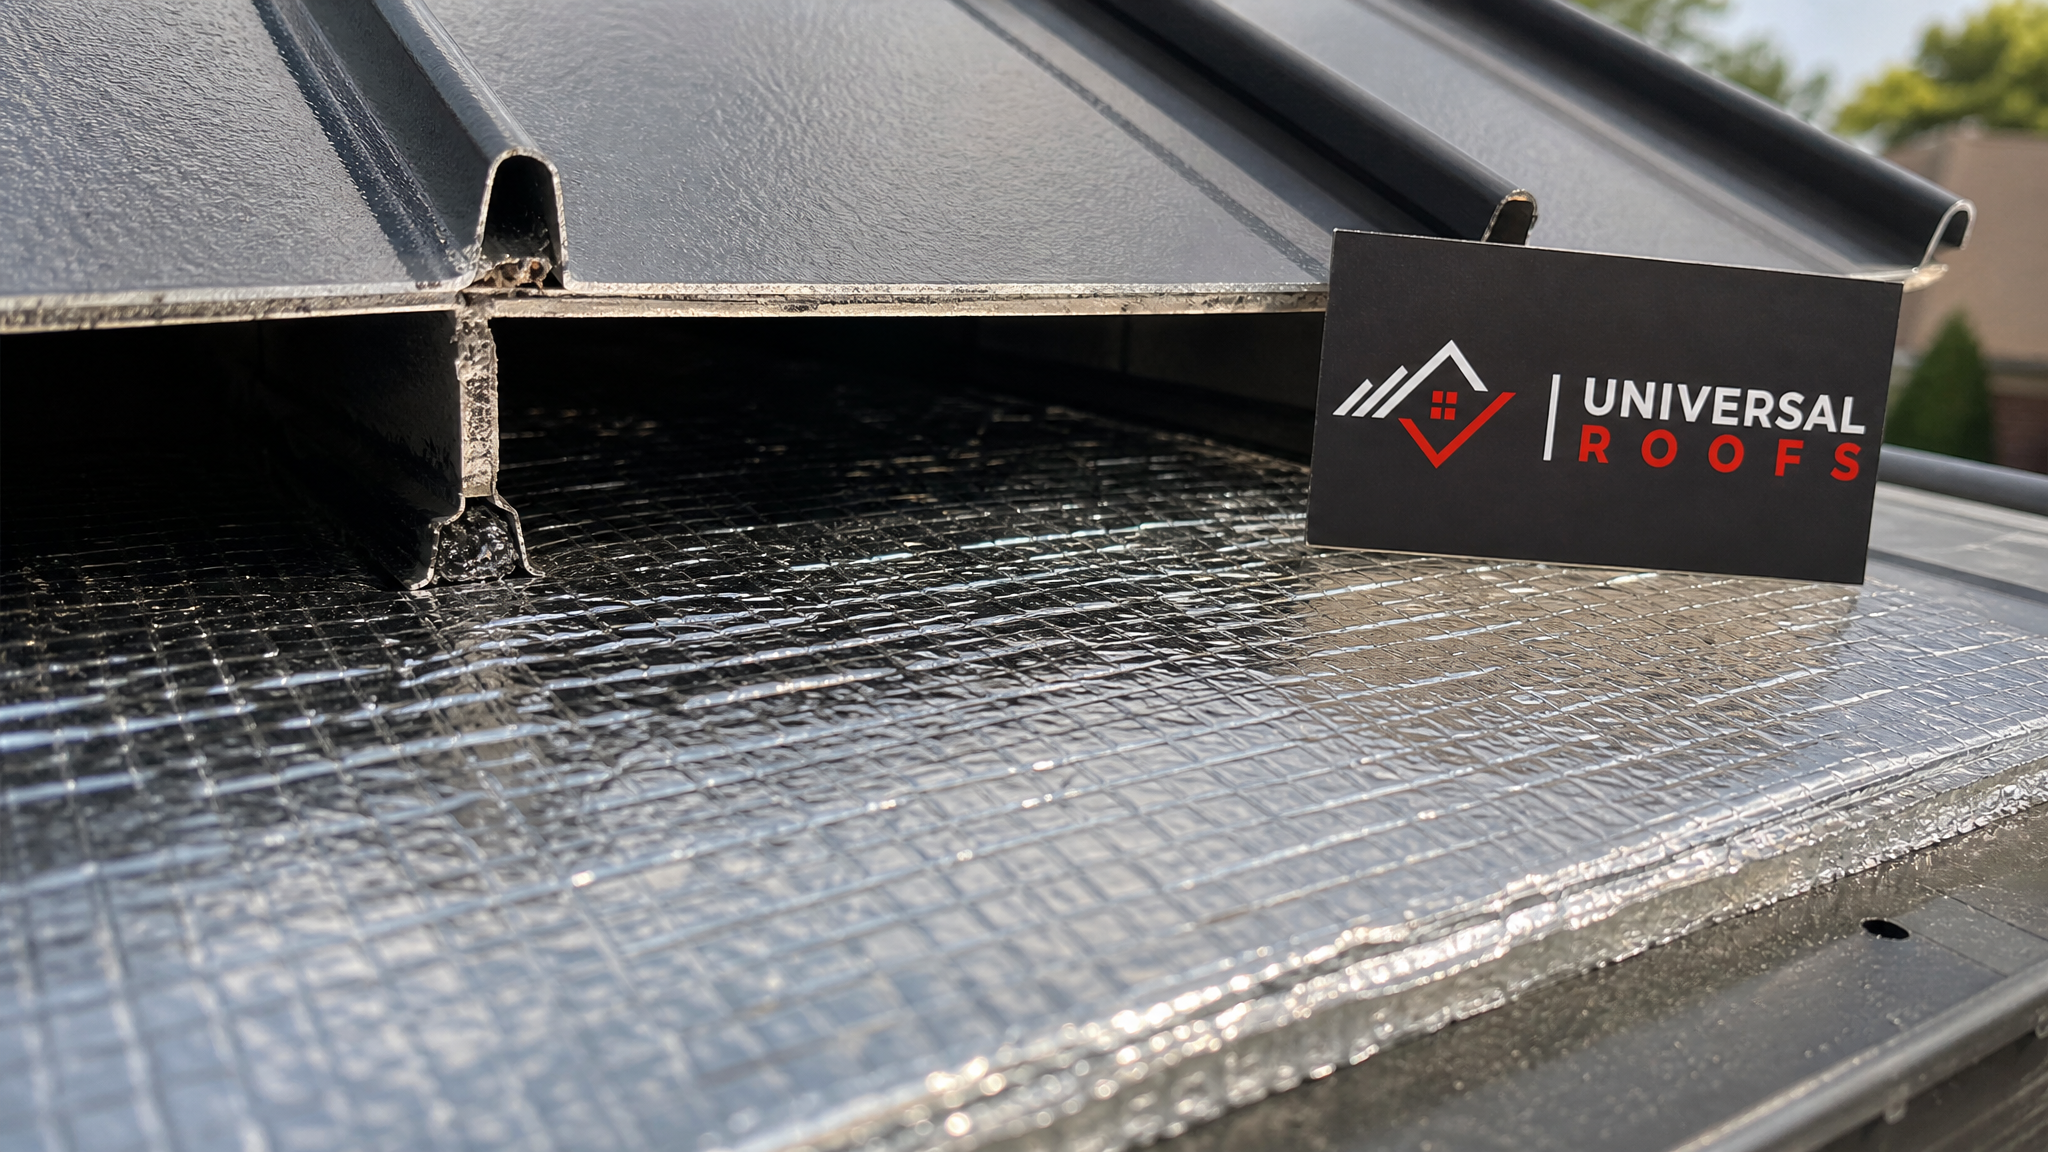
Metal roofing already reflects a meaningful percentage of solar radiation compared to dark asphalt shingles, but pairing it with a radiant barrier amplifies that benefit significantly. A radiant barrier is a reflective foil-faced membrane installed directly under the metal panels, facing an air gap. Instead of absorbing radiant heat and re-emitting it into the attic, the reflective surface bounces most of that energy back out before it ever reaches your insulation layer.
In our experience across GTA installations, homes with a radiant barrier plus proper attic insulation see attic temperatures run noticeably cooler on peak summer afternoons compared to homes with insulation alone. This translates into a lighter workload for your air conditioning system and less thermal stress on the roof deck itself, which extends the lifespan of the materials underneath.
Tip 4: Create and Maintain a Proper Ventilation Air Gap
One of the most common mistakes we see on metal roof retrofits is insulation pushed up too tight against the underside of the panels, eliminating the airflow channel that metal roofing systems depend on. A vented air gap — usually created with battens or a purpose-built vent mat — allows heat that does get through the panels to escape via convection rather than radiating directly into the insulation layer below.
This air gap also plays a critical role in moisture management. Metal panels experience daily temperature swings that cause condensation to form on the underside, especially during Toronto’s humid summer nights and cold winter mornings. Without a ventilation channel, that moisture has nowhere to go and can saturate insulation, promote mould growth, and corrode fasteners from the inside. A well-designed system includes both an intake path at the eaves and an exhaust path at the ridge, working with your attic’s soffit and ridge vents rather than against them.
Tip 5: Seal and Insulate the Attic Hatch, Skylights, and Roof Penetrations
Even a flawless insulation job across the main attic floor or rafter bays will underperform if the smaller penetrations are ignored. Attic access hatches are notorious energy leaks — many are nothing more than a thin plywood panel with no weatherstripping. A simple insulated, weatherstripped hatch cover can close a surprisingly large gap in your thermal envelope for a modest cost.
Skylights deserve particular attention on a metal roof because the flashing details around the curb are a common source of both air leakage and heat transfer. Older single-pane or poorly flashed skylights can act like a thermal bridge straight through your insulation layer. If your skylights are more than 12 to 15 years old, a skylight replacement with a modern, well-insulated unit and properly detailed flashing often pays for itself through reduced energy loss alone, separate from any comfort improvements. The same logic applies to plumbing stacks, exhaust vents, and any chimney penetrations — each one needs a properly insulated and air-sealed collar.
Tip 6: Match Your Attic Insulation Strategy to Your Roof Type
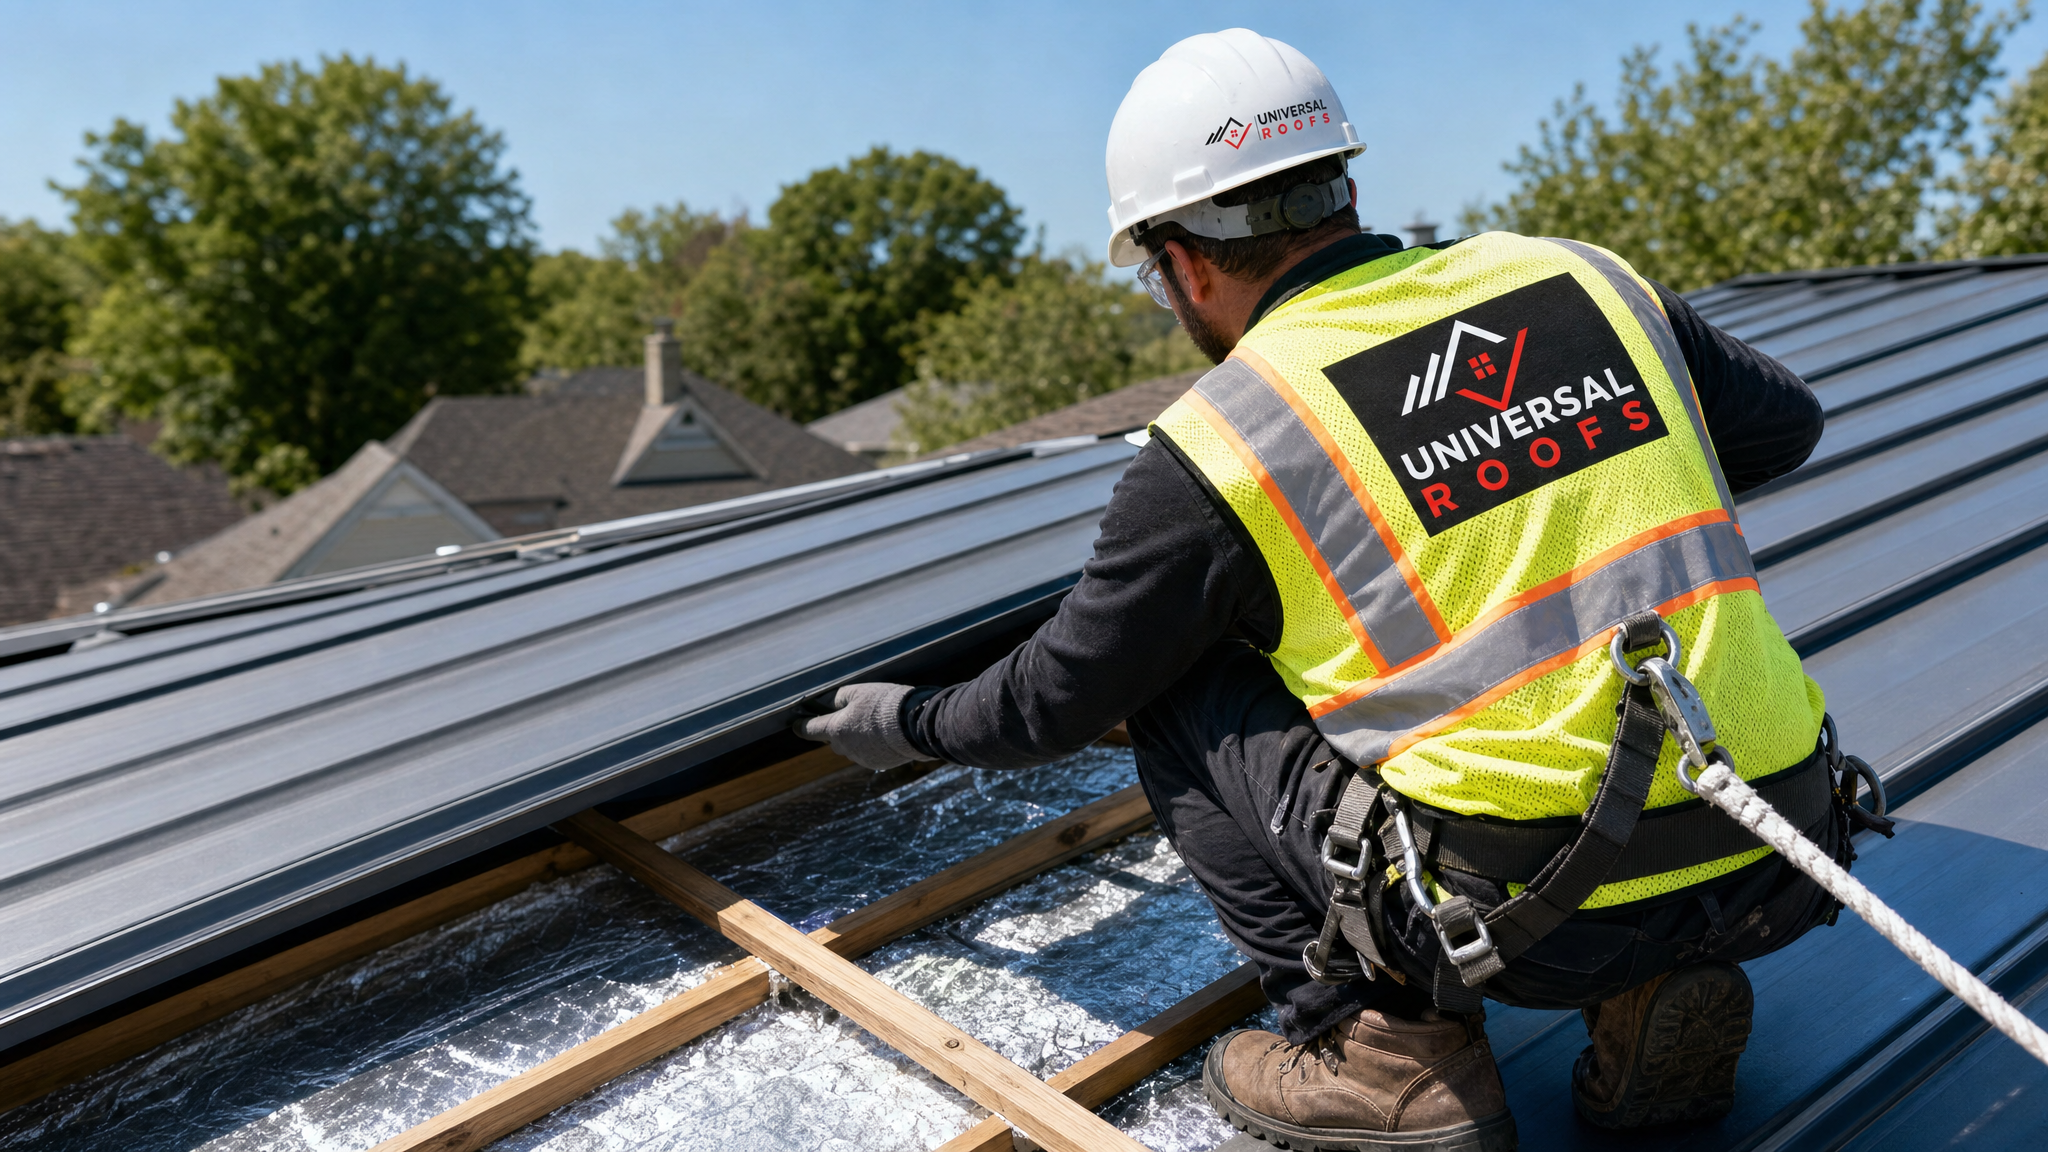
Not every home has a simple, unfinished attic floor to insulate. Cathedral ceilings, converted attic living spaces, and low-slope or flat sections all require different approaches, and getting the strategy wrong can trap moisture or leave cold spots that undercut your energy savings. If your home has a flat roofing section transitioning into a metal roof slope, the insulation and vapour barrier details at that junction need special care, since flat assemblies typically rely on continuous above-deck insulation rather than a vented attic cavity.
For cathedral ceilings under metal roofing, closed-cell spray foam is often the most reliable choice because it combines high R-value per inch with an integrated air and vapour barrier, which matters when there is no separate attic space to vent excess moisture. For standard attic floors, a hybrid approach of air sealing plus blown-in insulation usually delivers the best value. The table below summarizes which strategy fits which roof configuration.
| Roof/Attic Configuration | Recommended Insulation Approach | Ventilation Requirement | Typical Target R-Value |
|---|---|---|---|
| Standard vented attic, flat ceiling | Air seal + blown-in cellulose/fibreglass | Soffit-to-ridge vent path | R-60 |
| Cathedral/vaulted ceiling | Closed-cell spray foam in rafter bays | Vent channel or unvented (foam-only) | R-31 to R-40 |
| Finished attic living space (knee walls) | Spray foam at rafters and knee walls | Vented rafter bays where possible | R-31 to R-40 |
| Flat roof transitioning to metal slope | Continuous above-deck rigid insulation | Not typically vented; relies on membrane | R-35 to R-45 |
| Metal roof over existing shingles (retrofit) | Vent mat/battens plus radiant barrier | Air gap between old roof and new panels | Depends on existing attic insulation |
Tip 7: Schedule Regular Inspections to Catch Insulation Failures Early
Insulation performance degrades silently. Cellulose can settle and lose loft over time, batts can shift or become compressed, and moisture intrusion from a small roof leak can saturate a section of insulation long before you notice a stain on the ceiling. Because a metal roof is engineered to last 40 to 70 years, it is easy to assume the insulation underneath needs no attention for just as long — but insulation and ventilation components typically need evaluation every five to ten years, or sooner if you notice ice damming, uneven snow melt patterns on the roof, or rooms that feel unusually hot or cold compared to the rest of the house.
An annual or biannual inspection also gives a contractor the chance to check your attic for early signs of moisture, pest intrusion, or ventilation blockages before they compromise your insulation’s effectiveness. Homeowners across Halton Region and Durham Region who schedule these checkups tend to catch small problems — a gap in the vapour barrier, a crushed vent channel — long before they turn into a costly repair or a spike in utility bills.
Estimated Costs and Payback for Metal Roof Insulation Upgrades
Homeowners naturally want to know what these upgrades cost and how quickly they pay for themselves. Exact pricing depends on attic size, accessibility, and existing conditions, but the table below reflects typical ranges we see on GTA projects. These are general planning figures; a proper on-site assessment is the only way to get an accurate quote for your specific home.
| Upgrade | Typical Cost Range (CAD) | Estimated Annual Energy Savings | Approximate Payback Period |
|---|---|---|---|
| Air sealing (attic penetrations, hatch) | $400 to $900 | 5 to 10 percent of heating/cooling costs | 1 to 3 years |
| Topping up attic insulation to R-60 | $1,500 to $3,500 | 10 to 20 percent of heating/cooling costs | 3 to 6 years |
| Radiant barrier installation | $1,000 to $2,500 | 5 to 15 percent summer cooling costs | 3 to 7 years |
| Closed-cell spray foam (cathedral ceiling) | $3,500 to $8,000 | 15 to 25 percent of heating/cooling costs | 5 to 9 years |
| Skylight replacement with insulated unit | $1,200 to $3,000 per unit | Reduces localized heat loss and drafts | 4 to 8 years |
Signs Your Metal Roof Insulation Needs Attention Now
Some warning signs are subtle, but a few are hard to miss once you know what to look for. Icicles or ice dams forming along the eaves in winter usually mean warm air is escaping through the insulation and melting snow unevenly on the roof surface. Patchy snow melt patterns on a metal roof — sections that clear off quickly while neighbouring areas stay snow-covered — point to inconsistent insulation depth or air leakage hot spots directly below.
In summer, upstairs rooms that feel significantly warmer than the rest of the house, combined with an air conditioner that seems to run constantly without keeping up, often trace back to heat radiating through an under-insulated or poorly ventilated metal roof assembly. Musty odours in the attic, visible moisture staining on the underside of the roof deck, or frost forming on nails and fasteners during cold snaps are all signs that ventilation and vapour control need to be reassessed alongside the insulation itself. Any of these symptoms are worth a professional look before they escalate into structural or mould issues.
How Professional Installation Protects Your Energy Efficiency Investment
It is tempting to treat insulation as a simple do-it-yourself weekend project, and for small top-up jobs that can work. But the interaction between insulation, air barriers, ventilation channels, and the metal roof assembly itself is more technical than it appears, and mistakes are not always obvious until a problem shows up years later as a leak, a mould issue, or an unexplained jump in energy bills. Improperly installed vapour barriers can trap moisture instead of blocking it. Insulation compressed against the roof deck can choke off the ventilation channel a metal roof needs to shed condensation. Gaps left around recessed lighting or bath fans can undo the benefit of an otherwise well-insulated attic.
Working with an experienced Universal Roofs team means every layer of the assembly — from the metal panels down through the radiant barrier, air gap, insulation, and air barrier — is designed to work together rather than against each other. We have handled everything from full metal roof installations to targeted insulation retrofits on existing metal roofs throughout the GTA, and we can tell you honestly when a full insulation overhaul is worth it versus when a targeted air-sealing job will get you most of the benefit at a fraction of the cost.
Building a Long-Term Energy Efficiency Plan for Your Metal Roof
The seven tips above work best as a coordinated plan rather than a single one-off purchase. A sensible sequence for most homeowners starts with an attic assessment to establish your current R-value and identify air leakage points, followed by air sealing, then insulation top-up, then a radiant barrier if your budget allows, and finally attention to skylights and other penetrations. Spacing these upgrades over one or two years is completely reasonable if the cost of doing everything at once is prohibitive — the important thing is addressing air sealing and ventilation early, since insulation added on top of unsealed air leaks will always underperform.
If you are still in the planning stages for a new metal roof, it is worth discussing insulation strategy at the same time you are choosing panel profiles and colours, since the roofing and insulation work often go hand in hand during installation. Read more about how other GTA homeowners rated their experience on our reviews page, or check our FAQ page for answers to common questions about metal roofing performance and maintenance. You can also learn more about our team’s background on the about page.
What is the best way to boost metal roof energy efficiency with insulation?
How many of the 7 insulation tips should I do at once to boost metal roof energy efficiency?
Does a radiant barrier actually help boost metal roof energy efficiency in summer?
Why is ventilation important when trying to boost metal roof energy efficiency?
How much does it cost to insulate a metal roof for better energy efficiency?
How do I know if my metal roof’s insulation needs an upgrade?
Need Help With Boost Metal Roof Energy?
Getting real energy savings out of a metal roof takes more than swapping shingles for panels — it takes a properly engineered insulation, air barrier, and ventilation system working together. The team at Universal Roofs has been designing and installing exactly these systems across the GTA since 2005, and we can assess your current attic performance and recommend a plan that fits your budget and your home’s construction.
Call us today at (416) 732-2421 or request a free inspection to get started.
Universal Roofs proudly serves Toronto, Mississauga, Brampton, Vaughan, Markham, Oakville and the GTA since 2005.