
If you have ever spotted a water stain creeping across your ceiling near a chimney or skylight, there is a good chance the culprit is not your shingles at all — it is your flashing. Flashing is the thin metal barrier installed at every roof transition point, and when it corrodes, lifts, or separates, water finds its way in almost immediately. Fixing flashing damage a step by step process is the single most reliable way to stop these leaks permanently, rather than chasing the symptom with patch after patch.
At Universal Roofs, we have been repairing and replacing flashing on Toronto-area homes since 2005, and flashing failure is consistently one of the top reasons homeowners call us for an emergency inspection. The good news is that flashing problems are highly diagnosable and, in most cases, very repairable — provided you catch them before the surrounding decking rots. This guide walks through exactly how a professional approaches a flashing repair, from spotting the first signs of failure to selecting the right material and completing a lasting fix.
Toronto’s climate makes this an especially relevant topic. Our winters bring repeated freeze-thaw cycles that expand and contract metal flashing dozens of times per season, while summer humidity and sudden thunderstorms test every seal on the roof. Flashing that was installed even slightly out of code, or that has simply reached the end of its service life, tends to fail exactly when you need it most — during a heavy rainstorm.
What Flashing Damage Actually Looks Like
Before fixing flashing damage a step by step, you need to know what you are looking for. Flashing failure rarely announces itself with a dramatic collapse — it is almost always a slow, quiet process that shows up first as a small stain, then a soft spot, then eventually a full leak. Homeowners often assume a ceiling stain means a shingle problem, when in reality shingles rarely leak on their own. It is the transitions — chimneys, skylights, walls, valleys, and vent pipes — where roofs almost always fail first, and flashing is what is supposed to protect those transitions.
Common visible signs of flashing damage include rust streaks running down brick or siding below a chimney, flashing edges that have visibly lifted away from the roof deck, cracked or dried-out sealant around vent pipes, gaps where step flashing has pulled away from a sidewall, and daylight visible through flashing seams when viewed from an attic. Granule loss and shingle wear near a flashing line can also be an early warning sign, since it often means water has been pooling in that area rather than draining properly.
Inside the house, look for ceiling stains that appear directly below chimneys, skylights, or dormers, musty odours in an attic that intensify after rain, and visible daylight or moisture around a chimney chase from inside the attic space. If you are unsure whether what you are seeing is a flashing issue or a deeper structural concern, our roof repair team can assess it during a single visit.
The Types of Flashing You Will Encounter
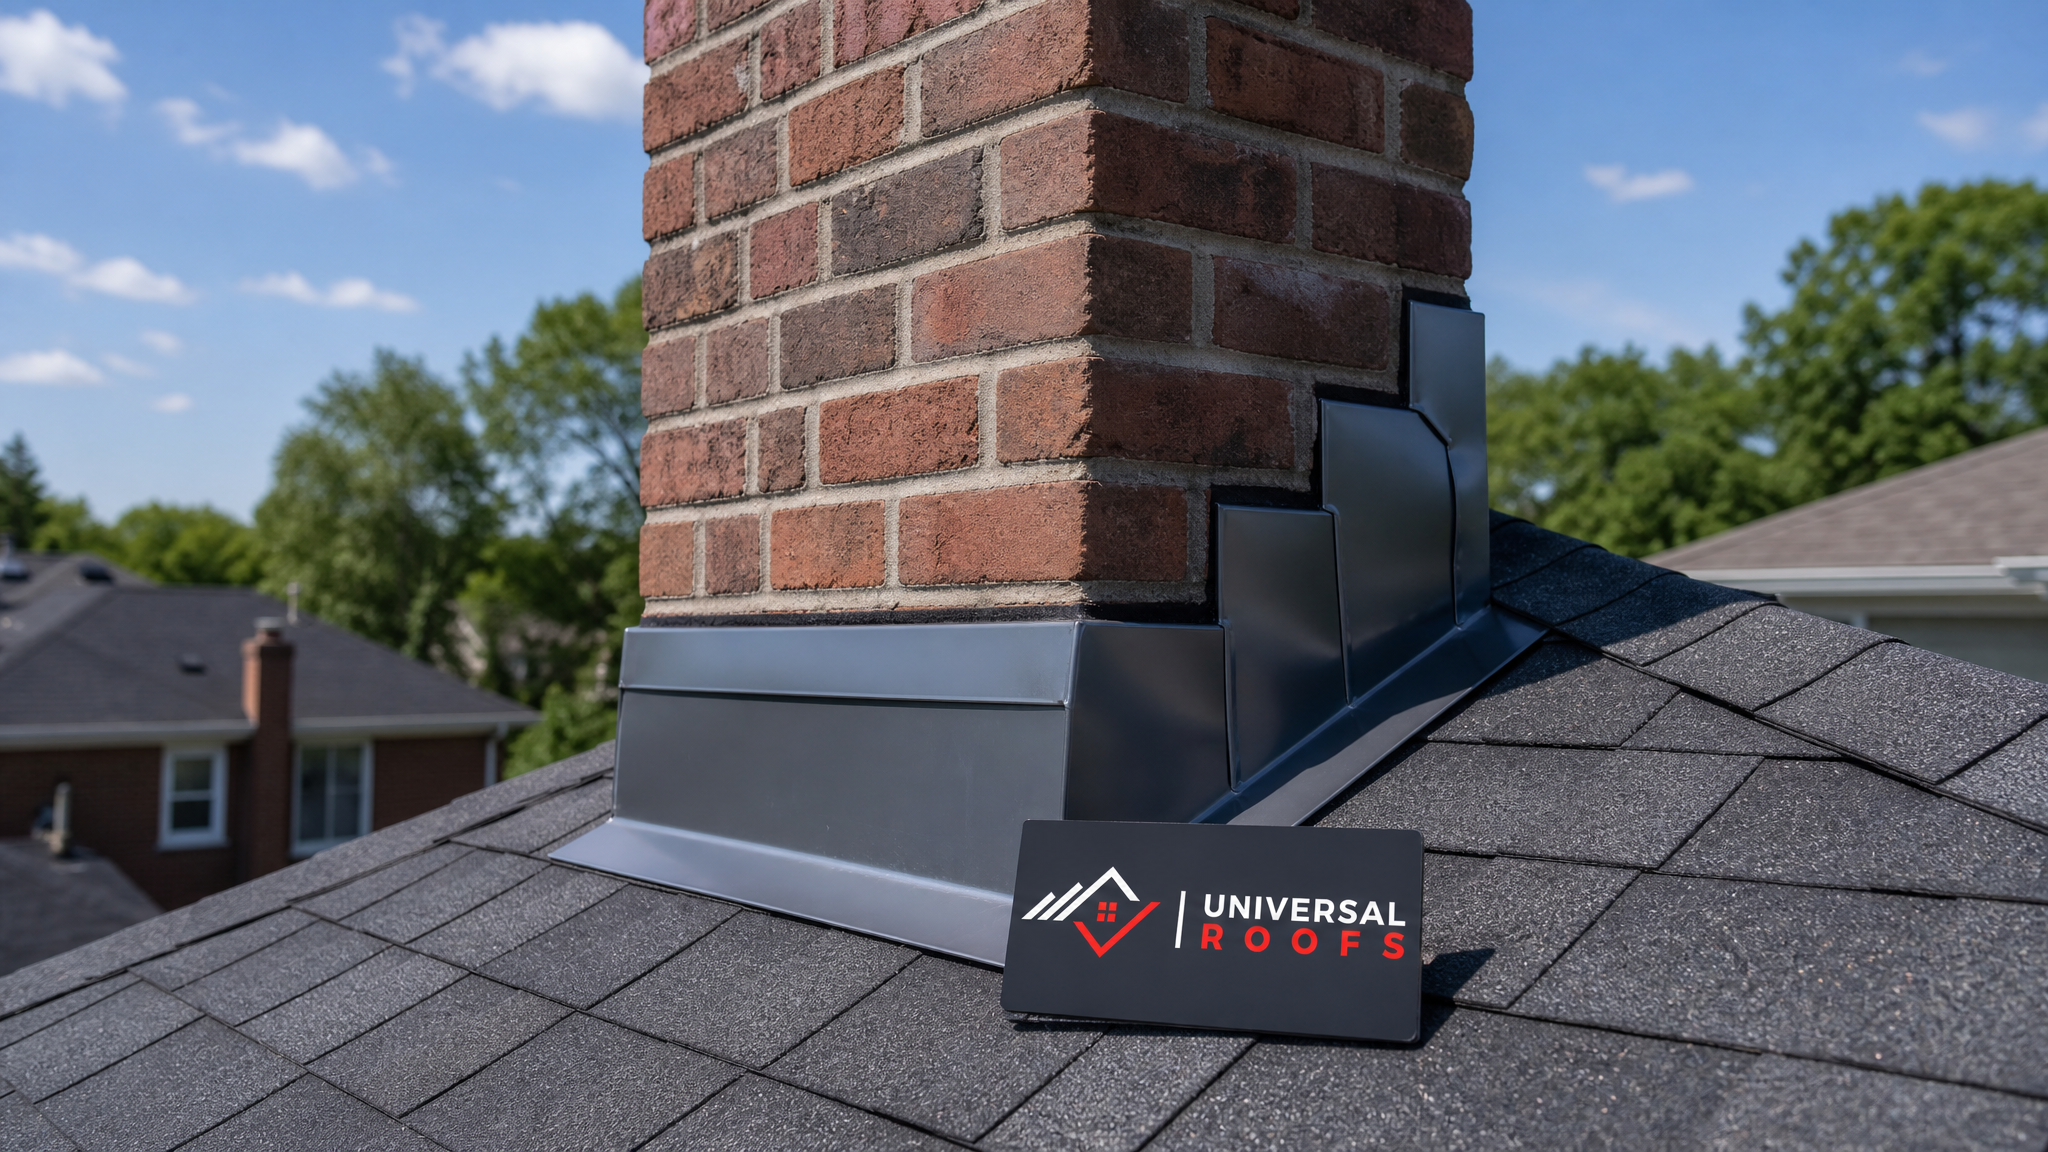
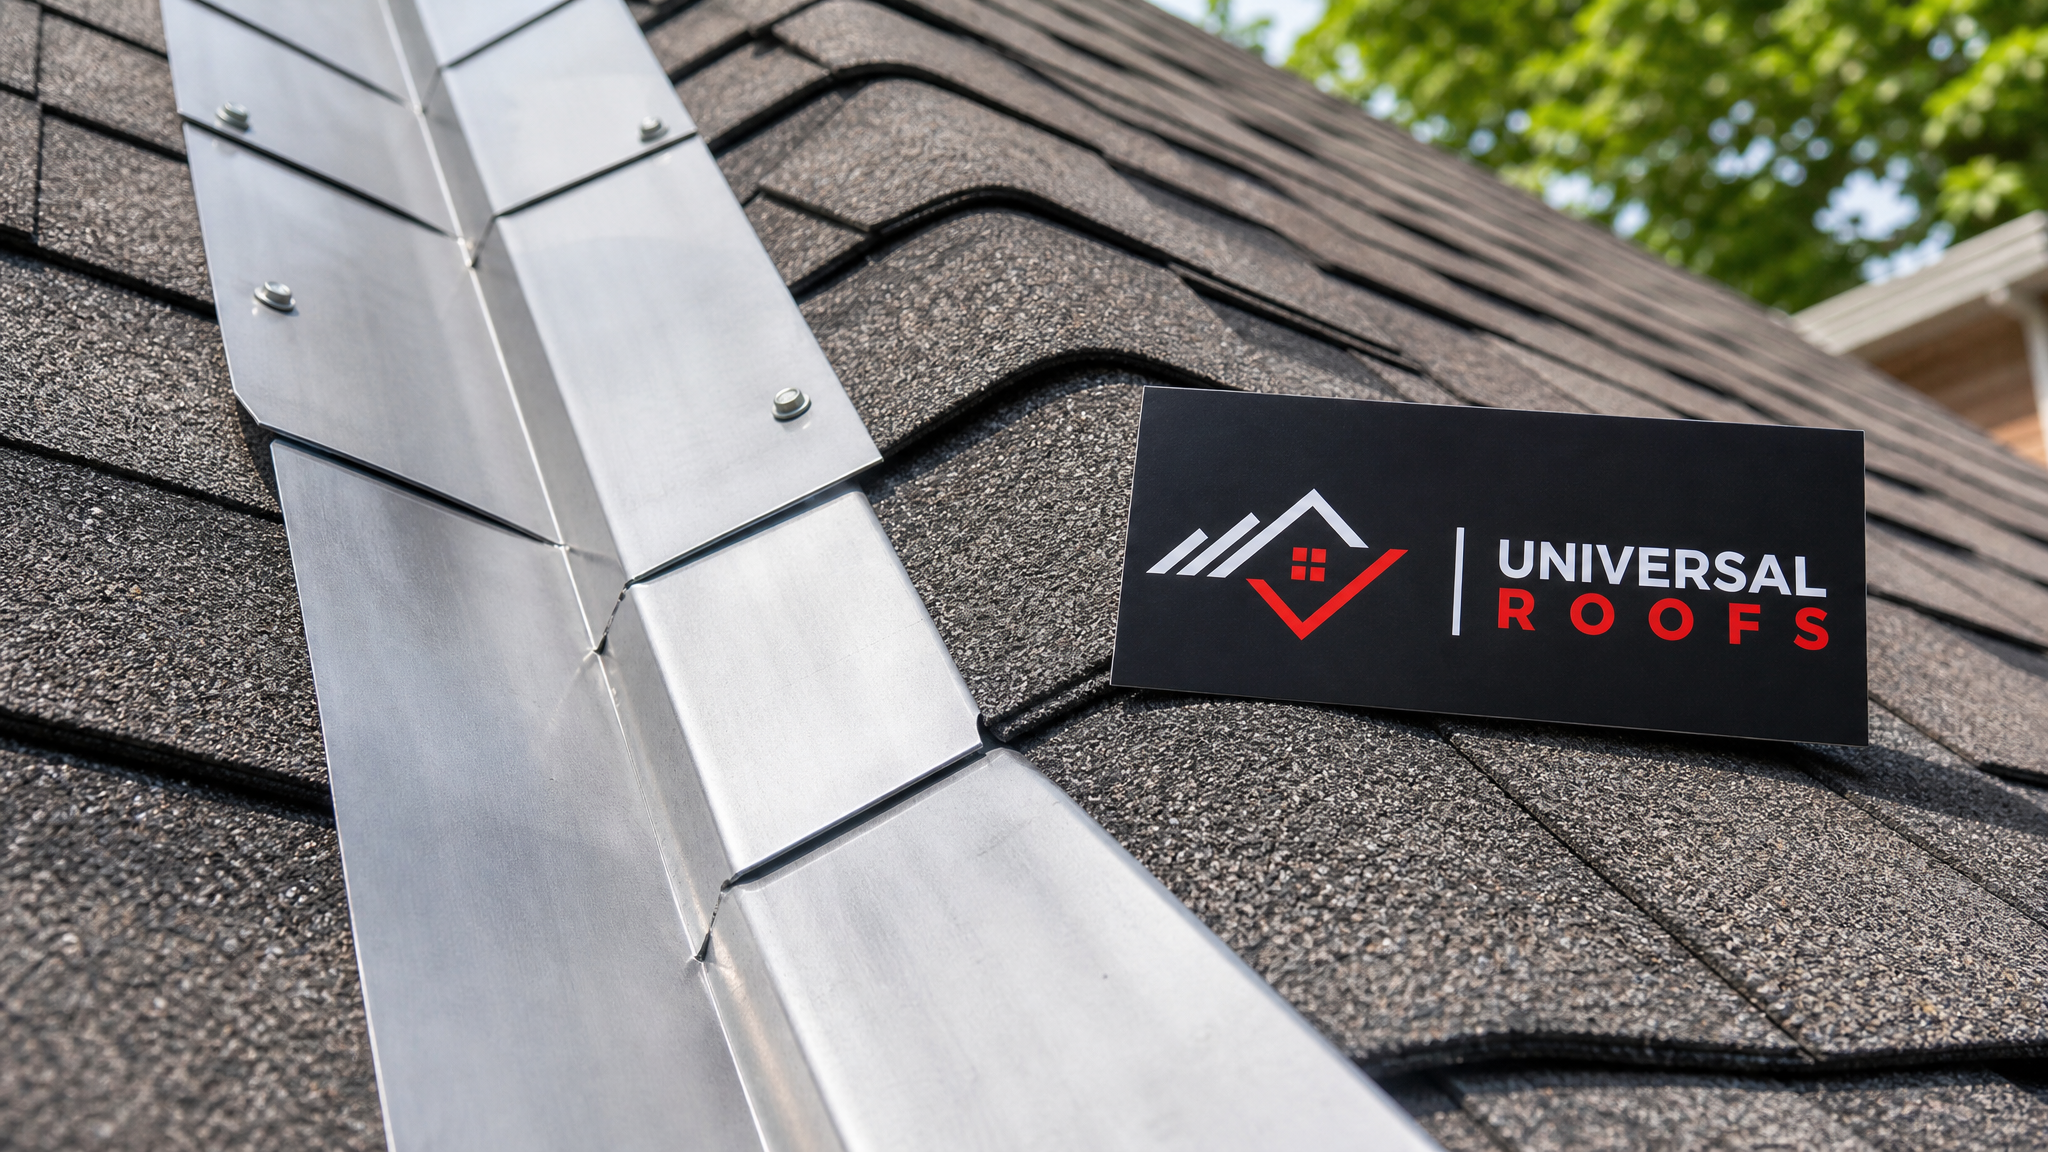
Not all flashing does the same job, and understanding the difference matters when it comes time to actually fix the damage. Step flashing is used along sidewalls, interleaved with each course of shingles to shed water down and away from the wall. Counter-flashing works with chimneys, tucked into the mortar joints and overlapping the step flashing below it to create a two-layer defence. Valley flashing runs down the V-shaped channel where two roof planes meet, handling by far the largest volume of water on the entire roof. Apron flashing sits at the base of chimneys and skylights, directing water away from the front edge. Vent pipe flashing (sometimes called a pipe boot) seals around plumbing stacks and typically fails first because its rubber collar degrades faster than the metal base.
Each of these types fails differently, and each requires a slightly different repair approach, which is why a generic caulk-and-hope fix rarely lasts more than a season or two.
| Flashing Type | Common Location | Typical Failure Mode | Average Lifespan |
|---|---|---|---|
| Step flashing | Sidewalls, dormers | Corrosion, nail lift, wind uplift | 20-25 years |
| Counter-flashing | Chimneys | Mortar joint failure, separation | 20-30 years |
| Valley flashing | Roof valleys | Granule erosion, pinhole rust | 15-20 years |
| Apron/head flashing | Chimney and skylight fronts | Sealant cracking, lifted edges | 15-20 years |
| Pipe boot flashing | Plumbing vent stacks | Rubber collar UV cracking | 8-12 years |
Fixing Flashing Damage a Step by Step Process
Here is the sequence a professional roofer follows when fixing flashing damage a step by step, whether the repair is a small spot fix or a full section replacement.
Step 1: Locate the exact failure point. Water travels along rafters and sheathing before it shows up as a stain, so the visible damage inside your home is rarely directly above the actual leak. A proper diagnosis starts on the roof, tracing the flashing at every nearby transition, then confirming from the attic side with a flashlight during daylight hours.
Step 2: Remove the damaged flashing and surrounding shingles. Nails are pulled, and the shingles courses immediately above and beside the flashing are carefully lifted so the old metal can be removed without tearing healthy shingles.
Step 3: Inspect the roof deck underneath. This is the step most DIY repairs skip, and it is the one that determines whether a simple flashing swap will actually solve the problem. Soft, spongy, or discoloured sheathing means water has already reached the wood, and that section needs to be cut out and replaced before any new flashing goes down — otherwise you are sealing moisture into the deck.
Step 4: Install new underlayment. A self-adhering ice-and-water membrane is laid across the repair area, extending well beyond the flashing’s footprint. In Toronto specifically, this membrane is what protects against ice damming during winter melt-freeze cycles, so this step should never be skipped even on a small repair.
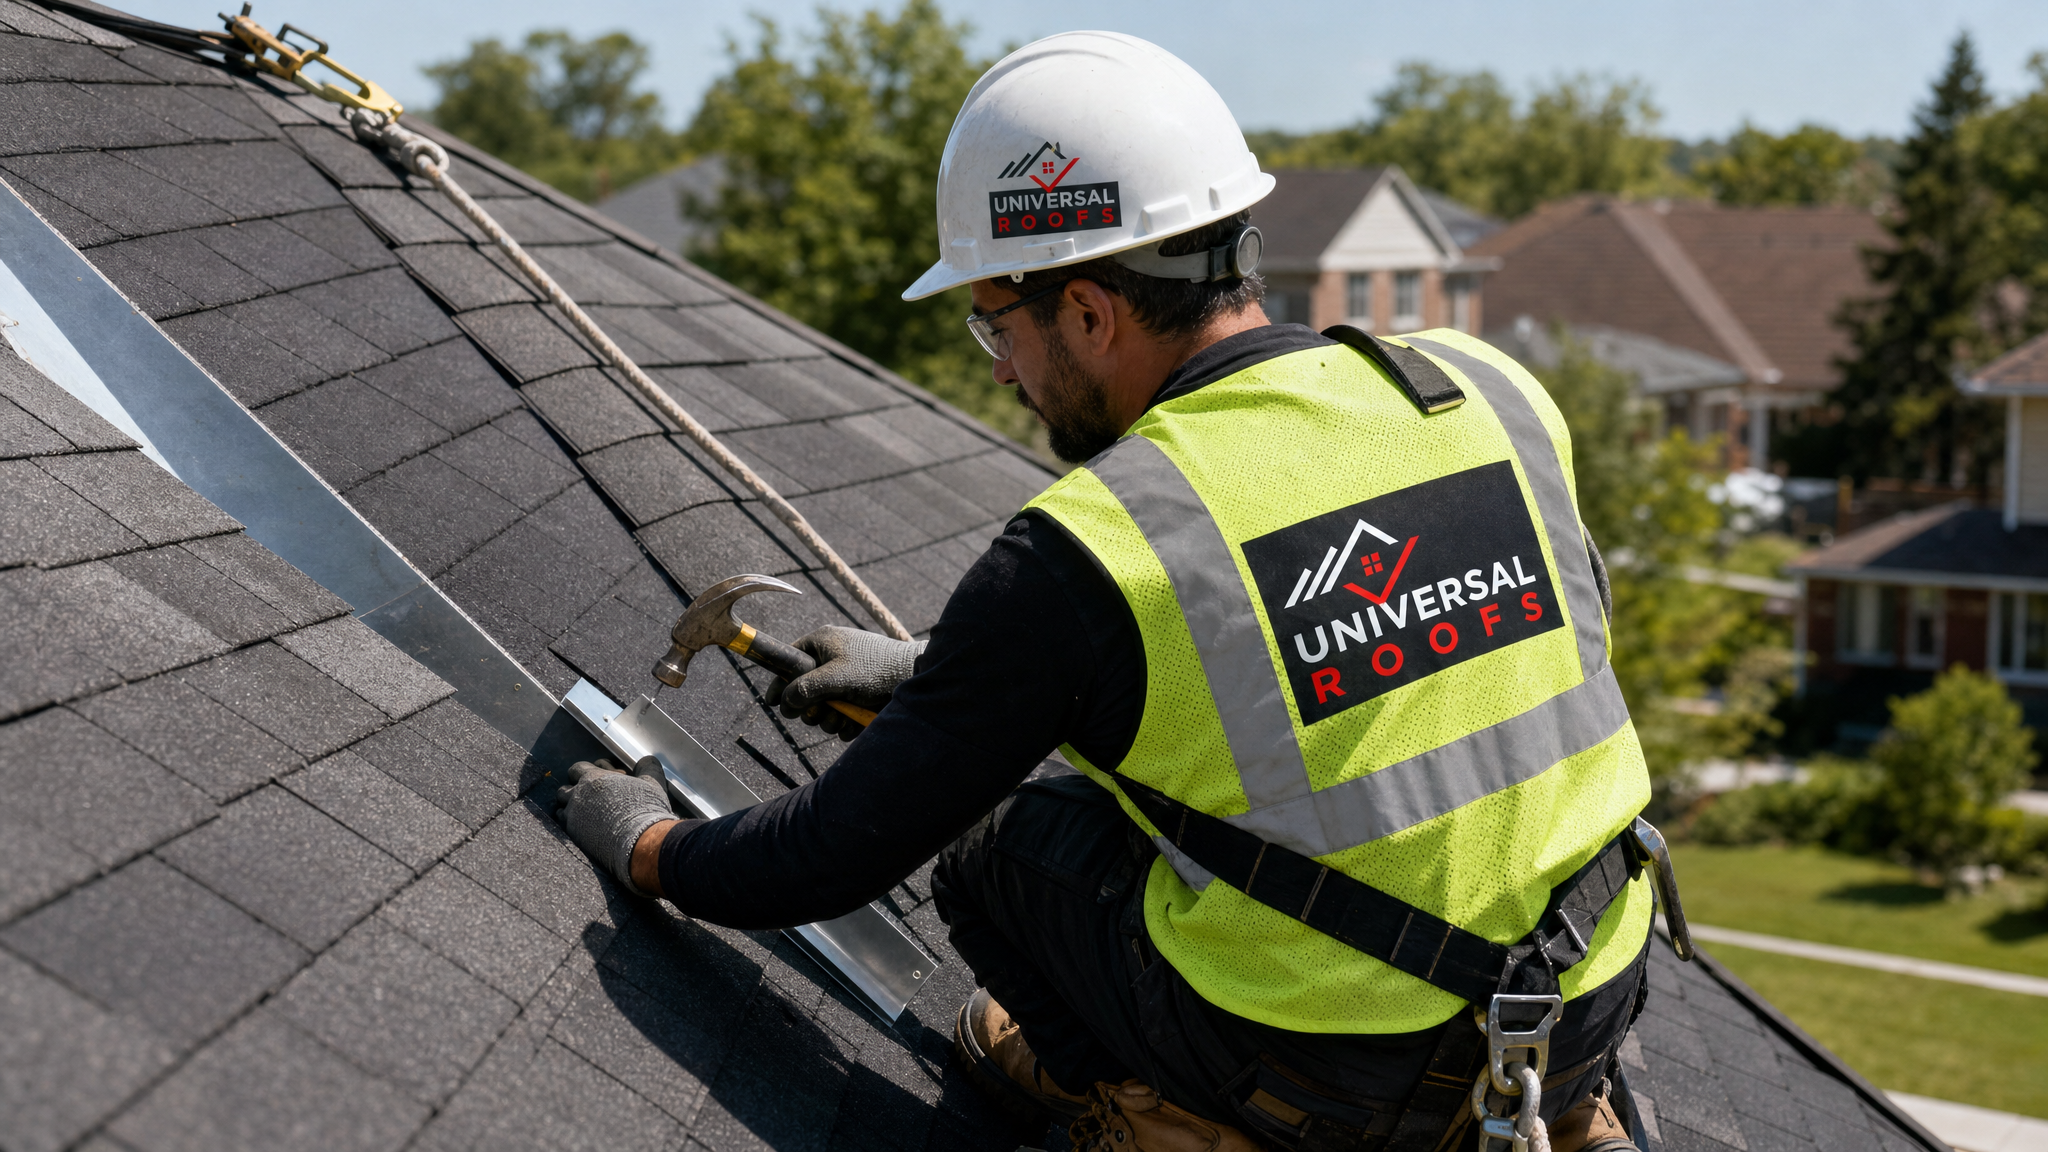
Step 5: Set the new flashing. Step flashing pieces are woven back in with each shingle course, one piece per course, each overlapping the one below by at least 5 centimetres. Counter-flashing is cut into a fresh mortar reveal at chimneys. Valley flashing is run in a single continuous piece wherever possible to eliminate seams.
Step 6: Fasten correctly. Flashing should be fastened high on the vertical leg only, never through the horizontal face where water runs — a mistake that causes a huge share of “repaired” flashing to leak again within a year.
Step 7: Seal the transitions, not the whole flashing. A quality roofing sealant is applied only at the specific joints and fastener heads that need it — counter-flashing reveals, end laps, and pipe boot collars. Caulking an entire flashing surface is a red flag of a rushed repair, since it traps water rather than shedding it.
Step 8: Reinstall shingles and inspect drainage. The lifted shingle courses are re-nailed over the new flashing, and water is run down the repair area with a hose to confirm it sheds correctly before the job is called complete.
DIY Repair vs. Professional Flashing Repair
Small, low-risk flashing fixes are within reach for a confident, safety-conscious homeowner — resealing a pipe boot collar or touching up a small crack in exposed caulking, for example. But most flashing failures involve working at height, on a pitched surface, near a chimney or valley where a single misstep can turn a $300 repair into a full deck replacement. Weigh the tradeoffs honestly before deciding.
| Factor | DIY Approach | Professional Repair |
|---|---|---|
| Safety equipment required | Ladder, harness (often skipped) | Full harness, rope, roof anchors |
| Deck inspection | Usually skipped | Standard practice |
| Material matching | Trial and error | Code-matched, warrantied metal |
| Typical lifespan of fix | 1-3 years | 15-25 years |
| Warranty coverage | None | Labour and material warranty |
If your roof is more than 15 years old, or the flashing damage sits near a chimney, valley, or skylight, it is almost always worth having it assessed professionally. Our roof repair crews carry the right underlayment, flashing stock, and fasteners on every truck specifically so a same-visit fix is possible in most cases.
Choosing the Right Flashing Material
Material choice affects both how long a flashing repair lasts and how well it blends with the rest of your roof. Aluminum is the most common choice for GTA homes because it is lightweight, corrosion-resistant, and inexpensive, though it can react poorly with certain masonry cleaners and mortar mixes over time. Galvanized steel is stronger and more dent-resistant but will eventually rust once its zinc coating wears through, typically after 20 or more years. Copper is the premium option — it develops a protective patina, resists corrosion almost indefinitely, and is often specified for heritage homes, though the upfront cost is considerably higher. Painted or pre-finished steel offers a middle ground, matching trim colour while resisting corrosion better than bare steel.
| Material | Approx. Cost per Linear Metre | Expected Lifespan | Best Use Case |
|---|---|---|---|
| Aluminum | $12-$20 | 20-25 years | Most residential step and valley flashing |
| Galvanized steel | $10-$18 | 15-20 years | Budget replacements, standard homes |
| Copper | $45-$70 | 50+ years | Heritage homes, premium chimneys |
| Pre-finished steel | $18-$28 | 25-30 years | Colour-matched trim and fascia areas |
Whatever material you choose, it should match or exceed the gauge of what was originally installed, and it should never be mixed carelessly with dissimilar metals — aluminum against copper, for instance, can trigger galvanic corrosion that eats through the thinner metal within a few short years.
Flashing Around Skylights and Chimneys
Skylights and chimneys deserve their own mention because they account for a disproportionate share of flashing-related leaks. A skylight flashing kit typically includes head flashing, step flashing along both sides, and a sill flashing piece at the bottom, all working together as a system — replacing only one piece while leaving the others degraded is a common shortcut that leads to repeat leaks. If your skylight flashing has failed more than once, it may be more cost-effective in the long run to have the entire unit assessed through our skylight replacement service rather than continuing to patch it, especially on units installed before 2010 that may not meet current sealing standards. For a first-time skylight install, our skylights team can walk through flashing options as part of the quote.
Chimney flashing has its own quirks: the counter-flashing is cut directly into the mortar joints, so any repair almost always requires re-cutting a fresh reveal and re-pointing the mortar afterward. Skipping this step and simply caulking over old counter-flashing is one of the most common band-aid fixes we see homeowners inherit from previous contractors, and it rarely survives a full Toronto winter.
Attic Warning Signs That Point Back to Flashing
Because flashing sits at the roof’s most vulnerable seams, its failures often show up first inside the attic rather than on the exterior. A quick attic check after a heavy rain is one of the most useful habits a homeowner can build. Look for dark streaking on rafters near chimney chases, damp or matted insulation directly beneath valleys, a persistent musty smell that gets stronger after rainfall, and small pinpricks of daylight visible around vent pipe penetrations. Any of these should prompt a flashing inspection before the next storm, since attic moisture that goes unaddressed can lead to mould growth and compromised insulation R-value within a single season.
Preventing Flashing Damage Before It Starts
Prevention is far cheaper than repair, and most flashing failures are avoidable with routine attention. Schedule a visual roof inspection at least once a year, ideally in spring after the freeze-thaw season has passed and again in early fall before winter arrives. Keep gutters and valleys clear of leaves and debris, since standing water accelerates corrosion on any metal surface it sits against. Trim overhanging branches that can drop debris onto valley flashing or scrape against sidewall step flashing during windstorms. Have chimney mortar joints re-pointed as soon as cracking appears, since deteriorating mortar undermines the counter-flashing seated within it. Finally, address small issues immediately — a single lifted piece of step flashing costs very little to fix today but can lead to full deck replacement if left through even one more winter.
Homeowners across Toronto, Peel Region, York Region, Halton Region, and Durham Region deal with nearly identical flashing challenges, since the same freeze-thaw pattern and storm exposure affects the entire GTA. If you are unsure whether your roof needs a full roof replacement or simply a flashing repair, a professional assessment is the fastest way to know for certain, and it is often far less expensive than homeowners expect.
When Flashing Repair Is Not Enough
Sometimes what looks like isolated flashing damage is actually a symptom of a roof nearing the end of its service life. If flashing has failed in three or more separate locations, if the shingles surrounding the flashing are also brittle and granule-bare, or if the deck has soft spots in more than one section, patch repairs stop making financial sense. In those cases, a full roof replacement — during which all flashing is replaced as a matter of course — is usually the better long-term investment. Flat roof sections, common on additions and garages across the GTA, have their own flashing considerations at parapet walls and roof-to-wall transitions; our flat roofing team handles these separately from sloped-roof flashing since the materials and techniques differ substantially.
| Situation | Recommended Action | Typical Timeline |
|---|---|---|
| Single flashing point failing, deck sound | Spot flashing repair | Same day |
| Multiple flashing failures, roof under 12 years old | Full flashing replacement | 1-2 days |
| Flashing failure with rotted decking | Deck repair + flashing replacement | 2-3 days |
| Widespread flashing and shingle failure, roof 18+ years old | Full roof replacement | 1-3 days |
Cost Expectations for Flashing Repairs
Flashing repair costs in the GTA vary based on accessibility, the flashing type involved, and whether deck repair is needed. A simple pipe boot replacement is typically the least expensive fix, while chimney counter-flashing that requires re-pointing mortar sits at the higher end of the spot-repair range. Getting an accurate number for your specific situation is easiest through a direct free quote, since photos or a quick site visit let us account for roof pitch, height, and material availability.
Reading reviews from other GTA homeowners who have had flashing repairs done can also help set realistic expectations for both cost and process. Many of the same questions come up repeatedly, and our FAQ page covers several of the most common ones in detail, including warranty terms and how we handle deck repairs discovered mid-project.
What is involved in fixing flashing damage a step by step?
How do I know if my flashing is leaking versus my shingles?
Can I fix flashing damage myself?
How long does a flashing repair last?
What is the best material for flashing repairs in Toronto?
Does homeowners insurance cover flashing damage?
Need Help With Fixing Flashing Damage a?
Flashing failures rarely stay small for long, especially once a GTA winter gets involved. Whether you have a single lifted piece near a chimney or widespread corrosion across several roof transitions, Universal Roofs can diagnose the exact failure point and complete a lasting repair, often in a single visit.
Call us today at (416) 732-2421 or request a free inspection to get started.
Universal Roofs proudly serves Toronto, Mississauga, Brampton, Vaughan, Markham, Oakville and the GTA since 2005.