
A watertight roof is the single most important line of defence your home has against Toronto’s punishing mix of freeze-thaw cycles, spring downpours, and summer thunderstorms. Waterproofing is not a one-time task you check off after installation — it is an ongoing system of materials, details, and maintenance habits that work together to keep moisture out of your attic, walls, and living space for decades. Homeowners across the GTA often assume that shingles alone keep a roof dry, but the reality is far more nuanced: flashing, underlayment, ventilation, sealants, and drainage all play a role.
In this guide, we break down eight essential roof waterproofing tips for longevity that every Toronto-area homeowner should understand, whether you have an asphalt shingle roof, a flat roof, or a roof with skylights. These are the same principles our crews at Universal Roofs have applied on thousands of GTA homes since 2005, and they apply just as much to new construction as they do to a roof that is due for a repair or full replacement.
Whether you are planning preventative maintenance this summer or trying to diagnose a leak that appeared after the last storm, these waterproofing fundamentals will help you protect your investment and avoid the costly interior damage that comes from water intrusion.
Why Roof Waterproofing Matters More in the GTA Climate
Toronto and the surrounding regions experience one of the more demanding climate cycles in North America for roofing systems. Winters bring repeated freeze-thaw cycles where meltwater seeps into tiny cracks, refreezes, and expands — a process that can turn a hairline gap into a serious leak within a single season. Spring delivers heavy, sustained rainfall that tests every seam and flashing detail. Summer thunderstorms can dump significant volumes of water in a short period, overwhelming poorly maintained drainage systems. This combination means that a roofing product or installation method that might perform adequately in a milder climate can fail prematurely here.
Effective waterproofing is what separates a roof that lasts its full manufacturer-rated lifespan from one that needs premature repairs. A shingle roof rated for 25 years can fail in half that time if water finds its way behind the shingles through poor flashing, inadequate underlayment, or blocked ventilation. Flat roofs are even more sensitive, since they rely almost entirely on the integrity of the membrane and drainage slope rather than gravity-assisted shedding. For homeowners in Toronto, Mississauga, Brampton, Vaughan, Markham, Oakville, and across the GTA, waterproofing is not a luxury upgrade — it is the foundation of a roof’s entire service life.
Beyond structural damage, poor waterproofing has a cascade of secondary consequences: mould growth in attic spaces, deteriorated insulation, damaged drywall and framing, and even compromised air quality inside the home. Insurance claims related to water damage are also among the most expensive and disruptive homeowners face, which makes proactive waterproofing one of the best returns on investment available in home maintenance.
| Climate Factor | Impact on Roof | Waterproofing Response |
|---|---|---|
| Freeze-thaw cycles (Nov–Mar) | Ice expansion in cracks and seams | Ice and water shield membrane, sealed flashing |
| Heavy spring rain | Saturation testing of seams and valleys | Properly lapped underlayment, valley flashing |
| Summer thunderstorms | Rapid volume overwhelming drains | Clear gutters, adequate drain sizing on flat roofs |
| Wind-driven rain | Water forced under shingle edges | Proper nailing pattern, sealant strips, drip edge |
| UV exposure (summer) | Membrane and sealant degradation | UV-rated membranes, reflective coatings |
Tip 1: Install a Continuous Ice and Water Shield Membrane
One of the most effective waterproofing upgrades for any GTA roof is a self-adhering ice and water shield membrane installed along the eaves, valleys, and around penetrations before shingles ever go down. This rubberized asphalt membrane bonds directly to the roof deck and seals around nail penetrations, creating a secondary barrier that stops water even if the primary shingle layer is compromised.
Building code in most Ontario municipalities requires this membrane to extend at least 900mm (roughly 3 feet) up-slope from the exterior wall line, which typically covers the zone where ice damming occurs most often. However, on homes with low-slope sections, complex rooflines, or a history of ice damming, we recommend extending the membrane further, and sometimes covering the entire deck. Valleys — where two roof planes meet and water volume concentrates — should always receive this membrane regardless of roof pitch, since valleys carry a disproportionate share of total roof runoff.
When our crews carry out a roof replacement, this is one of the first details we assess, because a membrane installed poorly (wrinkled, under-lapped, or applied to a damp deck) will not adhere properly and can trap moisture rather than shed it.
Tip 2: Prioritize Flashing at Every Roof Penetration and Transition
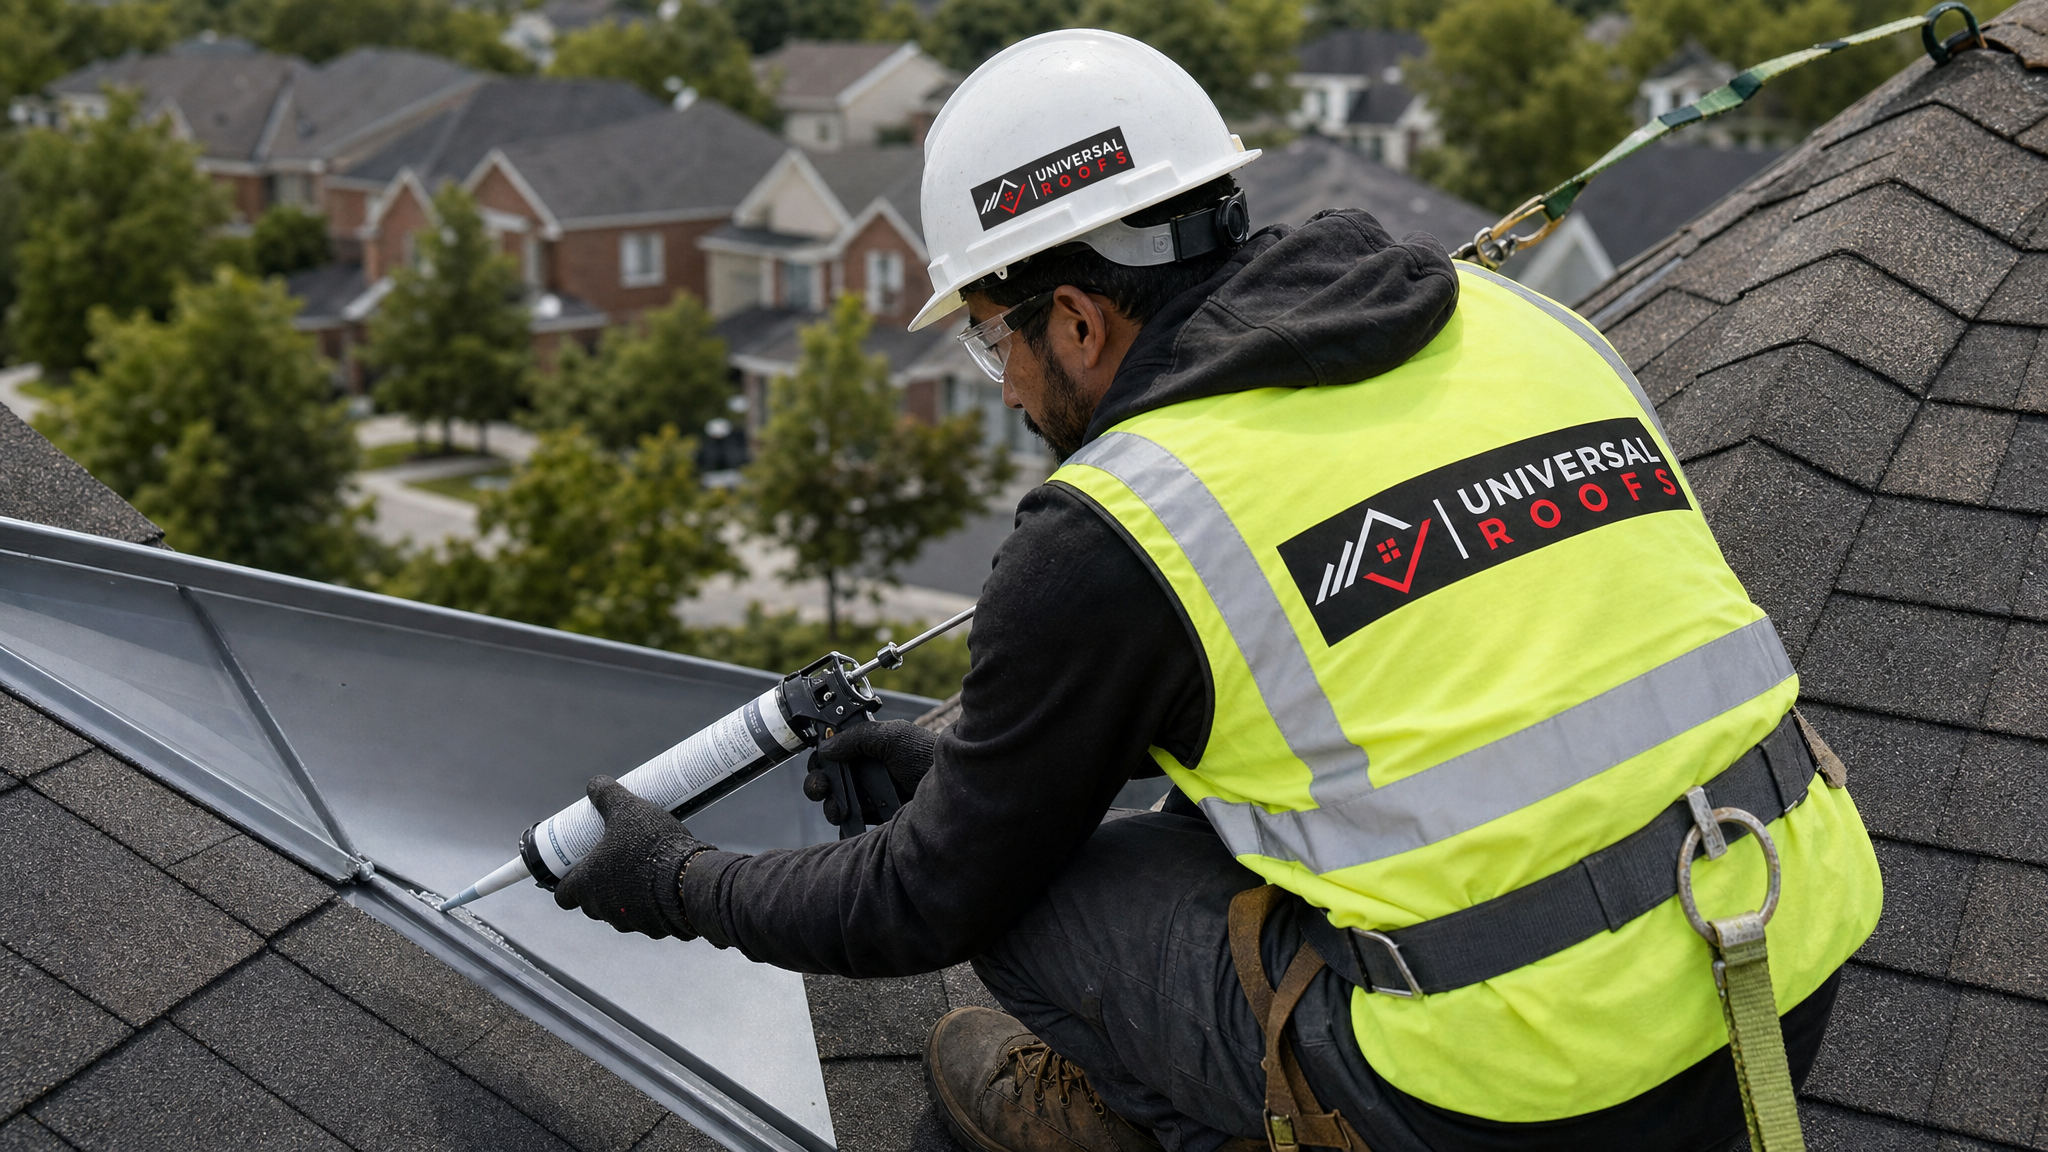
Flashing — the metal or rubber components installed where the roof meets chimneys, vents, skylights, walls, and valleys — is responsible for more roof leaks than the field shingles themselves when it fails. Water rarely penetrates a properly installed shingle field; it almost always finds its way in through a flashing detail that has rusted, cracked, or was improperly lapped during installation.
Step flashing at wall intersections should be woven with each course of shingles, never simply caulked over as a shortcut. Chimney flashing needs both step flashing and counter-flashing set into the mortar joint, not surface-mounted caulk that will crack within a few seasons. Skylight flashing kits are engineered specifically for the make and model of the unit, and mismatched or generic flashing is one of the leading causes of skylight leaks we diagnose on service calls. If your home has skylights, pairing quality flashing with a proper skylight installation or a skylight replacement when the unit is aging significantly reduces long-term leak risk.
Vent pipe boots (the rubber collars around plumbing stacks) are a particularly common failure point because the rubber degrades faster than the metal roofing components around it — often within 10 to 15 years, well before the shingles themselves need replacing. A visual inspection of every penetration at least once a year catches this before it becomes an interior leak.
Tip 3: Choose the Right Waterproofing Membrane for Flat and Low-Slope Roofs
Flat and low-slope roofs waterproof completely differently from pitched shingle roofs, since there is little to no gravity assistance in shedding water. The entire system depends on a continuous, fully adhered or properly seamed membrane. Modified bitumen, EPDM rubber, TPO, and built-up roofing (BUR) systems each have different seam types, expected lifespans, and vulnerability to UV and ponding water.
Ponding water — standing water that remains on a flat roof for more than 48 hours after rainfall — is one of the clearest signs of a waterproofing or drainage problem. It accelerates membrane breakdown, adds unnecessary structural load, and often points to a slope or drain issue that needs correcting rather than just patching. Homeowners and property managers dealing with commercial or residential flat roofs should have drains, scuppers, and slope checked as part of any waterproofing assessment. Our flat roofing team routinely finds that a single blocked internal drain is the root cause of what looks like a membrane failure.
| Membrane Type | Typical Lifespan | Best Use Case | Key Vulnerability |
|---|---|---|---|
| EPDM Rubber | 20-30 years | Residential flat roofs, additions | Seam adhesive failure over time |
| TPO | 15-25 years | Reflective, energy-conscious installs | Heat-welded seam quality varies by installer |
| Modified Bitumen | 15-20 years | Multi-layer torch-down systems | UV degradation without a cap sheet |
| Built-Up Roofing (BUR) | 20-25 years | Larger commercial flat roofs | Heavy, requires structural capacity |
| Liquid-applied coating | 10-15 years (recoat cycle) | Restoration over existing membrane | Requires clean, dry substrate to bond |
Tip 4: Keep Attic Ventilation and Insulation Balanced
Waterproofing is not only about keeping outside water out — it is also about preventing moisture from condensing inside the attic space, which can be just as damaging as a direct leak. When warm, humid indoor air rises into a poorly ventilated attic and meets a cold roof deck in winter, it condenses on the underside of the sheathing. Over a season, this moisture can rot the deck, degrade insulation, and even feed the ice damming cycle by warming the roof surface unevenly.
Balanced ventilation means matching intake (soffit vents) with exhaust (ridge vents or roof vents) so air moves continuously through the attic space rather than stagnating. Insulation should be air-sealed at penetrations — pot lights, bathroom fan housings, attic hatches — so warm moist air is not leaking upward in the first place. This is one of the most overlooked waterproofing steps because it happens below the roof deck rather than on the visible roofing surface, but a thorough attic assessment often reveals the true root cause of a “roof leak” that is actually a condensation problem.
In our experience across GTA homes, a shockingly high percentage of reported winter leaks trace back to attic moisture and ice damming rather than a failure in the shingles or membrane themselves. Addressing ventilation is often more cost-effective than repeatedly re-roofing a section that keeps showing water stains.
Tip 5: Seal and Reinforce Roof Valleys and Transitions
Valleys concentrate more water volume per square metre than any other part of a roof, since they collect runoff from two intersecting roof planes. There are three common valley styles — open metal valleys, closed-cut valleys, and woven valleys — and each has different waterproofing performance characteristics. Open metal valleys, when properly flashed with a durable metal (typically aluminum or galvanized steel) and a full-width ice and water membrane underneath, tend to perform best in high-volume runoff areas because they shed water fastest and are easiest to inspect for wear.
Closed-cut and woven valleys can look cleaner aesthetically but rely more heavily on shingle overlap and sealant integrity, meaning they require more frequent visual inspection, especially after major storms or heavy snow load. Any transition where roof planes meet a wall, dormer, or chimney should be treated with the same level of scrutiny as valleys, since these are equally high-risk zones for water infiltration.
A simple twice-yearly visual check — after winter and again in early autumn — of all valleys and transitions for lifted shingles, granule loss, or visible metal corrosion can catch problems while they are still a low-cost fix rather than an emergency repair.
Tip 6: Maintain Gutters, Downspouts, and Roof Drainage Paths
A waterproof roof only works if water is actually able to leave the roof surface efficiently once it sheds. Clogged gutters, undersized downspouts, and poor grading around the foundation can all cause water to back up onto the roof edge, saturate fascia boards, and eventually work its way under the shingles or membrane edge.
Ice damming is a direct consequence of this dynamic in winter: when gutters are clogged with leaves and debris in the fall, meltwater in late winter has nowhere to drain, refreezes at the eave, and builds a dam that forces water back up under the shingles. Cleaning gutters at least twice a year — late autumn after leaf-fall and again in spring — is one of the simplest and most cost-effective waterproofing habits any homeowner can maintain.
On flat roofs, this principle applies even more directly: internal drains and scuppers must be kept completely clear of debris, since even a partial blockage can cause dangerous ponding loads and accelerate membrane failure. Downspouts should also discharge water at least 1.8 metres (6 feet) away from the foundation to prevent secondary basement moisture issues that often get mistakenly attributed to the roof.
| Maintenance Task | Recommended Frequency | Why It Matters | Estimated Cost Range |
|---|---|---|---|
| Gutter cleaning | 2x/year (spring & fall) | Prevents ice damming and eave saturation | $150-$350 |
| Roof visual inspection | 2x/year + after major storms | Catches flashing and shingle issues early | Often free with service plans |
| Flat roof drain clearing | Quarterly | Prevents ponding water and membrane stress | $100-$250 |
| Sealant/caulking refresh | Every 2-3 years | Maintains penetration and flashing seals | $200-$600 |
| Attic ventilation check | Annually | Prevents condensation-driven deck rot | $150-$400 |
| Full waterproofing assessment | Every 3-5 years | Identifies membrane/underlayment wear before failure | $300-$700 |
Tip 7: Use Quality Sealants and Reapply on Schedule
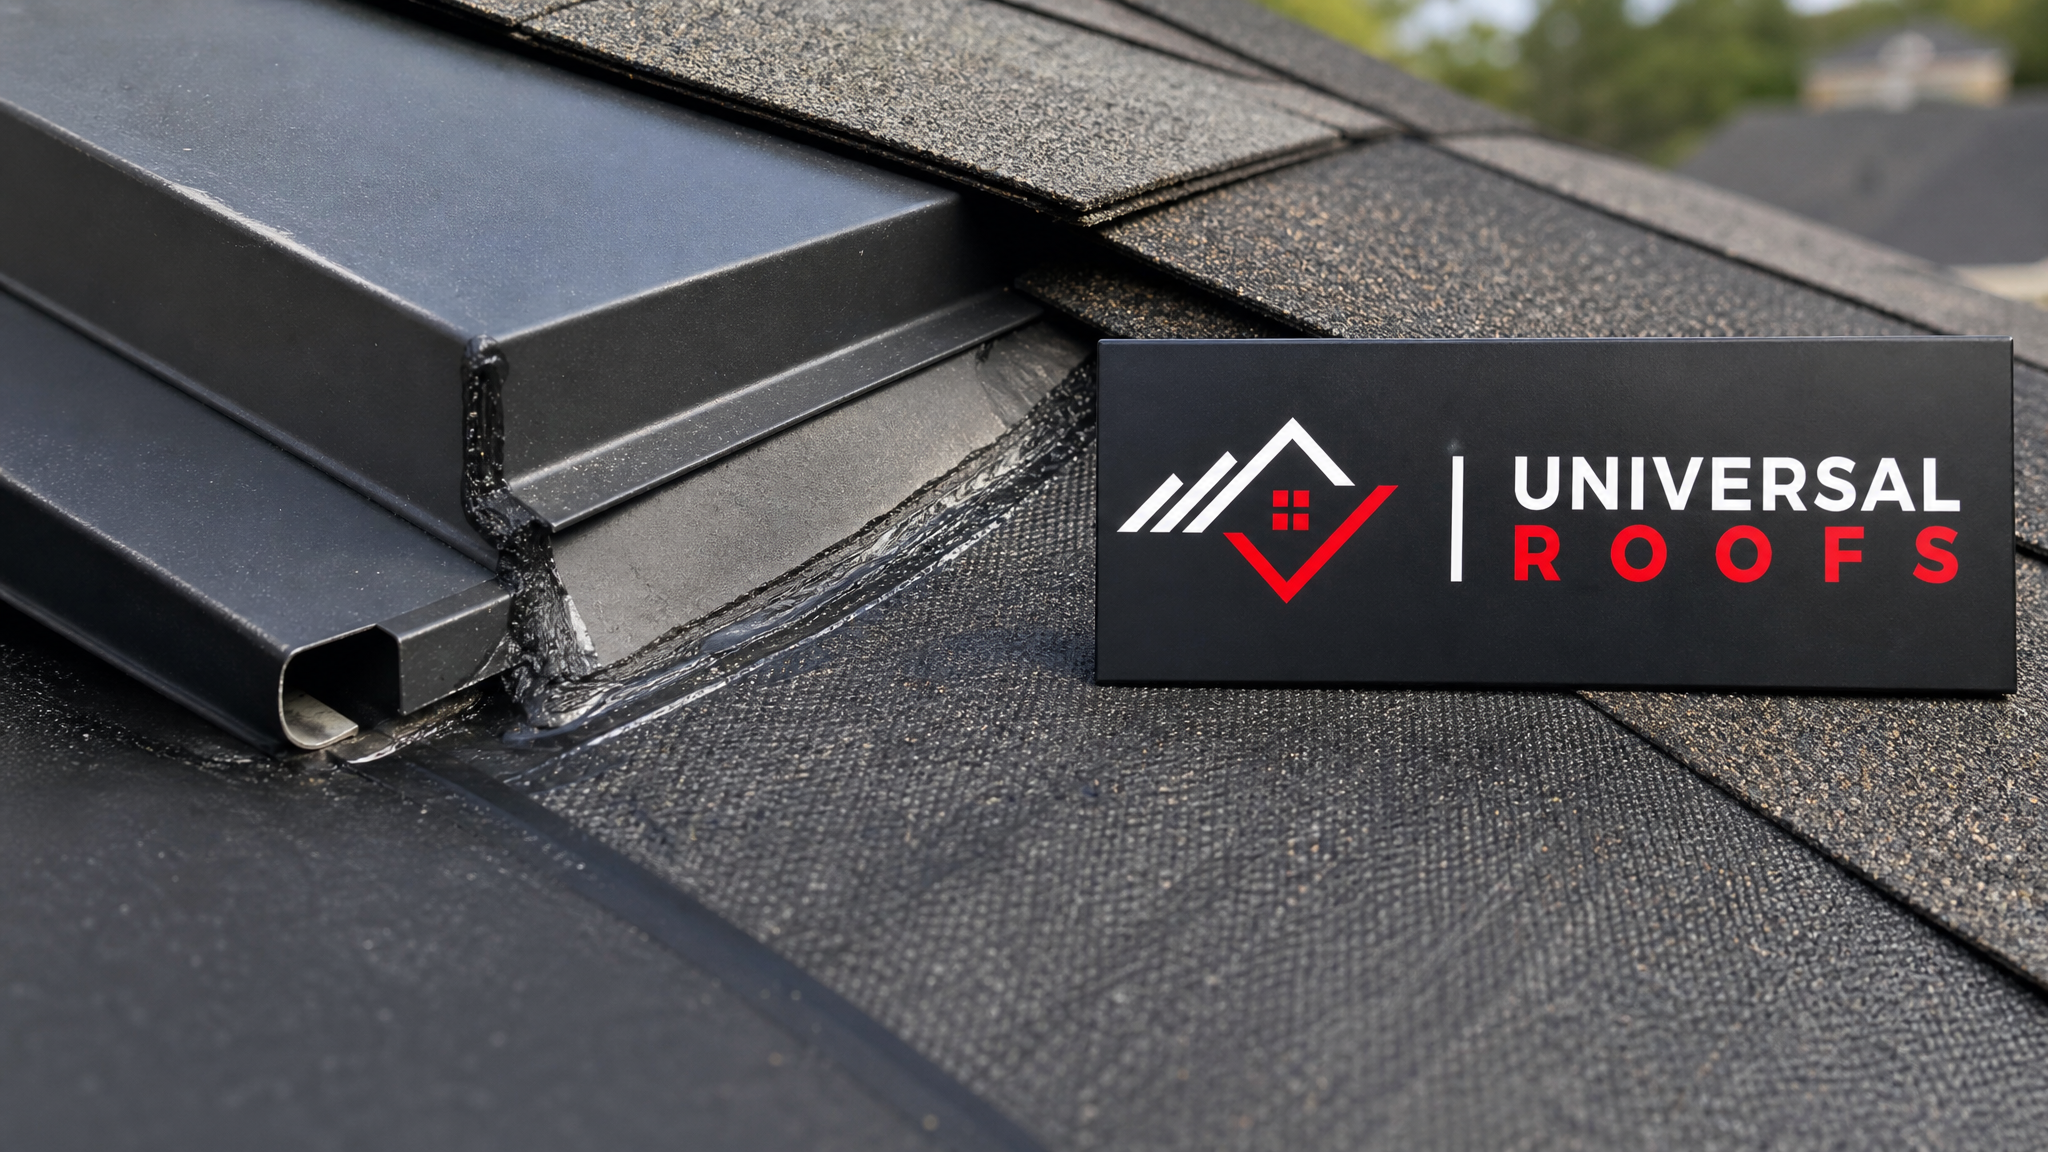
Sealants and caulking are the last line of defence around penetrations, fasteners, and small transitions, but they are also the shortest-lived component of any waterproofing system. Polyurethane and butyl-based roofing sealants generally hold up better against UV exposure and temperature swings than basic silicone or acrylic caulks, which can shrink, crack, or lose adhesion within just a couple of GTA winters.
It is important to understand that sealant should reinforce proper flashing and shingle work — it should never be relied upon as the primary waterproofing method. When a contractor uses excessive caulk to compensate for poorly cut or improperly lapped flashing, that is a red flag rather than a quality shortcut. Quality workmanship uses mechanical waterproofing (overlap, flashing, membrane) as the primary defence, with sealant as a supplementary seal at fastener heads and small gaps.
Homeowners can extend the life of their roof by having sealant around vent boots, flashing edges, and skylight frames inspected and refreshed every two to three years, well before visible cracking appears. This small, low-cost maintenance step often prevents the kind of slow, hidden leak that causes the most expensive interior damage because it goes unnoticed for months.
Tip 8: Schedule Professional Waterproofing Inspections Before Problems Start
The single most effective long-term waterproofing strategy is proactive, professional inspection rather than reactive repair after a leak has already caused interior damage. A trained roofing technician can identify early warning signs — granule loss, lifted flashing edges, soft spots on a flat membrane, or early condensation staining in the attic — well before a homeowner would notice water inside the home.
We recommend scheduling a professional inspection in both spring and autumn: spring to assess winter damage from freeze-thaw cycling and ice damming, and autumn to confirm the roof is prepared for the coming winter with gutters clear and flashing intact. Homes that have gone several years without a professional assessment are far more likely to have accumulated small, compounding issues that eventually surface as a major leak during a heavy storm.
Reading independent feedback from other GTA homeowners is a useful way to evaluate a roofing contractor’s track record before hiring — you can browse verified customer reviews from homeowners across Toronto, Peel, York, Halton, and Durham Region who have had waterproofing work completed. If you are unsure whether your roof needs attention now or can wait, our FAQ page covers common questions about inspection timing, warranty coverage, and typical signs of water damage.
Waterproofing Considerations by GTA Region
While the fundamentals of roof waterproofing apply everywhere in the region, local conditions can shift priorities slightly. Homes closer to the lake in Toronto often experience more wind-driven rain events, which puts extra emphasis on drip edge and shingle nailing patterns. Newer subdivisions across Peel Region and York Region tend to have more complex rooflines with multiple valleys and dormers, increasing the number of high-risk waterproofing zones per roof. Established neighbourhoods in Halton Region and Durham Region frequently have older roofs where original flashing and membranes are approaching or past their expected service life, making a waterproofing-focused inspection especially valuable.
Regardless of which municipality you are in, the eight principles above — membrane protection, flashing quality, correct membrane selection for flat roofs, balanced ventilation, valley reinforcement, clear drainage, quality sealant maintenance, and proactive inspection — apply consistently across the GTA’s shared climate challenges.
Common Signs Your Roof’s Waterproofing Has Failed
Knowing what to look for lets you act before minor issues become major repairs. Ceiling stains, especially ones that appear or grow after a rainstorm, are one of the clearest indicators that water is bypassing the roof’s waterproofing layers. Musty odours in the attic, visible mould on the underside of the roof deck, peeling paint near the roofline, and unexplained increases in heating or cooling costs can all point to a compromised waterproofing system, even before an obvious drip appears indoors.
On flat roofs, blistering or bubbling in the membrane surface, visible seam separation, and standing water more than two days after rain are all signals that the waterproofing layer needs professional attention. On shingle roofs, curling or missing shingles, rusted or lifted flashing, and granules collecting in gutters after storms indicate the shingle’s protective waterproofing layer is degrading faster than expected.
| Warning Sign | Likely Cause | Recommended Action |
|---|---|---|
| Ceiling or wall staining | Flashing failure or valley leak | Schedule inspection within days, not weeks |
| Musty attic odour | Ventilation imbalance / condensation | Attic assessment and ventilation correction |
| Standing water on flat roof (48+ hrs) | Blocked drain or insufficient slope | Clear drains, evaluate slope and membrane |
| Granules in gutters | Shingle wear or storm impact damage | Roof inspection to assess remaining lifespan |
| Rusted or lifted flashing | Age-related metal fatigue | Flashing replacement at affected penetrations |
What are the most essential roof waterproofing tips for longevity?
How often should I inspect my roof for waterproofing issues?
Why does my roof leak even though the shingles look fine?
What is the best waterproofing membrane for a flat roof?
Can ice damming be prevented with better waterproofing?
How much does professional roof waterproofing typically cost?
Need Help With 8 Essential Roof Waterproofing?
Keeping a roof watertight for its full lifespan takes more than good materials — it takes consistent attention to the details described above, and a team that understands how Toronto’s climate stresses every seam, valley, and vent. Universal Roofs has been helping GTA homeowners protect their homes with proper waterproofing since 2005.
Call us today at (416) 732-2421 or request a free inspection to get started.
Universal Roofs proudly serves Toronto, Mississauga, Brampton, Vaughan, Markham, Oakville and the GTA since 2005.