
If your upstairs bedrooms feel like a sauna every July, or you have noticed ice dams creeping along your eaves every February, the root cause is usually the same: your attic cannot breathe. Mastering natural roof ventilation is not about installing a single gadget — it is about building a complete, balanced airflow system that pulls cool air in low and pushes hot, moist air out high, using nothing but physics. No electricity, no moving parts, no monthly hydro cost.
At Universal Roofs, we have been diagnosing and correcting attic ventilation problems across the Greater Toronto Area since 2005. Our climate is uniquely hard on roofs: humid, sticky summers followed by deep freeze-thaw winters mean a poorly ventilated attic does double duty damage, cooking shingles from underneath in July and building destructive ice dams in January. This guide walks you through exactly how natural ventilation works, how to calculate what your attic needs, how to install it step by step, and how to know when a system has failed.
How Natural Roof Ventilation Actually Works
Natural roof ventilation relies on two physical principles working together: the stack effect and wind-driven airflow. The stack effect describes how warm air rises and escapes through high points on the roof, such as a ridge vent, while creating negative pressure that draws cooler, drier air in through low points, such as soffit vents under the eaves. Wind passing over the roof reinforces this by creating additional suction at the ridge and gable ends.
For this system to function, you need two things in balance: intake and exhaust. Intake vents sit low, typically in the soffit or eave area, and let outside air enter the attic. Exhaust vents sit high, at the ridge, gable, or roof deck near the peak, and let hot, moist air escape. If you only have exhaust vents with no intake, the exhaust vents will actually pull conditioned air up from your living space through ceiling gaps and light fixtures instead of pulling fresh air from outside — wasting energy and pulling moisture-laden indoor air straight into the attic where it condenses on cold sheathing.
This is the single most misunderstood part of mastering natural roof ventilation: more exhaust vents without matching intake makes the problem worse, not better. A properly balanced system needs roughly equal net free area at the intake and exhaust, and building codes in Ontario generally reference a minimum ratio of 1:300 (one square foot of ventilation for every 300 square feet of attic floor space) when a vapour barrier is present, split evenly between intake and exhaust.
Why Toronto and GTA Homes Need It More Than Most
Southern Ontario’s climate punishes attics twice a year. In summer, attic temperatures under an unventilated roof deck can climb past 60°C, baking asphalt shingles from below and shortening their lifespan by years while driving up air conditioning costs on the floor beneath. In winter, warm, humid air leaking up from living spaces meets a cold roof deck and condenses, soaking insulation and framing. That same warm attic air melts snow on the upper roof, which then refreezes at the colder eaves, forming ice dams that back water up under your shingles.
Homes across Toronto, the Peel Region, York Region, Halton Region, and Durham Region all see this same freeze-thaw cycle, sometimes several times in a single week during a GTA winter. A well-designed natural ventilation system is one of the cheapest, most durable defences against both the summer heat problem and the winter ice dam problem, because it is passive — there is no fan motor to fail and no switch to forget to flip.
Assessing Your Current Ventilation: The Diagnostic Walkthrough
Before adding or replacing anything, you need to understand what you are working with. Grab a flashlight and head into the attic on a mild day.
- Look for soffit vents from inside. Standing at the low edges of the attic near the eaves, you should see daylight or feel airflow through vent openings. If insulation is blocking them, that is often the entire problem right there.
- Check for a clear air channel. Baffles (sometimes called rafter vents) should run from the soffit opening up over the top of the insulation, keeping a channel clear so air can travel from eave to ridge without being smothered.
- Inspect the ridge or roof deck for existing exhaust. A continuous ridge vent shows as a narrow cut along the peak with a cap over it. Older homes may instead have static box vents, a power vent, or turbine vents scattered across the upper roof slope.
- Look for moisture signs. Rust on nail tips poking through the deck, dark staining on sheathing, sagging insulation, or a musty smell all point to inadequate airflow.
- Note insulation depth and placement. Insulation piled against the roof deck at the eaves, rather than staying flat on the attic floor, chokes off intake air even if the soffit vents themselves are clear.
If you are not comfortable getting into a hot, low-clearance attic, this is exactly the kind of assessment our attic inspection service covers, and it pairs naturally with a broader look at your roof repair needs if shingles are already showing heat or ice damage.
Calculating the Ventilation You Actually Need
Ventilation sizing is not a guess — it follows a formula tied to your attic’s square footage. The table below breaks down the standard 1:300 net free area (NFA) ratio used across most residential applications in Ontario, along with the balanced intake/exhaust split.
| Attic Floor Area | Total NFA Required (1:300) | Intake (50%) | Exhaust (50%) |
|---|---|---|---|
| 800 sq ft | 384 sq in | 192 sq in | 192 sq in |
| 1,200 sq ft | 576 sq in | 288 sq in | 288 sq in |
| 1,600 sq ft | 768 sq in | 384 sq in | 384 sq in |
| 2,000 sq ft | 960 sq in | 480 sq in | 480 sq in |
| 2,400 sq ft | 1,152 sq in | 576 sq in | 576 sq in |
To use this table, measure your attic footprint in square feet (length times width of the house at the eave line), multiply by 144, then divide by 300 to get total net free area in square inches. Split that number evenly between intake and exhaust products, then check each product’s rated NFA per linear foot to figure out how many feet of soffit vent or ridge vent you need. Manufacturer specification sheets list NFA per foot for continuous vent strips, and it varies by brand and profile, so always confirm the number stamped on the product rather than assuming a round figure.
Step-by-Step: Installing a Balanced Natural Ventilation System
This is the process our crews follow on a typical GTA retrofit, whether we are correcting an unbalanced system or building one from scratch during a full roof replacement.
- Confirm the intake path is clear. From inside the attic, clear away any insulation blocking the soffit openings. If the original construction has no soffit vents at all, this is addressed from outside by cutting new vent holes into the soffit panel.
- Install soffit vents. Continuous strip vents along the full eave length perform far more consistently than individual circular vents spaced every few feet, because they eliminate dead zones between openings.
- Install baffles at every rafter bay. Rigid foam or cardboard baffles are stapled to the roof deck at each bay along the eave, holding a clear air channel above the insulation line so intake air can travel all the way up to the ridge.
- Top up or level insulation. Once baffles are in place, insulation can be added or levelled without risk of it sliding back over the soffit opening.
- Cut the ridge slot. On the exterior, a slot is cut on either side of the ridge board, typically 2.5 to 3.75 centimetres wide depending on the vent product, stopping short of the gable ends to preserve structural integrity.
- Install the ridge vent and cap shingles. The ridge vent material is fastened over the slot, then capped with matching shingles so the finished ridge line looks seamless from the ground.
- Seal and inspect penetrations. Any bathroom or kitchen exhaust fan ducts routed through the attic must vent through the roof or wall to the exterior, never dumping moist air into the attic itself — a surprisingly common defect we find on older homes.
- Verify airflow. On a windy day, a smoke pencil or simple visual check at the ridge slot confirms air is actively moving from soffit to ridge.
Comparing Natural Ventilation Components
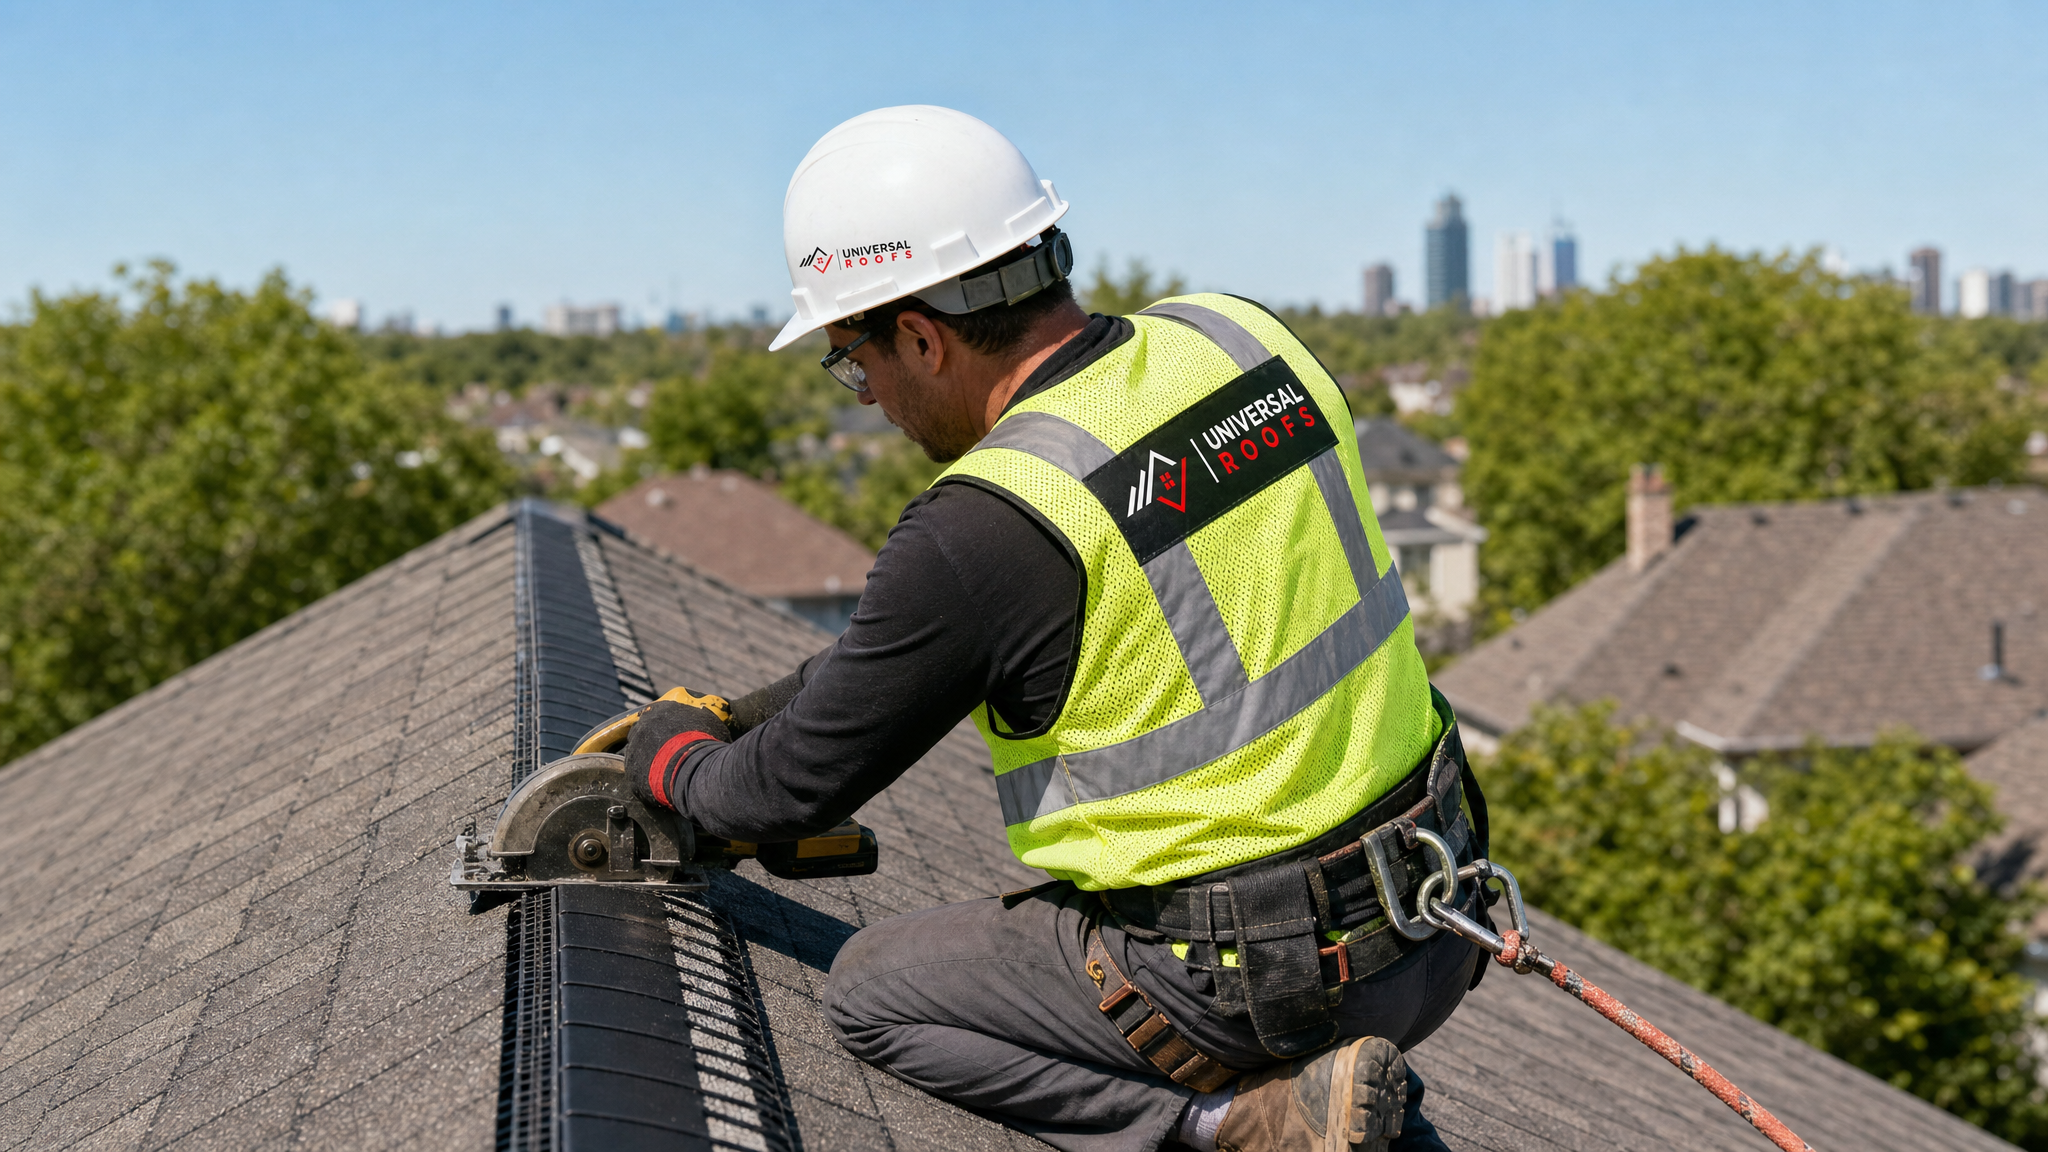
Not every exhaust or intake option performs the same, and mixing incompatible types can actually short-circuit the system. The comparison below covers the components we most often specify or replace on GTA homes.
| Component | Type | Typical NFA | Best Use Case |
|---|---|---|---|
| Continuous soffit vent | Intake | 9–12 sq in/ft | Homes with full eave overhangs; most consistent intake option |
| Individual circular soffit vent | Intake | 8–12 sq in each | Narrow or interrupted soffits where continuous strip will not fit |
| Continuous ridge vent | Exhaust | 12–18 sq in/ft | Homes with a straight, adequately long ridge line; most balanced exhaust option |
| Static box vents | Exhaust | 50–65 sq in each | Hip roofs or short ridges where a continuous ridge vent is impractical |
| Gable end louvres | Exhaust (secondary) | Varies by size | Supplementing ridge exhaust on larger or complex roof shapes, never as the sole exhaust |
| Turbine vents | Exhaust (wind-assisted) | Varies by diameter | Older installations; largely superseded by ridge vents on new work |
A note on mixing exhaust types: combining a ridge vent with gable louvres or turbines on the same roof plane can create a short-circuit, where air enters at the ridge and exits at the gable without ever pulling fresh air up from the soffit below. If you are retrofitting a ridge vent onto a home that already has gable vents, those gable vents should generally be sealed off to keep the airflow path clean and predictable.
Troubleshooting Common Ventilation Problems
Even a system that looks complete from the ground can be underperforming. Here are the issues we diagnose most often on service calls across the GTA.
| Symptom | Likely Cause | Fix |
|---|---|---|
| Ice dams every winter despite attic insulation | Insulation blocking soffit intake, or warm air leaking from living space into attic | Clear soffit intake with baffles; air-seal ceiling penetrations before adding insulation |
| Musty smell or visible mould on roof deck | Excess humidity with no exhaust path, often from an unvented bathroom fan | Reroute bath fan duct to exterior; add or unblock ridge exhaust |
| Upstairs rooms significantly hotter than main floor in summer | Attic heat buildup from insufficient total NFA | Increase both intake and exhaust to meet the 1:300 ratio, keeping the split balanced |
| Frost visible on the underside of the roof deck in winter | Warm, moist attic air condensing on a cold, poorly ventilated deck | Confirm baffles at every bay; verify ridge vent is not blocked by paint or debris |
| Shingles curling or granule loss well before expected lifespan | Sustained high attic temperatures cooking the shingle from underneath | Rebalance intake and exhaust; consider ridge vent upgrade during next reroof |
Natural Ventilation vs. Powered Attic Fans
Homeowners often ask whether a powered attic fan is a shortcut around all this planning. In most cases, we recommend against it. A powered fan pulls air aggressively, and if the intake is not sized to match, it will pull conditioned air out of the living space below through ceiling gaps, increasing cooling costs rather than reducing them. It also introduces a motor that requires electricity and eventually fails, unlike a ridge vent, which has no moving parts and simply works as long as the intake and exhaust paths stay clear.
Natural ventilation, correctly sized and balanced, is quieter, requires no maintenance beyond keeping vents clear of debris and paint, and has no ongoing energy cost. The only scenario where mechanical assistance genuinely helps is a roof geometry so complex that adequate passive NFA simply cannot be achieved — and even then, it should supplement, not replace, a properly balanced passive system.
Special Cases: Flat Roofs and Skylights
Not every roof on a GTA property is a simple pitched attic. Flat and low-slope roofs, common on additions, garages, and commercial buildings, ventilate very differently since there is no ridge to exhaust through. These typically rely on a combination of perimeter intake vents and mechanical or engineered exhaust paths designed specifically for the assembly. If you have a flat-roofed section attached to a ventilated pitched roof, the two systems should be assessed separately rather than assumed to share airflow — our flat roofing team handles this kind of mixed-roof assessment regularly.
Skylights add another wrinkle. A skylight shaft cutting through the attic interrupts the continuous air channel between soffit and ridge, so baffles need to be routed carefully around the shaft to maintain airflow on both sides. Poorly flashed or poorly insulated skylight shafts are also a common source of the condensation and staining homeowners mistake for a roof leak. If you are planning a skylight installation or considering skylight replacement, it is worth having ventilation reviewed at the same time so the two systems work together rather than against each other.
Maintenance: Keeping a Natural System Working Long-Term
A correctly installed natural ventilation system needs very little upkeep, but a few habits protect the investment.
- Check soffit vents each spring for spider webs, wasp nests, or leaf debris that can restrict airflow.
- Never paint over vent louvres during exterior painting projects — masking them off preserves the free area they are rated for.
- After attic insulation top-ups, confirm baffles are still upright and not crushed against the soffit opening.
- Watch for animal intrusion. Squirrels and raccoons will chew through soffit vent material to nest in an attic; damaged screens should be repaired promptly.
- Re-inspect after any reroofing project, since ridge vent material can shift or be covered incorrectly during a shingle replacement if the contractor is not paying attention to airflow continuity.
Most GTA homeowners never think about their attic until a symptom shows up on the ceiling or the energy bill. Building a simple annual check into your spring roof routine catches small blockages before they become ice dam damage or a shortened shingle lifespan. If you would rather have a professional set of eyes on it, our reviews reflect years of exactly this kind of preventative diagnostic work across the region, and our FAQ page covers many of the smaller questions that come up once a system is installed.
When to Call a Professional
Diagnosing soffit blockages or checking for daylight through vents is reasonable for a comfortable DIYer. Cutting a ridge slot, calculating precise NFA for an irregular roof shape, or correcting a system that is short-circuiting between mismatched vent types is where professional judgment pays off. Get on the phone with a roofer if you notice any of the following: recurring ice dams despite adequate insulation, visible mould or rot on the roof deck, shingles failing well before their rated lifespan, or an attic that stays noticeably hot into the evening on summer days. Learn more about our team’s background on the about page, and browse past projects and client feedback before booking an assessment.
Frequently Asked Questions About Mastering Natural Roof Ventilation
What is the first step in mastering natural roof ventilation for a Toronto attic?
How much natural ventilation does my attic actually need?
Can too much exhaust ventilation cause problems?
Does natural roof ventilation help prevent ice dams in the GTA winter?
Is a ridge vent better than gable vents or turbines?
How do I know if my current ventilation system has failed?
Need Help With Mastering Natural Roof Ventilation?
Getting the intake-to-exhaust balance right is the difference between a roof that lasts its full rated lifespan and one that fights ice dams and heat damage every year. The team at Universal Roofs has spent two decades correcting exactly these problems on homes across the GTA, and we can assess your attic’s airflow as a standalone visit or as part of a larger roofing project.
Call us today at (416) 732-2421 or request a free inspection to get started.
Universal Roofs proudly serves Toronto, Mississauga, Brampton, Vaughan, Markham, Oakville and the GTA since 2005.