
A leaking or foggy skylight is one of those problems that homeowners tend to notice at the worst possible moment — usually during a summer thunderstorm or the first hard freeze of the year. The good news is that most skylight repair issues fall into a handful of predictable categories, and knowing what you are looking at can save you hundreds of dollars and a lot of stress. Whether you have a fixed skylight over a stairwell, a manual vented unit in a bedroom, or an older tubular skylight that has started to sweat, the diagnostic process is largely the same.
At Universal Roofs, we have been repairing, resealing, and replacing skylights across the Greater Toronto Area since 2005, and skylight calls spike twice a year: right after spring thaw, when winter ice damage finally shows itself as a stain on the ceiling, and again in late summer, when heavy rain finds every weak point in a flashing seal. This guide walks through the most common skylight problems, how to tell them apart, what a proper repair actually involves, and when it makes more sense to replace the unit outright rather than keep patching it.
We will cover leak diagnosis, condensation versus water intrusion, flashing repair, seal and gasket replacement, glazing and dome issues, and the point at which repair costs stop making financial sense. Along the way we will flag the specific things that matter in a Toronto climate — freeze-thaw cycling, ice damming, and UV degradation from long summer days — because they change how a skylight fails and how it should be fixed.
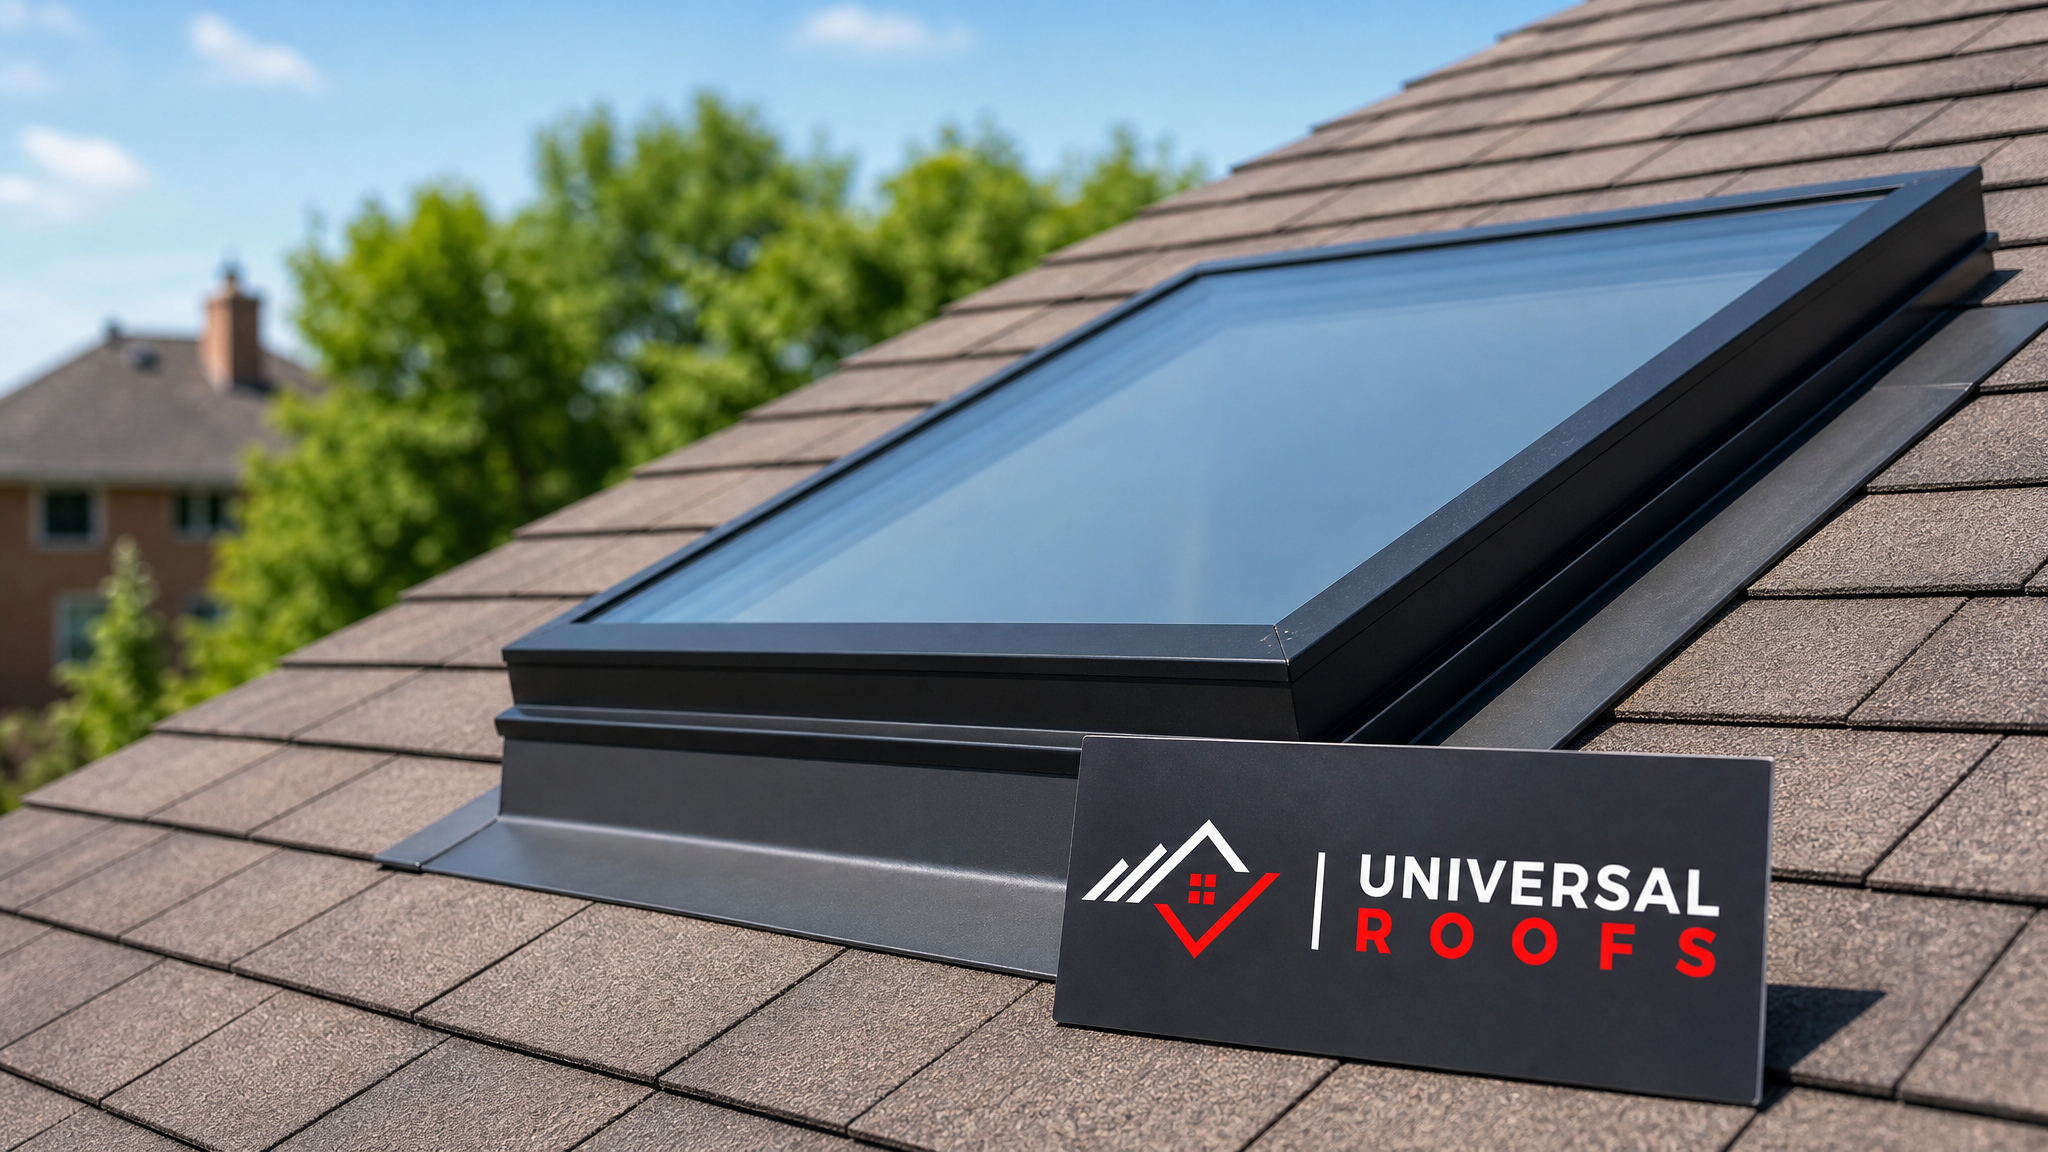
Diagnosing the Source of a Skylight Leak
The single biggest mistake homeowners make with a leaking skylight is assuming the glass or dome itself has failed. In our experience, fewer than one in ten skylight leaks is actually caused by a cracked pane or broken seal in the glazing unit. The overwhelming majority trace back to one of three places: the flashing around the perimeter of the skylight curb, the sealant or gasket between the frame and the roofing material, or condensation that is being mistaken for an active leak.
Start by looking at where the water is actually appearing. A stain that forms directly below the skylight opening, especially after wind-driven rain, usually points to flashing or sealant failure on the windward side. A stain that appears gradually and is accompanied by a musty smell or visible mould around the drywall return often indicates a slow leak that has been present for a while, possibly from a step flashing that has separated from the roofing underlayment. Water that only shows up on cold mornings, disappears by afternoon, and never correlates with rainfall is almost always condensation, not a leak at all.
If you can safely access the attic space or the area directly above the ceiling, trace the water stain upward with a flashlight during or right after a rainstorm. This is the single most reliable diagnostic step, and it is one most homeowners skip because it requires getting into a hot, cramped attic during a storm. If you are not comfortable doing that, our roof repair technicians carry moisture meters and can trace the path from the interior stain back to the exterior entry point without guesswork.
| Symptom | Likely Cause | Typical Fix | DIY-Friendly? |
|---|---|---|---|
| Stain appears only after wind-driven rain | Flashing separation on windward side | Re-flash and reseal perimeter | No – requires roof access |
| Water appears on cold mornings only, dries by afternoon | Condensation from indoor humidity | Improve ventilation, add insulation to shaft | Yes, in most cases |
| Slow drip with musty odour, mould on drywall | Long-term flashing or underlayment failure | Full curb re-flashing, possible drywall repair | No – professional assessment needed |
| Water tracks along one edge of the frame only | Localized sealant crack or gasket wear | Spot reseal with roofing-grade sealant | Yes, as a temporary fix |
| Fogging or cloudiness between panes | Failed seal on double or triple-glazed unit | Glazing unit replacement, or full skylight replacement | No – specialty part |
Condensation vs. an Actual Leak
Condensation is by far the most misdiagnosed skylight issue we see, and it is worth its own section because the fix is completely different from a leak repair. Skylights are essentially windows in your roof, and like any window, the glass surface cools faster than the surrounding room on cold nights. When warm, humid indoor air meets that cold glass, moisture condenses on the interior surface, drips down the frame, and pools on the sill or drywall return — which looks exactly like a leak to most homeowners.
The tell-tale signs of condensation rather than intrusion are: it happens in cold weather (typically November through March in the GTA), it is worse in bathrooms, kitchens, and other high-humidity rooms, it disappears as the day warms up, and it tends to happen even when it has not rained recently. If your skylight is single-glazed, or if the unit is more than 15 years old, condensation becomes more likely because older insulated glass units lose their thermal performance over time.
The fix for condensation is not sealant — it is humidity control. Run bathroom and kitchen exhaust fans longer, consider a dehumidifier in humid months, check that the skylight shaft (the drywall tunnel between the roof opening and the ceiling) is properly insulated, and make sure there is no gap where warm indoor air can leak directly against the cold glass. If condensation persists despite good ventilation, the glazing unit itself may have lost its thermal seal, which is a repair job, not a maintenance one. Our skylights team can test the unit’s seal integrity and tell you definitively which category you are in.
Flashing Repair: The Most Common Fix
Flashing is the metal barrier — usually aluminum or galvanized steel — that wraps the base of the skylight curb and directs water around the opening instead of into it. It typically consists of a head flashing at the top (uphill side), step flashing along the sides that interleaves with each course of shingles, and a saddle or apron flashing at the bottom that sheds water onto the roof surface below the unit.
Flashing fails for a few predictable reasons in this climate: repeated freeze-thaw cycling loosens fasteners and opens seams, ice damming forces water backward under the flashing during winter, and roofing sealant used at the seams degrades under UV exposure over 8 to 12 years. When flashing fails, water does not necessarily show up right at the skylight — it can travel several feet along the underlayment or rafters before finding a path through the ceiling, which is why leak tracing from the attic is so valuable.
A proper flashing repair involves removing the affected shingles around the skylight, inspecting the underlayment for hidden damage, replacing any corroded or bent flashing pieces, and reinstalling with a compatible roofing underlayment and fresh sealant at every seam. This is not a job for caulk alone applied over old, failing flashing — that approach almost always fails again within a season or two because it does not address the underlying metal or underlayment problem. If your skylight sits on a flat or low-slope section of roof, the flashing detail is different again, and pairs closely with the surrounding membrane; our flat roofing crews handle that transition as one integrated repair rather than two separate trades.
Sealant, Gaskets, and Weatherstripping
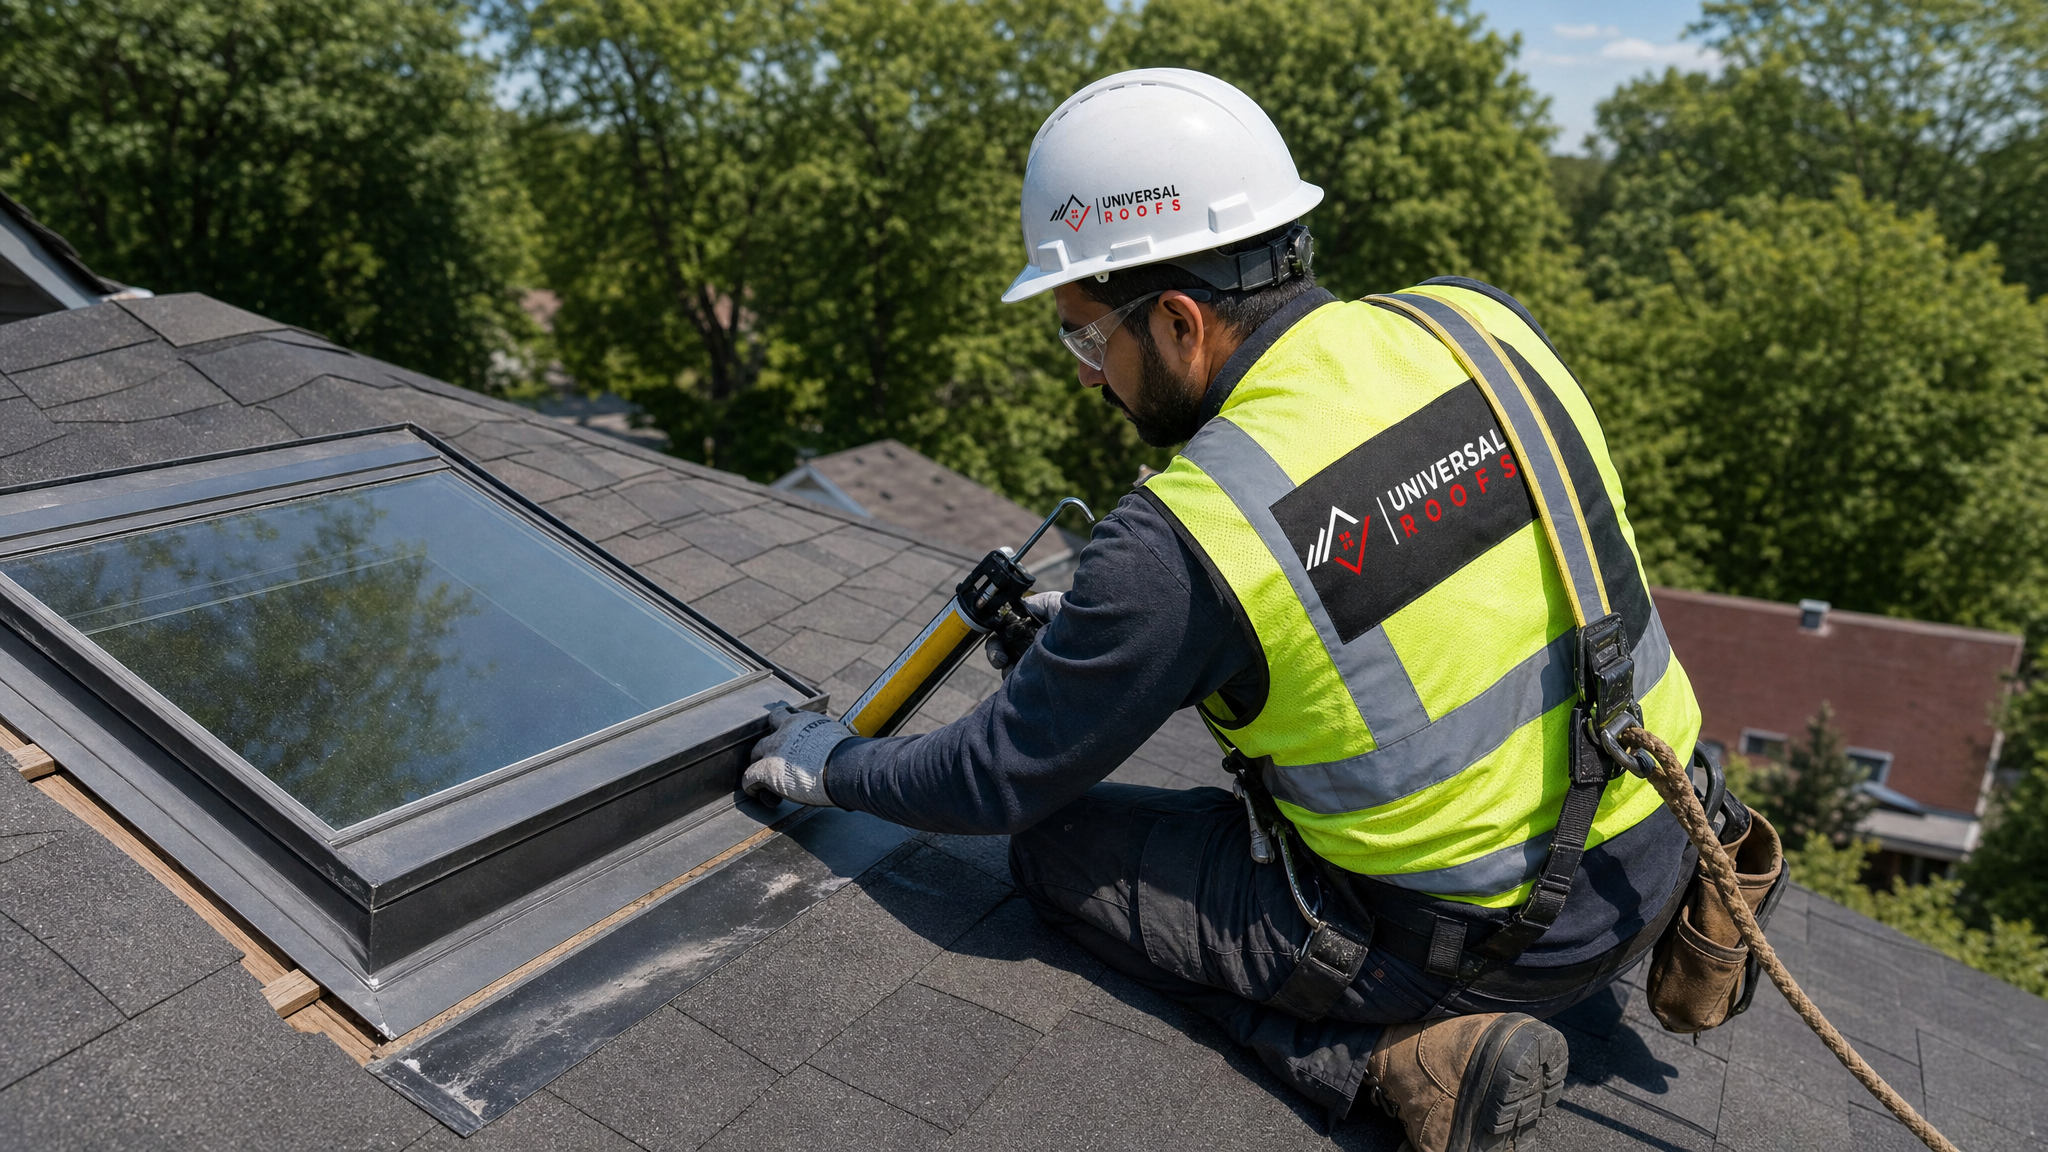
Beyond the flashing itself, most skylights rely on a rubber or EPDM gasket between the glazing unit and the frame, plus a bead of roofing-grade sealant at the frame-to-curb junction. These components are consumable — they are designed to wear out and be replaced periodically, unlike the flashing, which should last the life of the roof if installed correctly.
Gaskets typically last 10 to 15 years before UV exposure and thermal cycling make them brittle and prone to cracking. You can often spot early gasket failure by looking for small cracks or a chalky, faded appearance in the rubber, especially on the south-facing side of the skylight, which takes the most sun exposure through a Toronto summer. Sealant at seams should be inspected annually and reapplied wherever it has pulled away, cracked, or turned brittle.
Not all sealants are appropriate for skylight use. General-purpose silicone caulk is a common DIY mistake — it does not bond well to some skylight frame materials, it does not flex the way roofing-grade polyurethane or butyl sealants do, and it tends to fail within a single winter of freeze-thaw movement. A proper skylight reseal uses a sealant rated for both roofing membranes and the specific frame material (aluminum, vinyl-clad, or wood), applied in the right weather conditions — sealant applied to a damp or cold surface will not cure properly and will fail almost immediately.
| Component | Typical Lifespan | Failure Signs | Replacement Cost Range (CAD) |
|---|---|---|---|
| Perimeter flashing (aluminum/steel) | 20–25 years (life of roof) | Rust, bent seams, gaps at corners | $450–$900 per skylight |
| Rubber/EPDM gasket | 10–15 years | Cracking, chalky texture, visible daylight gaps | $150–$350 per skylight |
| Frame sealant/caulk joints | 5–8 years | Pulling away from frame, brittle or crumbling | $120–$250 per skylight |
| Insulated glazing unit seal | 15–20 years | Fogging, condensation between panes | $400–$800 per unit |
| Full skylight (frame and glazing) | 20–25 years | Multiple simultaneous failures, structural rot | $1,100–$2,800 installed |
Glazing, Domes, and UV Damage
The glazing itself — whether it is tempered glass, laminated glass, or an acrylic dome on an older unit — is the least likely part to fail, but it does happen. Acrylic domes, common on skylights installed before the early 2000s, yellow and become brittle with sustained UV exposure, and a long, sunny Toronto summer accelerates that process. A dome that has visibly yellowed, developed a crazed or cracked surface texture, or become cloudy is not repairable; it needs to be replaced, and in many cases the entire unit is due for an upgrade to modern insulated glass at that point.
Modern glazing units are sealed at the factory, and that seal is what fails when you see fogging between panes — the desiccant inside the spacer bar has become saturated and can no longer keep the air gap dry. There is no reliable field fix for a fogged insulated glass unit. It can sometimes be swapped for a new glazing unit within the same frame if the skylight brand still supports replacement parts, but on units older than 15 years it is usually more cost-effective to replace the whole skylight.
Hail and impact damage is the other glazing concern we see, particularly after a summer storm. Laminated glass typically holds together even when cracked, which is a safety feature, but it still needs to be replaced promptly since the seal is compromised the moment the surface cracks. If you are dealing with cracked or failed glazing, our skylight replacement page walks through what a modern replacement unit offers over what was likely installed a decade or two ago — better thermal performance, laminated safety glass as standard, and flashing kits engineered specifically for the frame.
Repair or Replace: Making the Call
Skylight repair makes sense when the problem is isolated: a section of flashing has failed, a gasket has dried out, or a sealant joint needs redoing on an otherwise sound unit. Replacement becomes the smarter option once you are looking at multiple simultaneous failures, a unit older than 20 years, or a frame that shows signs of rot or structural movement. It also becomes worth considering purely on efficiency grounds — a skylight installed in the 1990s or early 2000s is typically single or basic double-glazed, while current units offer meaningfully better insulation, which matters for both winter heat loss and summer solar gain in a GTA climate that sees both extremes.
A good rule of thumb: if the repair cost is approaching 40 to 50 percent of a full replacement, or if this is the second repair call on the same unit within three years, replacement is usually the better long-term value. Skylights that were installed poorly to begin with — undersized flashing, wrong curb height, inadequate step flashing integration with the surrounding shingles — tend to keep failing no matter how many times the sealant is redone, because the underlying installation is the problem, not the sealant.
| Scenario | Recommended Action | Approx. Timeline |
|---|---|---|
| Single flashing seam failure, unit under 15 years old | Repair – re-flash and reseal | 1 day |
| Fogged glazing on unit under 10 years old | Repair – replace glazing unit only, if available | 2–3 days (order lead time) |
| Multiple failures, unit 20+ years old | Full replacement | 1 day install, 1–2 weeks lead time |
| Cracked acrylic dome, yellowed and brittle | Full replacement (dome not repairable) | 1–2 weeks lead time |
| Poor original installation, recurring leaks | Full replacement with corrected flashing detail | 1 day install, 1–2 weeks lead time |
Preventing Skylight Problems Before They Start
Most of the emergency skylight calls we get could have been caught during a routine inspection. A simple annual check, ideally done in spring after the freeze-thaw season and again before winter, catches small problems while they are still small. Look for cracked or missing sealant at the frame perimeter, shingles or membrane pulling away from the flashing, debris buildup in the well around the curb (leaves and needles trap moisture against the flashing), and any staining on the interior ceiling or drywall return.
Keep the area around the skylight clear of overhanging branches, which drop debris and can also cause impact damage during storms. If your attic is accessible, check the underside of the skylight shaft for insulation gaps, since a poorly insulated shaft is what drives most condensation complaints in winter. And if your roof is due for a full roof replacement in the next few years, it is almost always worth timing a skylight replacement to happen at the same time — the flashing integration is cleaner, and you avoid tearing into a brand-new roof surface again a few years later for a skylight that was left alone.
Attic ventilation also plays a bigger role in skylight longevity than most homeowners expect. Poor attic airflow raises humidity and temperature swings around the skylight shaft and curb, which accelerates both condensation issues and material fatigue in the flashing and sealant. If you are dealing with recurring skylight condensation alongside other signs of poor attic performance — ice damming, uneven snow melt on the roof, high winter heating bills — it is worth having your attic ventilation and insulation assessed at the same time as the skylight itself, since fixing one without the other often means the symptoms come back.
What to Expect From a Professional Skylight Repair
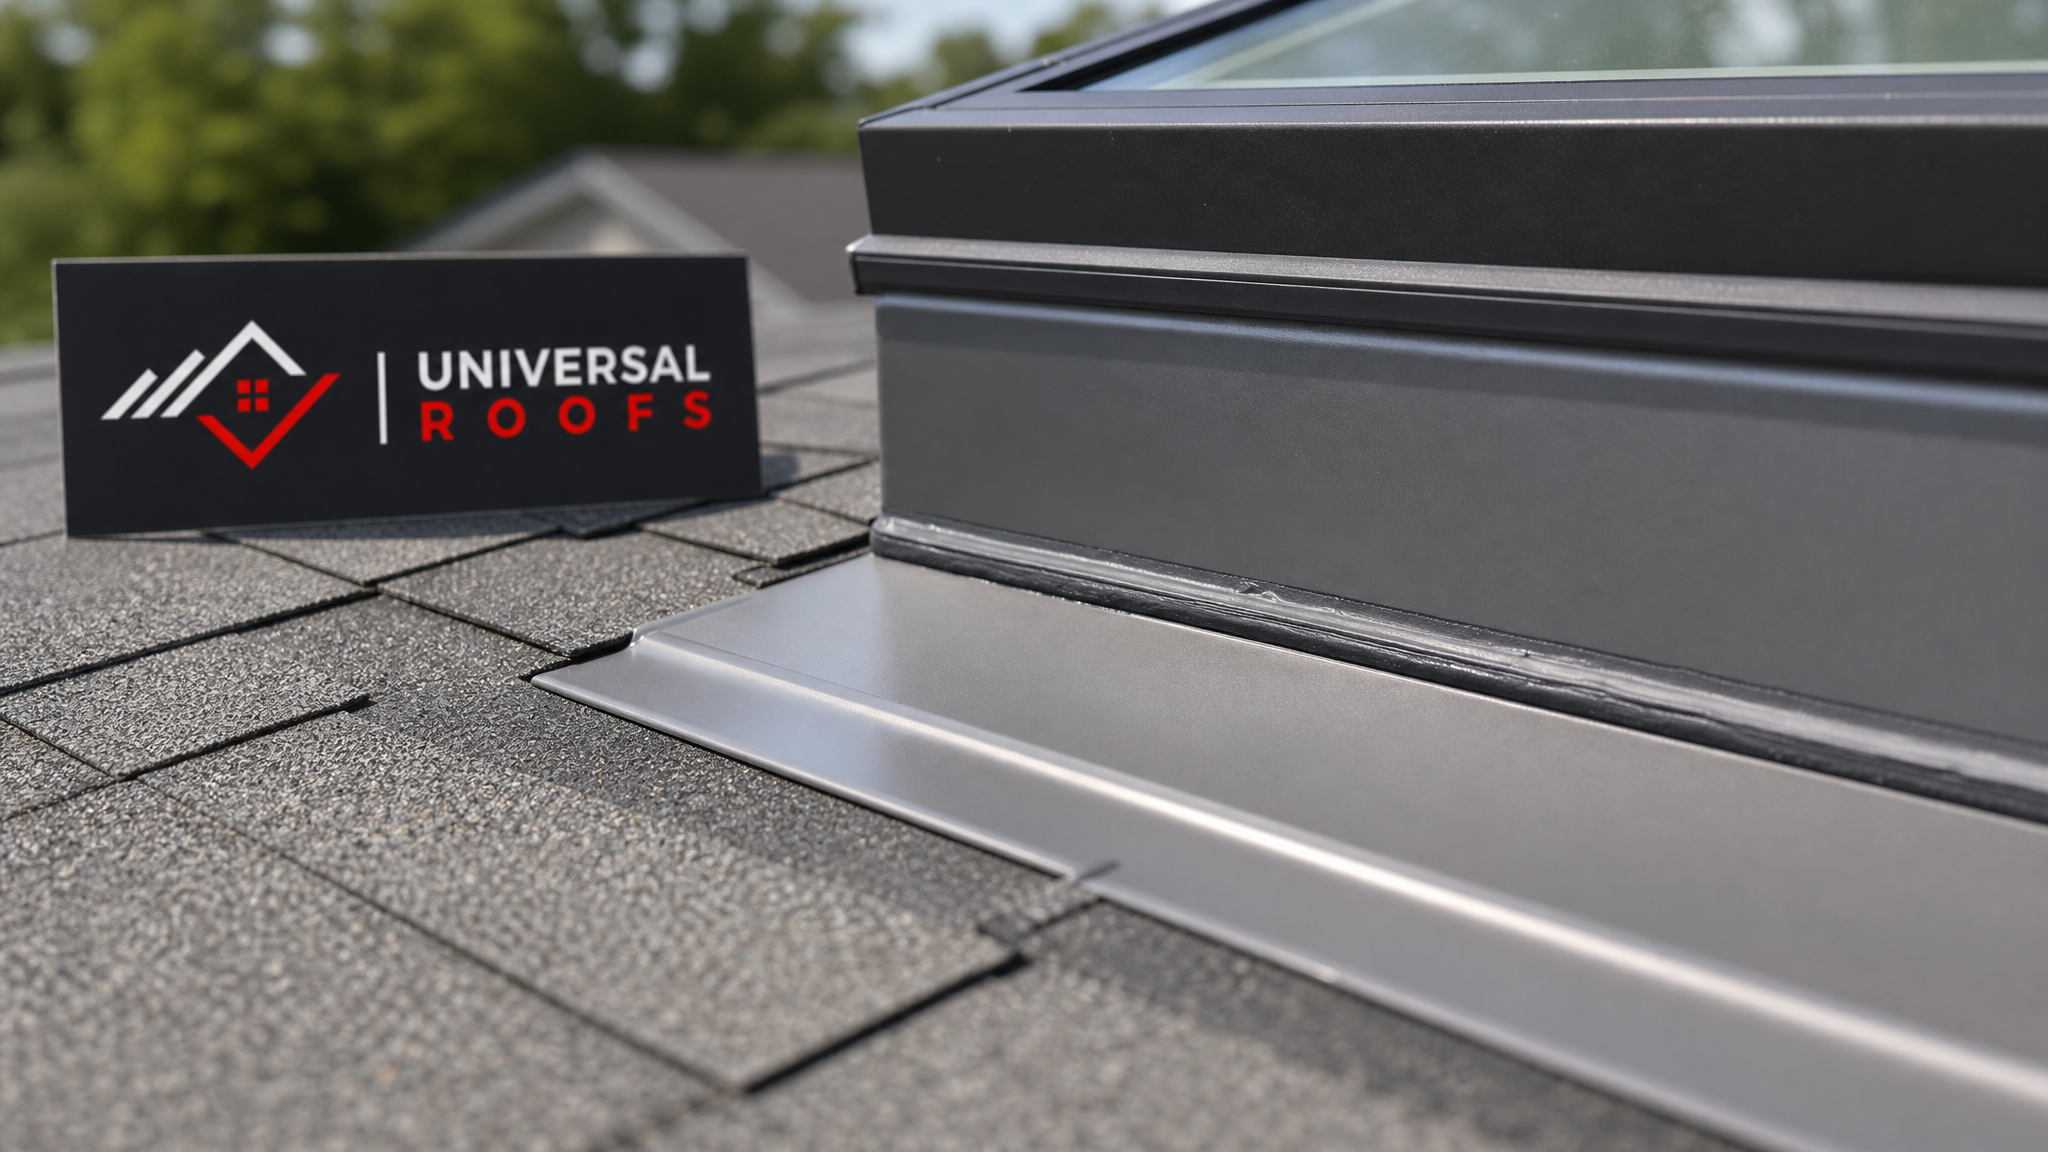
When you call a roofing contractor for a skylight repair, the process should start with an actual diagnosis, not an assumption. A technician should inspect the unit from both inside and outside, check the attic or shaft for staining and moisture patterns, and, where possible, trace the leak path rather than simply resealing everything and hoping it holds. For flashing repairs, expect the surrounding shingles or membrane to be removed and reinstalled properly rather than sealant being applied over the top of failing metal.
Reasonable turnaround for a straightforward flashing or sealant repair is a single day, weather permitting — sealant needs dry conditions and moderate temperatures to cure properly, which is part of why late spring through early fall is the ideal repair window in the GTA. Glazing unit replacements and full skylight swaps typically involve a short lead time to order the correct part or unit, especially for less common sizes or older skylight brands that may require a retrofit kit rather than an exact factory match.
Before hiring anyone, it is worth checking a contractor’s track record on this specific type of work, not just general roofing. You can see examples of completed skylight and roofing work, along with feedback from homeowners across the GTA, on our reviews page, and our FAQ page answers many of the practical questions homeowners ask before booking — warranty terms, what is included in an inspection, and how we handle insurance documentation for storm-related claims.
Skylight Repair Costs and What Affects Them
Cost is one of the first questions every homeowner asks, and it depends heavily on what is actually wrong, the skylight’s age and size, and roof accessibility. A straightforward reseal or partial flashing repair on an easily accessible single-storey roof sits at the lower end of the range. Work on a steep or multi-storey roof, repairs requiring scaffolding or specialized fall protection, and skylights with hard-to-source parts push costs higher. Bundling a skylight repair with other roofing work — a section of shingle replacement, gutter work, or attic ventilation upgrades — is often more cost-effective than scheduling them as separate visits, since a lot of the labour (access, setup, safety equipment) is shared.
Homeowners across Toronto, Peel Region, York Region, Halton Region, and Durham Region deal with largely the same climate factors — freeze-thaw cycling, ice damming, and hot, humid summers — so the failure patterns and repair approach are consistent across the GTA, though local permit requirements and roof styles can shift the specifics slightly from one municipality to the next.
How much does skylight repair typically cost in Toronto?
Can I do skylight repair myself?
Why does my skylight leak only when it rains hard or the wind blows?
Is water around my skylight condensation or an actual leak?
How often should a skylight be inspected or resealed?
When should I replace a skylight instead of repairing it?
Need Help With Top Skylight Repair Tips?
Skylight problems rarely fix themselves, and a small flashing gap or worn gasket left alone through another Toronto winter tends to turn into a much larger repair. The team at Universal Roofs has handled skylight diagnosis, repair, and replacement across the GTA for two decades, and we would rather trace a leak properly the first time than have you calling us back for the same problem next season.
Call us today at (416) 732-2421 or request a free inspection to get started.
Universal Roofs proudly serves Toronto, Mississauga, Brampton, Vaughan, Markham, Oakville and the GTA since 2005.