
A dirty roof is more than a cosmetic problem. Those dark streaks, patches of moss, and clumps of algae you see from the driveway are living organisms that hold moisture against your shingles, and in a climate like Toronto’s — where freeze-thaw cycles run from late fall through early spring — trapped moisture is exactly what accelerates granule loss, wood rot, and premature shingle failure. The good news is that most homeowners can handle light-to-moderate roof cleaning themselves, safely and affordably, if they use the right techniques and the right products.
This guide walks through the 10 best DIY roof cleaning hacks that actually work on GTA rooftops, from soft-washing solutions that kill algae at the root to gutter tricks that stop debris from building up in the first place. We will also cover what NOT to do — because a pressure washer set to the wrong PSI can strip more shingle life in five minutes than five years of Toronto weather.
Before you grab a ladder, it is worth being honest about when DIY cleaning is appropriate and when it is time to call in a professional. Steep pitches, roofs over two storeys, or shingles already showing curling and cracking are not good candidates for a weekend cleaning project — those situations call for a proper roof repair assessment first. For everything else, the hacks below will get your roof looking clean and performing the way it should.
Why Toronto Roofs Get Dirty Faster Than You Think
Before diving into the hacks themselves, it helps to understand what you are actually cleaning off. The black streaks running down north-facing slopes are usually Gloeocapsa magma, a blue-green algae that feeds on the limestone filler in asphalt shingles. It thrives in humid, shaded conditions — exactly what many GTA neighbourhoods with mature tree cover provide. Moss, on the other hand, is a plant that roots into shingle mat and lifts tabs as it grows, creating channels for water to seep underneath.
Add in maple keys, oak leaves, and pine needles from our tree-lined streets, plus the sand and grit that winter road crews track into the air, and it is easy to see why Toronto roofs accumulate organic debris faster than roofs in drier climates. Humidity off Lake Ontario keeps shaded valleys and north slopes damp well into summer, which is exactly the environment algae and moss need to spread.
Hack 1: Start With a Visual Inspection, Not a Hose
The single most valuable DIY roof cleaning hack costs nothing: walk your property line and look up before you do anything else. Use binoculars if you have them. You are looking for three things — dark streaking (algae), green or grey fuzzy patches (moss or lichen), and any shingles that are already curling, cracked, or missing granules. Photograph problem areas from the ground on a sunny day when shadows make texture easier to see.
This matters because it determines your whole approach. A roof with light surface algae is a great DIY candidate. A roof with moss rooted into cracked shingles, or granule loss exposing the black asphalt mat underneath, needs a professional look before any cleaning happens — scrubbing compromised shingles can finish the job that weather started. If you spot soft spots, sagging, or daylight through the attic, that is a sign to check the attic for ventilation or moisture issues rather than reaching for a cleaning solution.
Hack 2: Choose Soft Washing Over Pressure Washing — Always
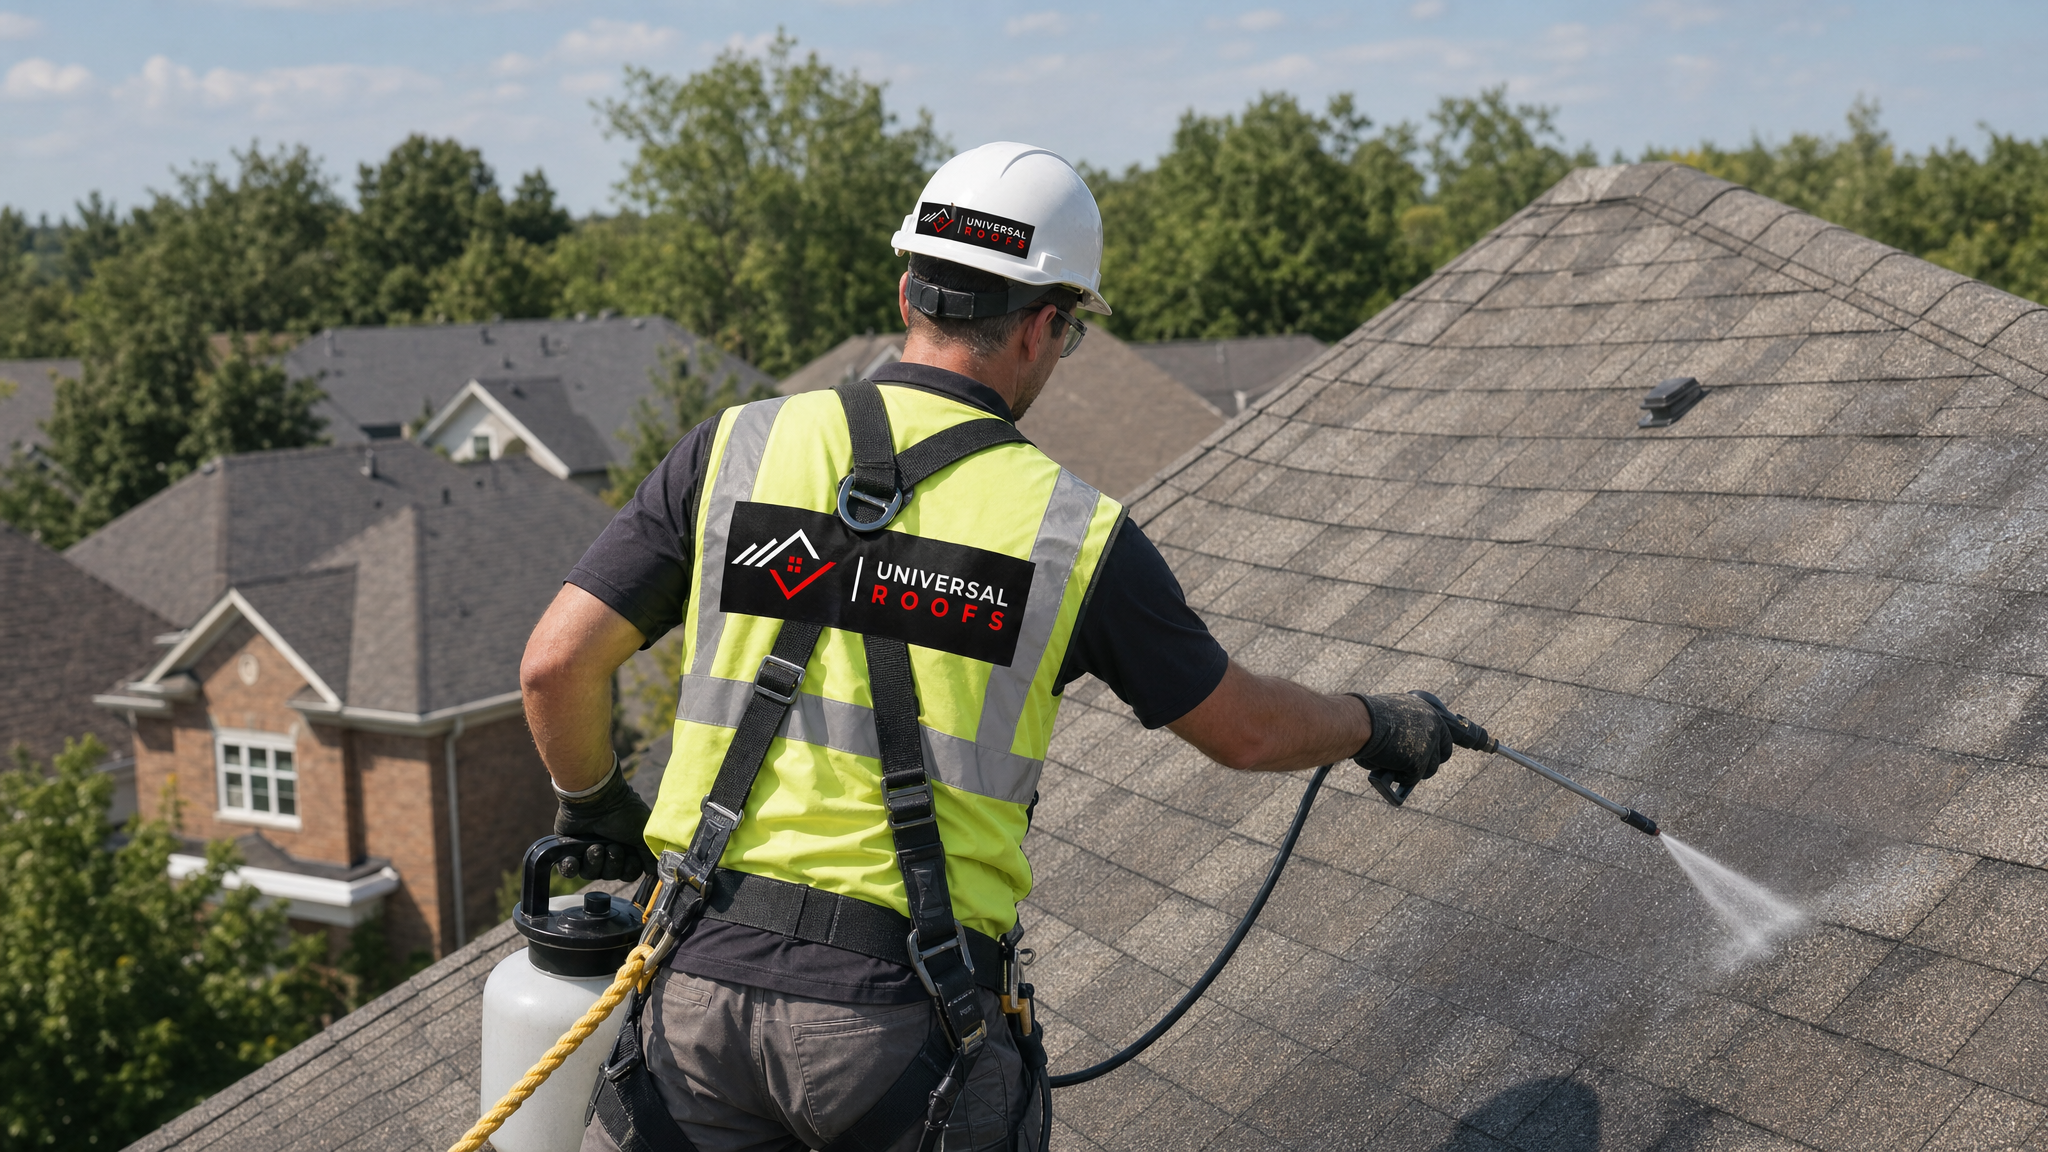
This is the single most important rule in DIY roof cleaning, and it is the one most homeowners get wrong. A gas pressure washer set above 1,200-1,500 PSI will blast the protective granules right off asphalt shingles, shortening their lifespan by years in seconds. It also drives water up and under shingle tabs and flashing, creating leaks that were not there before you started cleaning.
Soft washing uses low pressure (think garden-hose pressure, not driveway-cleaning pressure) combined with a cleaning solution that does the actual work chemically rather than mechanically. Professional roof cleaners use soft-wash systems for exactly this reason: the chemistry kills the organic growth and the low-pressure rinse simply carries it away, leaving the shingle surface intact.
| Cleaning Method | Typical PSI | Safe for Asphalt Shingles | Risk Level |
|---|---|---|---|
| Soft wash (garden hose + solution) | 40-60 PSI | Yes | Low |
| Low-pressure sprayer with surfactant | 100-300 PSI | Yes, with wide fan tip | Low |
| Electric pressure washer, wide nozzle | 500-1,200 PSI | Caution — angle and distance critical | Medium |
| Gas pressure washer, narrow nozzle | 2,000+ PSI | No | Severe — strips granules, voids warranty |
Hack 3: Mix Your Own Algae-Killing Solution
You do not need an expensive commercial roof cleaner to see real results. A homemade solution of 50% water and 50% household bleach, applied with a garden pump sprayer, is one of the most effective and widely used DIY treatments for black algae streaking. Add a small splash of dish soap as a surfactant so the solution clings to the shingle surface instead of running off immediately.
For a gentler option that is easier on surrounding plants, a mix of oxygen bleach (sodium percarbonate) and warm water works nearly as well on light-to-moderate staining without the fumes or the risk to landscaping that chlorine bleach carries. Whichever you choose, always test a small, inconspicuous patch first and never mix bleach with ammonia-based products.
Hack 4: Protect Landscaping and Gutters Before You Spray
Runoff from any bleach-based cleaning solution will stress or kill grass, shrubs, and flower beds if it is not managed. Before spraying, soak plants near the drip line with plain water so they are less likely to absorb concentrated runoff, and drape painter’s plastic sheeting over anything particularly delicate. Cover downspout openings temporarily or divert the first flush of rinse water away from garden beds using a length of flexible hose.
This is also the moment to double check your gutters are clear so the runoff has somewhere to go. A clogged gutter during a roof cleaning session means dirty runoff pools on the fascia or backs up under the roof edge instead of draining away cleanly.
Hack 5: Apply Low to High, Rinse High to Low
Working technique matters as much as the solution itself. Apply your cleaning mixture starting at the bottom of the roof slope and working upward in overlapping sections — this prevents streaking that happens when solution dries unevenly on hot shingles. Let it dwell for 15-20 minutes (check the product label, as dwell times vary) so the chemistry has time to break down algae and moss without you needing to scrub.
When rinsing, reverse the direction: start at the ridge and work down, letting gravity and the flow of water carry loosened debris toward the eaves and into the gutters, where it can be flushed out afterward. This top-down rinse pattern also mimics how shingles are designed to shed water, reducing the chance of forcing moisture up under tabs.
Hack 6: Use a Soft-Bristle Roof Brush, Never a Stiff One
For moss that has already taken hold, chemistry alone sometimes is not enough — you may need gentle physical agitation. The right tool is a soft-bristle, telescoping roof brush designed specifically for shingles, used with a light touch and always pulled downward in the direction water flows, never scrubbed side to side or pushed upward against the tab line.
Wire brushes, stiff-bristle deck brushes, and anything metal will gouge granules and should never touch an asphalt shingle roof. If moss is thick enough that it does not lift free with light brushing after the cleaning solution has dwelled, that is a sign the moss has rooted into the shingle mat, and continued scrubbing will do more harm than the moss itself. At that point, a professional evaluation is the safer next step, particularly if the affected shingles are more than 12-15 years old.
| Growth Type | Recommended Tool | Technique | DIY Suitable? |
|---|---|---|---|
| Light algae streaking | Pump sprayer only | Spray, dwell, rinse — no brushing needed | Yes |
| Moderate algae/lichen patches | Sprayer + soft roof brush | Spray, dwell, light downward brushing | Yes, with care |
| Surface moss (not rooted) | Soft roof brush | Brush downward after solution dwell time | Yes, with care |
| Rooted/thick moss mats | None — do not brush | Requires shingle-safe removal, possible repair | No — call a professional |
Hack 7: Install Zinc or Copper Strips for Long-Term Prevention
One of the best DIY roof cleaning hacks is not really about cleaning at all — it is about not having to clean as often. Zinc or copper strips installed just below the ridge cap release trace metal ions with every rainfall, and those ions are toxic to algae and moss spores as they wash down the slope. A single strip run can meaningfully slow regrowth for several years.
This is a genuinely low-cost, low-effort upgrade: the strips are inexpensive, install with roofing nails in an afternoon, and require zero maintenance afterward. If you are already up on the roof cleaning it, it is the ideal time to add this preventive layer before you climb back down.
Hack 8: Time Your Cleaning to the Season
Late spring through midsummer — right now, in other words — is the ideal window for DIY roof cleaning in the GTA. Temperatures are warm enough that cleaning solutions dwell and work effectively, days are long enough to finish the job before dusk, and you are cleaning before the heavy leaf-drop of autumn recoats everything you just cleaned.
Avoid cleaning during extreme midday heat, when solution can dry on the shingle before it has time to work, and avoid cleaning right before a hard frost is expected, since damp shingles combined with sudden freezing temperatures create their own stress on the roofing material. Early morning or early evening on a dry, mild summer day is the sweet spot.
Hack 9: Clear Gutters and Valleys as Part of the Same Job
Roof cleaning and gutter cleaning go hand in hand, and doing them together saves you a second trip up the ladder. Clogged gutters force water to back up under the shingle edge, and debris sitting in roof valleys holds moisture against the shingle surface in exactly the way that encourages algae and moss growth in the first place.
Scoop out leaves and grit by hand or with a small gutter trowel, then flush the full gutter run with a hose to confirm water is moving freely to the downspouts. Pay particular attention to valleys, the internal corners where two roof planes meet — they collect more debris than any other part of the roof and are a common early failure point if left packed with wet leaves for a full season.
Hack 10: Know Your DIY Limits and When to Call a Pro
The honest truth about DIY roof cleaning is that the biggest risk is rarely the shingles — it is the person on the ladder. Roof work involves real fall risk, and steep pitches, wet surfaces, and second-storey heights are not situations to improvise safety equipment for. If your roof has more than a gentle slope, is more than one storey, or you do not have proper fall protection, this is a job to hand off.
There are also material situations where DIY cleaning simply is not appropriate: roofs nearing the end of their service life, shingles already showing granule loss or cracking, or any roof with an active leak. In those cases, cleaning is the wrong first step entirely — you need an inspection to determine whether you are looking at a targeted roof repair or a full roof replacement. Flat roofing systems also require entirely different cleaning approaches than sloped asphalt shingles, since membrane materials react differently to bleach-based solutions — if you have a flat roof, see our flat roofing guidance before attempting any DIY cleaning there.
| Situation | DIY Cleaning OK? | Recommended Action | Estimated Cost Range |
|---|---|---|---|
| Single-storey, gentle slope, light algae | Yes | Soft wash with bleach solution | $30-$60 in materials |
| Two-storey or steep pitch (6/12+) | No | Hire a professional with proper equipment | $300-$700 professional soft wash |
| Moss rooted into shingle mat | Limited | Professional removal, inspect for damage underneath | $400-$900 plus any repairs |
| Granule loss or cracked shingles visible | No — skip cleaning | Schedule a roof repair inspection first | Varies by repair scope |
If any of this describes your roof, it is worth having a professional take a look before you spend a Saturday on the ladder. Our team has been assessing and maintaining roofs across the GTA since 2005, and a quick inspection can save you from cleaning a roof that actually needs repair work instead.
Skylights and Roof Penetrations Need Extra Care
If your roof has a skylight, treat the area around it with more caution than the open field of shingles. The flashing seal around a skylight is a common weak point, and directing cleaning solution or rinse water directly at the flashing edges — rather than letting it run naturally down the slope — can push moisture into a seam that was previously sealed. Keep your sprayer angled away from flashing joints and let general roof runoff pass over them naturally rather than targeting them directly.
If you notice discoloration, condensation, or a soft frame around a skylight while you are up there cleaning, that is worth a closer look. It could be a sign the unit is due for a skylight replacement rather than a cleaning issue, and our skylights page has more detail on what those warning signs typically mean.
Building a Simple Annual Roof Cleaning Routine
The homeowners who get the best long-term results are not the ones who scrub hardest — they are the ones who clean consistently, on a light annual schedule, before algae and moss get a foothold. A simple routine that fits most GTA properties looks like this: inspect from the ground each spring, do a light soft-wash cleaning in early summer if streaking is visible, clear gutters and valleys twice a year (once after spring pollen season, once after fall leaf-drop), and check zinc or copper strips every couple of years to confirm they have not become buried under debris.
This kind of preventive rhythm costs a fraction of what it takes to reverse years of neglected algae and moss growth, and it protects the investment you have made in your roofing system overall. It also gives you a natural opportunity to catch small problems — a lifted tab, a cracked seal, a sagging gutter bracket — before they become expensive ones.
What are the best DIY roof cleaning hacks for removing black algae streaks?
Is it safe to pressure wash an asphalt shingle roof myself?
How often should Toronto homeowners clean their roof?
Will zinc or copper strips really prevent moss and algae regrowth?
When should I stop DIY cleaning and call a roofing professional?
Can DIY roof cleaning hacks damage my shingles if done incorrectly?
Need Help With 10 Best DIY Roof?
Not every roof is a good DIY candidate, and that is perfectly normal — steep pitches, ageing shingles, and rooted moss are all situations where a professional eye saves you time, money, and a trip up the ladder. Universal Roofs has been maintaining, cleaning, repairing, and replacing roofs across the Greater Toronto Area since 2005, and we are happy to tell you honestly whether your roof just needs a wash or something more.
Call us today at (416) 732-2421 or request a free inspection to get started.
Universal Roofs proudly serves Toronto, Mississauga, Brampton, Vaughan, Markham, Oakville and the GTA since 2005.