
A sagging roofline is one of the most unsettling things a homeowner can spot from the curb. That gentle dip near the ridge, the wavy line along the eaves, or the soft spot you feel underfoot in the attic are all signs that your roof structure is under more stress than it was designed to handle. The good news is that preventing future roof sagging a step by step is entirely achievable once you understand what causes it and build a maintenance routine around those causes. This guide walks Toronto-area homeowners through exactly how to stop sagging before it starts, and how to stabilize a roof that has already begun to show early warning signs.
Roof sagging rarely happens overnight. It is almost always the slow result of moisture accumulation, undersized or aging framing, excess weight from multiple roofing layers, or years of freeze-thaw cycling that gradually weakens wood fibres. In the Greater Toronto Area, our climate makes this problem worse than in milder regions: heavy wet snow loads in winter, ice damming along the eaves, and humid summers that trap moisture in poorly ventilated attics all combine to accelerate structural fatigue. Understanding this local context is the first step toward a prevention plan that actually works.
This article breaks the process into clear, sequential steps: how to inspect for early signs, how to address ventilation and moisture (the two biggest hidden culprits), how to reinforce structural weak points, how to manage snow and ice load each winter, and when a full roof replacement becomes the more cost-effective option than ongoing repair. Whether you are dealing with a century home in the older parts of Toronto or a newer build in Vaughan or Markham, the same fundamentals apply.
What Causes Roof Sagging in the First Place
Before you can prevent sagging, it helps to understand the mechanics behind it. A roof is a load-bearing system made up of rafters or trusses, sheathing, underlayment, and the visible shingles or membrane on top. Every component works together to distribute weight evenly across the structure and down into the exterior walls. When one part of that system weakens, the load shifts unevenly, and a dip or wave begins to form.
The most common causes we see across the GTA include:
- Moisture damage to framing — Water intrusion from a failed roof repair, ice damming, or a leaking skylight rots wood fibres over years, softening rafters until they can no longer bear the design load.
- Inadequate attic ventilation — Trapped humid air condenses on the underside of the roof deck, encouraging rot and mould growth that weakens sheathing from within.
- Undersized or aging framing members — Older Toronto homes, particularly those built before modern building codes, sometimes have rafters that were adequate for the original roofing material but are undersized for a heavier replacement roof installed later.
- Multiple layers of shingles — Some previous owners or contractors installed a second or third layer of shingles instead of tearing off the old ones, adding hundreds of extra kilograms of dead weight to a structure never designed to carry it.
- Snow and ice accumulation — A single heavy, wet GTA snowfall can add a significant live load to a roof, and repeated freeze-thaw cycling stresses connections between framing members over time.
- Improper structural modifications — Removed interior walls, enlarged dormers, or DIY renovations that cut into load-bearing members without proper engineering can compromise the roof’s support system.
Most sagging roofs are a combination of two or more of these factors working together. A home with marginal ventilation and an added second shingle layer, for example, is under far more stress than one with just a single contributing issue.
Step 1: Learn to Spot the Early Warning Signs
Catching sag-related problems early is the single biggest factor in whether a repair costs a few hundred dollars or tens of thousands. Walk your property at least twice a year — once in spring after the snow load has cleared, and once in fall before winter sets in — and look for these signs from the ground, in the attic, and from inside the top floor of the home.
From the street or driveway: Stand back and sight along the ridge line and eaves. A healthy roof plane is straight. Any visible dip, wave, or “swayback” appearance, especially between the ridge and the eaves, is worth investigating immediately.
In the attic: Bring a flashlight and check for daylight coming through the sheathing, dark staining or streaking on rafters, sagging or bowed rafters, a spongy feel underfoot near the ridge, and any musty or mouldy smell, which points to trapped moisture.
Inside the home: Cracks in ceiling drywall, doors or windows on the top floor that have started sticking, and visible bowing in ceiling lines can all be secondary symptoms of roof structure movement.
If you notice any of these signs, the next move is a professional roof repair assessment rather than a wait-and-see approach. Structural issues do not resolve themselves, and the cost of intervention rises the longer a compromised area is left under load.
Step 2: Fix Ventilation and Moisture Control First
If we had to name the single most preventable cause of roof sagging in the GTA, it would be poor attic ventilation combined with unmanaged moisture. Balanced ventilation — intake at the soffits and exhaust at the ridge — keeps the attic temperature close to the outdoor temperature. This does two important things: it prevents warm, moist household air from condensing on cold roof sheathing, and it stops the attic from getting warm enough to melt roof snow unevenly, which is the leading cause of ice damming.
Ice dams are particularly damaging because the trapped meltwater backs up under the shingles, soaks into the sheathing and rafters, and repeatedly freezes and thaws through the winter. Over several seasons this is enough to rot framing members to the point of measurable sag.
A proper ventilation retrofit typically includes continuous soffit vents, a ridge vent or adequate roof-mounted exhaust vents, baffles to keep insulation from blocking soffit airflow, and an air-sealed attic floor to stop warm household air from rising into the attic in the first place. Combined with proper insulation depth, this single intervention resolves the root cause behind a large share of the sagging cases we investigate.
| Ventilation Component | Function | Typical GTA Cost Range | Impact on Sag Prevention |
|---|---|---|---|
| Continuous soffit vents | Draws cool outside air into the attic | $400 – $1,200 | High — essential intake half of the system |
| Ridge vent | Exhausts warm, moist air at the peak | $500 – $1,500 | High — most efficient exhaust option |
| Baffles / rafter vents | Keeps insulation clear of soffit intake | $150 – $400 | Medium — protects airflow path |
| Attic air sealing | Stops warm household air from rising | $300 – $900 | High — reduces condensation risk |
| Bathroom/kitchen exhaust re-routing | Vents moist indoor air outdoors, not into the attic | $200 – $600 | Medium-High — common overlooked source |
Homeowners considering a broader upgrade to attic performance should also review our attic services page, which covers insulation and ventilation packages designed specifically for the freeze-thaw conditions common across Toronto, Peel Region, and York Region.
Step 3: Address Structural Weak Points Before They Spread
Once moisture and ventilation issues are under control, the next step is a structural review. This is best done by a licenced roofing contractor or a structural engineer for homes with visible sag or known framing concerns. A structural assessment typically looks at rafter or truss spacing and condition, connections at the ridge beam and wall plates, any signs of previous unpermitted alterations, and the load path from roof to foundation.
Where framing has been weakened but not destroyed, several reinforcement techniques can restore structural integrity without a full roof rebuild:
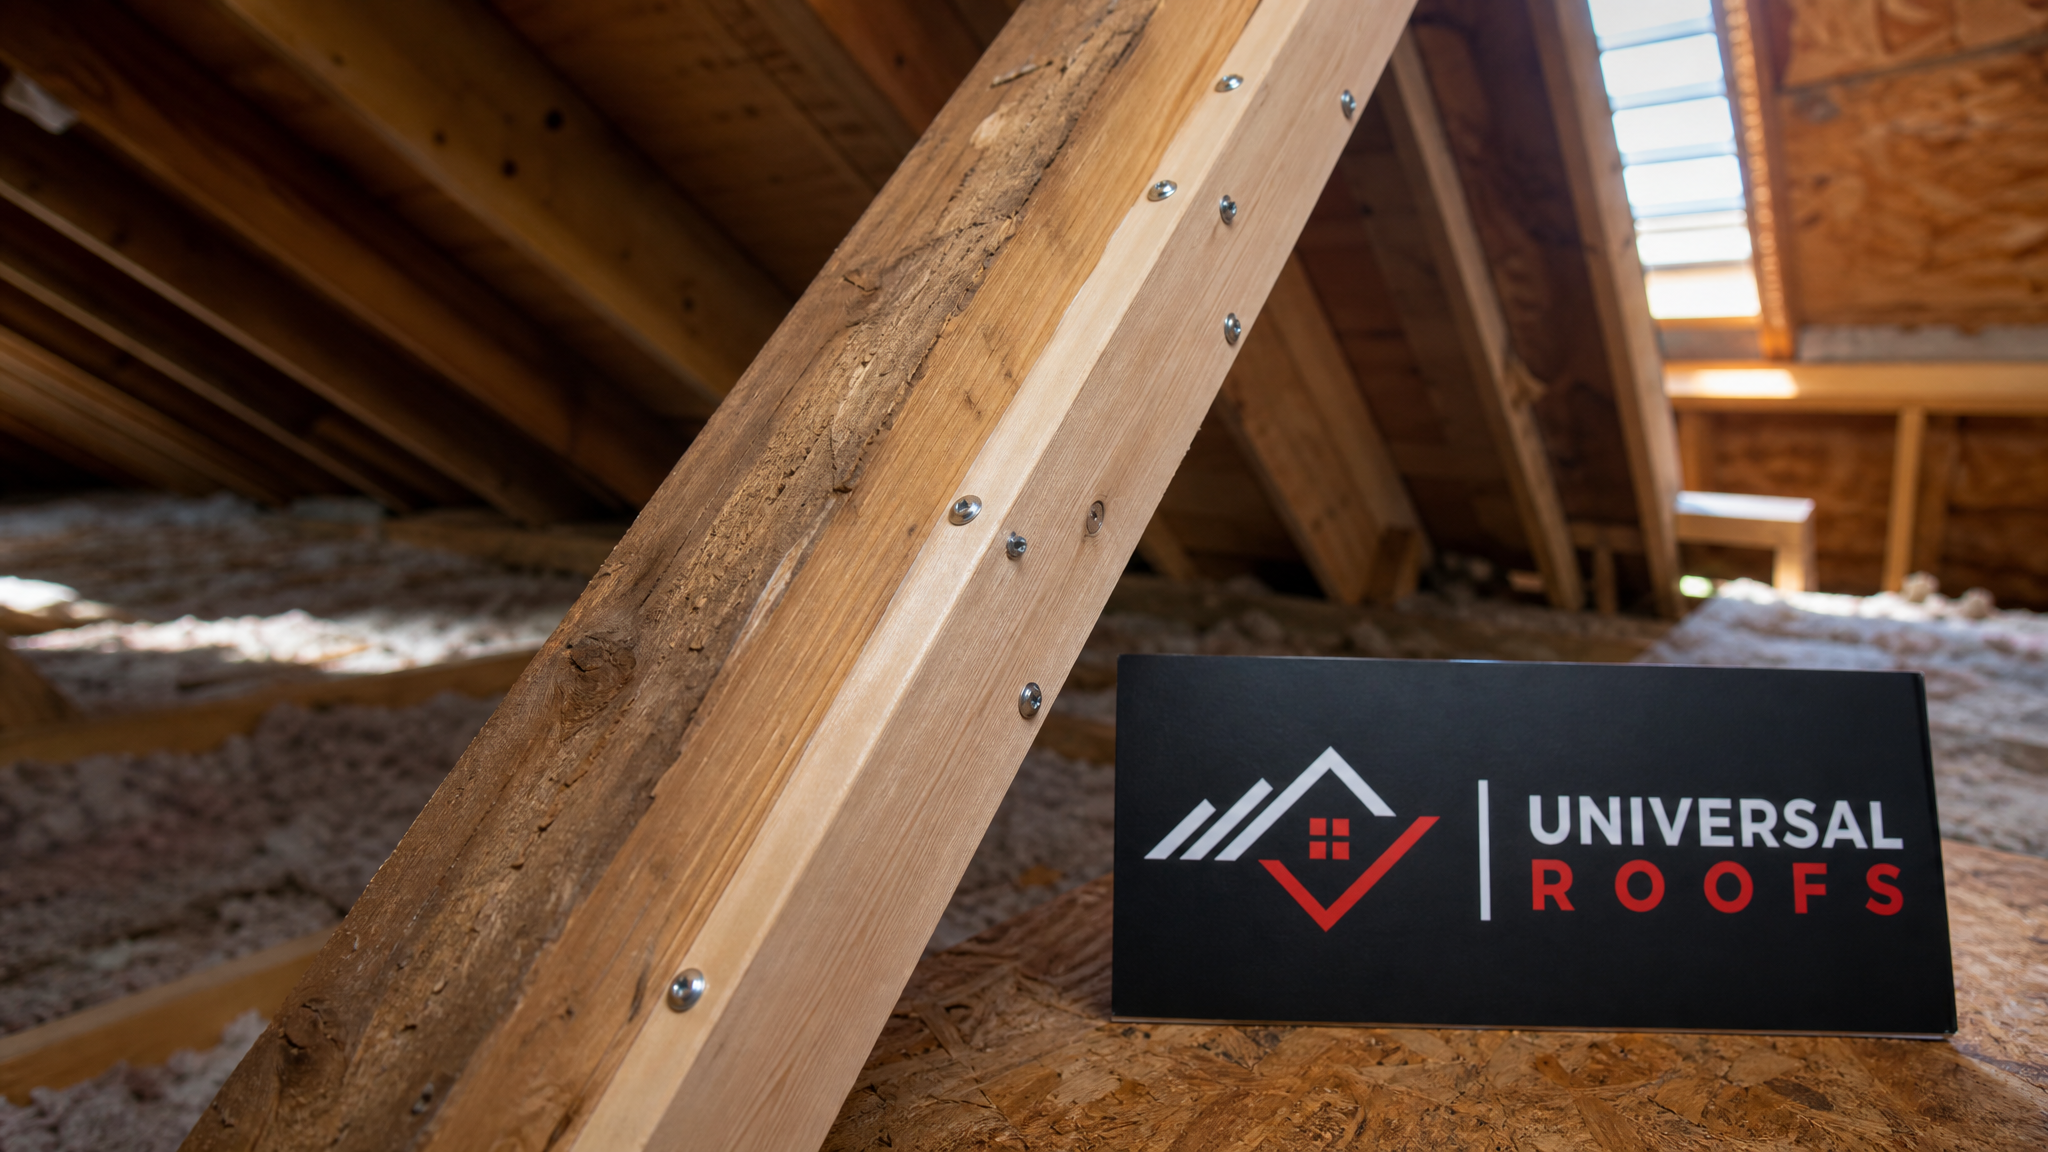
- Sistering rafters — A new rafter is fastened alongside the weakened one, effectively doubling its load capacity. This is one of the most common and cost-effective fixes for moderate sag.
- Adding collar ties or rafter ties — These horizontal members resist the outward spreading force that causes rafters to bow under load, particularly in older homes that were framed without them.
- Installing additional support posts or beams — In attics with long unsupported spans, a properly engineered support beam transfers load down to bearing walls rather than letting it rest entirely on the rafters.
- Replacing rotted sheathing — Sheathing that has lost structural rigidity from moisture damage needs to be cut out and replaced as part of any repair, not simply covered over.
Attempting these repairs without proper structural knowledge is one of the most common mistakes we see — a sistered rafter installed at the wrong angle or without proper fastening can look fine for a year or two before failing again. This is squarely a job for a professional roof repair team, not a weekend DIY project.
Step 4: Manage Weight Load — Shingle Layers, Snow, and Rooftop Equipment
Weight management is a step homeowners can control directly, and it is often overlooked. Ontario building code limits roofs to a maximum of two shingle layers, but even two layers represent a substantial dead load compared to a clean tear-off installation. If your home has had shingles installed over an existing layer more than once, or if you are not certain how many layers are currently on your roof, a professional inspection can confirm this before it becomes a structural liability.
Snow load management is equally important each winter. A single wet, heavy GTA snowfall can weigh far more than the same depth of dry powder, and roofs that already have marginal structural capacity are the ones most at risk during a major snow event. For flat or low-slope sections — common on additions, garages, and some older Toronto homes — the risk is higher still, since snow does not shed the way it does on a steep pitch. If your property includes any flat sections, our flat roofing team can assess drainage and load capacity specifically for that portion of the structure.
Rooftop equipment such as HVAC units, satellite dishes, or solar panel arrays also adds concentrated point loads. These should always be installed with engineered mounting that distributes weight across multiple rafters or trusses rather than resting on a single structural member.
| Weight Factor | Approximate Added Load | Risk Level | Recommended Action |
|---|---|---|---|
| Single shingle layer (asphalt, 3-tab) | ~90-110 kg per 100 sq ft | Baseline — designed for | Standard maintenance schedule |
| Second shingle layer (overlay) | Doubles baseline shingle load | Moderate-High | Confirm framing was rated for it; consider tear-off at next replacement |
| Wet, heavy snow (30 cm depth) | Can exceed 100 kg per 100 sq ft | High during storm events | Snow raking on accessible low-slope areas after major storms |
| Ice dam accumulation | Concentrated edge loading plus water intrusion | High | Improve ventilation; consider heat cable on chronic problem areas |
| Unsupported rooftop HVAC/solar | Concentrated point load | Moderate | Engineered mounting across multiple structural members |
Step 5: Build a Year-Round Maintenance Routine
Preventing future roof sagging is not a one-time fix — it is a routine. Homeowners who stay ahead of small issues rarely face large structural bills. A practical seasonal routine for the GTA looks like this:
- Spring: Inspect for winter damage, clear gutters and downspouts of debris, check the attic for any signs of moisture that accumulated over winter, and confirm ventilation is unobstructed.
- Summer: Schedule any needed repairs while weather is dry and stable — this is the ideal season for sistering rafters, replacing sheathing, or upgrading ventilation before the next winter’s snow load arrives.
- Fall: Clear gutters again before leaf-drop finishes, trim overhanging branches that could damage shingles, and complete a final pre-winter inspection of flashing and seals around skylights and vents.
- Winter: Monitor for ice dam formation, arrange for safe snow removal on flat or low-slope sections after major storms, and watch for interior signs of leaking that could indicate a developing structural problem.
Keeping a simple written or photo log of each seasonal check makes it far easier to spot a developing trend — for instance, a small stain in the attic that grows year over year is a much stronger signal than a single isolated observation.
Step 6: Know When Repair Isn’t Enough — Replacement Thresholds
Not every case of sagging can or should be repaired piecemeal. There comes a point where the cost and disruption of ongoing structural patchwork exceeds the value of simply moving to a full roof replacement. As a general guide, replacement becomes the more sensible choice when the roofing material itself is near or past its expected lifespan, when sag is visible across multiple sections rather than one isolated area, when sheathing has widespread rot rather than a single damaged section, or when the home has undergone additions or renovations that changed the original load calculations.
A full replacement also gives you the opportunity to correct ventilation, remove old shingle layers entirely, and upgrade to modern, lighter, more durable roofing materials — addressing several sag-contributing factors at once rather than treating them individually over several separate projects.
| Situation | Repair Likely Sufficient? | Replacement Recommended? | Typical Timeline |
|---|---|---|---|
| Single localized soft spot, roof under 12 years old | Yes | No | 1-2 days |
| Sag confined to one rafter bay, sound sheathing elsewhere | Yes (sistering) | No | 1-3 days |
| Widespread sheathing rot across multiple sections | No | Yes | 1-2 weeks |
| Roof at or past manufacturer lifespan with visible sag | No | Yes | 1-2 weeks |
| Multiple shingle layers plus chronic ice damming | Partial only | Yes | 1-2 weeks |
Working With a Professional: What a Sag Prevention Assessment Includes
When you bring in a professional team to evaluate sagging risk, expect a thorough process rather than a quick surface glance. A proper assessment includes an exterior visual survey of the roofline from multiple angles, a full attic inspection with moisture readings where accessible, a check of ventilation intake and exhaust balance, an evaluation of rafter or truss condition and spacing, and a review of any rooftop additions such as skylights, vents, or equipment that could be contributing point loads.
If your home has skylights, it’s also worth having them checked as part of the same visit, since improperly flashed or aging skylight units are a common hidden source of moisture intrusion into surrounding framing. Our skylights and skylight replacement teams frequently find that a “roof leak” reported by a homeowner actually originates at a skylight seal rather than the roofing field itself.
After the assessment, you should receive a clear written report outlining what was found, what is urgent versus what can be scheduled, and a transparent cost estimate for each recommended action. Be wary of any contractor who pushes for an immediate full replacement without first explaining the specific structural findings that justify it — a reputable team will walk you through the reasoning, not just the price.
Regional Considerations Across the GTA
Roof sag prevention needs vary somewhat across the region depending on housing stock and microclimate. In central Toronto, older homes with original rafter framing are more likely to need structural reinforcement alongside ventilation upgrades. In Peel Region communities like Mississauga and Brampton, newer subdivisions tend to have adequately sized framing but can still suffer from builder-grade ventilation that undersells attic airflow needs. York Region municipalities such as Vaughan, Markham, and Richmond Hill see a mix of both older rural properties and modern developments, so assessment needs vary block by block. Homes in Halton Region, including Oakville and Burlington, often deal with lake-effect humidity that puts extra demand on ventilation systems. And across Durham Region, properties closer to the waterfront face similar humidity-driven ventilation challenges combined with heavier winter snow accumulation further inland.
Wherever you are in the GTA, the fundamentals of this step-by-step approach — inspect, ventilate, reinforce, manage weight, maintain routinely, and know your replacement threshold — apply directly to your home.
Cost of Prevention vs. Cost of Neglect
It’s worth putting real numbers behind the case for early action. Addressing ventilation or a single weakened rafter early is a modest, planned expense. Left unaddressed, the same issue compounds into sheathing replacement, drywall repair, insulation replacement, and potentially a full structural rebuild — often at five to ten times the original cost, and usually on an emergency timeline rather than a planned one.
| Stage of Neglect | What’s Typically Affected | Approximate Cost Range | Urgency |
|---|---|---|---|
| Early — ventilation gap identified | Attic airflow only | $500 – $2,000 | Planned, non-urgent |
| Moderate — one weakened rafter, minor sheathing rot | Localized framing repair | $1,500 – $5,000 | Schedule within the season |
| Advanced — multiple rafters, chronic ice damming | Framing, sheathing, insulation | $6,000 – $15,000 | Address before next winter |
| Severe — visible structural sag, interior cracking | Full structural rebuild plus roof replacement | $18,000 – $40,000+ | Urgent / emergency |
This progression is precisely why a step-by-step prevention plan pays for itself. Catching a ventilation gap for a couple thousand dollars is dramatically cheaper than the structural rebuild that follows years of unaddressed moisture damage.
Frequently Asked Questions
What is the most effective first step in preventing future roof sagging a step by step?
Can a sagging roof be repaired without full replacement?
How often should I inspect my roof to catch sagging early?
Does adding a second layer of shingles increase the risk of sagging?
How does GTA winter weather specifically contribute to roof sagging?
How much does it typically cost to fix early-stage roof sagging in Toronto?
Need Help With Preventing Future Roof Sagging?
A straight, structurally sound roofline is achievable for almost any home with the right combination of inspection, ventilation, and timely reinforcement. Universal Roofs has been assessing and repairing roof structures across the GTA since 2005, and our team can walk your attic and rooflines with you to identify exactly where your home stands today.
Call us today at (416) 732-2421 or request a free inspection to get started.
Universal Roofs proudly serves Toronto, Mississauga, Brampton, Vaughan, Markham, Oakville and the GTA since 2005.