
A roof valley is where two sloped roof planes meet at an angle, and it is also where the single largest volume of water on your entire roof ends up during any rainstorm. Two runs of shingles funnel directly into that seam, which means the flashing installed underneath has to handle far more water than any other part of the roof deck. When valley flashing is installed correctly, it channels that water straight into the gutters without incident for decades. When it is installed poorly, or when the wrong material is used for the wrong valley style, homeowners see staining on the ceiling below the valley within a year or two of a re-roof.
At Universal Roofs, we have been repairing and replacing valley flashing on Toronto-area homes since 2005, and valleys are consistently one of the top reasons homeowners call us for a roof repair. The GTA’s freeze-thaw winters, sudden summer downpours, and ice damming in shoulder seasons all put extra stress on this one seam. This guide walks through the four essential roof flashing techniques used for valleys, how to tell which one is on your roof right now, and what it costs to get it done right.
Whether you are planning a full roof replacement or just trying to diagnose a leak that keeps returning at the same spot near a valley, understanding these four methods will help you have a more informed conversation with any contractor who comes to look at your roof.
Why Valley Flashing Matters More Than Any Other Roof Detail
Every roof has penetrations, edges, and transitions that need flashing, but valleys carry a disproportionate amount of water compared to their size. A typical valley on a mid-size GTA home might only represent 5-8% of total roof area, yet during a heavy summer thunderstorm it can be moving water from two entire roof planes at once. That concentrated volume is exactly why manufacturers and the Ontario Building Code both call for extra underlayment and, in many cases, metal flashing at every valley, even on roofs where the field of the roof uses only shingles.
The consequences of a poorly flashed valley rarely show up immediately. Water finds the smallest gap in an underlayment lap or a nail placed too close to the centreline, and it can travel along rafters or sheathing for metres before it appears as a stain on a ceiling or a damp patch in an attic. By the time a homeowner notices the damage, the sheathing underneath the valley may already be delaminating. This is why we always recommend having valleys inspected as part of any general roof check-up, not just after a leak appears. If your attic already shows signs of moisture, it is worth reviewing our attic services alongside any valley repair, since valley leaks are one of the most common causes of attic insulation damage we see across Toronto, Mississauga, and Vaughan homes.
There are four flashing techniques that cover the vast majority of valleys on residential roofs in Ontario: the open metal valley, the closed-cut valley, the woven valley, and the California (closed) valley. Each has a distinct look, a distinct water-handling capacity, and a distinct failure pattern. Knowing which one your roof uses is the first step to diagnosing any valley leak correctly.
Technique 1: Open Metal Valley Flashing
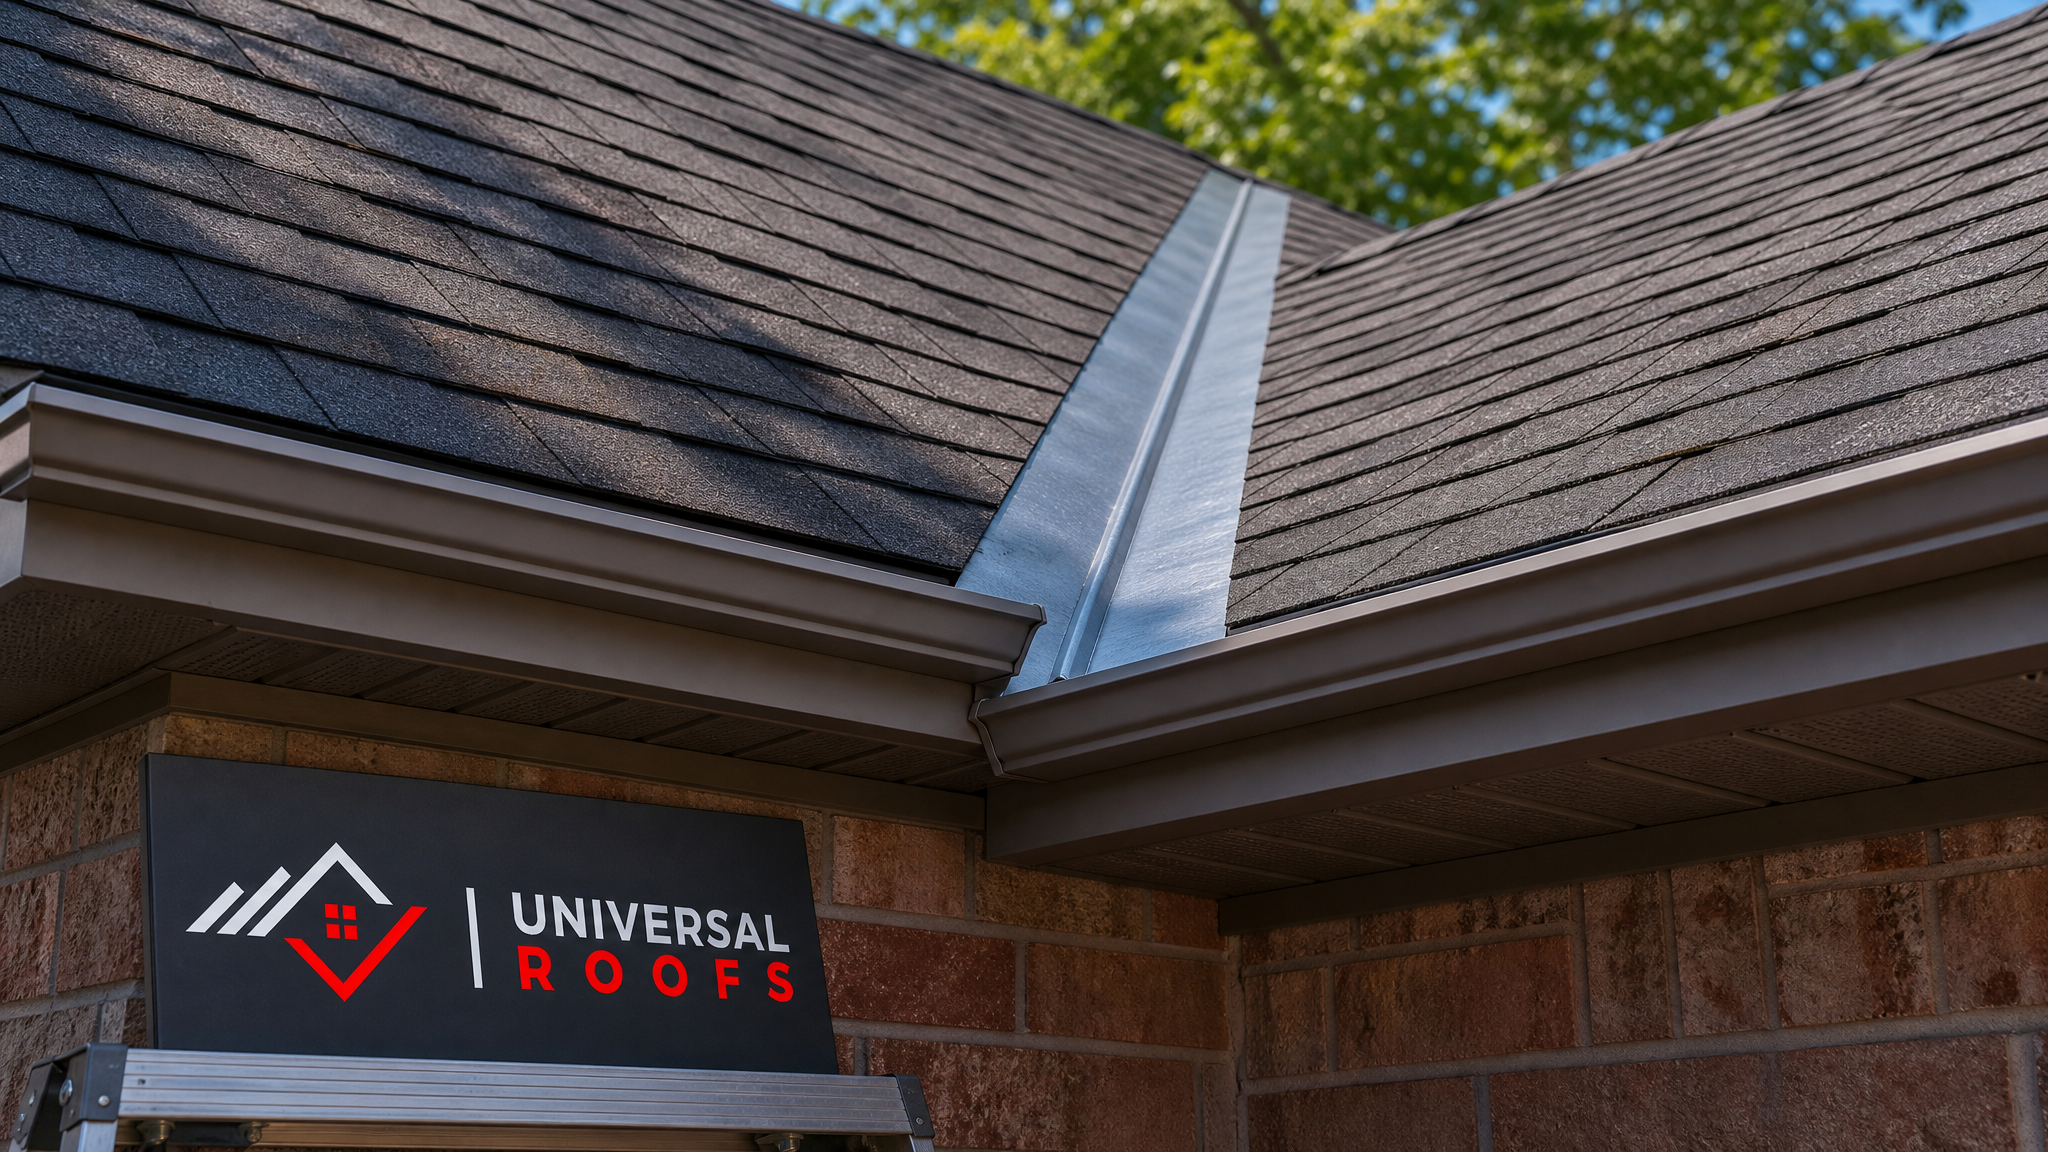
An open metal valley is the gold standard for high-water-volume valleys, and it is the technique we default to on most steep-slope GTA re-roofs, particularly on homes with long valleys or multiple roof planes converging in one spot. In an open valley, a continuous strip of metal, typically 55 cm to 90 cm wide, runs the full length of the valley from ridge to eave. Shingles from both roof planes are cut back from the centreline, usually leaving a 10 cm to 15 cm channel of exposed metal down the middle, tapering slightly wider toward the bottom of the valley to account for the increasing volume of water as it travels downhill.
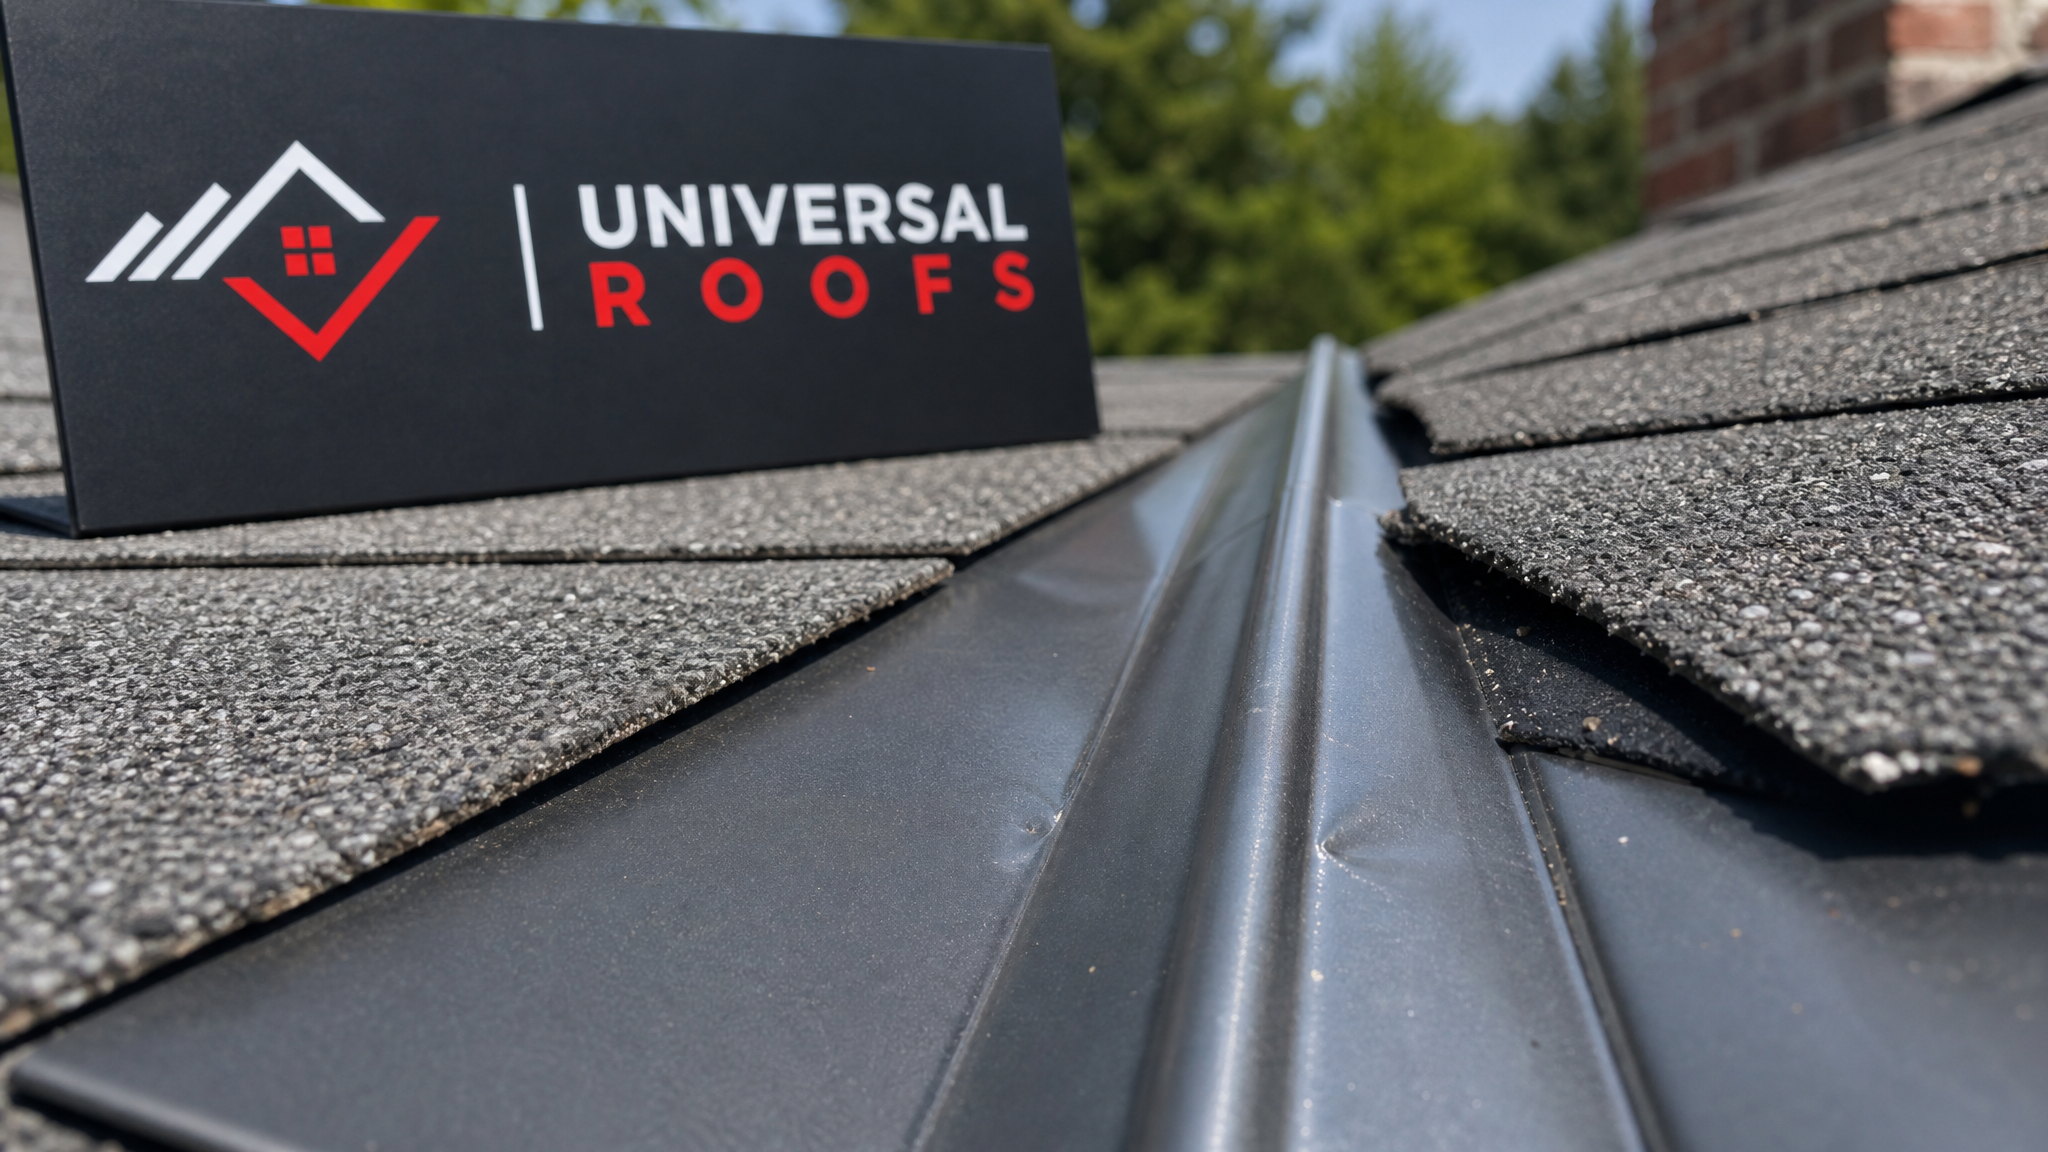
The metal itself is usually 26-gauge galvanized steel, prepainted steel, or aluminum, formed with a centre crimp or a raised rib down the middle. That crimp is not decorative. It prevents wind-driven rain from crossing from one side of the valley to the other during storms, which is a real risk on the open, wind-exposed rooflines common in newer Vaughan and Markham subdivisions. Ice-and-water shield underlayment is installed beneath the metal first, extending at least 45 cm up each side of the centreline, before the metal is nailed only along its outer edges, never through the centre of the channel.
Open valleys shed water and debris the fastest of any of the four techniques, which makes them the preferred choice for homes surrounded by mature trees, homes in areas prone to heavy summer downpours, or any valley with a low slope where water moves more slowly and needs a clear path. The tradeoff is aesthetic: some homeowners prefer not to see exposed metal on the roofline, and the metal must be cleaned occasionally in the fall to prevent leaf and needle buildup from damming water against the shingle edges.
Technique 2: Closed-Cut Valley Flashing
A closed-cut valley is the most common technique on GTA homes built or re-roofed in the last 15 years, largely because it combines strong water performance with a clean, all-shingle appearance. In this method, shingles from one roof plane run continuously across the valley and onto the adjacent plane, while shingles from the second plane are cut back roughly 5 cm from the centreline, following a chalk line snapped down the valley before installation.
Underneath those shingles, the valley still relies on a full course of underlayment protection: self-adhering ice-and-water membrane laid directly on the deck, and on many closed-cut valleys, a hidden metal flashing layer beneath the shingles as an extra line of defence, sometimes called a “closed valley with metal liner.” This hybrid approach gives homeowners the clean shingle-over-shingle look while still providing metal-level water protection underneath, which is why it has become the most frequently specified valley detail we install across Toronto and Peel Region.
The cut edge is the most critical part of this technique. Every cut shingle must be sealed with roofing cement along the cut edge to prevent wind from lifting the corner and exposing the underlayment beneath. This detail is also the most common point of failure we find on older closed-cut valleys: over 15-20 years, the cement seal degrades, shingle corners begin to curl, and water starts to work its way underneath at exactly the spot the technique depends on most.
Technique 3: Woven Valley Flashing
A woven valley is the oldest of the four techniques still in occasional use, and it involves alternating shingles from each roof plane over one another in a continuous, interlaced pattern all the way down the valley, with no cut shingles and no exposed metal. Each course from one side laps over the valley and is immediately followed by a course from the other side lapping over it in turn, creating a woven appearance down the centreline.
Because there is no chalk line, no cutting, and no exposed metal, weaving is faster to install than the other three techniques, which is part of why it was popular through the 1980s and 1990s. It is rarely recommended for new installations today, for a few reasons. Manufacturers of laminated (architectural) shingles generally do not permit weaving in their installation instructions or warranties, since the extra thickness at the overlap can cause the shingles to sit unevenly and crack over time, particularly in freeze-thaw climates like Toronto’s. Weaving also performs worse in high-volume valleys because water has to travel across more shingle surface and more overlap seams before it clears the valley.
We still see woven valleys on older homes throughout Etobicoke, Scarborough, and parts of Oakville, and when we open one up during a re-roof, it is common to find the underlying felt paper brittle and the plywood decking showing early rot at the centreline, even when the shingle surface still looks intact from the ground. If your roof was installed before 2010 and you are not sure which technique was used, a woven valley is a reasonable first guess, and it is worth having it inspected before your next renewal.
Technique 4: California (Closed) Valley Flashing
The California valley, sometimes called a fully closed valley, takes the closed-cut concept one step further: shingles from one plane run uninterrupted straight across the valley, and shingles from the second plane are trimmed back and tucked directly against the first plane’s shingles, with no visible cut line and no exposed metal anywhere in the valley. It produces the cleanest, most seamless appearance of any of the four techniques, which is why it shows up most often on higher-end custom homes and additions where roofline aesthetics matter as much as function.
This technique demands the most precision of the four. Every shingle on the trimmed side must be cut to the correct angle and sealed individually, and because there is zero margin for a crooked cut or a missed seal point, it is the technique most sensitive to installer skill. A well-executed California valley performs comparably to a closed-cut valley in normal conditions, but in heavy, sustained rain, it channels water more slowly than an open metal valley because the entire flow path is shingle surface rather than a smooth metal channel.
We generally reserve the California valley for lower-slope, lower-volume valleys, or for clients who have specifically requested a fully shingle-over look on a feature roofline, such as a front-facing gable addition. On long valleys handling runoff from large sections of roof, we will usually recommend an open metal valley or a closed-cut-with-metal-liner instead, and explain the tradeoff clearly before the crew starts work.
Comparing the Four Valley Flashing Techniques
| Technique | Water Capacity | Visible Metal | Typical Lifespan | Best Suited For |
|---|---|---|---|---|
| Open metal valley | Highest | Yes, full channel exposed | 25-40 years (metal dependent) | High-volume valleys, tree-heavy lots, low-slope sections |
| Closed-cut (with metal liner) | High | Hidden beneath shingles | 20-25 years | Most standard GTA residential re-roofs |
| Woven valley | Moderate | None | 15-20 years | Older 3-tab shingle roofs only; not recommended for new work |
| California (closed) valley | Moderate | None | 18-22 years | Feature rooflines, lower-slope aesthetic priority areas |
Materials, Underlayment, and Local Code Considerations
Regardless of which of the four techniques is used on the visible surface, every valley on a Toronto-area roof should start with the same foundation: self-adhering ice-and-water membrane running the full length of the valley and extending well beyond the centreline on both sides, typically a minimum of 45 cm per side, though we often go wider on long or low-slope valleys. This membrane is the layer that actually stops water in the event that wind-driven rain, ice damming, or a shingle failure lets water past the surface layer. Skipping or skimping on this underlayment is the single most common shortcut we find during valley repair calls, especially on homes re-roofed by contractors working to a tight budget.
Metal choice matters too. Galvanized steel is the most common and cost-effective option, but it requires a factory paint finish or field painting to prevent rust streaking over time, particularly given Toronto’s road salt and airborne pollutant exposure. Aluminum will not rust but is softer and more prone to denting from ice or debris. Copper is the most durable and longest-lasting option, commonly specified on heritage homes or premium renovations, but it comes at a significant material cost premium. We walk every client through these tradeoffs before recommending a specific material, factoring in the home’s location, tree coverage, and budget.
| Flashing Material | Approx. Lifespan | Relative Cost | Maintenance Notes |
|---|---|---|---|
| Galvanized steel | 20-30 years | $ (lowest) | Watch for rust streaking after 15+ years; repaint if needed |
| Prepainted (Galvalume) steel | 25-35 years | $$ | Better corrosion resistance than plain galvanized |
| Aluminum | 25-35 years | $$ | Will not rust; can dent under ice or heavy debris |
| Copper | 50+ years | $$$$ (highest) | Patinas over time; best for heritage or premium homes |
The Ontario Building Code and CSA A123.3 shingle application standards both require ice-and-water protection at valleys regardless of shingle type, and most manufacturer warranties are voided if this underlayment is missing, even if the shingles themselves were installed correctly. This is one of several reasons a proper permit-compliant re-roof, rather than a quick shingle-only patch, matters most at valleys specifically.
Signs Your Valley Flashing Is Failing
Valley problems rarely announce themselves loudly. They tend to show up as small, easy-to-dismiss signs long before an active leak appears indoors. Knowing what to look for from the ground, or with binoculars, can help you catch a valley problem months or years before it becomes a ceiling repair.
| Warning Sign | Likely Cause | Urgency | Recommended Action |
|---|---|---|---|
| Rust streaks down an open metal valley | Galvanized coating breaking down | Moderate | Inspect metal thickness; repaint or replace if pitted |
| Curling or lifted shingle corners along the cut line | Degraded roofing cement seal on closed-cut valley | Moderate to high | Reseal or replace affected shingles promptly |
| Granule buildup at the bottom of the valley/gutter | Normal shingle wear, accelerated by valley water volume | Low unless excessive | Monitor; plan for replacement as roof approaches end of service life |
| Ceiling stain directly below a valley | Underlayment or flashing failure, active leak | High — urgent | Schedule a roof repair inspection immediately |
| Ice buildup concentrated at the valley in winter | Poor ventilation combined with valley’s natural water concentration | Moderate | Review attic ventilation alongside flashing condition |
If you notice any of the higher-urgency signs above, it is worth having a professional look before the next major rainfall rather than waiting. Valley leaks are notorious for travelling along framing before showing up somewhere unexpected, which makes early diagnosis far cheaper than repair after the fact. You can see examples of past valley and flashing repair work, along with feedback from homeowners across the GTA, on our reviews page.
Repair Versus Full Valley Replacement
Not every valley problem requires tearing off the whole roof. If the shingle field on either side of the valley is still in good condition and only the valley itself has failed, a section repair, replacing the metal or re-cutting and resealing the shingle edges, can often solve the problem without a full re-roof. This is a common scenario on roofs that are otherwise mid-life, where a single valley took the brunt of a windstorm or ice dam.
Full valley replacement as part of a broader roof job makes more sense when the shingle field around the valley is also aging, when there is evidence of decking damage beneath the valley, or when the existing valley technique (commonly a woven valley on older homes) is being upgraded to a more water-resistant open metal or closed-cut design during the re-roof. Because valleys handle disproportionate water volume, this is one of the few details on a roof where upgrading the technique during a routine replacement is almost always worth the modest cost difference.
| Scenario | Recommended Approach | Typical Timeline | Notes |
|---|---|---|---|
| Isolated valley leak, shingle field otherwise sound | Section repair (re-flash, re-seal) | 1 day | Most cost-effective option if caught early |
| Valley leak with visible decking damage | Localized deck repair + new valley flashing | 1-2 days | Requires opening the roof at the valley to inspect sheathing |
| Full roof nearing end of service life | Complete replacement with upgraded valley technique | 1-3 days depending on home size | Best opportunity to upgrade a woven valley to open metal or closed-cut |
| New addition tying into existing roofline | New valley built to match or upgrade existing technique | Varies with project scope | Coordinate flashing detail with the rest of the roof for a consistent look |
For homes with flat-roof sections tying into a sloped valley, such as additions or rear extensions common across Toronto and Peel Region, the transition detail is even more critical, since it combines valley-style water concentration with flat-roof drainage. Our flat roofing team frequently works alongside our sloped-roof crews on these hybrid transitions to make sure both systems tie together correctly.
Valleys, Skylights, and Nearby Penetrations
Valleys rarely exist in isolation on a real roofline. Many GTA homes have a skylight, chimney, or dormer positioned close enough to a valley that water from the roof plane above must pass near or through the penetration’s flashing before reaching the valley itself. When these two flashing systems are not coordinated during installation, water can be redirected in ways neither system was designed to handle, often showing up as a leak that seems to be “near the skylight” but is actually a valley flashing issue, or vice versa.
If you are dealing with a leak near a skylight that sits close to a valley, it is worth having both details inspected together rather than assuming the skylight itself is the culprit. Our teams handle both skylight installation and skylight replacement and routinely find that the real point of failure is where the skylight’s step flashing meets an adjacent valley, not the skylight unit itself.
Seasonal Timing for Valley Repairs in the GTA
Summer is the ideal window for valley flashing work in Toronto and across the GTA. Shingles seal best when installed in warmer temperatures, roofing cement cures faster and more reliably above roughly 10°C, and long summer days give crews more usable daylight per visit. It is also the season with the least risk of a sudden weather delay mid-repair, which matters most for open-valley work where the deck is briefly exposed while old metal is removed and new flashing is set.
That said, valley leaks discovered in any season should not wait for summer if they are active. A temporary seal or tarping can protect the deck through winter, but the underlying flashing repair should be scheduled for the first reasonable weather window. Booking early in the season also tends to mean shorter scheduling lead times, since demand for roof repair and replacement work in the GTA typically climbs through late summer and into fall.
Choosing a Contractor for Valley Flashing Work
Valley flashing is one of the easiest details for an inexperienced or rushed crew to get subtly wrong, and subtle mistakes here are exactly the kind that take years to surface as leaks. When vetting a contractor for valley repair or a re-roof that includes valley work, ask specifically which of the four techniques they plan to use and why, what underlayment they specify beneath the valley, and what metal gauge and material they use on open valleys. A contractor who cannot answer these questions specifically for your roof’s slope and exposure is worth a second opinion.
It is also worth asking to see photos of past valley work, checking whether the contractor pulls permits where required, and confirming workmanship warranty terms in writing before work begins. You can review our own answers to common roofing questions, including flashing and valley topics, on our FAQ page, or read more about our background and licensing on our about page.
Universal Roofs has completed valley flashing repairs and full valley upgrades across Toronto, Peel Region, York Region, Halton Region, and Durham Region since 2005, and valley work of all four types remains one of our most frequent repair calls each summer.
What are the main roof flashing techniques for valleys?
Which valley flashing technique is best for heavy rain?
How do I know which valley flashing technique is on my roof?
Is a woven valley bad for my roof?
How much does it cost to repair valley flashing on a Toronto home?
Can valley flashing be repaired without replacing the whole roof?
Need Help With 4 Essential Roof Flashing?
Whether you need a single valley re-flashed or a full assessment of your roof’s water management details, the team at Universal Roofs has the experience to diagnose and fix valley flashing issues correctly the first time.
Call us today at (416) 732-2421 or request a free inspection to get started.
Universal Roofs proudly serves Toronto, Mississauga, Brampton, Vaughan, Markham, Oakville and the GTA since 2005.