
If you have ever traced a stubborn ceiling stain back to the perimeter of a flat roof, chances are the culprit was not the membrane itself but the flashing around it. Flashing is the thin, unglamorous metal or membrane detail that seals every edge, seam, and penetration on a low-slope roof, and when it fails, water finds its way in fast. Installing roof flashing for flat roofs correctly is arguably the single most important skill in low-slope roofing, because a flat roof does not rely on gravity and slope alone to shed water the way a pitched roof does.
This guide walks through the entire process of installing roof flashing for flat roofs, step by step, using the methods and materials that professional roofers in the Greater Toronto Area rely on. We will cover the tools, the sequencing, the materials comparison, and the mistakes that turn a two-hour flashing job into a five-figure interior repair. Whether you are a hands-on homeowner assessing a small repair or simply want to understand what a contractor should be doing on your roof, this article gives you the complete picture.
We will also flag where a DIY approach is reasonable and where it genuinely is not. Flat roof flashing sits at the intersection of waterproofing, metalwork, and building code, and in Toronto’s freeze-thaw climate, a flashing detail that looks fine in July can crack wide open by February. Universal Roofs has been installing and repairing flat roof flashing across the GTA since 2005, and this guide reflects the same field-tested approach our crews use on every job.
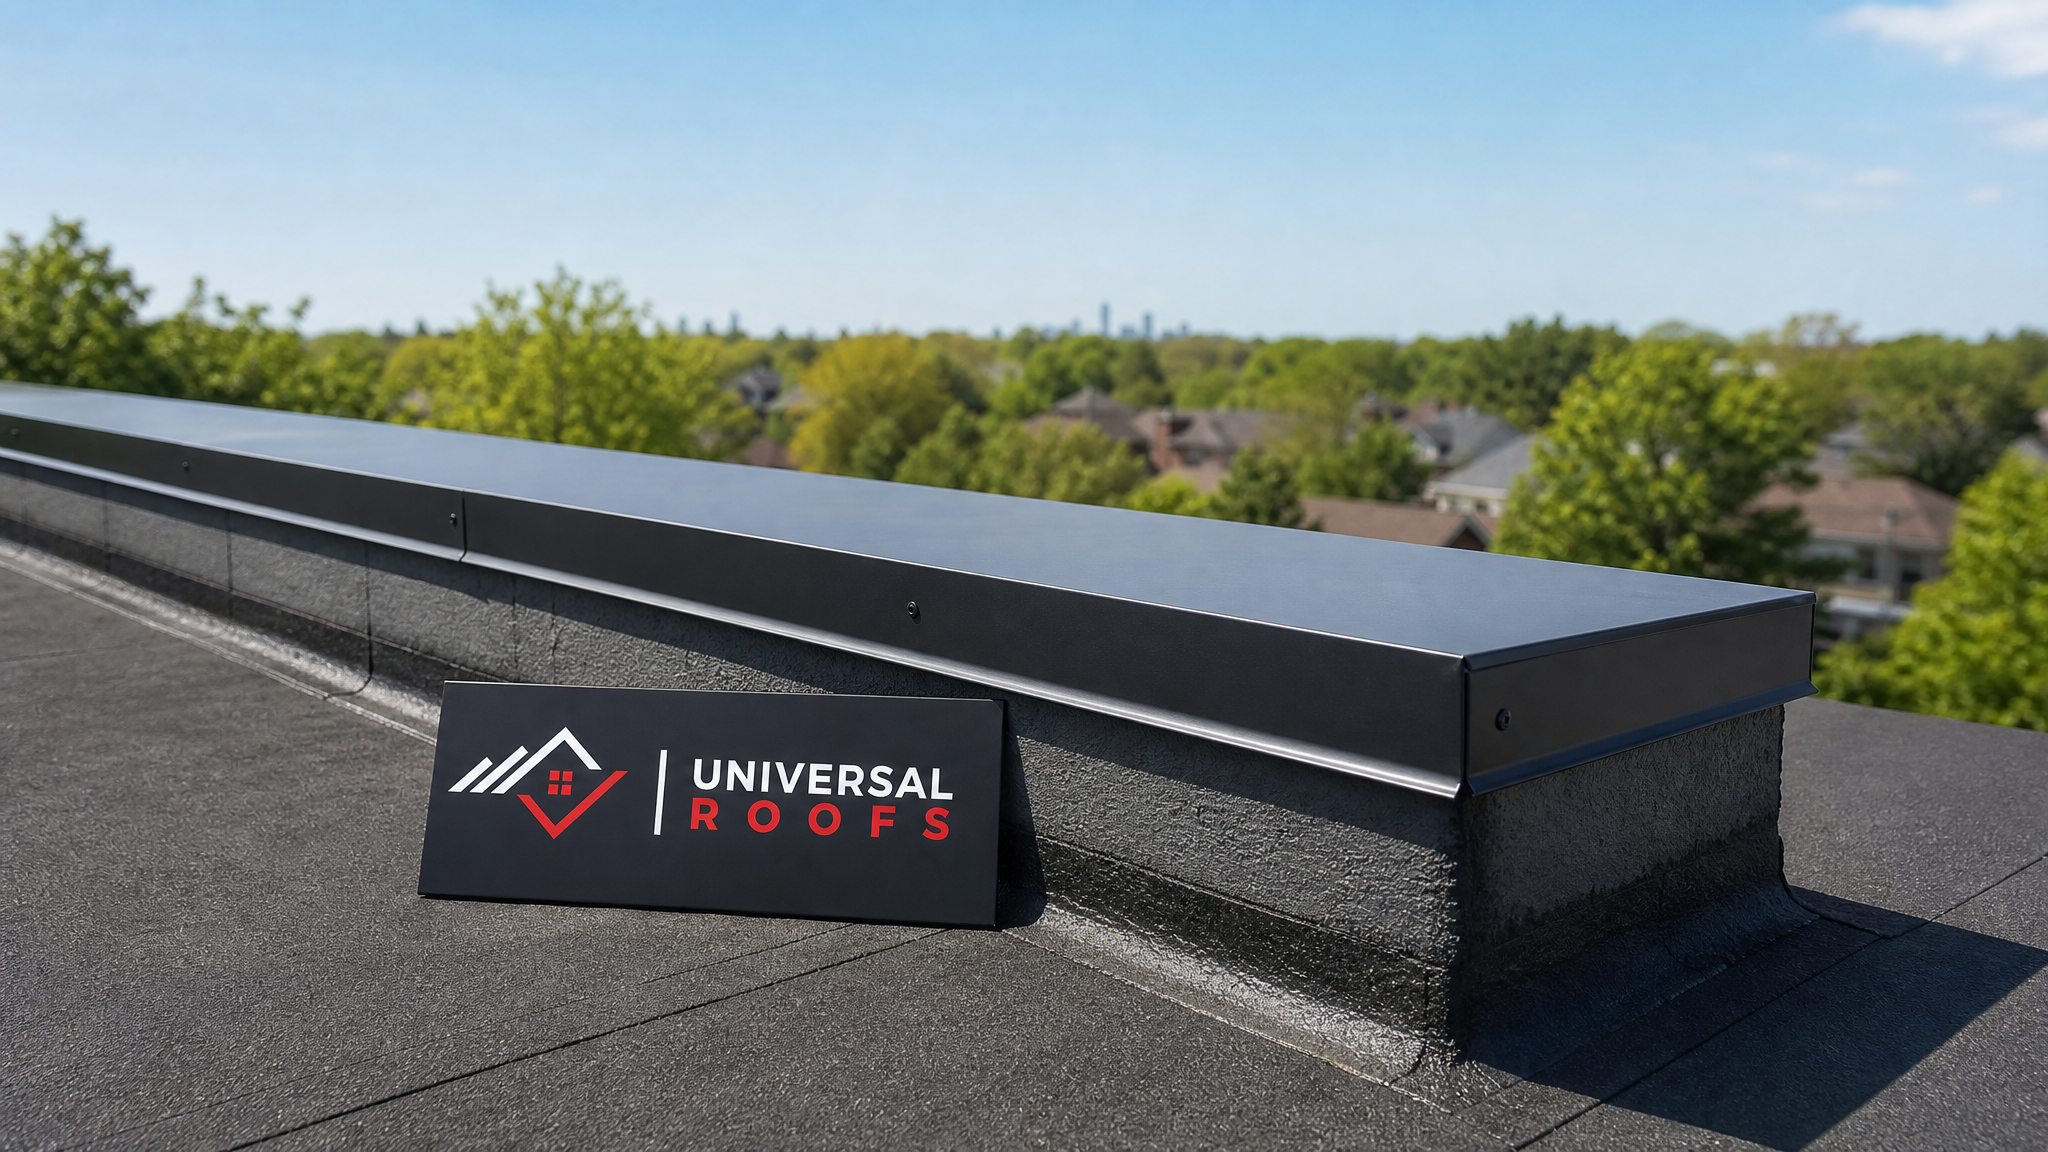
What Roof Flashing Does on a Flat Roof and Why It Matters
On a sloped roof, shingles overlap like fish scales and water is shed downhill before it ever reaches a seam. A flat roof (technically low-slope, usually built with a 2% minimum grade) does not have that luxury. Water sits, ponds, and moves slowly toward drains, which means every transition point on the roof, where the membrane meets a wall, a pipe, a vent, a skylight curb, or the roof edge itself, is a place where water pressure can find a weakness. Flashing is the engineered solution to that problem.
Flashing works by creating a continuous, layered barrier that directs water away from vulnerable joints rather than allowing it to pool against them. A properly flashed parapet wall, for example, uses base flashing tied into the membrane, counter-flashing embedded in the masonry above it, and a termination bar or reglet to lock everything down. Each layer overlaps the one below it, so water is always shedding downward and outward, never pooling into a seam.
In the GTA specifically, flashing has to withstand an unusually punishing cycle: winter freeze-thaw that expands and contracts metal and membrane dozens of times per season, summer UV exposure that dries out sealants, and heavy spring rain loading that tests every seam at once. This is why the fasteners, sealants, and metal gauges used locally tend to be heavier-duty than what you would see in a milder climate. It is also why flashing failures are one of the most common reasons homeowners call for a roof repair in the spring, right after the freeze-thaw season has had its way with a marginal installation.
Tools and Materials Checklist Before You Start
Before any flashing goes on the roof, the job site needs to be properly equipped. Missing a tool mid-installation on a flat roof is more than an inconvenience, it often means an exposed seam sits open overnight, inviting a surprise rainstorm to undo the day’s work.
- Metal snips (aviation snips, left and right cut) for cutting flashing to length and mitring corners
- A metal brake or hand seamer for forming clean bends in sheet metal flashing
- A caulking gun loaded with a compatible, high-quality sealant (polyurethane or butyl-based, never generic silicone on membrane)
- A heat welder or torch, depending on whether the membrane is TPO, PVC, or modified bitumen
- A hand roller for pressing down membrane laps and flashing edges
- Corrosion-resistant fasteners rated for the specific metal being used (mixing metals causes galvanic corrosion)
- A chalk line and tape measure for laying out straight, consistent flashing runs
- Safety equipment: fall protection harness, anchor points, non-slip footwear, and eye protection
- A moisture meter or infrared scanner if you suspect the substrate underneath is already wet
On the materials side, flashing is typically formed from galvanized steel, aluminum, or pre-finished sheet metal, paired with a compatible membrane flashing strip that ties it into the roof system. The choice of metal matters more than most homeowners realize, so before ordering material it is worth understanding the trade-offs.
| Flashing Material | Typical Lifespan | Best Used For | Relative Cost |
|---|---|---|---|
| Galvanized steel | 15-20 years | Standard perimeter and wall flashing on budget-conscious jobs | Low |
| Aluminum | 20-25 years | Coastal or high-moisture areas, lightweight applications | Moderate |
| Pre-finished (painted) steel | 25-30 years | Visible edges where colour-matching to fascia or trim matters | Moderate-High |
| Copper | 50+ years | Premium installations, heritage properties, skylight curbs | High |
| Membrane-based flashing (TPO/PVC) | Matches membrane, 20-30 years | Penetrations, corners, and details that need flexibility | Low-Moderate |
Step-by-Step: How to Install Roof Flashing for a Flat Roof
The sequence below reflects the general order our crews follow on a typical flat roof flashing job, whether it is a full perimeter replacement or a targeted repair around a single penetration. Skipping steps, or doing them out of order, is the single biggest reason flashing fails prematurely.
Step 1: Inspect and Prepare the Substrate
Remove old, failed flashing completely rather than flashing over it. Inspect the deck or parapet wall underneath for rot, delamination, or trapped moisture. Any soft or wet substrate needs to be dried out or replaced before new flashing goes on top, otherwise you are sealing a problem inside the wall rather than solving it.
Step 2: Clean and Prime the Surface
Sweep away debris, gravel, and old adhesive residue. If the flashing will be adhered rather than mechanically fastened, apply a compatible primer and allow it to flash off according to the manufacturer’s cure time. Skipping primer is a common shortcut that shows up later as lifted edges.
Step 3: Measure, Cut, and Form the Metal
Measure each run individually rather than assuming uniform lengths, since parapet heights and roof edges rarely run perfectly true. Cut the metal with snips and form bends with a brake to create a consistent drip edge profile that directs water away from the wall face.
Step 4: Install Base Flashing First
Base flashing ties directly into the membrane and should always go in before counter-flashing. Depending on the membrane type, this means heat-welding a TPO or PVC flashing strip, or hot-mopping and embedding modified bitumen flashing, so it becomes a monolithic extension of the roof surface rather than a separate piece.
Step 5: Overlap and Seal All Seams
Every seam should overlap a minimum of 50-75mm (2-3 inches), with the upper piece always overlapping the lower piece so gravity works with the detail, not against it. Seal seams with a compatible sealant appropriate to the membrane type, and roll every lap to eliminate air pockets.
Step 6: Install Counter-Flashing or Termination Bar
Counter-flashing is embedded into a reglet cut into masonry, or a termination bar is mechanically fastened and sealed along the top edge of the base flashing. This second layer is what keeps wind-driven rain from getting behind the base flashing.
Step 7: Flash Penetrations Individually
Pipes, vents, and mechanical curbs each need their own boot or curb flashing, sealed independently from the field flashing. Never rely on the field membrane alone to seal around a penetration.
Step 8: Final Inspection and Water Test
Once everything is installed, visually inspect every lap and seam, then, where practical, flood-test or hose-test the area to confirm the detail sheds water correctly before calling the job complete.
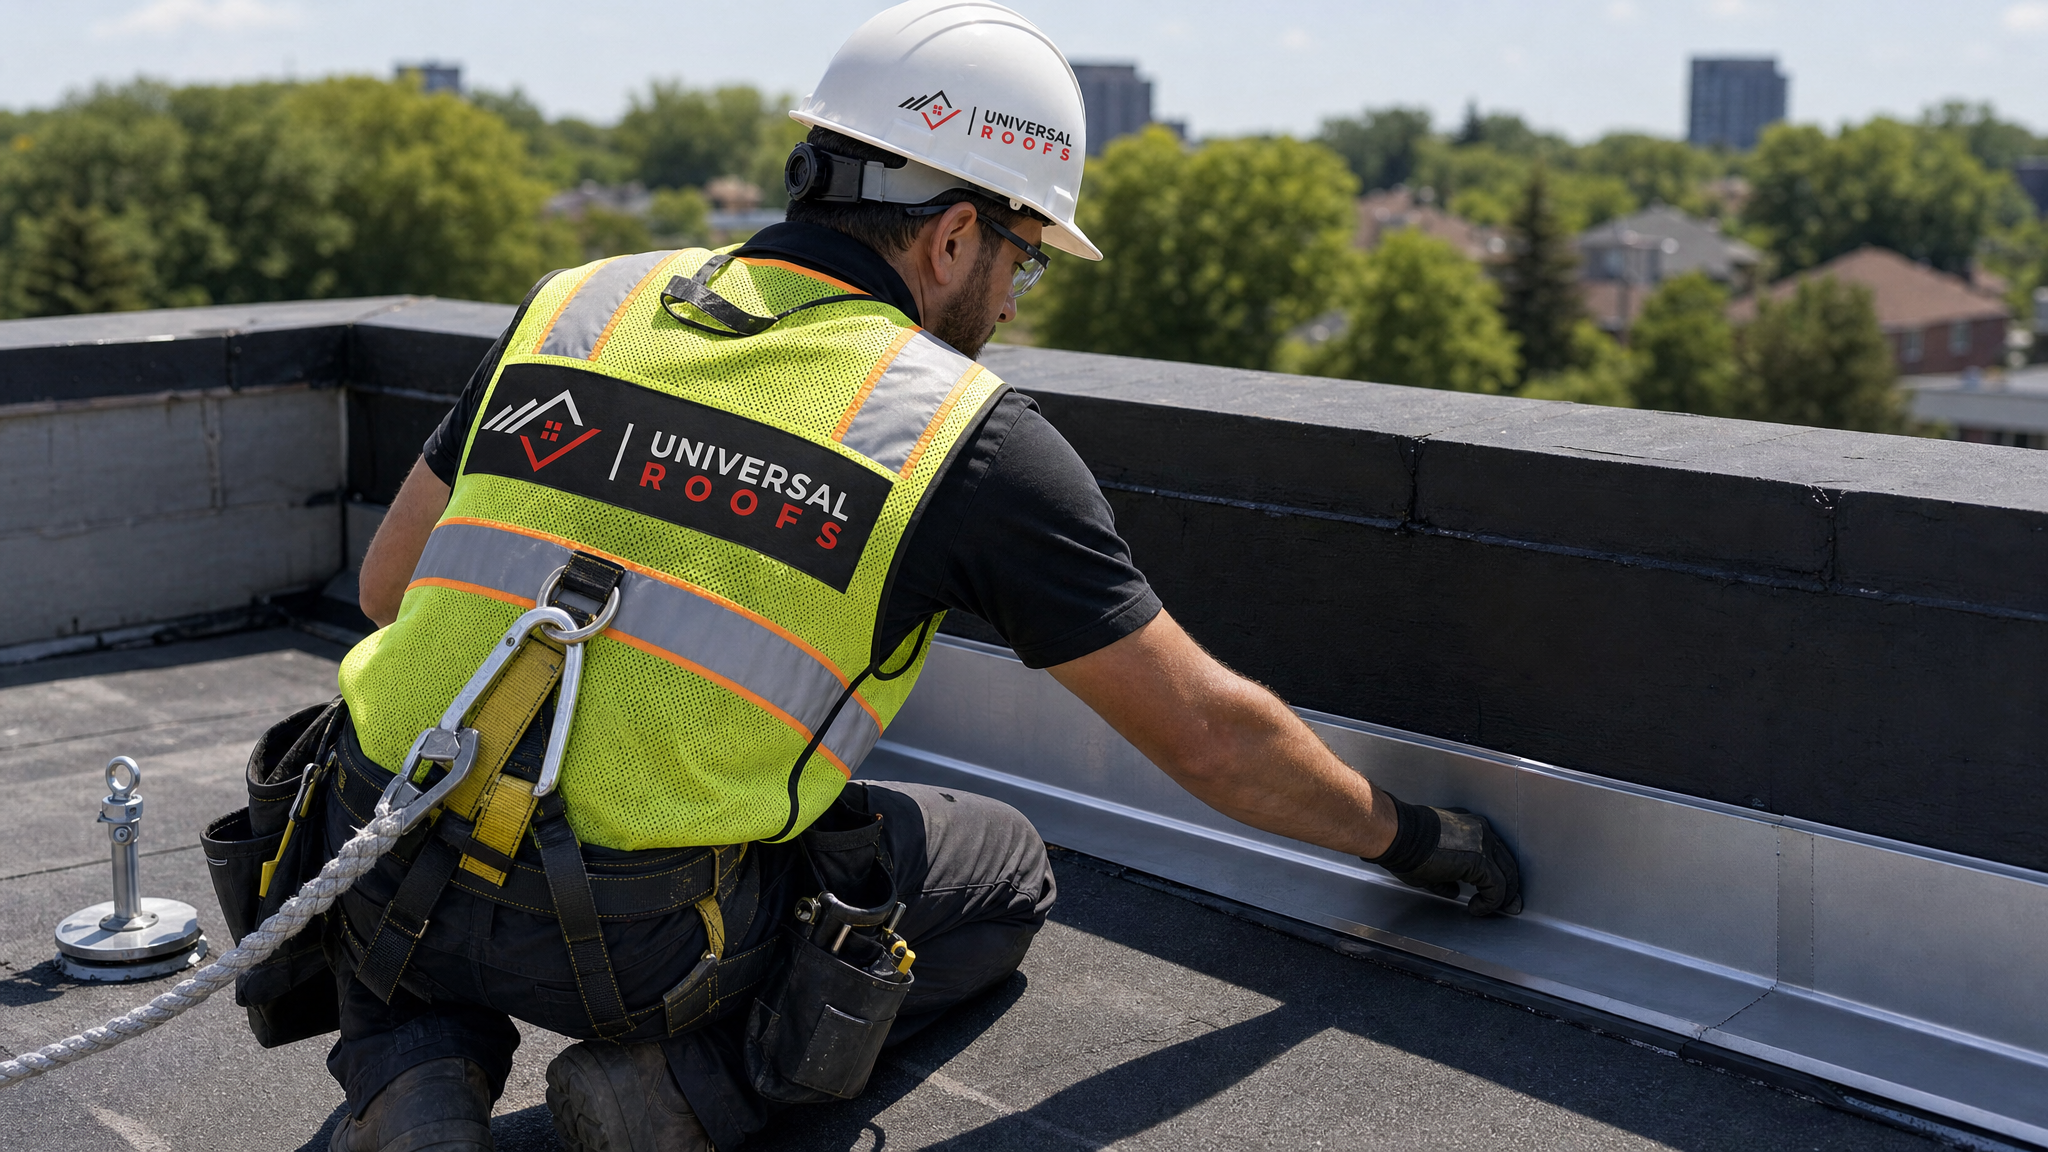
Comparing Flashing Methods: Mechanically Fastened vs. Fully Adhered vs. Heat-Welded
Not every flat roof flashing detail is installed the same way. The method depends on the membrane system already on the roof, the substrate, and the exposure of the specific detail. Choosing the wrong method for the wrong membrane is one of the fastest ways to create a callback.
| Installation Method | Compatible Membranes | Pros | Cons |
|---|---|---|---|
| Heat-welded seams | TPO, PVC | Monolithic, extremely strong bond, fast to inspect visually | Requires skilled operator and correct welder temperature |
| Hot-mopped/torch-applied | Modified bitumen (SBS/APP) | Proven durability, good for complex penetrations | Fire risk during application, weather-sensitive |
| Fully adhered (cold adhesive) | TPO, PVC, EPDM | No open flame, good for occupied buildings | Longer cure times, sensitive to surface prep |
| Mechanically fastened | All membrane types (as counter-flashing) | Fast installation, easy to inspect and re-tighten | Fastener penetrations must be sealed individually |
Common Flashing Failure Points and How to Troubleshoot Them
Even a well-installed roof will eventually show wear at its flashing details, since these are the highest-stress points on the entire roof assembly. Knowing what to look for lets a homeowner catch a small issue before it becomes a full roof replacement.
| Symptom | Likely Cause | Recommended Action |
|---|---|---|
| Interior ceiling stain near an exterior wall | Failed counter-flashing or open reglet joint | Inspect wall-to-roof transition, reseal or replace counter-flashing |
| Lifted or curling flashing edge | Inadequate primer or adhesive failure | Re-adhere or mechanically fasten with new sealant |
| Cracked sealant around a pipe boot | UV degradation and thermal cycling | Strip and reseal with a compatible sealant, inspect boot for splitting |
| Rust streaks below metal flashing | Incompatible fastener causing galvanic corrosion | Replace with matched fasteners for the flashing metal |
| Standing water pooling against flashing | Insufficient slope or blocked drain | Clear drains, evaluate tapered insulation or slope correction |
Toronto Building Code and Climate Considerations for Flashing
Flashing details on flat roofs in Ontario are governed by the Ontario Building Code and, for many commercial and multi-residential projects, by CSA and NRCA-aligned best practice guidelines that specify minimum lap widths, fastener spacing, and metal gauges. Local building departments across Toronto, Peel, York, Halton, and Durham regions will generally expect flashing to meet these minimums on permitted work, and insurers increasingly ask for documentation that flashing was installed to code after a claim.
Climate is just as important as code. Toronto sees roughly 50-60 freeze-thaw cycles per winter, and each cycle stresses every seam and sealant joint on the roof. Summer brings the opposite problem: prolonged UV exposure and heat-island effect on dark membrane roofs, which accelerates sealant breakdown at flashing edges. A flashing detail engineered for a milder or more stable climate simply will not hold up here, which is why we favour heavier-gauge metals and higher-grade sealants on GTA installations than the code minimums technically require.
July is actually one of the better months to have flashing inspected or repaired, since dry, warm weather allows sealants and adhesives to cure properly and gives a contractor a full working day without the risk of an afternoon thunderstorm undoing the work. Many GTA homeowners use the summer maintenance window to get ahead of the next freeze-thaw season rather than waiting for a leak to force the issue.
DIY vs. Hiring a Professional for Flashing Installation
A small, ground-accessible flashing repair, such as resealing a single pipe boot on a garden shed, is within reach for a confident DIYer with the right materials. But full flashing installation on an occupied home’s flat roof involves several factors that push most jobs toward professional installation: working safely at height, correctly matching flashing metal and fasteners to avoid corrosion, heat-welding or torch-applying membrane without damaging the substrate, and understanding how a single flashing detail interacts with the rest of the roof’s drainage plan.
Mistakes are also expensive to discover. A poorly sealed flashing joint can leak for months before staining becomes visible on an interior ceiling, by which point insulation, decking, and sometimes structural framing have already absorbed water damage. If your home also has rooftop glazing, it is worth having flashing around any skylights inspected at the same time, since skylight curb flashing is one of the most failure-prone details on any flat roof, and issues there often call for skylight replacement rather than a simple reseal once the curb flashing has failed for good.
Maintenance Schedule to Keep Flashing Watertight
Flashing is not a install-it-and-forget-it component. Like any part of a roof system, it benefits from a predictable inspection rhythm, especially in a climate with as much seasonal swing as Toronto’s.
| Season | Inspection Focus | Typical Action Needed |
|---|---|---|
| Spring | Post-freeze-thaw cracking, drain blockages from winter debris | Clear drains, inspect and reseal any cracked joints |
| Summer | UV-related sealant breakdown, general maintenance window | Full inspection, reseal aged joints, schedule any replacements |
| Fall | Leaf and debris buildup at drains and flashing edges | Clear debris before freeze-up, confirm all seams are tight |
| Winter | Ice damming at parapet walls and edges | Monitor for interior leaks, avoid walking on roof if icy |
Warning Signs You Need Flashing Repair Now, Not Later
Some symptoms should move a flashing inspection from “someday” to “this week.” Fresh water stains that appear after a specific storm, visibly separated or curling metal at a wall junction, daylight visible through a gap at a penetration, or a musty smell developing in an attic or top-floor closet are all signs that a flashing detail has already failed and is actively letting water in. Waiting on any of these typically converts a same-day flashing repair into a larger project involving attic insulation replacement and interior drywall repair.
If you are unsure whether what you are seeing is a flashing issue or a membrane issue, it is worth having a professional take a look before assuming the worst. Not every leak means a full roof replacement, and a well-diagnosed flashing repair is often a fraction of the cost of a premature tear-off.
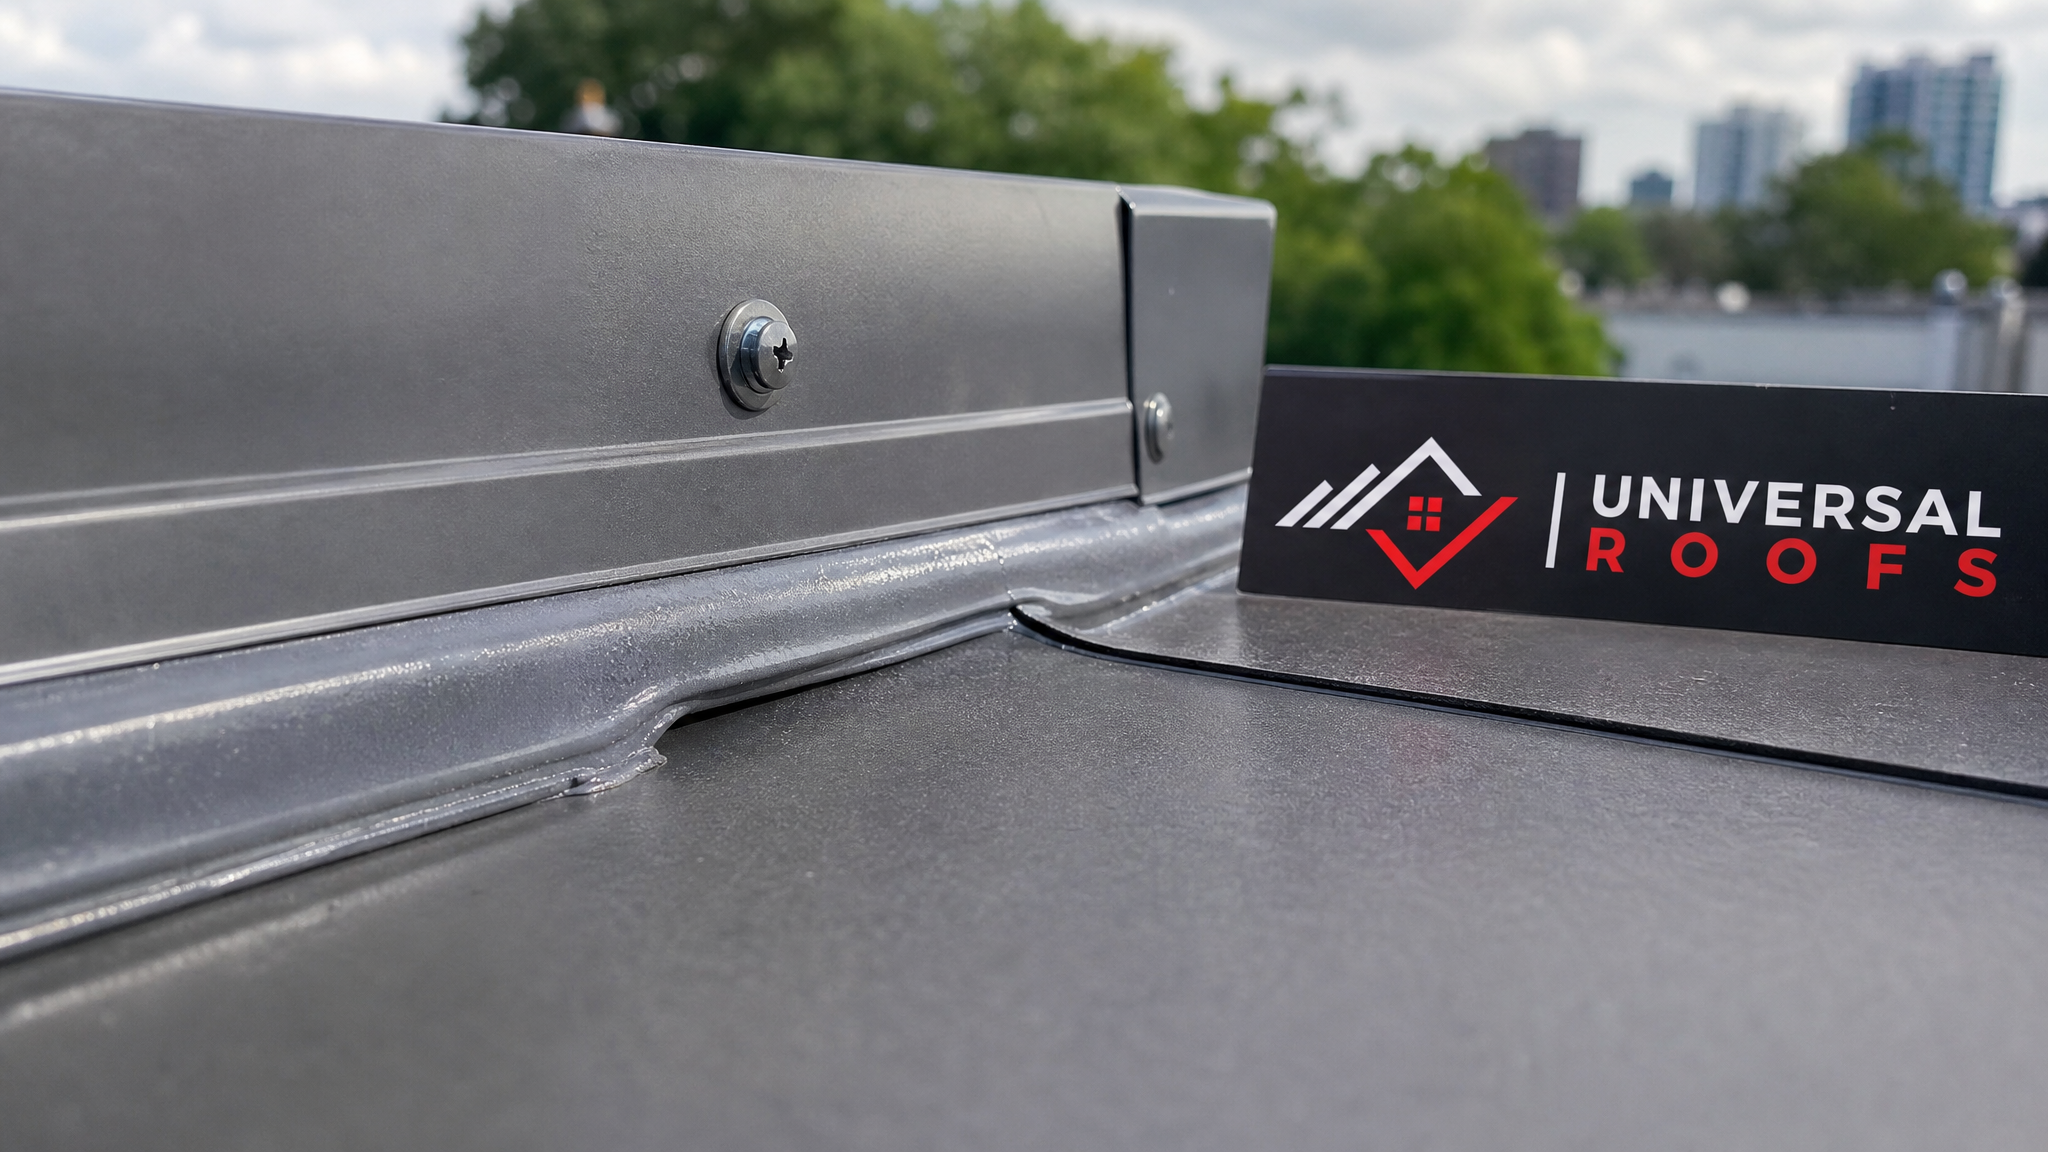
Frequently Asked Questions About Installing Roof Flashing for Flat Roofs
What is the best material for installing roof flashing for flat roofs?
How long does it take to install flashing on a flat roof?
Can I install flat roof flashing myself, or should I hire a professional?
How often should flat roof flashing be inspected in Toronto’s climate?
What causes flat roof flashing to fail prematurely?
Does installing roof flashing for flat roofs require a building permit in Ontario?
Need Help With Step by Step Guide:?
Getting flashing right the first time protects everything beneath your roof, and it is one of the details we take most seriously at Universal Roofs. From a single leaking pipe boot to a full parapet flashing replacement, our crews bring the same code-compliant, climate-tested approach described in this guide to every job across the GTA.
Call us today at (416) 732-2421 or request a free inspection to get started.
Universal Roofs proudly serves Toronto, Mississauga, Brampton, Vaughan, Markham, Oakville and the GTA since 2005.
We also serve homeowners across the Toronto, Peel Region, York Region, Halton Region, and Durham Region areas. To see what past clients say about our flashing and flat roof repairs, visit our reviews page, browse our FAQ page for more roofing answers, or learn more about our company and the team behind every installation. For roofs with broader waterproofing needs, our flat roofing services cover everything from membrane replacement to full system upgrades.