
A damaged roof truss is one of the few roofing problems that should never be left “for later.” Trusses are the triangulated wood skeleton that holds up your entire roof deck, shingles, insulation, and often ceiling drywall below. When one member cracks, splits, or sags, the load it used to carry gets redistributed onto neighbouring trusses, and that chain reaction can snowball quickly, especially under the weight of a GTA winter snow load or the wind gusts that roll off Lake Ontario each spring. Knowing the best methods for roof truss repair, and just as importantly, when a repair is enough versus when replacement is the safer call, can save homeowners thousands of dollars and a great deal of stress.
This guide walks through what causes truss damage, how professionals diagnose it, the actual repair techniques used in the field, realistic cost ranges, and the maintenance habits that keep trusses healthy for the 30, 40, or even 60 years they’re designed to last. We wrote this guide the way we’d explain it to a homeowner standing in their own attic with a flashlight, because that is usually exactly how these problems get discovered.
Whether you’ve noticed a sagging ridge line from the street, a crack in your attic, or a contractor flagged an issue during a routine roof repair visit, this article will help you understand your options before you commit to a fix.
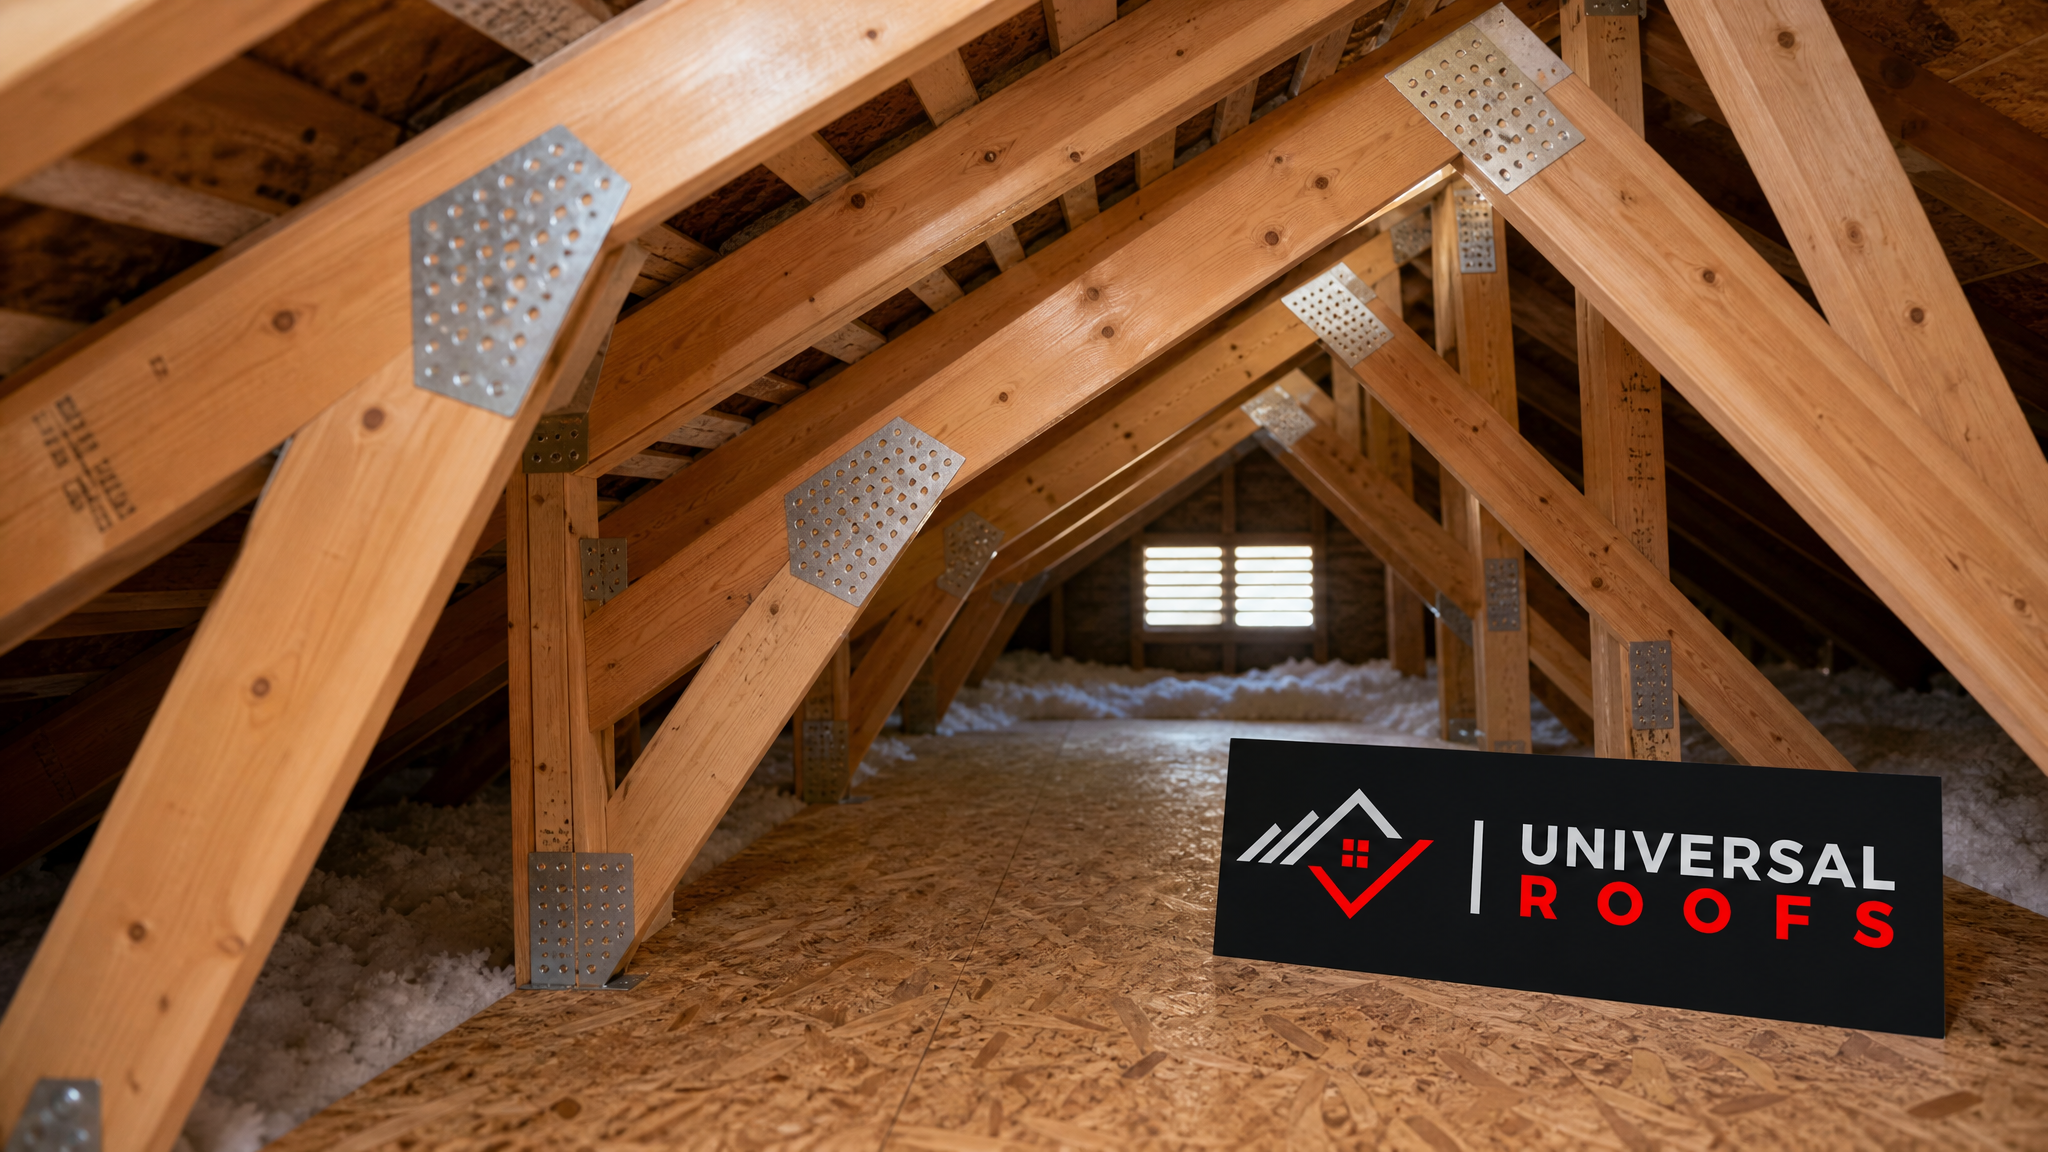
What Causes Roof Truss Damage in the First Place
Before choosing among the various methods for roof truss repair, it helps to understand why trusses fail. Most damage in the Greater Toronto Area falls into a handful of predictable categories, and identifying the root cause matters because a repair that ignores the underlying issue will only need to be redone.
- Water intrusion and rot. A failed flashing detail, a cracked shingle, or an ice dam that backs water up under the roofline can soak truss members for months before anyone notices. Wet wood loses strength and eventually rots, particularly at the joints where members meet.
- Freeze-thaw cycling. Toronto’s climate swings through dozens of freeze-thaw cycles every winter. Moisture that gets into a truss joint expands as ice, then contracts as it melts, gradually working fasteners loose and widening existing cracks.
- Overloading. Heavy wet snow, ice accumulation, or an attic conversion that added storage weight the truss was never engineered to carry can overstress members, especially at the bottom chord and webbing.
- Improper modifications. Cutting into a truss to run ductwork, add a skylight opening, or create attic access without engineering support is one of the most common causes of structural failure we see. Trusses are engineered as a complete triangulated system; removing or notching even one small section can compromise the whole assembly.
- Age and wood movement. Older homes built before engineered trusses became standard sometimes used undersized lumber or connections that simply weren’t built to modern span tables. Decades of seasonal wood movement can eventually split members at stress points.
- Pest damage. Carpenter ants and, less commonly in this region, wood-boring beetles can hollow out sections of a truss chord from the inside, leaving the wood looking sound on the surface while it’s structurally compromised underneath.
A thorough inspection, ideally from the attic and, if the damage is severe, from the exterior roof deck as well, is the first step in any truss repair project. If your home also has skylights near the affected area, it’s worth having them checked at the same time; our skylights team frequently finds that a leaking skylight curb is the hidden source of truss rot nearby.
DIY Truss Repair vs. Calling a Professional
Homeowners often ask whether truss repair is something they can tackle themselves. The honest answer depends entirely on the severity and location of the damage.
Minor cosmetic checking (small surface cracks that don’t go through the full depth of the lumber) can sometimes be monitored without immediate intervention, though we still recommend a professional opinion. However, any of the following situations call for a licensed contractor or structural engineer, not a weekend DIY project:
- A crack that runs more than halfway through a chord or web member
- Visible sagging in the roofline when viewed from the street or driveway
- A truss that has separated at a joint plate or connector
- Any truss that has already been cut, notched, or modified without engineering approval
- Signs of rot, soft spots, or pest tunnelling in the wood
- Damage affecting more than one truss in a row
The reason professional involvement matters so much here is that trusses work as an engineered system. A repair that looks solid but doesn’t restore the original load path can leave a truss appearing fine for months or years before it fails, often without warning. A qualified roofing contractor understands how to sister, splice, or reinforce a member so the repaired truss performs the same as, or better than, the original design.
The Best Methods for Roof Truss Repair
There isn’t a single universal fix. The right method depends on which part of the truss is damaged (top chord, bottom chord, or web members), how extensive the damage is, and whether the truss has already been compromised by unauthorized cutting. Below are the repair techniques most commonly used by professional roofing contractors across the GTA.
1. Sistering (Reinforcement Splicing)
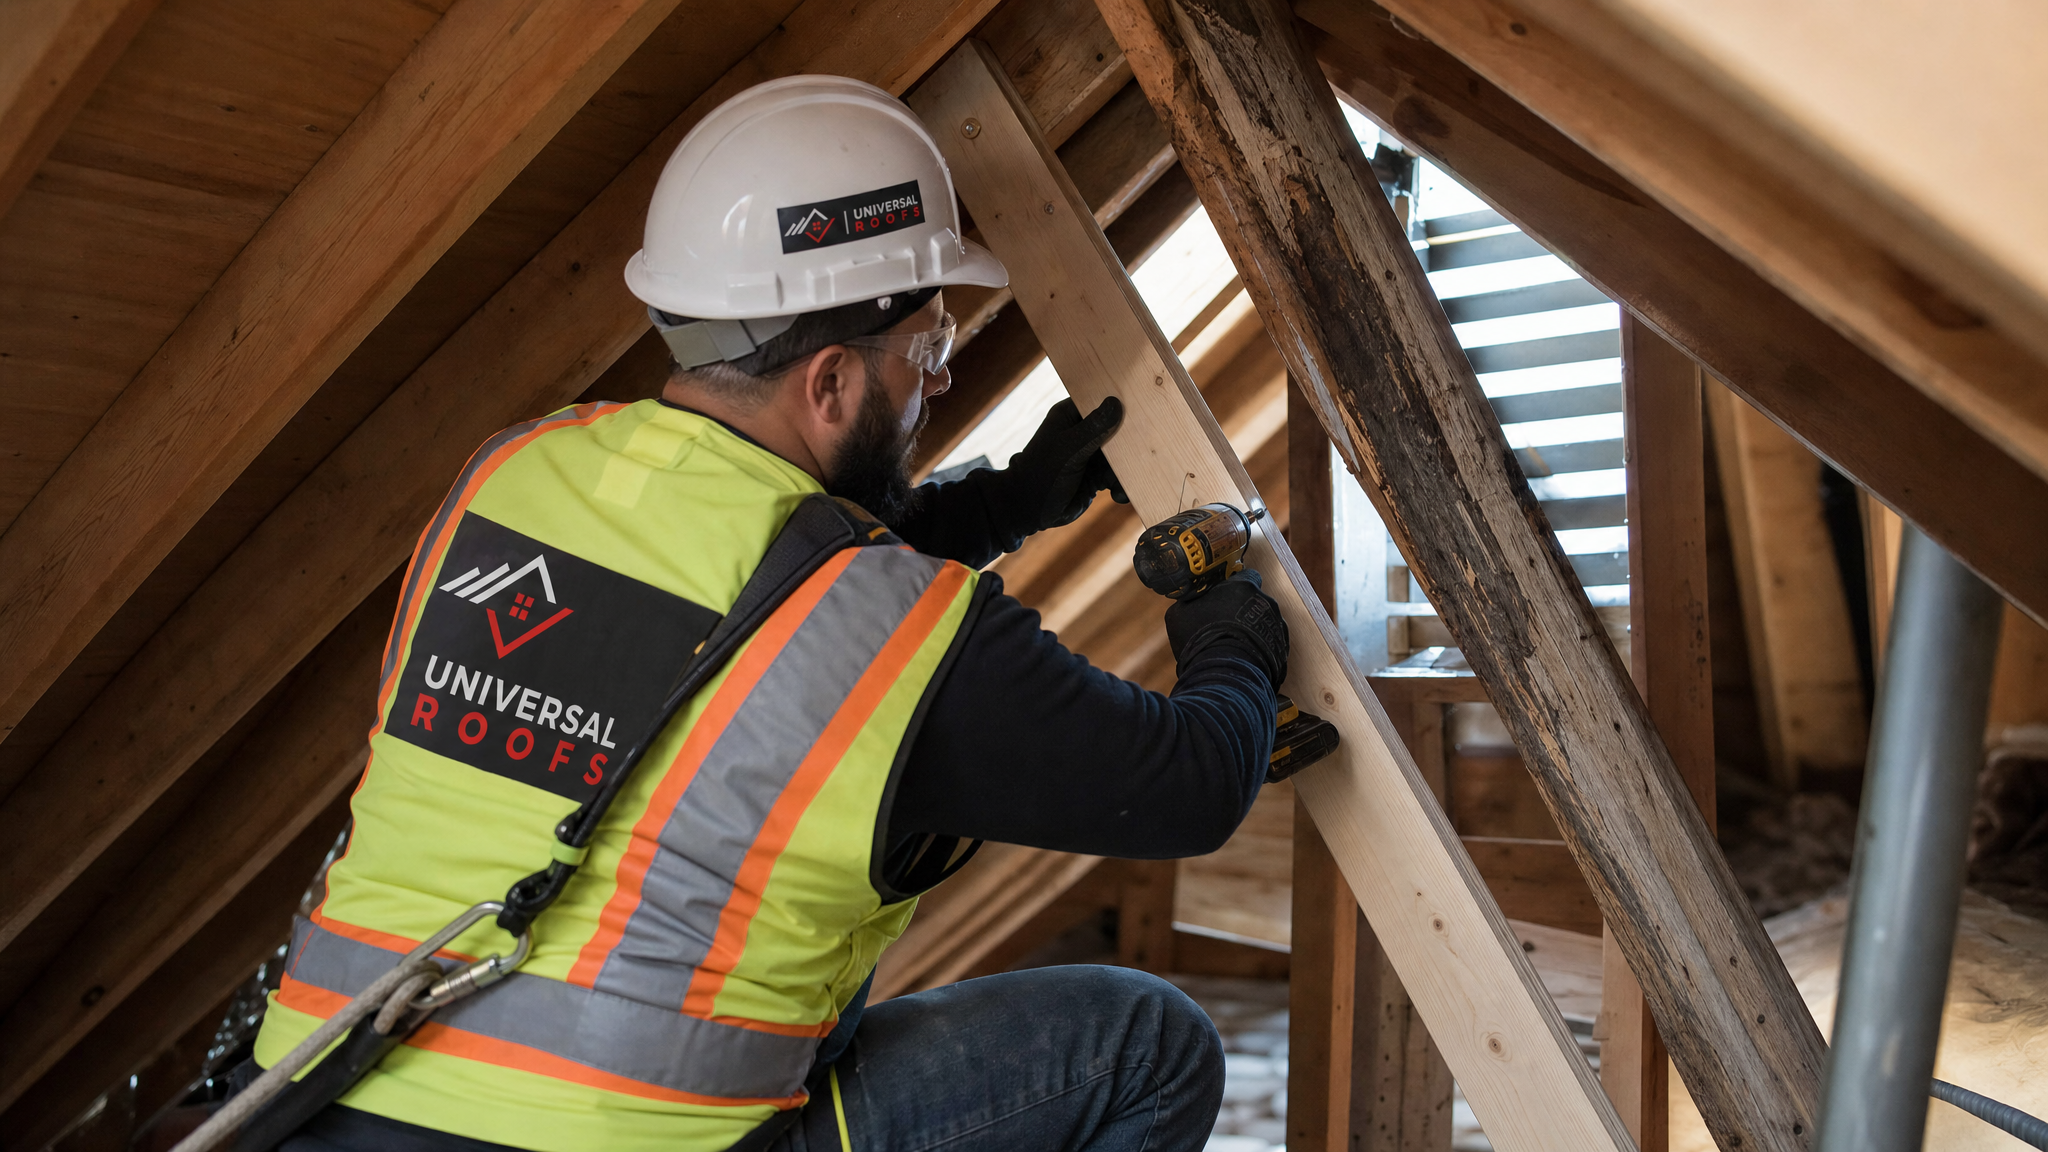
Sistering is the most common and often most cost-effective method for roof truss repair. A new piece of lumber, matched in species and dimension to the original, is fastened directly alongside the damaged member using construction adhesive and structural screws or bolts, spanning well past the damaged section on both sides. The new “sister” board effectively takes over the load-bearing role while the original member remains in place for reference and additional stiffness. Sistering works well for cracks, splits, and moderate rot in top and bottom chords, provided the damage doesn’t extend through a joint connection.
2. Gusset Plate Reinforcement
When damage occurs at or near a joint, where two or more truss members meet, plywood or metal gusset plates are used to reinforce the connection. Plywood gussets are cut to overlap the joint on both faces of the truss and are glued and nailed or screwed in place. Metal gusset plates, similar to the toothed plates used in factory-built trusses, can also be installed to restore the connection’s original strength. This method is especially effective for repairing damaged webbing or chord intersections near the truss heel or peak.
3. Steel Truss Repair Brackets
For more significant structural compromise, engineered steel brackets and plates can be bolted across a damaged section to carry the load mechanically rather than relying solely on wood-to-wood connections. These are typically specified by a structural engineer for cases involving cut trusses, severe splits, or situations where the truss has to carry additional load, such as after an attic conversion.
4. Full Member Replacement
When a chord or web member is too damaged to reinforce, cutting it out entirely and splicing in a new matching piece is sometimes the better route. This is more labour-intensive than sistering but can be necessary when rot or pest damage has hollowed out too much of the original wood to provide a reliable nailing or bolting surface.
5. Full Truss Replacement
In cases of severe structural failure, multiple damaged trusses in a row, or a truss that has been cut without any engineered reinforcement, replacing the entire truss is the safest and sometimes the only viable option. This requires temporary shoring to support the roof load while the old truss is removed and a new, engineered truss is installed in its place. It’s more disruptive and costly but eliminates any lingering uncertainty about load capacity.
Every one of these repairs interacts closely with the rest of the roof assembly. If your attic ventilation, insulation, or roof deck also need attention while trusses are exposed, it’s worth addressing them at the same time through our attic services, since re-opening the same section of roof twice adds unnecessary cost.
| Repair Method | Best For | Typical Difficulty | Relative Cost |
|---|---|---|---|
| Sistering | Cracks, splits, moderate rot mid-span | Moderate | $ |
| Gusset plate reinforcement | Joint and connection damage | Moderate | $ |
| Steel repair brackets | Cut trusses, added load requirements | High (engineer required) | $$ |
| Full member replacement | Severe rot or pest damage in one member | High | $$ |
| Full truss replacement | Multiple failed trusses, unrepaired cuts | Very High | $$$ |
Step-by-Step: What a Professional Truss Repair Looks Like
While every project varies with the extent of damage, most professional truss repairs follow a similar sequence:
- Inspection and diagnosis. A contractor examines the truss from the attic and, where needed, from the exterior deck to identify the type, location, and extent of damage, and to check whether adjacent trusses are also affected.
- Engineering review (when needed). For anything beyond minor sistering, a structural engineer may be consulted to specify the repair method, lumber grade, fastener schedule, and load calculations.
- Temporary shoring. If the truss can’t safely carry roof load during the repair, temporary posts and beams are installed in the attic or below to redistribute weight while work is underway.
- Site and material preparation. Matching lumber, gusset material, adhesives, and fasteners are selected to match the load requirements and the dimensions of the existing truss.
- The repair itself. Depending on the method chosen, this involves fastening sister boards, installing gusset plates, bolting steel brackets, or removing and replacing a damaged section.
- Fastener and connection verification. Every screw, bolt, and adhesive joint is checked against the specified schedule, since an under-fastened repair won’t perform to its intended strength.
- Removal of shoring and final inspection. Once the repair is complete and fully cured or fastened, temporary supports are removed and the truss is re-inspected under normal load.
- Addressing the root cause. If the damage was caused by a leak, ventilation issue, or overloading, that underlying problem is corrected so the repair isn’t undone by the same conditions that caused the original damage.
That last step is one homeowners sometimes overlook. A beautifully executed sistering repair won’t hold up if the roof deck above it keeps leaking. Coordinating truss repair with any needed roof replacement or targeted repair work ensures the fix actually lasts.
Truss Repair Costs: What Affects the Price
Truss repair costs vary widely because every situation is different. Accessibility, the number of trusses affected, whether engineering is required, and whether shoring and roof deck work are needed all factor into the final price. The table below outlines general cost drivers homeowners should expect when getting quotes.
| Cost Factor | Lower Cost Scenario | Higher Cost Scenario |
|---|---|---|
| Number of trusses | Single truss, isolated damage | Multiple trusses affected |
| Access | Open, walkable attic | Tight attic, low clearance, or exterior deck removal needed |
| Repair method | Sistering or gusset plate | Steel brackets or full replacement |
| Engineering | Not required for minor repairs | Required for structural or cut trusses |
| Root cause work | No additional roofing repair needed | Roof deck, flashing, or ventilation repair also required |
Because so many variables affect price, we always recommend an in-person inspection rather than a phone or photo estimate for anything beyond the most minor cosmetic cracking. A contractor needs to see the truss in person, check adjacent members, and evaluate the roof deck above before recommending a specific method and price.
Signs You Need Truss Repair Now, Not Later
Some symptoms of truss damage are subtle, while others are impossible to miss. Homeowners across Toronto, Mississauga, and the surrounding regions should treat any of the following as a reason to schedule an inspection promptly:
- A visibly sagging ridge line or roof plane when viewed from the street
- Cracking sounds from the attic or ceiling during wind or snow load
- New or widening cracks in interior ceiling drywall, particularly in straight lines following the truss layout
- Doors or windows on the top floor that have started sticking, which can indicate roof frame movement
- Visible daylight, gaps, or separation at truss joints when viewed from the attic
- Water stains, soft wood, or a musty smell in the attic near truss members
- Any truss that has been cut for ductwork, plumbing vents, or an attic conversion without documented engineering approval
If you notice any of these signs, delaying an inspection rarely improves the outcome. Structural issues tend to worsen with each additional snow load or storm, and what starts as an affordable sistering repair can become a full truss replacement if left unaddressed through a Toronto winter.
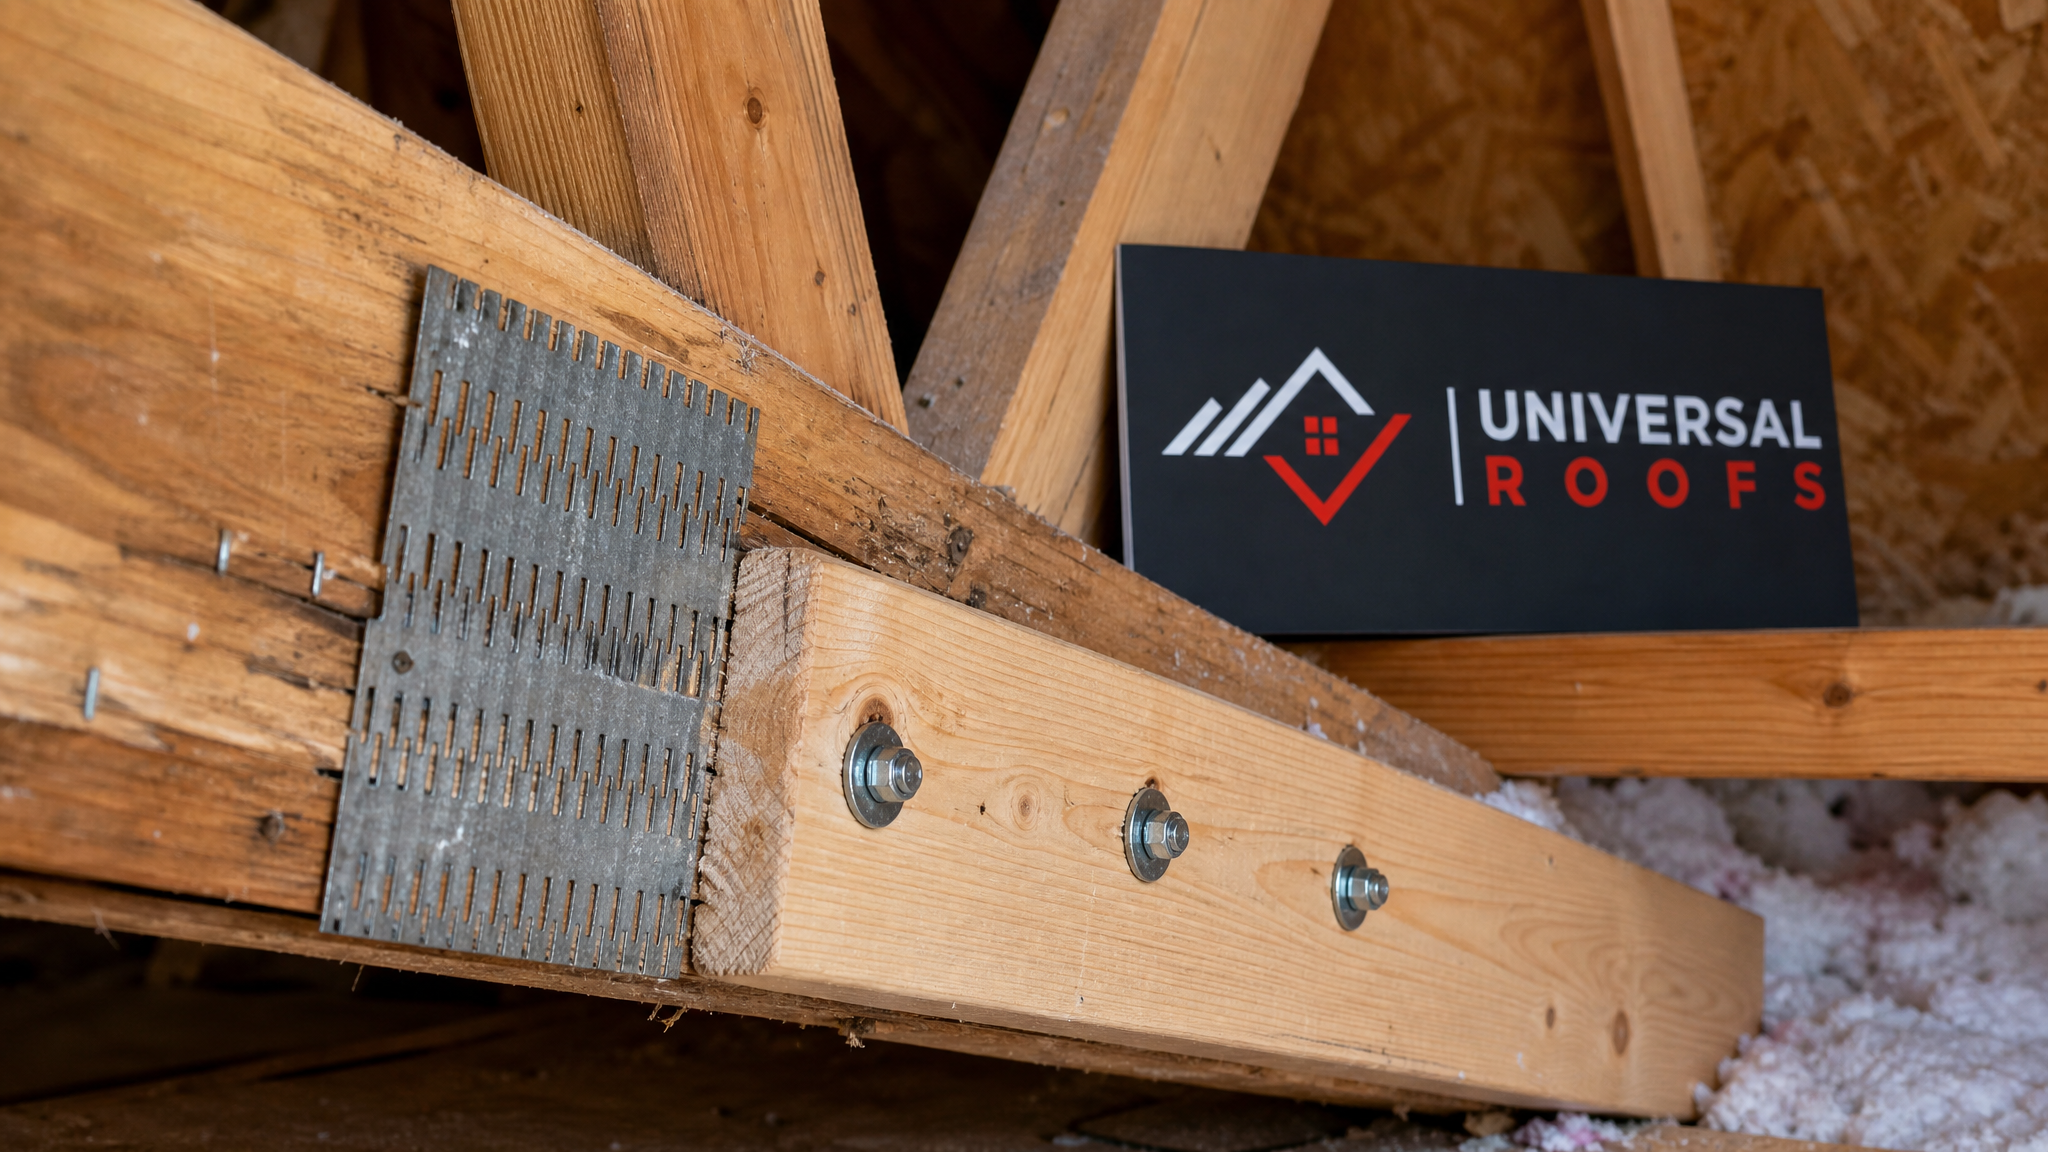
Preventing Future Truss Damage
Once a truss has been properly repaired, a few ongoing habits go a long way toward preventing the problem from recurring:
- Schedule regular roof and attic inspections. Catching a small leak or a minor crack early is far cheaper than repairing rot damage that developed over several seasons.
- Maintain proper attic ventilation. Poor ventilation traps moisture in the attic space, accelerating wood rot and encouraging condensation on the underside of the roof deck. Balanced intake and exhaust ventilation keeps humidity levels in check year-round.
- Address flashing and leak issues immediately. Flashing around chimneys, skylights, and roof valleys is a common leak source. A quick roof repair when a leak is first noticed can prevent years of hidden truss damage.
- Never cut or modify a truss without engineering review. If you’re planning an attic conversion, adding ductwork, or installing a new skylight replacement, always confirm with a professional whether the work affects any structural truss members before cutting anything.
- Clear excess snow load when necessary. While most engineered trusses are designed for typical Ontario snow loads, unusually heavy accumulations, especially wet, ice-laden snow, can occasionally warrant careful snow removal from flatter roof sections.
- Keep gutters and drainage clear. Poor drainage around the roofline can contribute to ice damming, which forces water back under shingles and toward the roof deck and truss system.
A well-maintained roof system does far more than protect your shingles; it protects the wood structure underneath that everything else relies on.
Truss Repair Timelines: What to Expect
Homeowners often want to know how long a truss repair will take. While every project differs, the table below gives a general sense of typical timelines for common scenarios.
| Scope of Work | Typical Timeline | Notes |
|---|---|---|
| Single truss, sistering repair | 1 day | Minimal disruption, no shoring usually needed |
| Gusset plate reinforcement | 1 day | Often combined with sistering for full joint support |
| Steel bracket installation | 1-2 days | May require engineering sign-off before work begins |
| Single truss replacement | 2-3 days | Includes shoring setup and removal |
| Multiple truss replacement | 3-7 days | Timeline depends on roof deck access and number of trusses |
These timelines don’t include the engineering review process, which can add several days to a week depending on the complexity of the damage and the engineer’s schedule. For urgent structural concerns, most contractors will prioritize temporary shoring immediately, even before the full engineered repair plan is finalized, to keep the home safe in the interim.
Choosing a Qualified Contractor for Truss Repair
Because truss repair is structural work, the contractor’s experience matters enormously. Look for a roofing company that:
- Has direct, verifiable experience with structural truss repair, not just cosmetic roofing work
- Works with or can refer you to a licensed structural engineer for anything beyond minor sistering
- Provides a clear, written scope of work describing the repair method, materials, and fastening schedule
- Carries appropriate insurance and follows Ontario Building Code requirements for structural repairs
- Is willing to explain why a particular method was chosen over the alternatives
Reading how a contractor has handled similar projects for other homeowners can also be informative. You can see feedback from homeowners across the GTA on our reviews page, and if you still have questions about the process, our FAQ page covers many of the questions we hear most often about structural roof repairs.
Universal Roofs has been serving homeowners throughout the Toronto, Peel Region, York Region, Halton Region, and Durham Region areas since 2005, and structural repairs like truss reinforcement are among the projects our team handles most carefully, precisely because the stakes of getting it wrong are so high.
What are the best methods for roof truss repair?
Can I repair a cracked roof truss myself?
How much does roof truss repair cost?
What causes roof trusses to crack or fail?
Do I need an engineer for truss repair?
How long does a truss repair take to complete?
Need Help With What Are the Best?
If you’ve spotted a cracked, sagging, or damaged truss in your attic, don’t wait for the next snow load to test its limits. The team at Universal Roofs has the field experience to diagnose the problem accurately and recommend the right repair method the first time.
Call us today at (416) 732-2421 or request a free inspection to get started.
Universal Roofs proudly serves Toronto, Mississauga, Brampton, Vaughan, Markham, Oakville and the GTA since 2005.